
| Important Items in this Area |
|---|
| Unsent Letter |
| Key to a Chest |
| Diagram: Mastercrafted Wolven Armor |
| Blood-Smeared Notes |
| Diagram: Enhanced Wolven Armor |
| Deithwen |
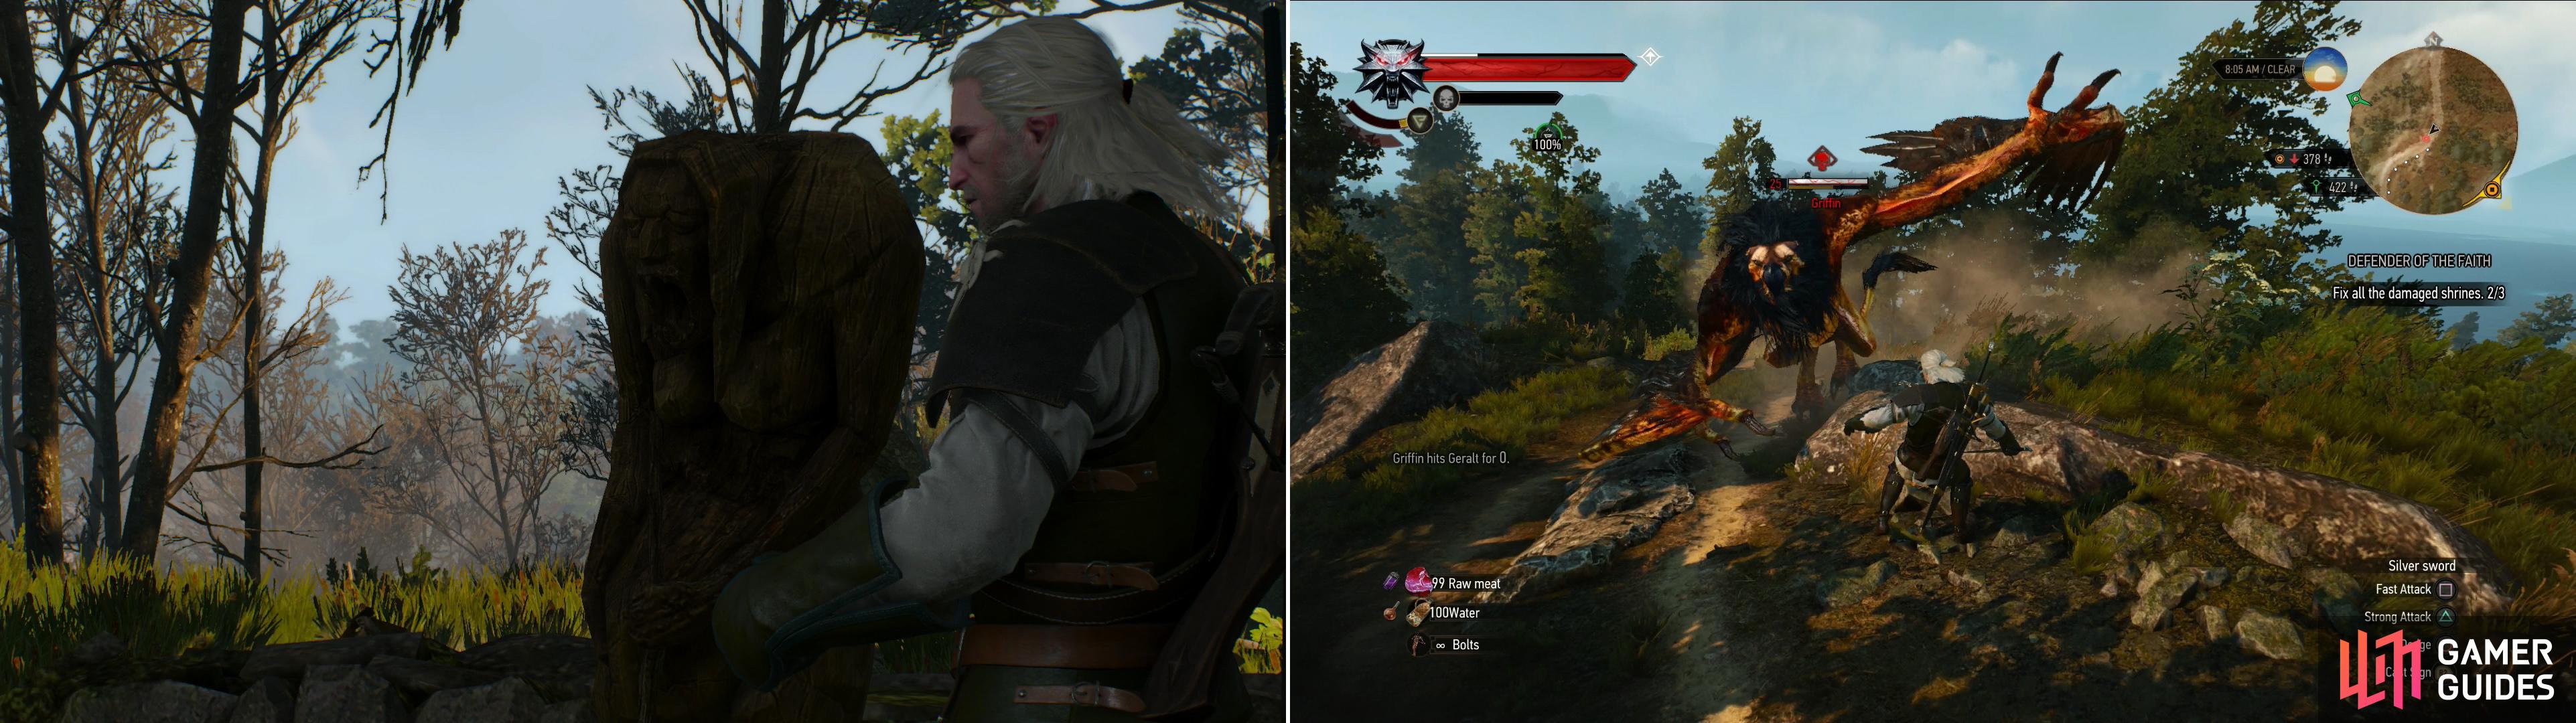
Repair another shrine at Duen Hen (left). The Griffin that prowls between Duen Hen and the Byways is not a beast you want to provoke! (right)
Dont Play with the Gods (Level 15) Walkthrough
Follow the road back south until you reach the fork, then continue down (or rather, up) the unexplored path to the south-east. Eventually this road will branch off before shortly before running into a four-way split. If you look to the south you may spot a Griffin (level twenty-five) circling, which you’ll almost certainly draw the attention of if you head that way. Fortunately, you need not follow the road to proceed. Instead of being a snack for an over-powered chicken-cat, follow the road east, and when it tempts you into becoming a Geralt-snack by veering south, ignore it and keep running east until you find a Hidden Treasure event.
Approach some elven ruins, around which a number of Wraiths (level thirteen) happily await the next corporeal being they can murder. That happens to be you. There’s six of them in total, but you won’t have to fight more than four at once. Kill them while staying away from the ruins, however, as there’s a Noonwraith (level fifteen) which lurks there, and you need not fight quite that many specters at once.
Once the ghosts are gone, loot a corpse near the western stairs to find an “Unsent Letter” and a “Key to a Chest” . Seems the owner of this letter was a ne’er-do-well that relied too much on superstitions to protect him… but in reality, at least, the supernatural does exist, as his corpse now attests. Reading this letter starts the aptly-named quest “Don’t Play with the Gods” . Climb up the stairs onto the ruins to find a the quest-related chest you’re looking for hidden behind some barrels, near a collapsed statue. Blast the barrels with Aard, then claim your prize. On your way back off the ruins to the west you can score another chest, just sitting out in the open.
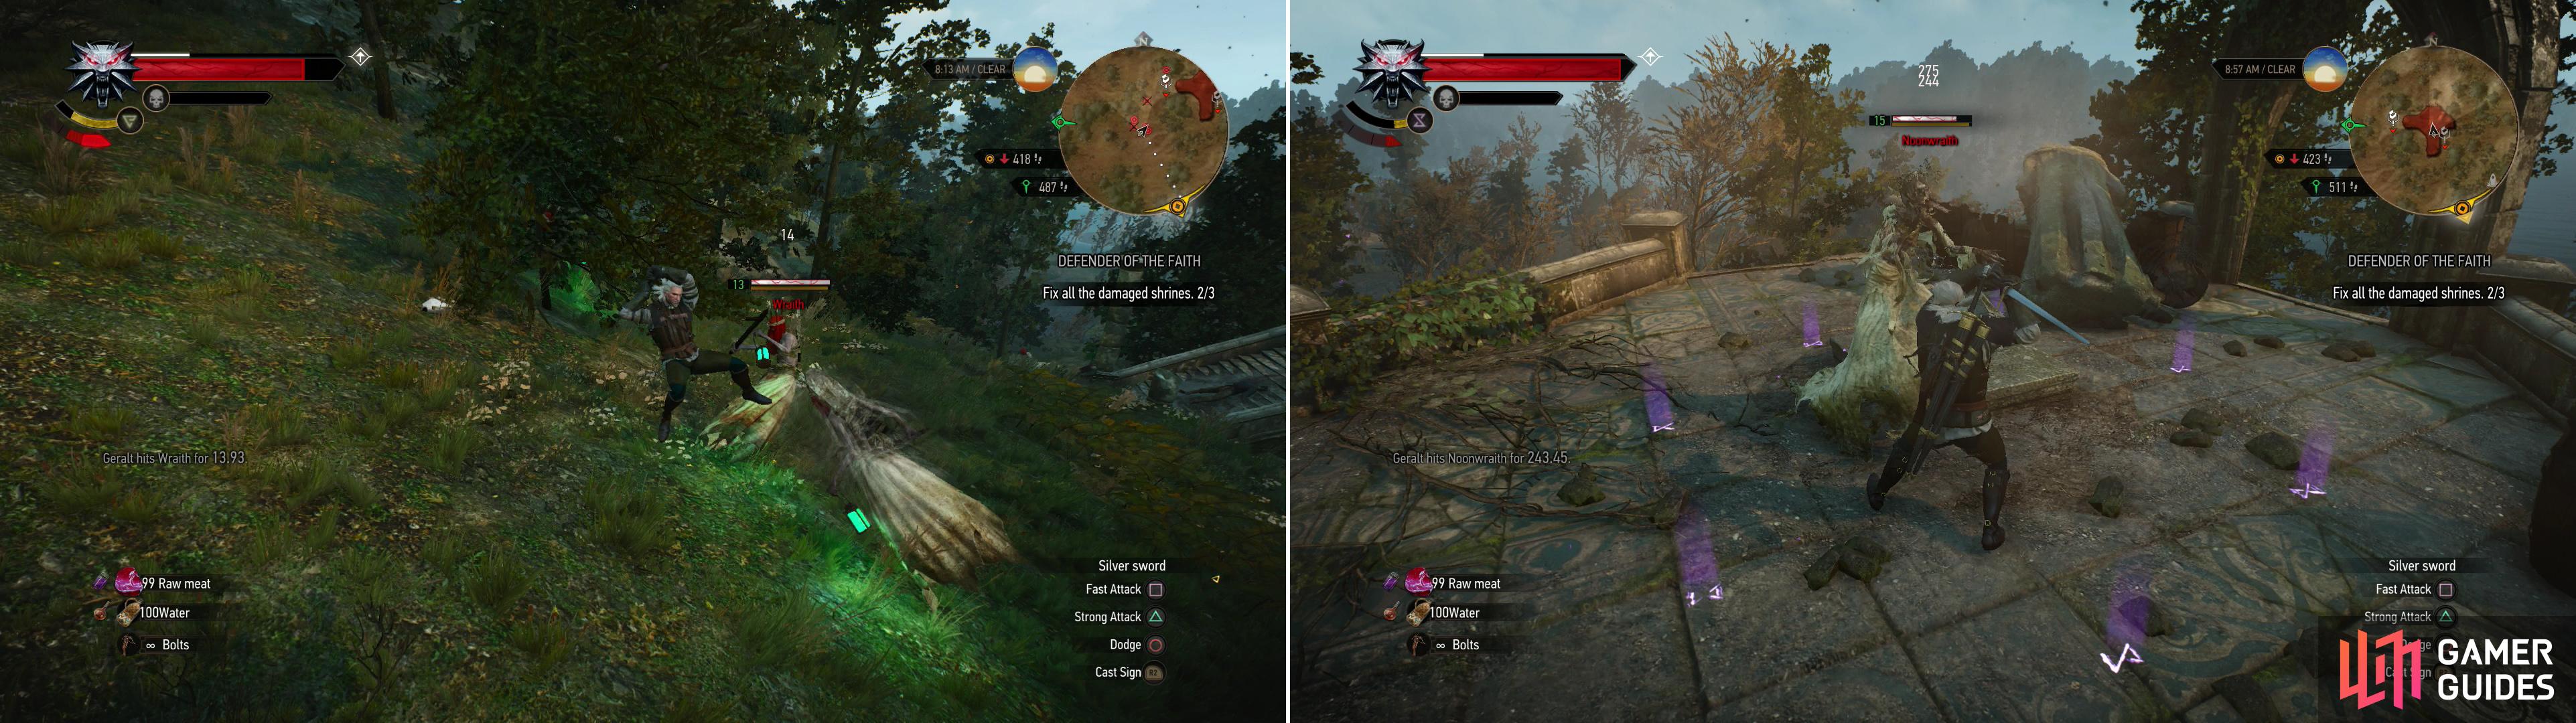
Fight off a host of Wraiths outside some elven ruins (left). Atop the ruins you’ll have to deal with a more substantial wraith - a Noonwraith (right).
Guarded Treasure (Level 7)
Continue east from the shrine until you reach the coast, at which point you should follow the coast southish, but keep your eye to the west to spot a cave - the same cave you and Keira emerged from at the end of the quest “Wandering in the Dark”. Just for a sense of where you are in Velen. Keep going south until you hit a humble road running south and west. Not the most elegant of routes to take, but at least you avoided that damn Griffin.
If you follow this road west you’ll come across a sacked village and the Byways signpost. Unfortunately the place is also overrun with Ghouls (level twenty-three) and merely approaching will update the quest “Contract: The Mystery of the Byways Murders” . It’s probably out of your league right now, so instead of bothering with the Byways, continue south along the little trail until you spot some ruins to the east. Approach the ruins and dispatch several Wraiths (level seven) - paltry guardians compared to what lurks just up the road.
When the exorcism-by-silver-sword is complete, head up some stairs to find a feline statue, which ironically enough has a wolf symbol on its face, if you bother to use your Witcher Senses. First things first, though. Continue north-east and climb onto, then ascend, some stairs to find a chest full of goodies - the object of this Guarded Treasure event. Head back down to the statue, then continue south-west back down the stairs. At the base of the stairs turn north to spot a shallow well over a short wall. Leap the wall and search the well to find a small - yet lucrative - box, which contains the “Diagram: Mastercrafted Wolven Armor” . Uh, yes please?
More elven ruins - protected by more Wraiths - wait to be plundered (left). Search a well for the Diagram: Mastercrafted Wolven Armor (right).
Abandoned Site (Level 9)
Return to the trail and follow it south. It’ll split near a shack, at which point follow the south-western fork to reach an Abandoned Site. This area is crawling with Bandits (level nine) including plenty of archers… pretty much like the places along the coast west of Midcopse, but with higher level baddies. Destroy them and, as usual, the peasantry will return, making this a welcome beacon of civilization amidst the multitude of sacked villages. Once the peasants are back, loot the village for various goodies, including a lucrative chest under a crane platform.
| Objective | Reward |
|---|---|
| For liberating the Abandoned Site | 120 XP / 50 Crowns |
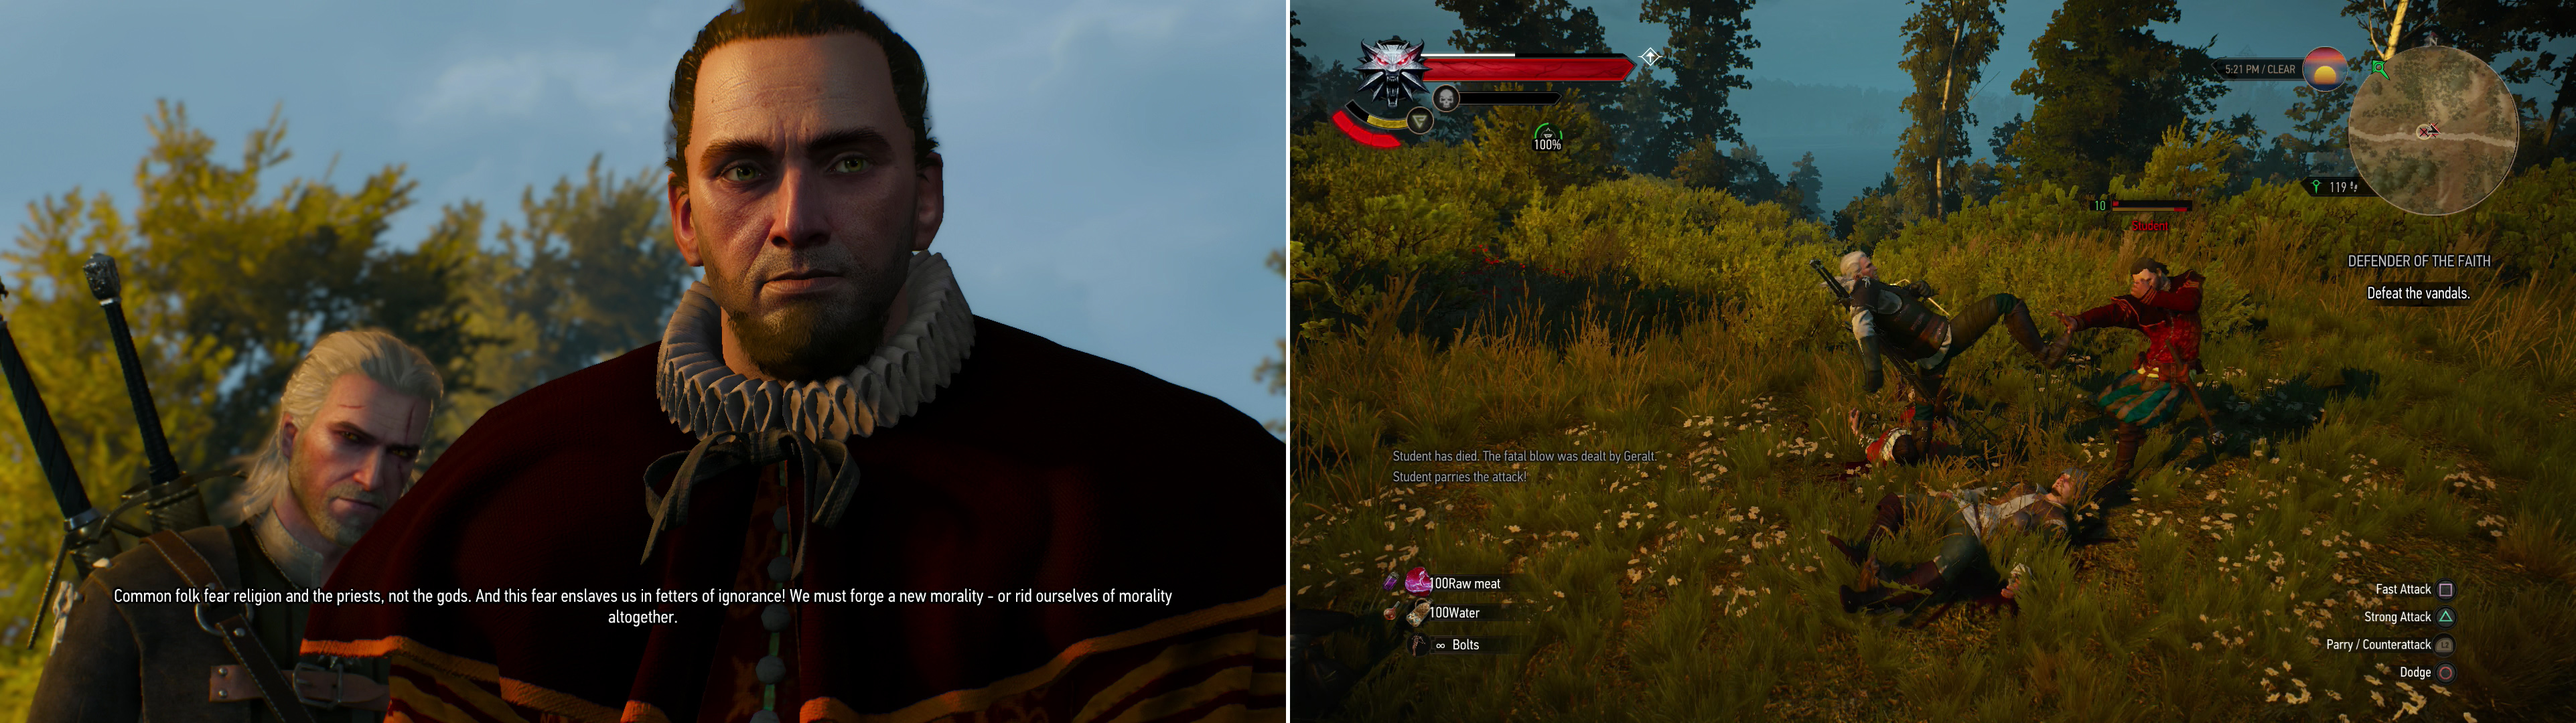
At the third shrine you’ll find the desecrators - some comically stereotyped atheists (left). To complete the quest, beat some sense into them to stop their sacrilege (right).
Defender of the Faith (Level 10) Walkthrough: Best Choice
Leave the now-inhabited village by taking the road you came in along to the north-east, at at the fork head down the previously-ignored road to the south-east. The road will bend to the north-east before eventually turning east, and along this eastern stretch of dirt you’ll find the third shrine you’re supposed to protect, which is in the process of actively being defiled. Talk to the moronic students who spout faux atheist drivel - not the sort of stuff atheists actually tend to say or believe in, but the strawmen and nonsense that religious people THINK atheists believe. These students - who have obviously been educated beyond their ability to actually make use of what they’ve learned - will also misquote Nietzsche!
If you refuse to interfere, you’ll fail the quest, and who wants to do that? On the other hand, if you try to stop them the affair will erupt into violence. If you keep your sword sheathed, they will as well, turning this into a four-on-one fist-fight, save you have the added benefits of using signs. So, to counter for the enemy being able to interrupt your counters, you can just bolster (or perhaps even heal!) yourself with Quen… if you care to only rough them up, that is. Defeat the hard-headed students however you wish to complete the quest.
| Objective | Reward |
|---|---|
| For stopping the atheist caricatures | 50 XP |
Sunken Chest (Level 4)
Continue following the road east until it’s interrupted by a large, landmark-worth tree, obviously the object of some veneration. At this point head north until you reach the shore, then look north-east to spot a small, tree-covered island midway between the shore you’re on now and Fyke Island. Time to get your feet wet. Swim over to this island’s western side and take the shore, which is guarded by a several Drowners (level four), including a darker, meaner one of the same level. Kill them and loot a chest and a corpse under some brickwork ruins, the latter of which will yield some “Blood-Smeared Notes” to start the quest “Sunken Chest” .
Now that the quest has officially started, let’s go grab some loot. Head west from the corpse to find some water, which you should dive into to immediately find a chest. Swim through some ruins to the south-east to find another chest, then turn east to find an ornate chest which contains the “Diagram: Enhanced Wolven Armor” . Swim further east to find a search area over some more submerged ruins, which are prowled by some Drowners (level ten). Use your crossbow to clear the way, then dive under some subterranean ruins near the center of the search area which form an arch of sorts - and obscure your view from the surface. Here you’ll find two chests, one of which contains the silver sword “Deithwen” . You can also score two more chests to the south and north (yes, a total of four!), depending on how willing you are to put up with Geralt’s horrible swimming controls. Before you leave, however, search the southern end of the island back west to find yet another chest on the shore. What a generous little island!
Swim back south to the land you left earlier, then backtrack to the tree breaking up the road, beyond which the road continues to run to the east. Kill any Wraiths (level seven) or Endrega Workers (level nine) which get in your way, and be on the lookout for a chest with a corpse near it south of the road, near where the Endrega prowl. When you’re done picking on monsters and searching for treasure in the grass continue downhill along the road until it reaches a swamp.
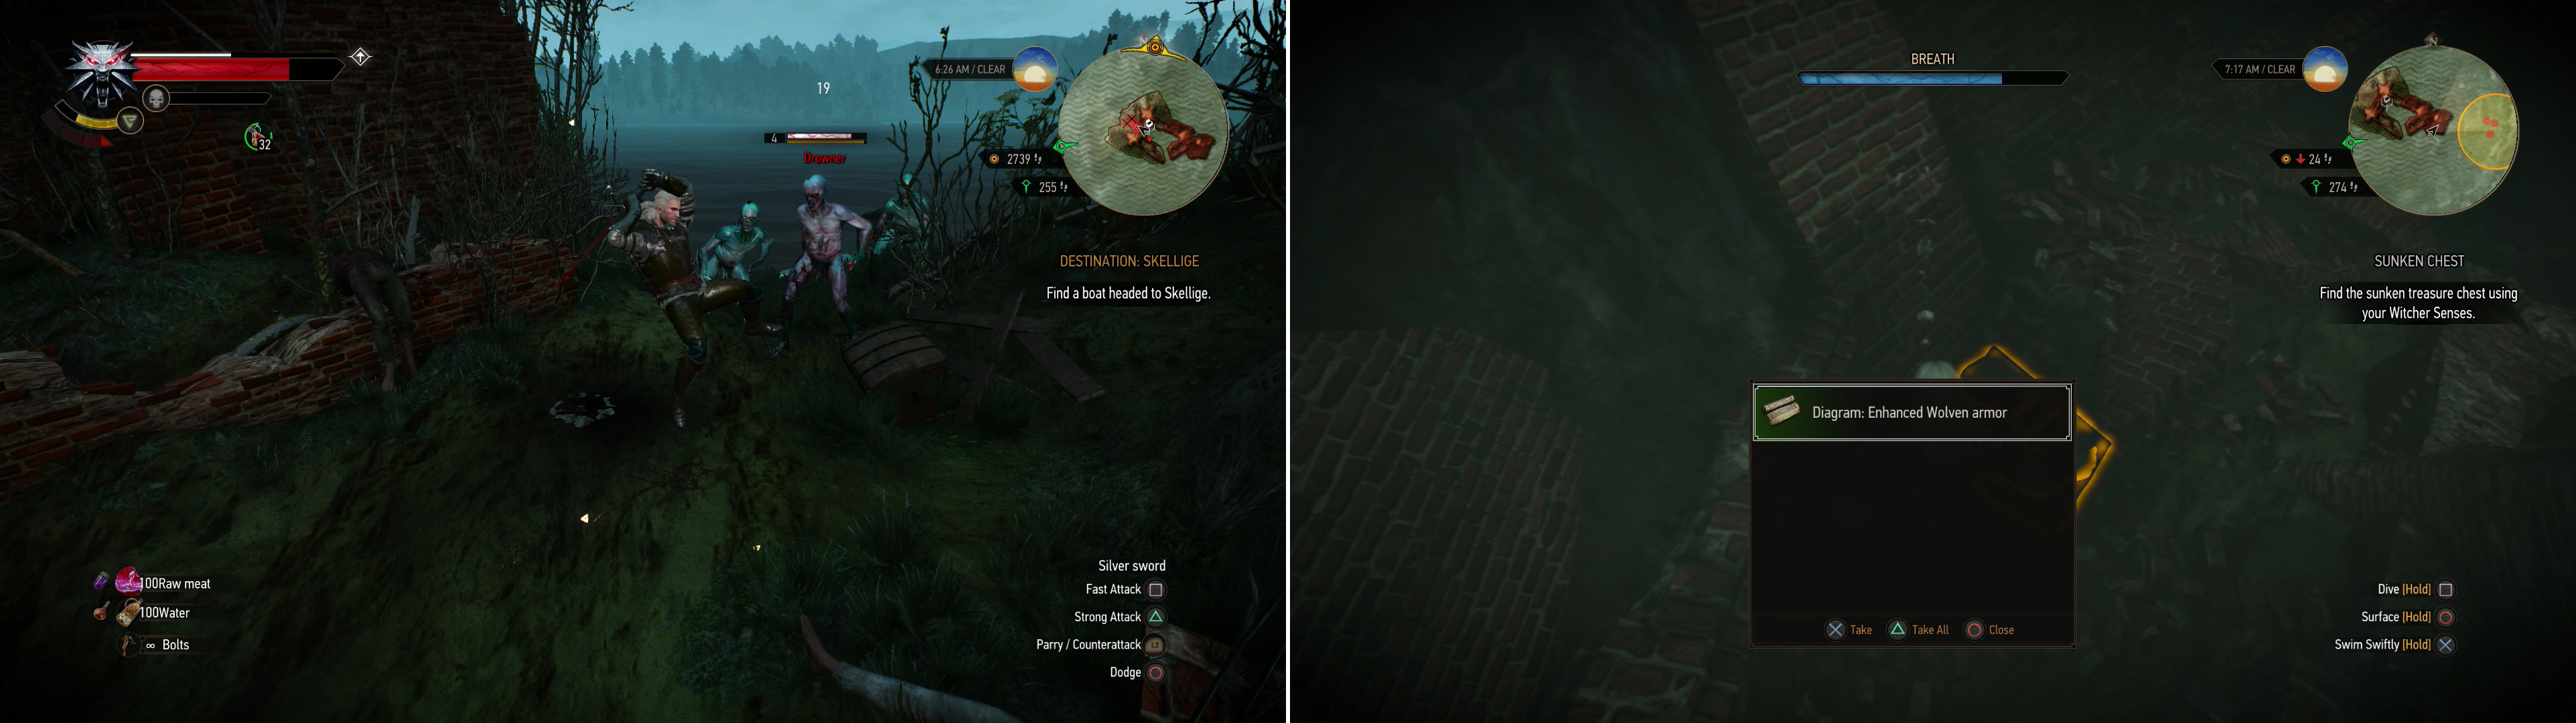
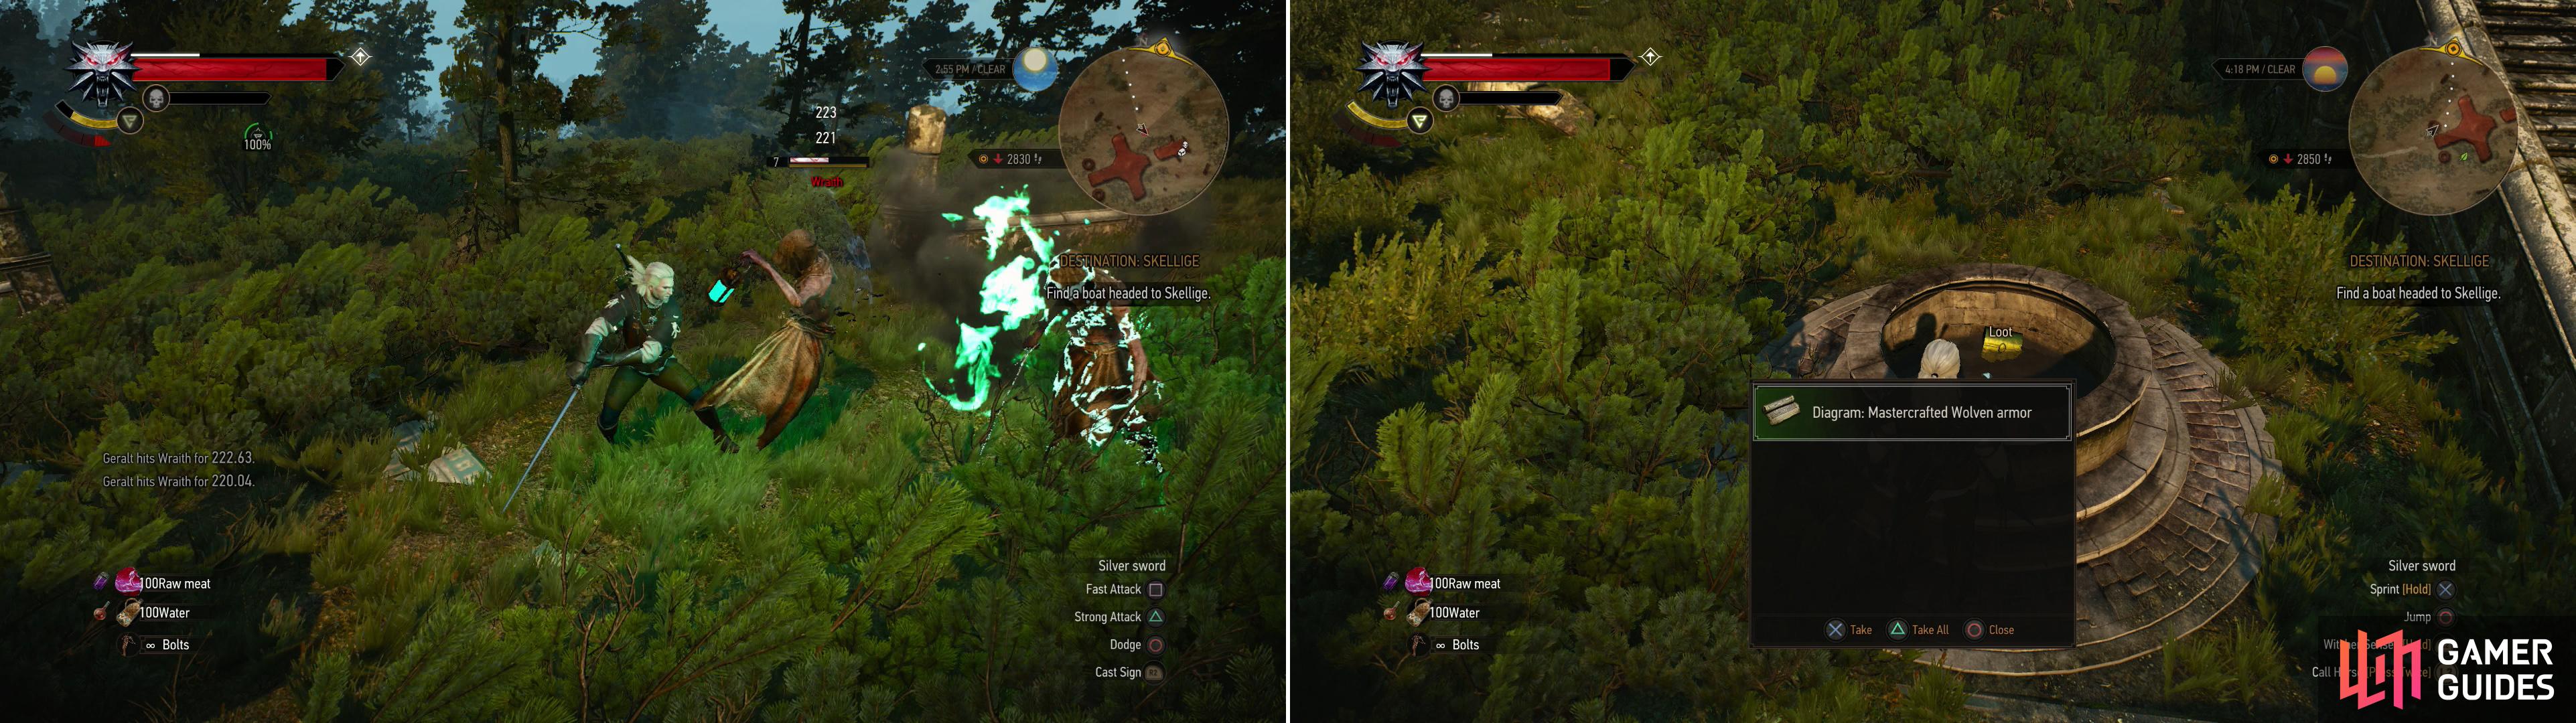
On a small island south of Fyke Isle you’ll find plenty of Drowners (left). There are numerous chests in the water nearby, including one which contains the Diagram: Enhanced Wolven Armor (right).
Frischlow
Pick you way across the swamp, staying loyal to the road, and when the road forks after you reach some (relatively) dry land you can head north to loot some boxes at a collapses hut, after which continue south-east a short distance to discover Frischlow - the village and the signpost. Or rather, the remains of the village. Once you enter you’ll be opposed by a quartet of Wraiths (level sixteen). Smite them, then head south until you reach a well, at which point turn south-west to find a house with a door that’s just begging to be hit with some Aard. Indulge it and… well, expect to be disappointed by the house beyond. Oh well.

 Sign up
"Head west from the corpse to find some water"
East from the corpse.