
In times of war, able-bodied men - especially those with an aptitude for violence - are a valuable commodity. Enterprising and opportunistic individuals know this, and rather than allow themselves to be cheaply conscripted into service for some monarch’s gain, are eager to play the part of the loyal soldier, the rapacious brigand or the stout mercenary, as the market demands. Needless to say, such individuals are of dubious loyalty, willing to betray their cause if the danger or toil becomes too great, or the coin too scarce - a painful lesson some merchants in Velen learn the hard way. This page will provide a walkthrough for the secondary quest Caravan Attack in The Witcher 3: Wild Hunt.
Quest Objectives
Starting Caravan Attack
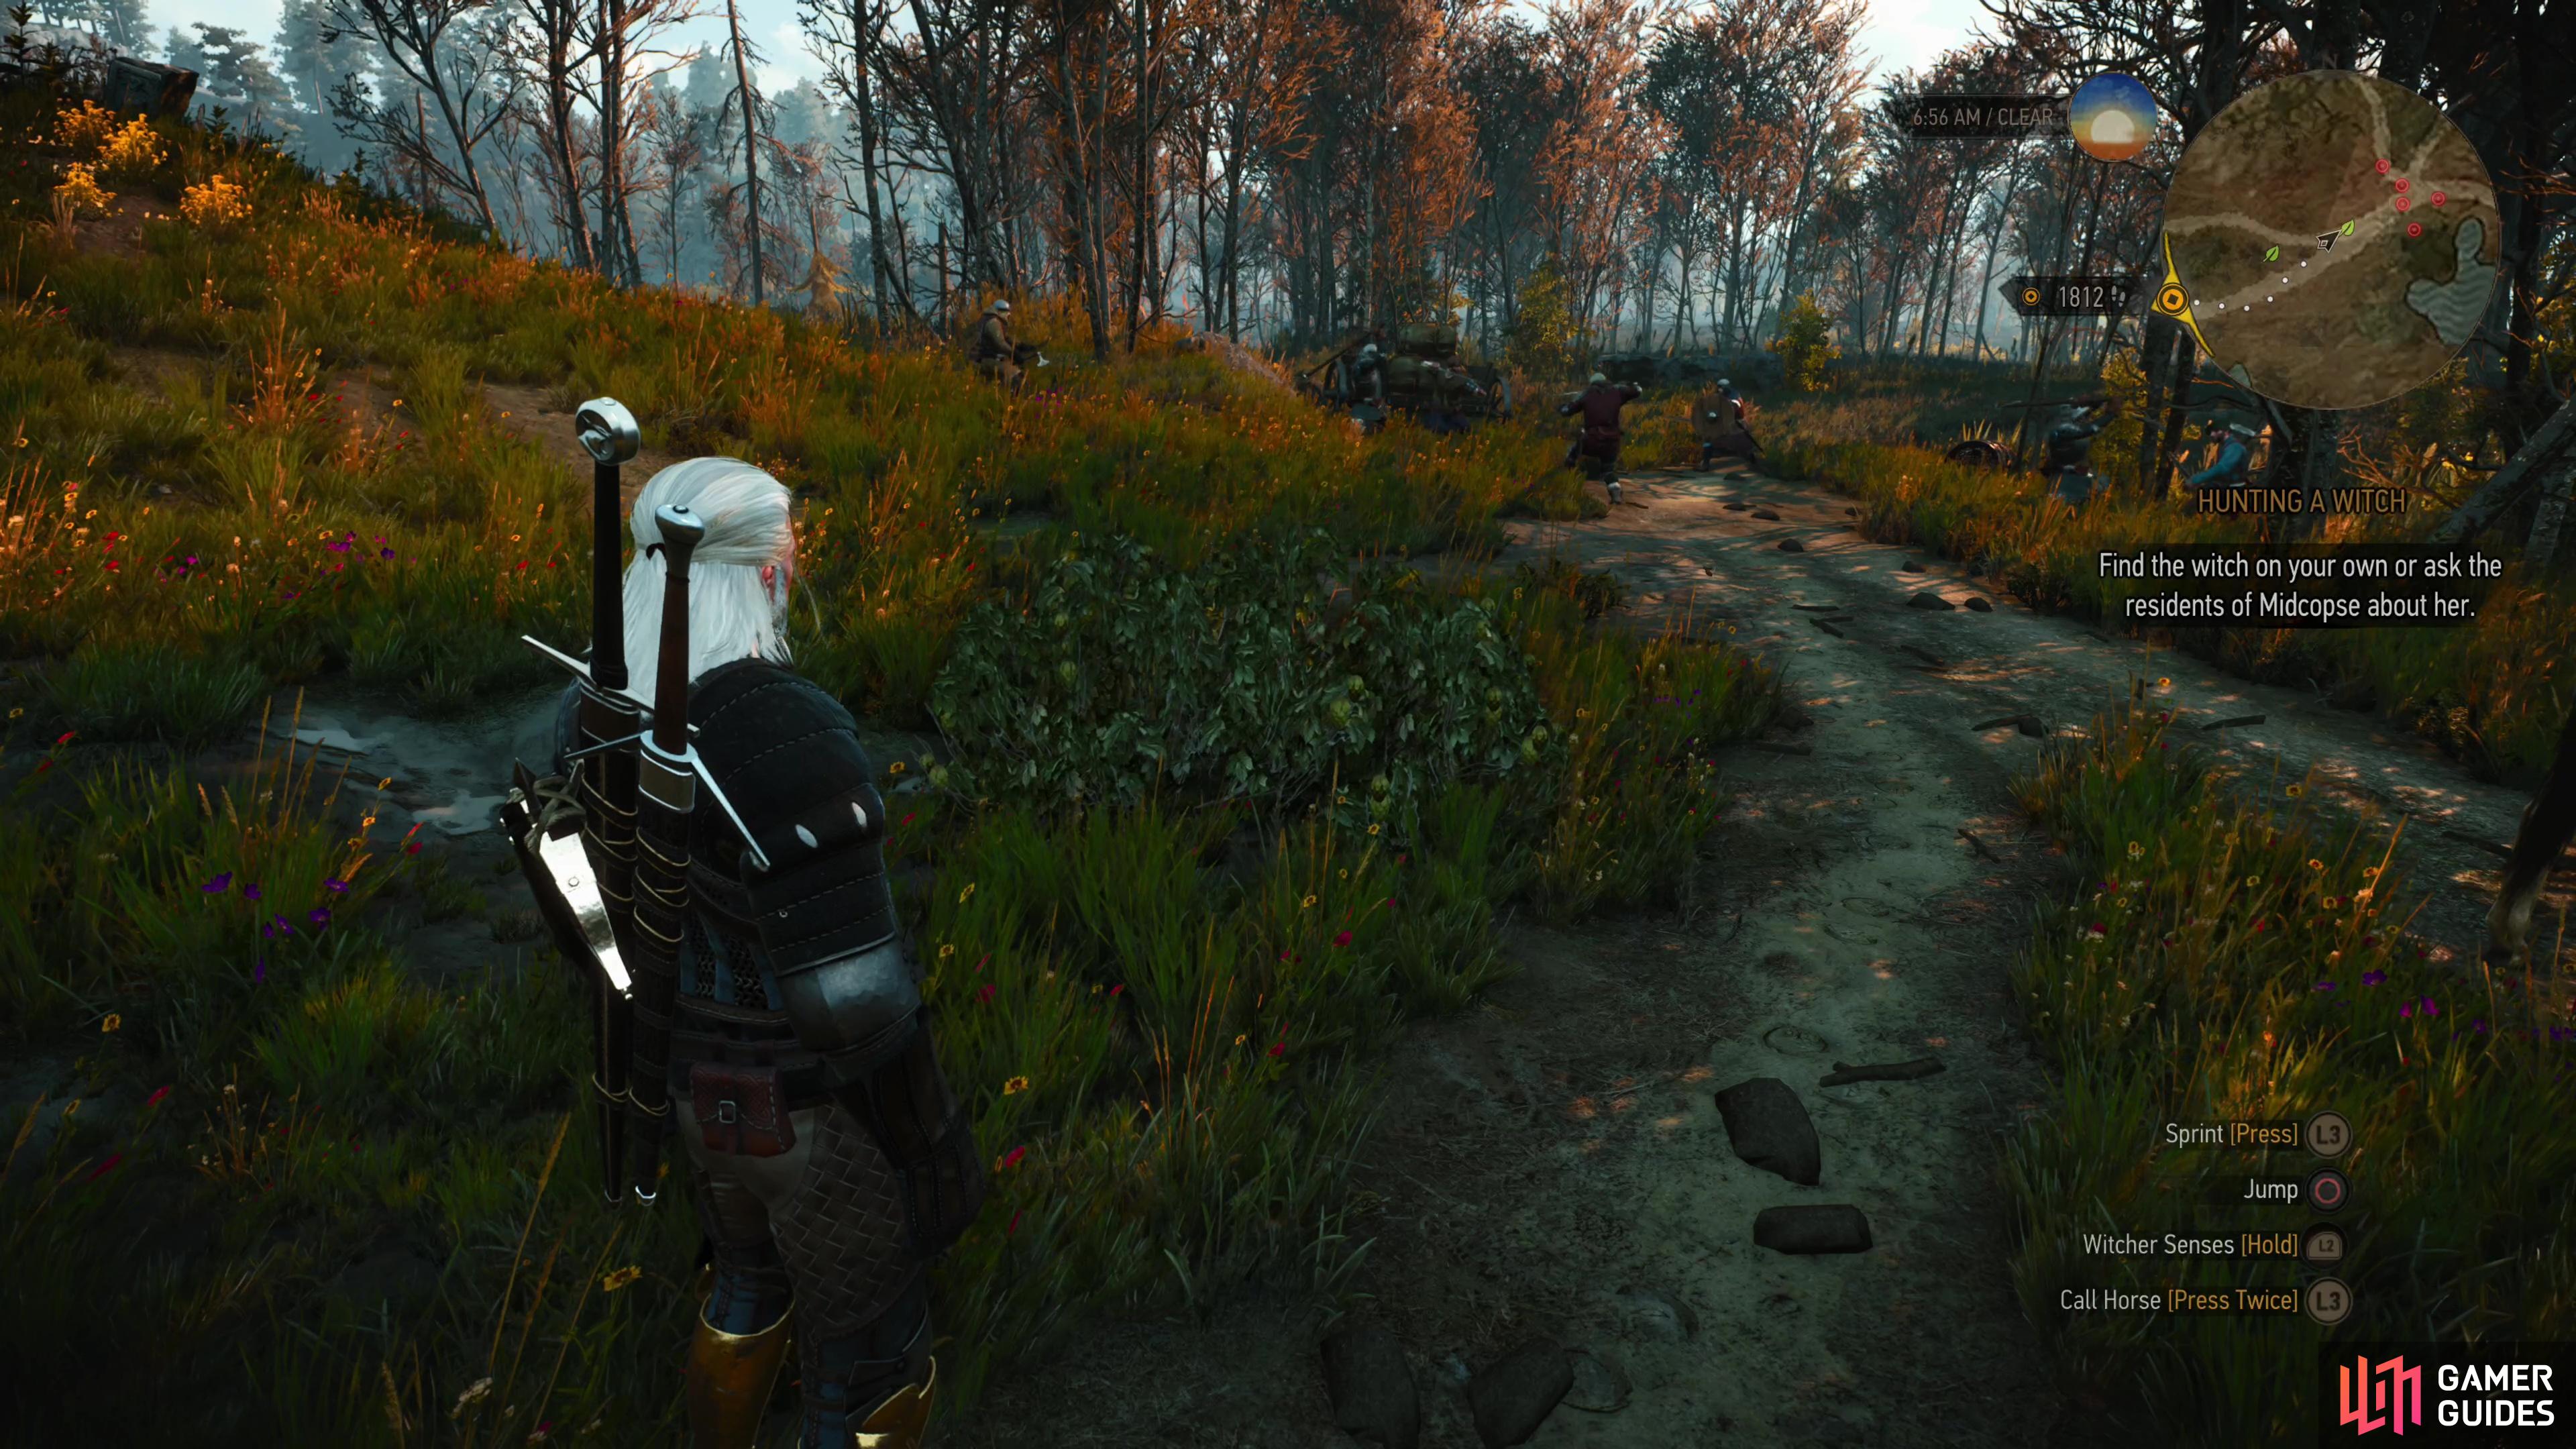
Another sneaky little quest you just have to stumble upon, you’ll find around half a dozen Thugs (Lv5) attacking two merchants. This altercation occurs in Velen’s central landmass, southwest of Oxenfurt, at a crossroads in the swamp located southeast of the Devil’s Pit signpost and northwest of the Marauder’s Bridge signpost. Like many quests, this one doesn’t actually have a journal entry.
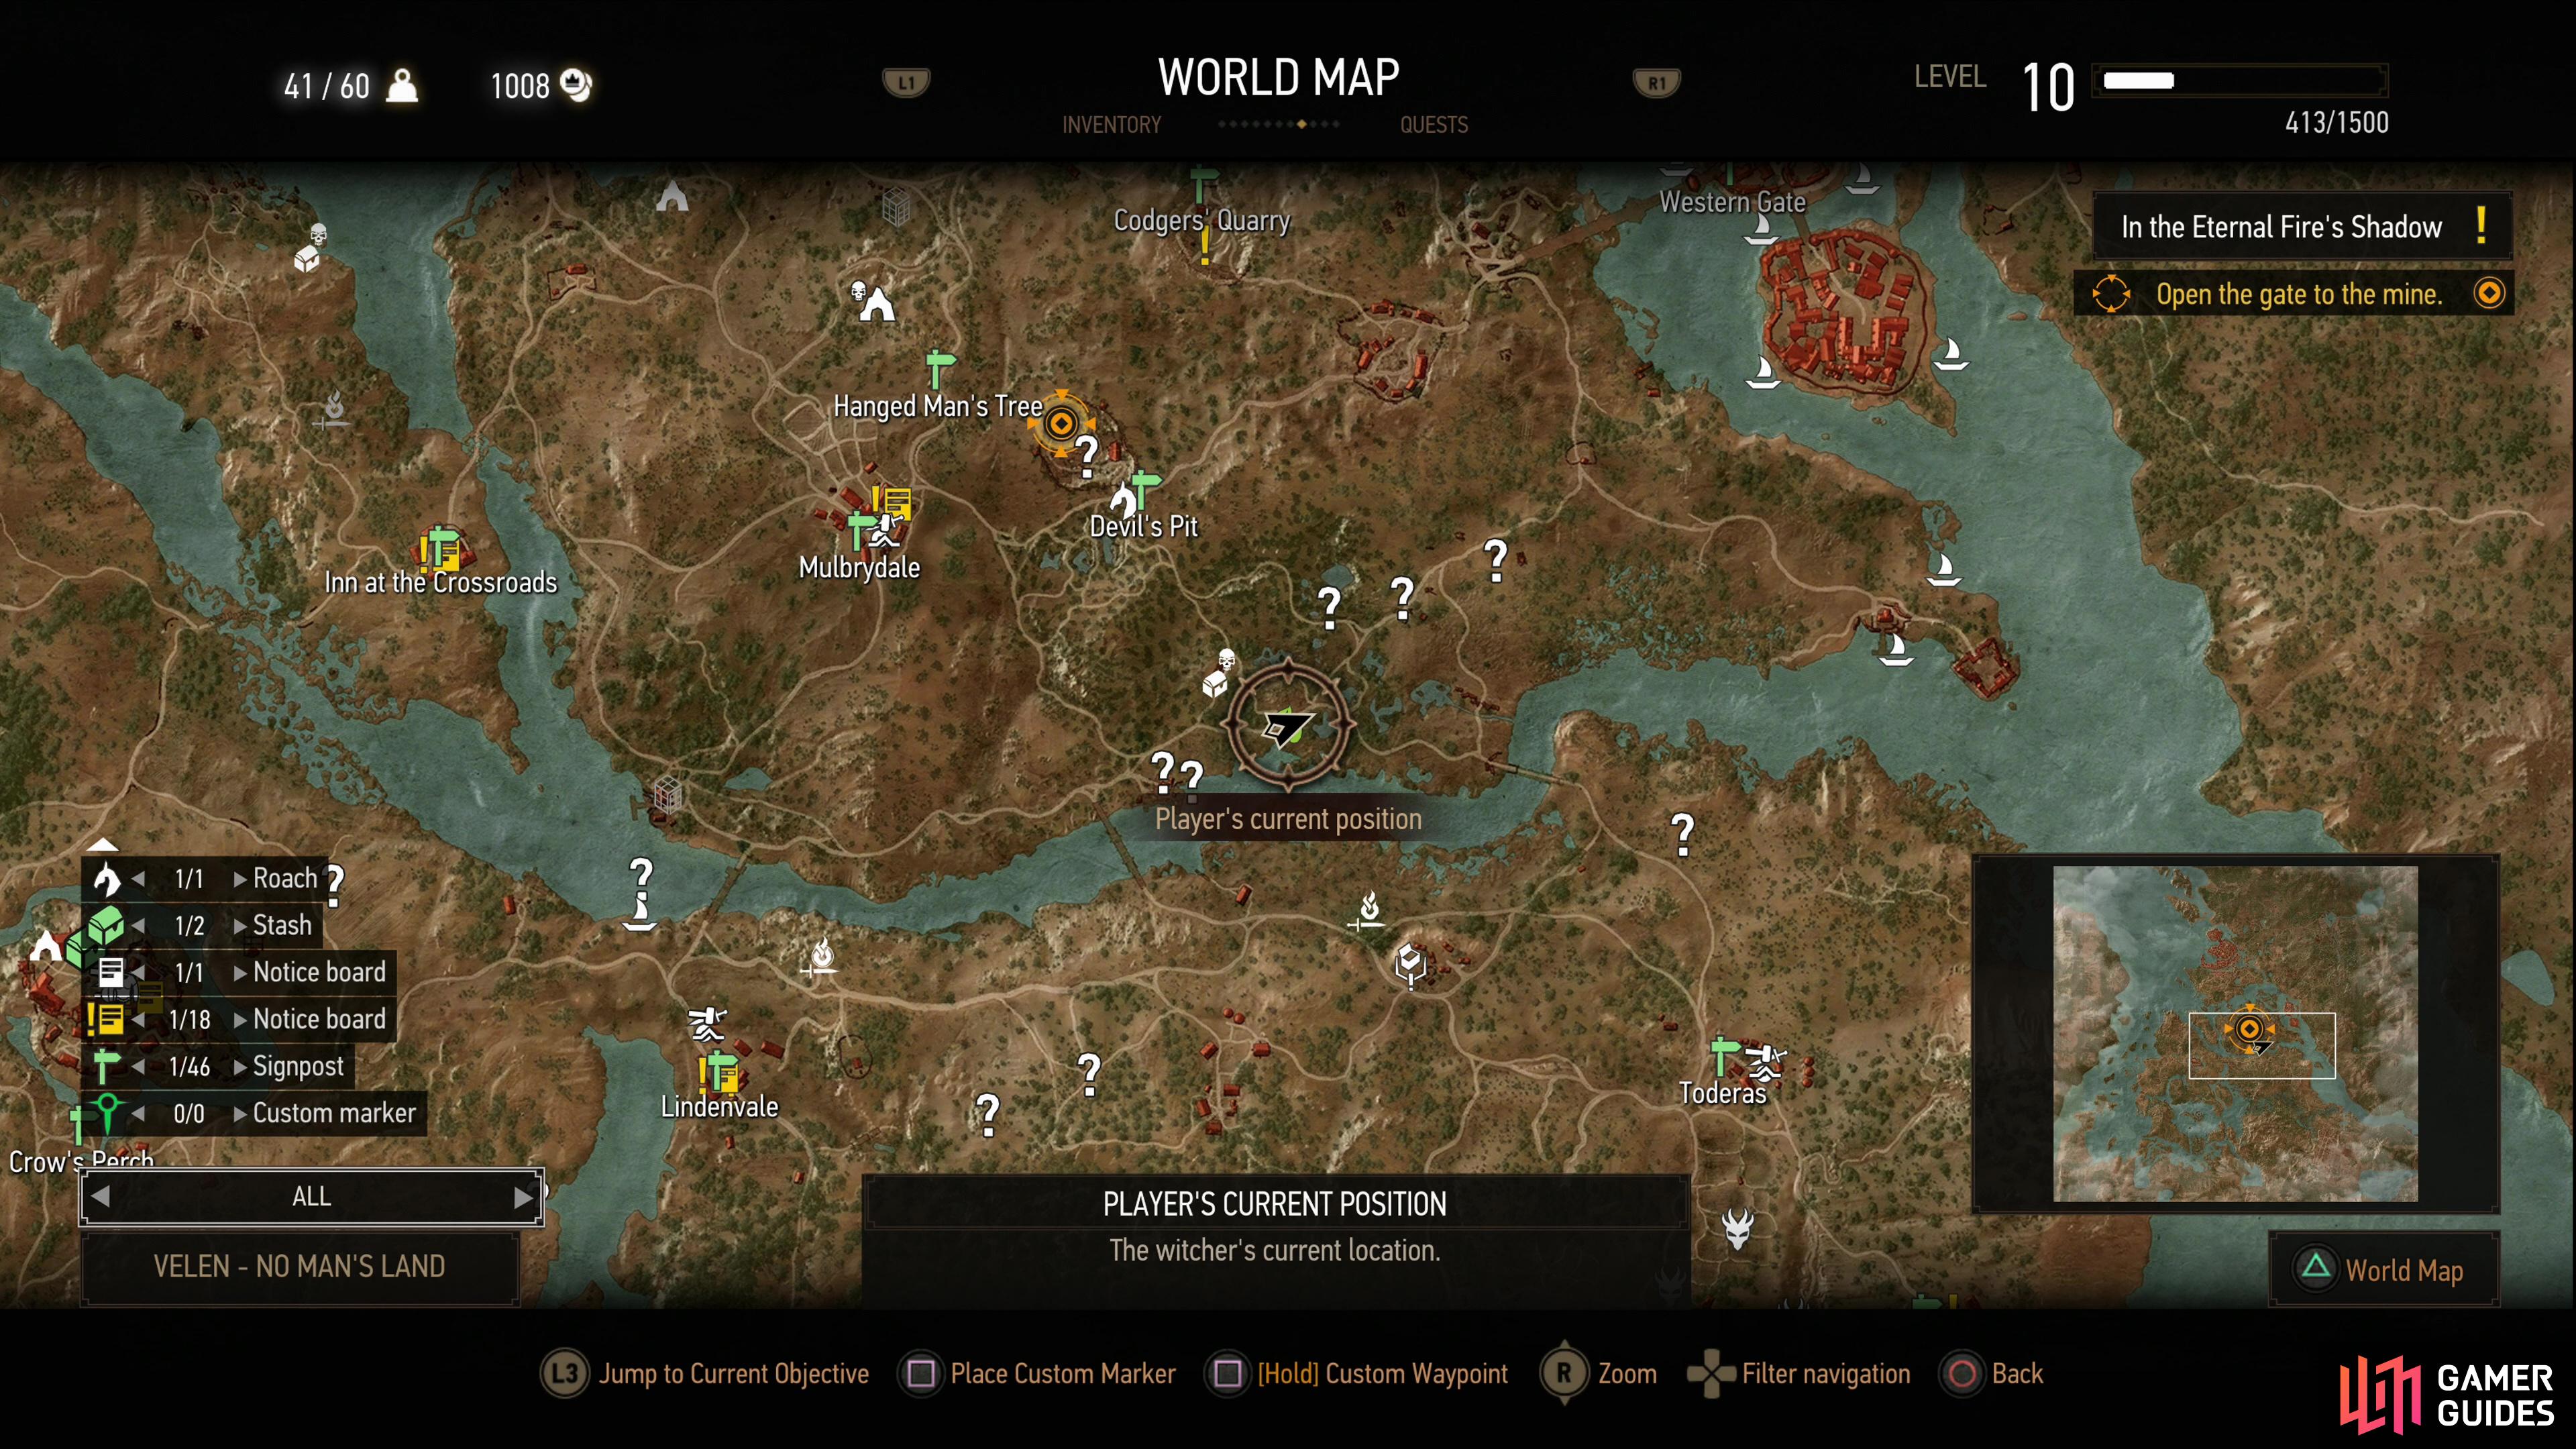
You’ll find some merchants being attacks in a swamp southeast of the Devil’s Pit signpost.
Ignore the Merchants
You really only have two options with this quest - save the merchants, or leave them to their fate. In the latter case, this is hard to do accidentally, as the merchants are incredibly durable - if you decide to intervene, there’s little chance the merchants will die before you kill the Thugs or the Thugs kill you. If you want the merchants to die, you’ll have to stand a safe distance back and just watch for a few minutes - as durable as the merchants are, they’re not capable of out-fighting their foes when outnumbered more than 2-to-1. Once the merchants are dead, the Thugs will turn on you, so you won’t be getting out of this without a fight either way. Kill the Thugs, then loot all their corpses - merchants and Thugs both. None of them have anything interesting, and the only real incentive to take this route is the chest on the back of the wagon you can loot if the merchants are dead. This yields 20 ![]() Crowns, 5x Deer Hide, 5x Bear Hide, 5x
Crowns, 5x Deer Hide, 5x Bear Hide, 5x ![]() Thread and 5x Cured Leather, which ultimately makes this route more lucrative than saving the merchants is.
Thread and 5x Cured Leather, which ultimately makes this route more lucrative than saving the merchants is.


(1 of 2) If you’d rather plunder the merchant’s wares yourself, let the Thugs kill the merchants off,
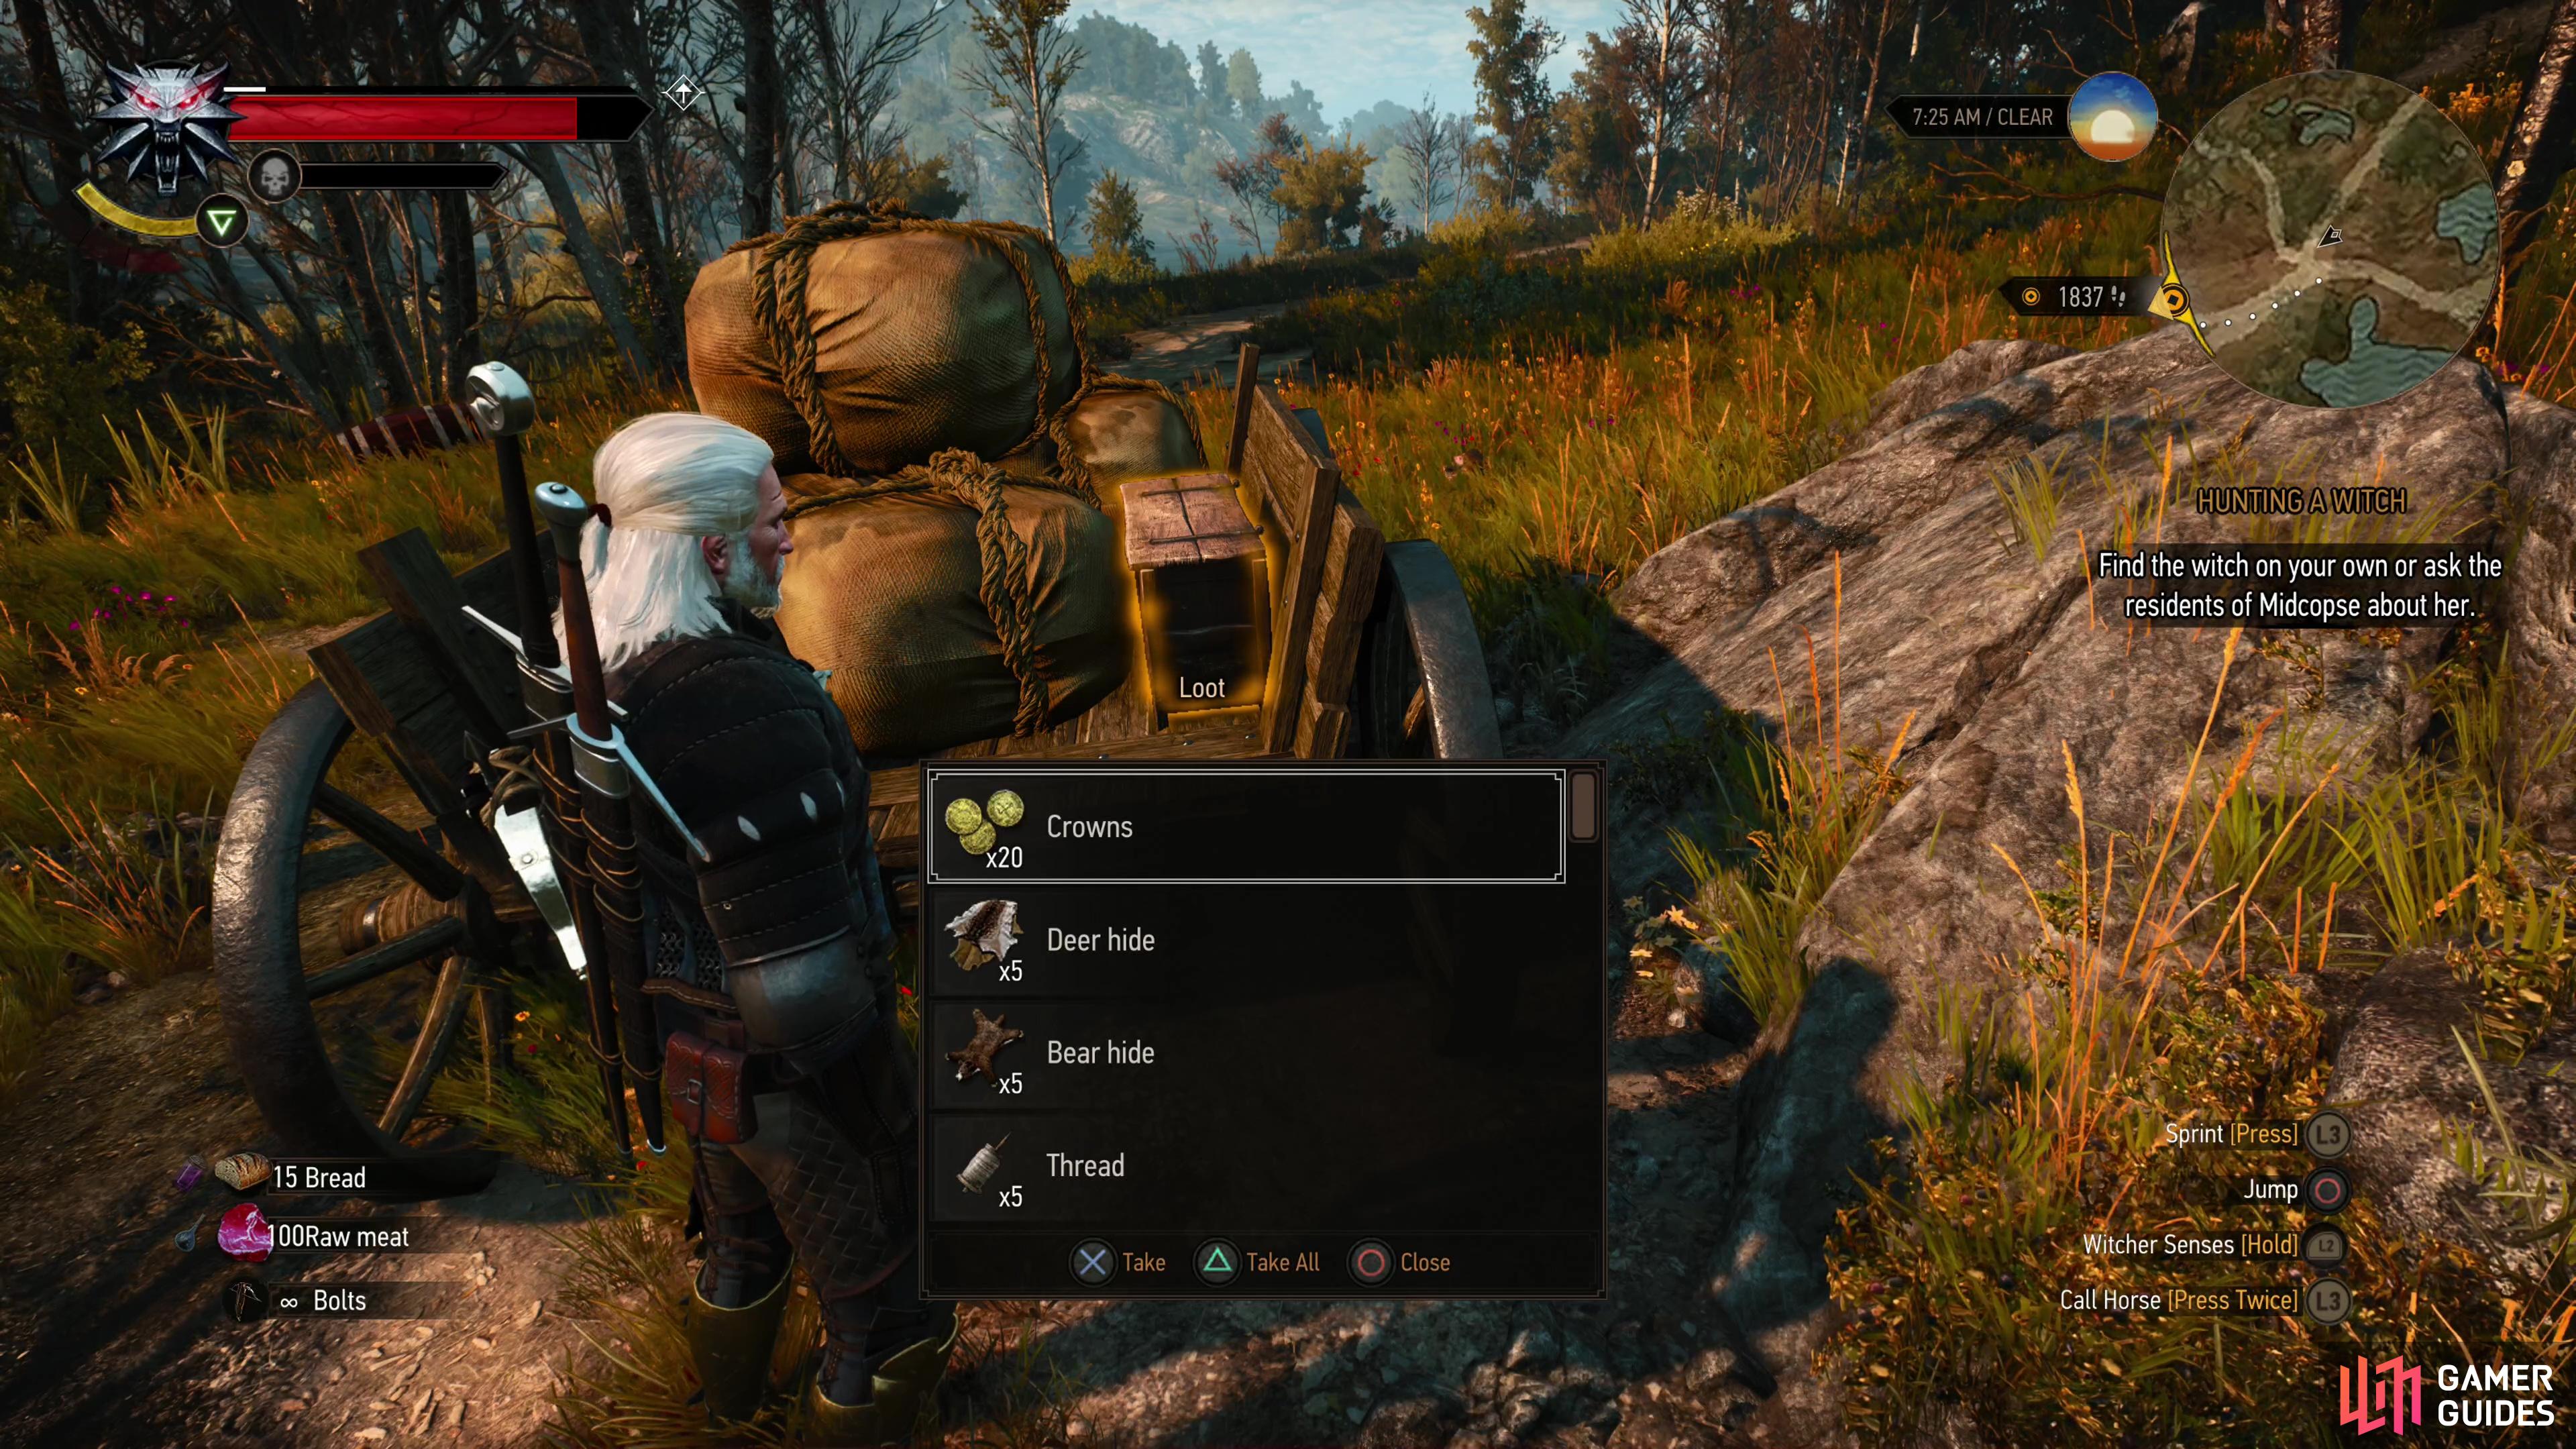
If you’d rather plunder the merchant’s wares yourself, let the Thugs kill the merchants off, (left), then loot a chest on the back of a wagon after you dispatch the Thugs. (right)
Save the Merchants
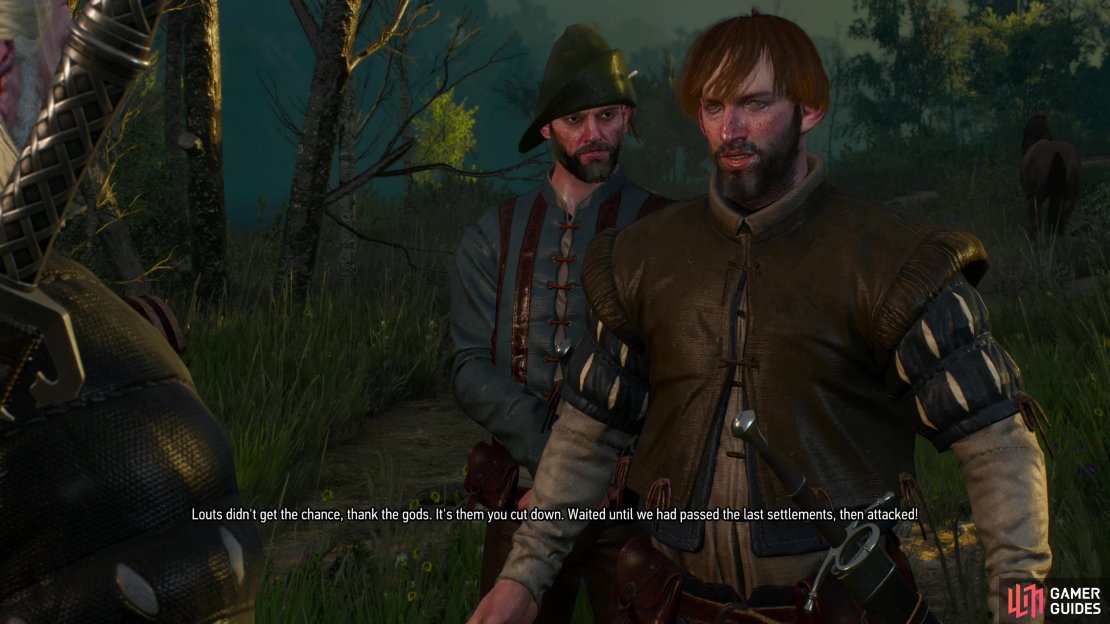
If you decide to do the right thing unburdened by unrealized gains, you’ll intervene to help the merchants defeat the Thugs. Again, the merchants are durable enough that you shouldn’t have to worry about them dying, especially if you’re around to draw some of the aggro. The Thugs are a diverse lot, including two armed with two-handed weapons and one wielding a shield. Kill them, and the merchants will thank you before leaving, paying you the coin they had set aside for their treacherous escorts - a mere 20 Crowns. No wonder why they turned on the merchants. You’ll also gain 25 EXP, so this route isn’t a total loss.
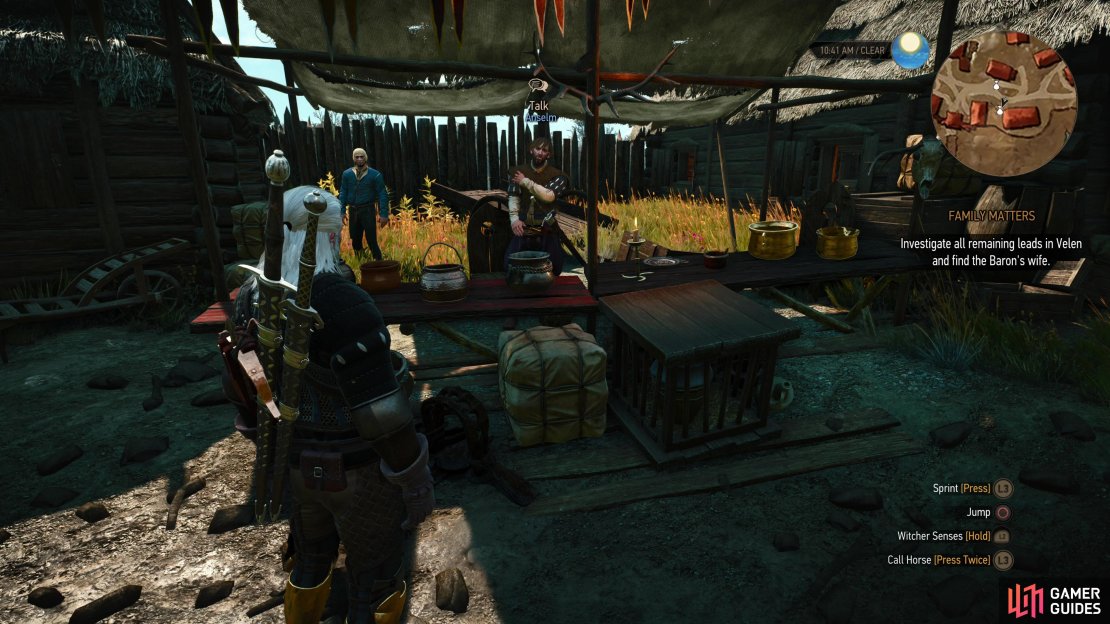
It’s also worth noting that the merchants claim to be heading to “the Baron”, referring to the ![]() Bloody Baron. Sure enough, after enough time has passed they’ll have set up a stall in
Bloody Baron. Sure enough, after enough time has passed they’ll have set up a stall in ![]() Crow’s Perch, although they don’t sell anything of interest, despite the discount they promise you.
Crow’s Perch, although they don’t sell anything of interest, despite the discount they promise you.

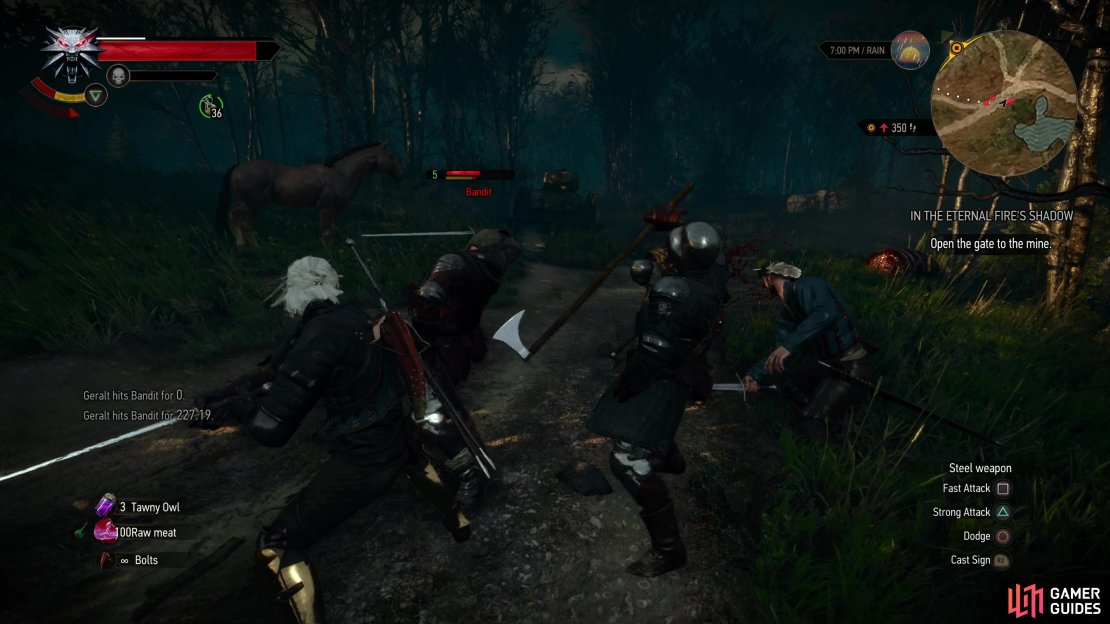
(1 of 3) Intervene and help the merchants defeat their attackers,
"and playing some Gwent, although in the latter case, he doesn’t seem to cough up a card."
In my case it was Scoia'tael card. Random?
"loot a skeleton near a sunken boat"
I don’t know if this is random or not, but in my case it was necessary to loot the skeleton, which lay right in the boat, and not near it.