
| Important Items in this Area |
|---|
| Letter |
Backtrack to the “![]() Aeramas’ Abandoned Manor” signpost and fast-travel to
Aeramas’ Abandoned Manor” signpost and fast-travel to ![]() Benek. You should have gone to Benek during “The Great Gwent Diversion” section early, as a resident of the town had a rare card to collect. If now, you can get there by head traveling east of the “
Benek. You should have gone to Benek during “The Great Gwent Diversion” section early, as a resident of the town had a rare card to collect. If now, you can get there by head traveling east of the “![]() Reardon Manor” signpost.
Reardon Manor” signpost.
There are two quests you can do in Benek, one which will lead you to the last bit of Enhanced Feline gear, and another which… well, it’s fast enough to just get out of the way. Talk to the Old Sage and give him some food and he’ll spin a prophecy for you, starting the quest “![]() The Truth is in the Stars” .
The Truth is in the Stars” .
The Truth is in the Stars
Head south-east along a road leading from the village until you find a cave. Enter the cave and travel south-west, picking whatever mushrooms you please along the way. Shortly you’ll come to a chamber, at which point you’ll need to turn north to find a search area. Kill four ![]() Ghouls (level two) and search some bodies lying around, if you wish. The “
Ghouls (level two) and search some bodies lying around, if you wish. The “![]() Dragonsroot” you’re after is lying near the wall, along the south-eastern edge of the search area. Pick the plant and take it back to the Old Sage, and he’ll give a rather convincing prophecy.
Dragonsroot” you’re after is lying near the wall, along the south-eastern edge of the search area. Pick the plant and take it back to the Old Sage, and he’ll give a rather convincing prophecy.
| Objective | Reward |
|---|---|
| For hearing a prophecy | 50 XP |
Contract: Phantom of the Trade Route (Level 23)
Now find a Refugee along the northern end of Benek, who will ask you to investigate the disappearance of some of the townsfolk who were guarding a merchant caravan. Haggle for coin (or not) then agree to help out to start the quest “![]() Contract: Phantom of the Trade Route” . The level is high, but if you’ve got the Enhanced
Contract: Phantom of the Trade Route” . The level is high, but if you’ve got the Enhanced ![]() Griffin
Griffin ![]() Silver Sword and beat the
Silver Sword and beat the ![]() Leshen earlier, you’ll be fine.
Leshen earlier, you’ll be fine.
Travel north-west along the road from Benek, and when the road forks continue north to find a search area, along the northern end of which is the caravan. Activate your Witcher Senses and investigate some cut rope, foot prints, a claw mark, and a barrel to pick up a scent trail leading uphill to the north-east. Follow the scent trail along more conventional trail to find a cave, outside of which is a body for you to investigate.
Head east into the cave, past a stunted stalagmite, and when you spot a larger stalagmite rising out of a shallow pool of water, head over to it. From the stalagmite turn north to find some refugees cowering inside the cave. Ask them about what happened, and about Thomil to identify the beast and learn Thomil’s fate. The beasts lie to the south-east, but first continue north from the stalagmite near the Refugees and make your way down a passage to the north-west. Keep your eye to the south to find a chest containing the “![]() Diagram: Enhanced Feline Boots” .
Diagram: Enhanced Feline Boots” .
| Objective | Reward |
|---|---|
| For finding the survivors | 30 XP |
| For learning about the beast | 25 XP |
Fight off two Wyverns (left) and destroy their nests (right).
Backtrack to the south-east and head up a ramp along the eastern side of the cave. Continue south, scale a ledge, then leap across a chasm, turn south-east, then scale some more ledges, keeping your eye out for a candle burning on the floor to the south. This candle marks some stairs, and coincidentally, a profitable little diversion. Take two flights of stairs down and immediately turn south to find a chest hiding behind some stairs. Once it’s looted, continue downstairs to reach the floor of a cavern, at which point turn south-west to find a crude altar with two crumbling, worked pillars, between which is another chest.
After looting the second chest turn east to find an exit to the outside, which will take you to an elevated ledge looking over the sea. Follow the ledge south to reach a shrine that’s falling into disrepair. To the north-west you’ll find another crude altar near some stacked stones. Loot a chest and some other containers near the altar, then return back into the cavern, and back up the stairs.
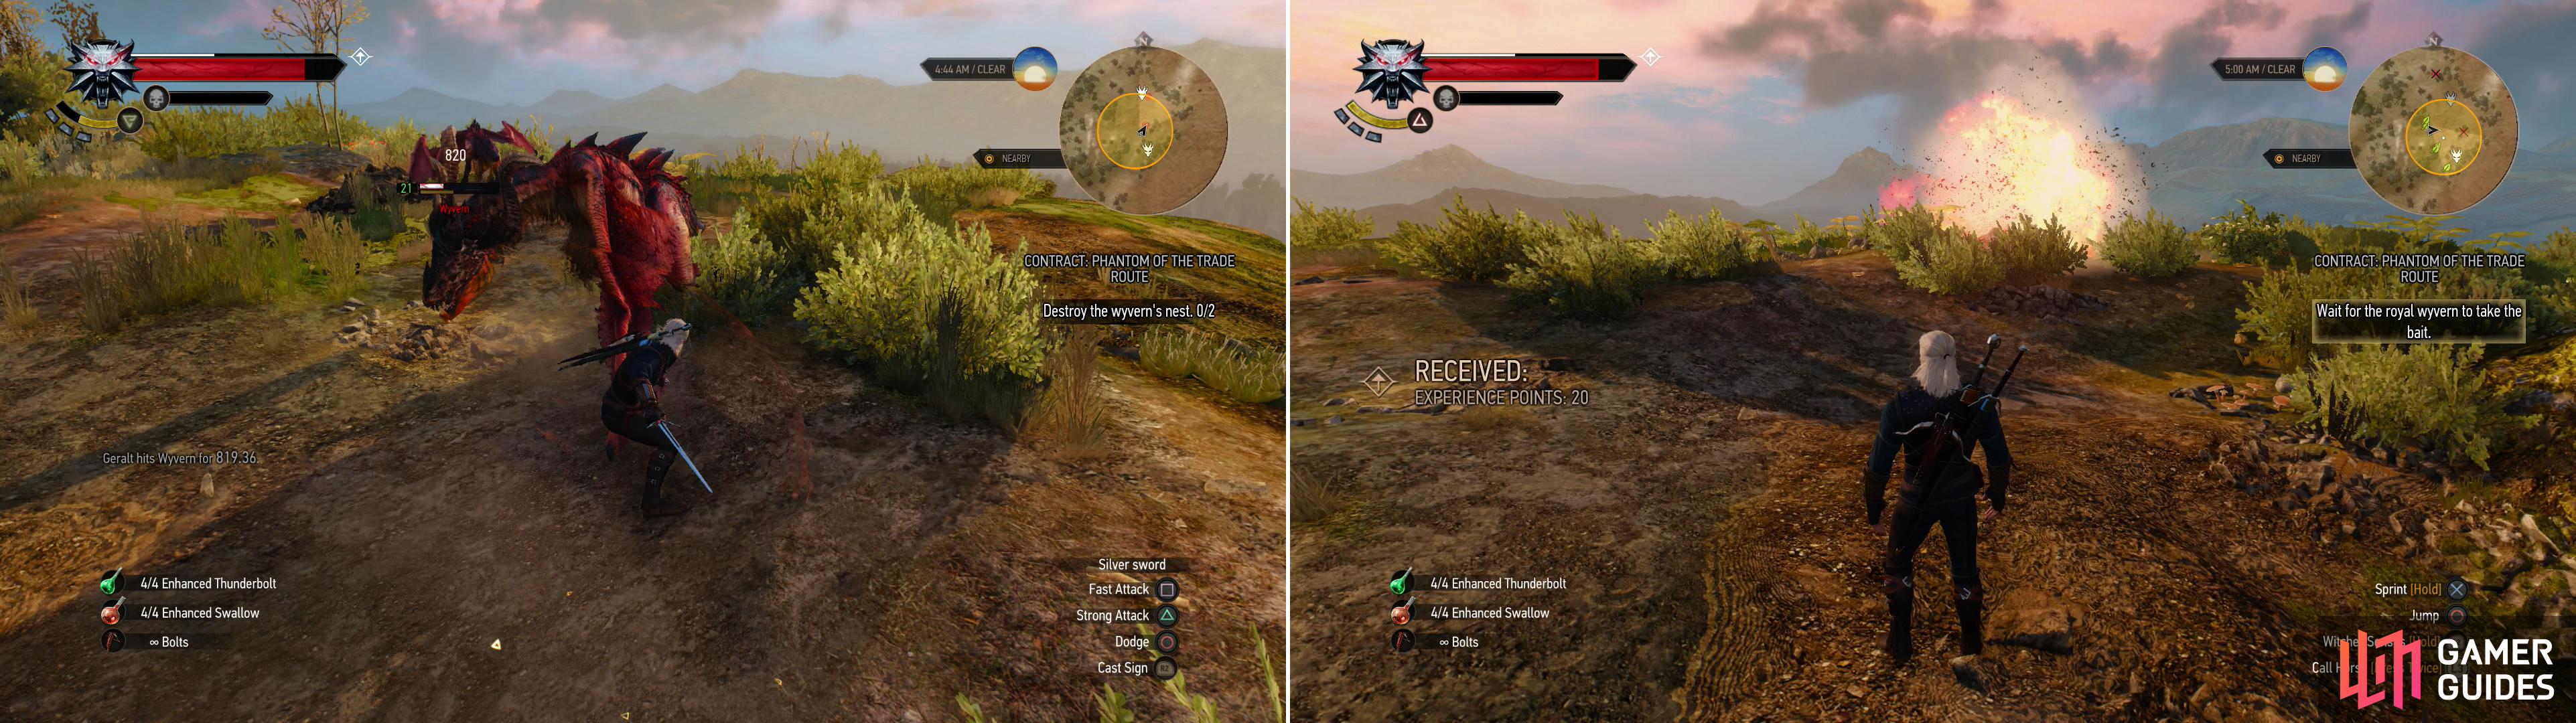
Continue uphill to the east, climb a few more ledges, then head outside to find the ![]() Wyvern’s nest. Here you’ll find two
Wyvern’s nest. Here you’ll find two ![]() Wyverns (level twenty-one); use Draconid
Wyverns (level twenty-one); use Draconid ![]() Oil on your Silver Sword and perhaps a
Oil on your Silver Sword and perhaps a ![]() Tawny Owl Potion to help keep your stamina up. Once they’re dead, blow up the nests.
Tawny Owl Potion to help keep your stamina up. Once they’re dead, blow up the nests.
Geralt will wait, and eventually the ![]() Royal Wyvern will show up. Aside from being larger than the other two, it doesn’t fight very different. Kill it and - after the peasants bother you - loot it for the silver sword “
Royal Wyvern will show up. Aside from being larger than the other two, it doesn’t fight very different. Kill it and - after the peasants bother you - loot it for the silver sword “![]() Anathema” and a Royal Wyvern Trophy, among other things. Be sure to loot the lesser Wyverns and the nests before you go. When you’re done, return to the Refugee in Benek and collect your reward.
Anathema” and a Royal Wyvern Trophy, among other things. Be sure to loot the lesser Wyverns and the nests before you go. When you’re done, return to the Refugee in Benek and collect your reward.
| Objective | Reward |
|---|---|
| For destroying the |
20 XP |
| For slaying the |
250 XP / 192 |
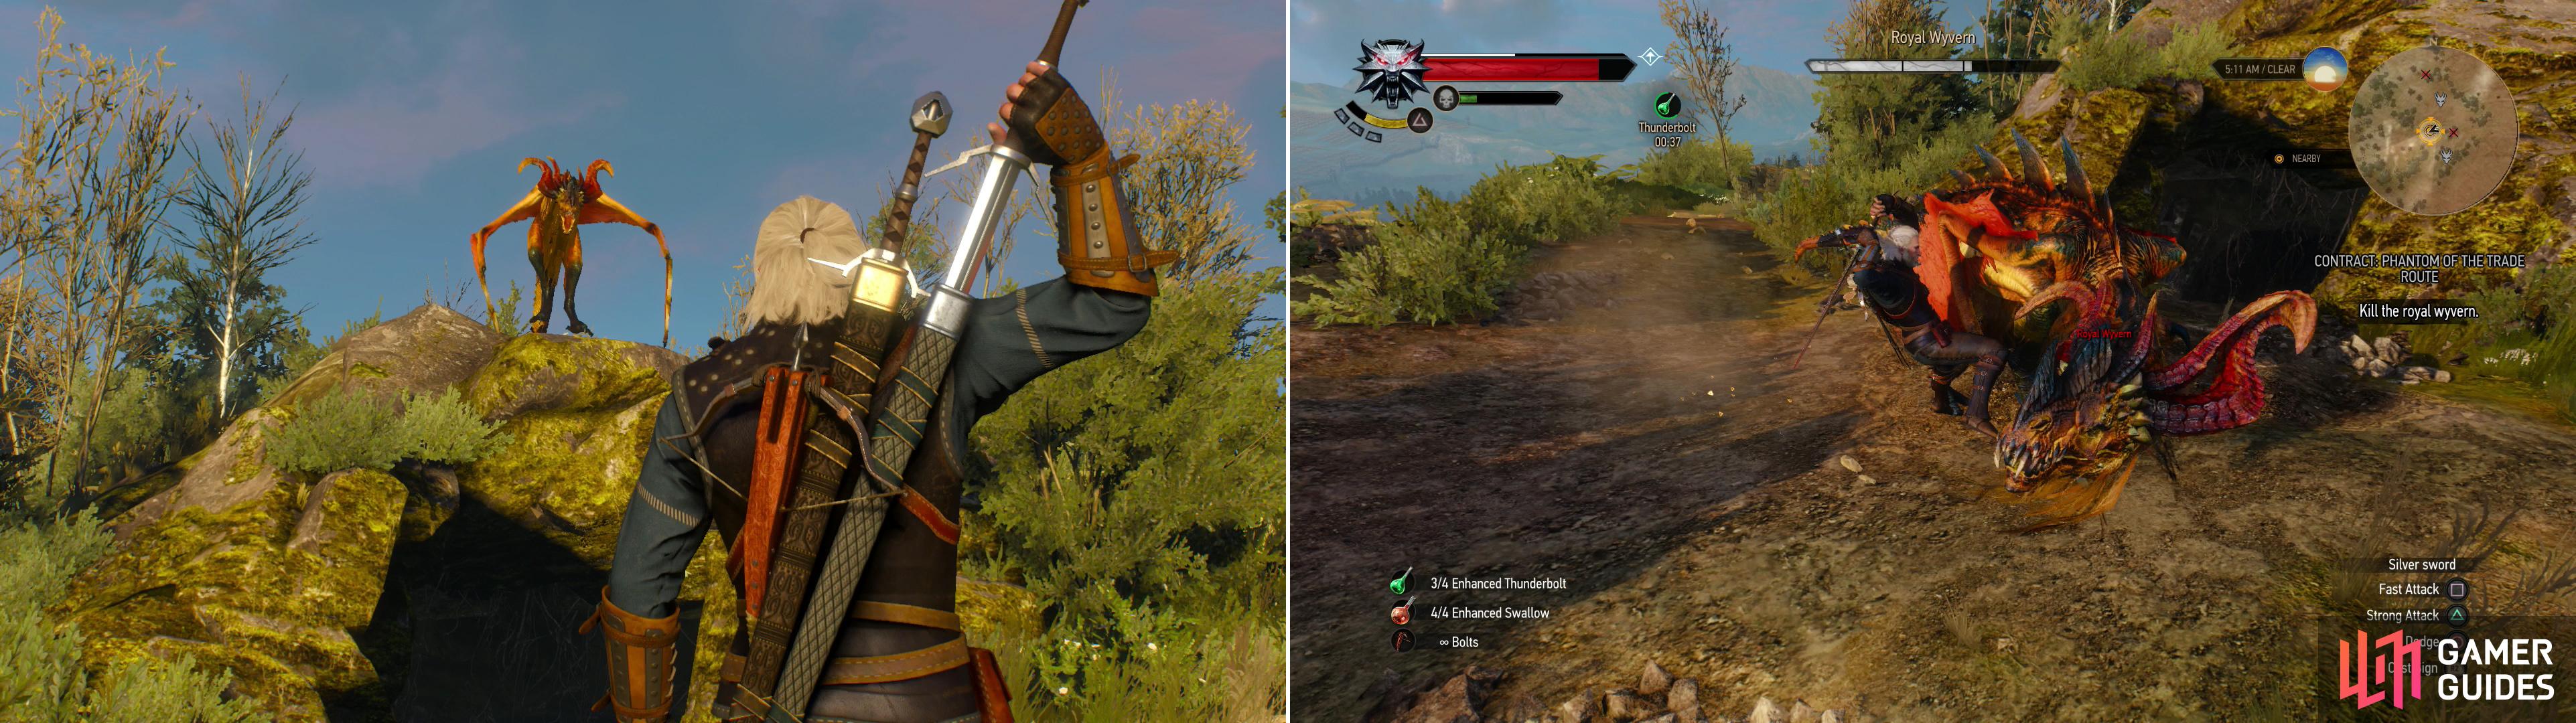
After destroying the Wyvern nests, the Royal Wyvern will show up (left) put it down to end the Wyvern menace (right).
Toderas
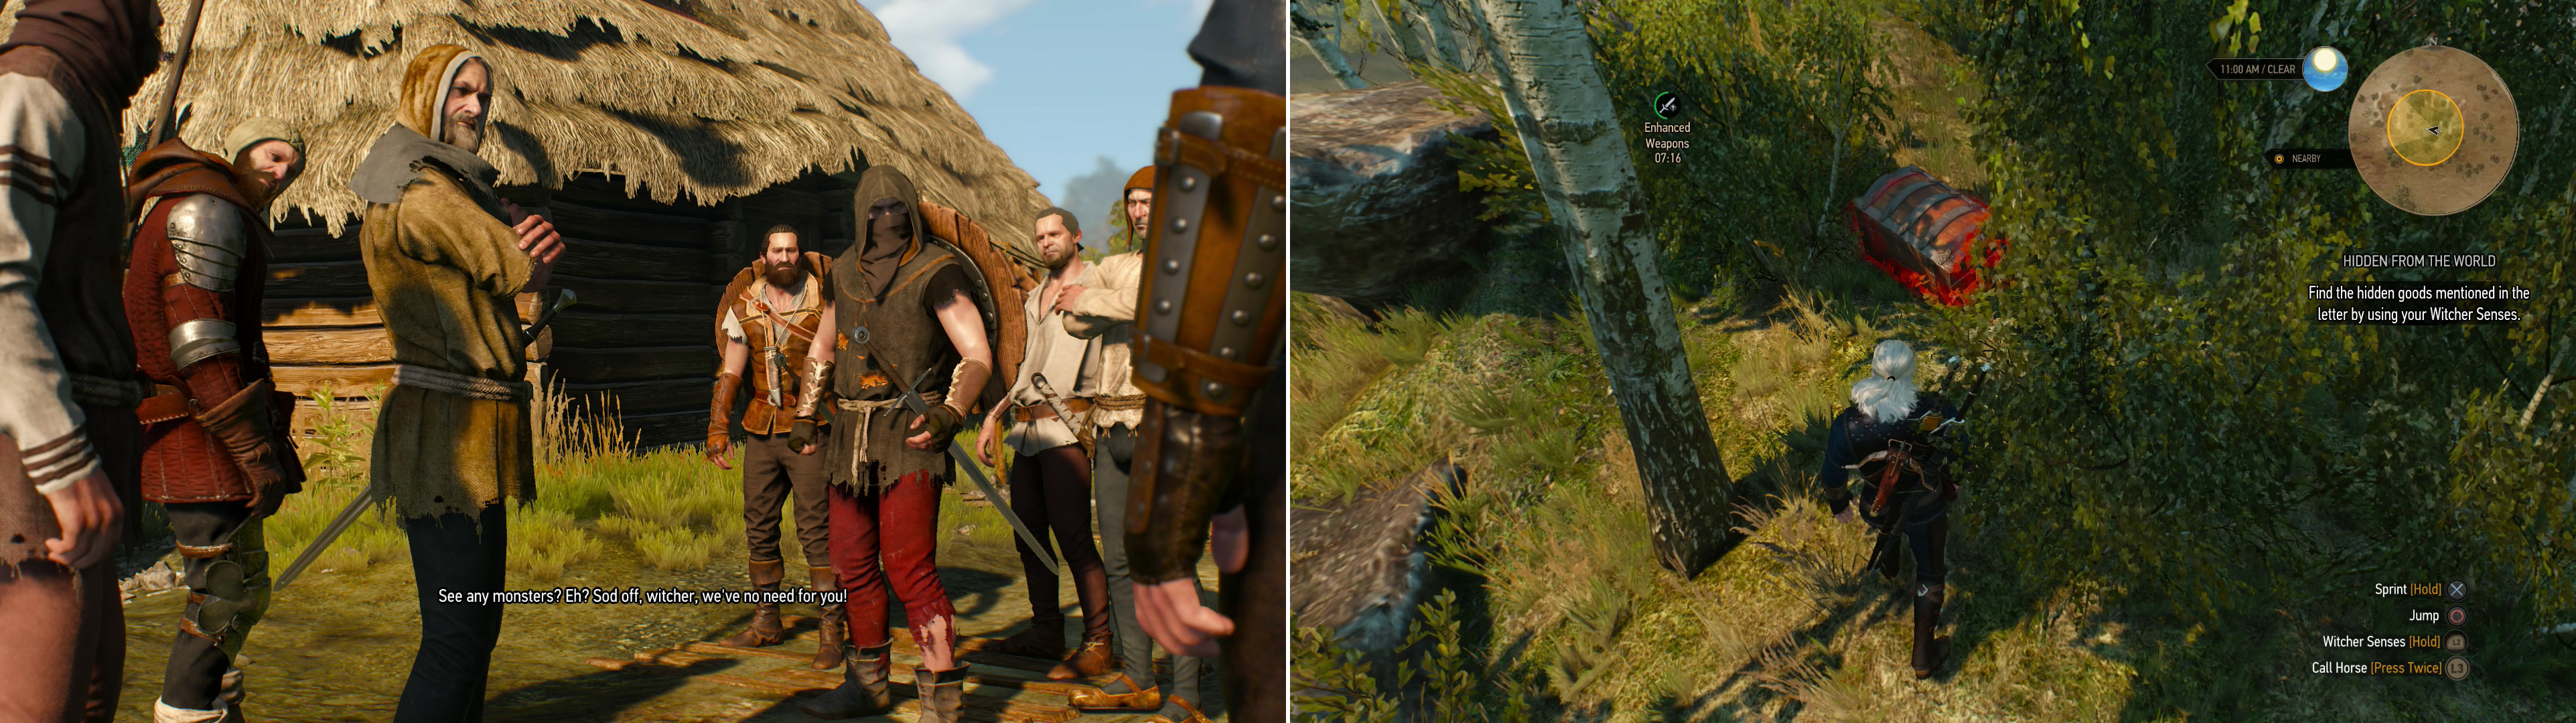
Now let’s clear up a few more map markers. If you head north-west from Benek (past the caravan ambush site) you’ll find the abandoned town of ![]() Toderas (and its signpost). Here you’ll find two groups of Bandits (levels four and five) who have decided to loot the town. When you approach they’ll tell you to go away. You can call them monsters and attack, or you can let them go… but Geralt will sow strife amongst them in doing so, and the two groups will end up fighting. Either way, loot the town, then head north-west into a swamp, where you’ll find a house sinking into a swamp. Kill a pair of
Toderas (and its signpost). Here you’ll find two groups of Bandits (levels four and five) who have decided to loot the town. When you approach they’ll tell you to go away. You can call them monsters and attack, or you can let them go… but Geralt will sow strife amongst them in doing so, and the two groups will end up fighting. Either way, loot the town, then head north-west into a swamp, where you’ll find a house sinking into a swamp. Kill a pair of ![]() Foglets (level four) haunting the area, then loot around the house.
Foglets (level four) haunting the area, then loot around the house.
Encounter some Bandits looting a sacked town (left) and track down a Hidden Treasure (right).
Hidden Treasure: Hidden From the World (Level 9)
Head east from the sinking structures to find a road, then follow this road north (ignore the road going north-west). When you reach a fork continue north, veering off the road and heading into the wilderness to find a “![]() Hidden Treasure” event. Kill the
Hidden Treasure” event. Kill the ![]() Deserters (level nine) at the camp and loot one for a “Letter” . Read it to start the quest “Hidden From the World” . From the camp head south and slightly west, cross the road, and scale a hill. You’ll find the chest you’re looking for hidden in some bushes, past (east of) the rocks surrounding the top of the hill.
Deserters (level nine) at the camp and loot one for a “Letter” . Read it to start the quest “Hidden From the World” . From the camp head south and slightly west, cross the road, and scale a hill. You’ll find the chest you’re looking for hidden in some bushes, past (east of) the rocks surrounding the top of the hill.
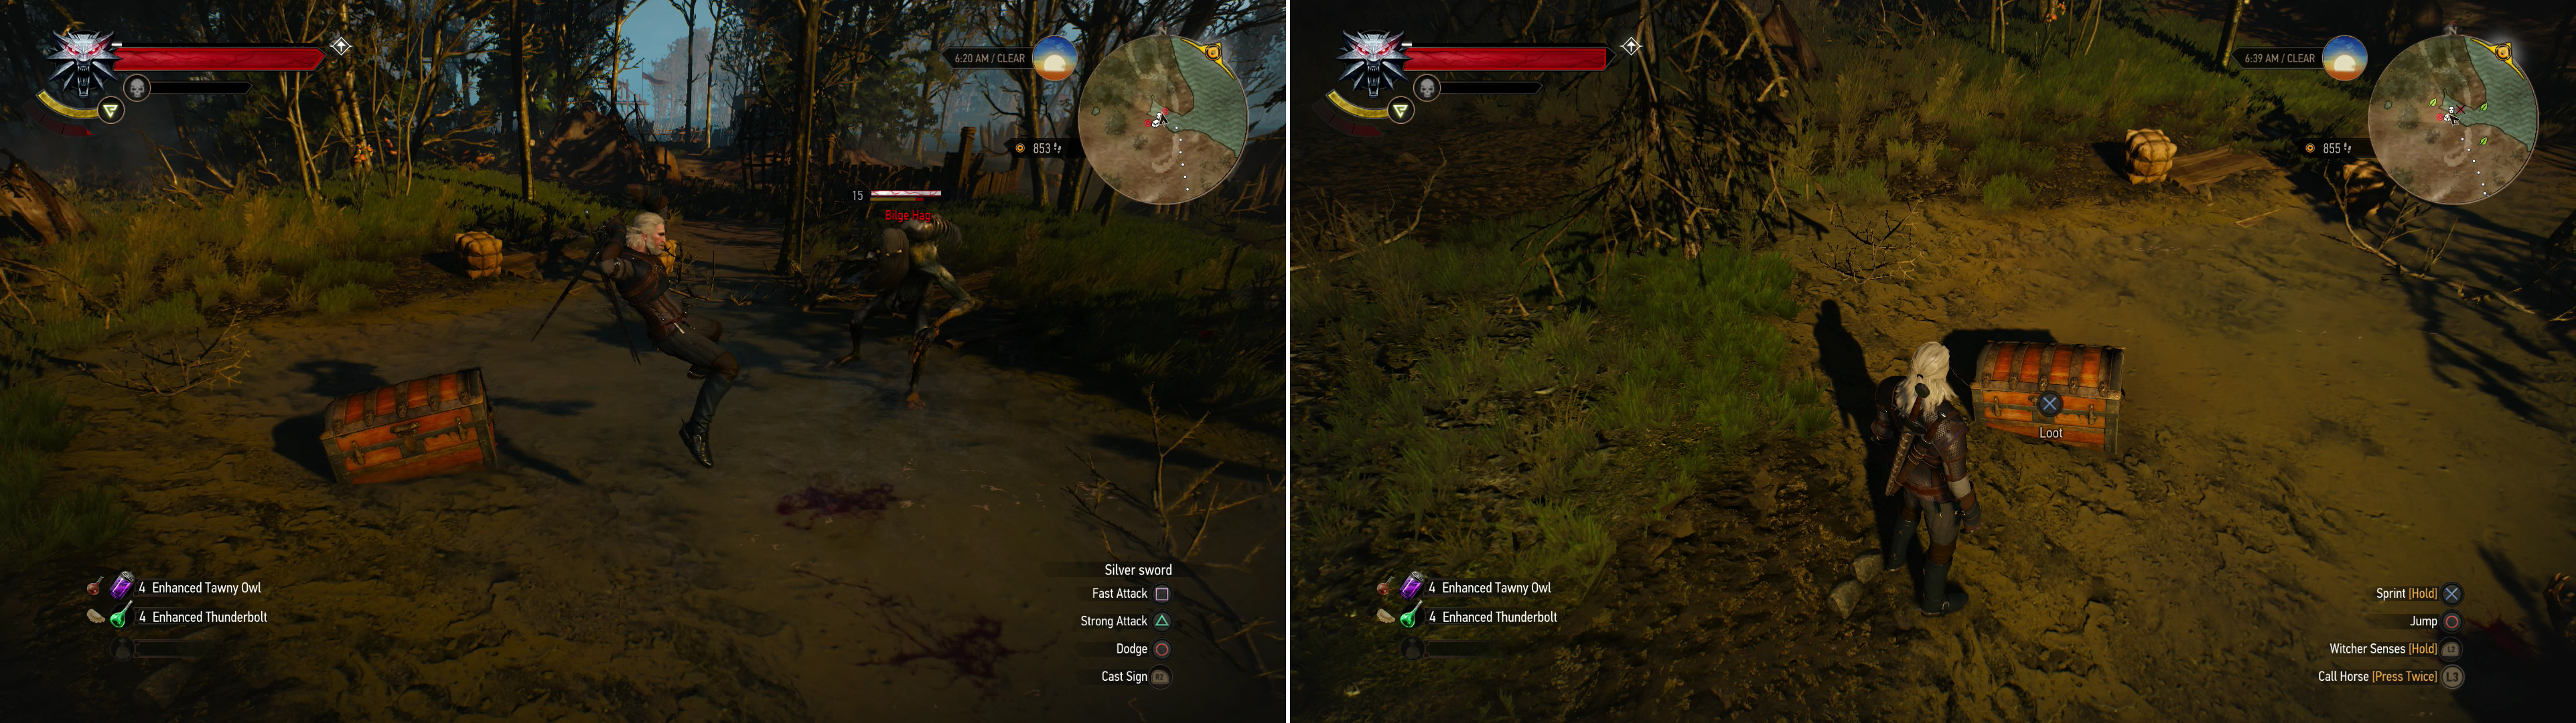
Let Geralt unleash his inner ninja on the Bilge Hag (left) then plunder her treasure chest when you’re victorious (right).
Guarded Treasure (Level 15)
Since you’re already traveling around, hunting for Witcher gear, let’s cross some areas off the map that were avoided earlier, due to troublesome monsters that are now well within your means. Return to the “Toderas” signpost and fast-travel to the “![]() Inn at the Crossroads” signpost. From there, head north along the eastern shore of this island, killing a group of
Inn at the Crossroads” signpost. From there, head north along the eastern shore of this island, killing a group of ![]() Drowners (level four) along the way to find a
Drowners (level four) along the way to find a ![]() Guarded Treasure event. The guardian here just so happens to be a Bilge Hag (level fifteen), which fights just like any other
Guarded Treasure event. The guardian here just so happens to be a Bilge Hag (level fifteen), which fights just like any other ![]() Water Hag. You know the drill; Necrophage Oil, dodge its muck and claw attacks, that old bit of business. When it’s dead, loot the chest half-buried in the muck, then keep heading north along the eastern coast.
Water Hag. You know the drill; Necrophage Oil, dodge its muck and claw attacks, that old bit of business. When it’s dead, loot the chest half-buried in the muck, then keep heading north along the eastern coast.
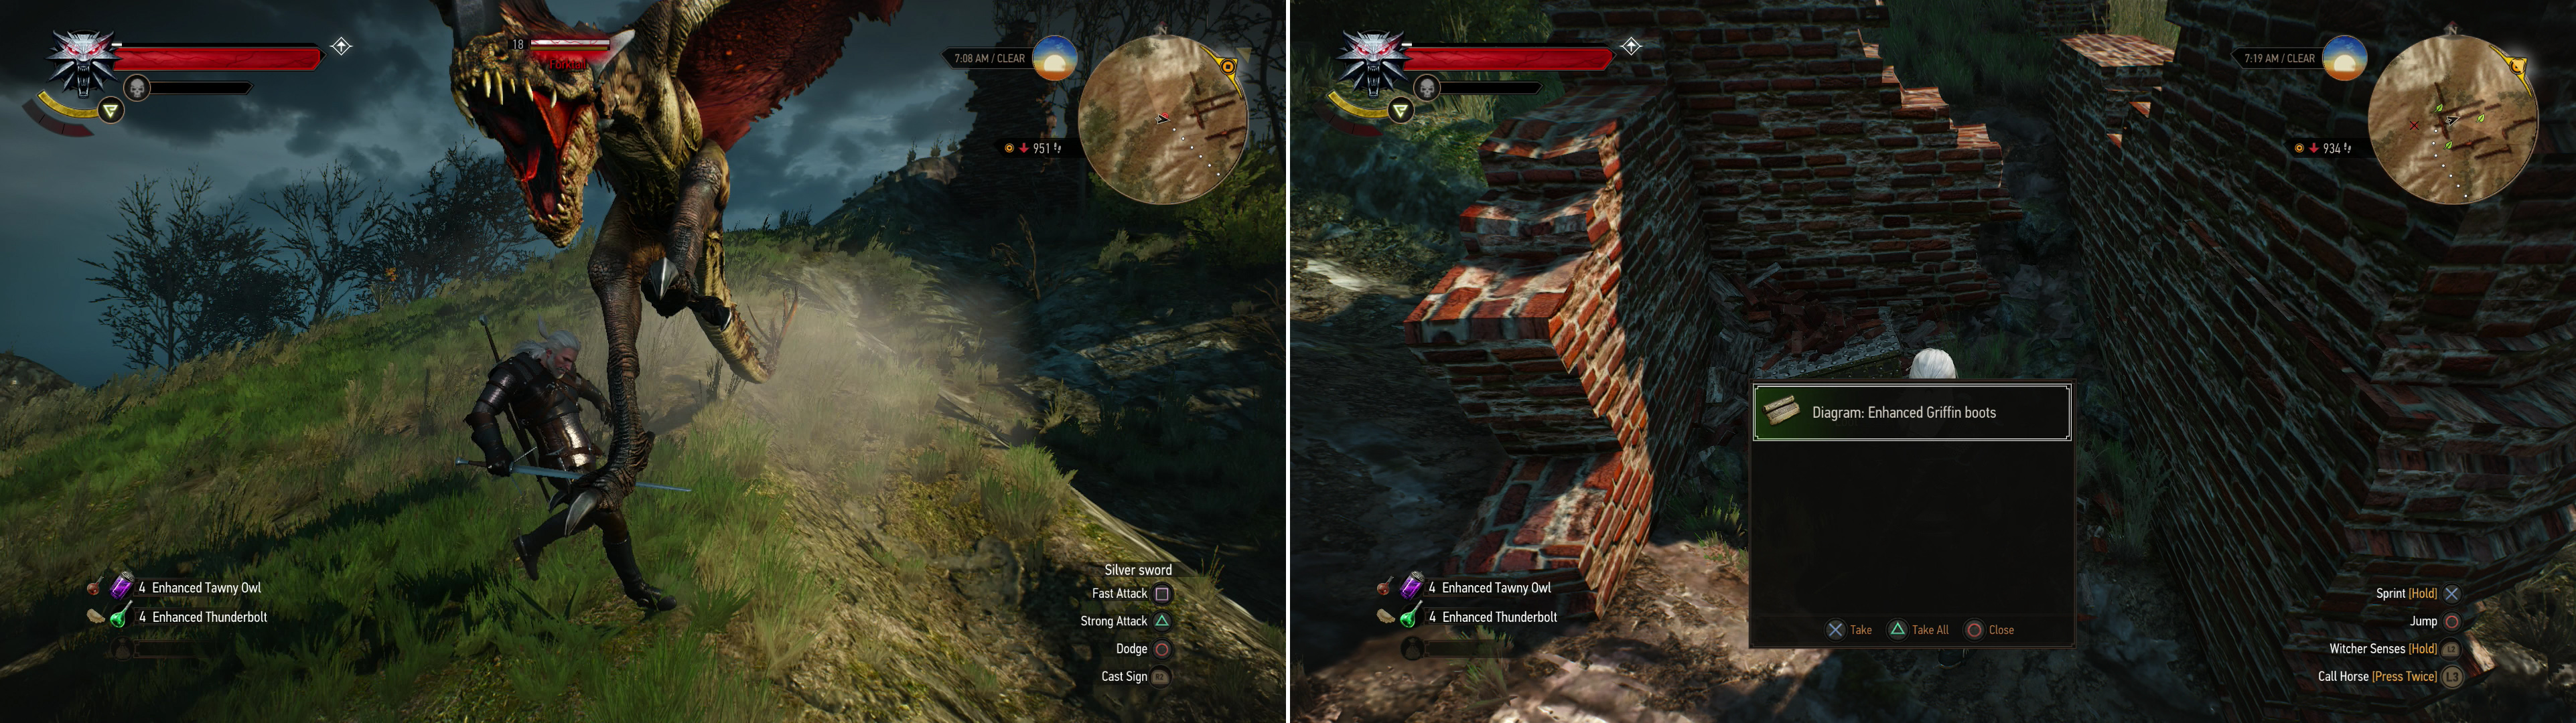
Avoid the Forktail’s fangs and talons (left) then loot the ruins it guarded to obtain the Diagram: Enhanced Griffin Boot (right).
Enhanced Griffin Boots
You’ll pass through a ramshackle - but occupied - Nilfgaardian camp, from which you’ll head north-west, uphill to find some ruins, over which flies a ![]() Forktail (level eighteen). By now this beast should be child’s play, and you won’t be insulted by being told how to fight a beast everybody at this point in time should know how to fight (unlike with the Bilge Hag, earlier). Once it’s dead, search a small enclosed section of brickwork along the northern end of the ruins to find a chest, which contains the “Diagram: Enhanced Griffin Boots” . You should now be able to finish the Enhanced Griffin set, and this ends the quest “Scavenger Hunt: Griffin School Diagrams - Part 1” .
Forktail (level eighteen). By now this beast should be child’s play, and you won’t be insulted by being told how to fight a beast everybody at this point in time should know how to fight (unlike with the Bilge Hag, earlier). Once it’s dead, search a small enclosed section of brickwork along the northern end of the ruins to find a chest, which contains the “Diagram: Enhanced Griffin Boots” . You should now be able to finish the Enhanced Griffin set, and this ends the quest “Scavenger Hunt: Griffin School Diagrams - Part 1” .
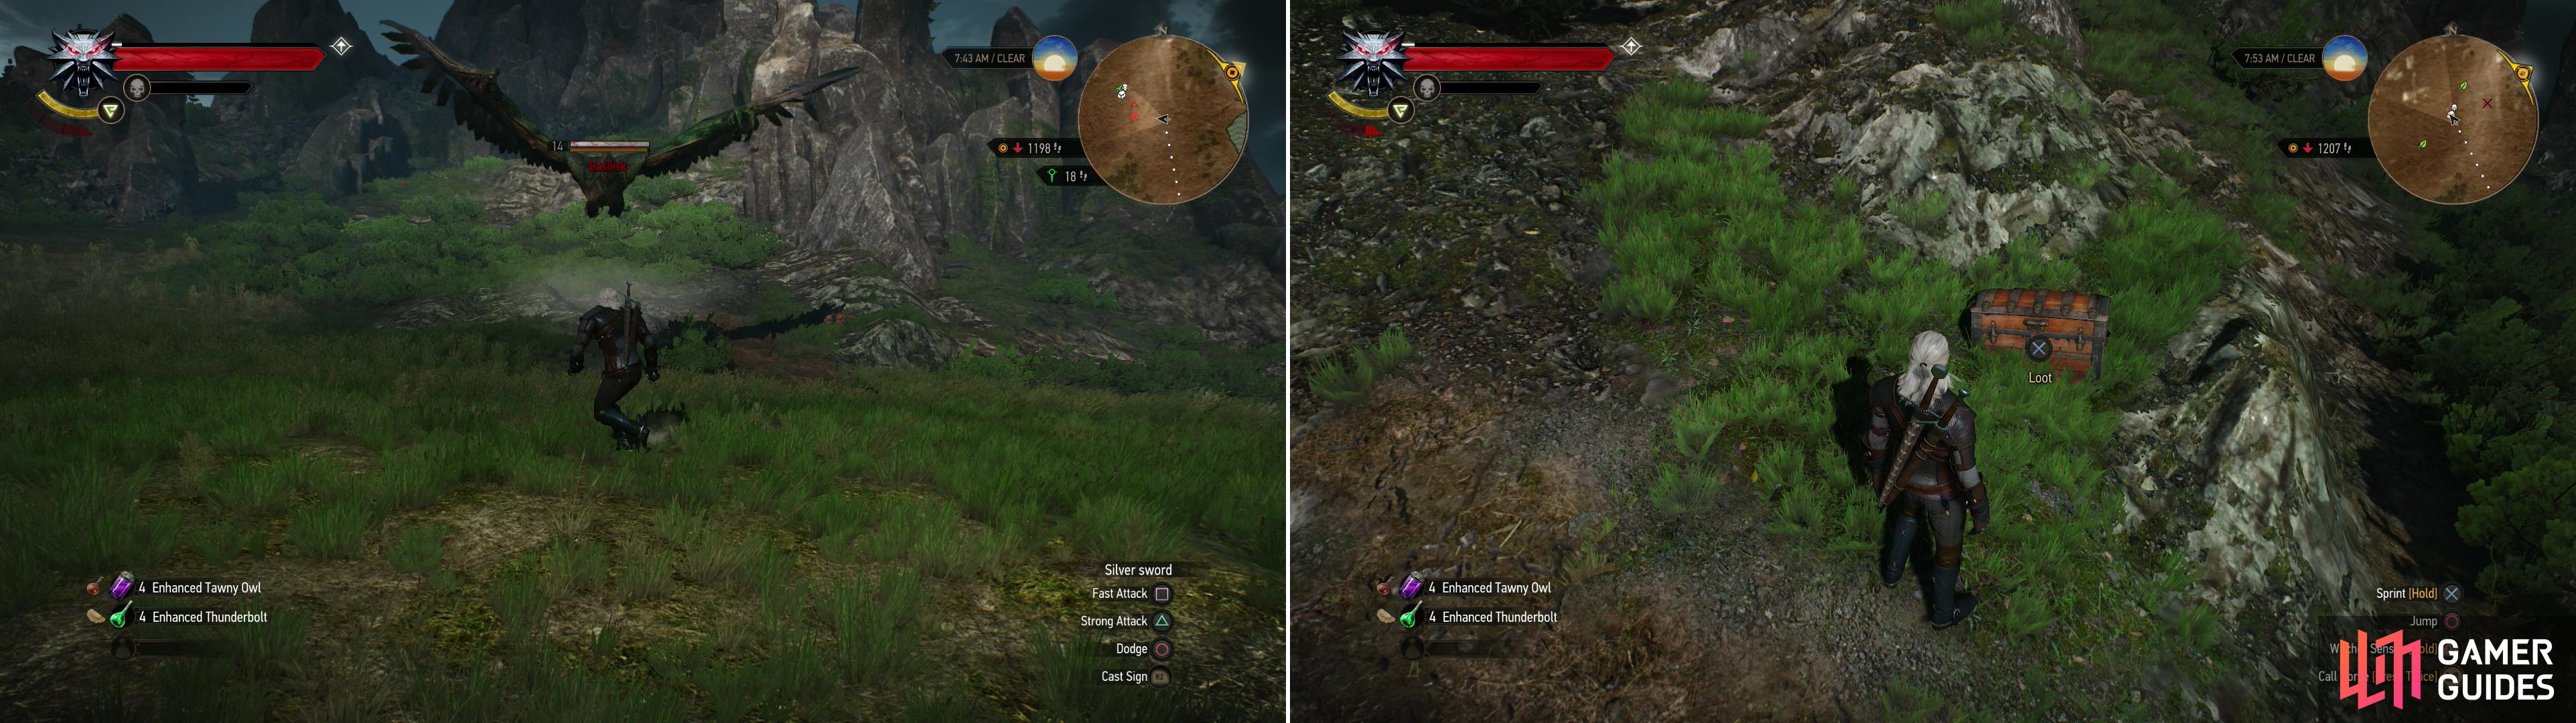
The Basilisk, like many flying menaces, can be brought down from its lofty heights with a well-place crossbow bolt (left), and like many large beasties, it just so happens to guard treasure (right).
Guarded Treasure (Level 14)
One more event to go, which will clear up this section of the map. You could have done this earlier, perhaps immediately after clearing out the Wyvern at ![]() Lornruk but… well, it’s just easier to do it now. Not like a level fourteen foe was exactly a push-over then, and if a significant gear upgrade wasn’t on the online (like it was at Lornruk) there was no need to bother.
Lornruk but… well, it’s just easier to do it now. Not like a level fourteen foe was exactly a push-over then, and if a significant gear upgrade wasn’t on the online (like it was at Lornruk) there was no need to bother.
Anyways, justification over, from the brick ruins head west and slightly south to reach the shore. Dive into the water and swim - in the same direction - to the next island. You should beach near another Guarded Treasure even, this time protected by a Basilisk (level fourteen). Punish the now under-powered beastie, then loot the chest it was guarding.
Well, you SHOULD be ready to move onto ![]() Skellige, gear-wise, and probably well past ready, level-wise. There are a few more issues you should resolve before leaving Novigrad, however… Ignore them if you wish, but how (or whether) you complete these quests have significant impact on the story in the long run. Triss has been waiting for you to come visit since you first tracked her down in Novigrad. Time to see to her needs.
Skellige, gear-wise, and probably well past ready, level-wise. There are a few more issues you should resolve before leaving Novigrad, however… Ignore them if you wish, but how (or whether) you complete these quests have significant impact on the story in the long run. Triss has been waiting for you to come visit since you first tracked her down in Novigrad. Time to see to her needs.

 Sign up
No Comments