
![]() Dandelion is rightfully derided for his penchant for mischief, especially due to his general incompetence and inability to resolve the trouble he finds himself in. Despite this, Dandelion isn’t uniquely capable of getting himself in trouble, as Geralt and
Dandelion is rightfully derided for his penchant for mischief, especially due to his general incompetence and inability to resolve the trouble he finds himself in. Despite this, Dandelion isn’t uniquely capable of getting himself in trouble, as Geralt and ![]() Zoltan Chivay are both magnets for it, and when Zoltan Chivay finds himself in particularly deep water, he’ll turn to his competent Witcher friend for help. This page will provide a walkthrough for the secondary quest
Zoltan Chivay are both magnets for it, and when Zoltan Chivay finds himself in particularly deep water, he’ll turn to his competent Witcher friend for help. This page will provide a walkthrough for the secondary quest ![]() A Dangerous Game in The Witcher 3.
A Dangerous Game in The Witcher 3.
Quest Objectives
Starting A Dangerous Game
Complete the main quest A Poet Under Pressure (and the followup [![]() Ciri’s Story: Breakneck Speed] to complete the main questline in Novigrad, then return to the Rosemary and Thyme - Dandelion’s inherited brothel along the eastern edge of Novigrad’s southernmost island - and you’ll find Zoltan being harassed by some men. Approach to trigger a scene and say whatever you wish - their leader will have the good sense not to pick a fight with a Witcher. After the leave, Zoltan will fill you in on the details before soliciting Geralt’s aid.since rare Gwent Cards and Zoltan’s life are at stake, it’s worth helping the dwarf out. If you decline to help with this quest you will never get the
Ciri’s Story: Breakneck Speed] to complete the main questline in Novigrad, then return to the Rosemary and Thyme - Dandelion’s inherited brothel along the eastern edge of Novigrad’s southernmost island - and you’ll find Zoltan being harassed by some men. Approach to trigger a scene and say whatever you wish - their leader will have the good sense not to pick a fight with a Witcher. After the leave, Zoltan will fill you in on the details before soliciting Geralt’s aid.since rare Gwent Cards and Zoltan’s life are at stake, it’s worth helping the dwarf out. If you decline to help with this quest you will never get the ![]() Fringilla Vigo,
Fringilla Vigo, ![]() Isengrim Faoiltiarna or
Isengrim Faoiltiarna or ![]() John Natalis cards, hence you will not be able to complete your Gwent collection.
John Natalis cards, hence you will not be able to complete your Gwent collection.
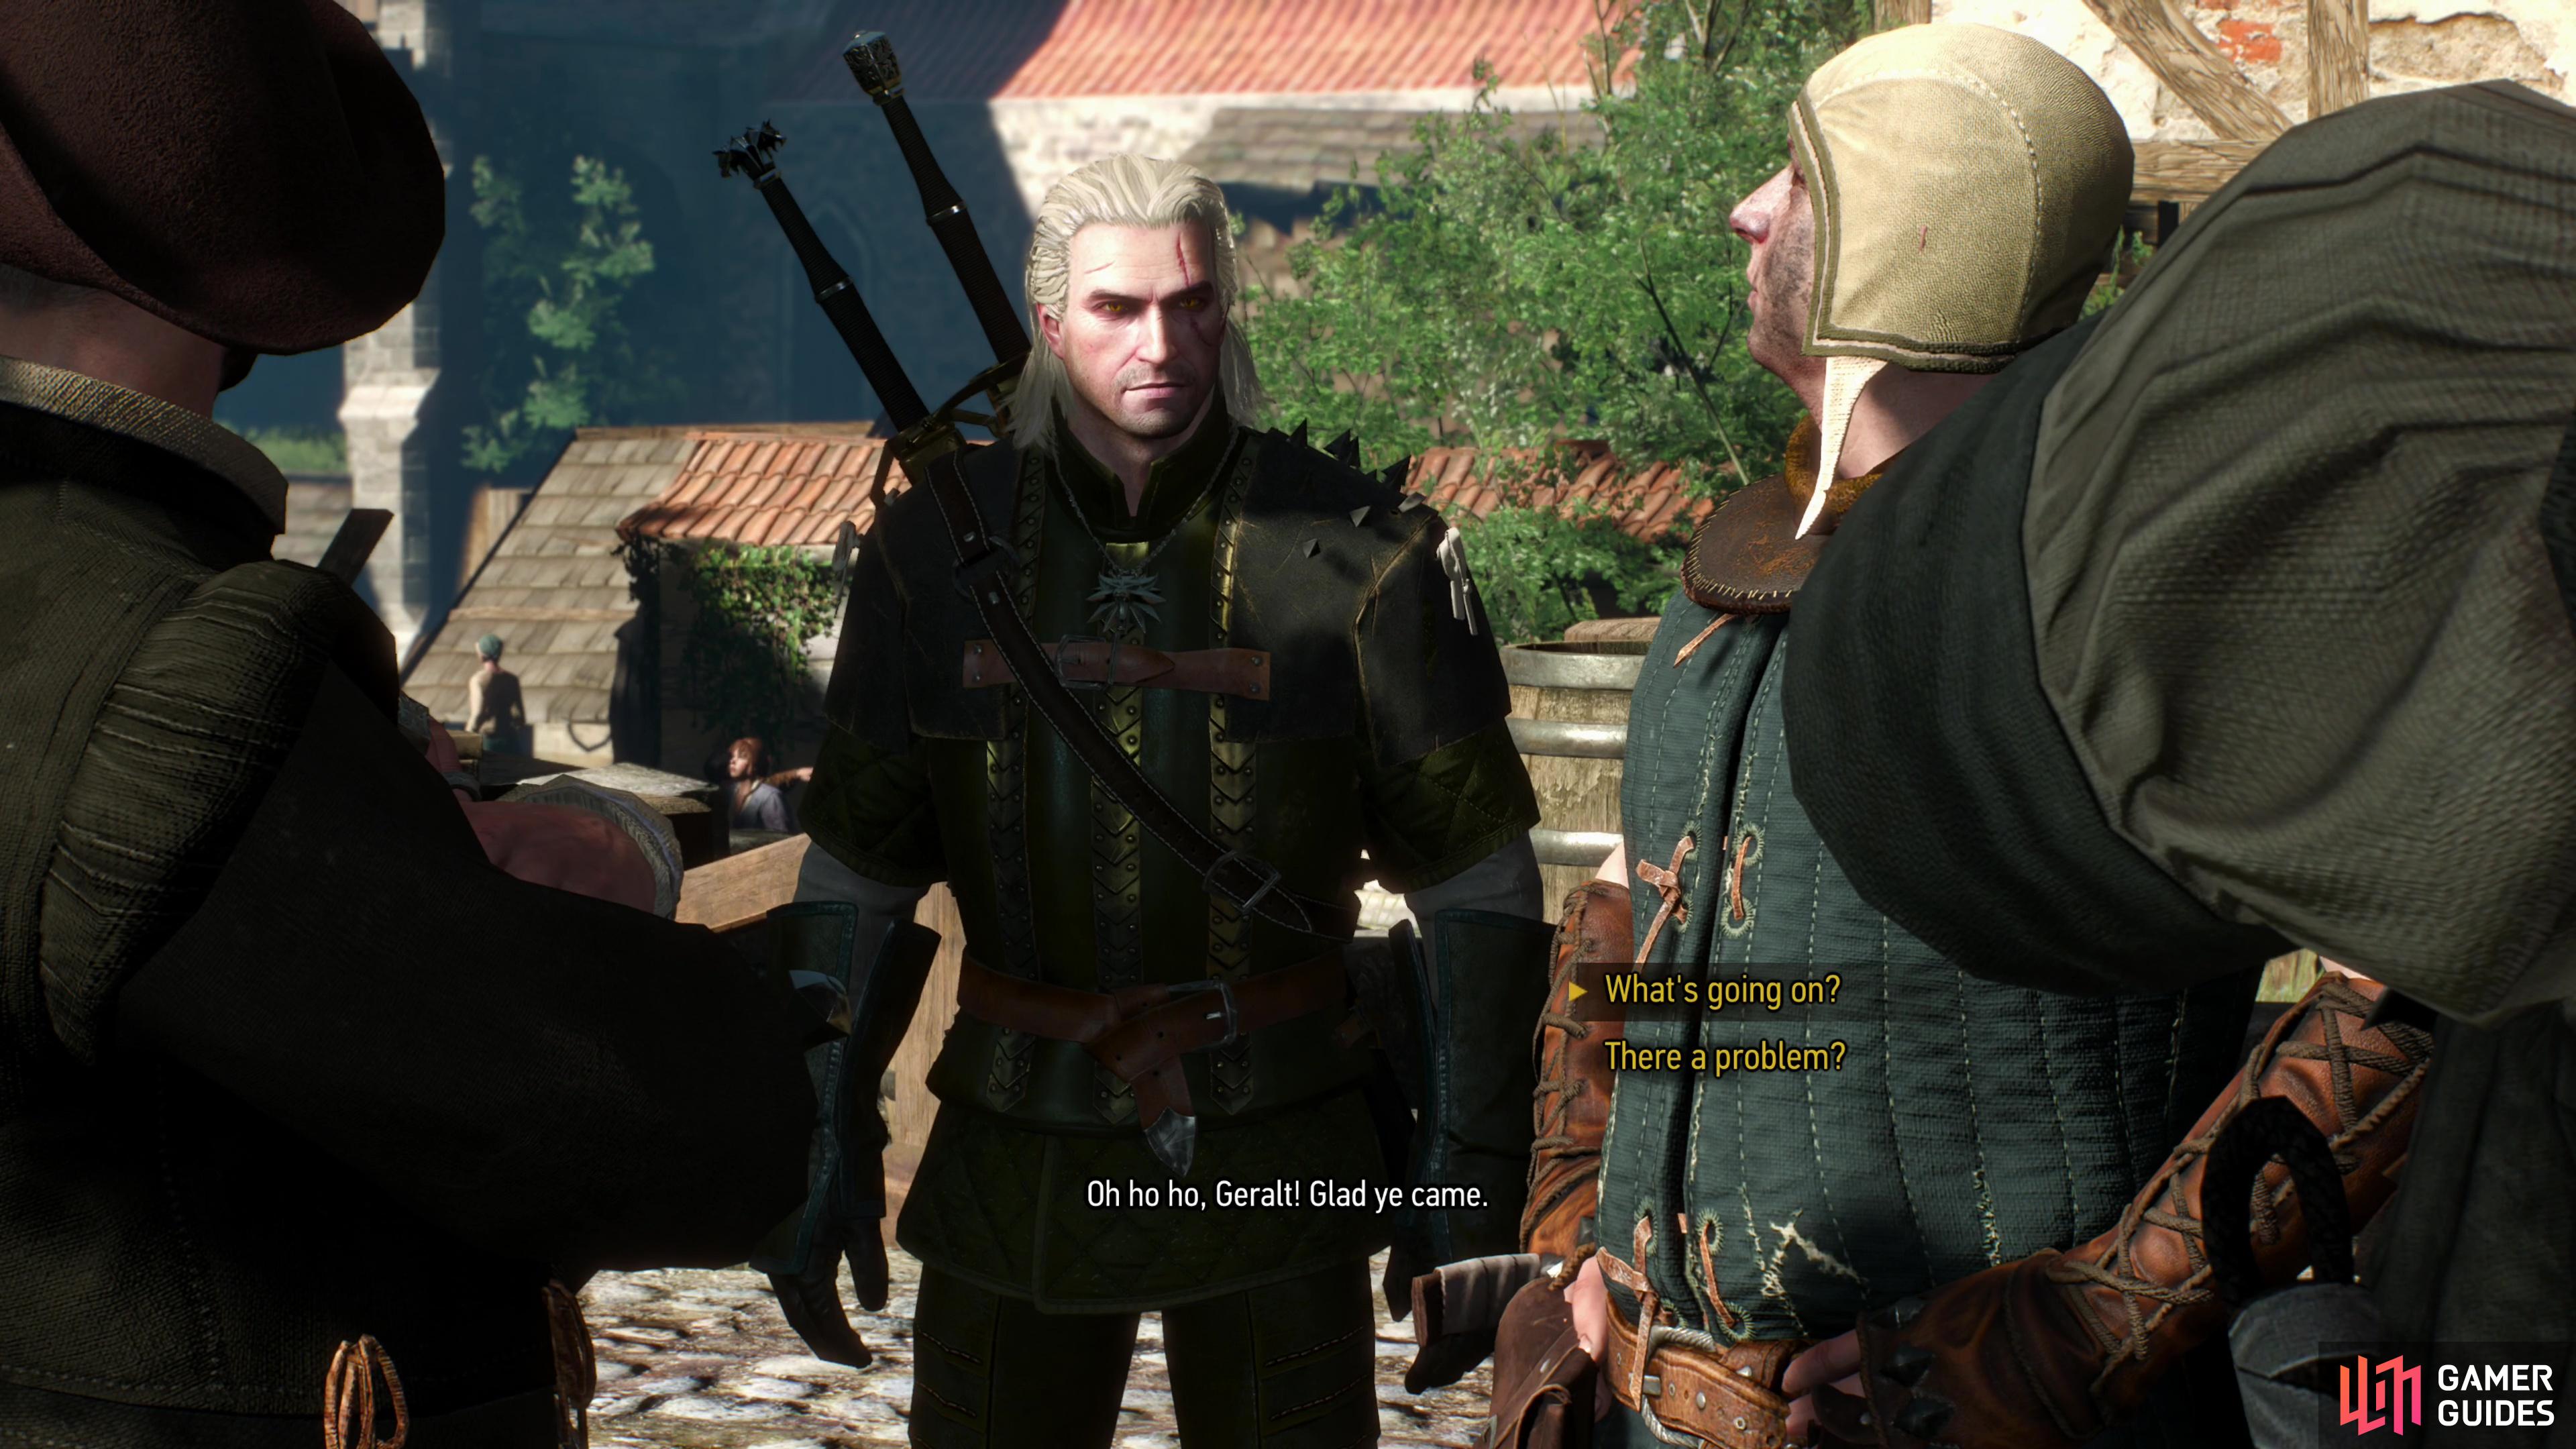
Return to the Rosemary and Thyme after completing “A Poet Under Pressure” to find Zoltan has made some new… friends.
Get the Rare Gwent Cards from Zed
Fortunately Zoltan has a lead - a former fence by the name of Zed might just have the cards he seeks. Even better, Zed lives a short distance away. Head southwest from the Rosemary and Thyme to reach a house on the southern end of the Putrid Grove, just north of the Glory Gate bridge. Knock on the door and when that proves fruitless turn east to find some ladders you can climb.
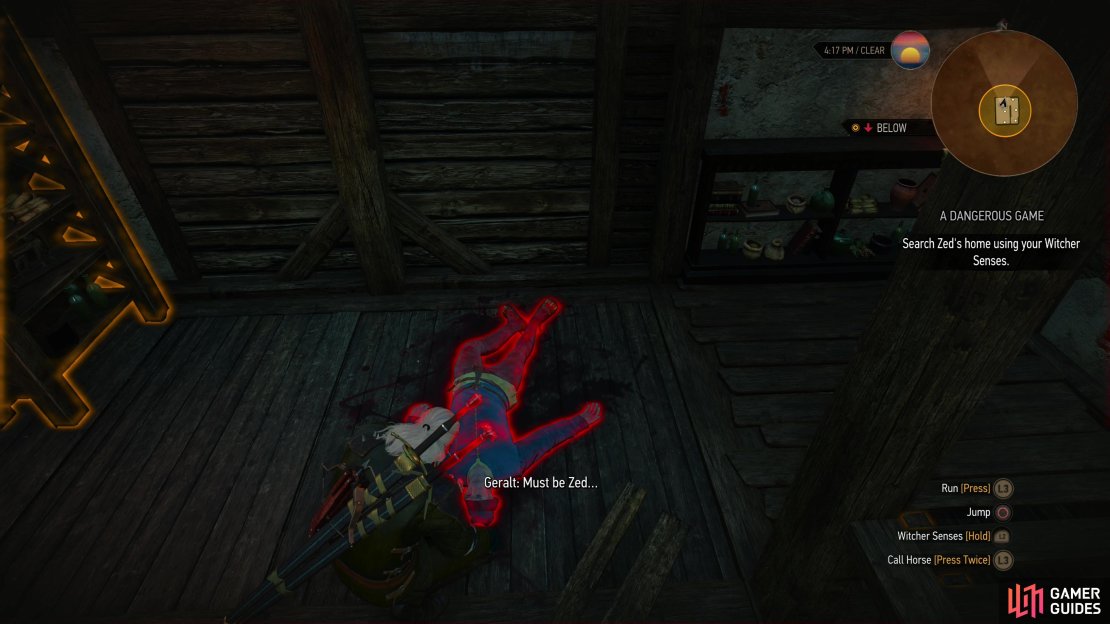
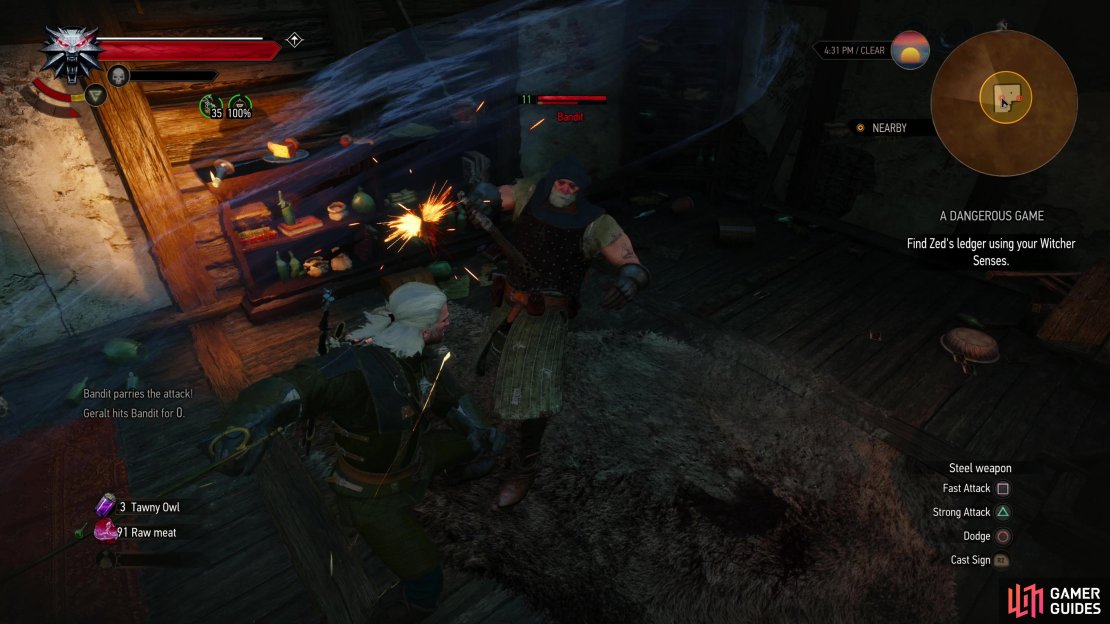
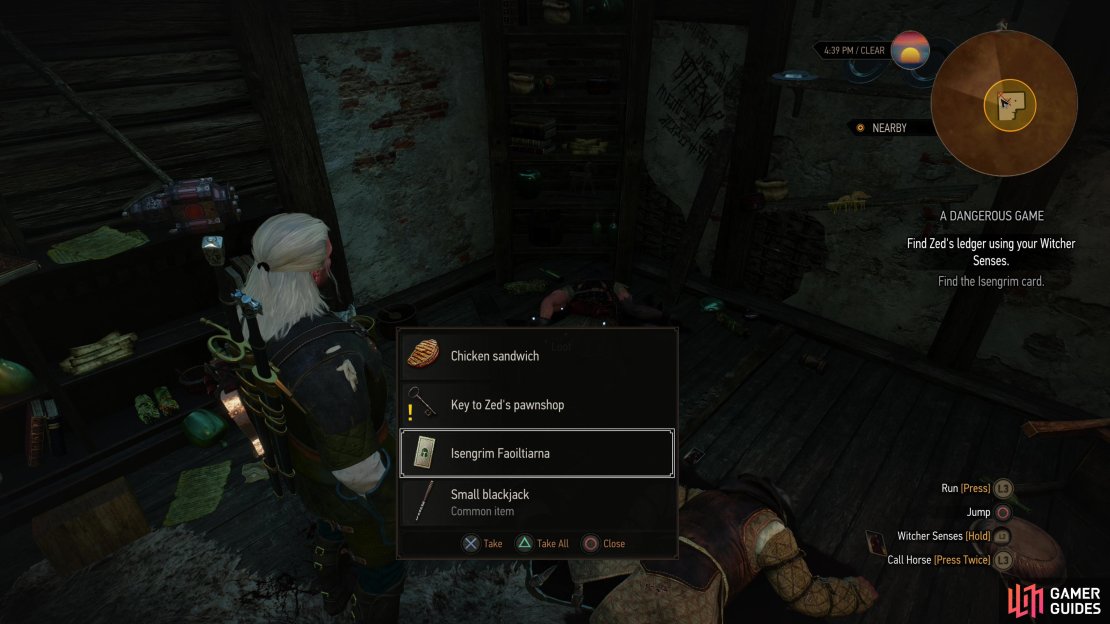
Do so, jump a gap back west, then head up another flight of stairs to find a door you can go through to reach the interior of Zed’s house. Climb down a ladder and search a corpse to determine that some people are taking Gwent way too seriously, then head downstairs to confront a pair of Bandits. After some words a fight will break out - cut down the two Bandits (Lv11), then search their bodies to find the ![]() Key to Zed’s Pawnshop and Isengrim Faoiltiarna card. Don’t go celebrating yet - you’ve got to progress further in the quest before you go adding anything to your Gwent decks.
Key to Zed’s Pawnshop and Isengrim Faoiltiarna card. Don’t go celebrating yet - you’ve got to progress further in the quest before you go adding anything to your Gwent decks.
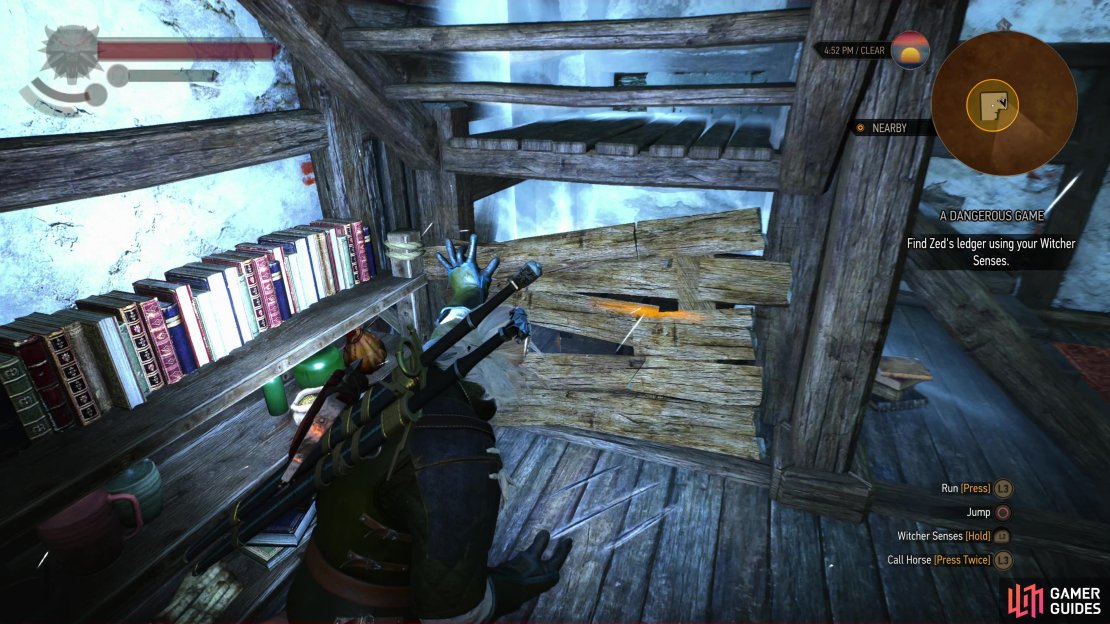
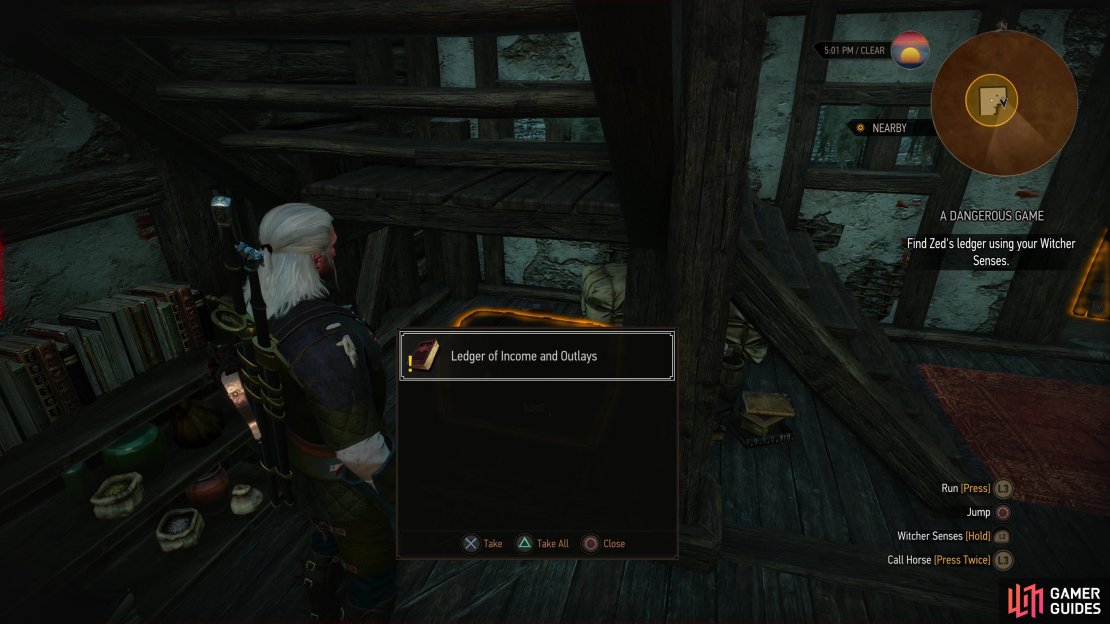
One down, two to go, but before you leave you need to search for leads on the other two cards Zoltan seeks. You’ll find them under the stairs - ![]() Aard some boards away to reveal a chest hidden under the first landing of the stairs, then loot it to find Zed’s
Aard some boards away to reveal a chest hidden under the first landing of the stairs, then loot it to find Zed’s ![]() Ledger of Income and Outlays, which will state that the Fringilla Vigo card was sold to one Caesar Bilzen… and that Zoltan’s antagonist, Duke, doesn’t yet have the income to match his pretensions.
Ledger of Income and Outlays, which will state that the Fringilla Vigo card was sold to one Caesar Bilzen… and that Zoltan’s antagonist, Duke, doesn’t yet have the income to match his pretensions.
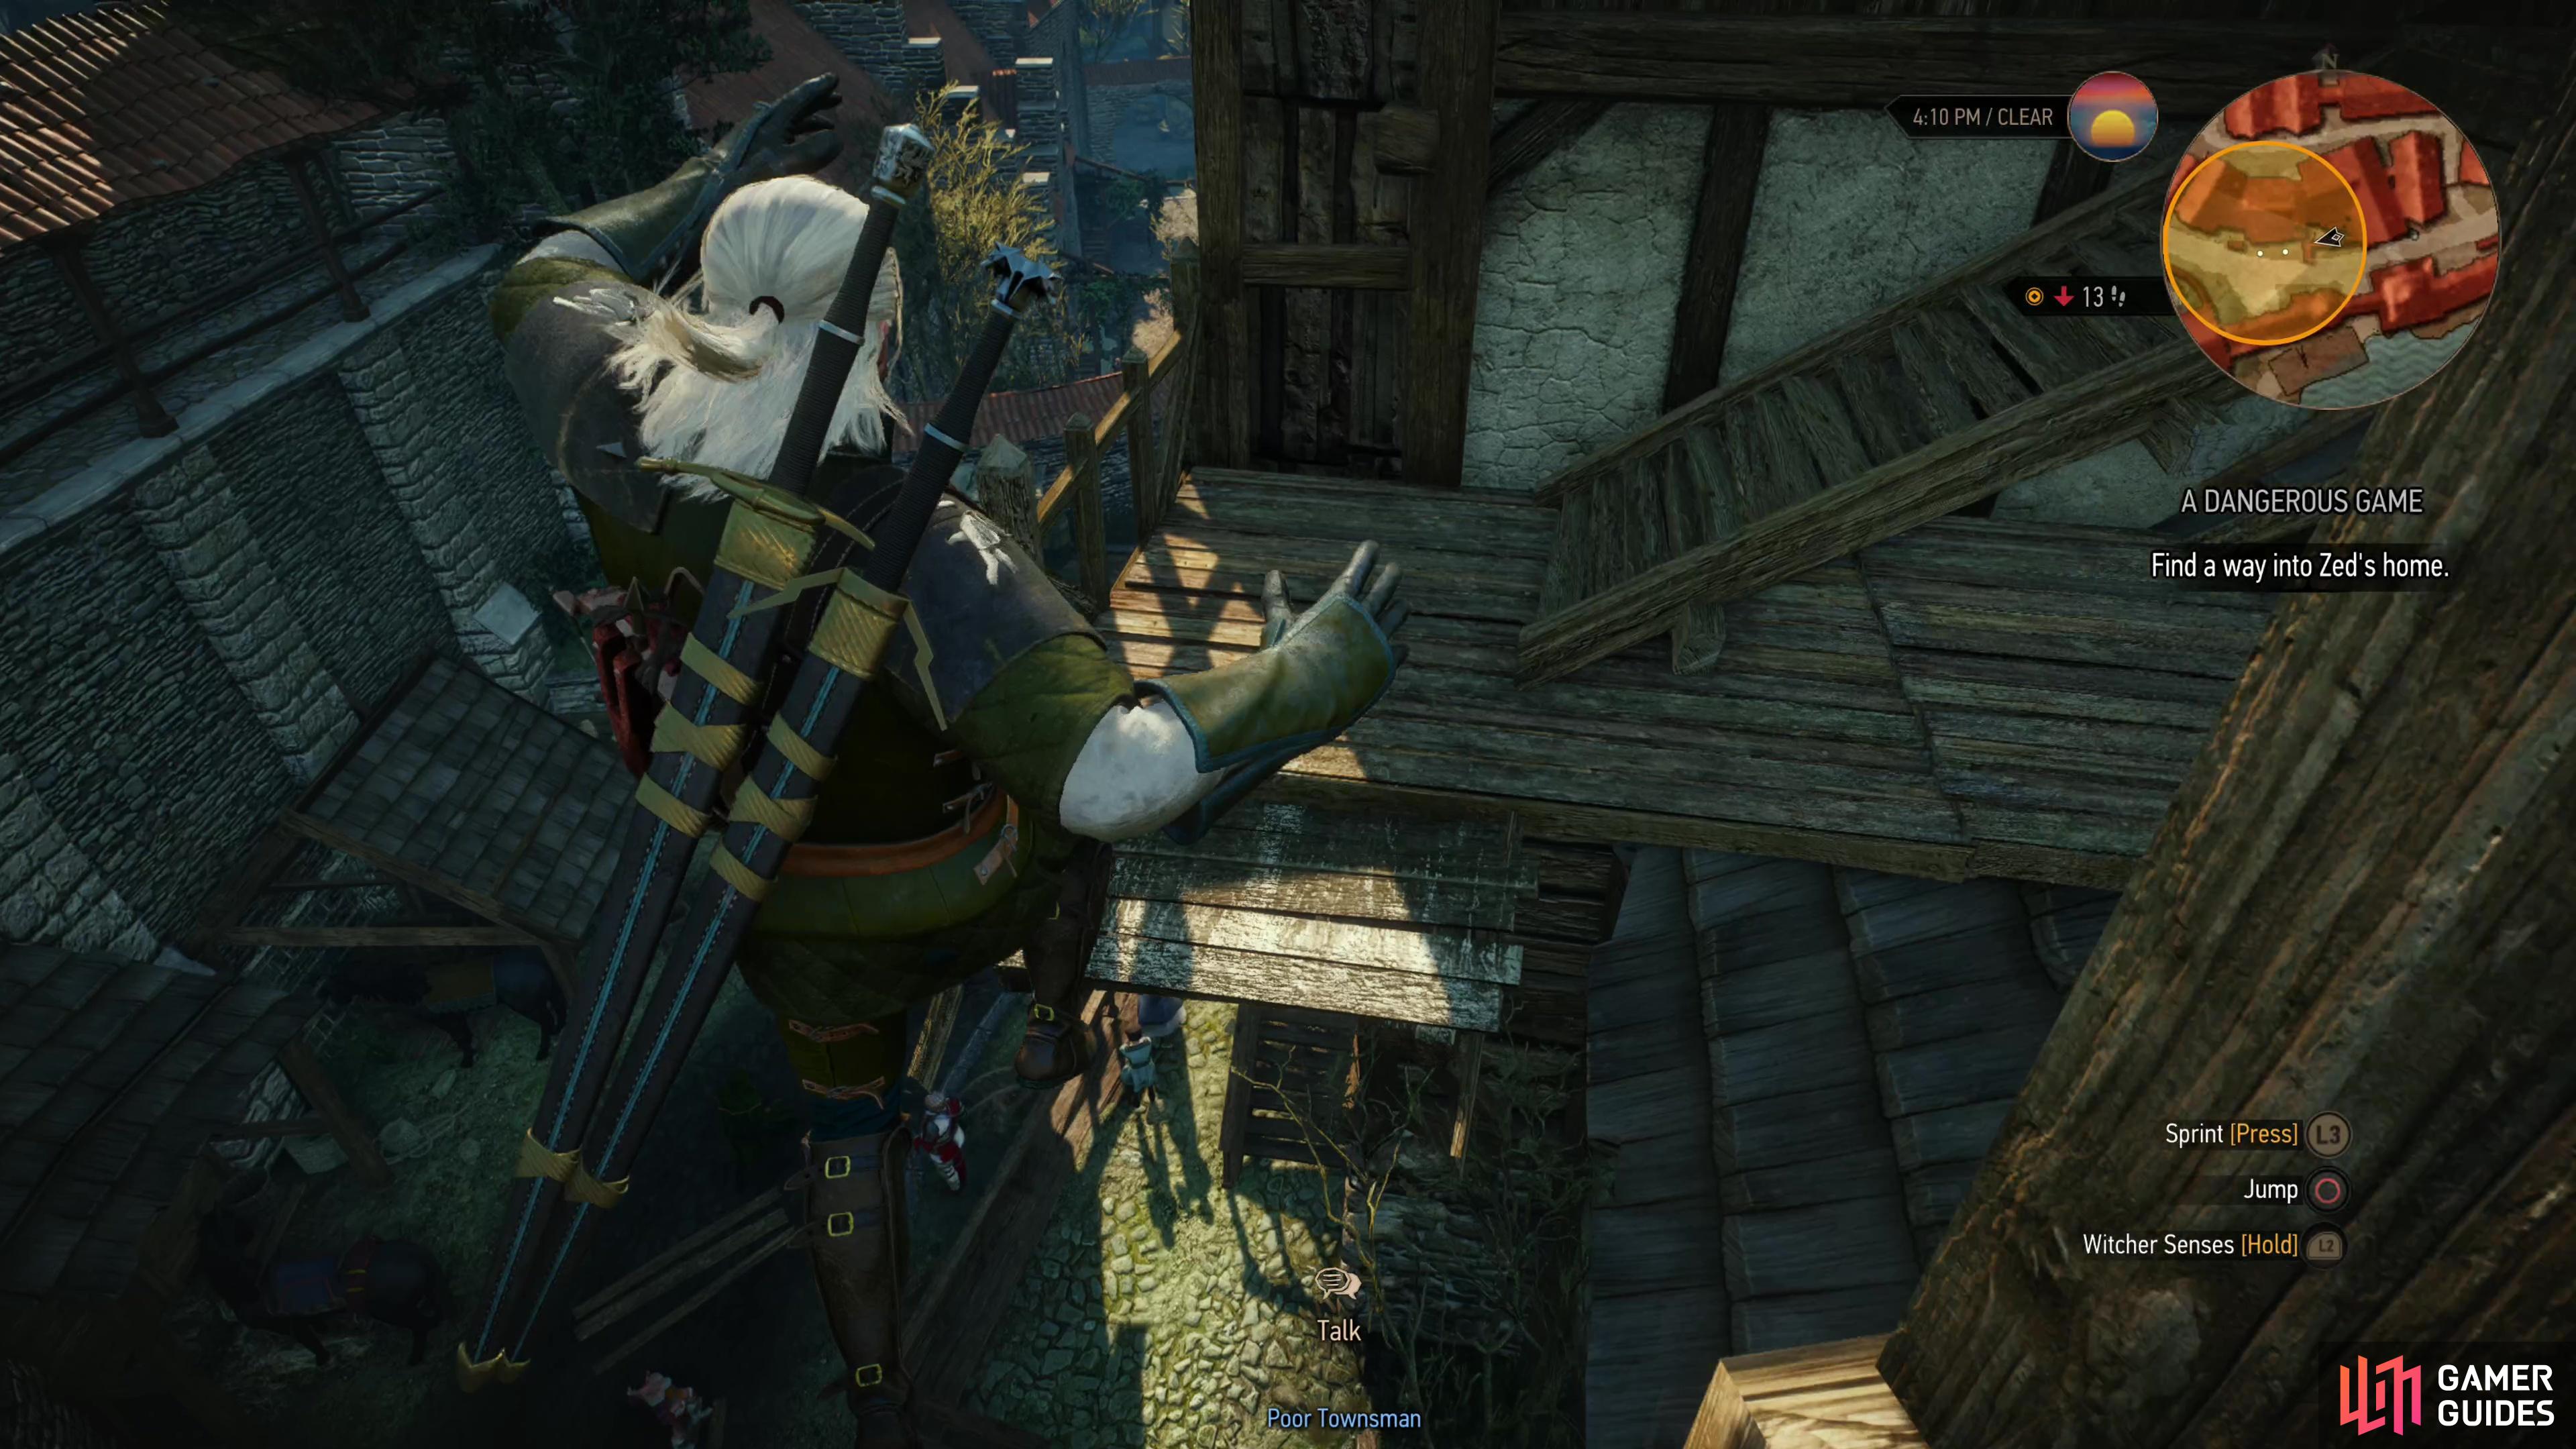
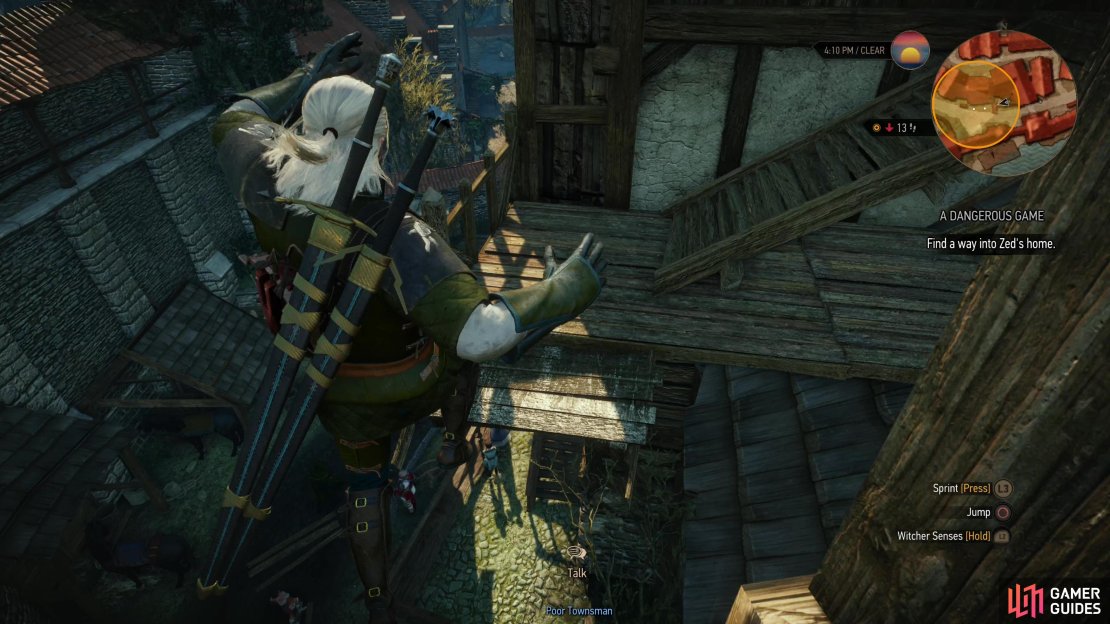
(1 of 6) Climb some ladders and jump a gap to reach a door on the upper floor of Zed’s house,
Return to Zoltan outside the Rosemary and Thyme and update him on what you discovered to advance the quest. Now you have two new targets: Ravik and Caesar Bilzen, whom you can visit in any order.
Get the John Natalis Card from Ravik
Of the two, Ravik is the quicker target, so let’s get him out of the way first. Head to The Golden Sturgeon west of ![]() Hierarch Square and make your way downstairs to find Earl and his Bandit buddy having a friendly game of Gwent with Ravik. Like Zoltan, it seems Ravik got himself into a spot of trouble over these cards. Fortunately Earl’s a sporting lad and offers to wager the John Natalis card and Ravik’s life over a game of Gwent.
Hierarch Square and make your way downstairs to find Earl and his Bandit buddy having a friendly game of Gwent with Ravik. Like Zoltan, it seems Ravik got himself into a spot of trouble over these cards. Fortunately Earl’s a sporting lad and offers to wager the John Natalis card and Ravik’s life over a game of Gwent.
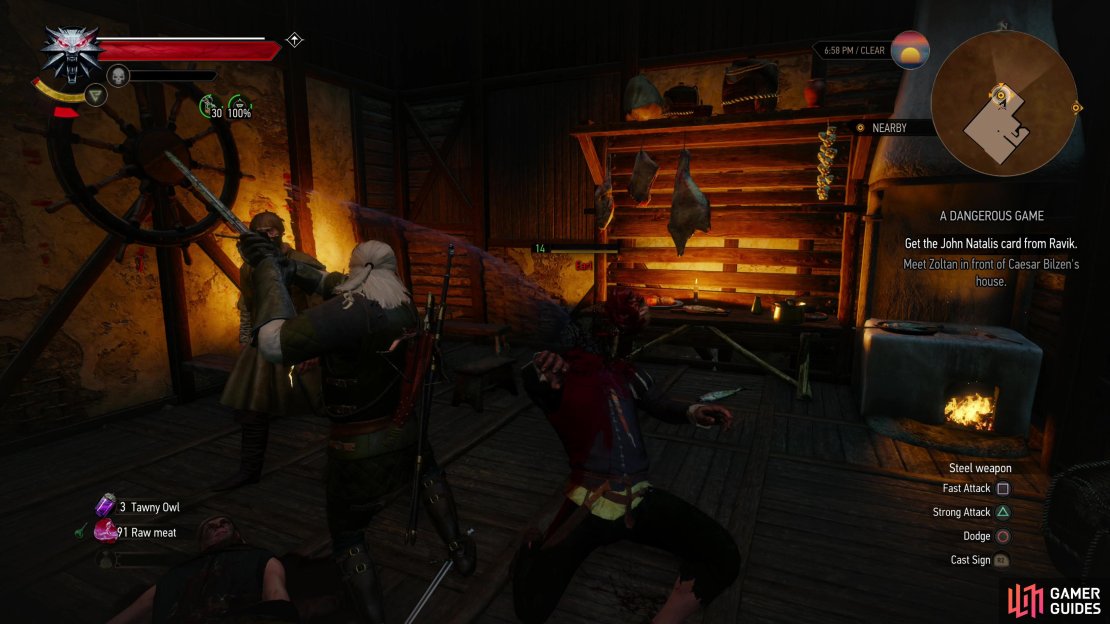
Choice: Play Gwent for Ravik or Refuse
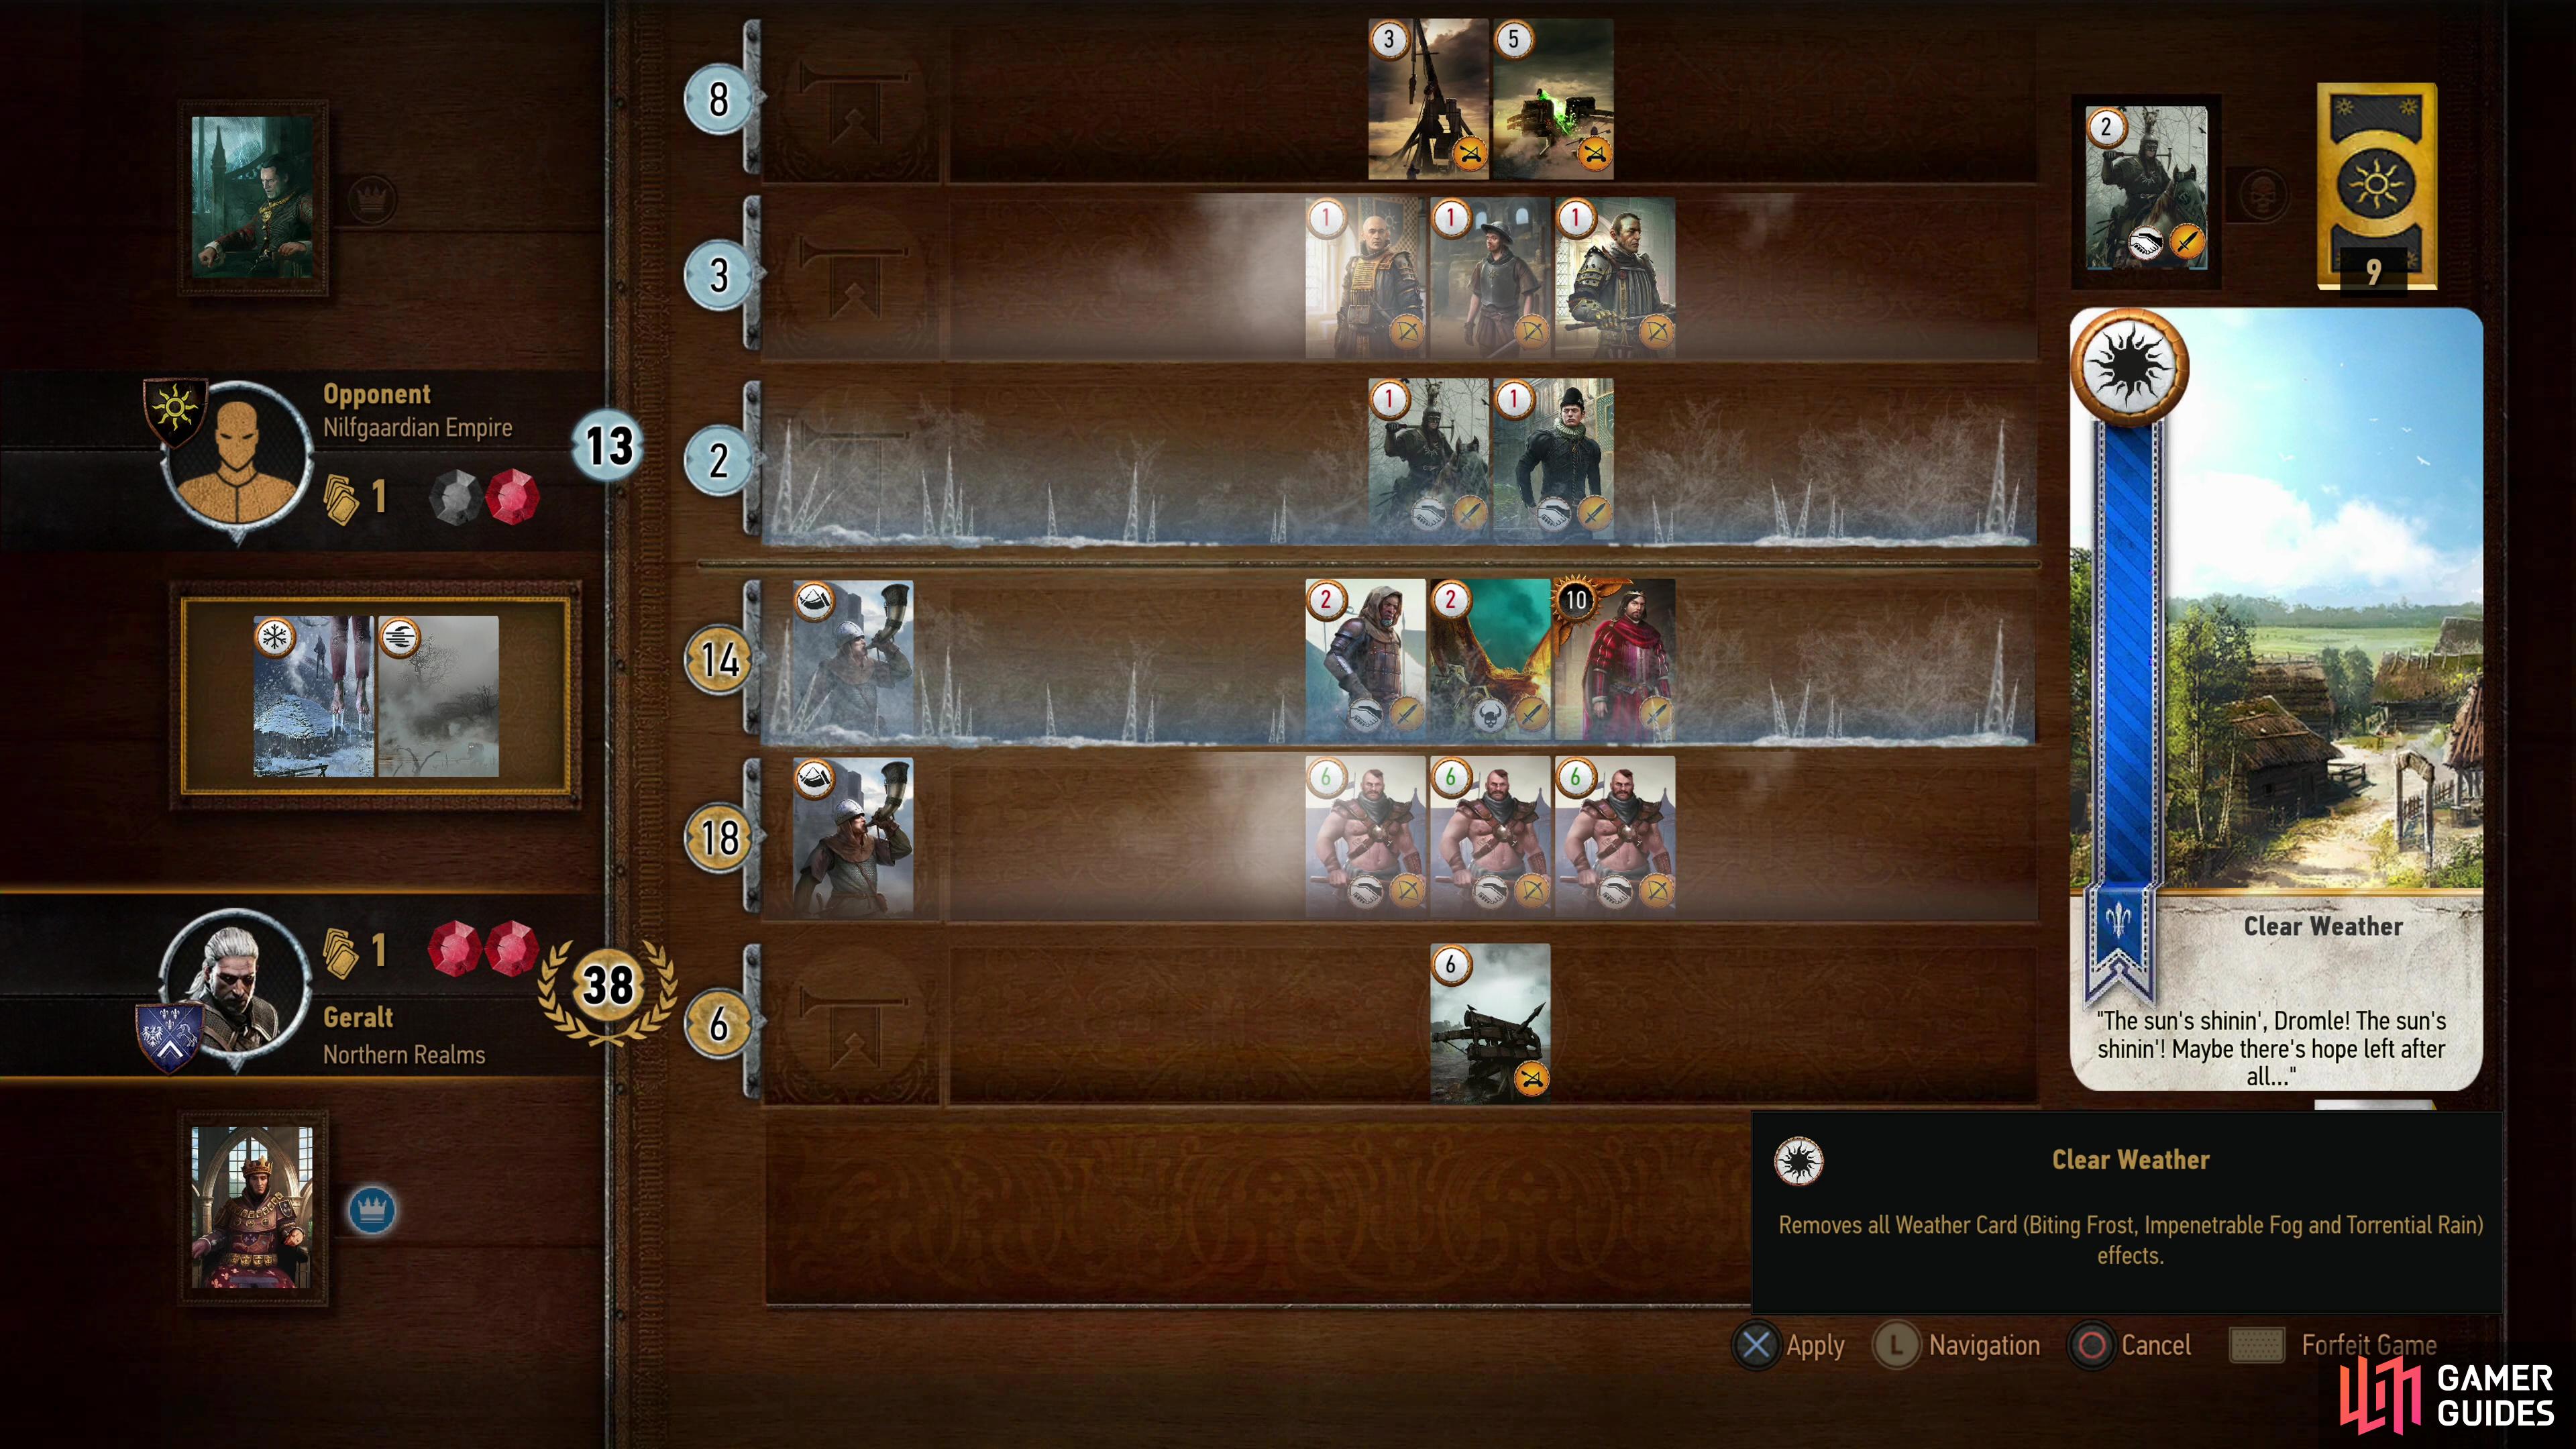
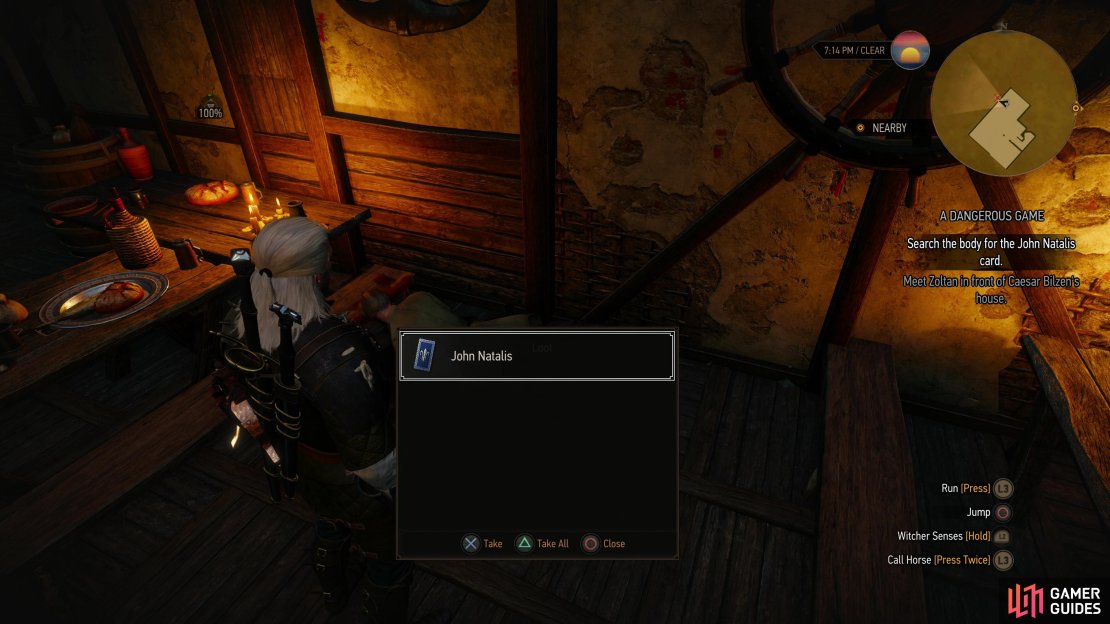
Decline and you’ll have to fight Earl (Lv14) and his Bandit (Lv11) subordinate after they kill Ravik, play and you’ll need to defeat Earl’s pedestrian Nilfgaardian deck (aside from throwing the odd Spy card at you and using Weather cards, he doesn’t put up much of a fight) before the poor sport decides to attack, anyways. Either way you’ll need to kill Earl and his goon, but if you win the Gwent match Ravik will survive. If you refused to play Gwent, loot Ravik’s corpse for the John Natalis card, otherwise he’ll just hand it over after you emerge victorious.

(1 of 3) Defeat Earl at a game of Gwent,
Get the Fringilla Vigo Card from Caesar Bilzen
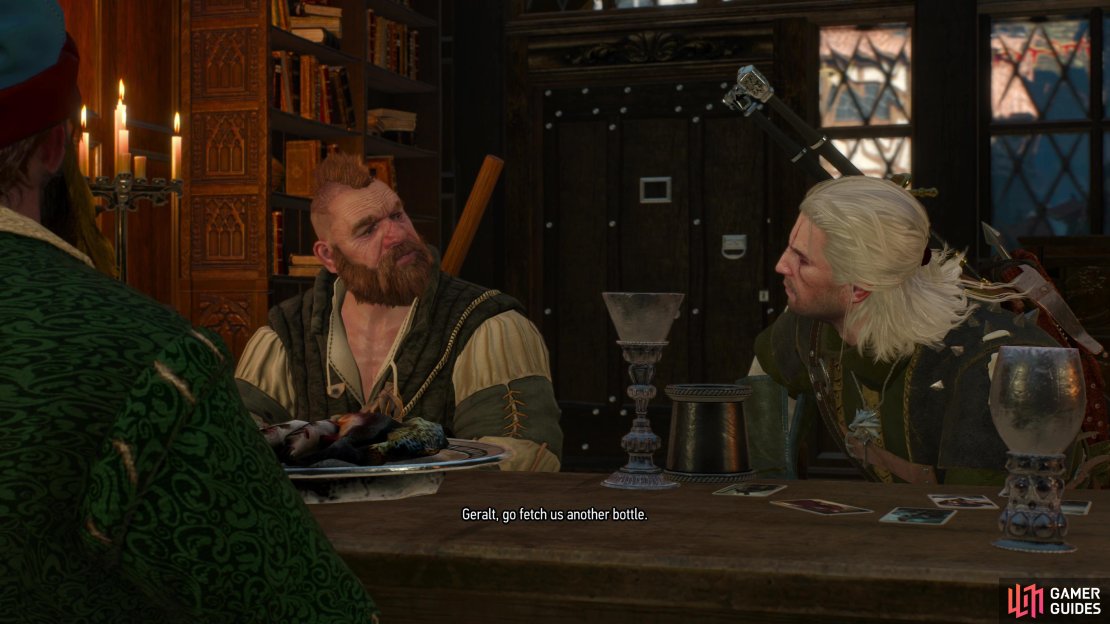
When you’re ready to get the Fringilla Vigo card from Caesar Bilzen, head to the southeastern corner of Hierarch Square to find Zoltan waiting for you outside a house. This is just south of the signpost, so it shouldn’t be remotely difficult to find. Talk to your dwarven chum and exhaust his dialog options to ultimately meet with Caesar Bilzen, where after more chatter (it doesn’t matter what you say here, so pick whatever you want) you’ll be sent off to fetch more alcohol.
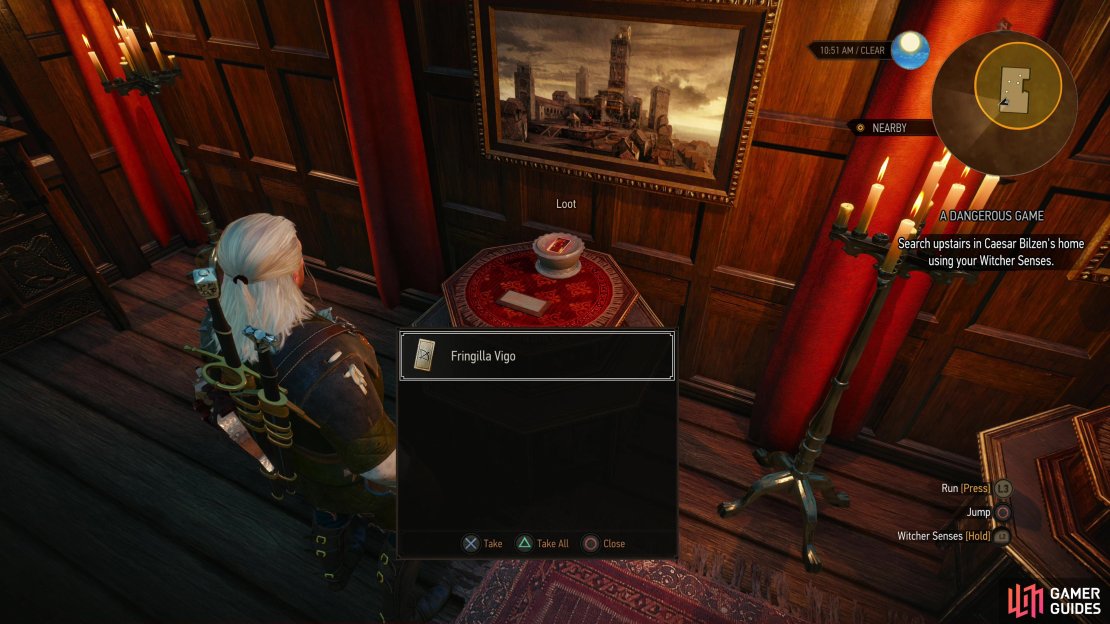
Now that you have free reign to search Caesar Bilzen’s house, head upstairs and activate your Witcher senses to find a triangular hole in the bookshelf along the eastern wall, then search a table to the west to find a knife which, when manipulated, will open a drawer hiding a Triangular Key. Whatever Caesar Bilzen is hiding, it must be something unsavory. Grab the key, use it on the keyhole in the dresser to reveal a secret door nearby, then go through said door and head upstairs to find Caesar Bilzen’s collection. Turns out he’s a Nilfgaardophile. Sick.
There are many relics you can investigate here, but only two have any gameplay value: loot a small lockbox on a dresser in the southeastern corner of the room to find a ![]() Jade Figurine, which will start the quest [
Jade Figurine, which will start the quest [![]() The Soldier Statuette] then grab the Fringilla Vigo card from its display podium in the southwestern corner of the room. Be sure to grab the Jade Statuette lest you miss out on the quest it starts.
The Soldier Statuette] then grab the Fringilla Vigo card from its display podium in the southwestern corner of the room. Be sure to grab the Jade Statuette lest you miss out on the quest it starts.
Choice: Help or Abandon Caesar Bilzen
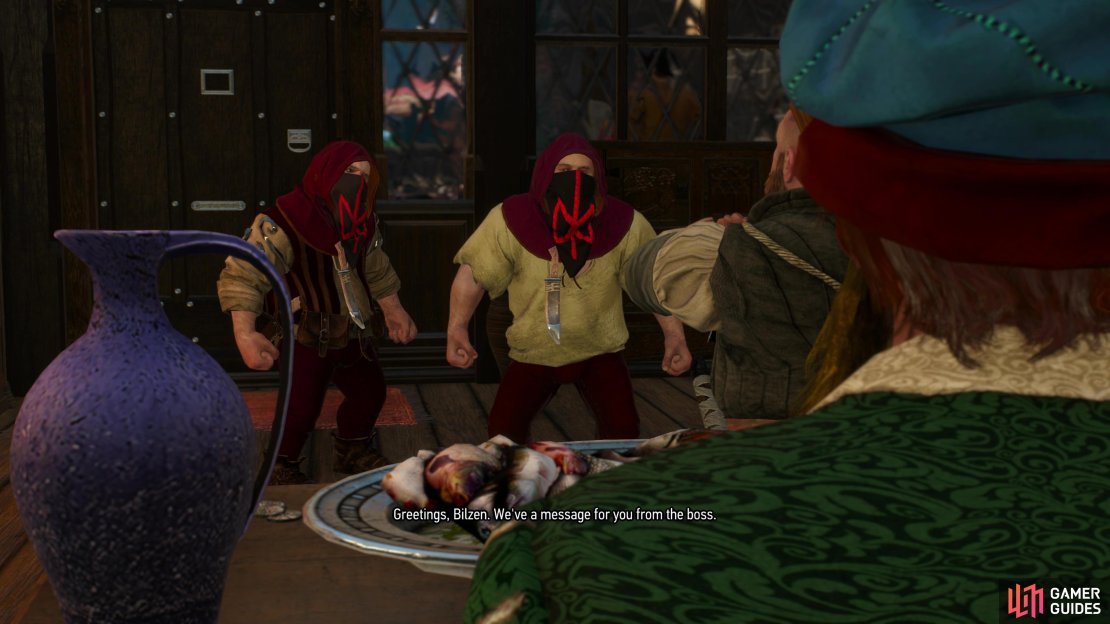
Loot and gawk at Caesar Bilzen’s collection, then head downstairs and after some chatter you’ll find that Caesar crossed his employer, ![]() Cleaver, and some of Cleaver’s henchdwarves are here to remind Caesar why that’s a bad idea. Eventually you’ll get a choice: pick ”Leave him alone.” and you’ll stand up for Caesar, provoking a fight, or say ”We were just leaving.” to abandon Caesar to his fate. Certainly a man named “Cleaver” will see reason. Ultimately this choice doesn’t matter - Caesar isn’t going to be a lively member of Geralt’s retinue going forward anyways. If you want to keep Caesar alive for purely feel-good, roleplay reasons, then pick a fight and defeat the Henchdwarves (Lv8), otherwise abandon him and spare yourself the bother.
Cleaver, and some of Cleaver’s henchdwarves are here to remind Caesar why that’s a bad idea. Eventually you’ll get a choice: pick ”Leave him alone.” and you’ll stand up for Caesar, provoking a fight, or say ”We were just leaving.” to abandon Caesar to his fate. Certainly a man named “Cleaver” will see reason. Ultimately this choice doesn’t matter - Caesar isn’t going to be a lively member of Geralt’s retinue going forward anyways. If you want to keep Caesar alive for purely feel-good, roleplay reasons, then pick a fight and defeat the Henchdwarves (Lv8), otherwise abandon him and spare yourself the bother.


(1 of 5) Meet up with Zoltan in Hierarch Square and he’ll talk you into Caesar’s house.
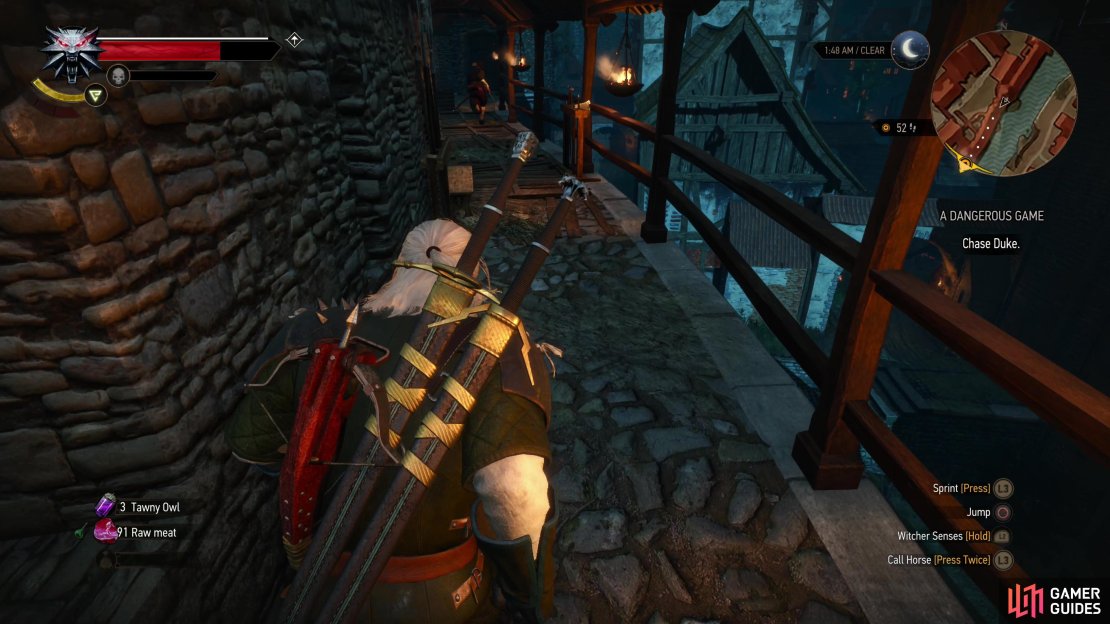
Chase Duke
Claim all three cards and Zoltan will head to sell them off. Follow him to the eastern edge of Novigrad’s middle island (between the ![]() Oxenfurt Gate and the
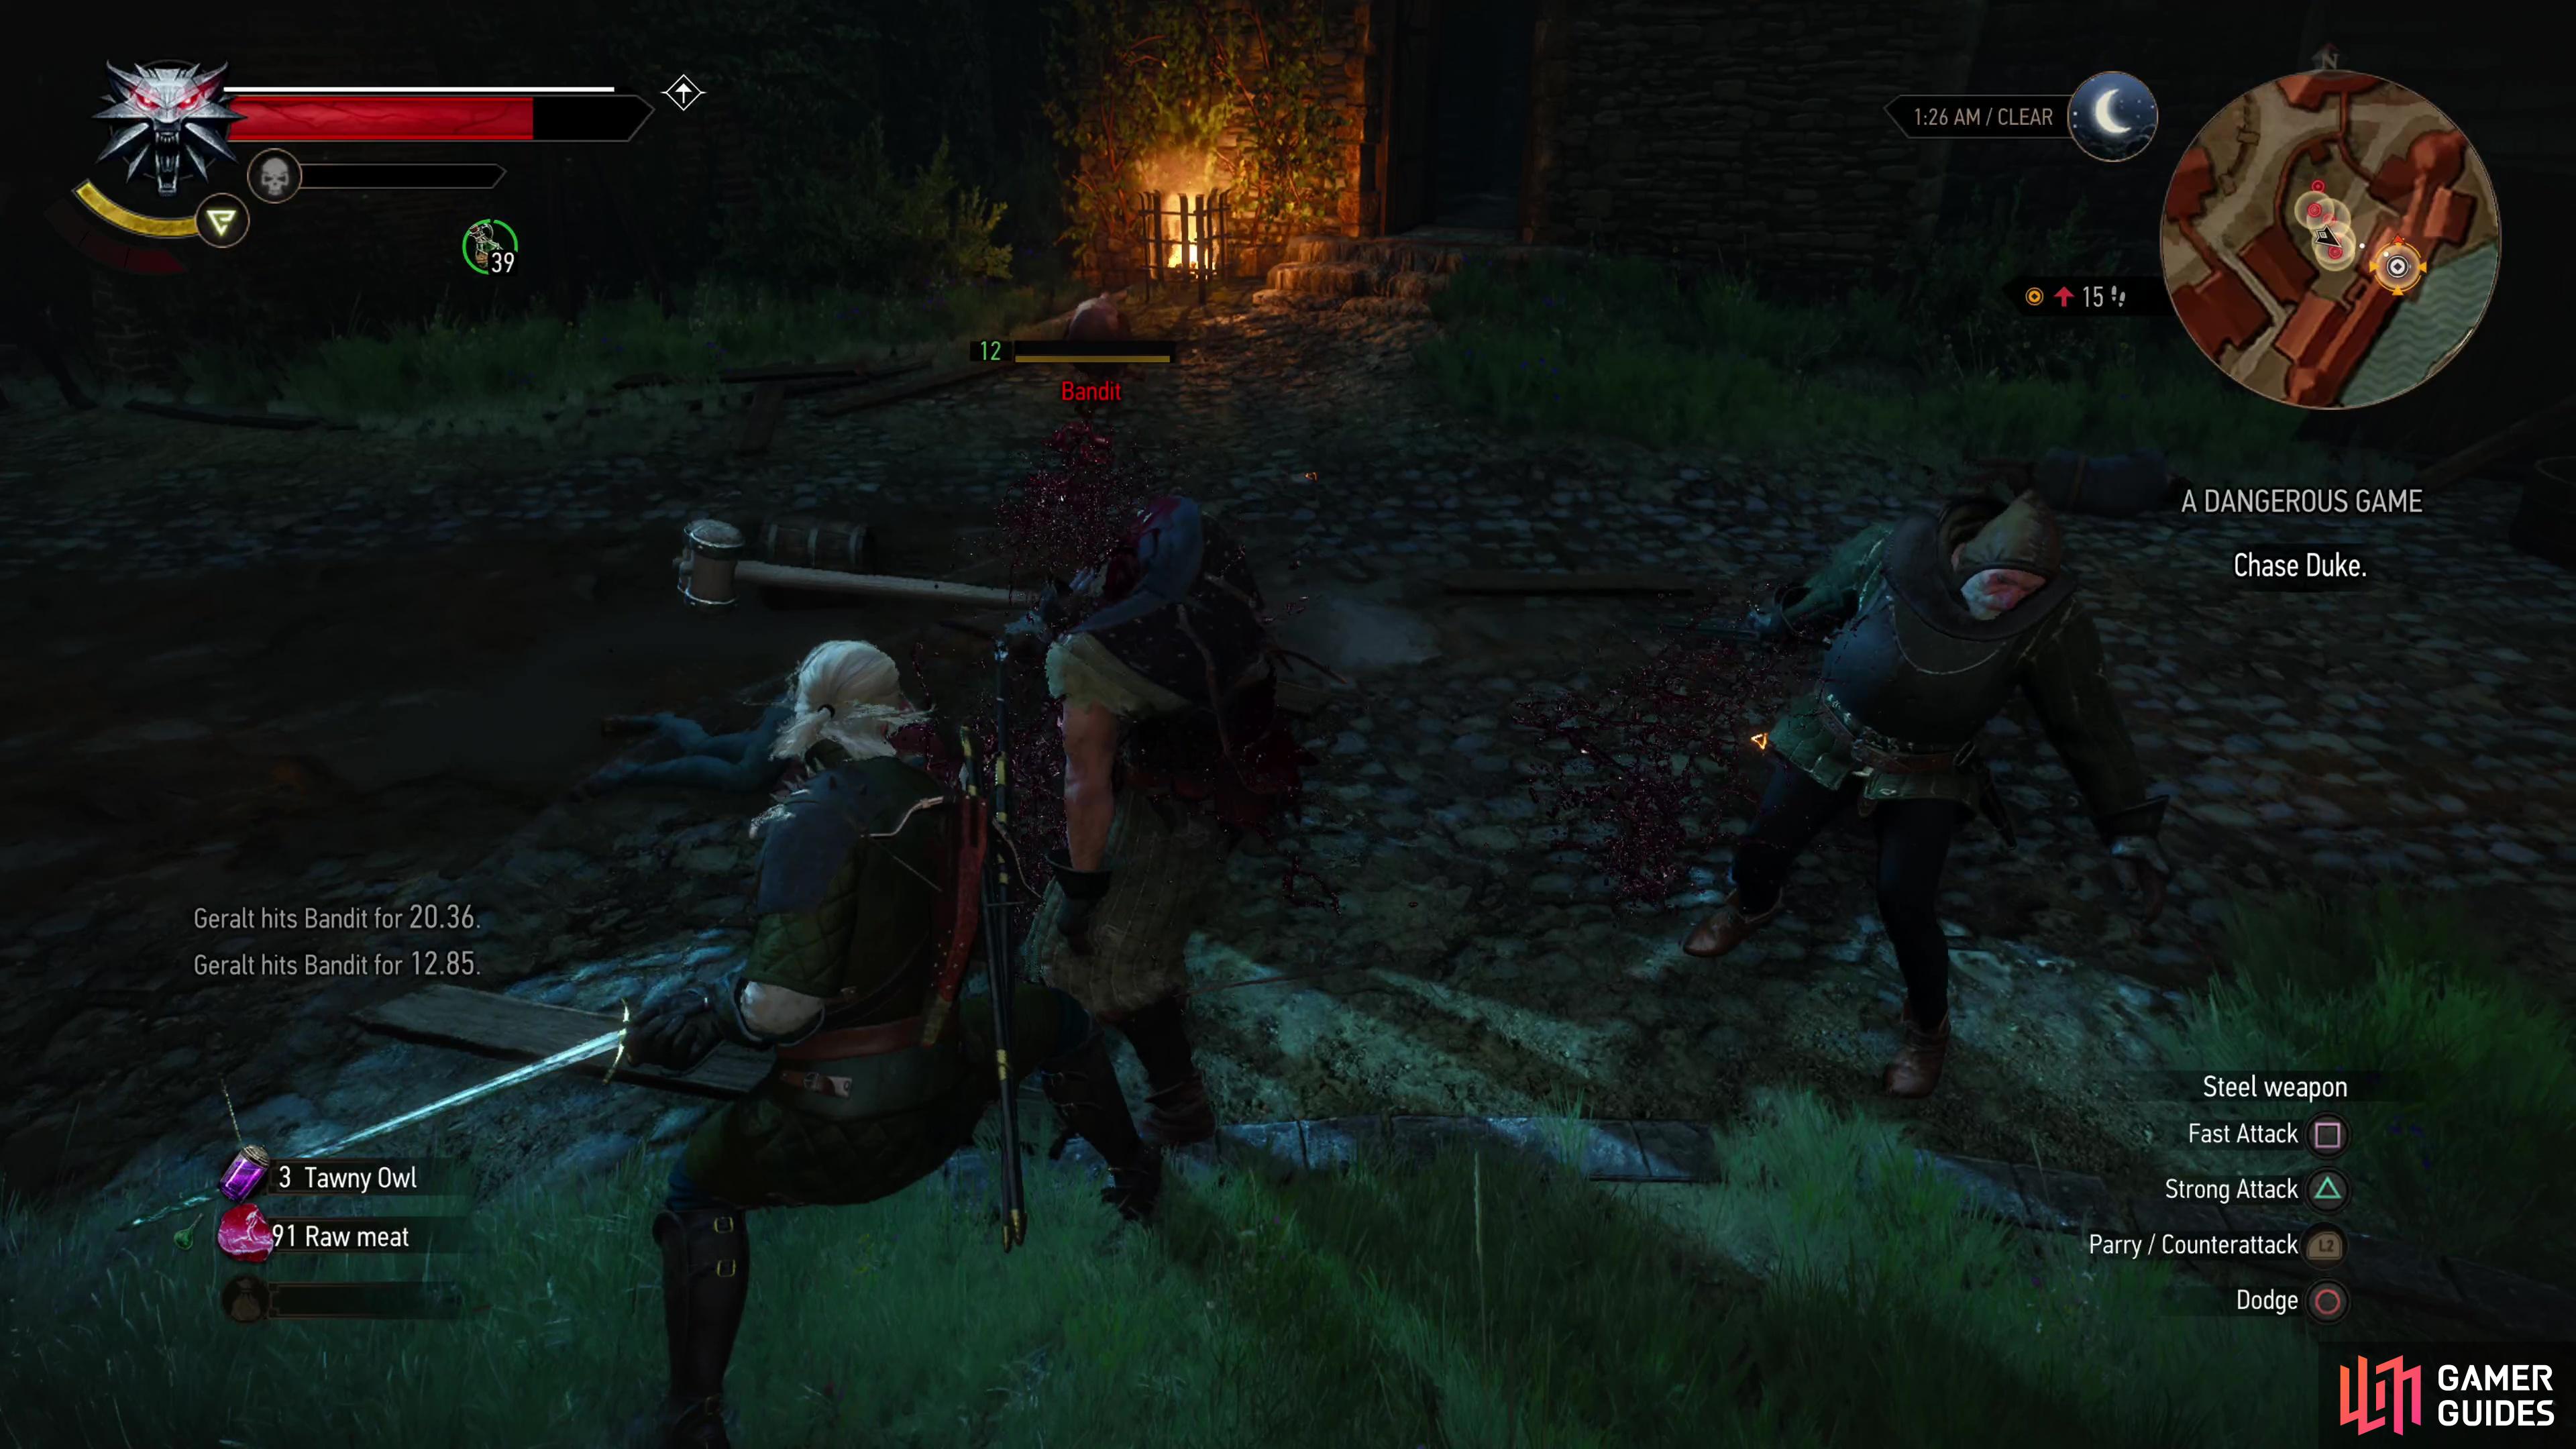
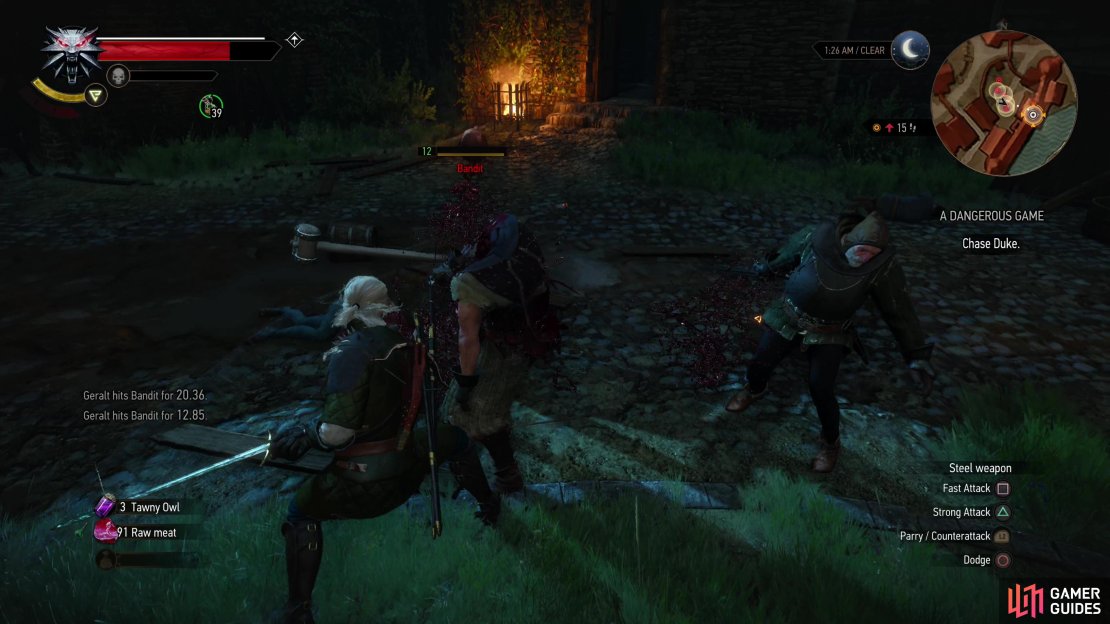
Oxenfurt Gate and the ![]() Southern Gate signposts). When you arrive you’ll find that there’s been a complication of the Duke variety, and this time he’s brought enough muscle to challenge a Witcher. Once hostilities break out, Zoltan will encourage you to chase down Duke, but you can stay around and cut down his Bandits (Lv12) and loot them - the “chase” with Duke is scripted and he’s not going to get away from you if you dally about.
Southern Gate signposts). When you arrive you’ll find that there’s been a complication of the Duke variety, and this time he’s brought enough muscle to challenge a Witcher. Once hostilities break out, Zoltan will encourage you to chase down Duke, but you can stay around and cut down his Bandits (Lv12) and loot them - the “chase” with Duke is scripted and he’s not going to get away from you if you dally about.
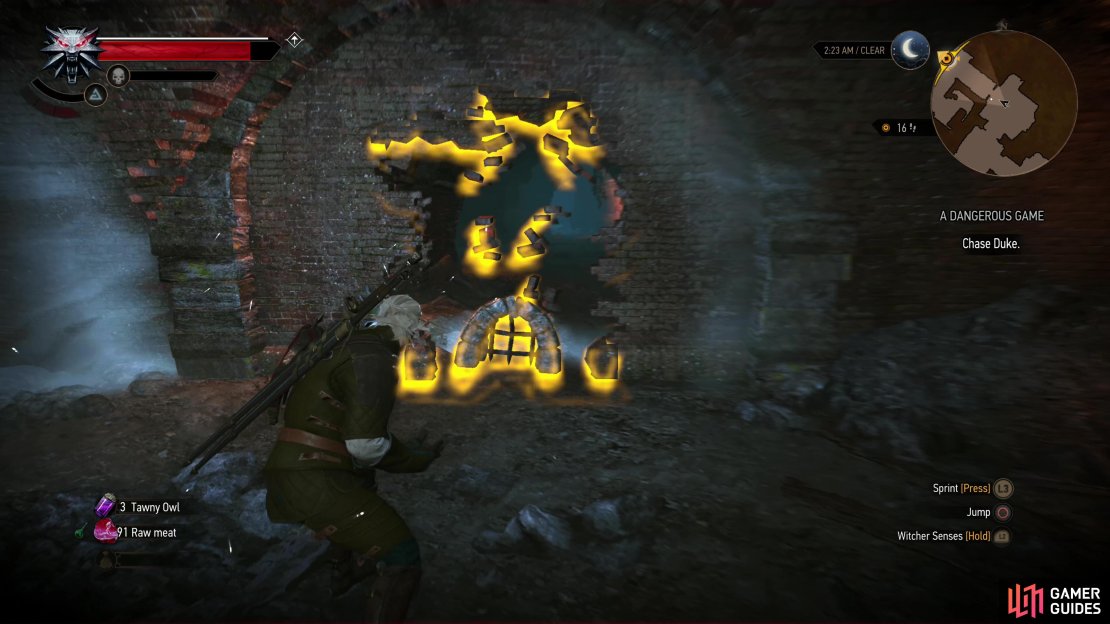
Enter a guard tower to the east, climb a ladder, pursue Duke southwest along the walls and into another guard tower. Descend several ladders into the sewers, where Duke will lock a gate behind him, forcing you to take a detour to the northeast. Go northeast, northwest and northeast again to find some ![]() Drowners (Lv4), taking the time to loot as you explore (again, Duke isn’t going to get away from you), then continue northwest and northeast to reach a chamber and apparent dead end. Search the wall to the northwest with your Witcher senses to find a weak wall you can Aard through. Do so and dispatch another batch of Drowners (Lv4), then continue northwest, perhaps after taking a detour to the southwest to loot various crates and whatnot.
Drowners (Lv4), taking the time to loot as you explore (again, Duke isn’t going to get away from you), then continue northwest and northeast to reach a chamber and apparent dead end. Search the wall to the northwest with your Witcher senses to find a weak wall you can Aard through. Do so and dispatch another batch of Drowners (Lv4), then continue northwest, perhaps after taking a detour to the southwest to loot various crates and whatnot.
You’ll shortly reach a larger chamber with numerous paths branching off of it. Going southwest will allow you to retrace Duke’s steps and more importantly you can find another weak section of wall to the southwest beyond which the quest [![]() A Tome Entombed] can be found. Worth keeping in mind for later… or for now, as again, Duke’s not going anywhere.
A Tome Entombed] can be found. Worth keeping in mind for later… or for now, as again, Duke’s not going anywhere.
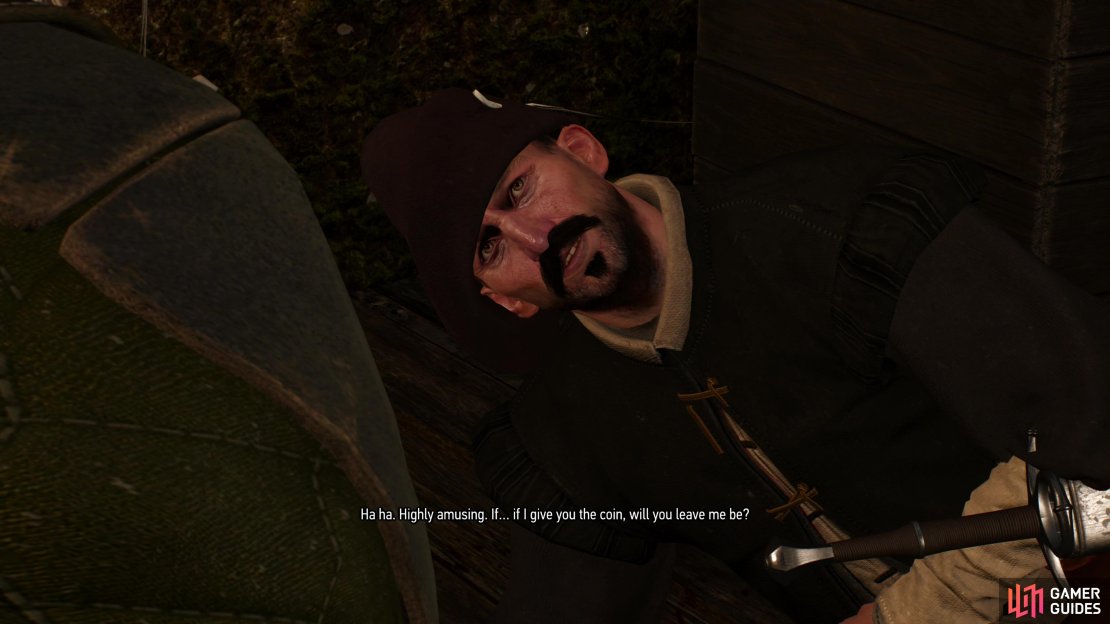
Choice: Kill or Spare Duke
Speaking of which, go up either passage to the north to find Duke lying on the floor to the west. Geralt’s not the only one who encountered Drowners down here, but he is the only one trained to fight them, as Duke learned to his misery. You’ll get the coin you seek, but whether you leave Duke alive or not is up to you - it’s another choice that doesn’t matter, although Zoltan will be a bit salty if you leave Duke alive. It ultimately doesn’t affect anything.
(1 of 4) Defeat Duke’s thugs if you wish,
Choice: Keep the Cards or Take the Money
Take the coin from Duke and you’ll automatically rendezvous with Zoltan, who now finds himself in an odd situation - due to Duke’s interference he ended up with both the cards and the coin he was going to sell the cards for. He doesn’t need both, so he’ll go splitsies with you, allowing Geralt to pick whichever he prefers. Pick the option ”Prefer the coin.” and you’ll take the conventional quest reward, earning 80 EXP and 150 ![]() Crowns. On the other hand, if you respond with ”I’ll take the cards.” you’ll get the Fringilla Vigo, Isengrim Faoiltiarna and John Natalis cards.
Crowns. On the other hand, if you respond with ”I’ll take the cards.” you’ll get the Fringilla Vigo, Isengrim Faoiltiarna and John Natalis cards.
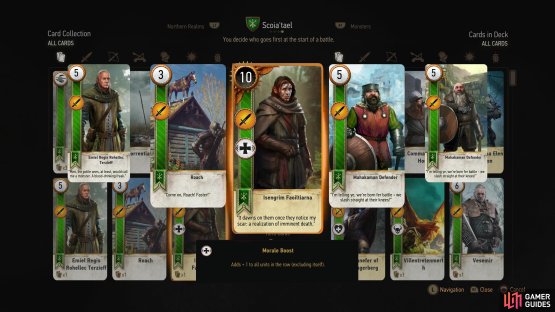
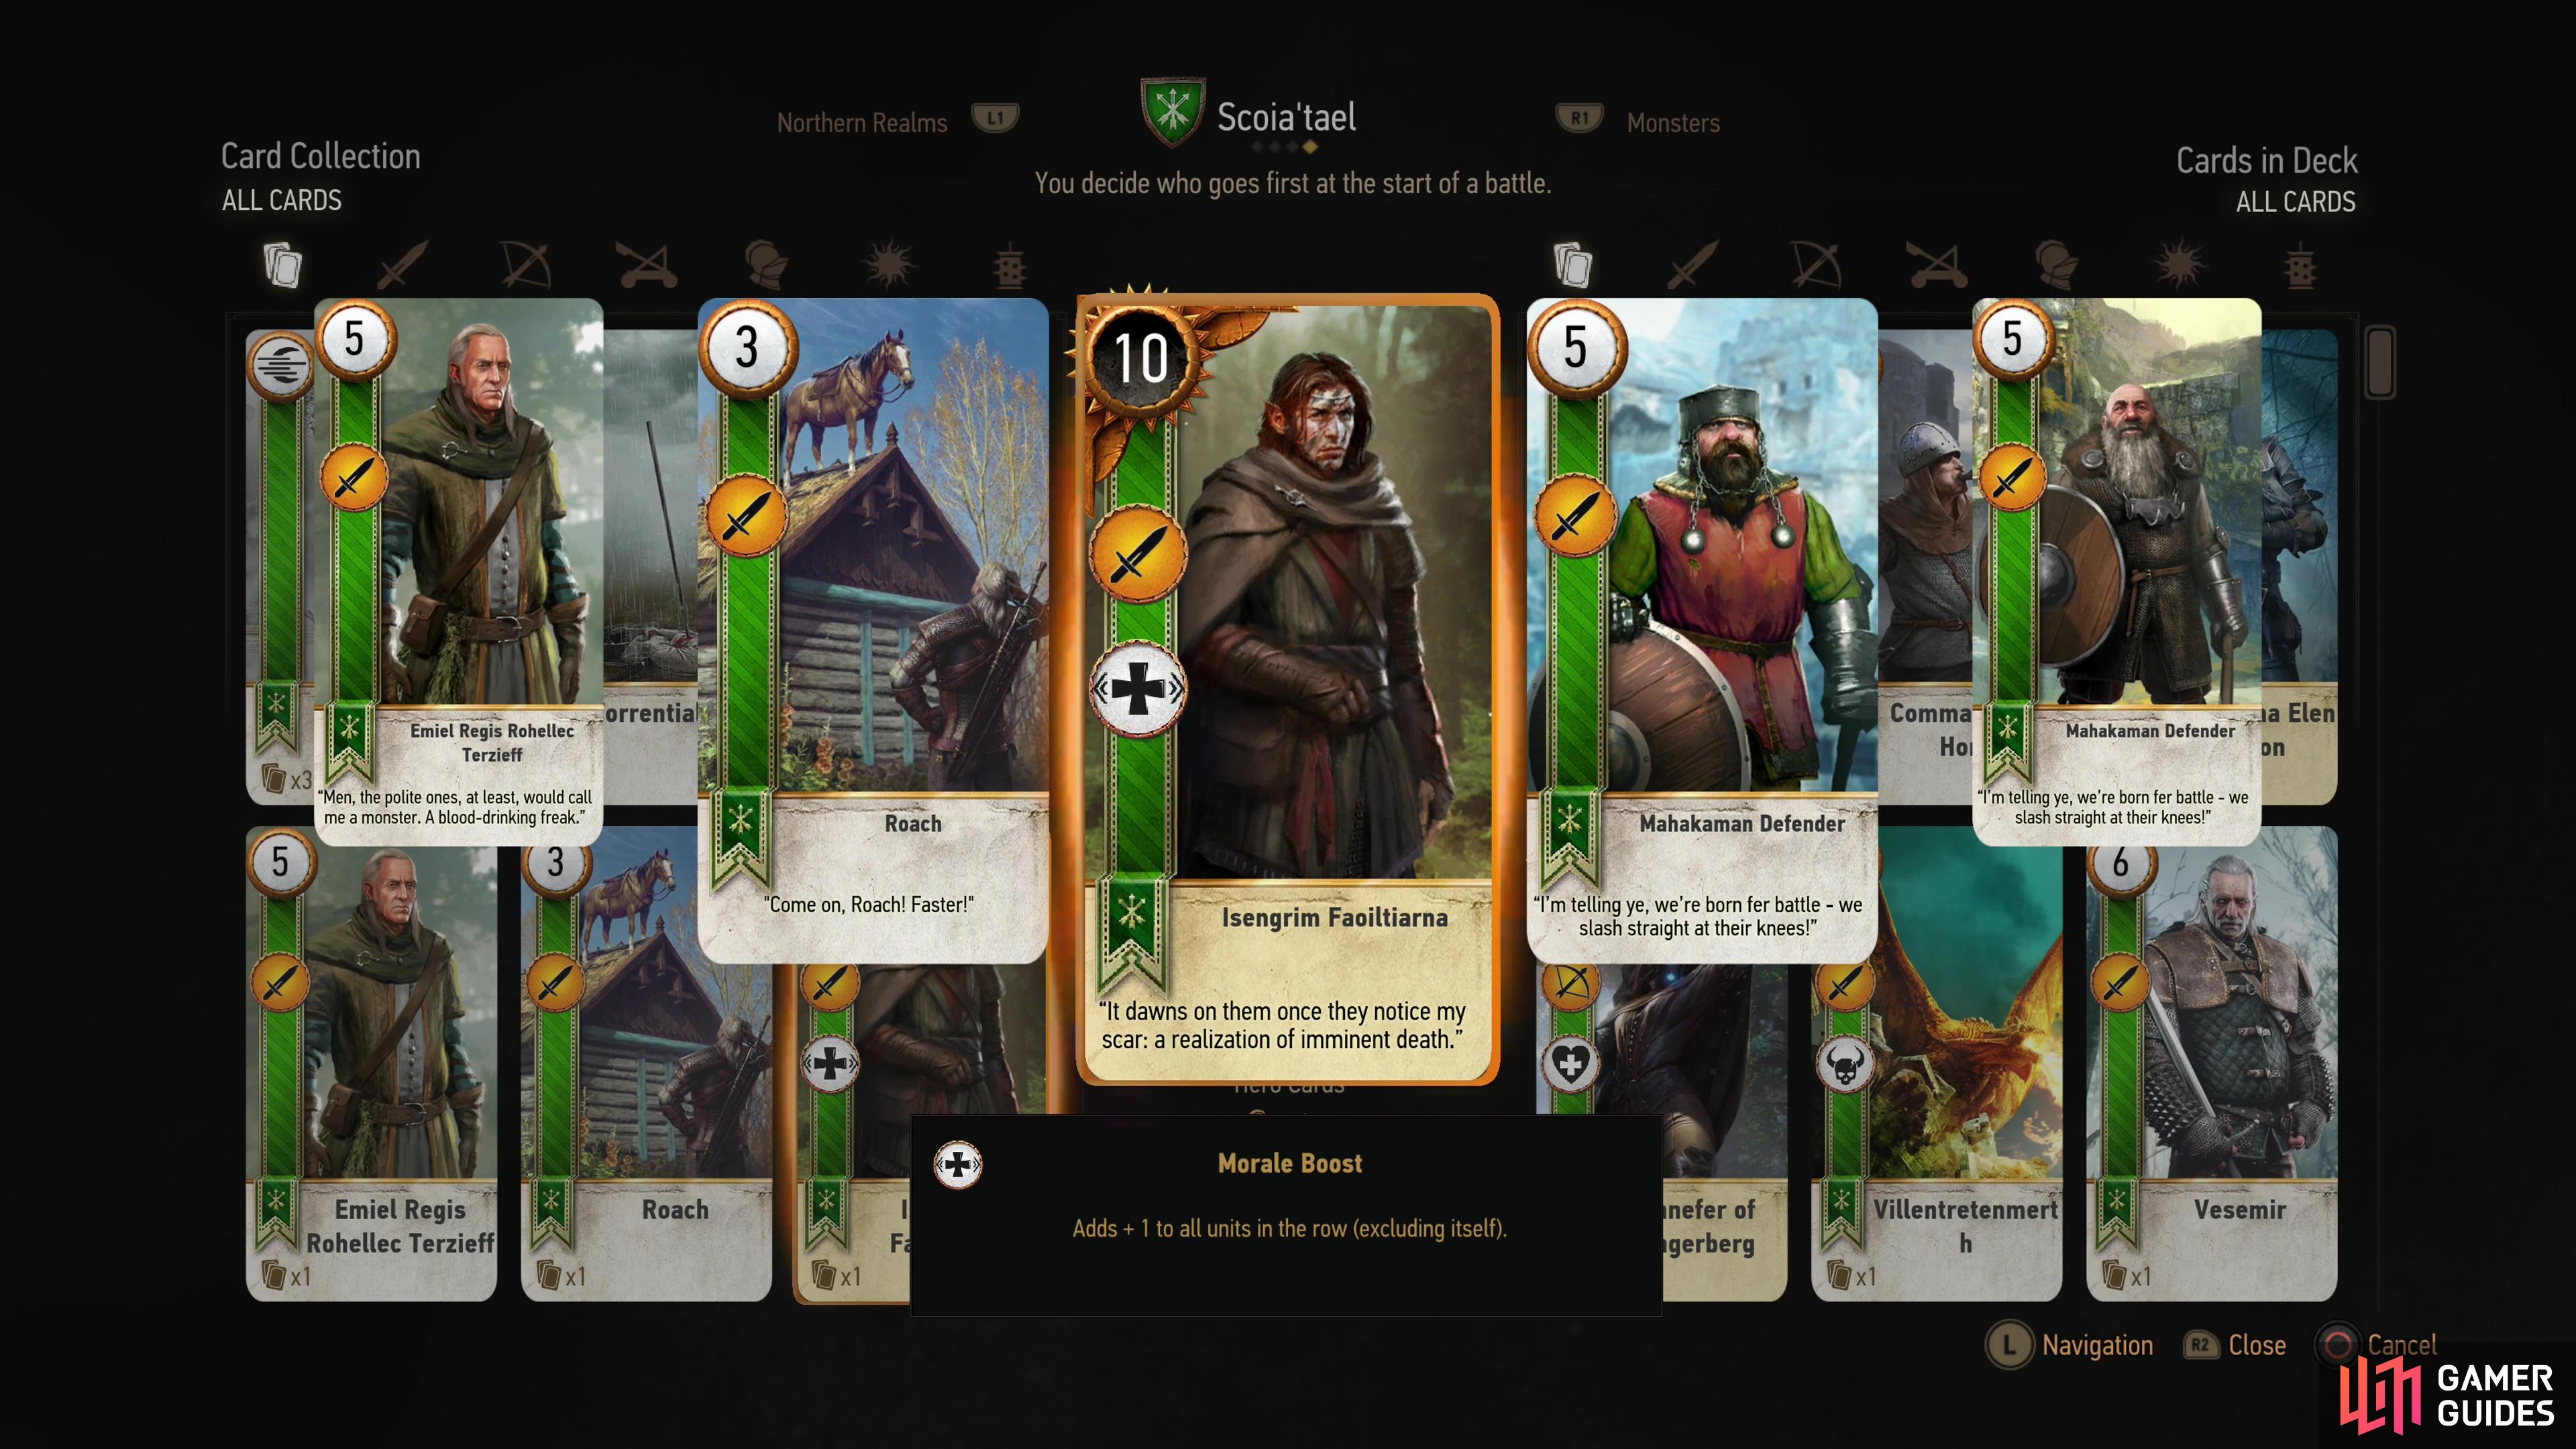
You cannot get these cards anywhere else, but you can get EXP and Crowns plenty of other ways. You should always take the cards unless you have an intense hatred for Gwent, for whatever reason. John Natalis is a 10 Strength close combat hero card for the Northern Kingdoms deck, Isengrim Faoiltiarna is a 10 Strength close combat hero card with the “Morale Boost” ability for the Scoia’tael deck and Fringilla Vigo is a 6 Strength ranged card for the Nilfgaardian Empire deck.

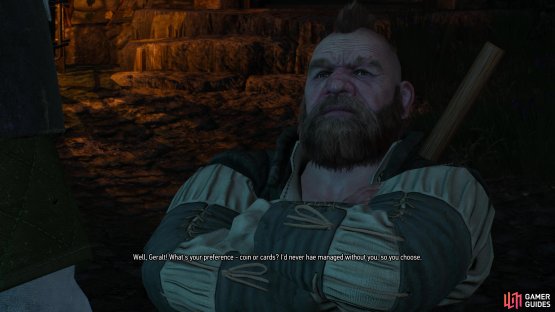
(1 of 2) Get the coin from Duke and Zoltan will give you a choice - keep the cards or keep the coin.
Get the coin from Duke and Zoltan will give you a choice - keep the cards or keep the coin. (left), You won’t get any EXP or Crowns if you take the money, but the Gwent cards are unique, the other rewards are not. (right)
"you’ll have completed the"
Yes, I'm completed.. but what? :)