
After defeating the Midgardsormr, you will find yourself venturing through the Mythril Mine next. At some point, Barret and ![]() Red XIII get separated from the others, where they have to explore the depths of the mine. When they finally reach the end, though, they will encounter a creature, leading to a boss fight with the
Red XIII get separated from the others, where they have to explore the depths of the mine. When they finally reach the end, though, they will encounter a creature, leading to a boss fight with the ![]() Mythril Golem.
Mythril Golem.
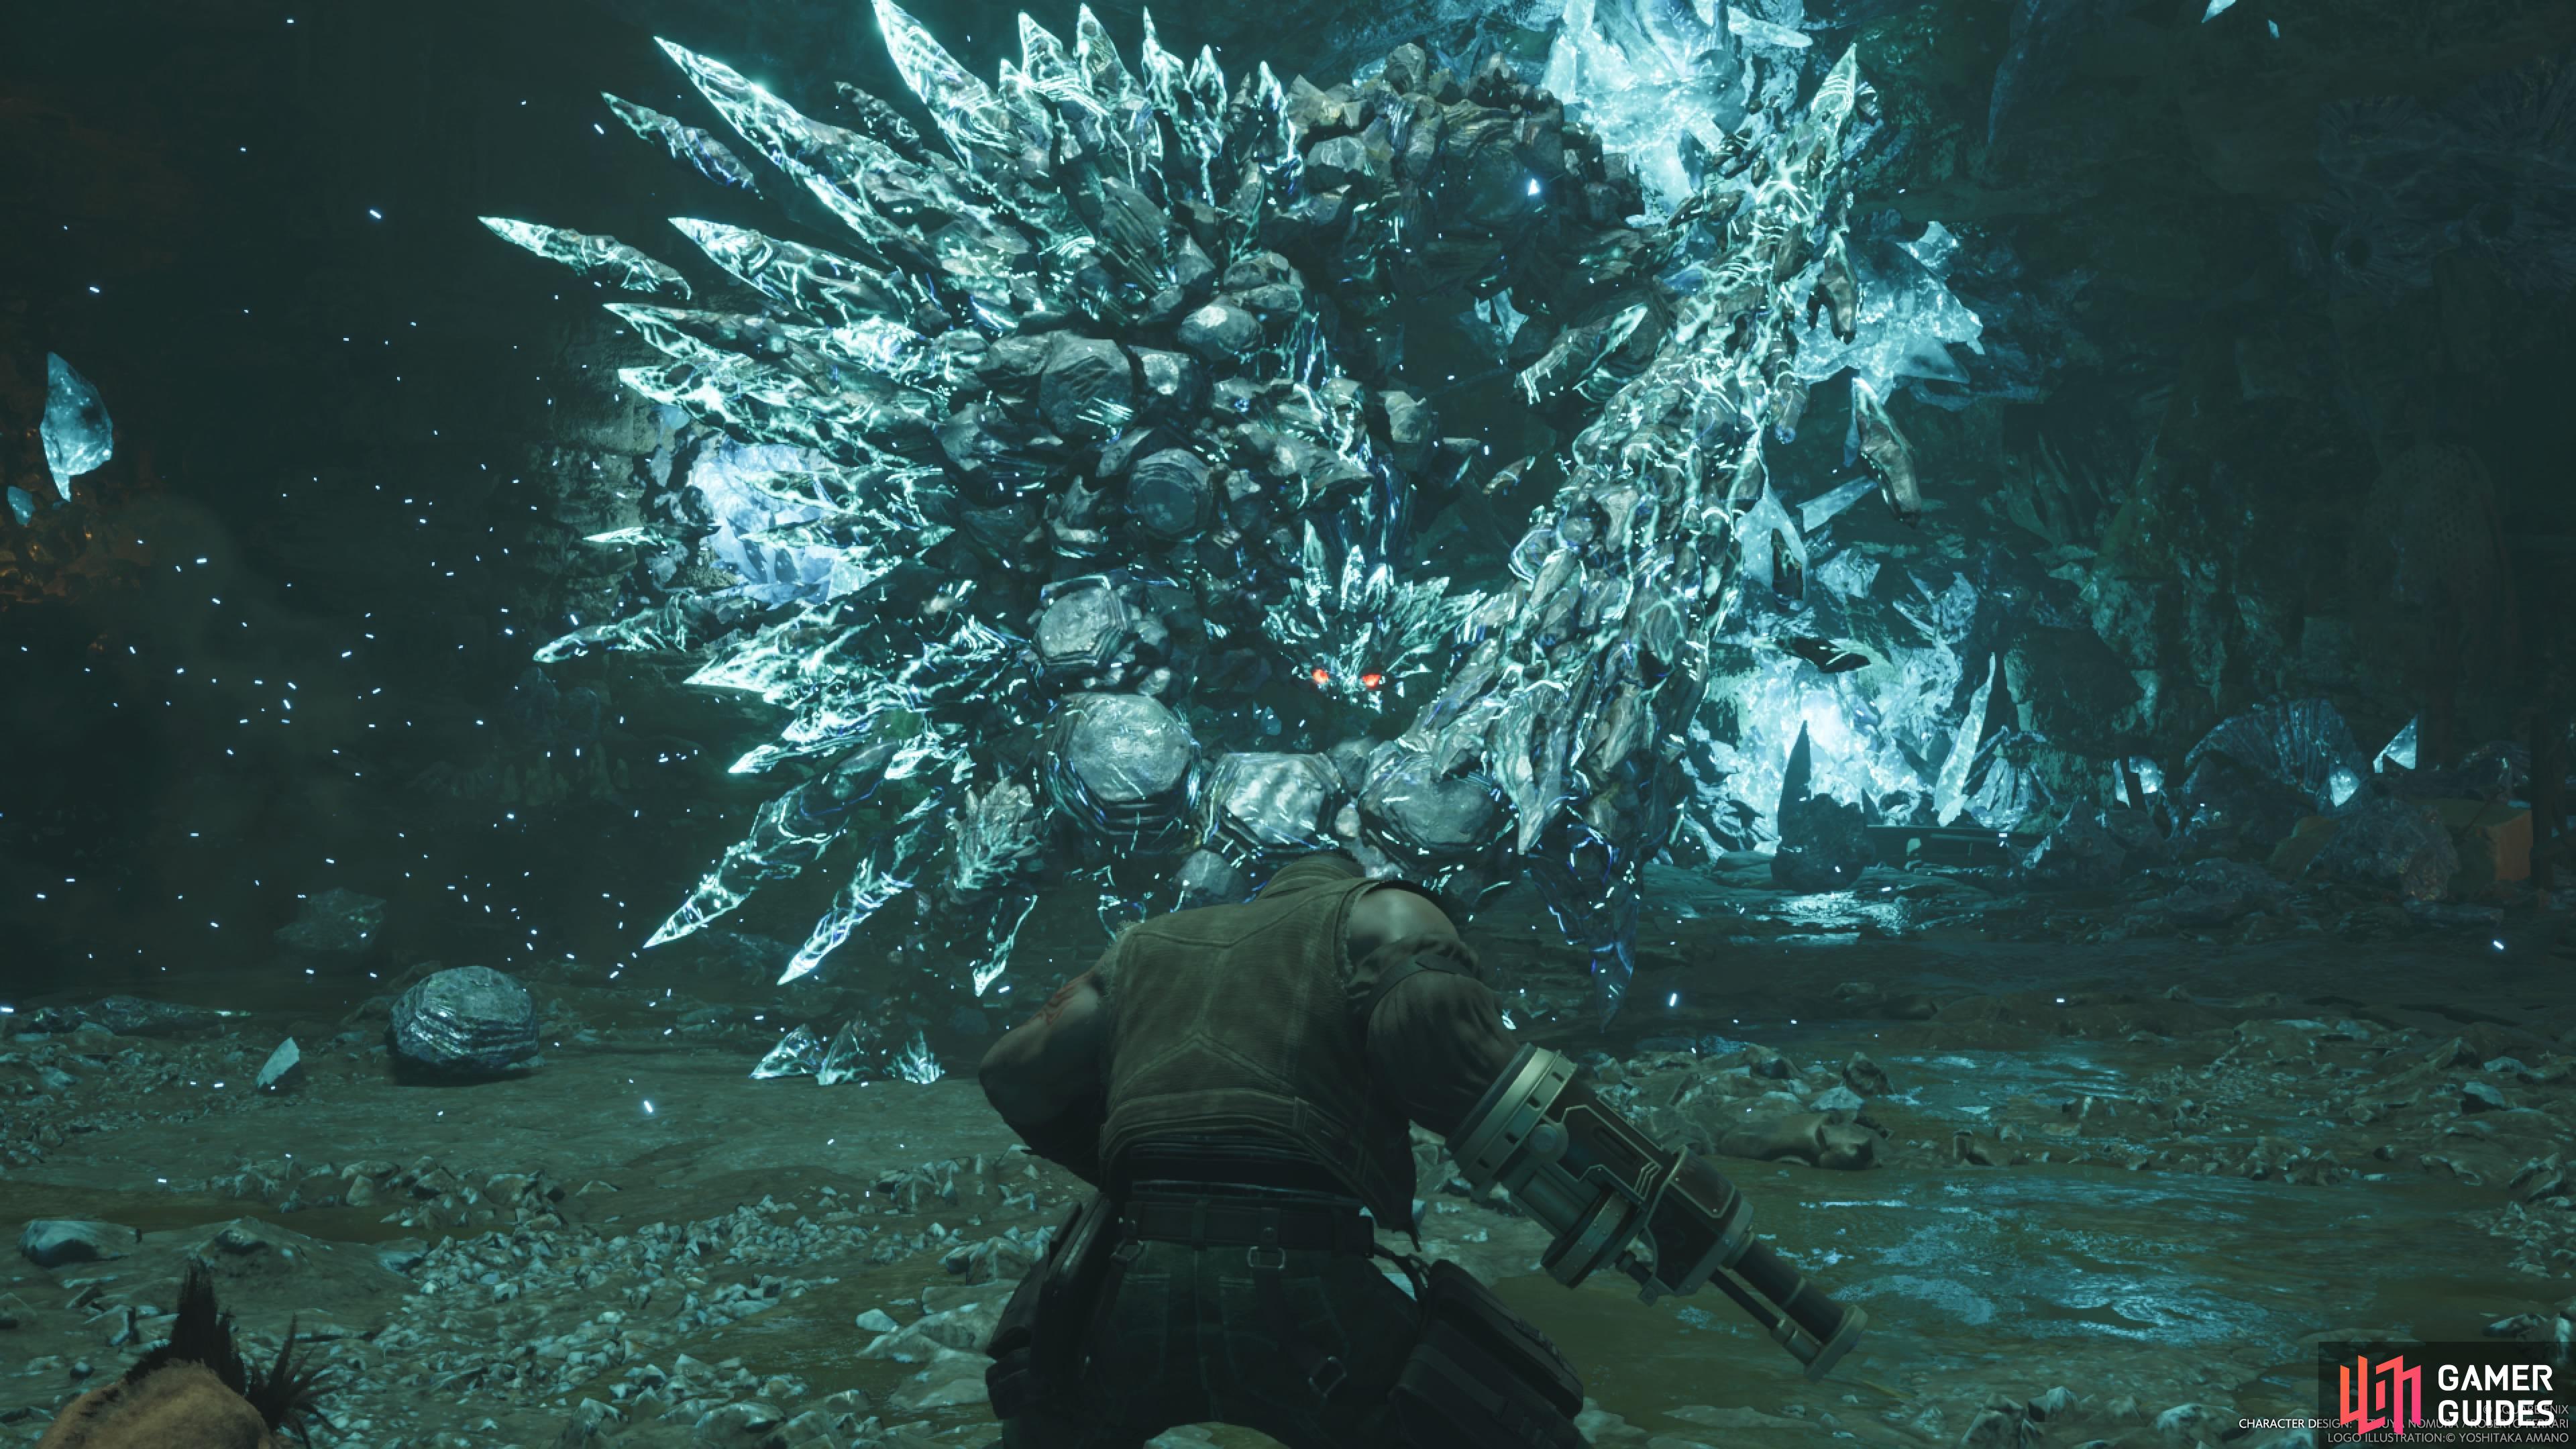
You will be facing the Mythril Golem with just Barret and Red XIII.
All Mythril Golem Attacks
The following list contains all of the attacks you will see from the Mythril Golem during the boss battle. It has two phases, with the second one starting around 60% or so health remaining.
-
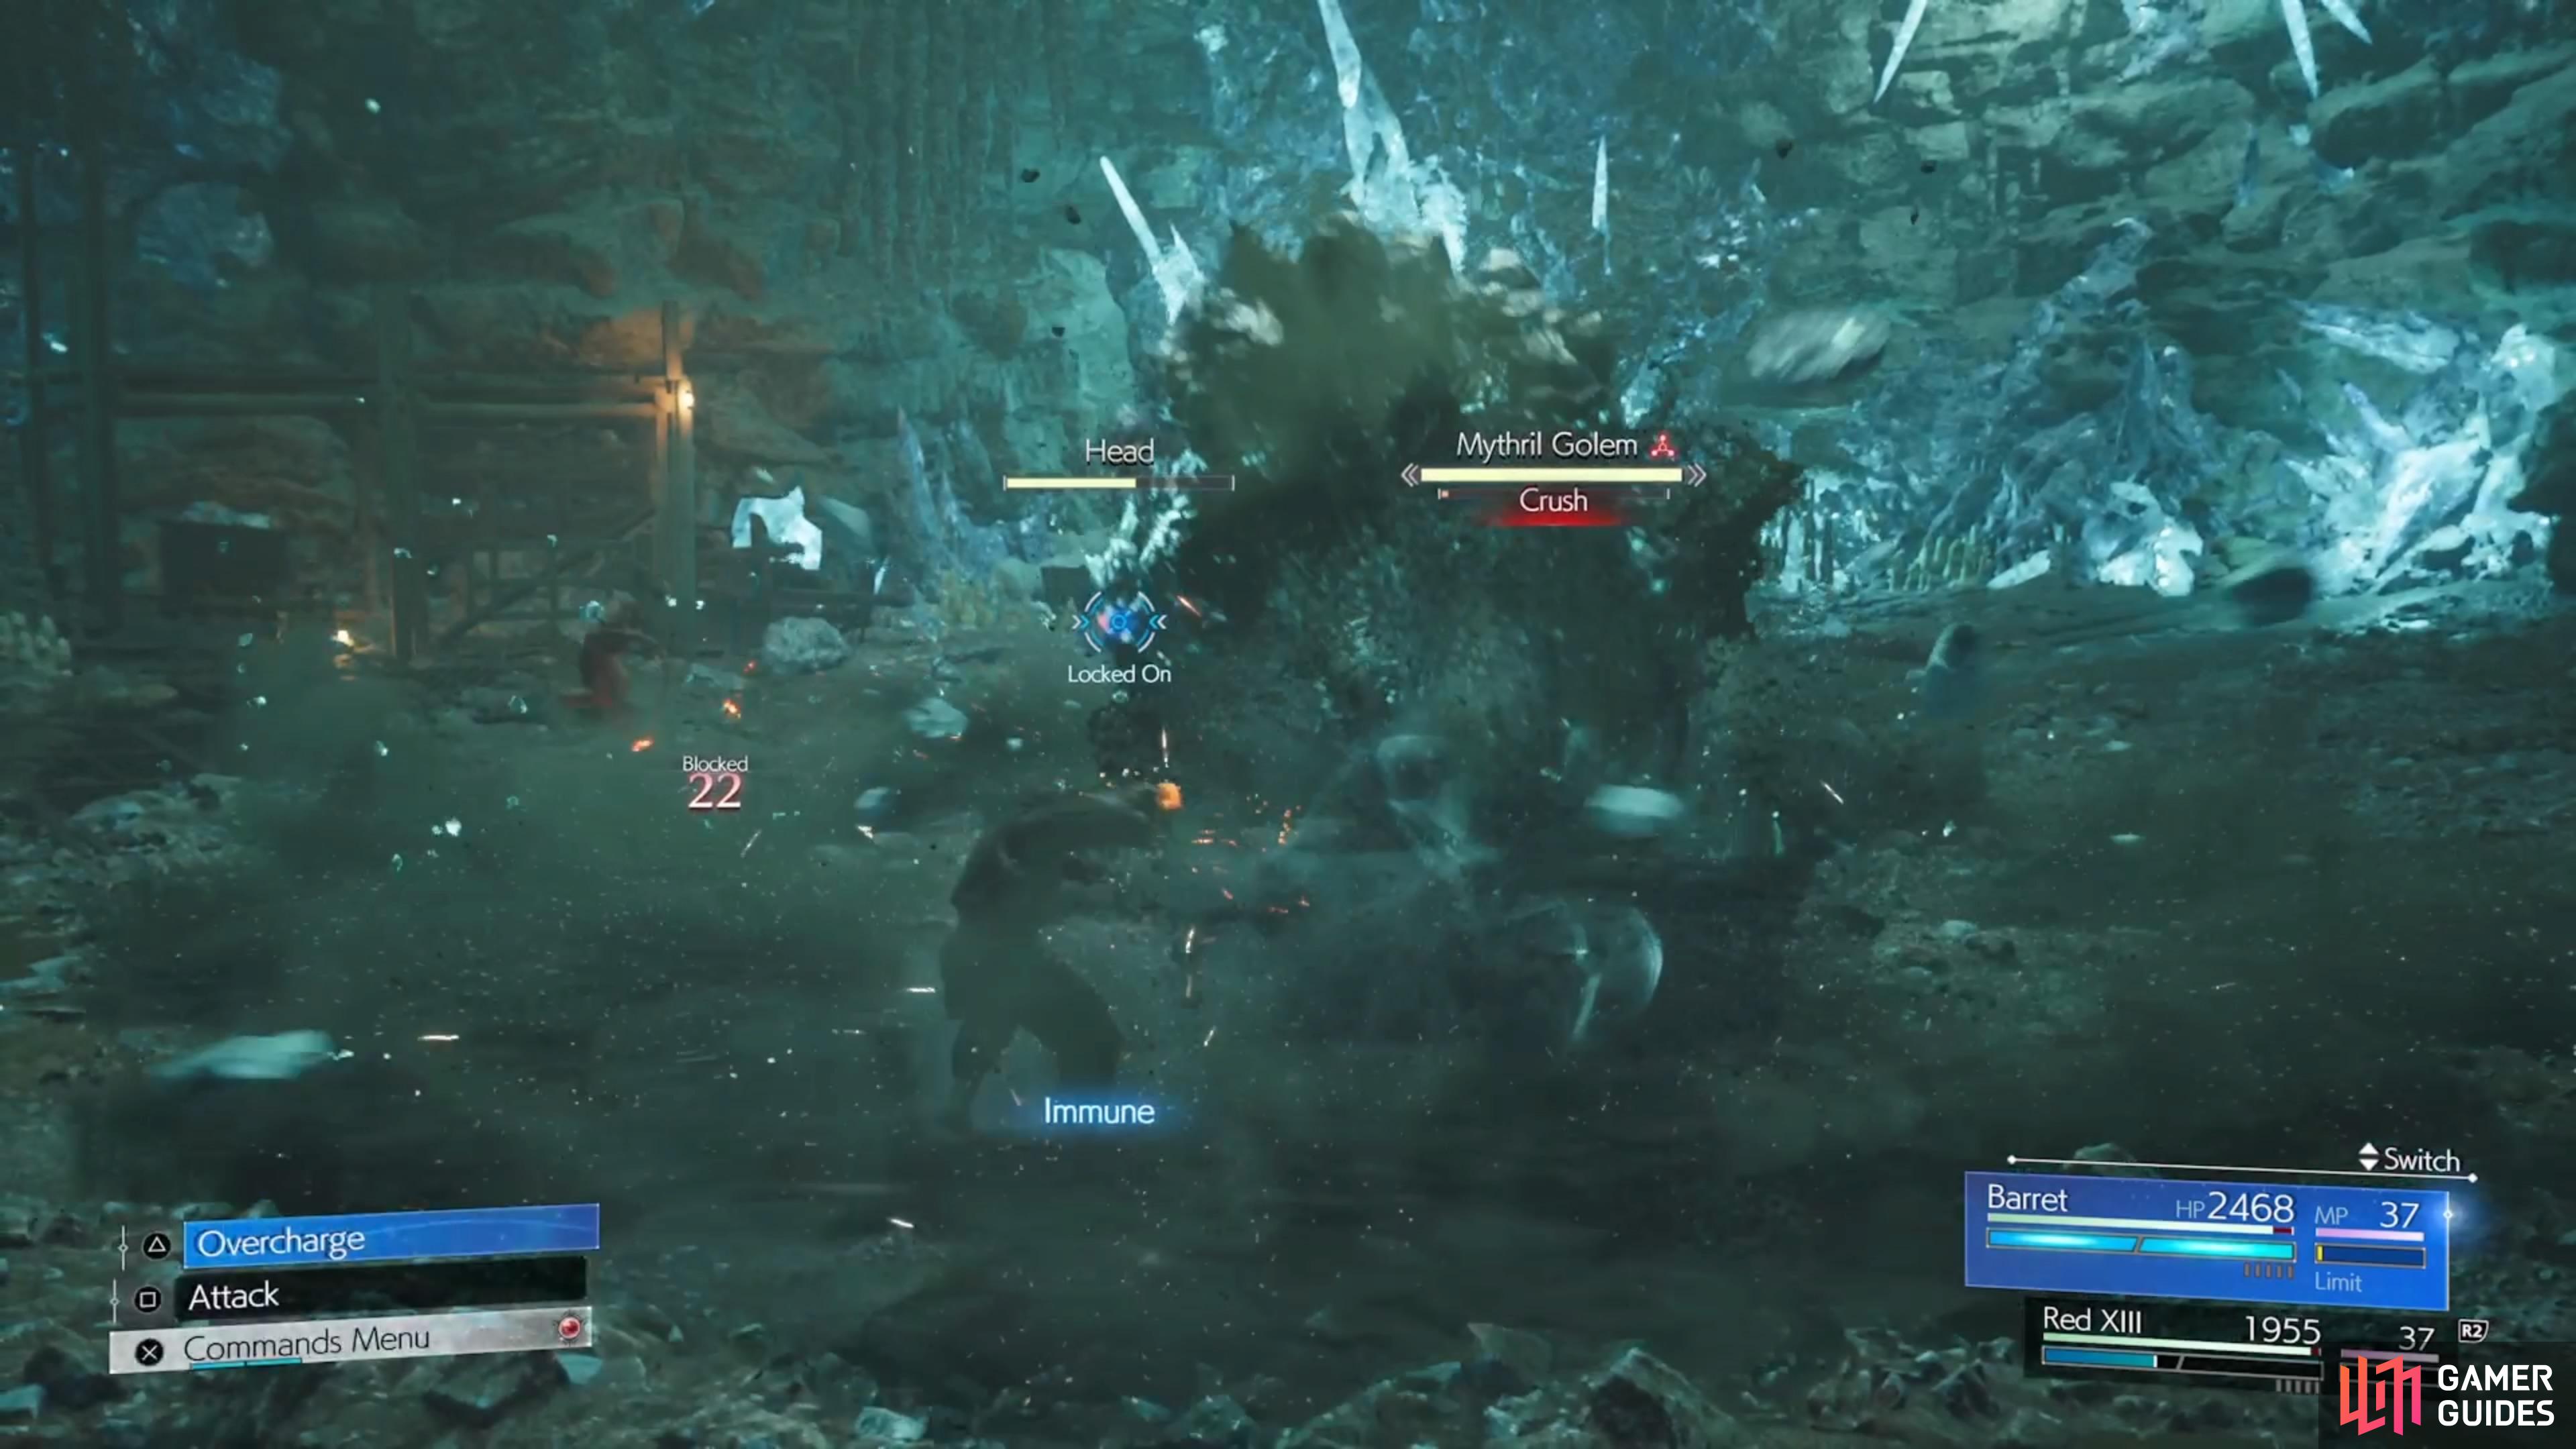
Crush: Mythril Golem will smack the ground with its arm, producing a medium-sized shockwave around the impact point.
-
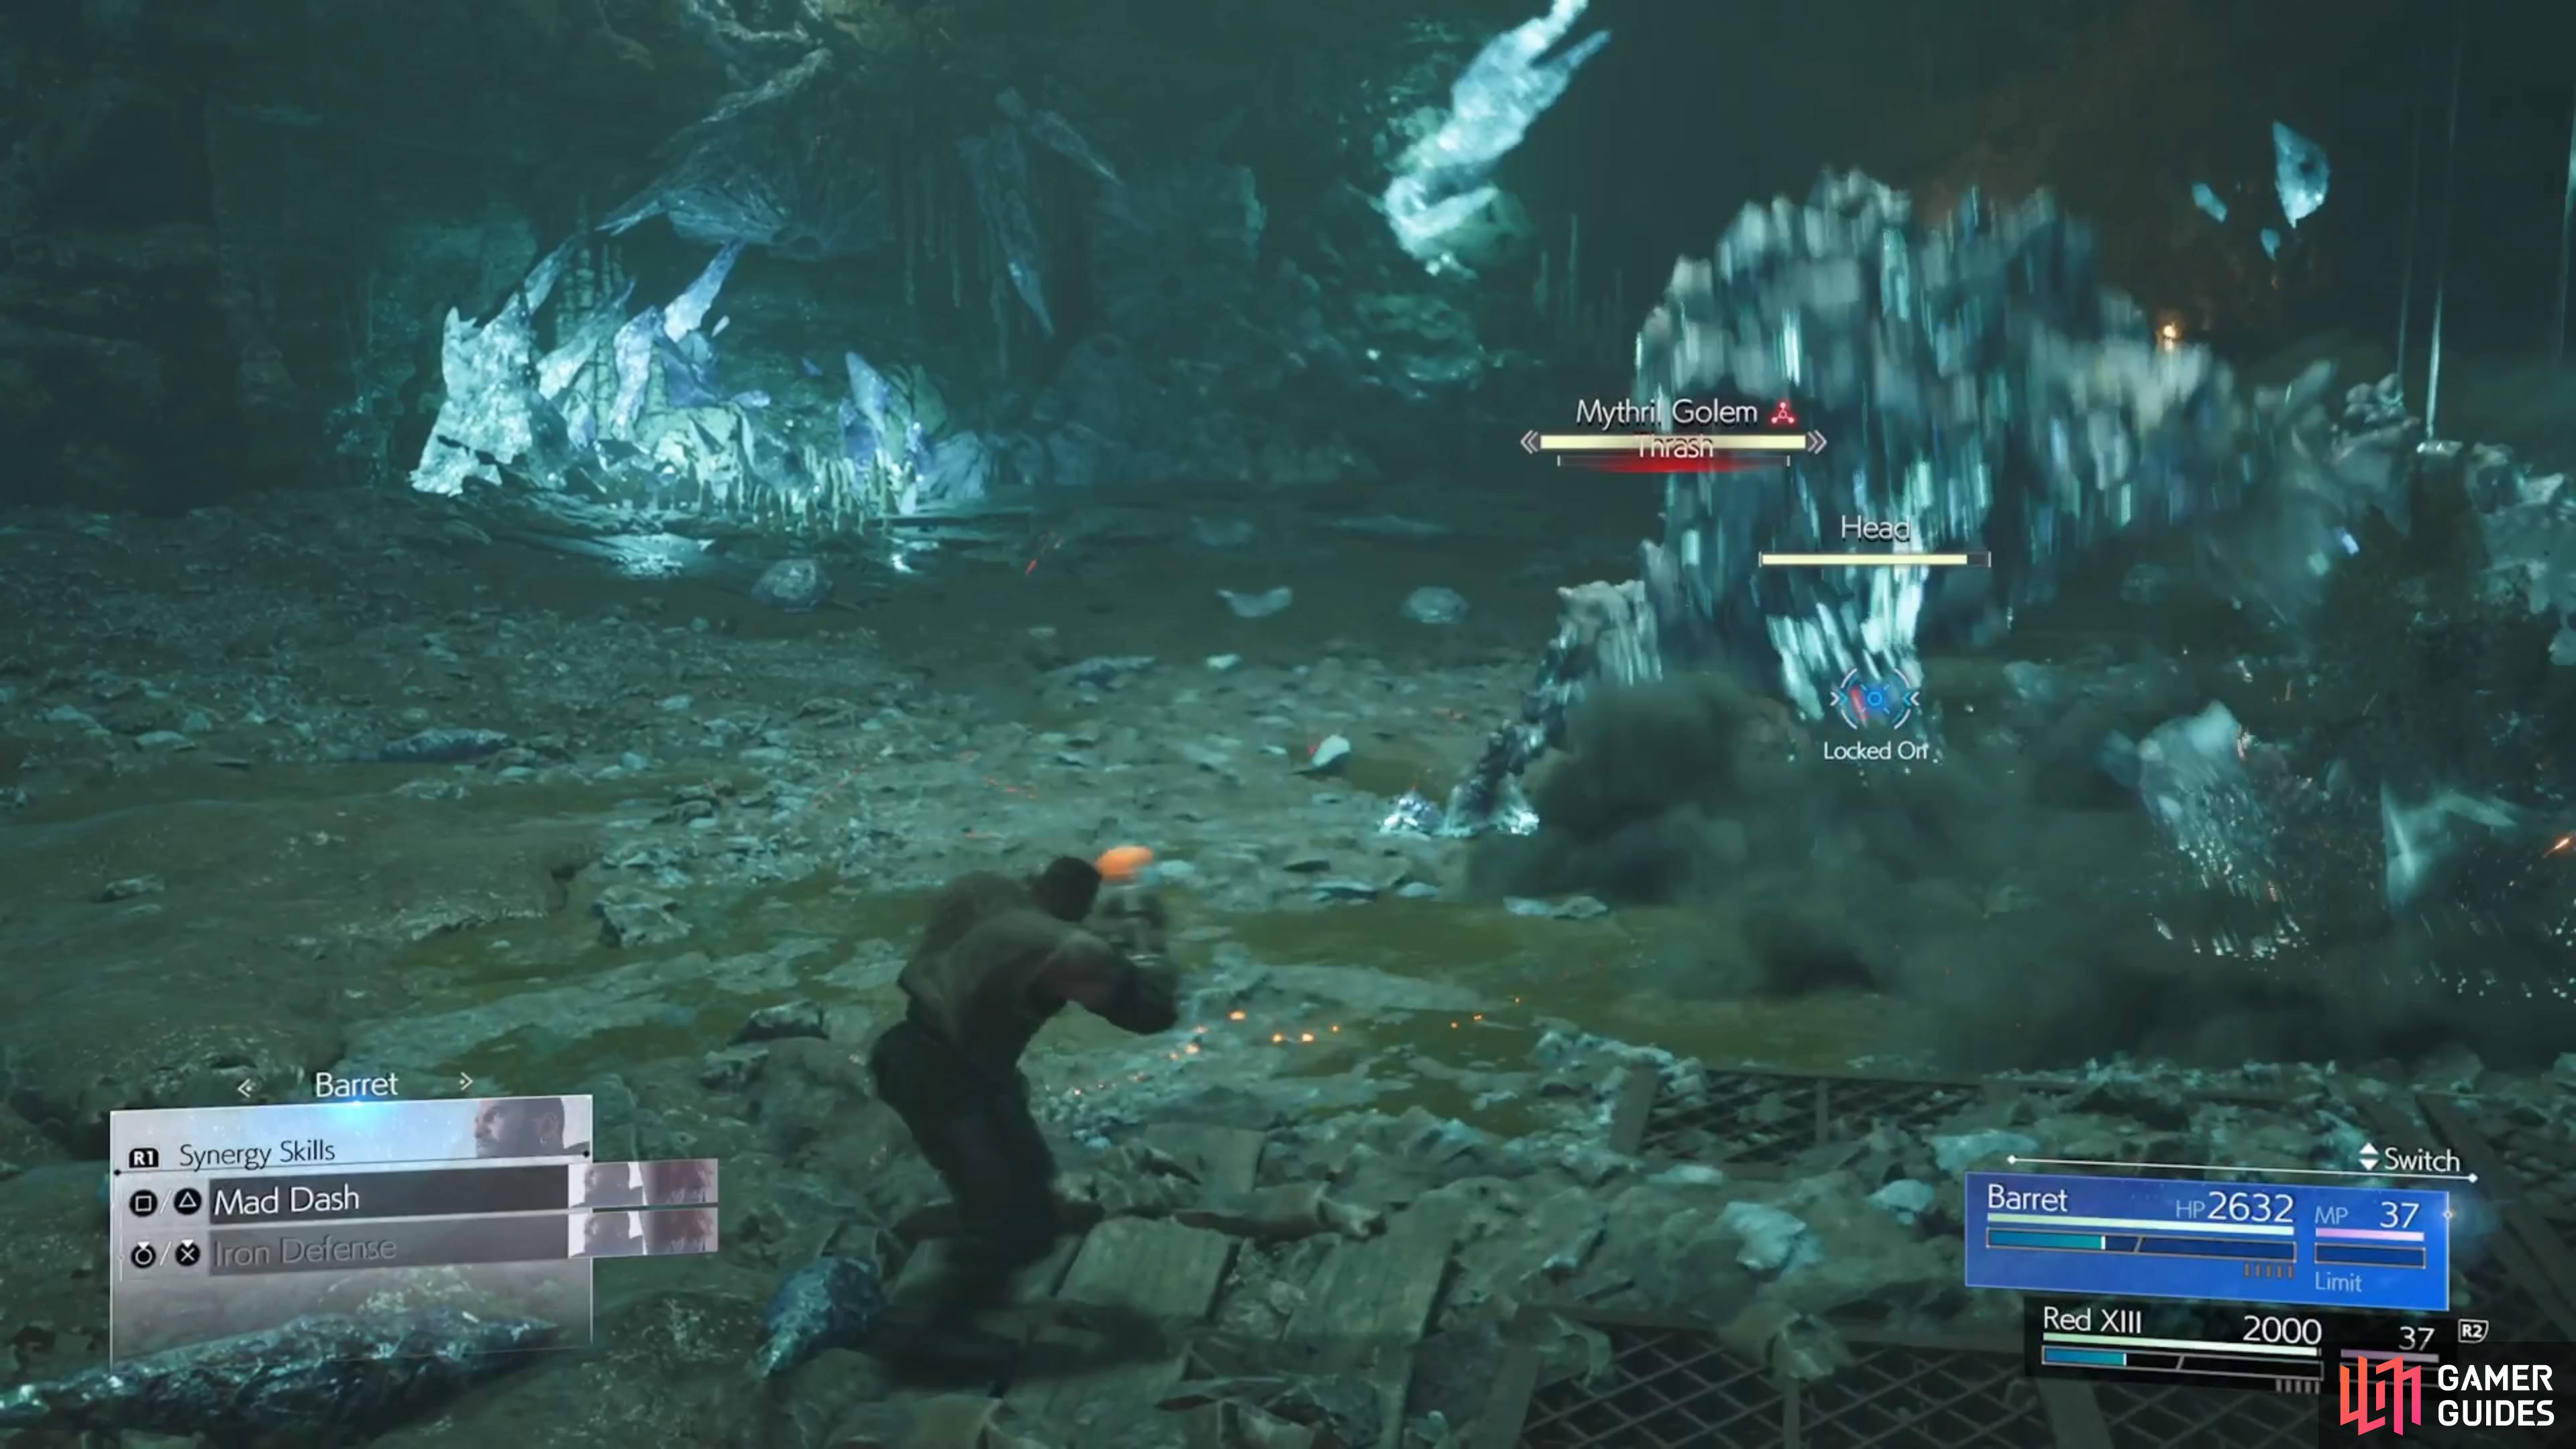
Thrash: Similar to Crush, but it’ll hit the ground three times, with smaller impacts each time.
-
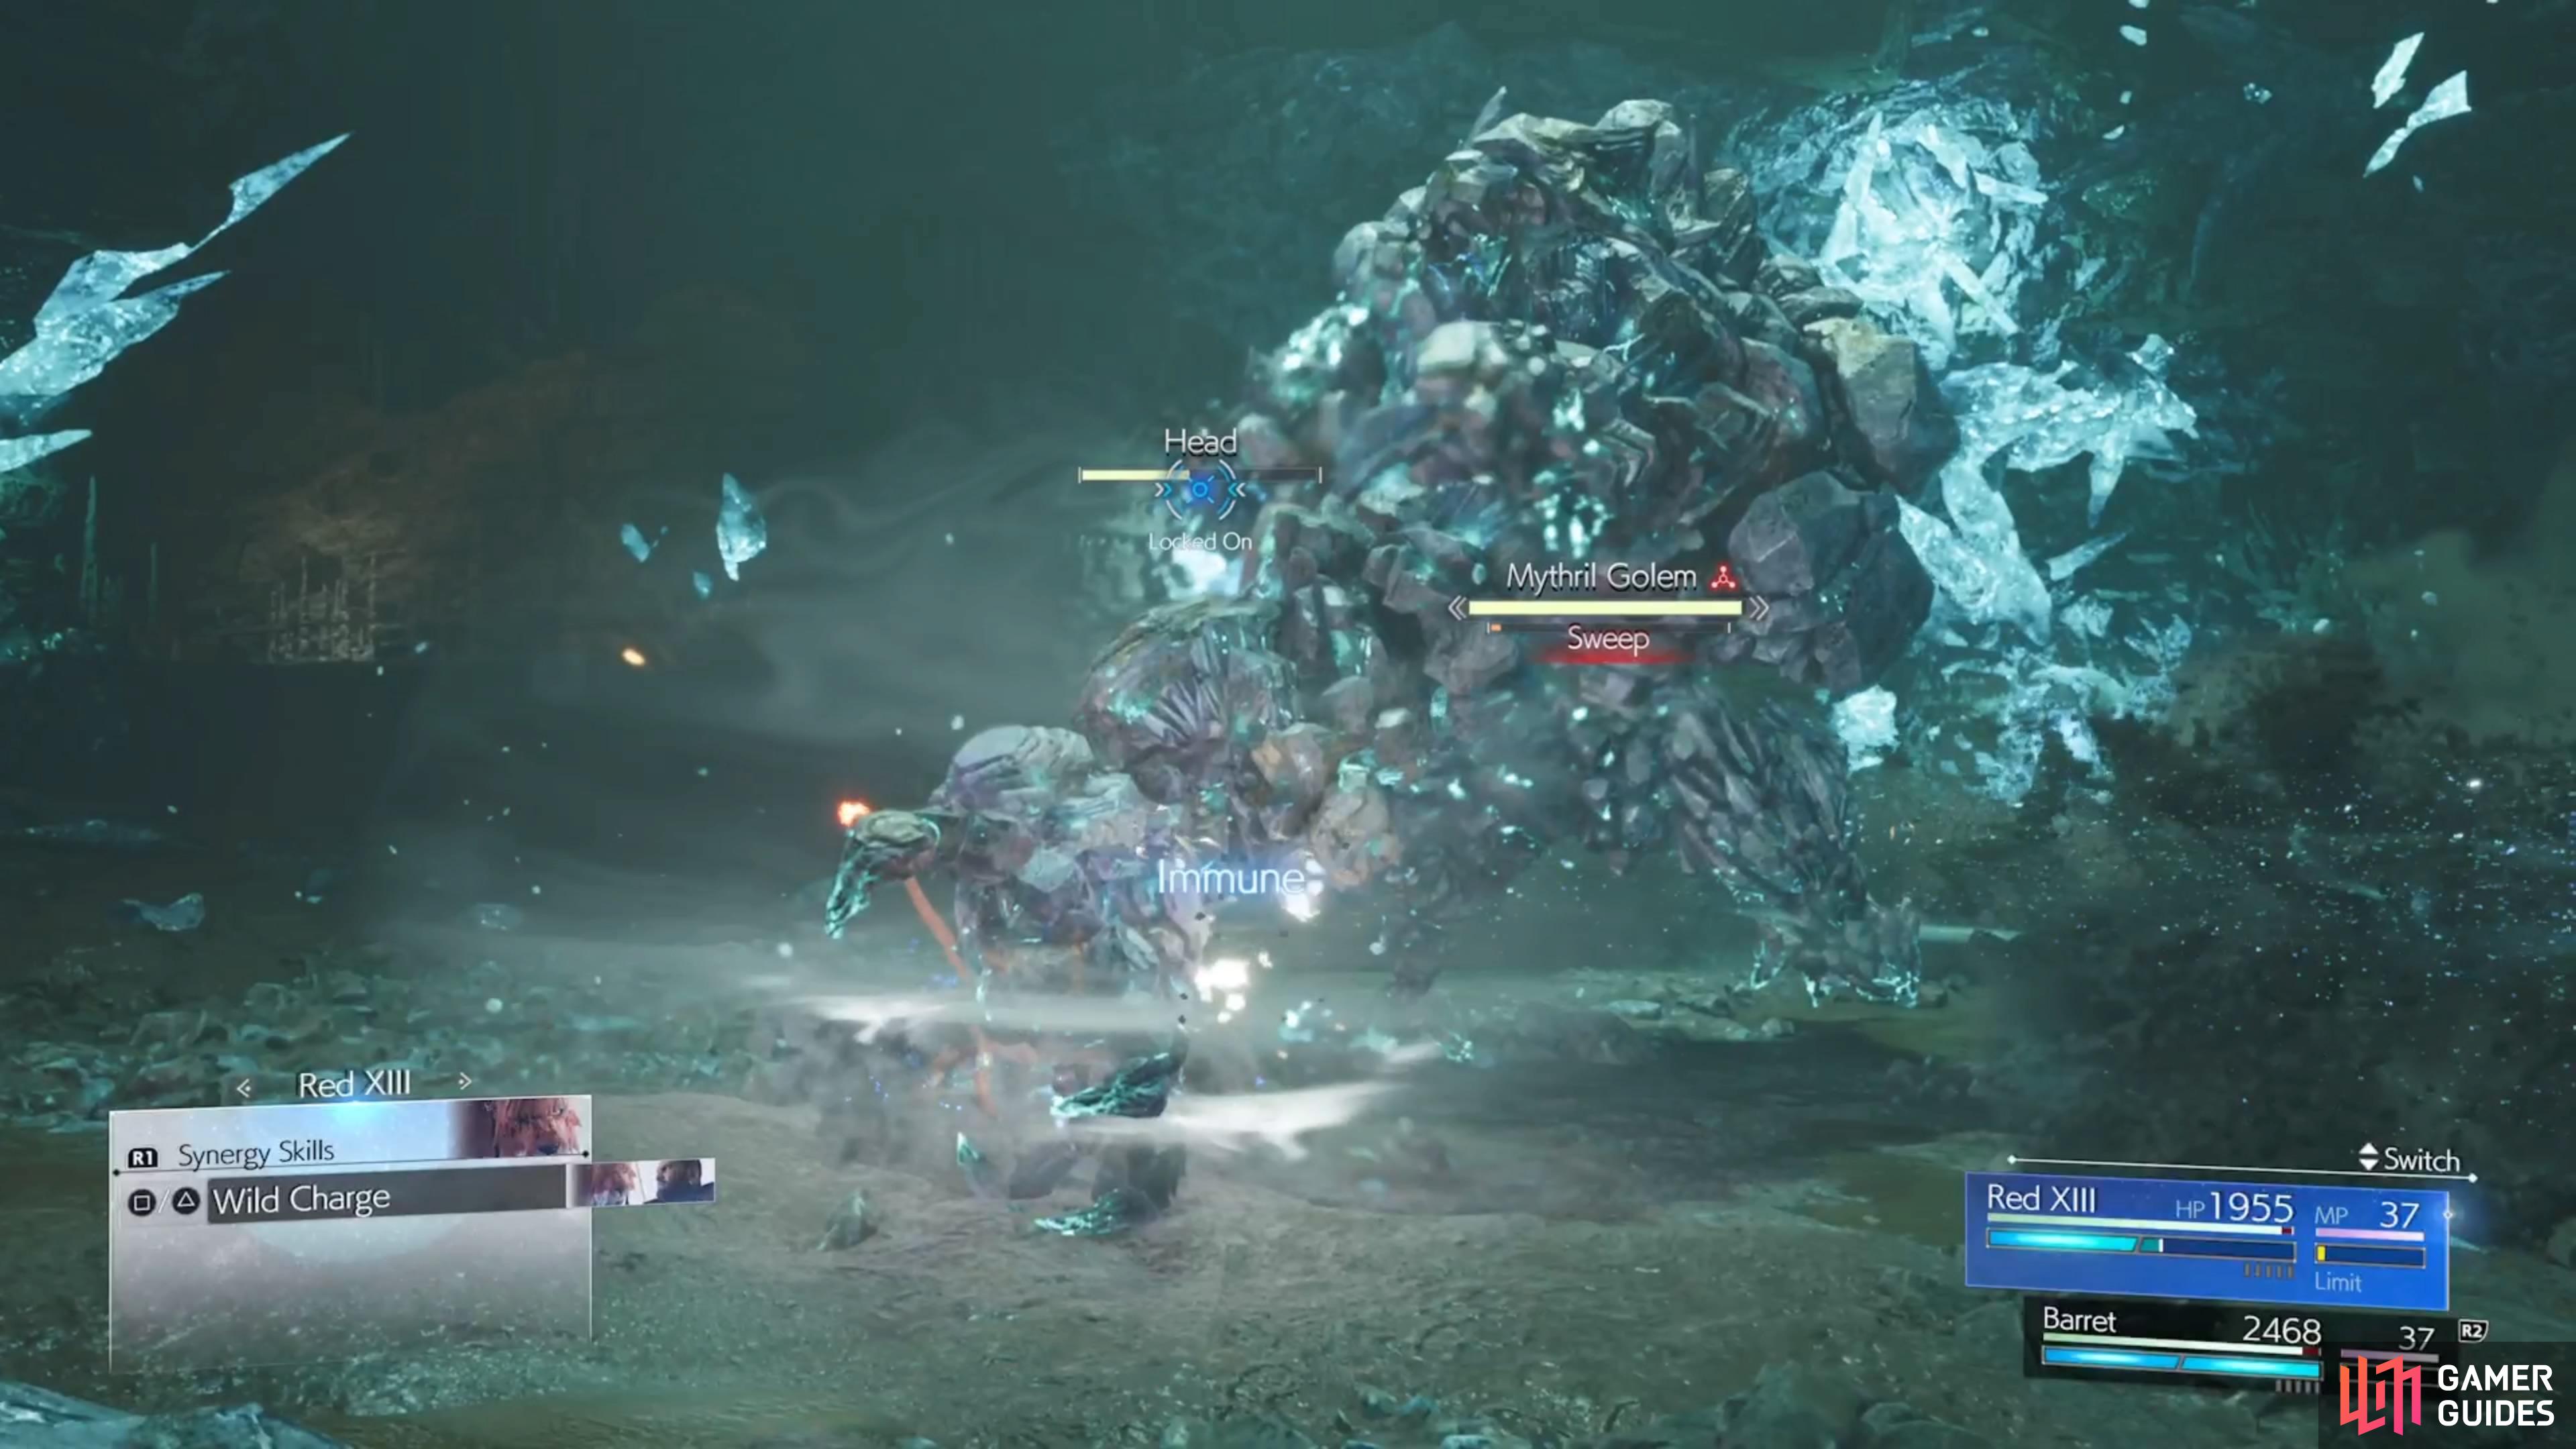
Sweep: Mythril Golem will do a sweeping attack with one arm. This has a fairly large reach, too, so either block it or time a precision block.
-
Leaping Strike: The boss will crouch down, then leap into the air and try to land on one of your characters.
-
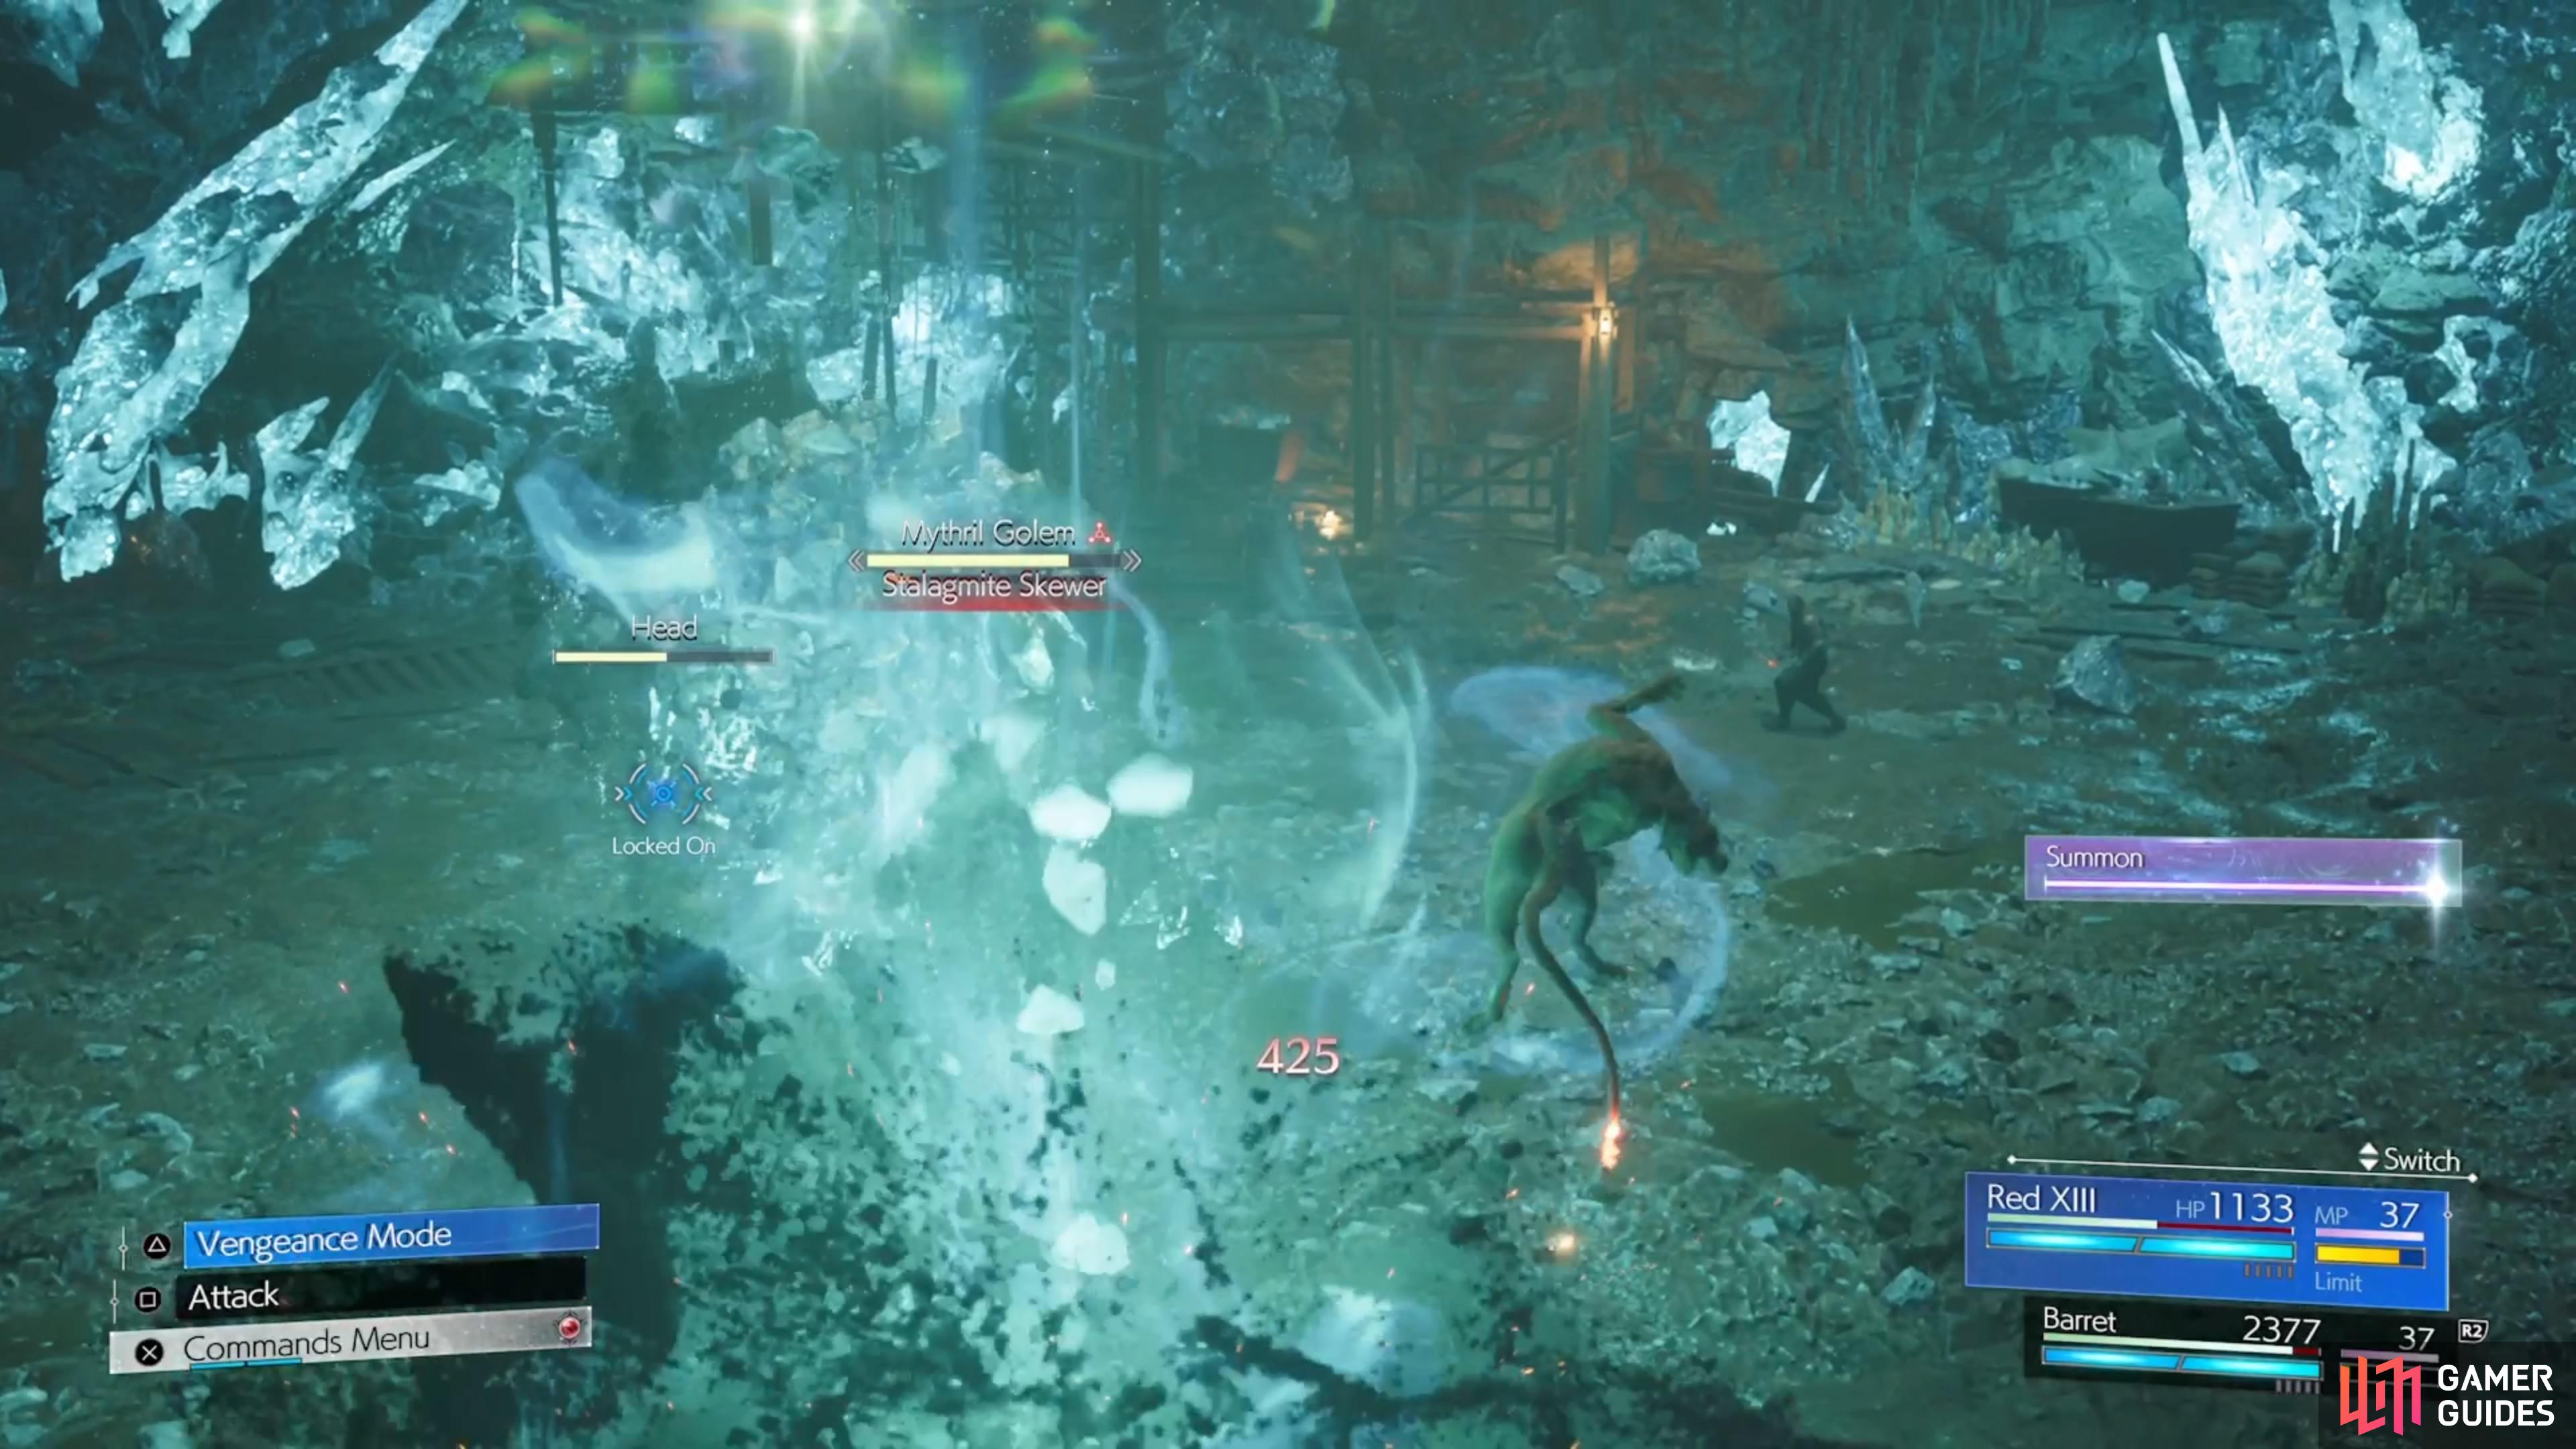
Stalagmite Skewer: The Mythril Golem will shove its hand into the ground, then send out a vertical shockwave in the direction of one character. This attack can do a decent amount of damage.
-
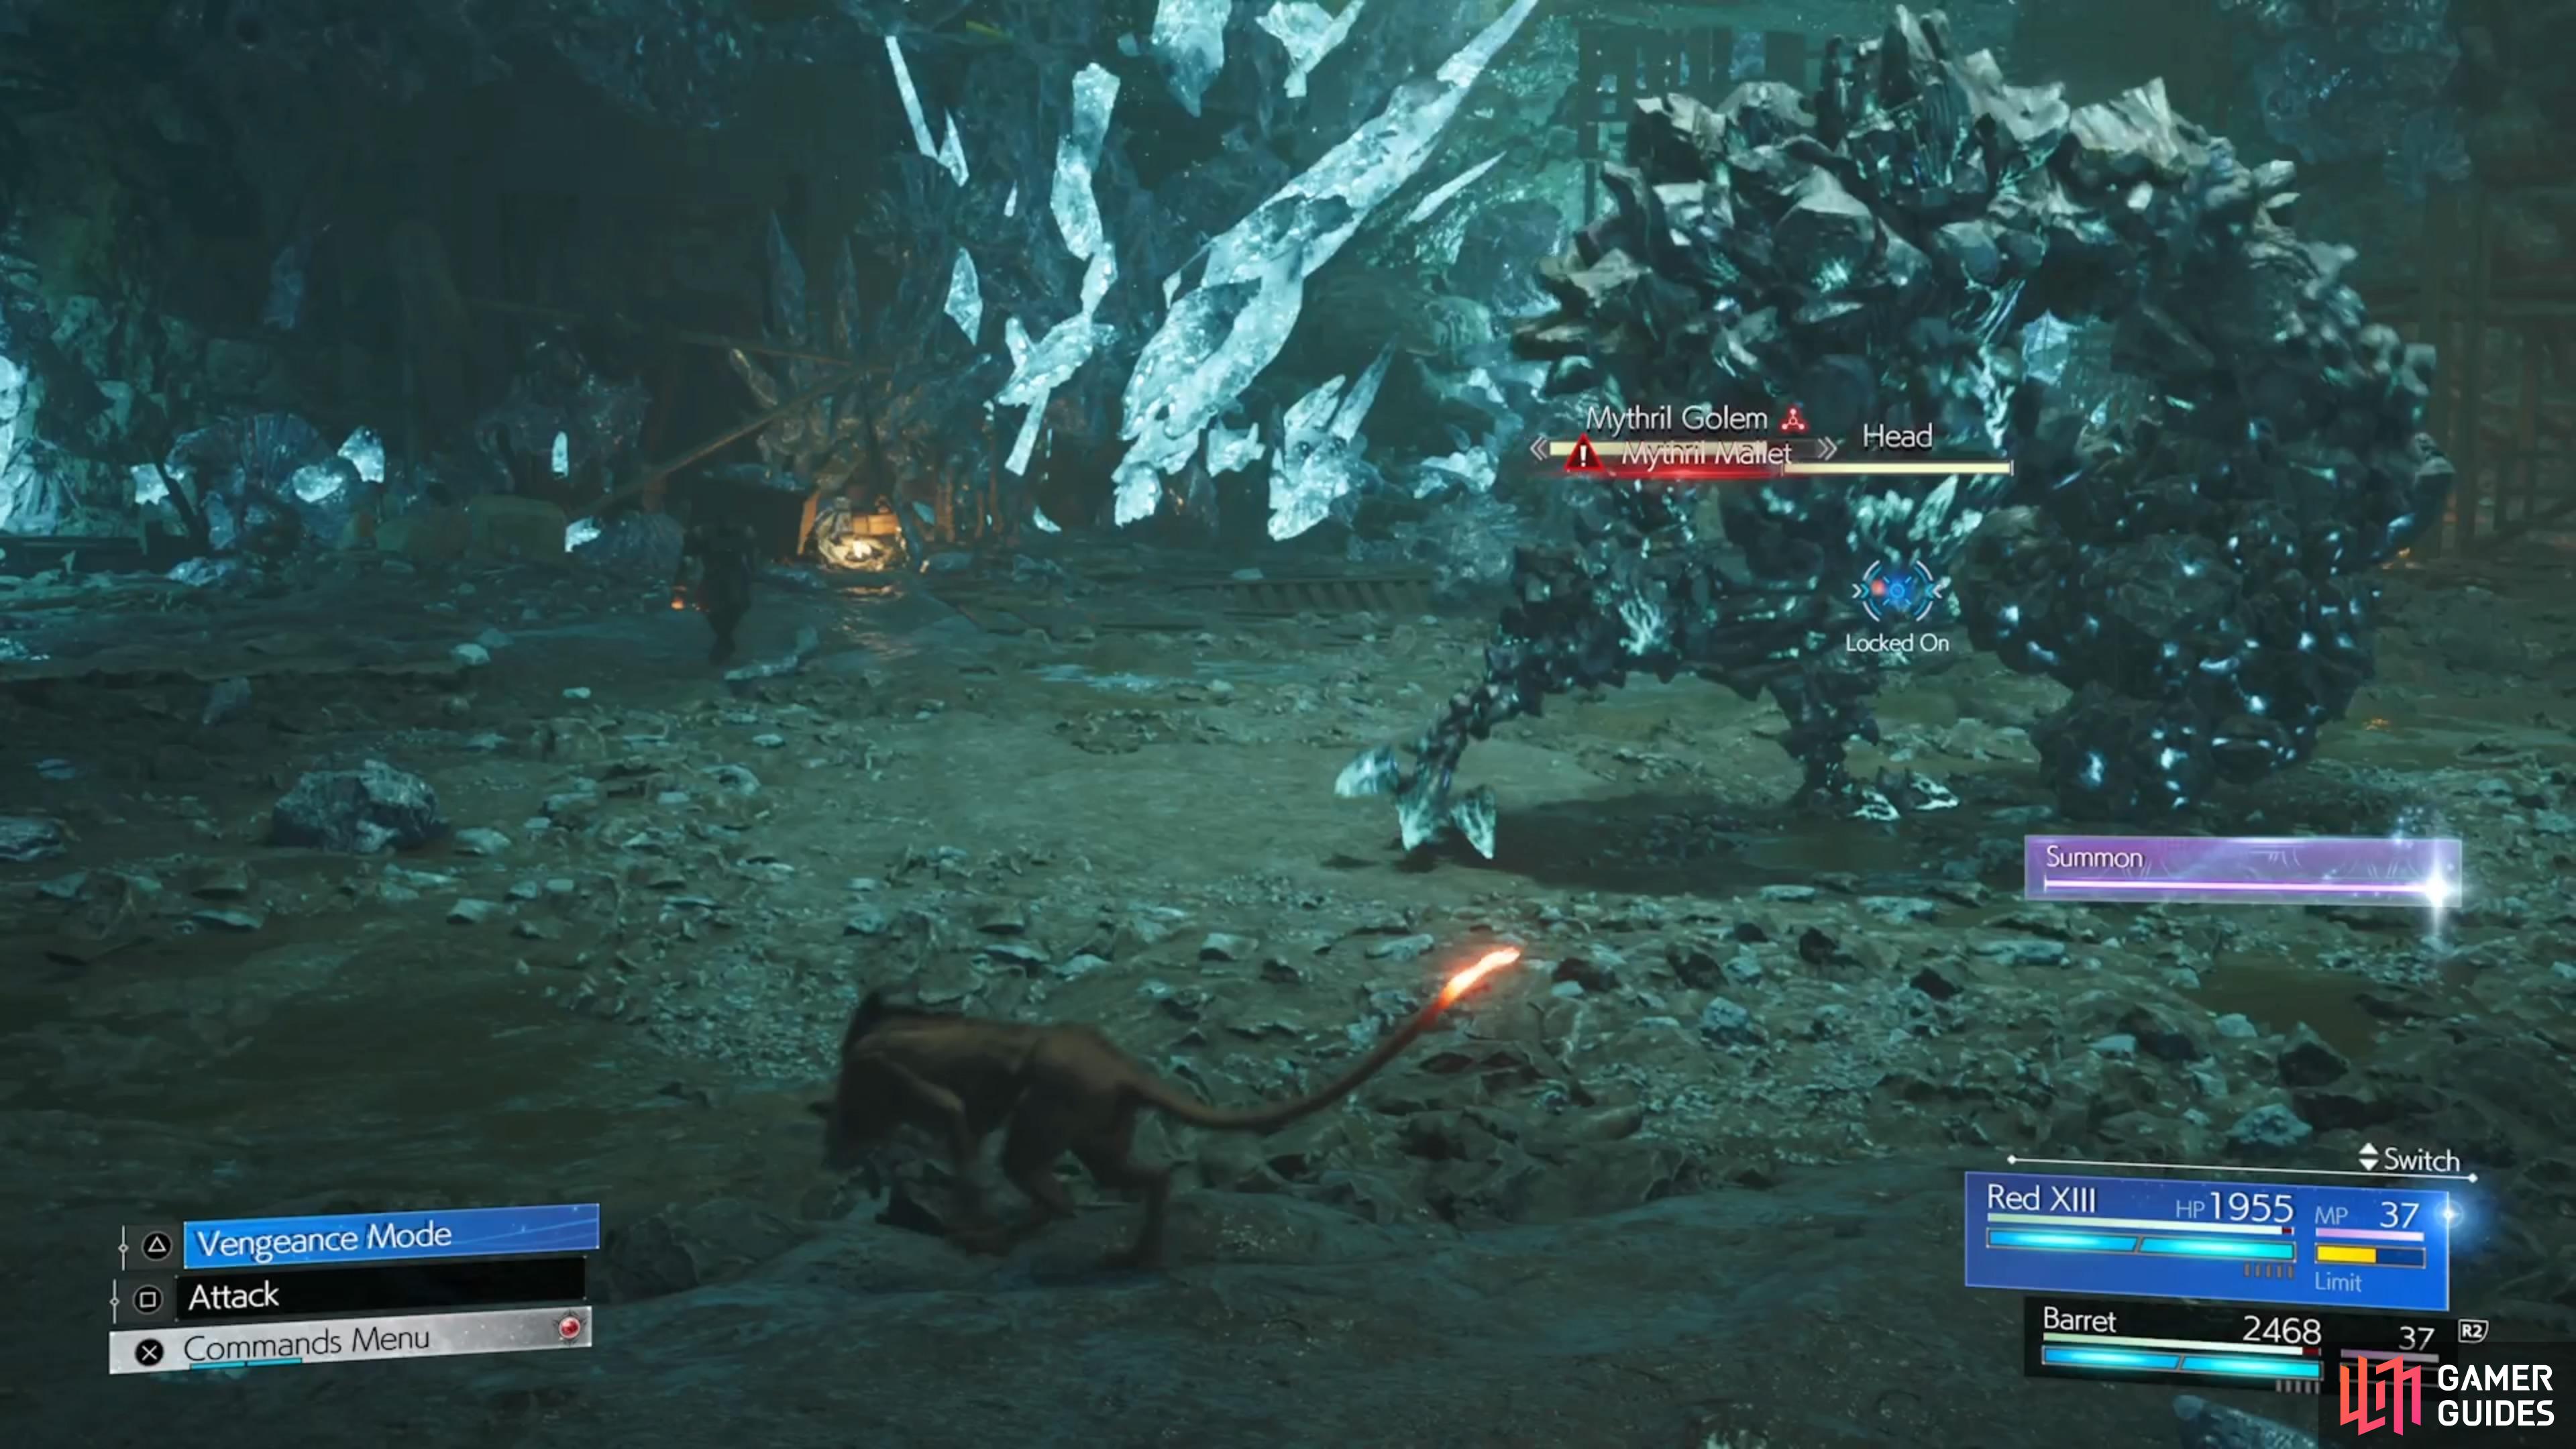
Mythril Mallet: One of the unblockable moves, the boss will put a giant crystal on the end of its arm, then smack the ground, like with so many other attacks.
-
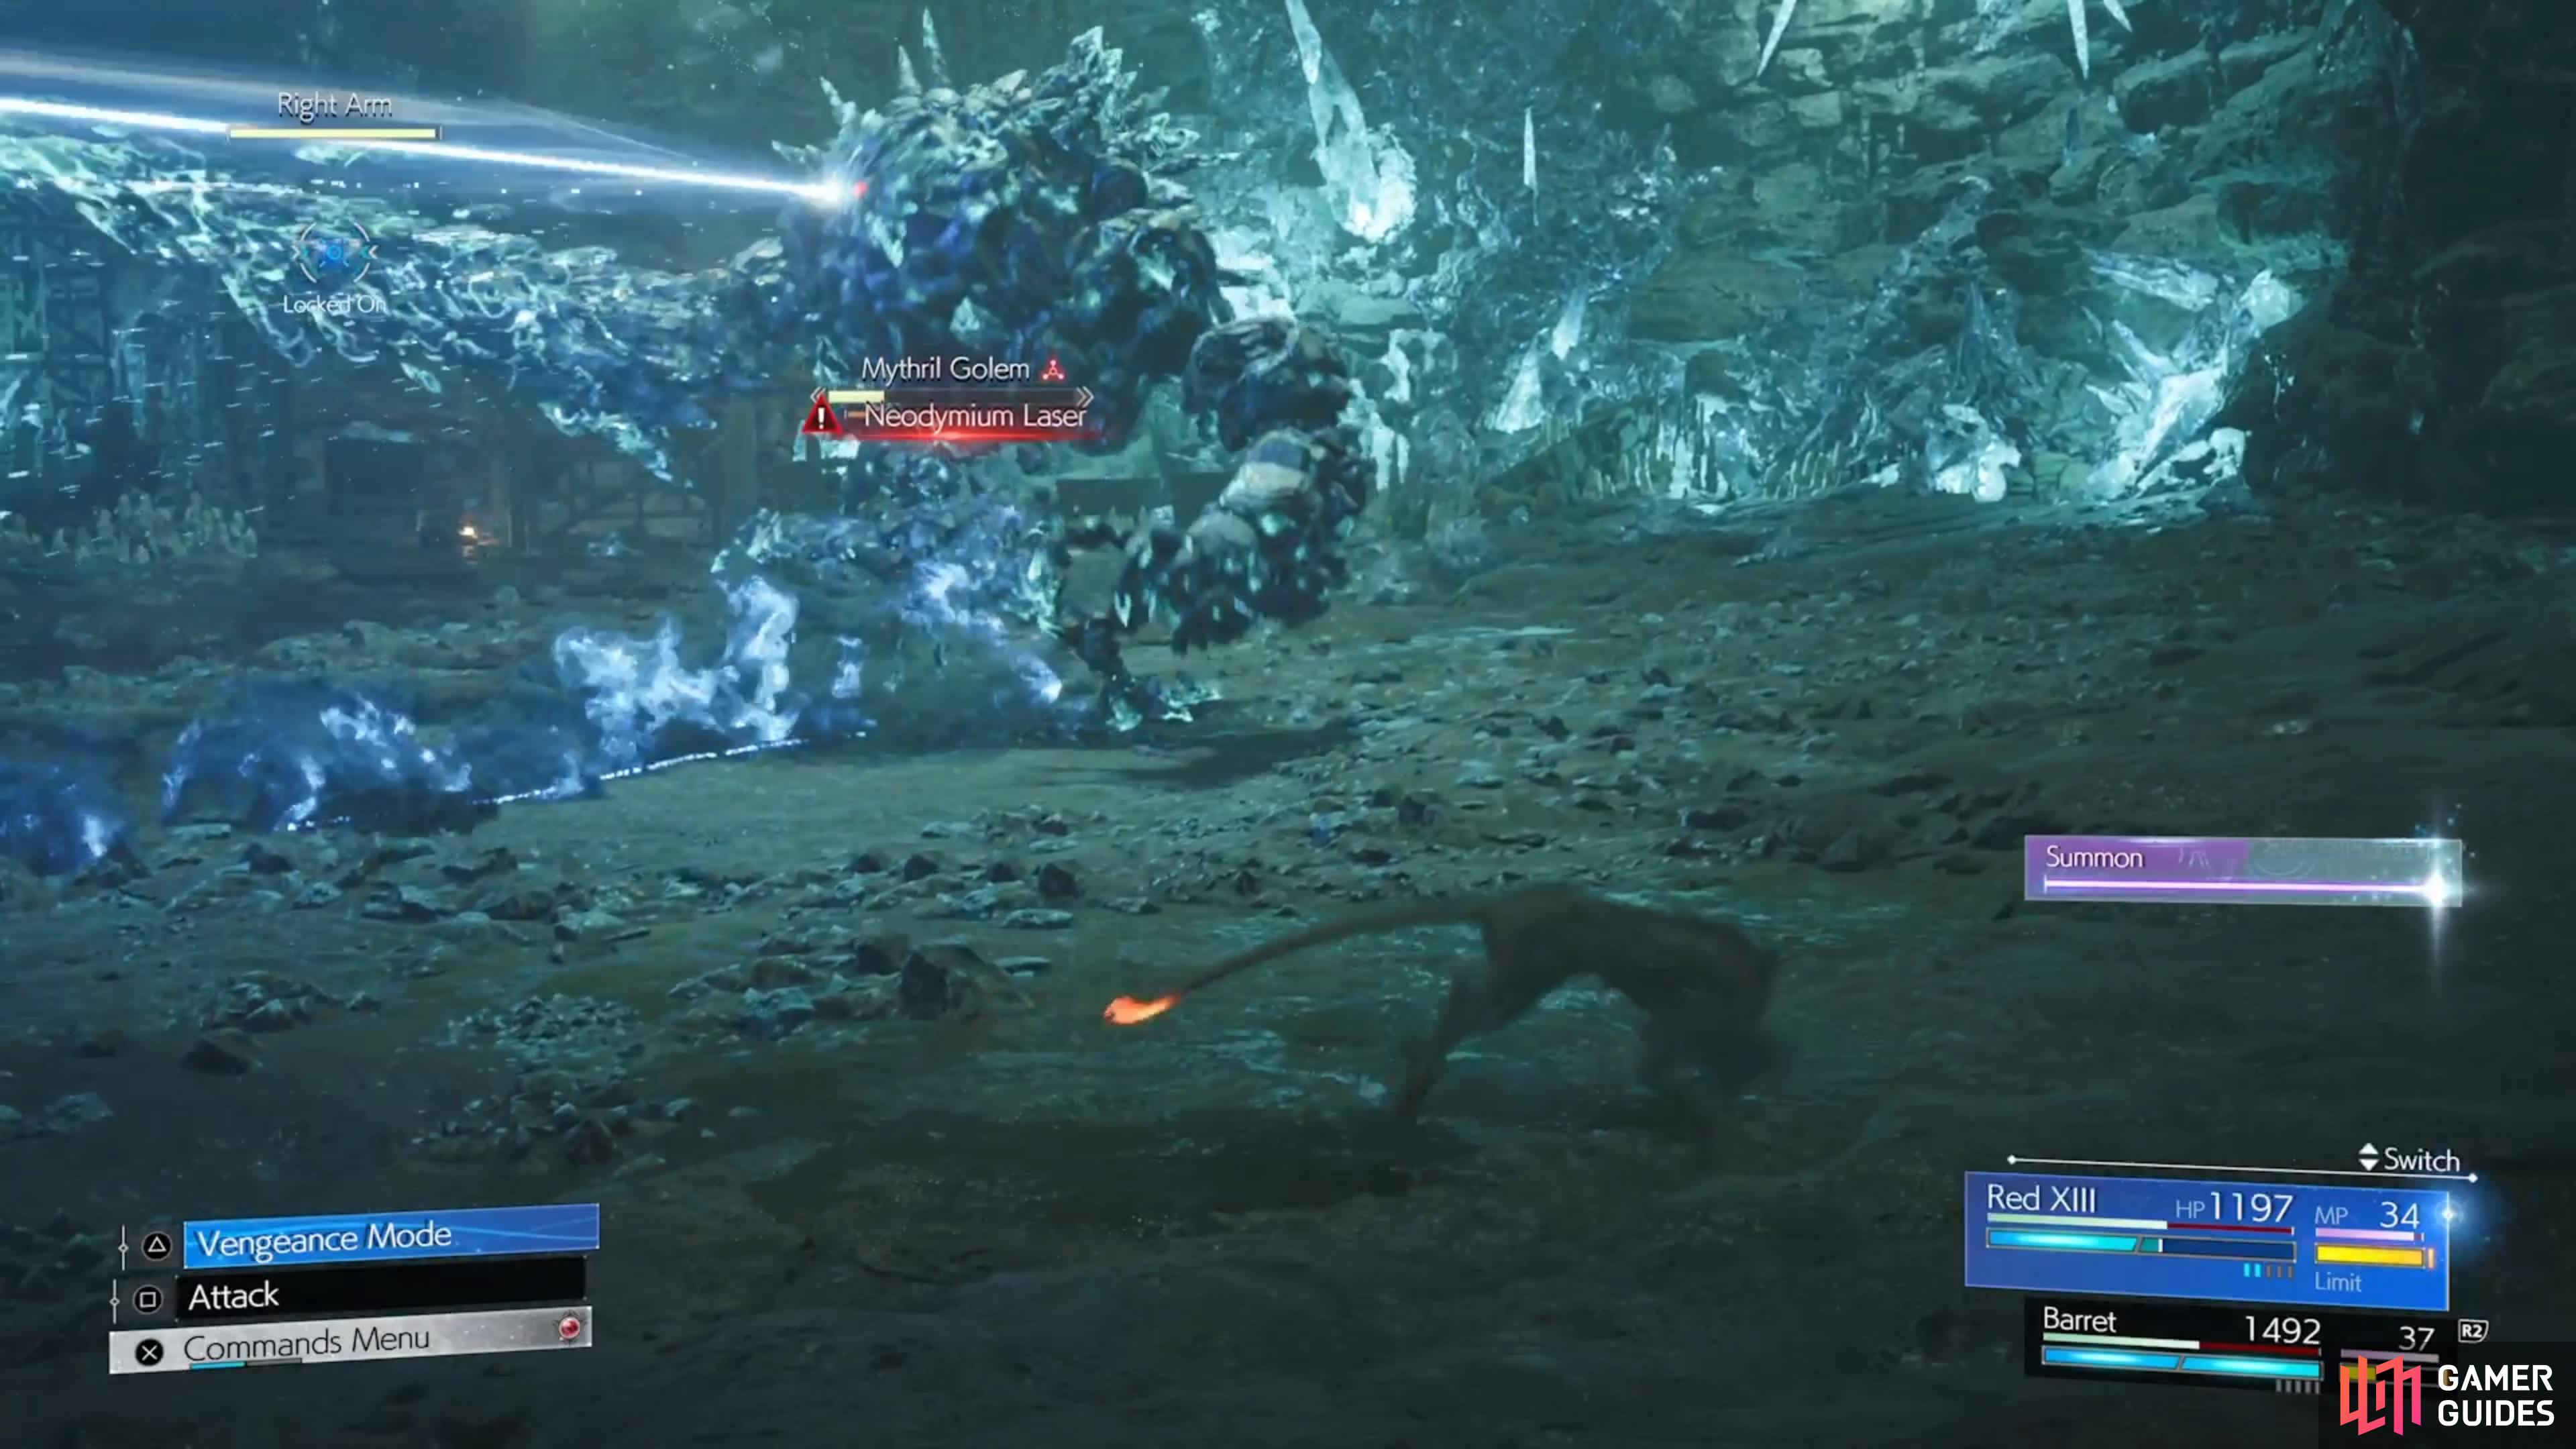
Neodymium Laser: The Mythril Golem will fire a laser straight ahead. It is unblockable, but pretty easy to dodge.
-
Drill Ram: It will start spinning the bigger arm, then dash ahead to drill a character with it.
-
Laser Barrage: Potentially one of the more dangerous moves, the Golem will use its spines to fire off a bunch of lasers. They are random where they hit, so you could potentially get hit a lot and the damage can add up quickly.
-
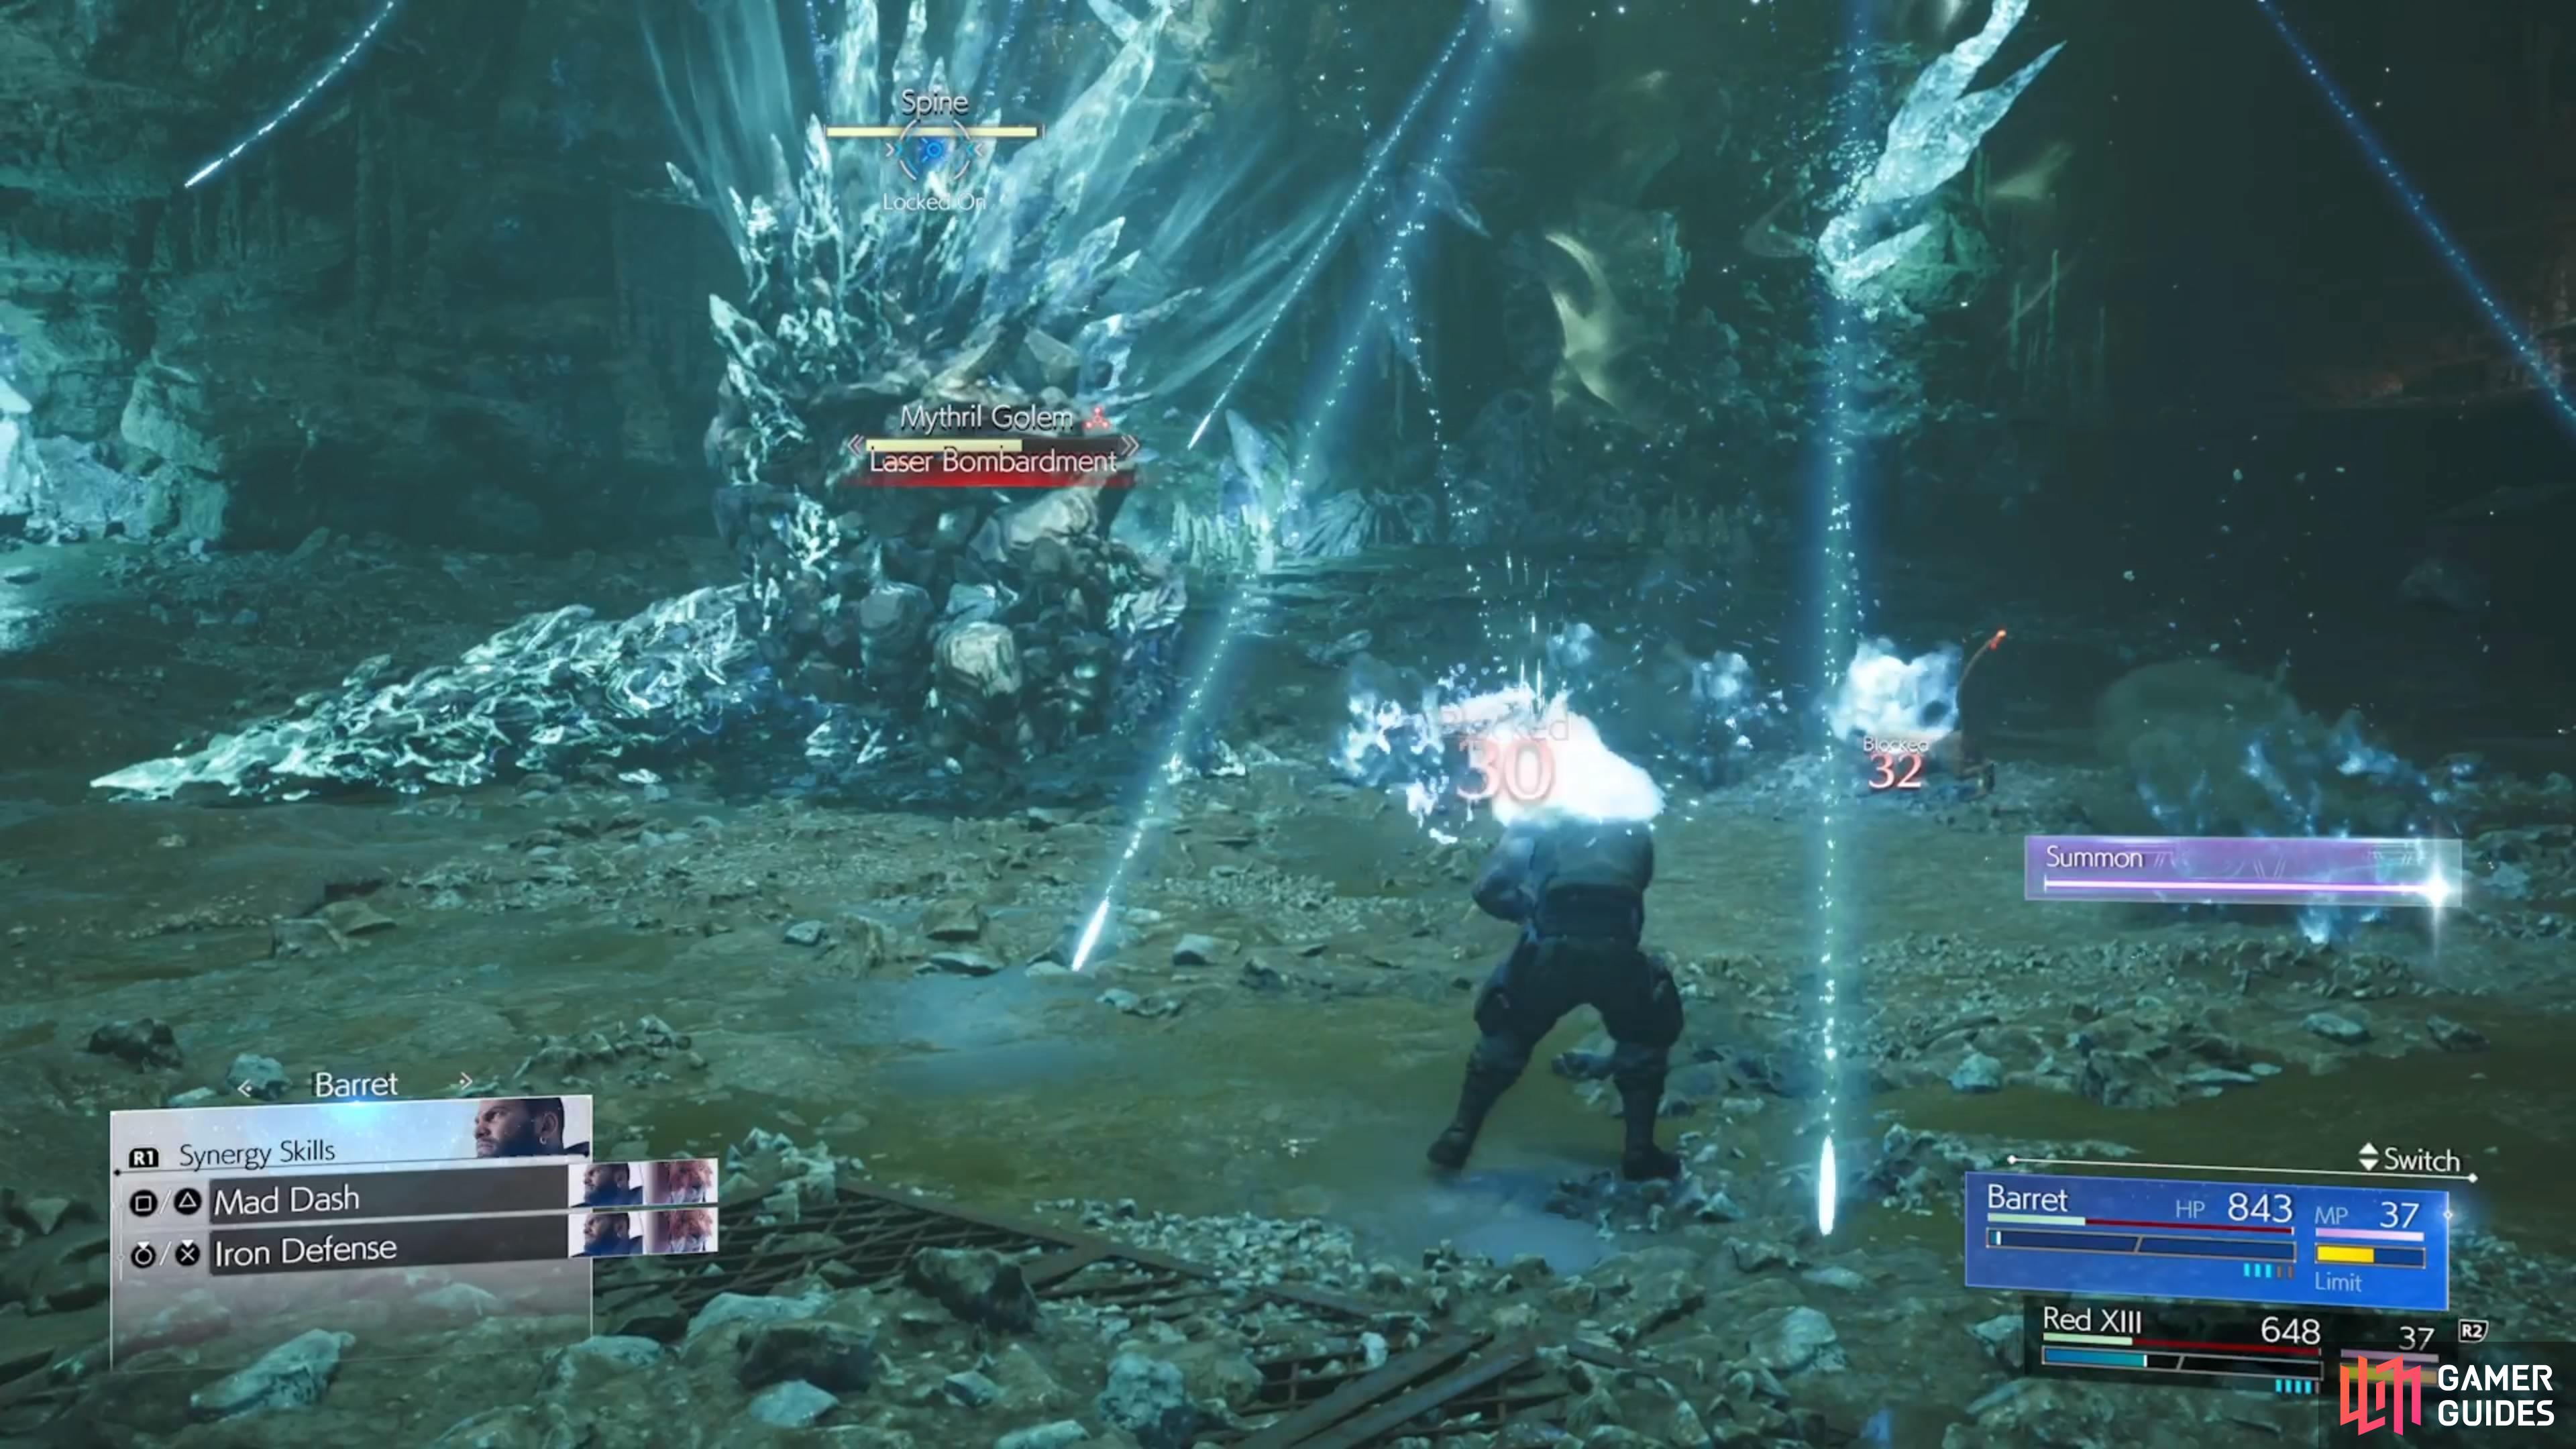
Laser Bombardment: A variation of the above attack, where the Golem seems to fire off more lasers.

-
Gouge: The Golem will take a quick stab with its Right Arm.
-
Heave: Mythril Golem will plant his right arm on the ground, spin around once, and then use that arm to try and launch a character in the air.
-
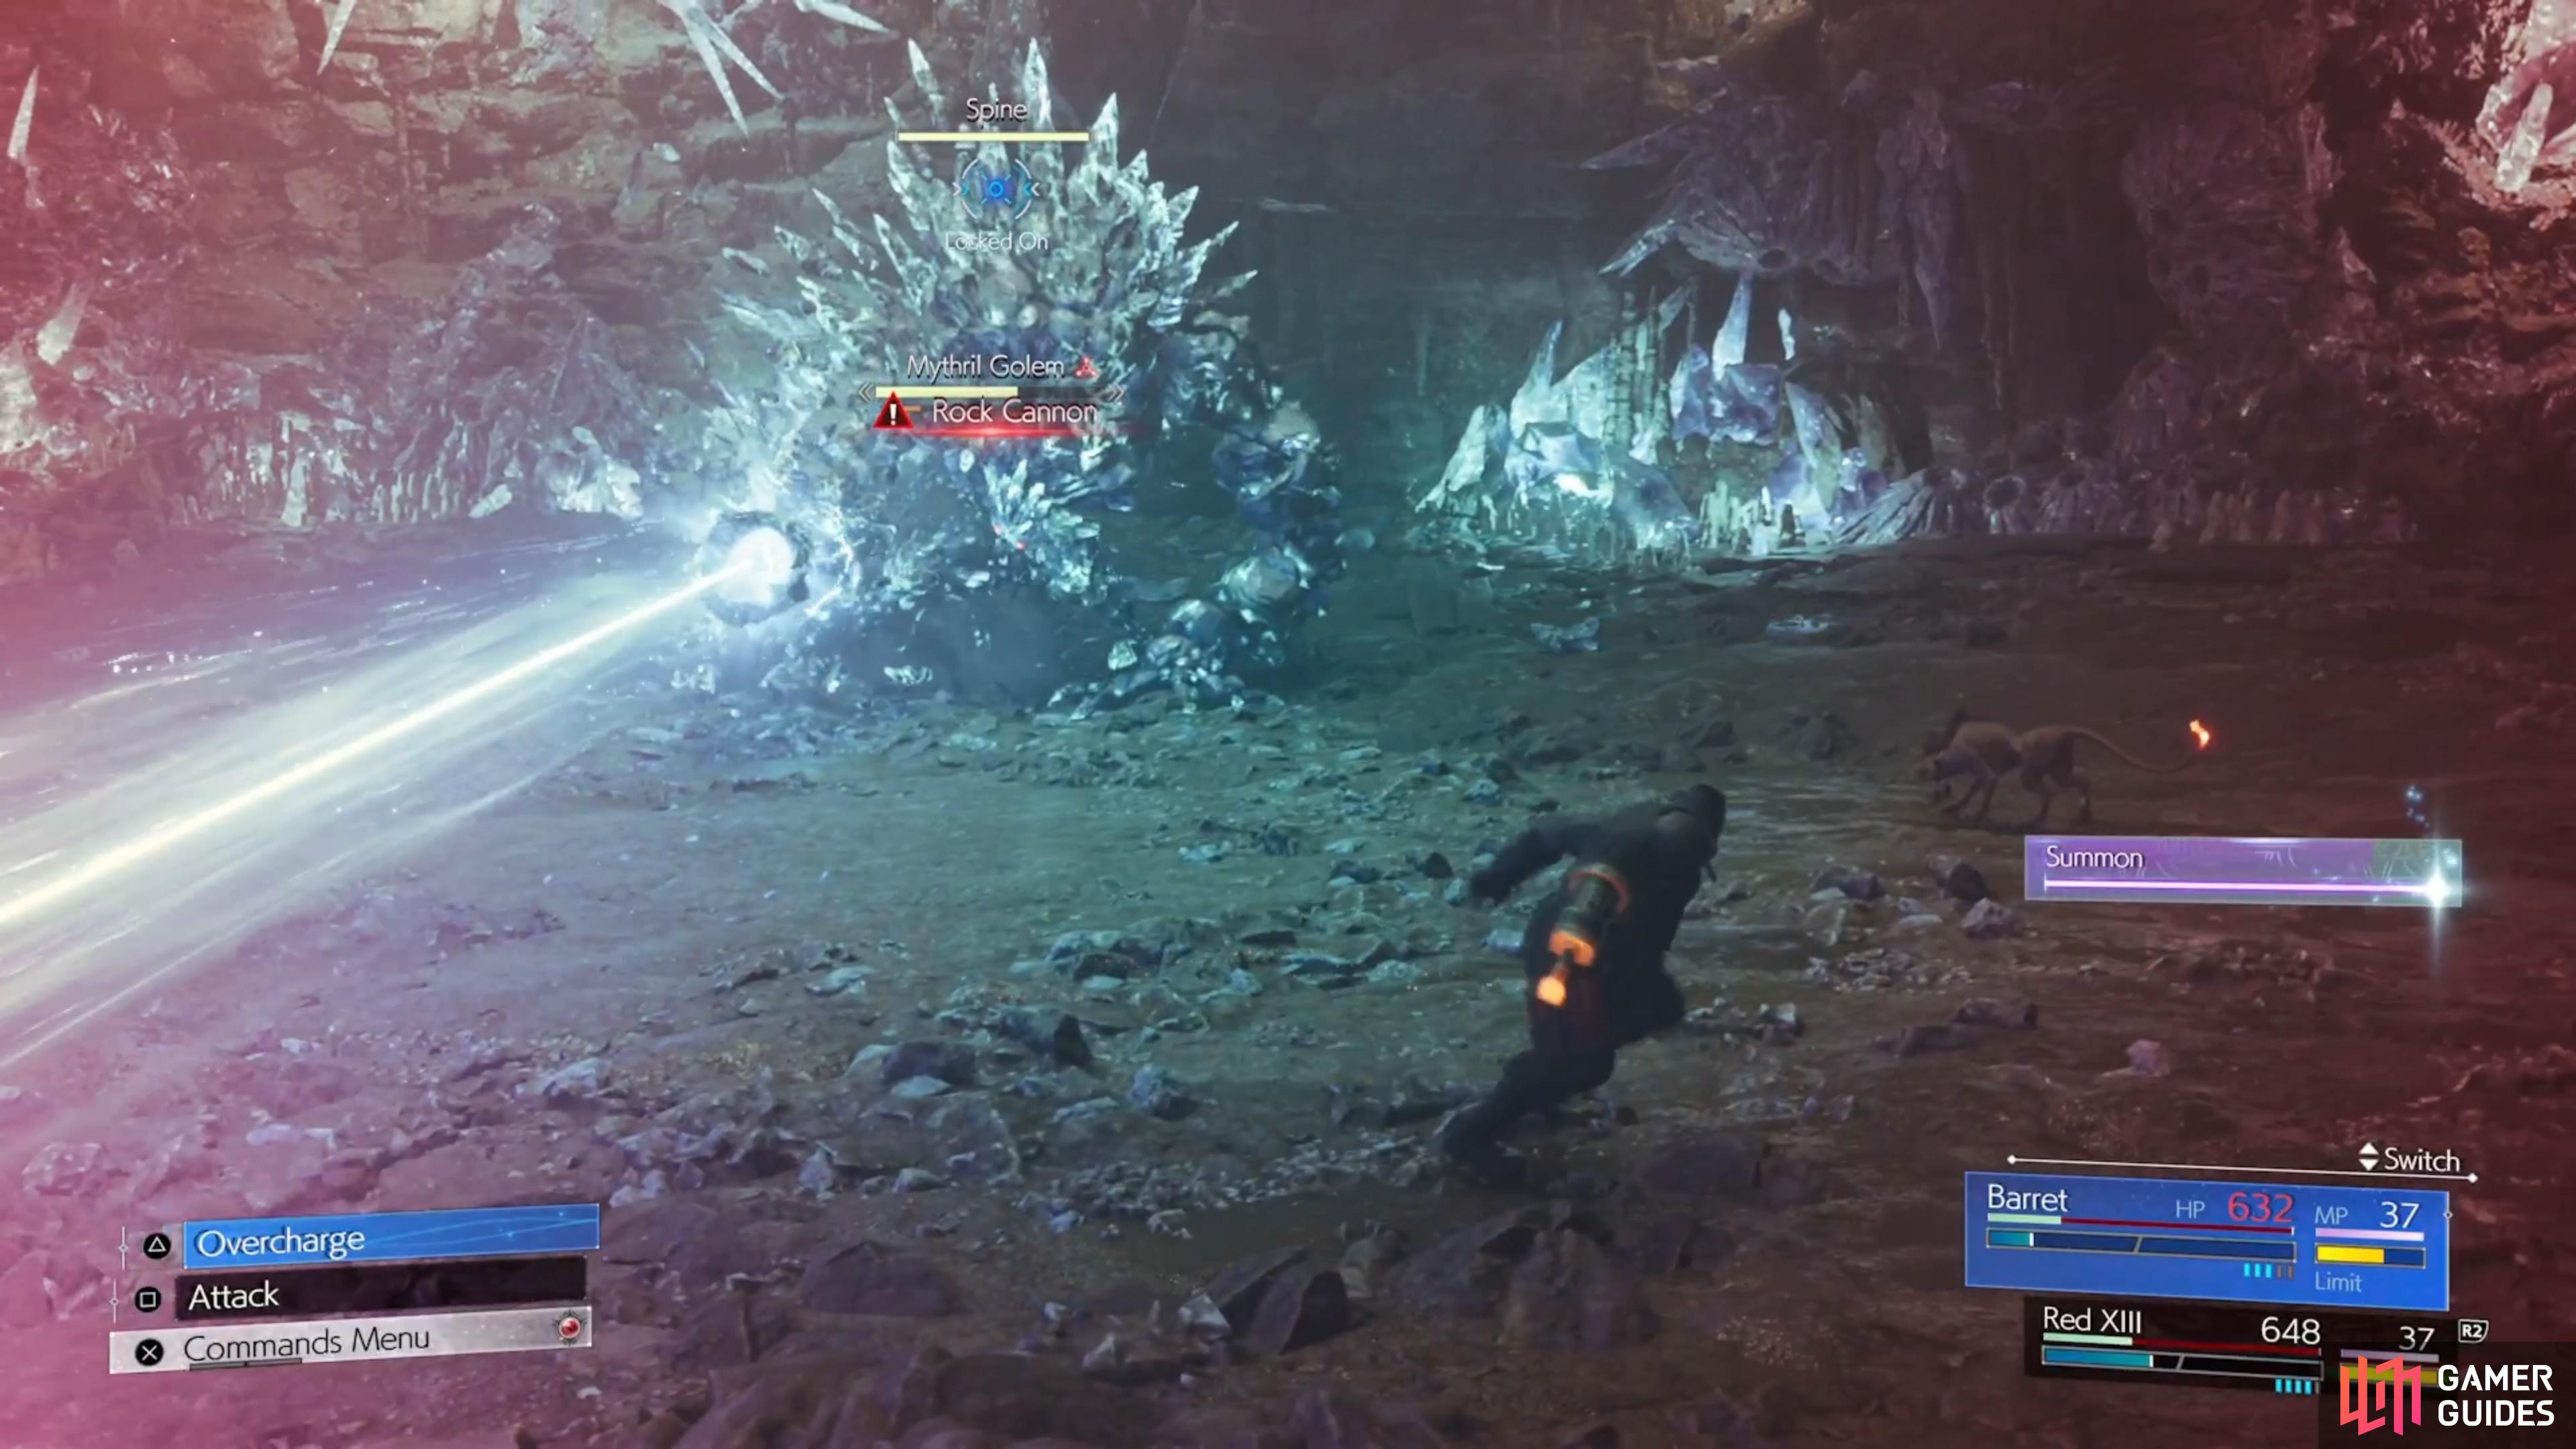
Rock Cannon: Another unblockable attack, the boss will fire a laser from its Right Arm this time. It will do a little bit of a sweeping motion with it, too, but it’s rather easy to avoid it.
-
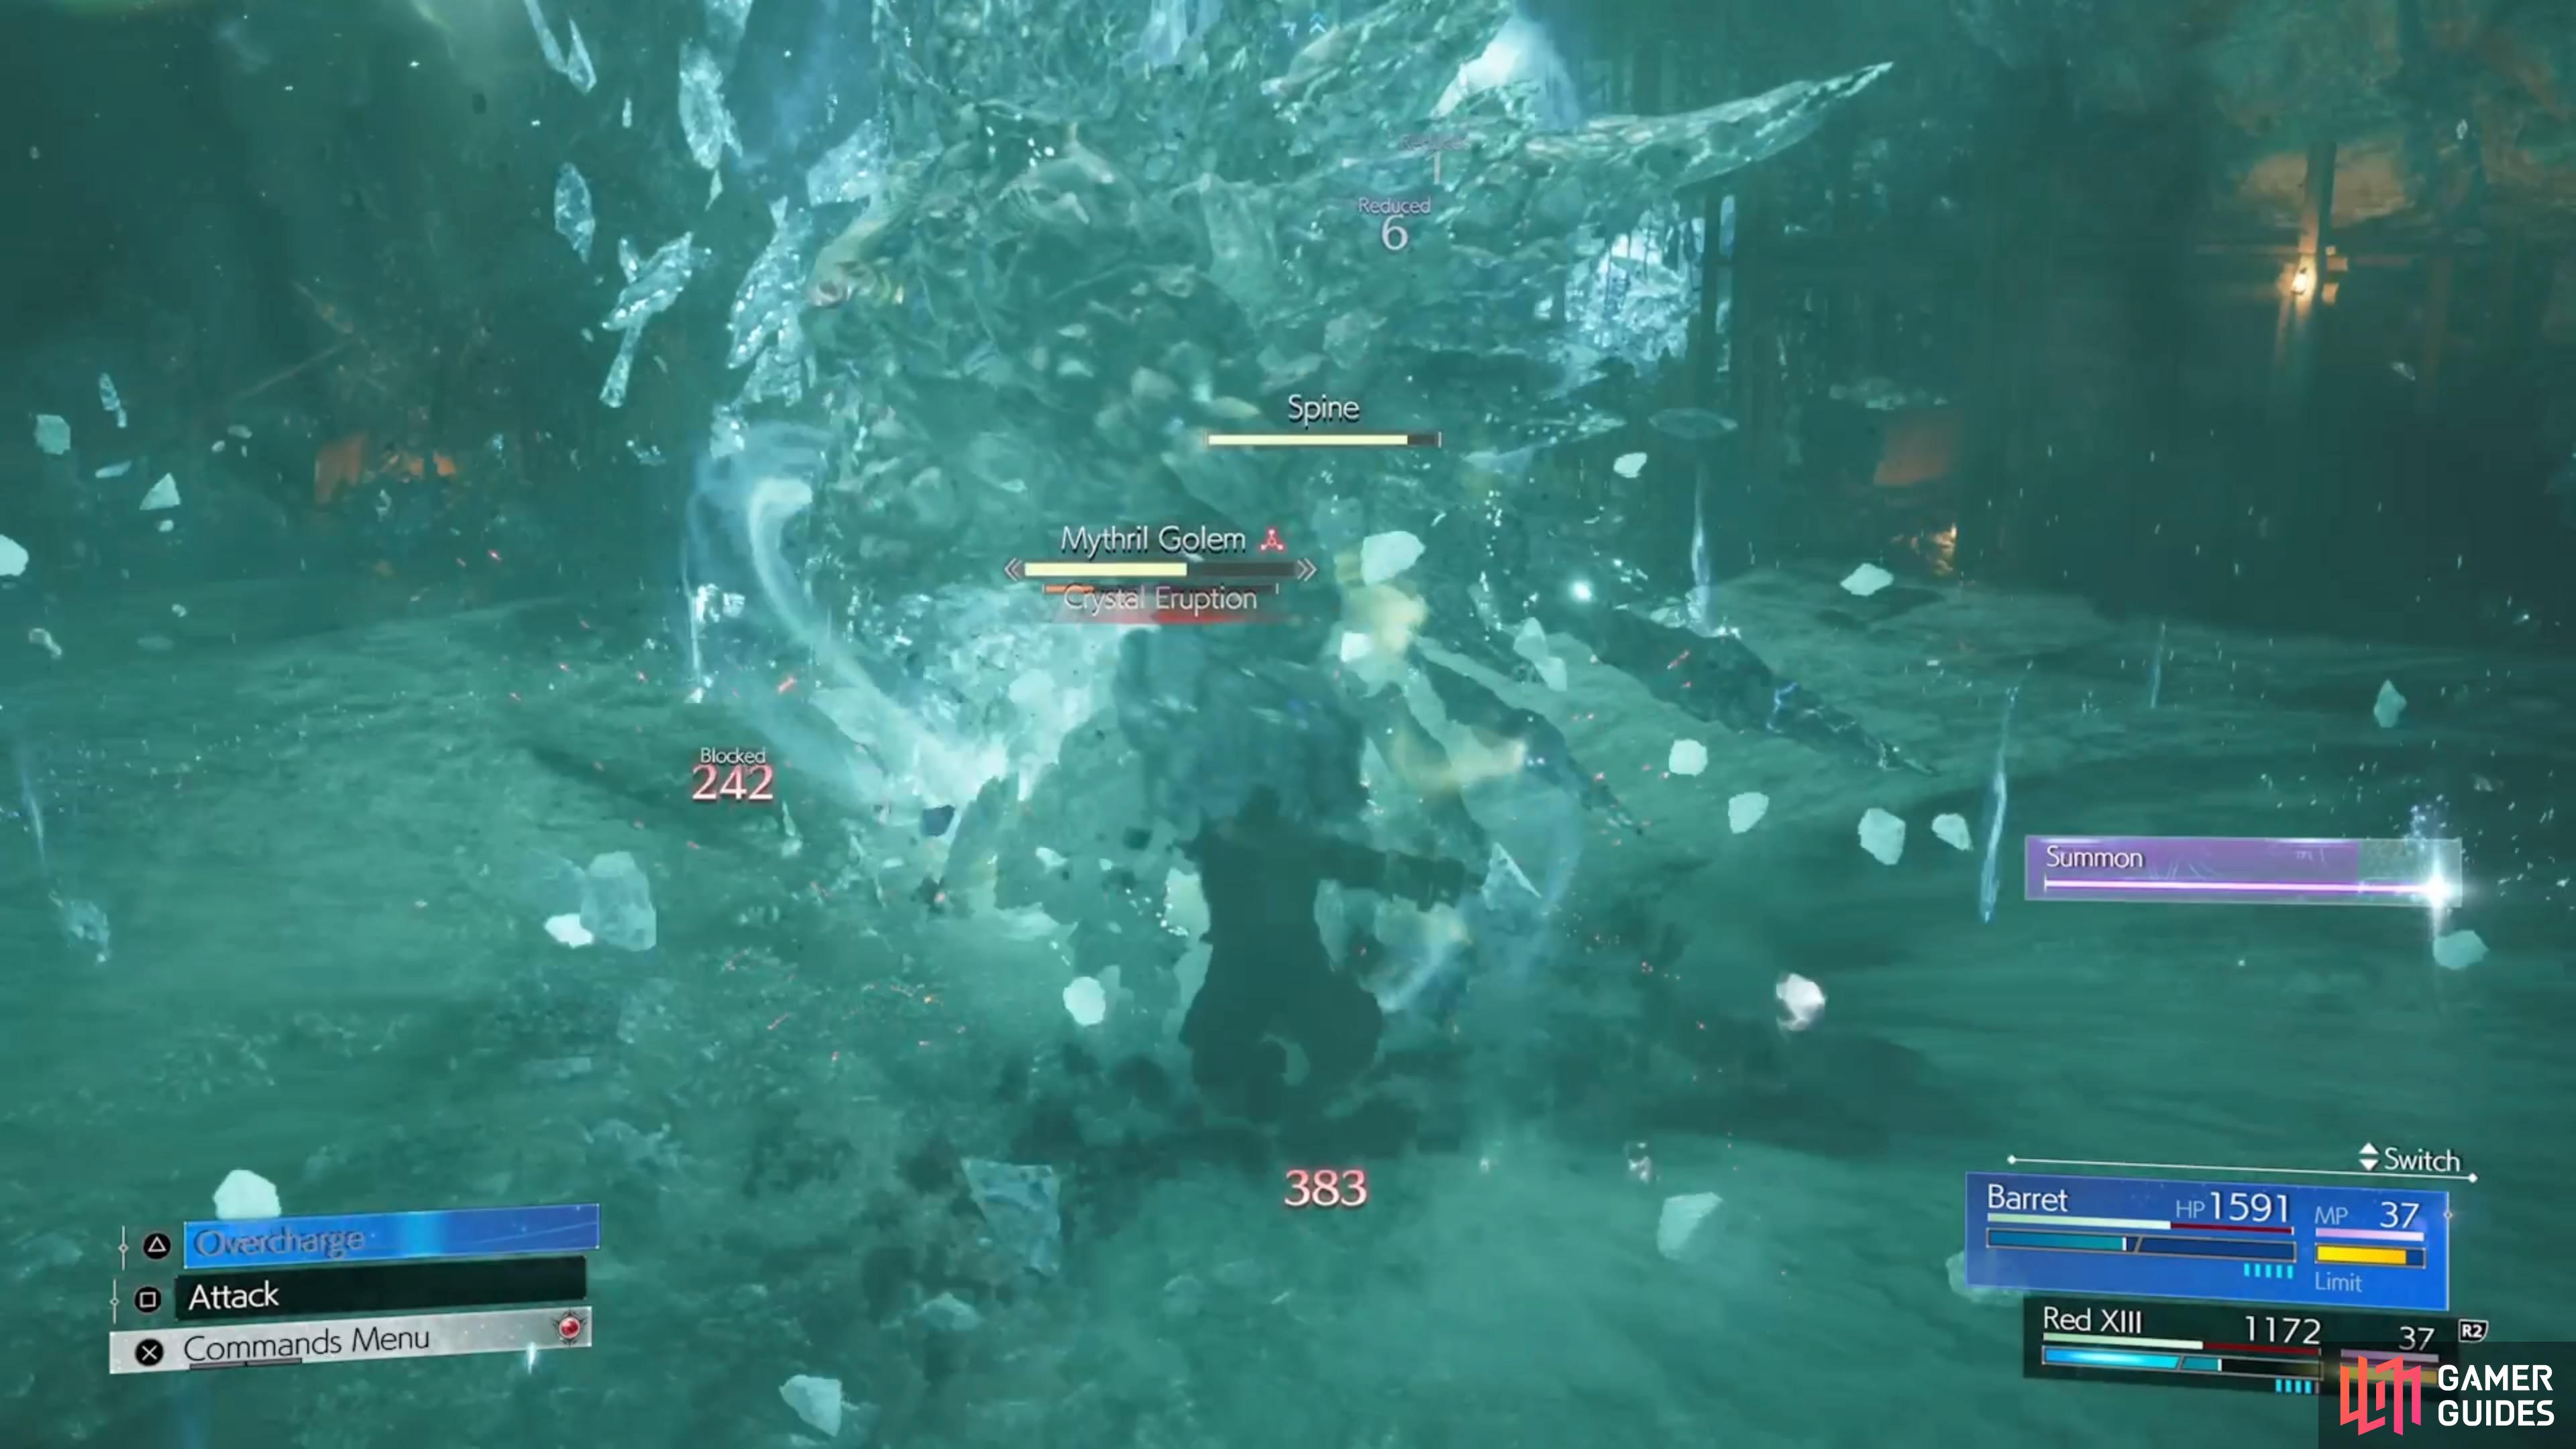
Crystal Eruption: The Golem will stick its right arm into the ground, and a massive eruption will occur. This has a huge range, so you are likely to get hit, but you can block it.
-
Repair: The Golem will use this to regenerate its parts, whenever you destroy them all. It will usually do this after it recovers from a stagger.
How to Beat Mythril Golem - FFVII Rebirth
The Mythril Golem, depending on how you look at it, can be a little challenging or a pretty easy boss. You only have Barret and Red XIII during the battle, so you’re short a three-person party. That means you will need to be careful with your health, so it’s best to keep it above 50%, just in case. It is weak to lightning (you get a materia right before the boss, too), so having that on Red XIII is better, as he is more magic-proficient.
For the first phase of the battle, you can only target the Head of the Mythril Golem. Using Barret here is great since he has an easier time hitting it, but you can also use Red XIII, as ![]() Stardust Ray is extremely powerful in this battle, especially later on. Most of the attacks are fairly simple in the first phase, with a few standing out. Leaping Strike sounds exactly like its name, where the boss will attempt to leap and land on a character. Crush and Thrash are similar, with the Golem smacking the ground, but Crush has a bigger reach and Thrash will be done three times.
Stardust Ray is extremely powerful in this battle, especially later on. Most of the attacks are fairly simple in the first phase, with a few standing out. Leaping Strike sounds exactly like its name, where the boss will attempt to leap and land on a character. Crush and Thrash are similar, with the Golem smacking the ground, but Crush has a bigger reach and Thrash will be done three times.

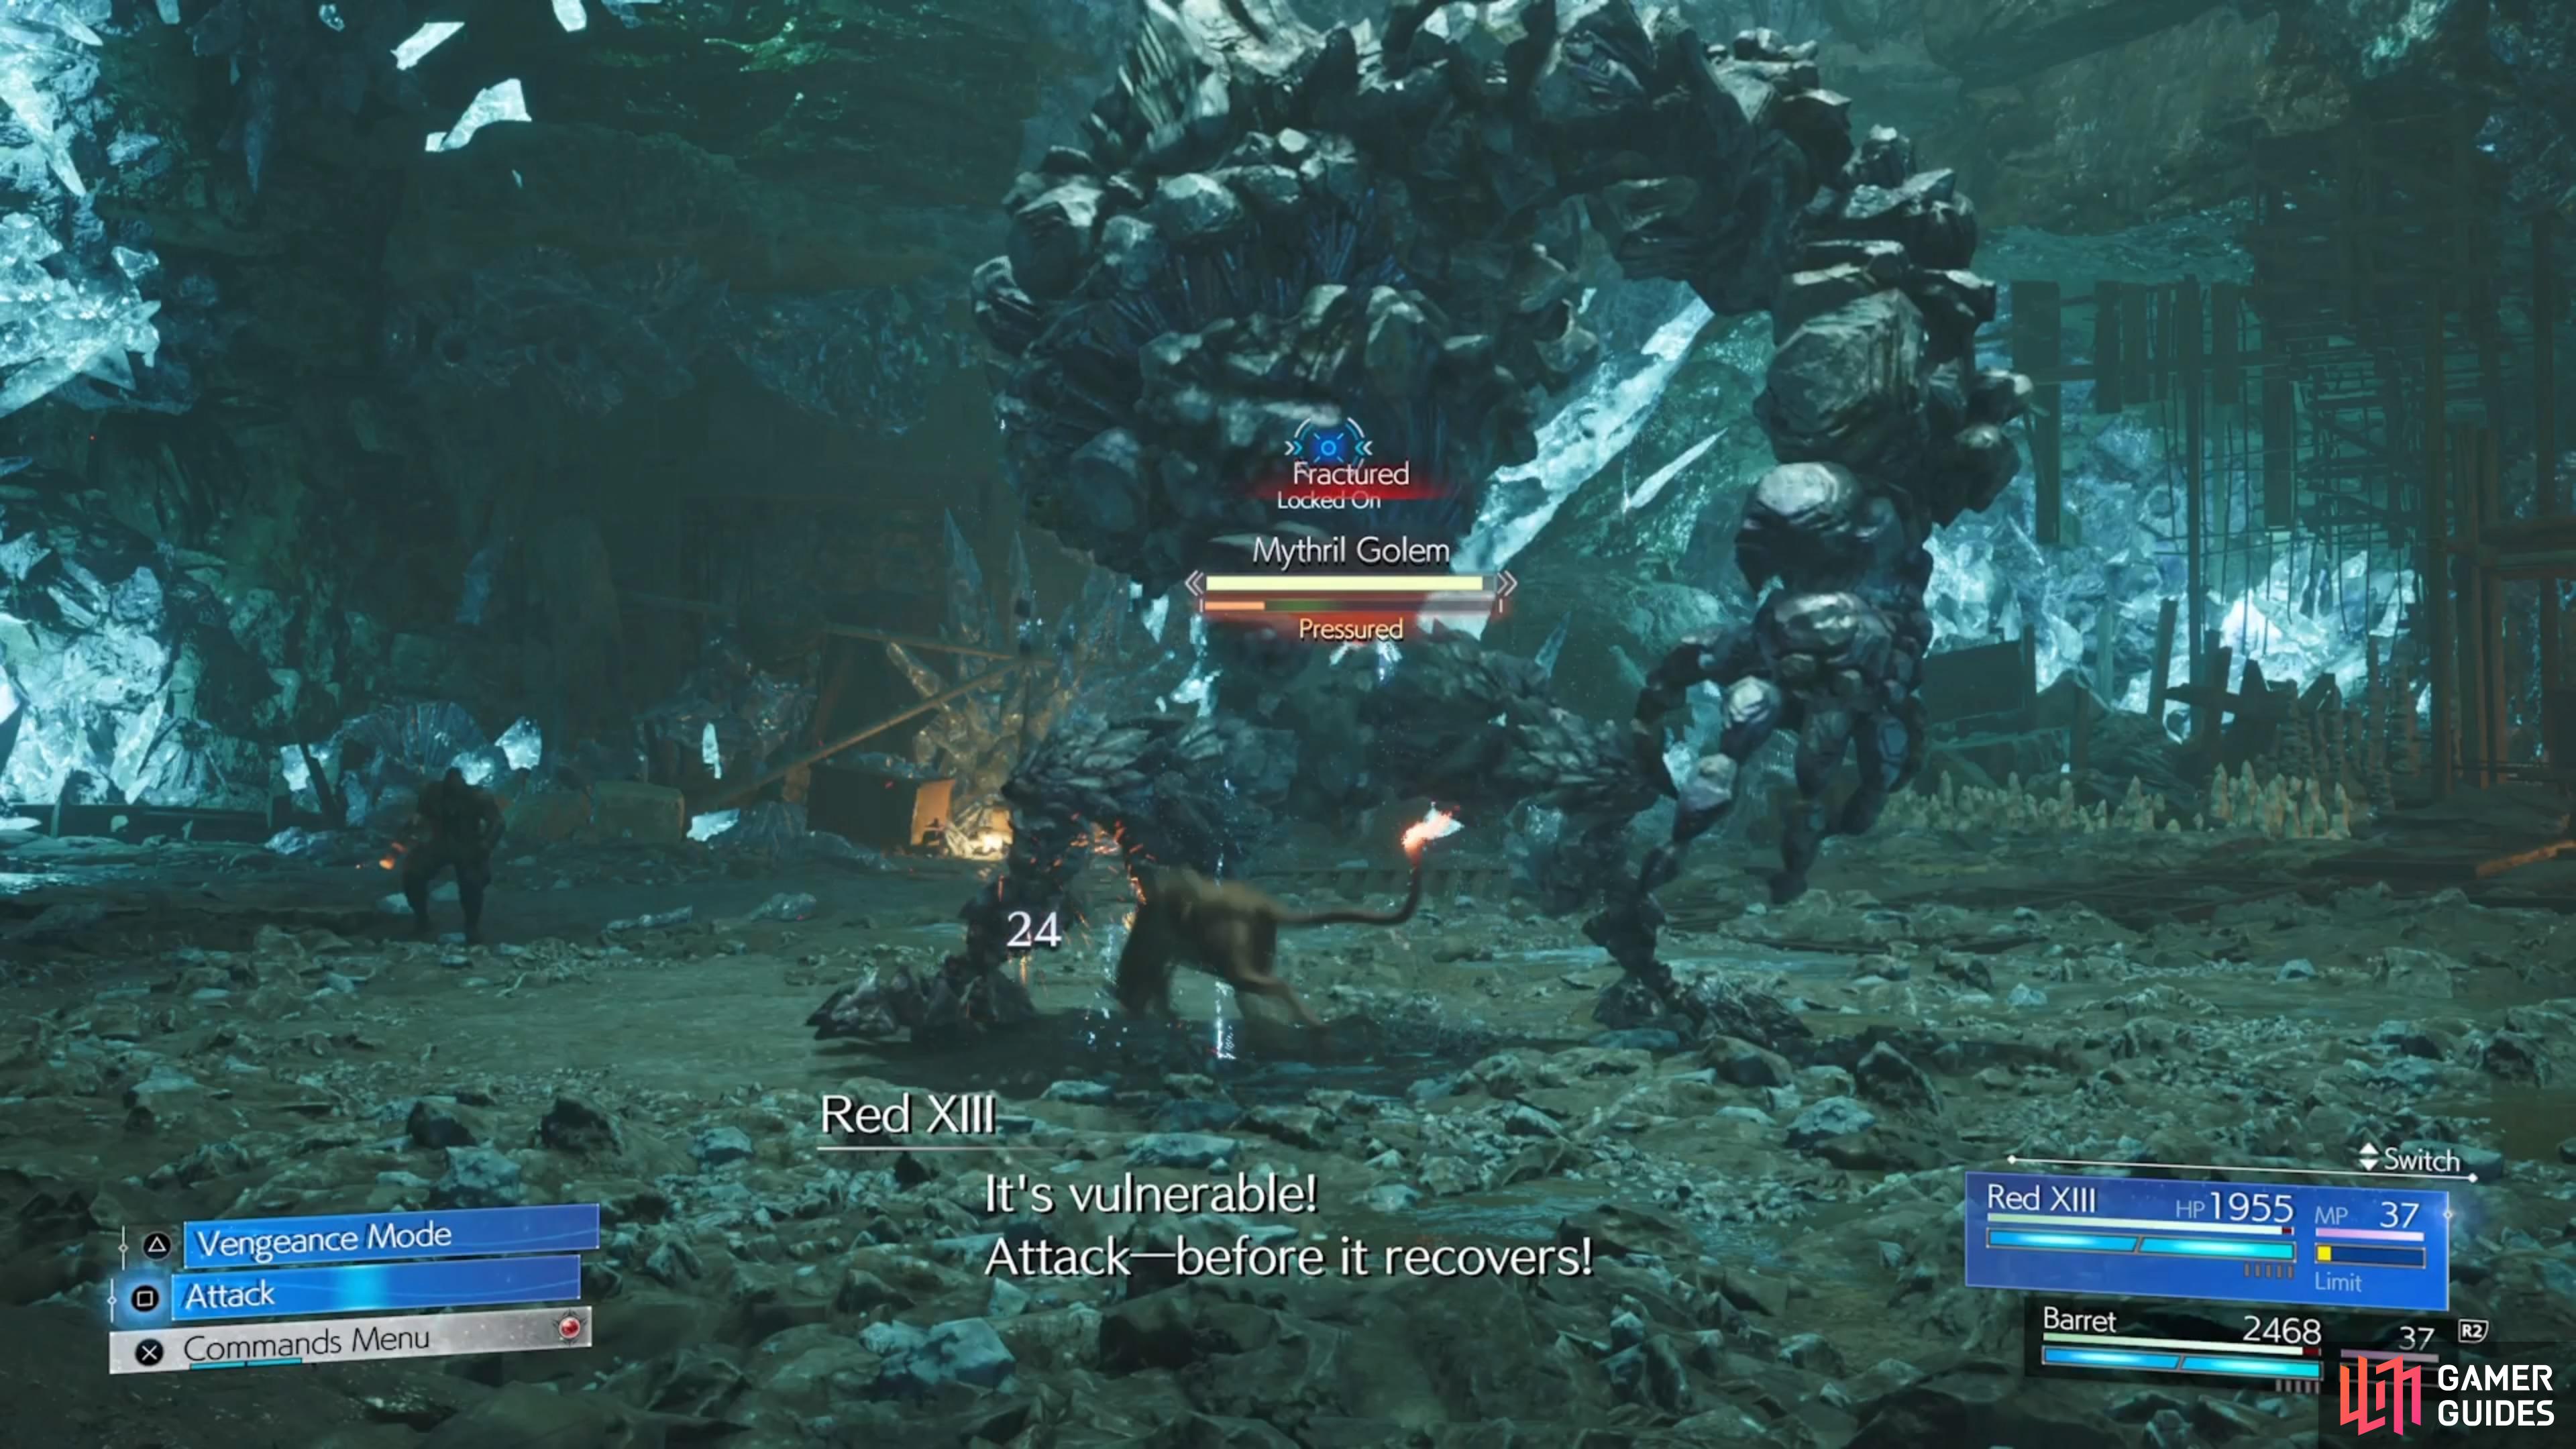

(1 of 4) The head is the only part you can target at the beginning of the battle.
Stalagmite Skewer is a shockwave attack that the Mythril Golem will send your way and can be easy to avoid if you’re not too close. The only unblockable attack in the first phase is Mythril Mallet, where it’s a Crush attack, but with a rock on the end of its arm. As already mentioned, the Head is the only thing you can target at the start and it has its own health bar. Deplete its HP to pressure the boss, where you can build its stagger bar. Barret’s ![]() Bonus Rounds ability is great here and should be used liberally.
Bonus Rounds ability is great here and should be used liberally.
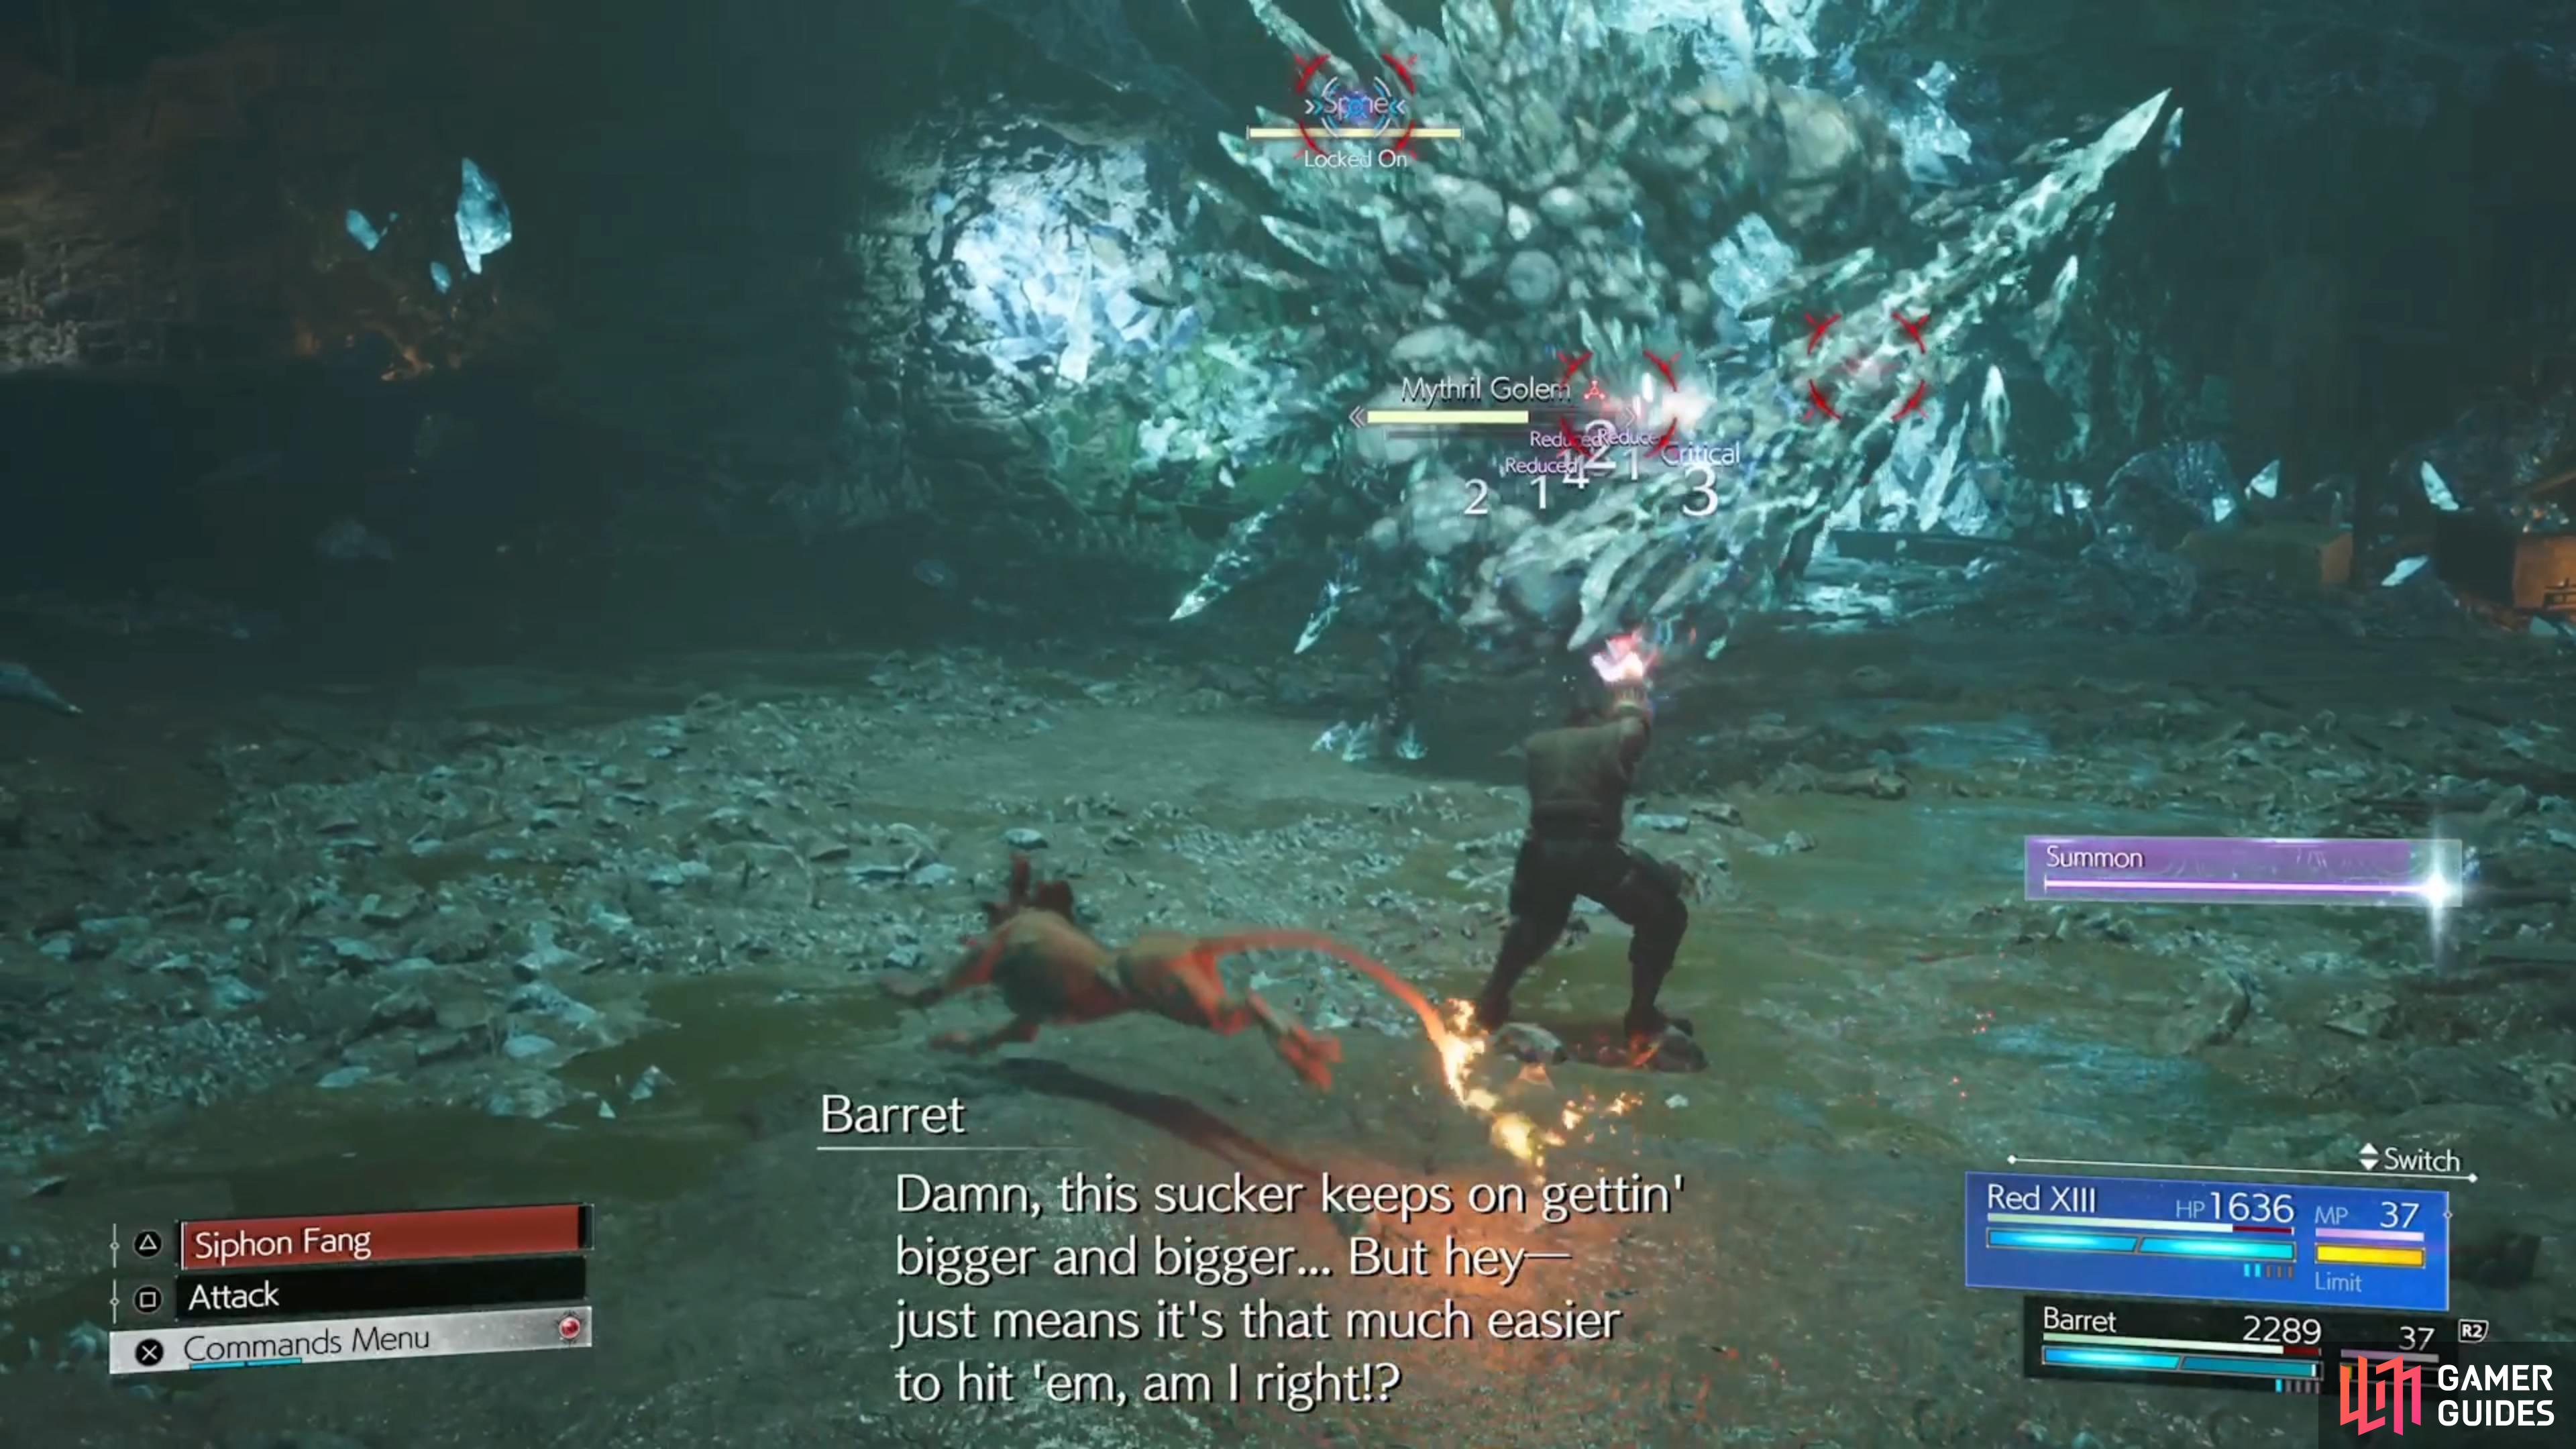
Once the Golem’s HP reaches about 60% or so, there will be a cutscene and the second phase will begin. It will grow a Right Arm, along with some Spines, and will introduce some new attacks. Drill Ram is a dashing attack to try and hit you with its right arm, while Gouge is the same, but it doesn’t move while trying to stab you with it. Neodymium Laser is unblockable, with the Golem firing a laser straight ahead from its right arm. Rock Cannon is similar, although it seems it will move back and forth a little bit; it’s also unblockable.
The two most dangerous moves are Laser Barrage and Laser Bombardment. They will have the Golem firing lasers that hit randomly, but if you aren’t blocking, you may get hit by a lot of them. The damage really adds up, too, so you could be taking major damage from the attacks. Note that the attacks that use those parts can be stopped, if you destroy them. Normally, they have high defenses to normal attacks, but Red XIII’s Stardust Ray appears to just cut through the parts like butter. Of course, you can simply ignore those parts and concentrate on the Head, since that’s still the main target.
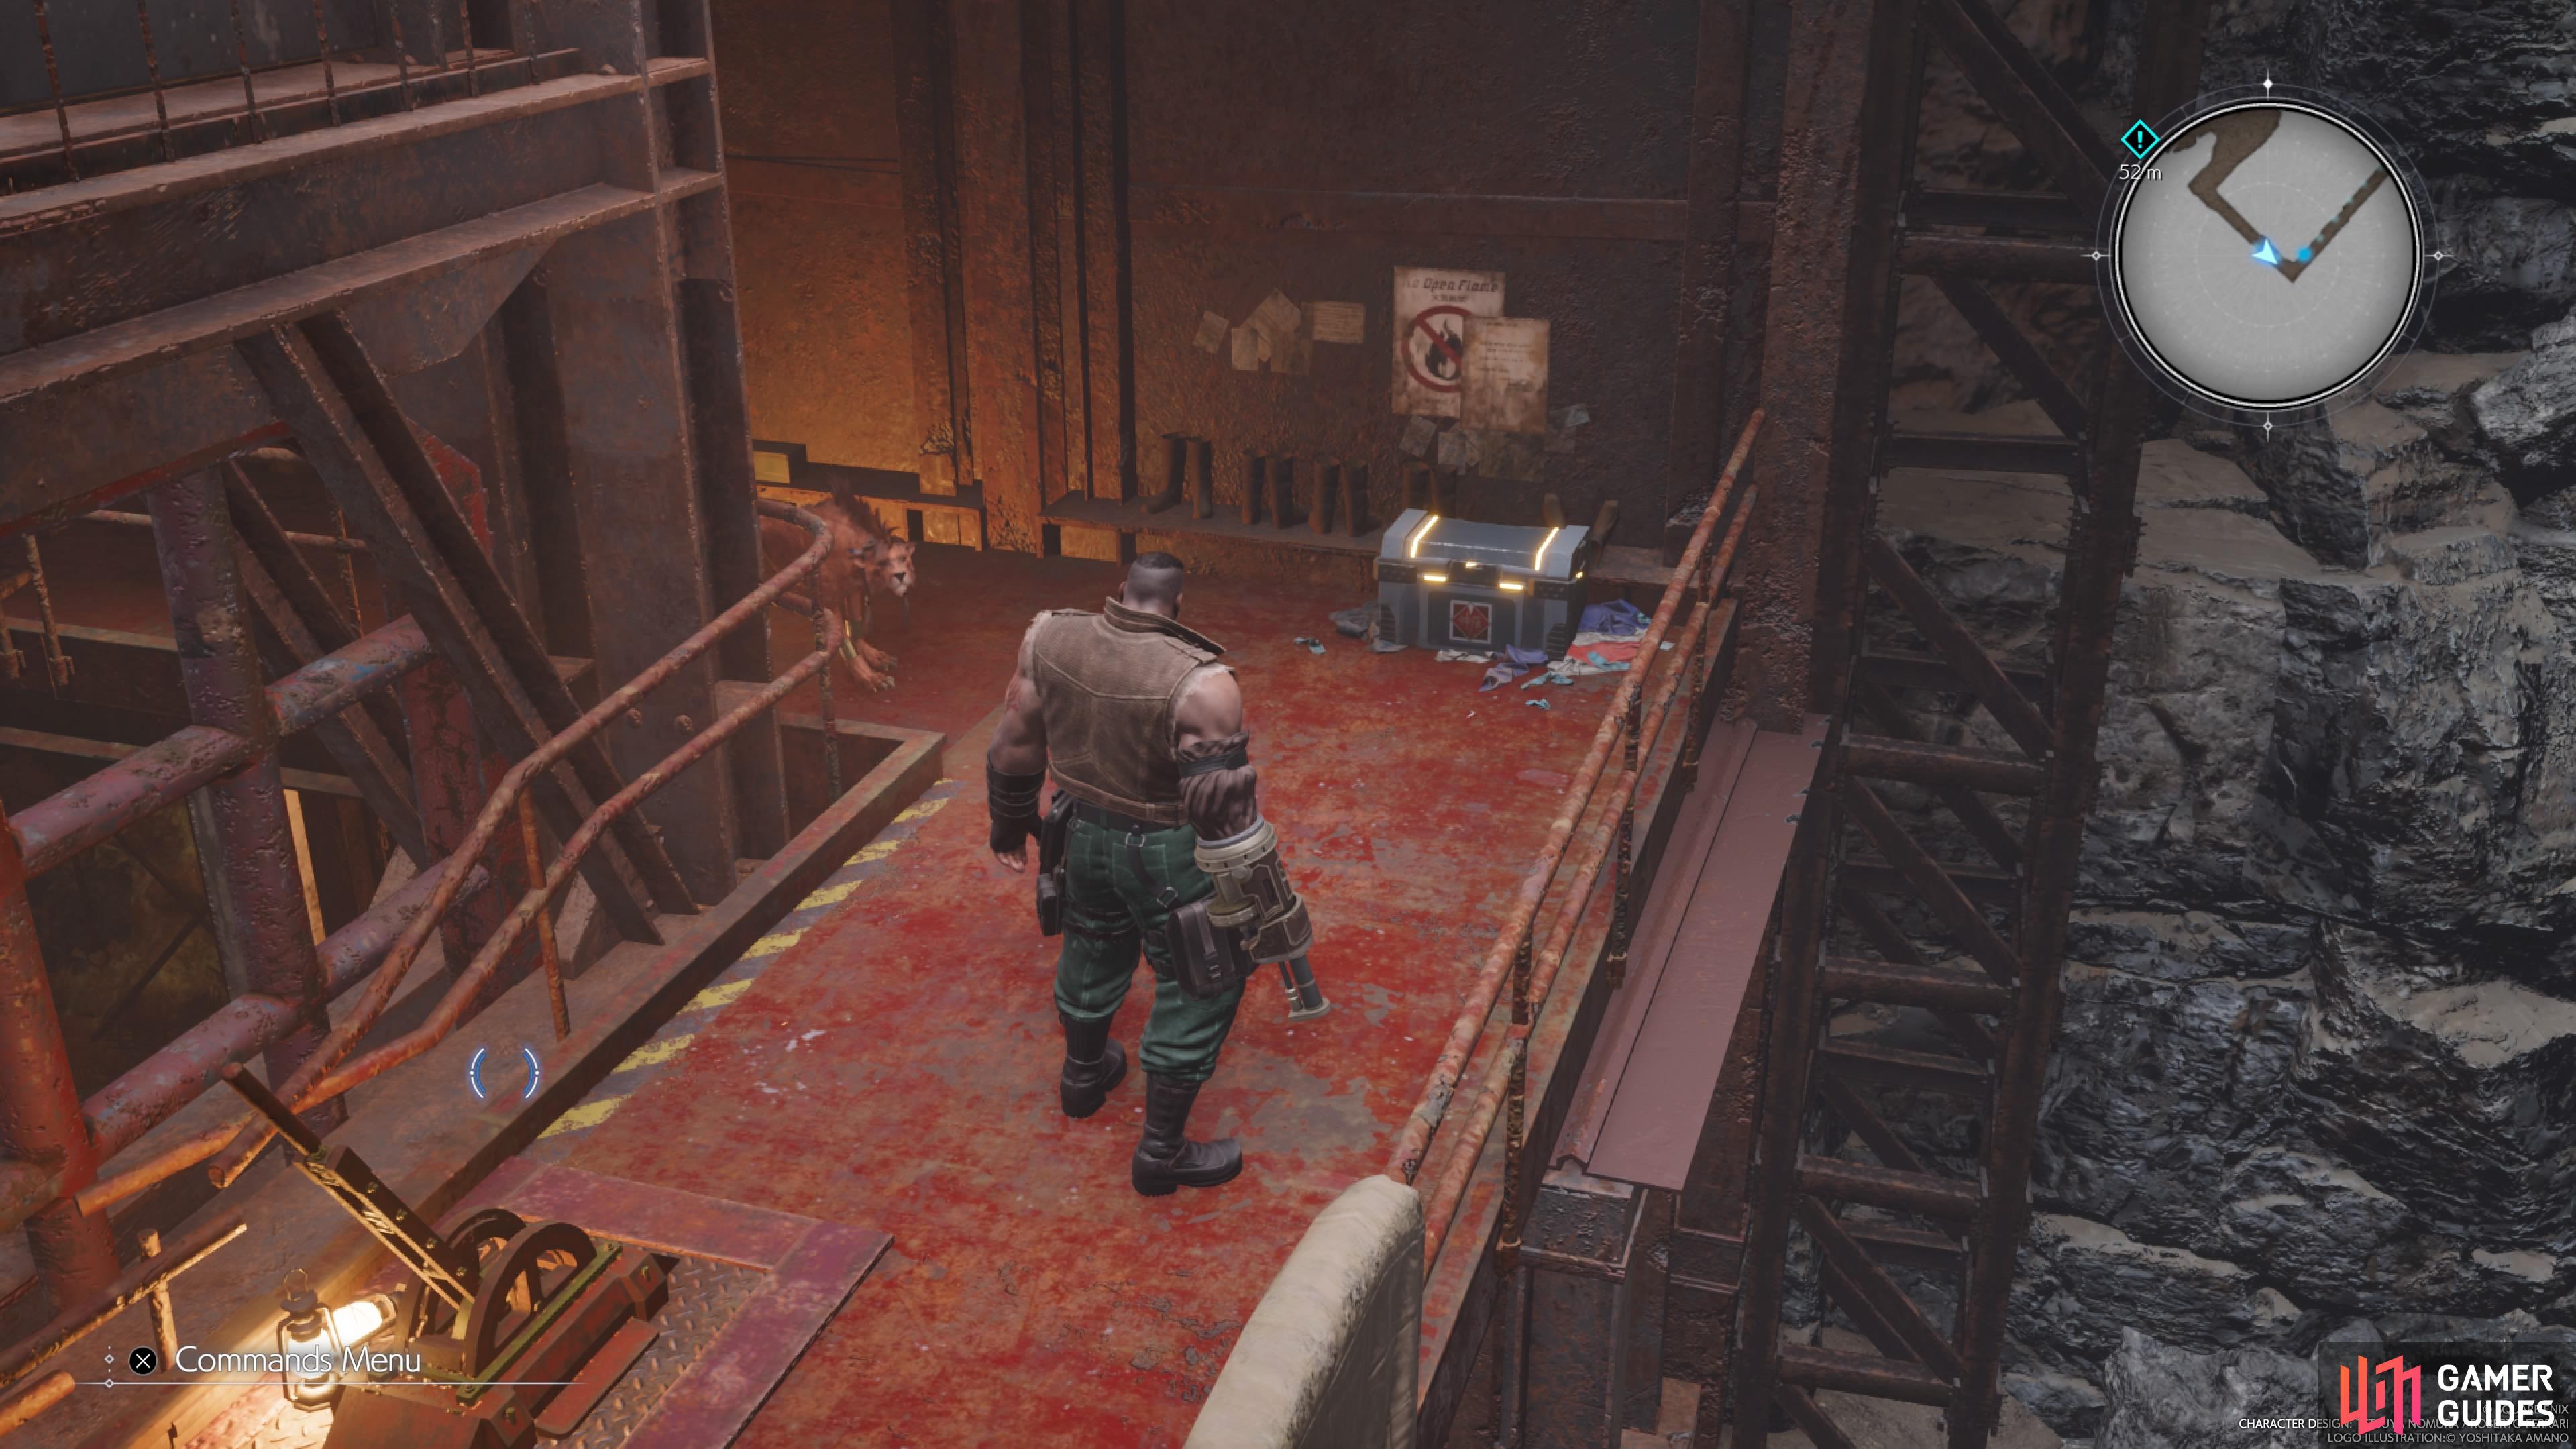
There is one final chest after beating the Golem, near where Aerith opened the gate for you.
After the fight is over, go up the newly opened path and you’ll emerge where Aerith opened up the one gate for you. Don’t go up the stairs just yet, but head in the southeastern direction to find a chest not far from that lever; it’ll contain a ![]() Mythril Ore. Head up the stairs and follow the path until you meet back up with the rest of your party. The path to the exit of the mine is linear now, but you will find a few enemies along the way. Upon emerging out of the tunnel, you will be finished with Chapter 3 and enter the
Mythril Ore. Head up the stairs and follow the path until you meet back up with the rest of your party. The path to the exit of the mine is linear now, but you will find a few enemies along the way. Upon emerging out of the tunnel, you will be finished with Chapter 3 and enter the ![]() Junon Region!
Junon Region!
More Final Fantasy VII Rebirth Guides
If you’re looking for more help on other aspects of FFVII Rebirth, then make sure to check out the following pages.

 Sign up
No Comments