
Once you reach Chapter 7 in Final Fantasy VII Rebirth, you will be able to start exploring the areas just outside of ![]() Costa Del Sol. However, some new Quests pop up, one of which is The Saga of the Seaside Inn. For this, just go back to Johnny at his inn, once you get a notification that there are some new quests available. After being relinquished of his debt, Johnny wants to spruce up his inn, but needs some help. This quest is quite long and while you can start it in Chapter 7, you won’t be able to finish it until Chapter 9.
Costa Del Sol. However, some new Quests pop up, one of which is The Saga of the Seaside Inn. For this, just go back to Johnny at his inn, once you get a notification that there are some new quests available. After being relinquished of his debt, Johnny wants to spruce up his inn, but needs some help. This quest is quite long and while you can start it in Chapter 7, you won’t be able to finish it until Chapter 9.
Johnny will ask you for some help to fix up his hotel.
How to Recover the Refurbished Materials
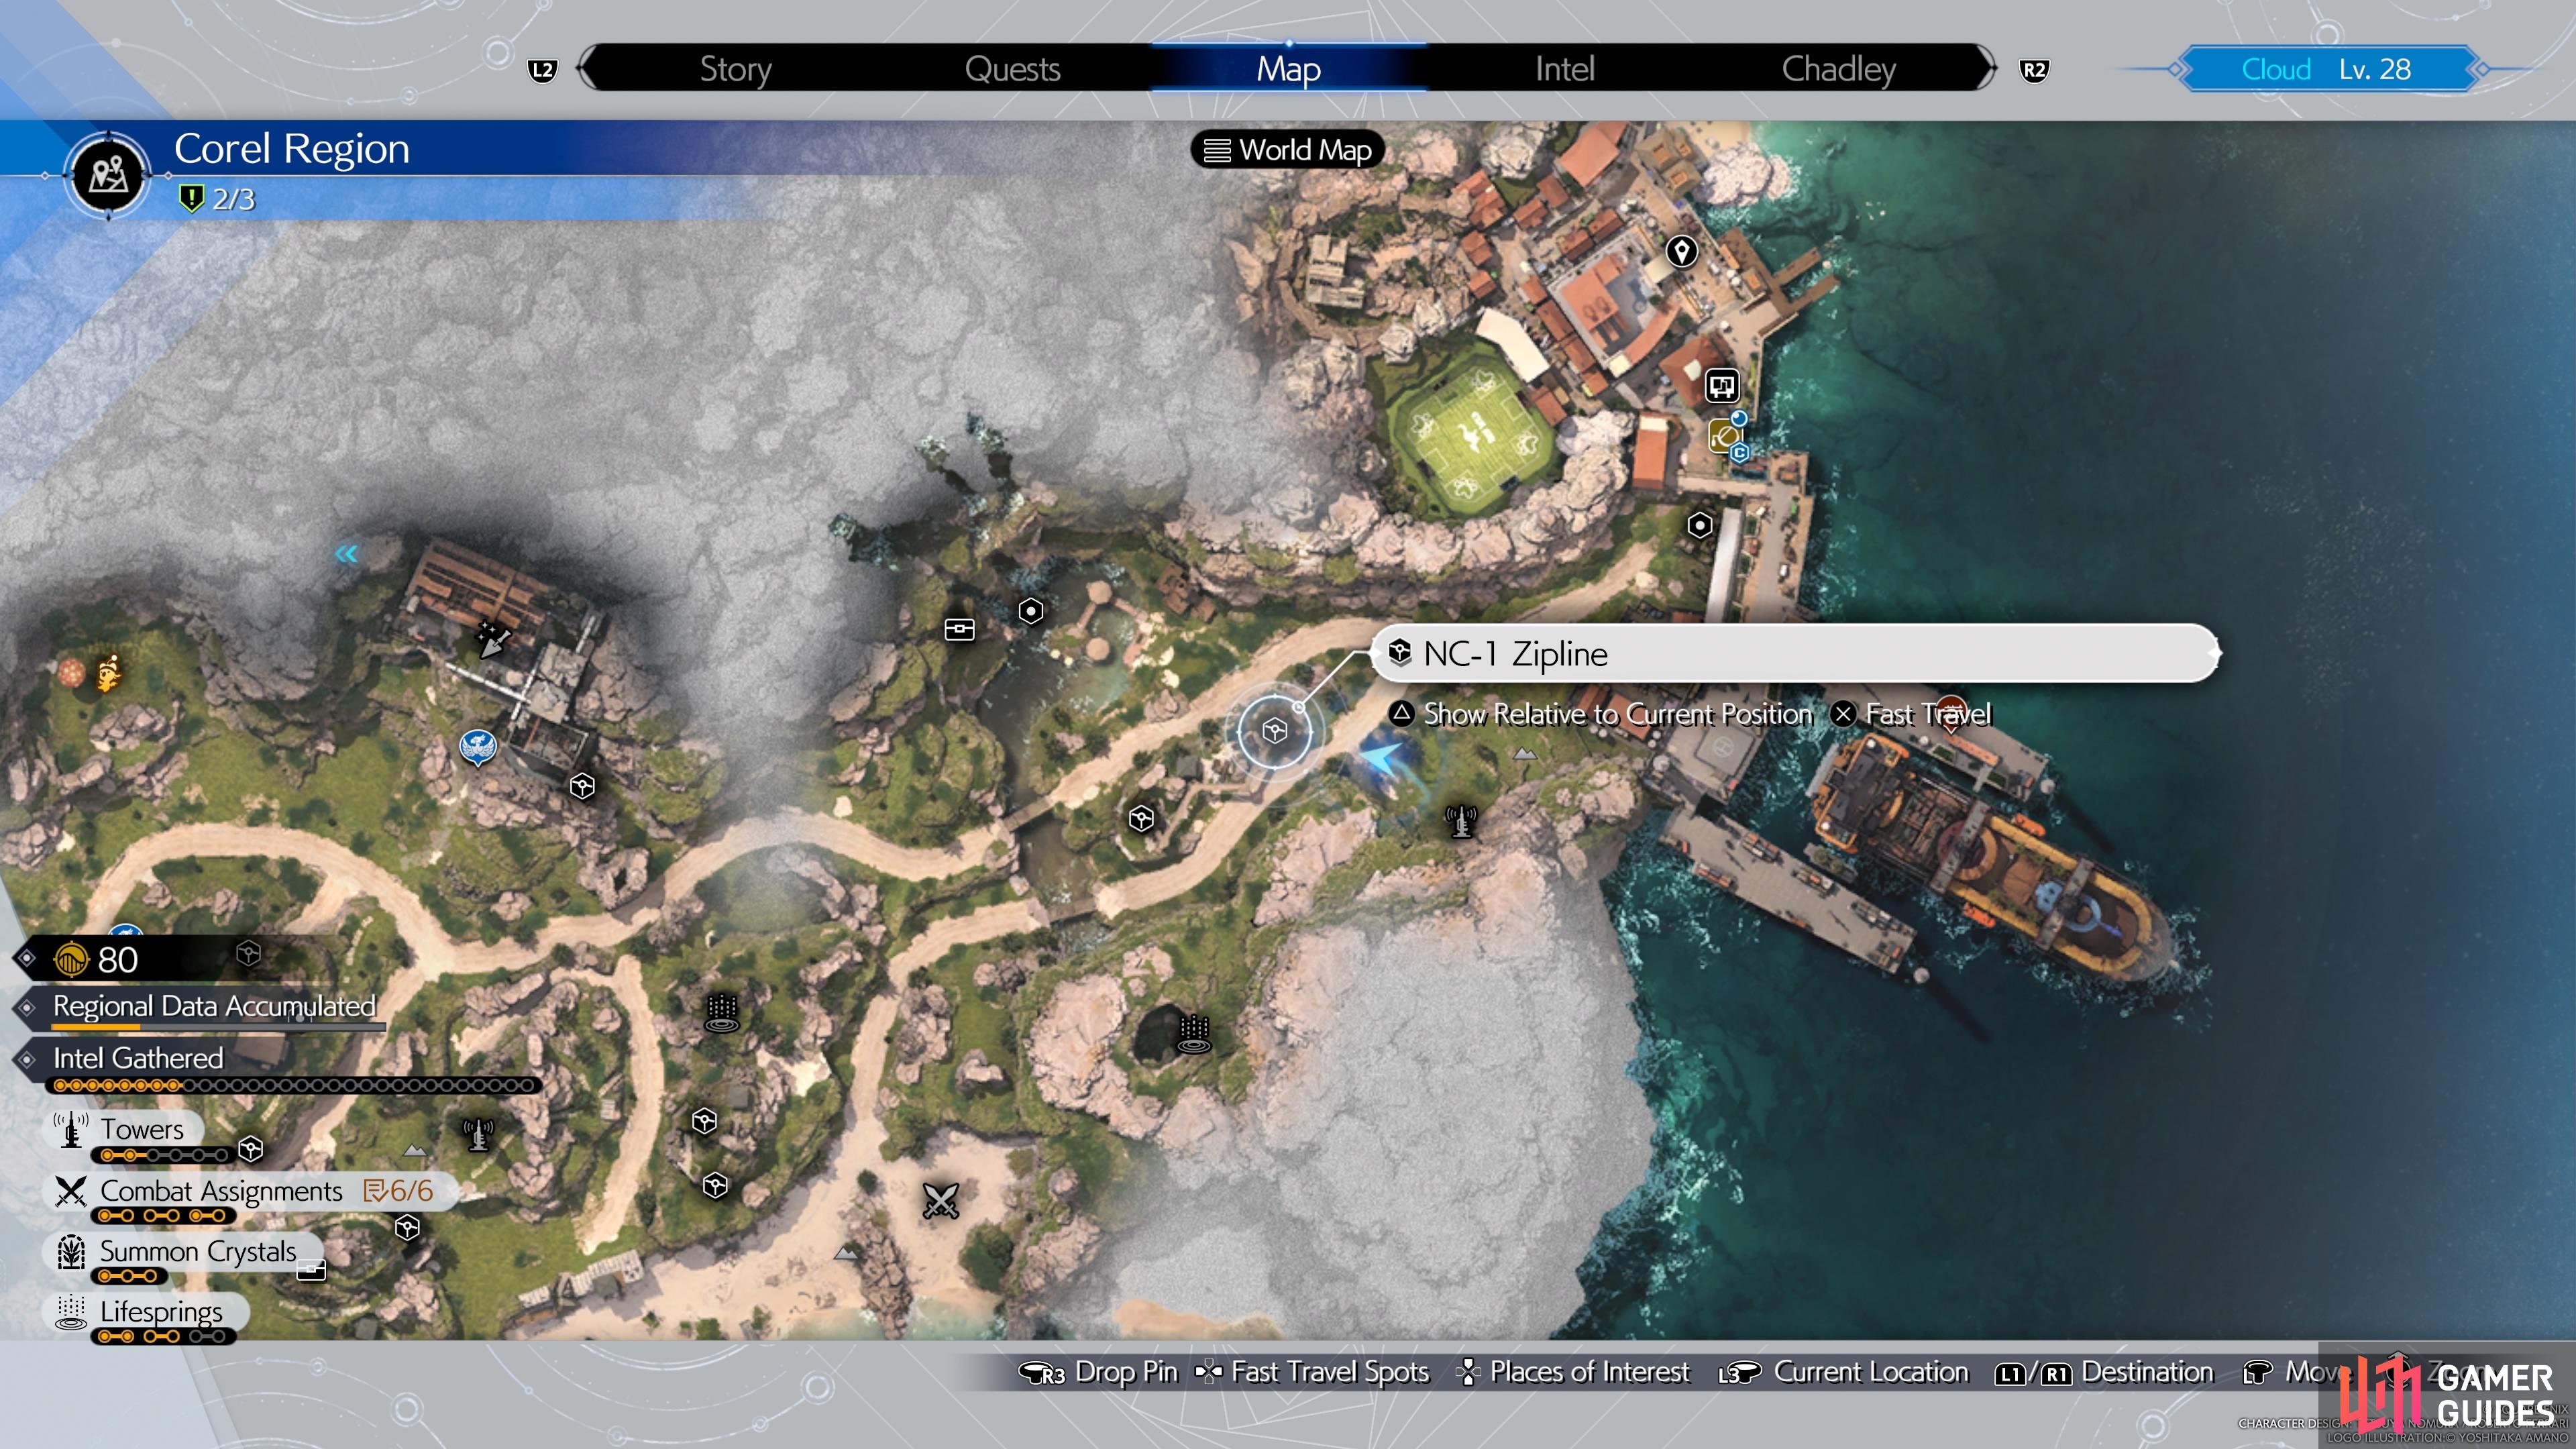
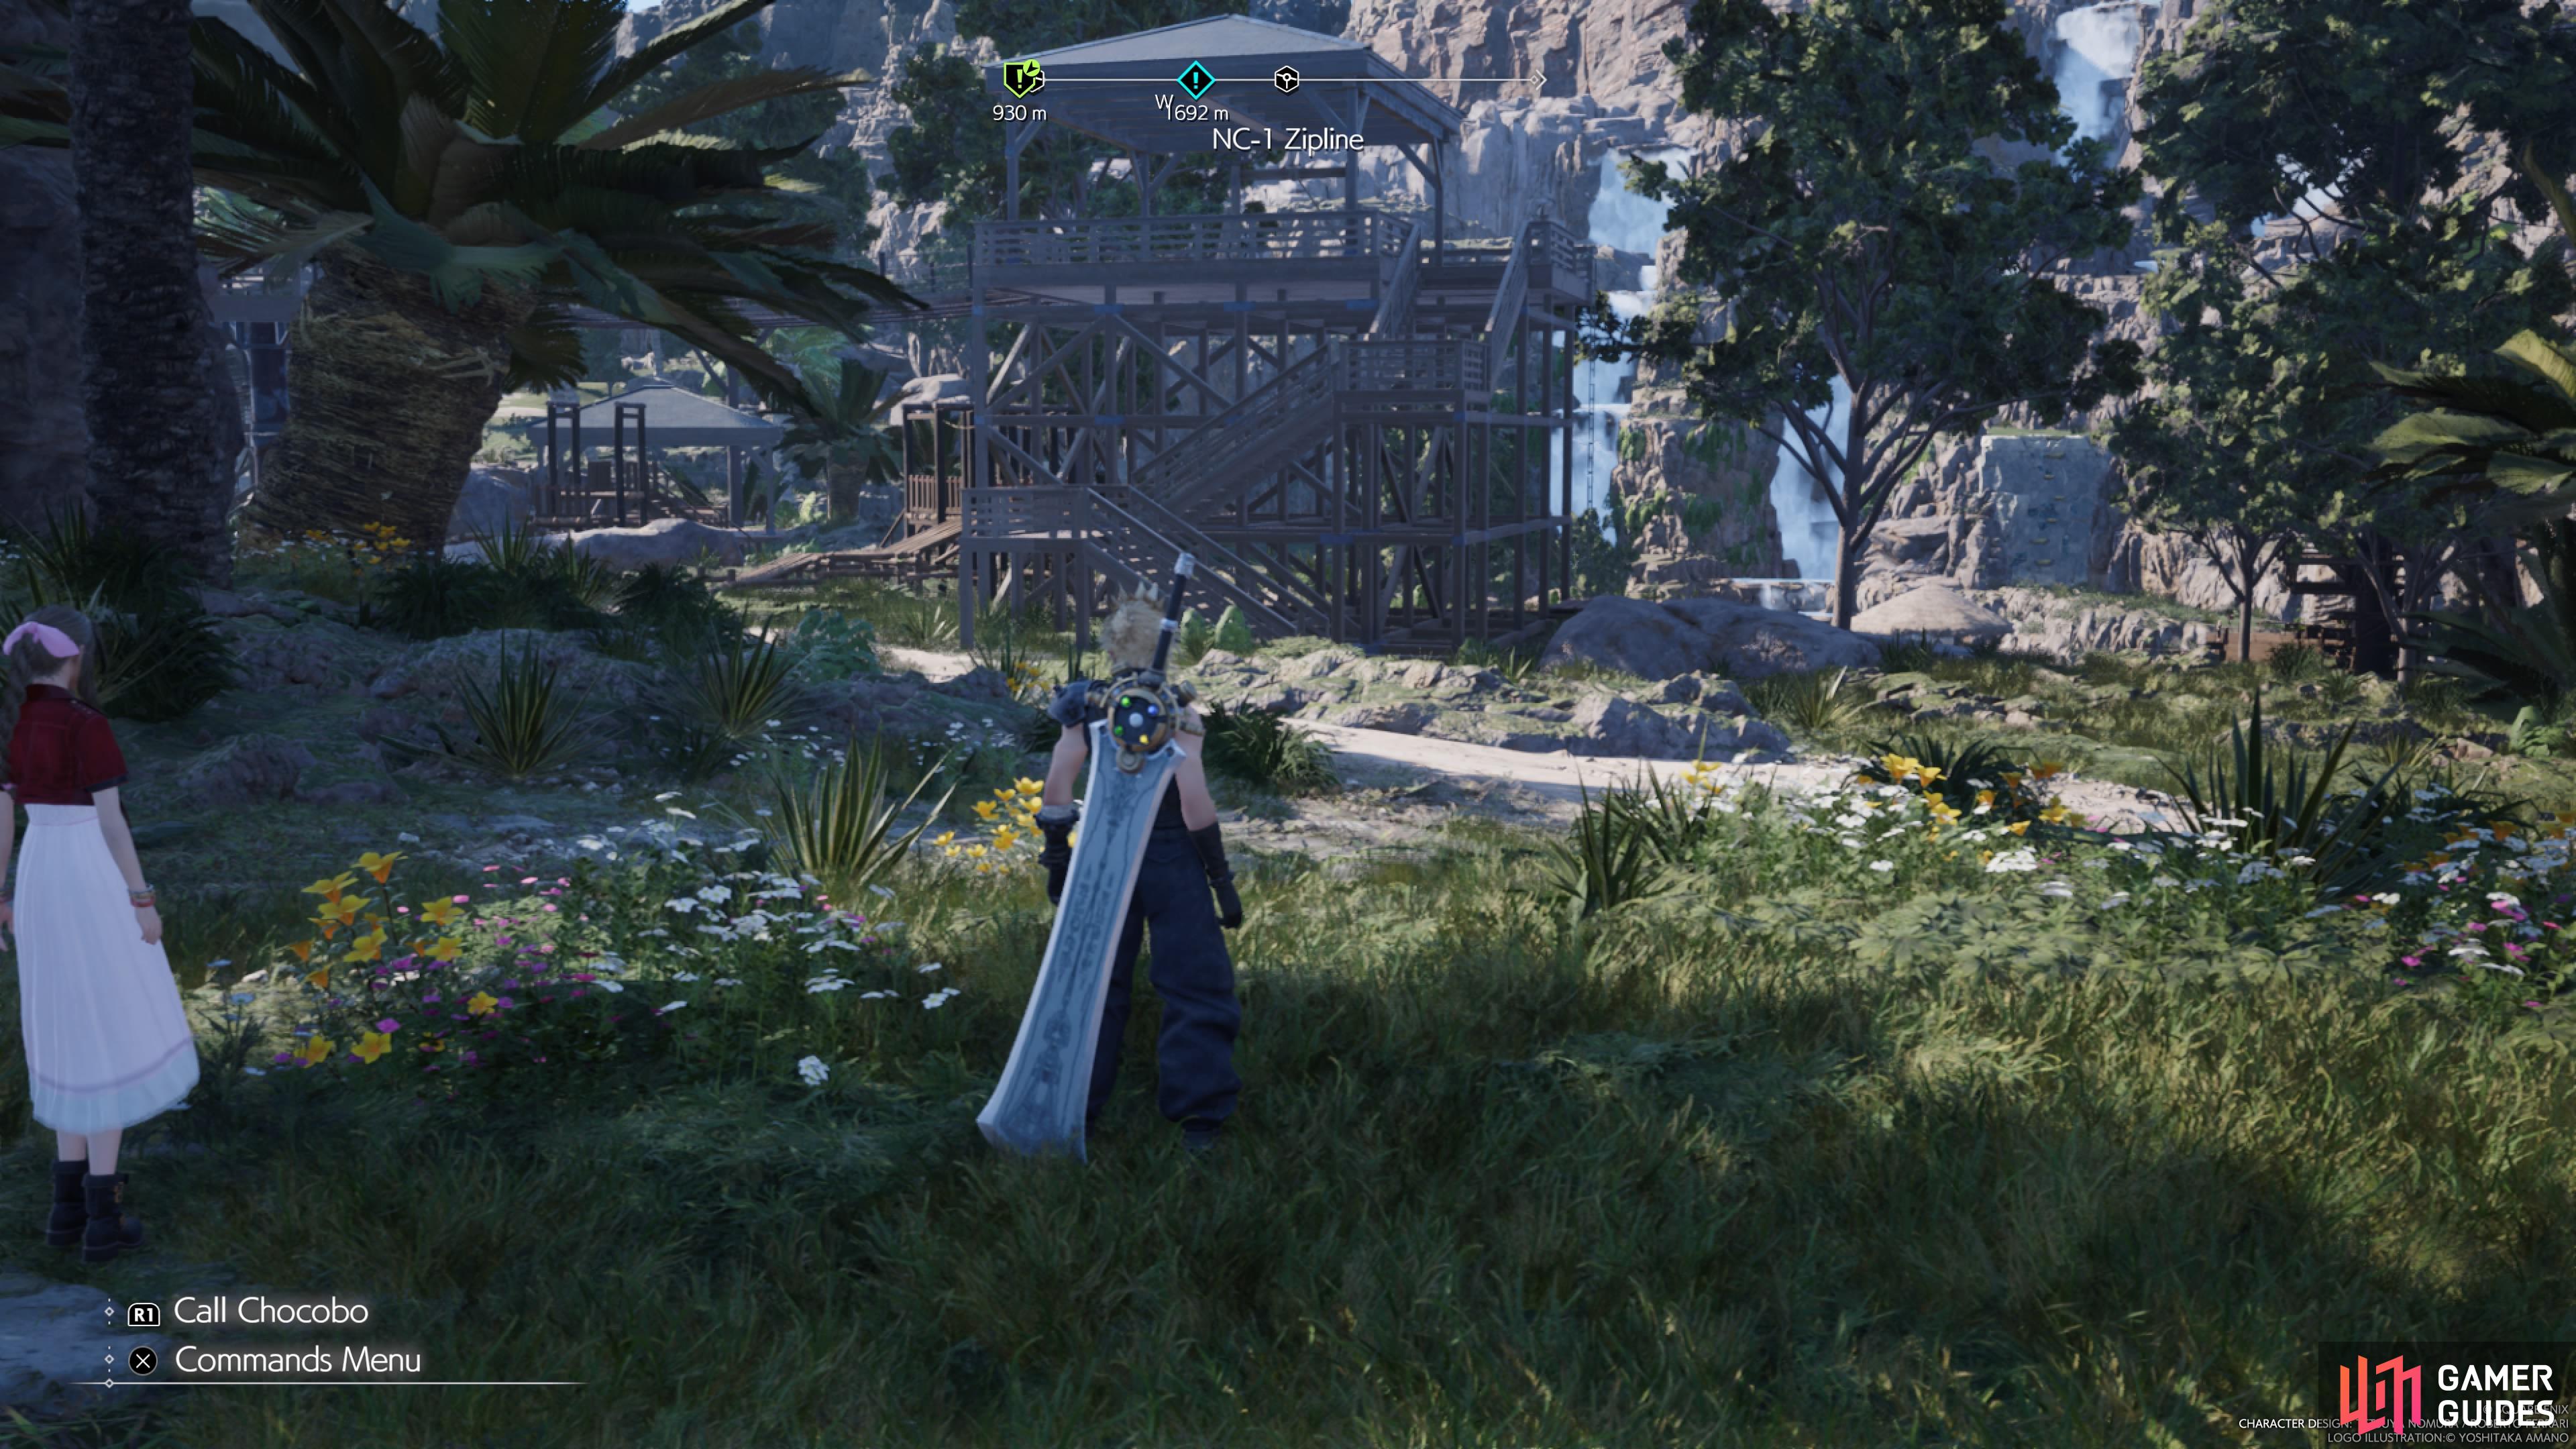
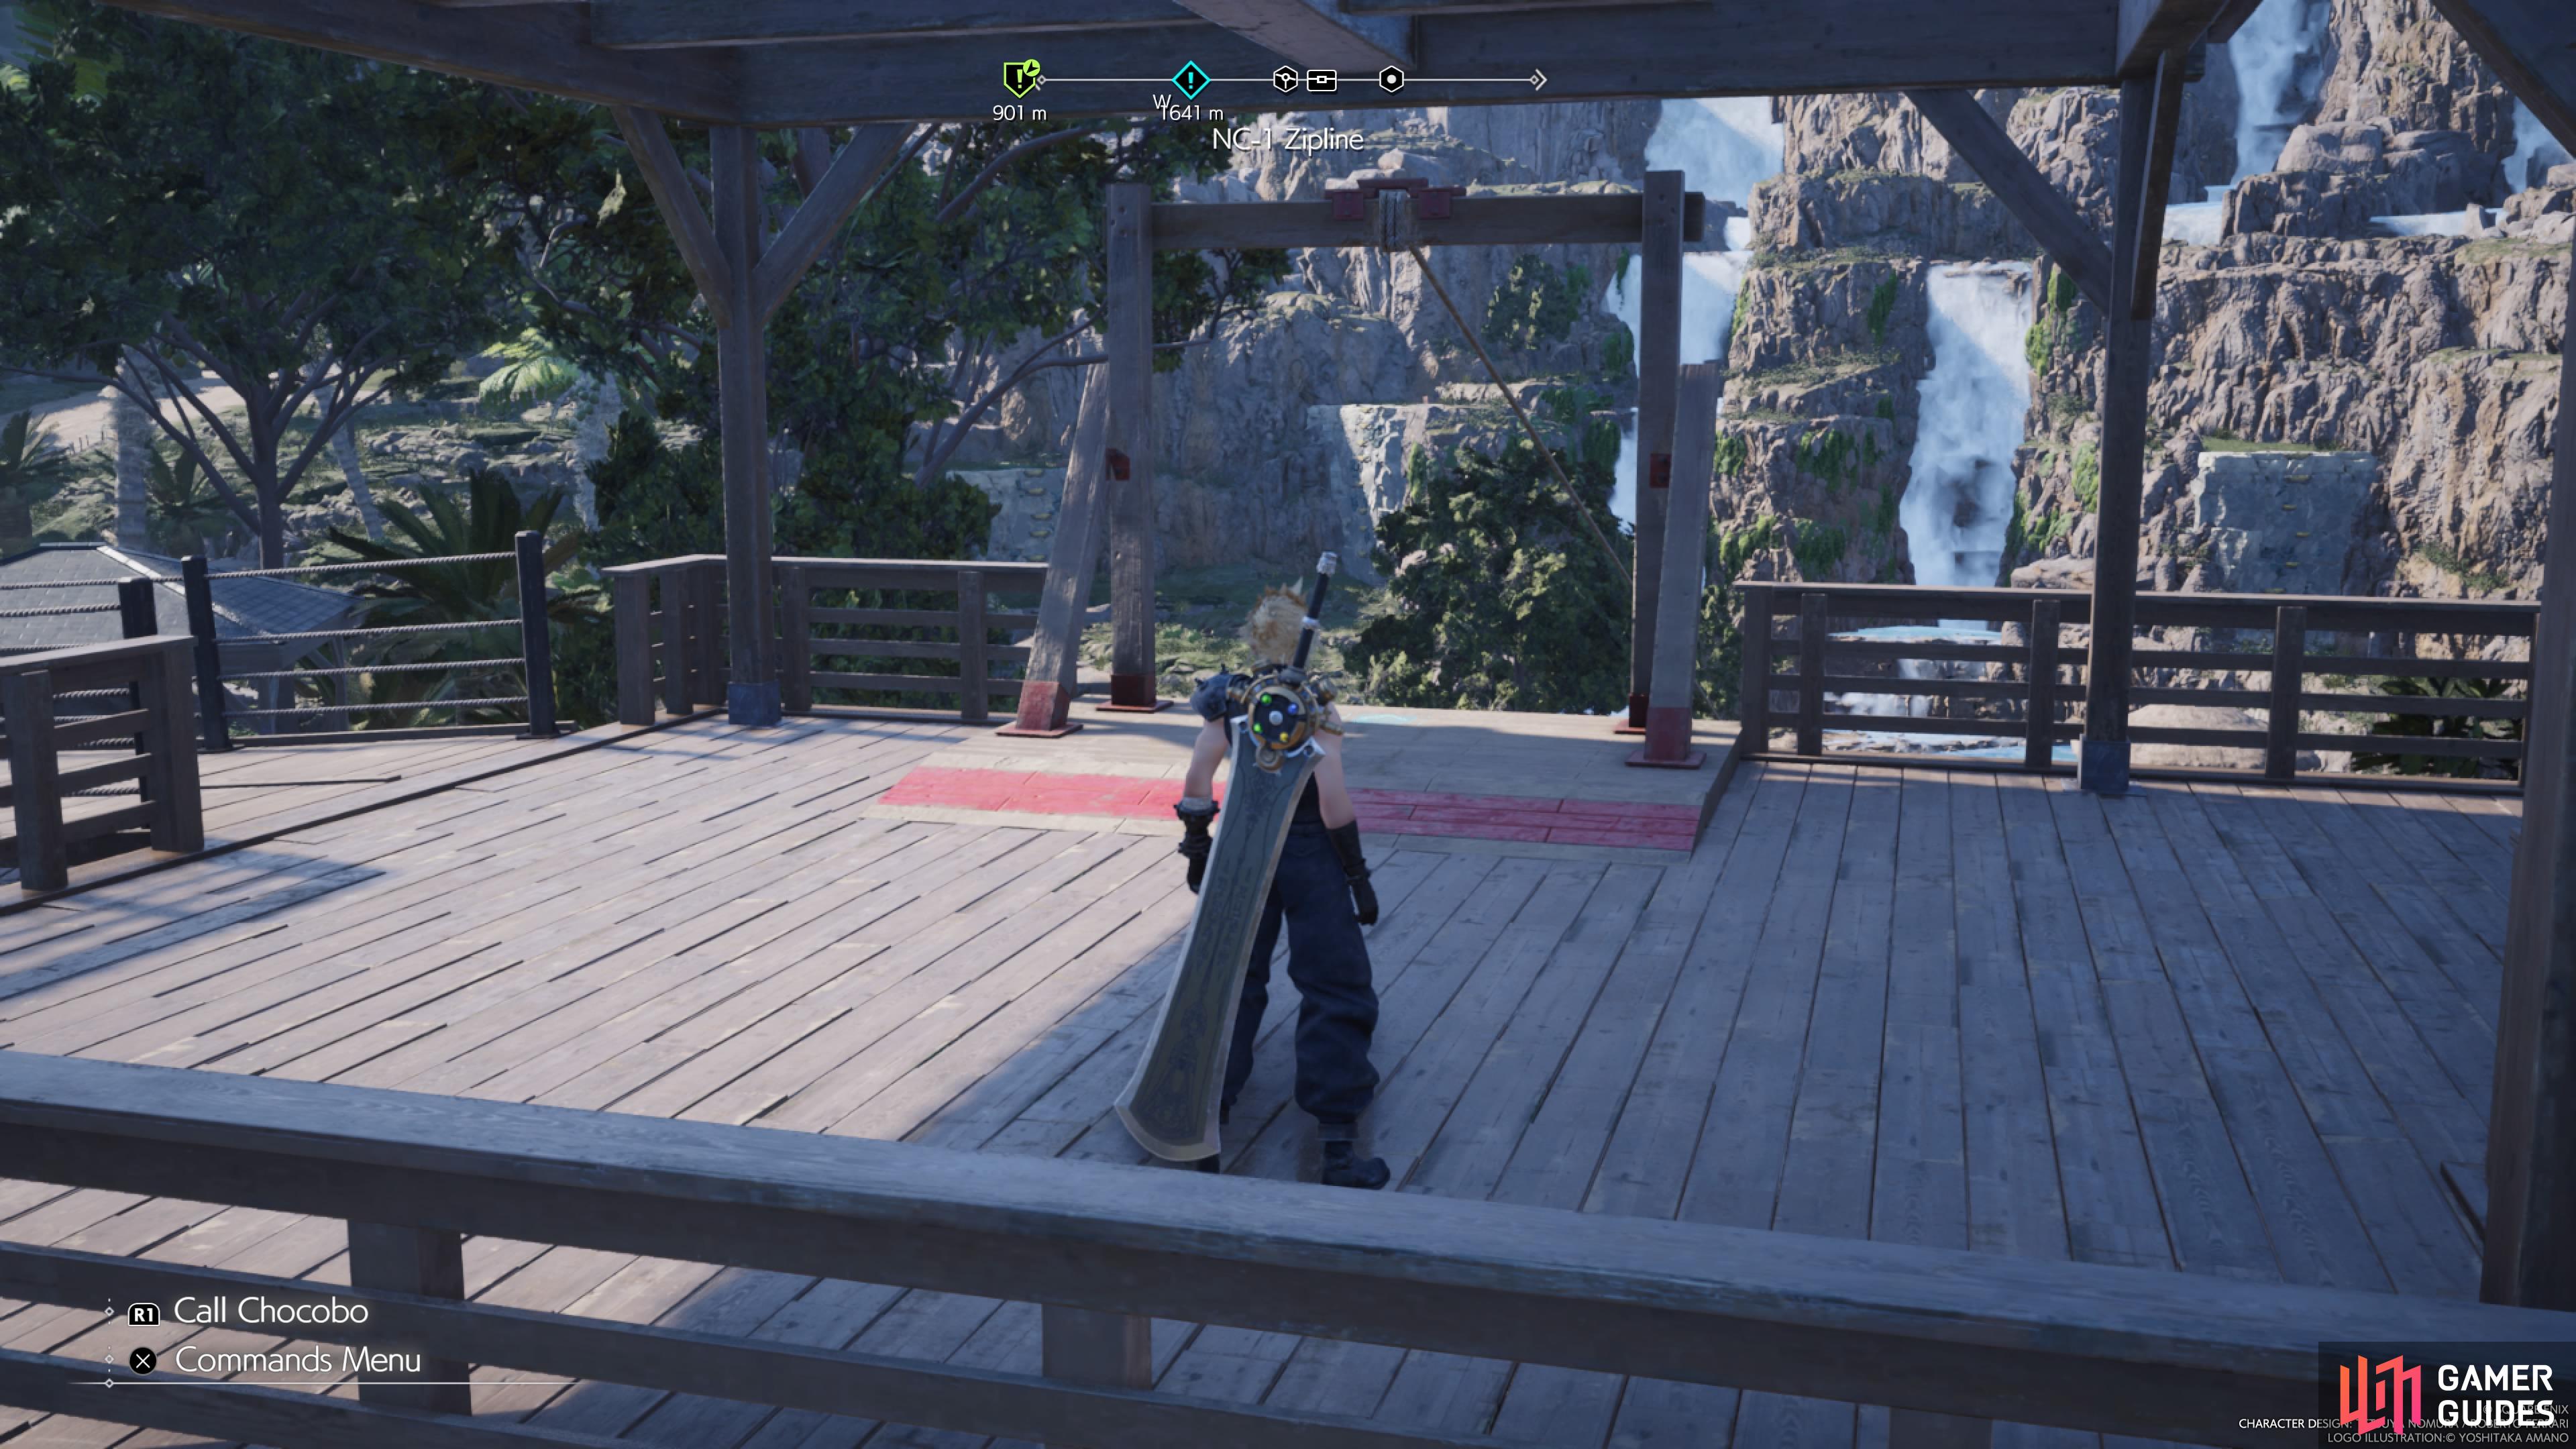
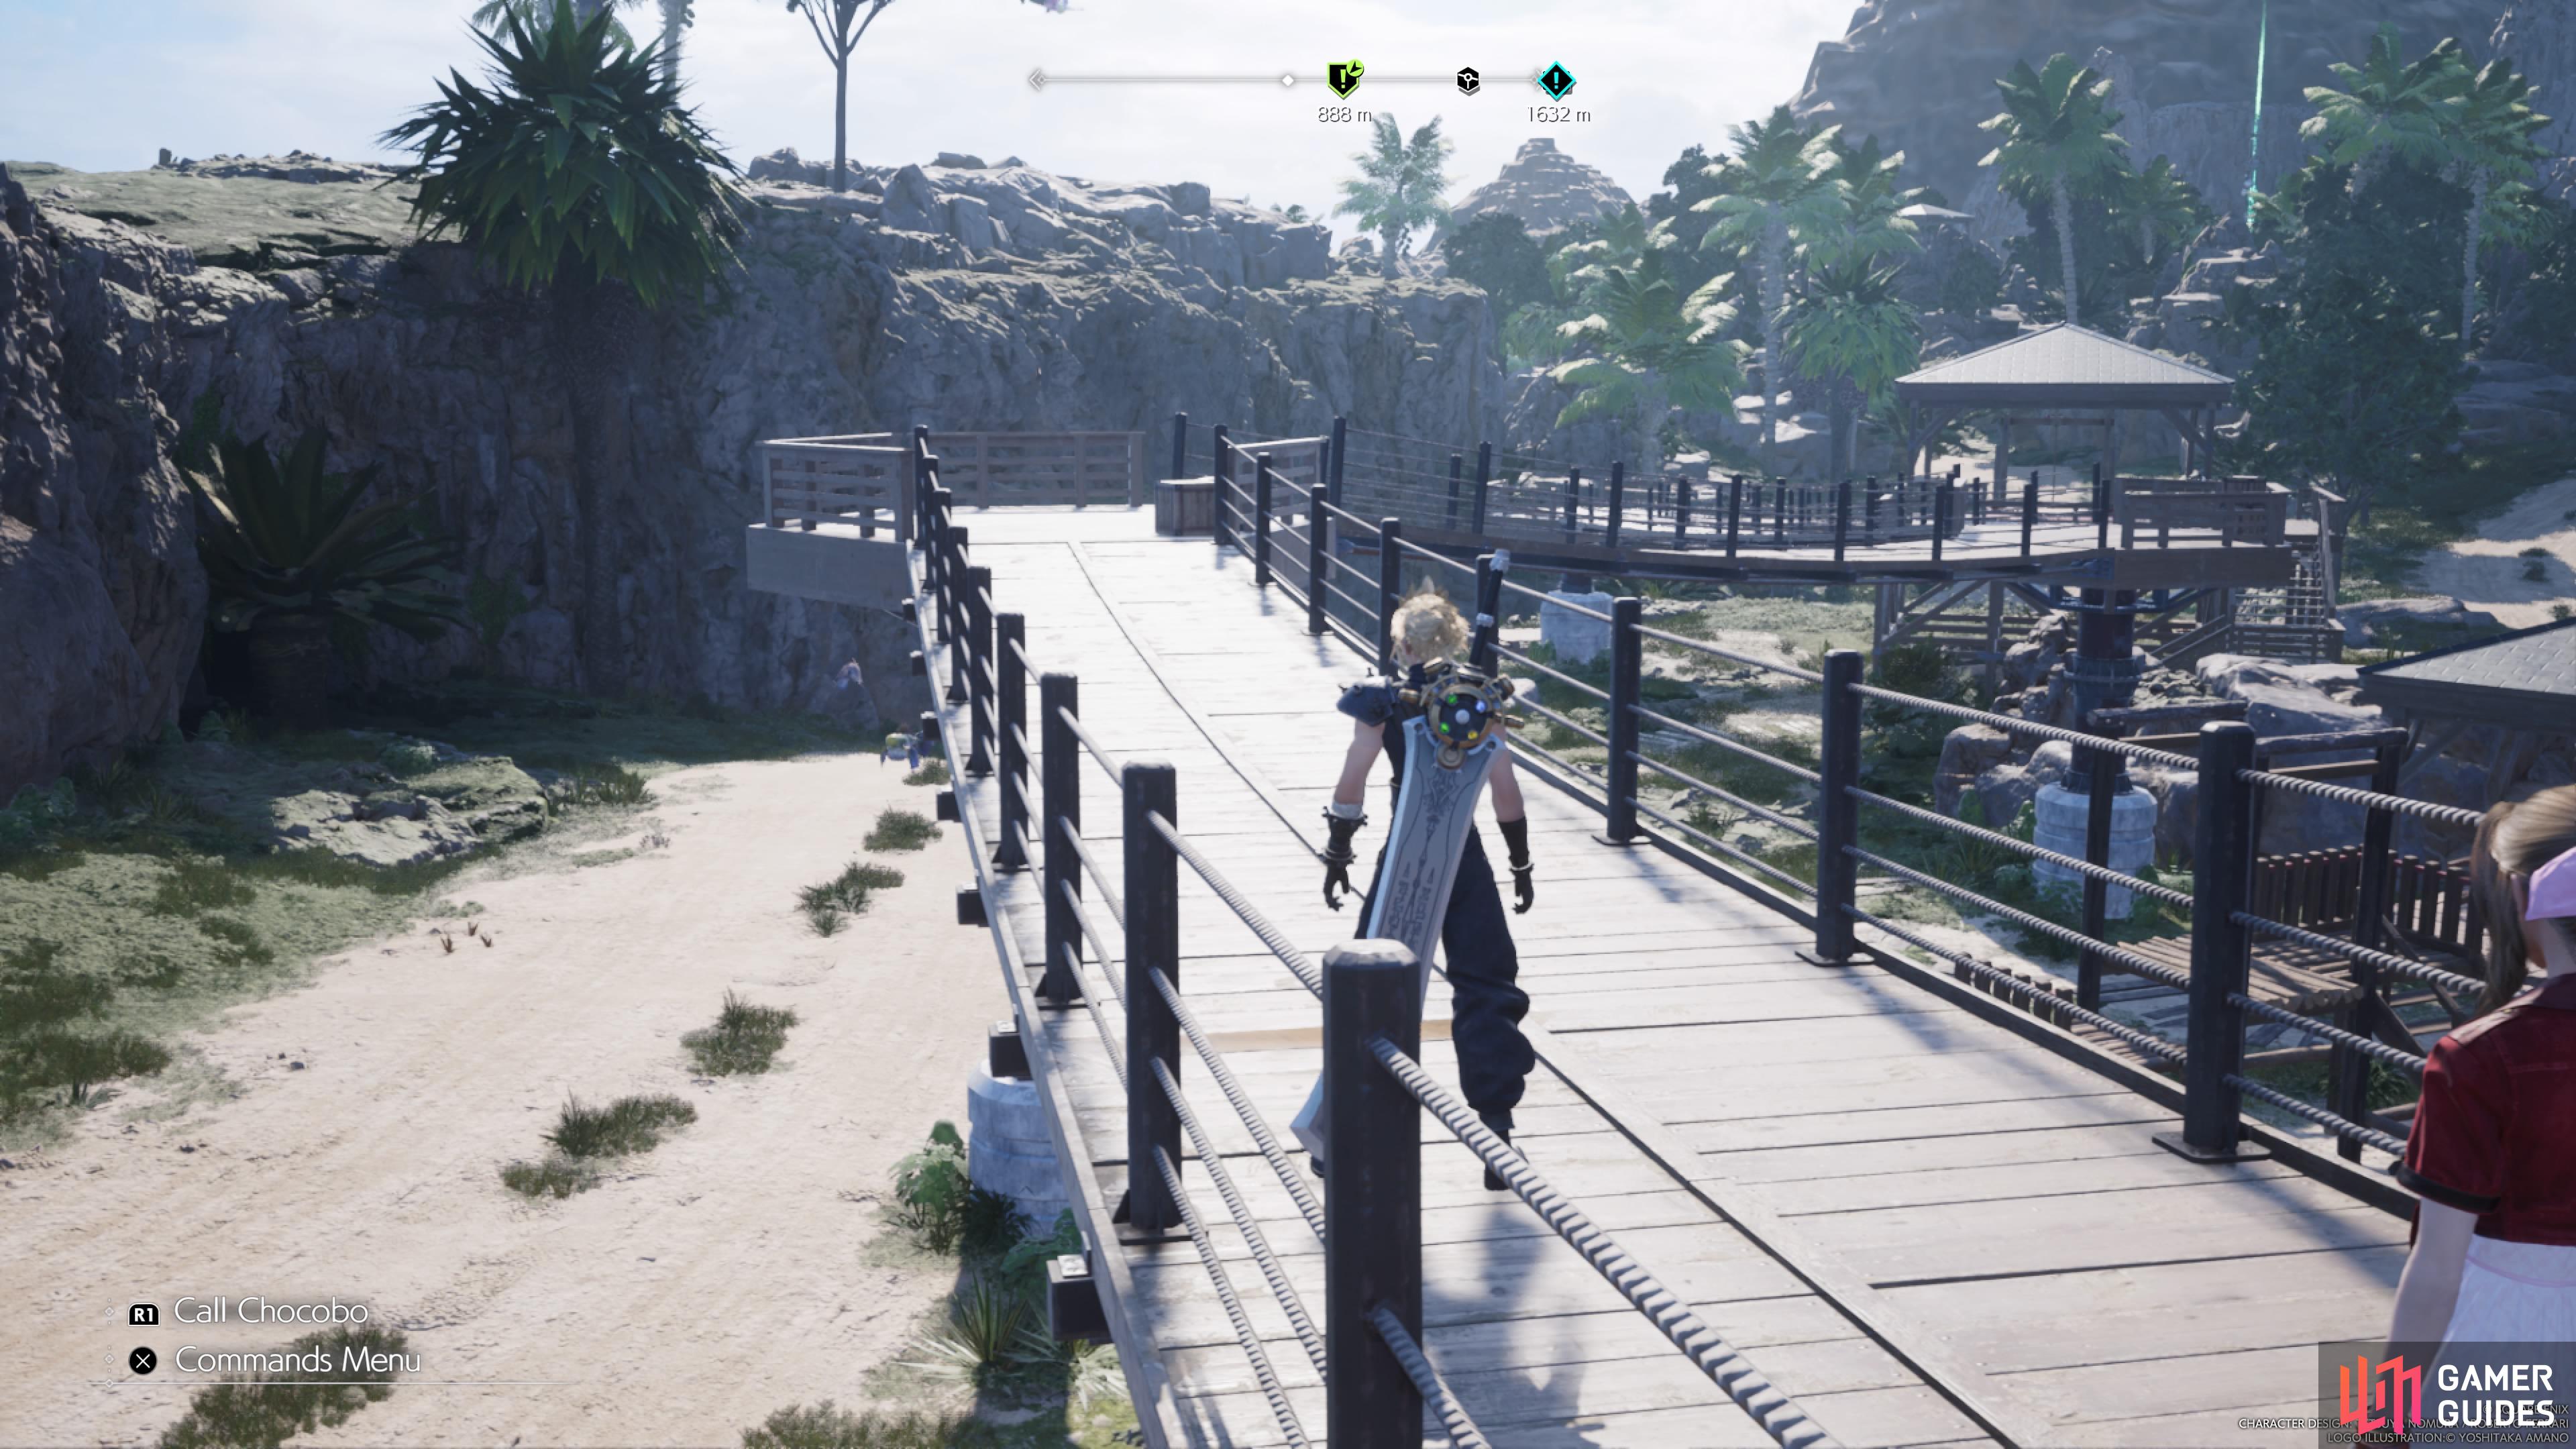
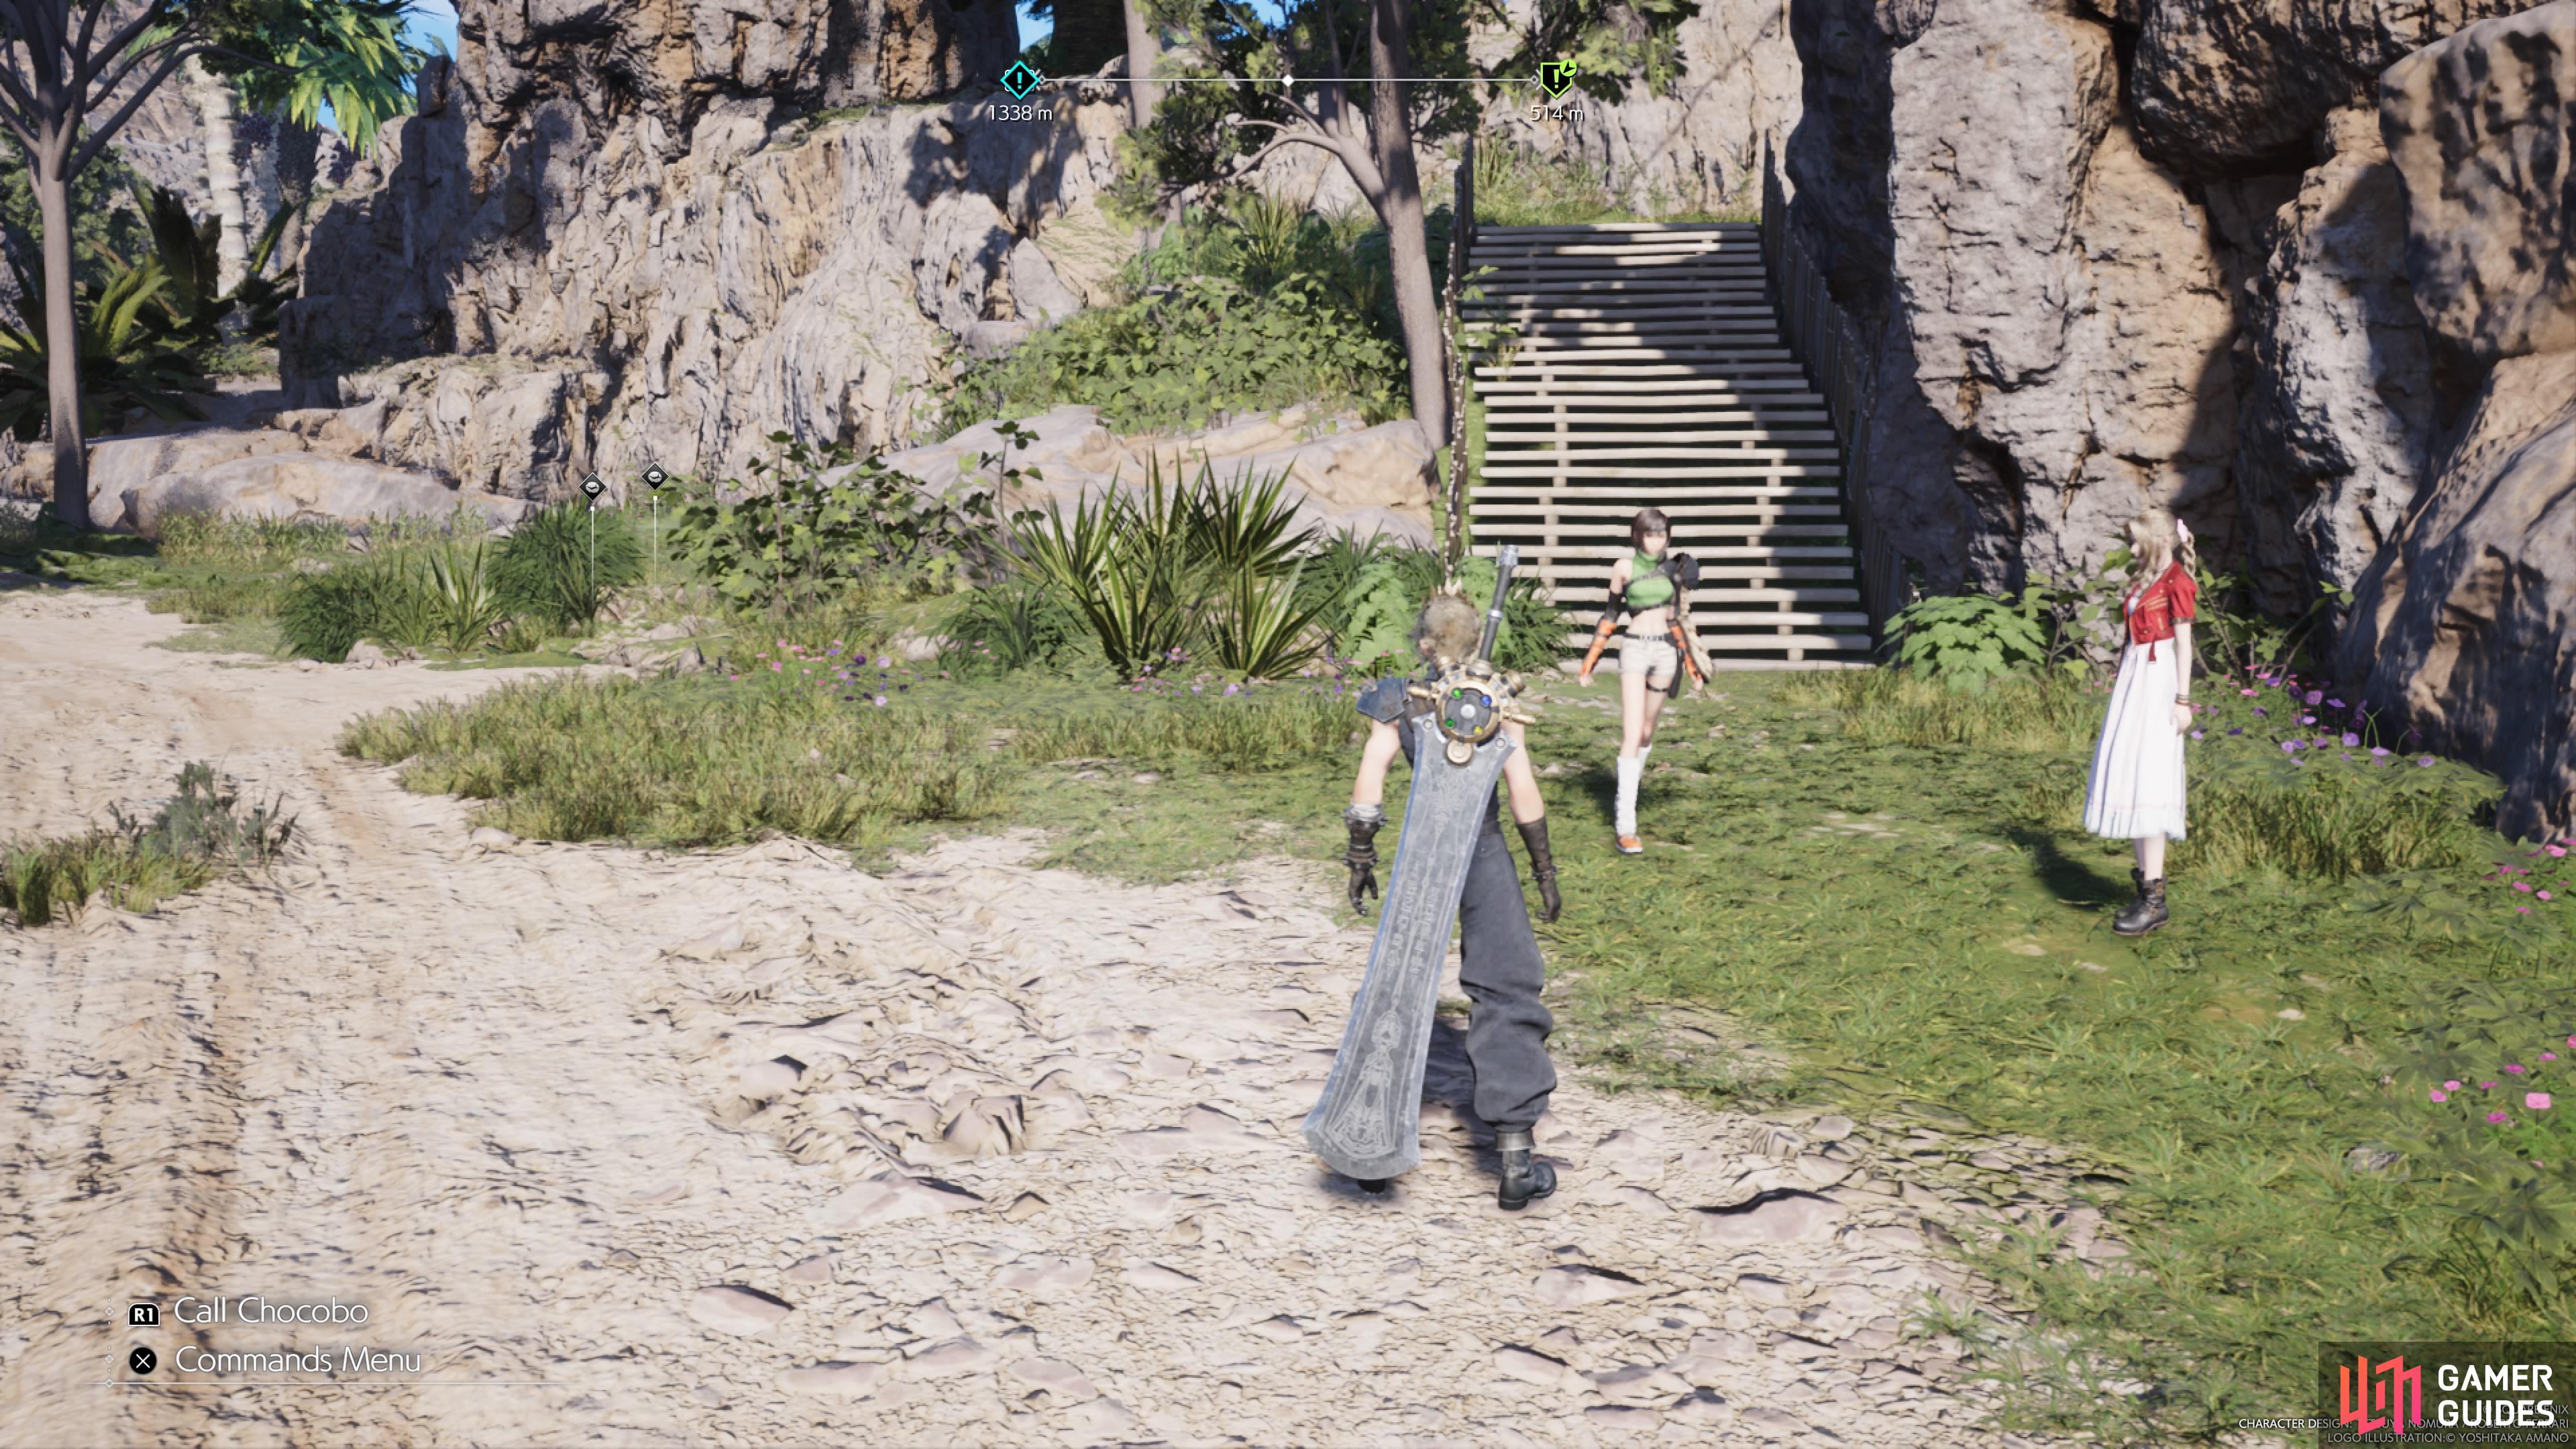
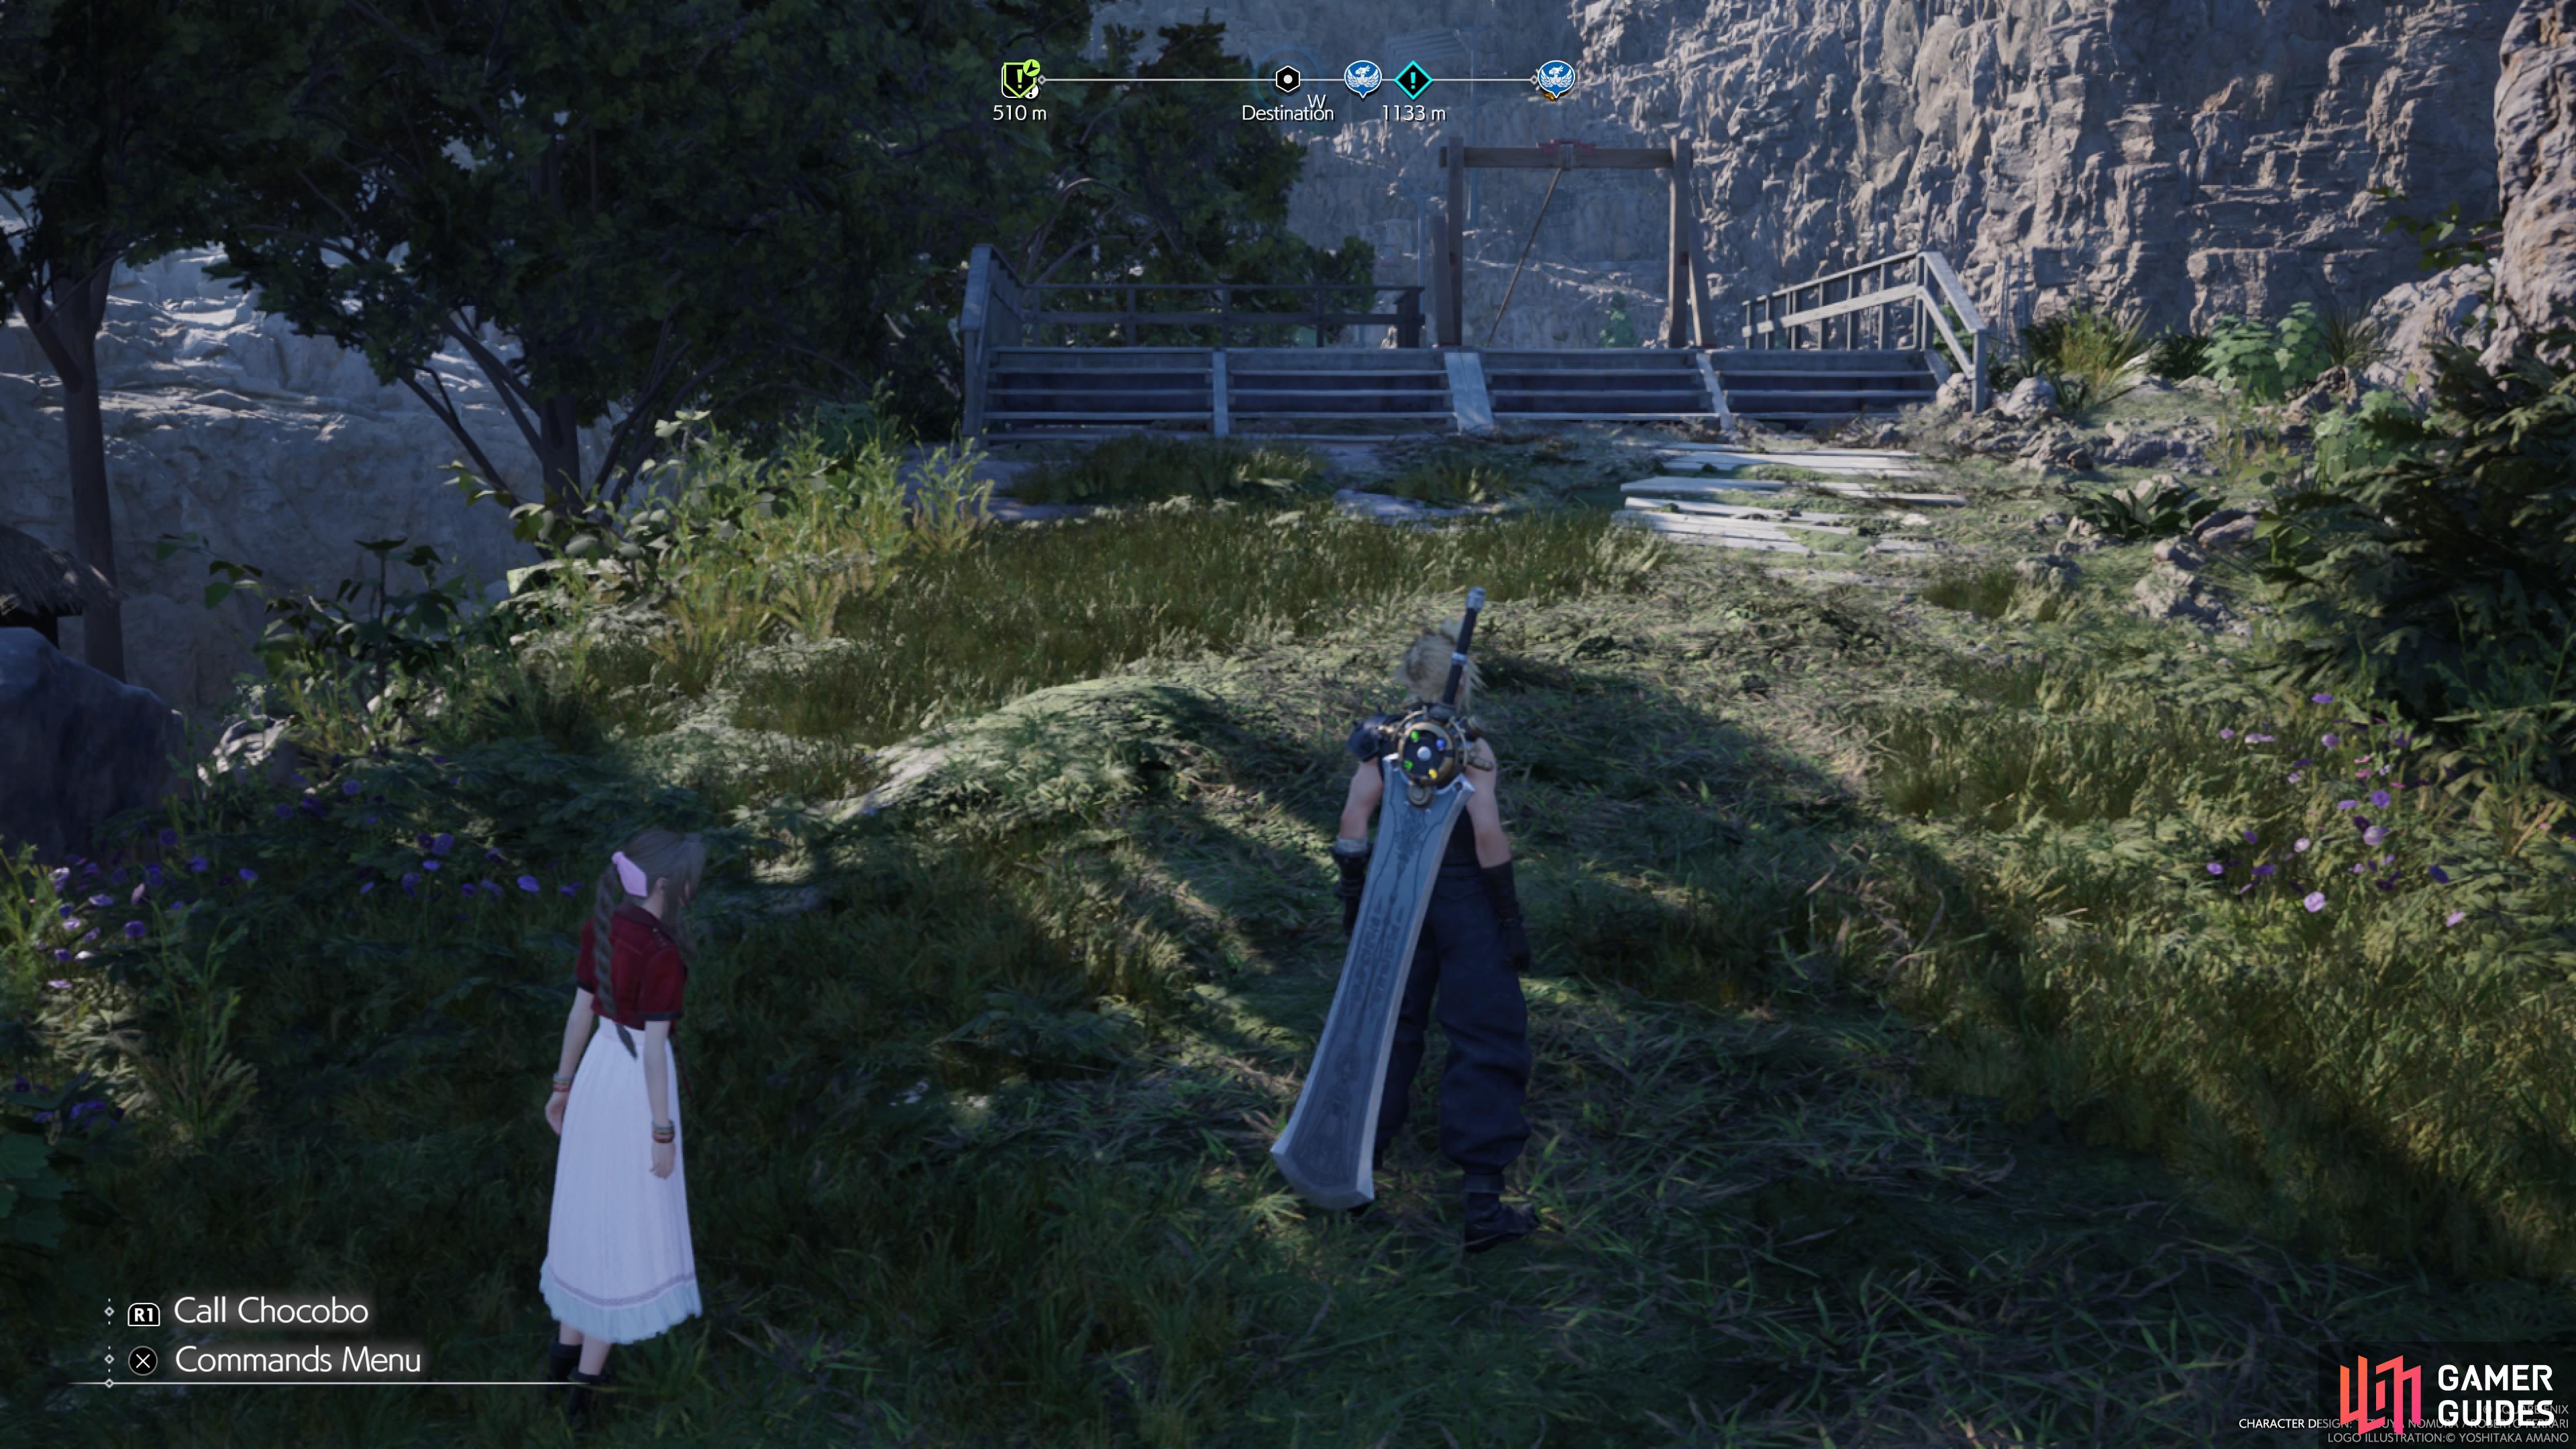
The first task on this list will be to help Johnny recover some materials his partners were collecting. They were supposed to go to Costa Falls, so that is where you should start looking. Exit the town and head west a little bit to find Costa Falls, where you will find the other Johnnys. They mention they already gathered everything but had to use the ziplines to get away from some fiends. Once you regain control, you will see you have to collect a total of eight Refurbished Materials. All of the materials will be on the ground, right next to the ziplines, so they aren’t too hard to find.
All of the ziplines are actually spots you can fast travel to, plus you can also see the actual lines, so they aren’t too difficult to see from a distance. Finding most of them isn’t the tough part, but reaching some of them can be a bit annoying.
NC-1 Zipline
Right outside of town is Tower 1: Costa Port Tower. Head there, then look northwest to see a wooden structure. Climb the stairs and the zipline will be right there. Look right at the ground in front of the zipline, before using it, to spot the Refurbished Materials.
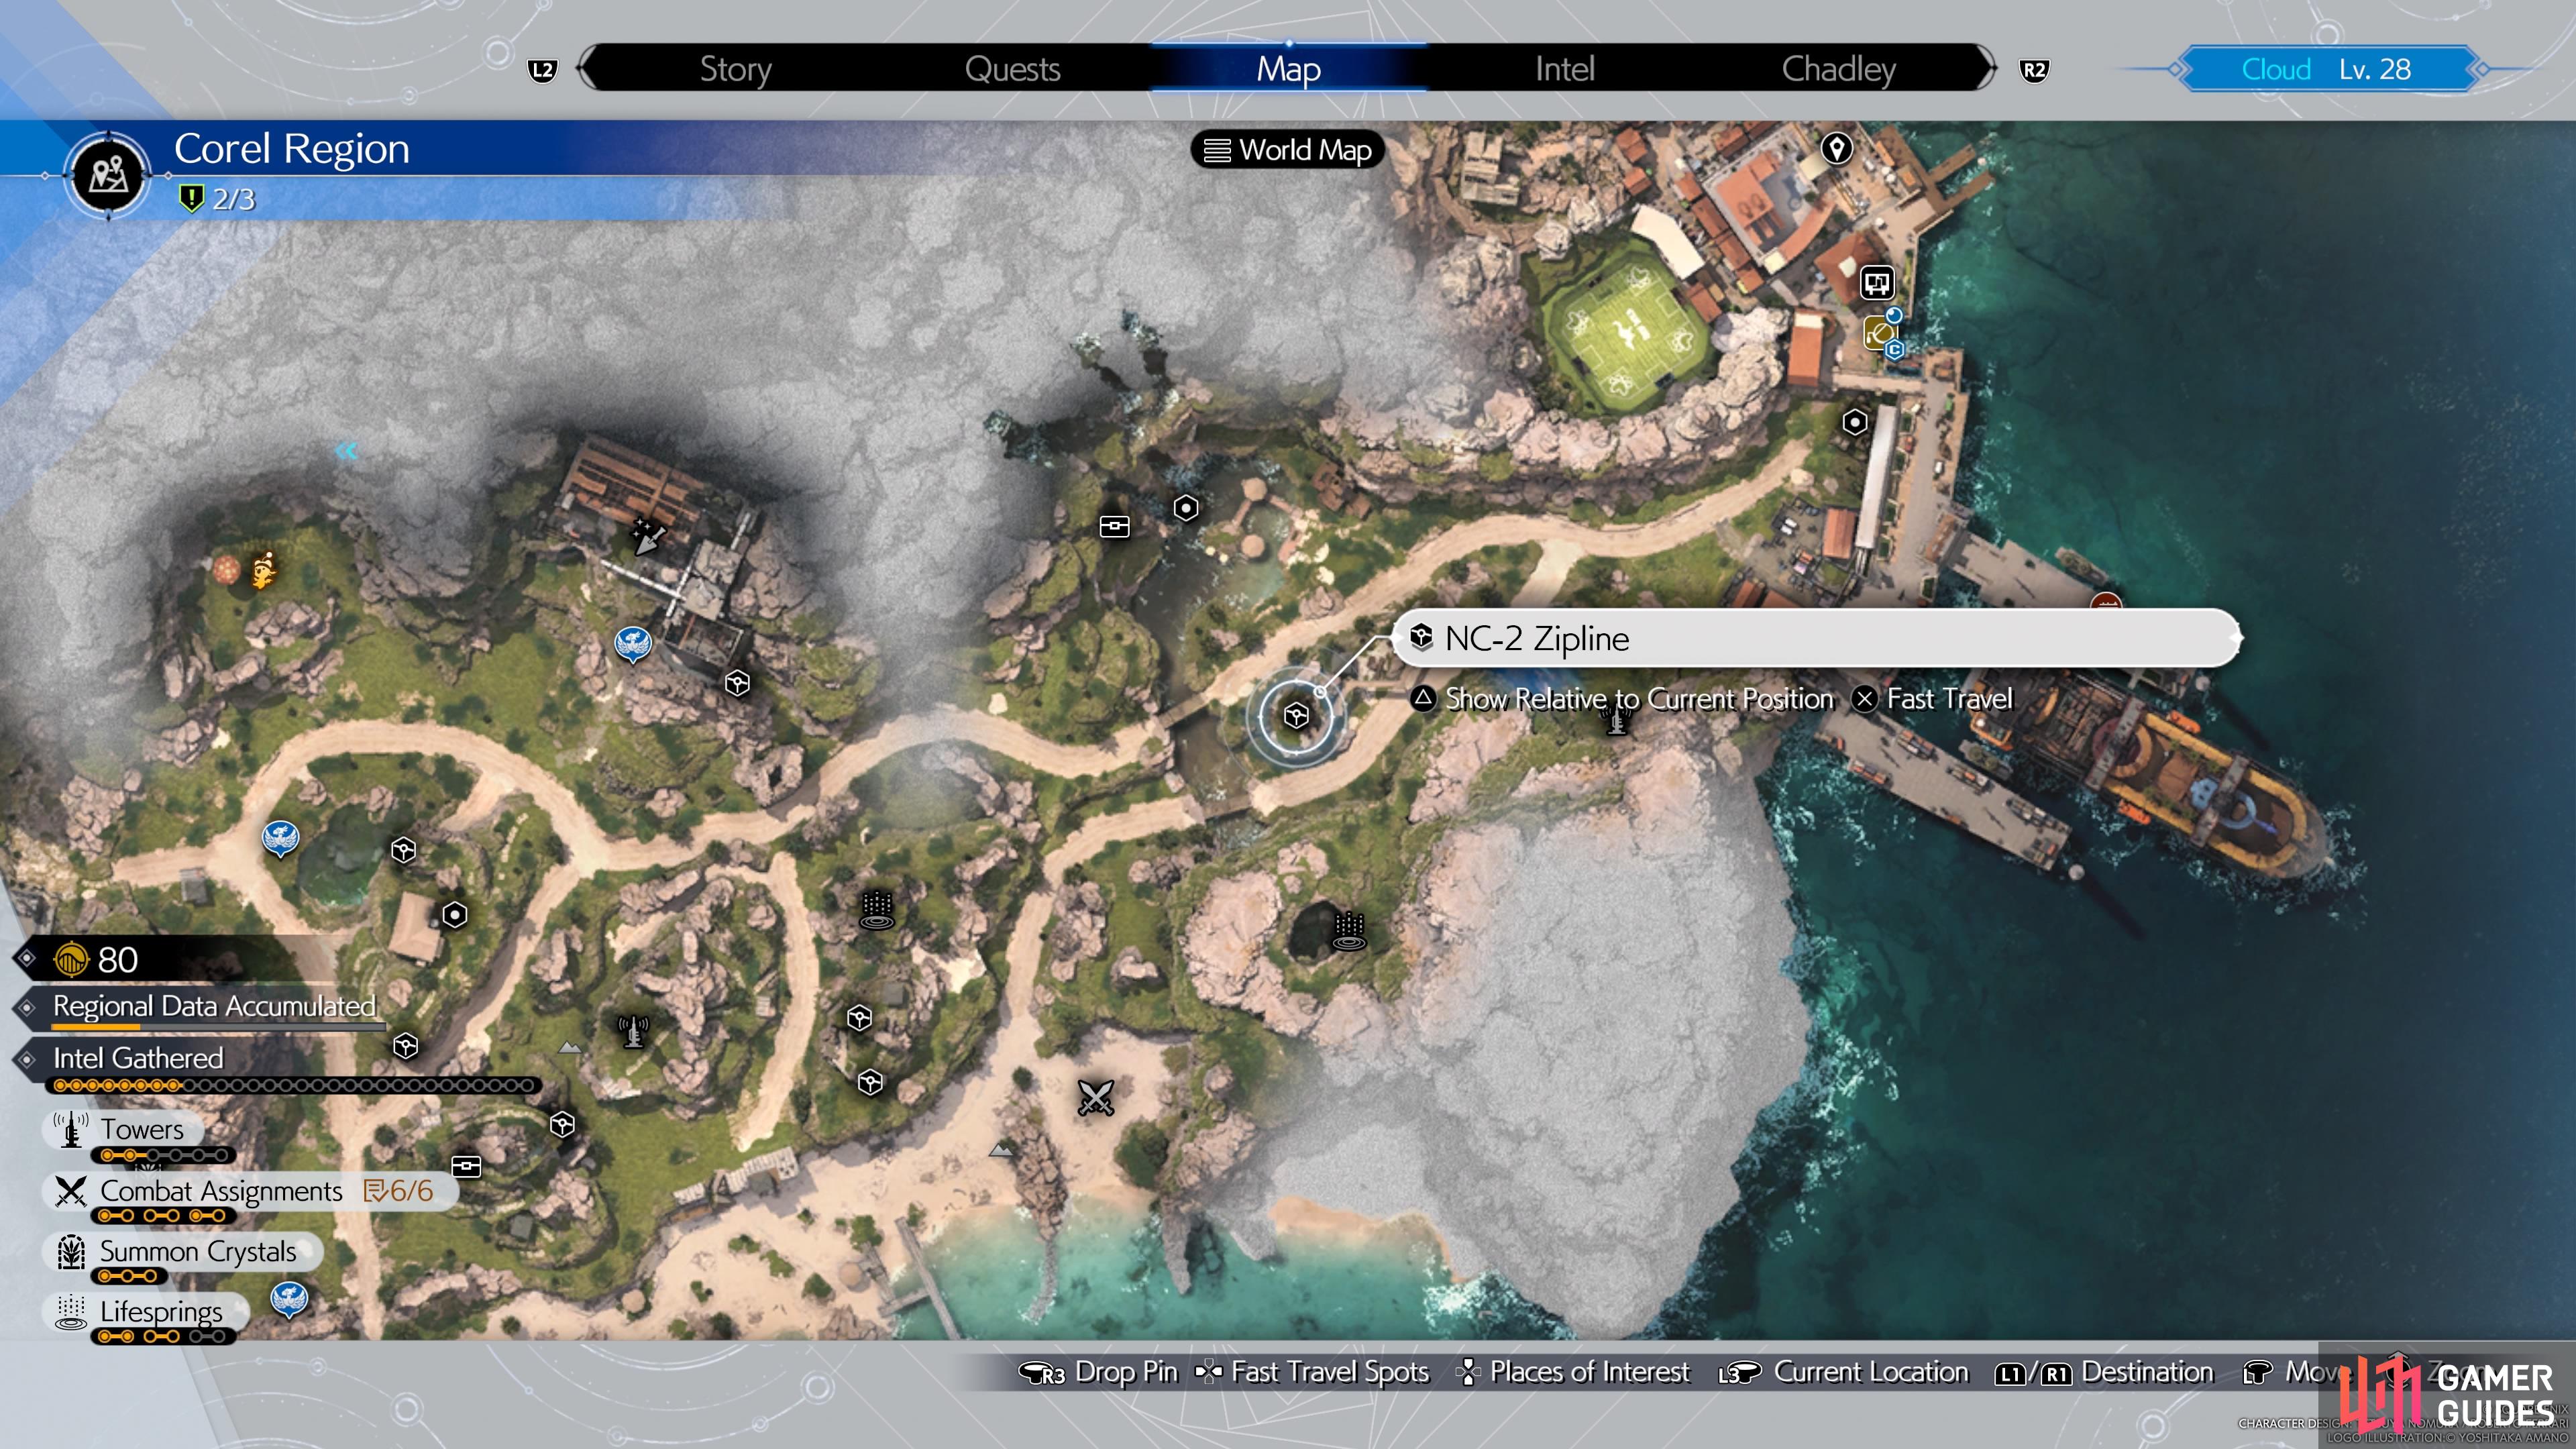
NC-2 Zipline
This zipline is pretty much right next to the first one. Just cross the wooden bridge next to the first zipline and follow the path until you reach the second one, as well as the Refurbished Materials.
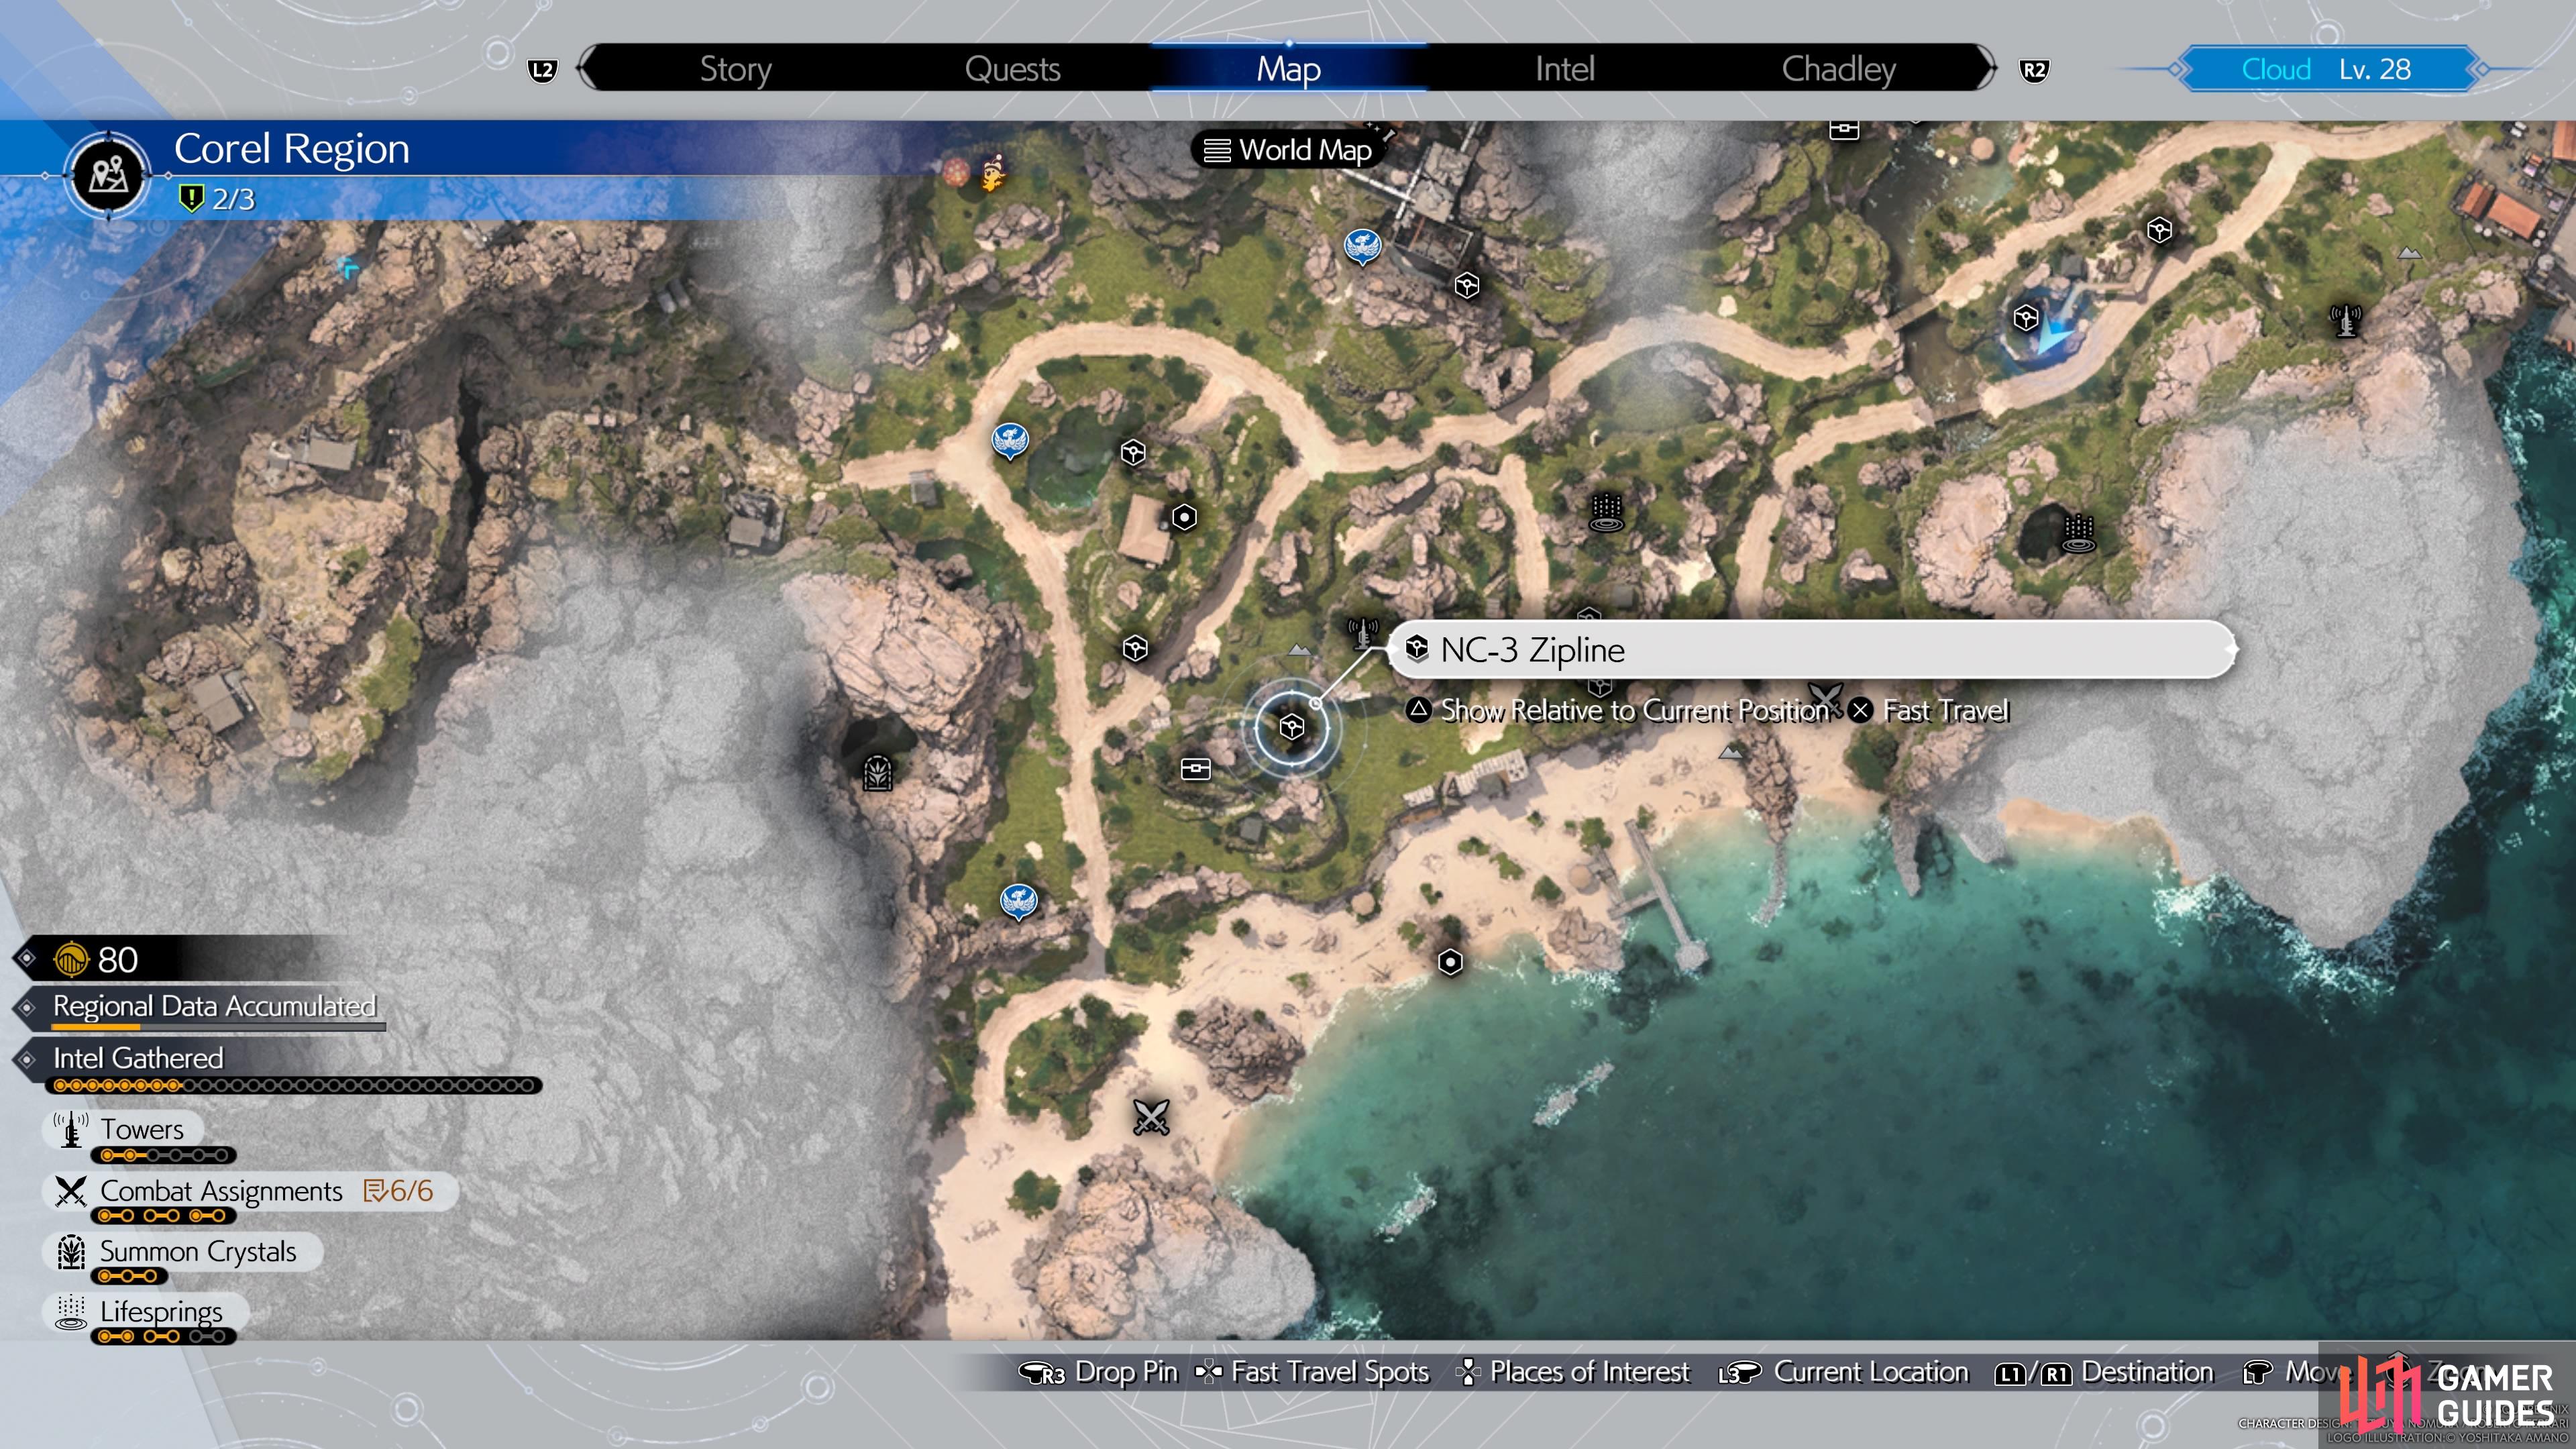
NC-3 Zipline
The third-numbered zipline is a fair distance away from the first two, located in the southwestern corner of the area right outside of Costa Del Sol. Starting from Clamshell Beach, a location you unlock during the Rendezvous in Costa del Sol quest, head northwest to find some stairs leading to the main portion of the area. To the west will be the plateau with the zipline, but you’ll have to go around to the south-southwestern side for a path. You’ll know you’re in the right spot if you find the Twilight Hill cache location. Just follow the walkway to the very top for the zipline and Refurbished Materials key item.
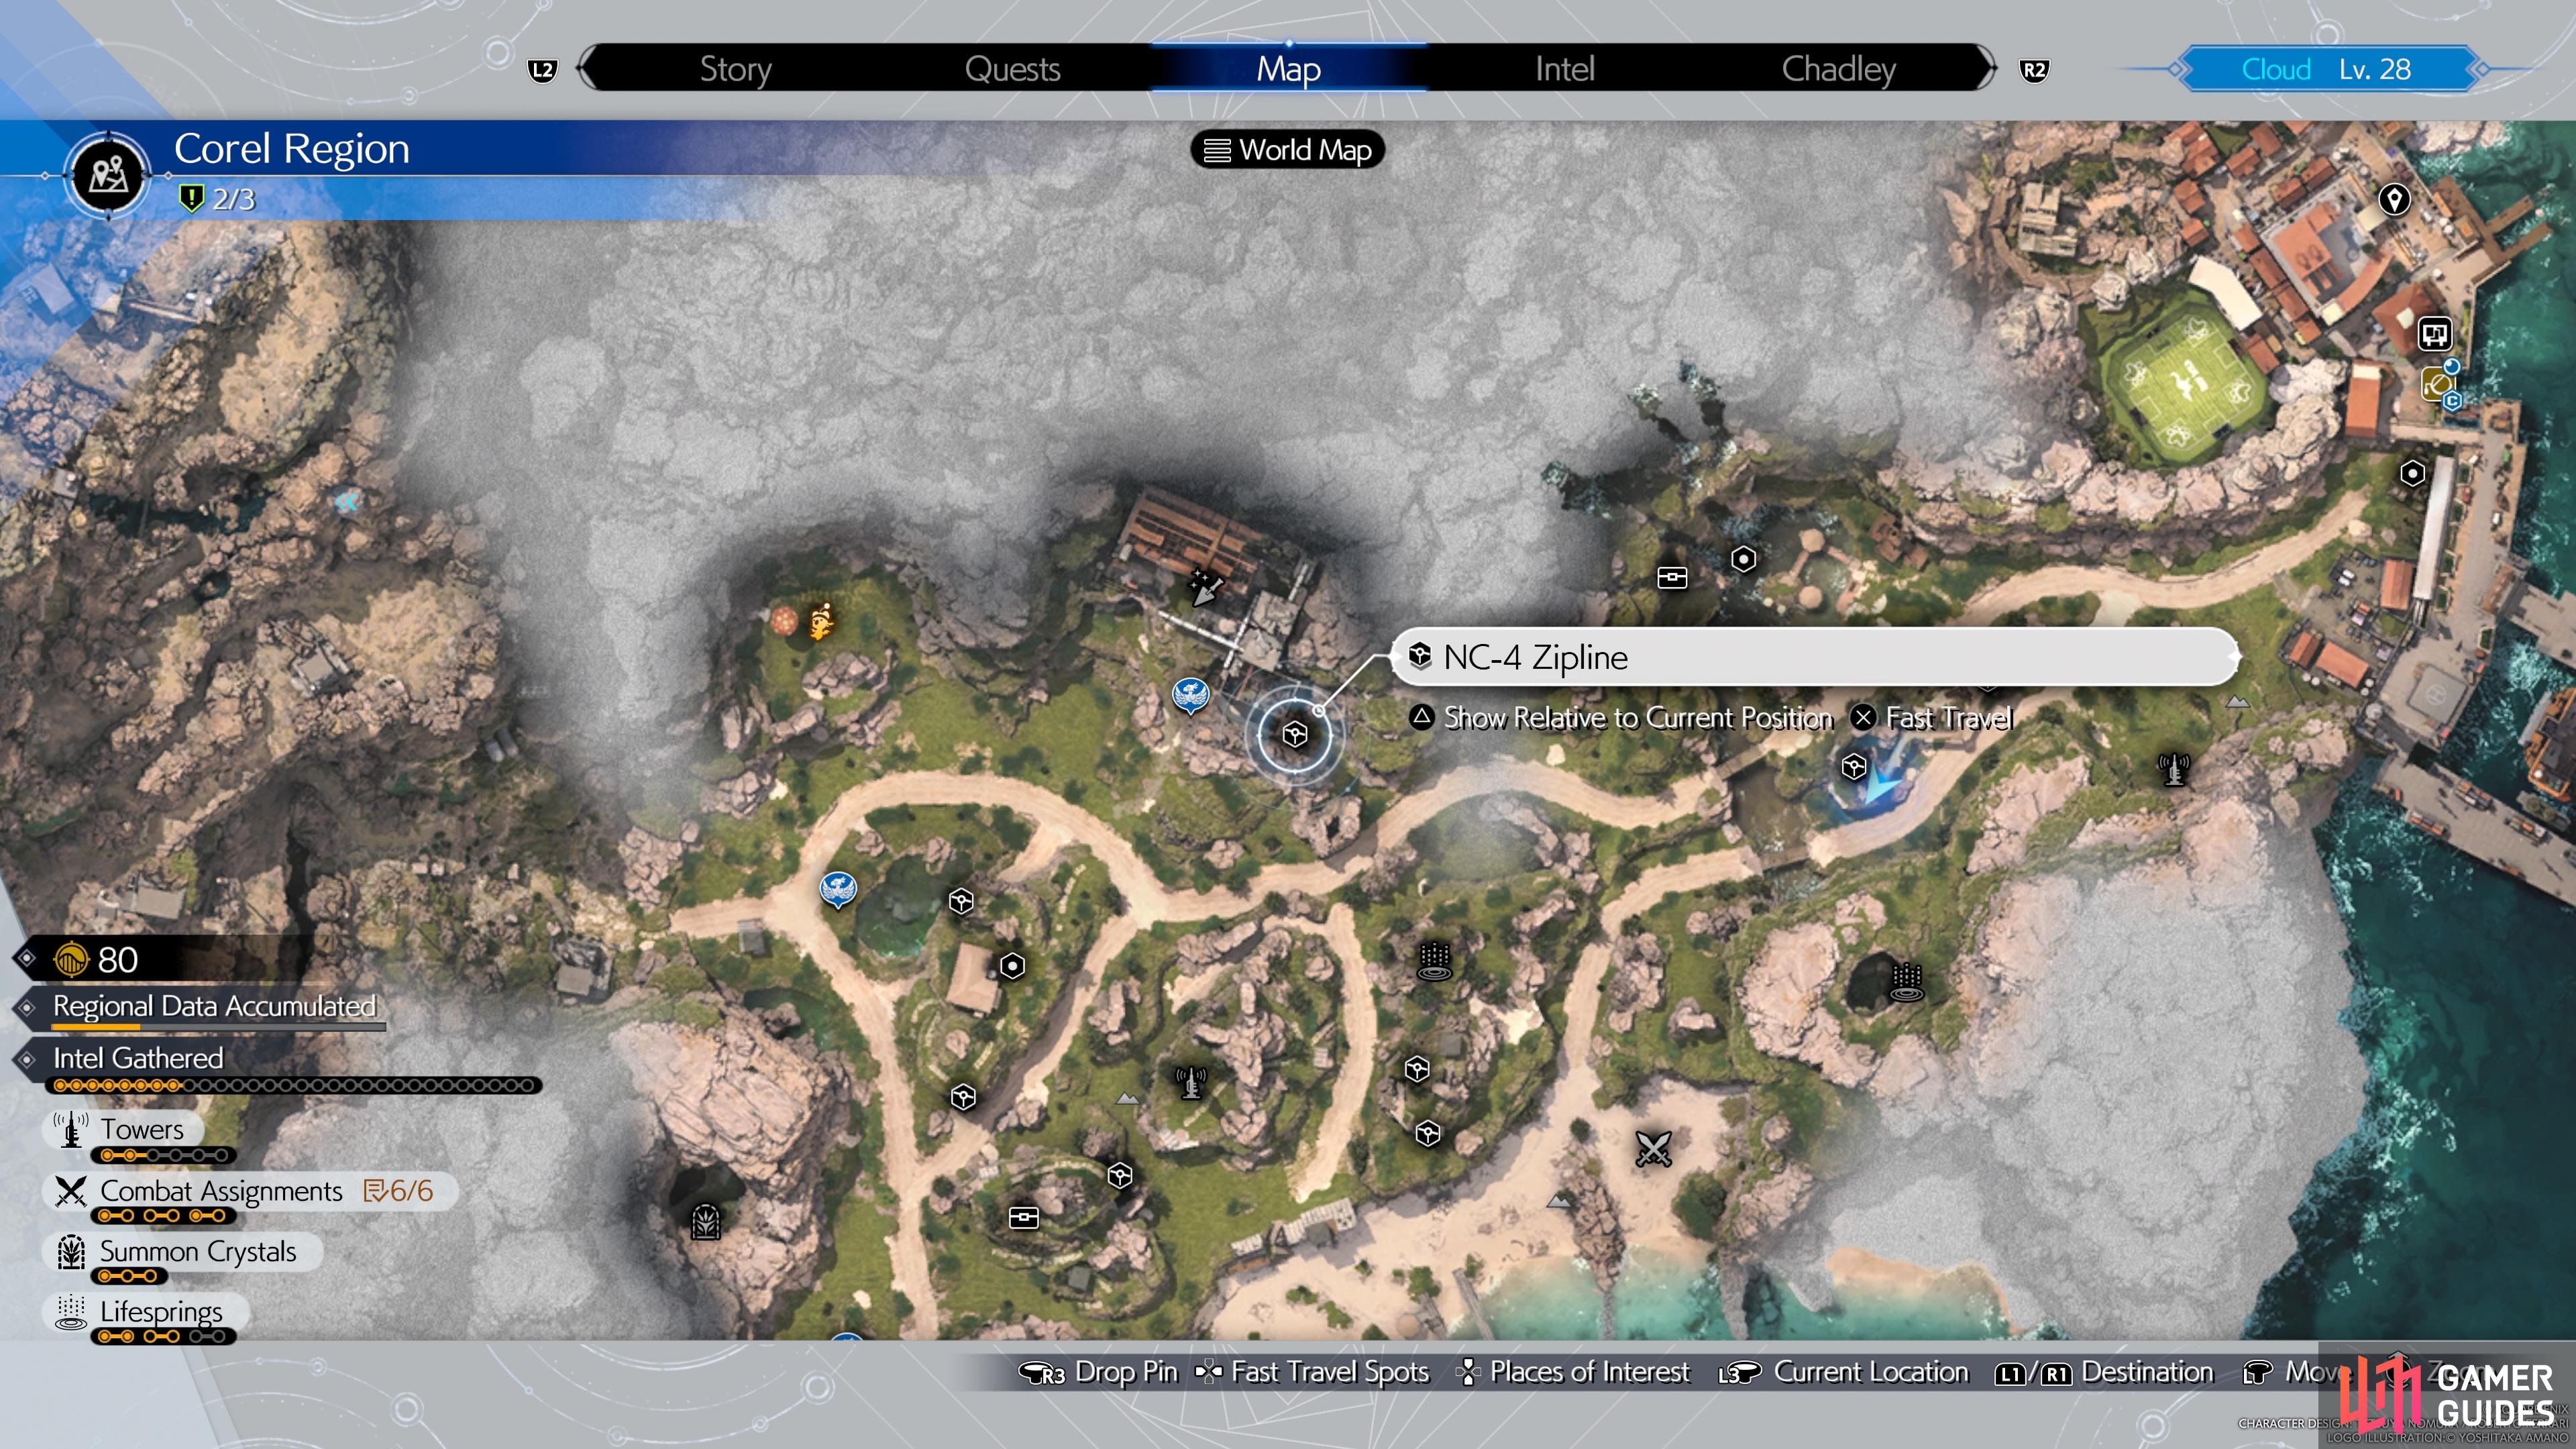
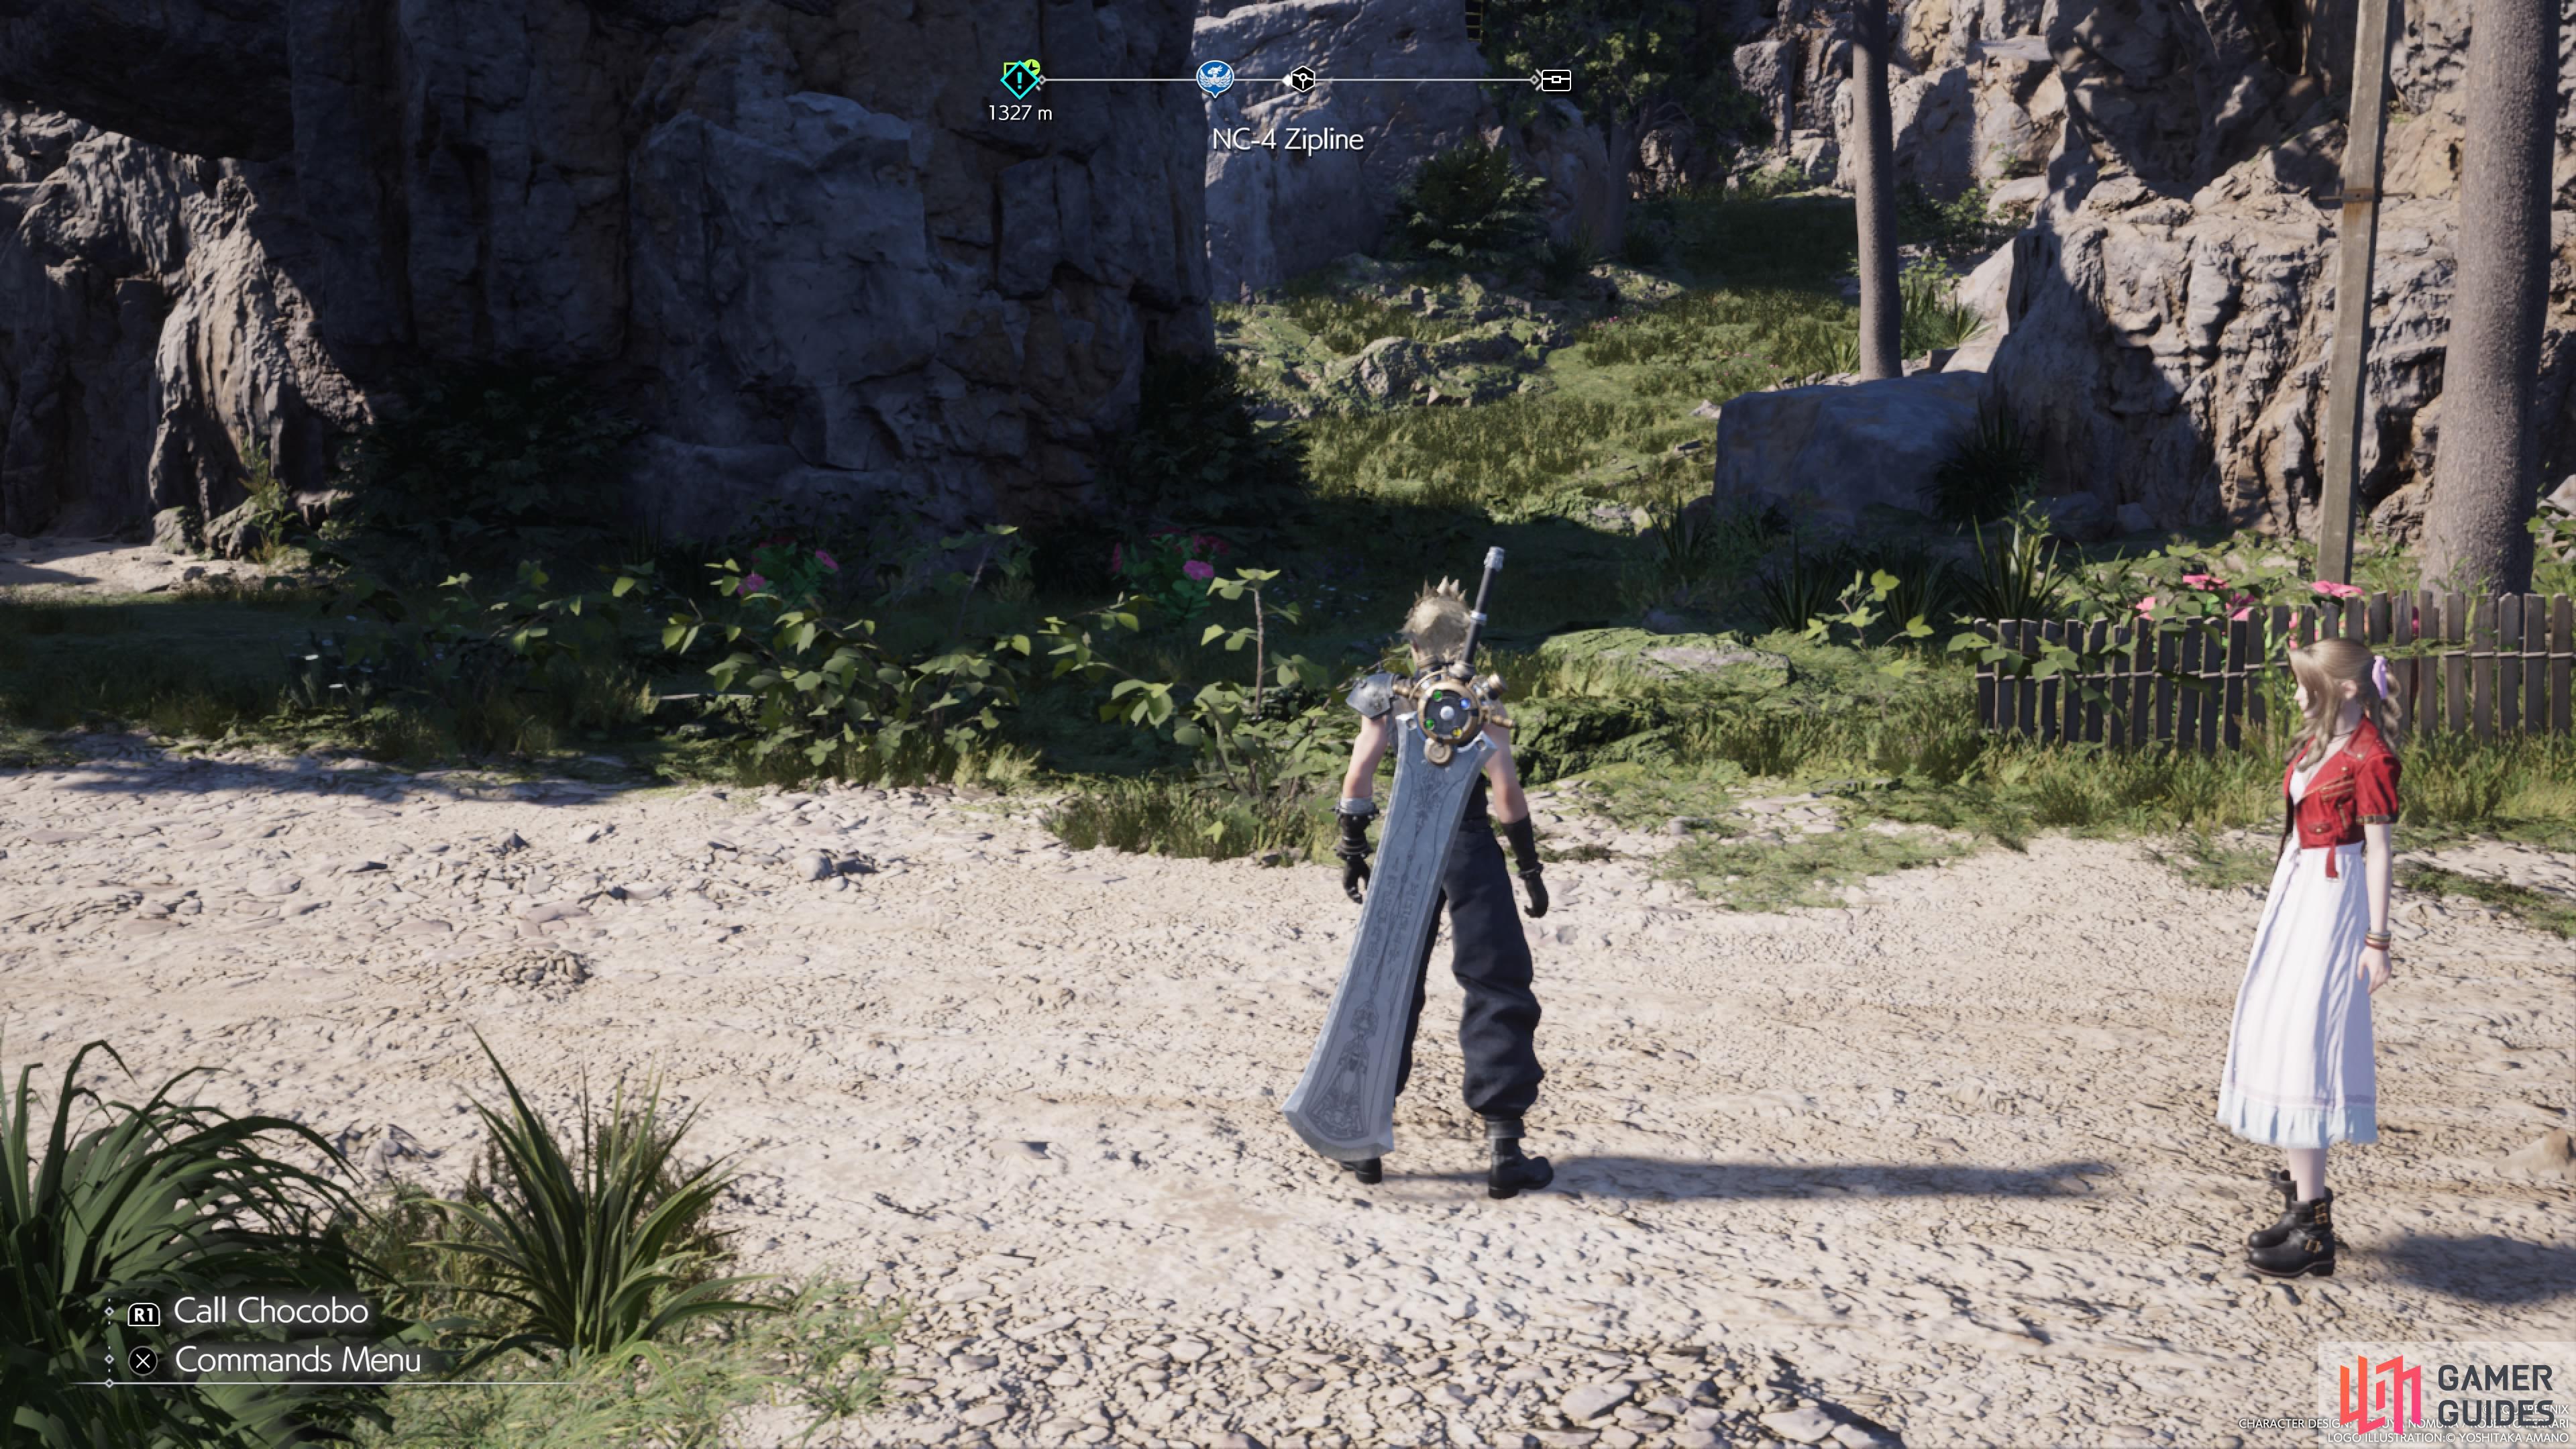
NC-4 Zipline
Similar to the third one, the fourth zipline is located in the northern part of the area outside Costa del Sol. Get on the path to the north of the second zipline and follow it west. Stop right before you can see a path leading south on your map, which should be right around a rock formation that kind of forms a tunnel on the northern side of the road. Right next to that is an unmarked path that you can venture on that leads north. This should take you to a large building and a ladder. Climb the very long ladder to get taken to the zipline.
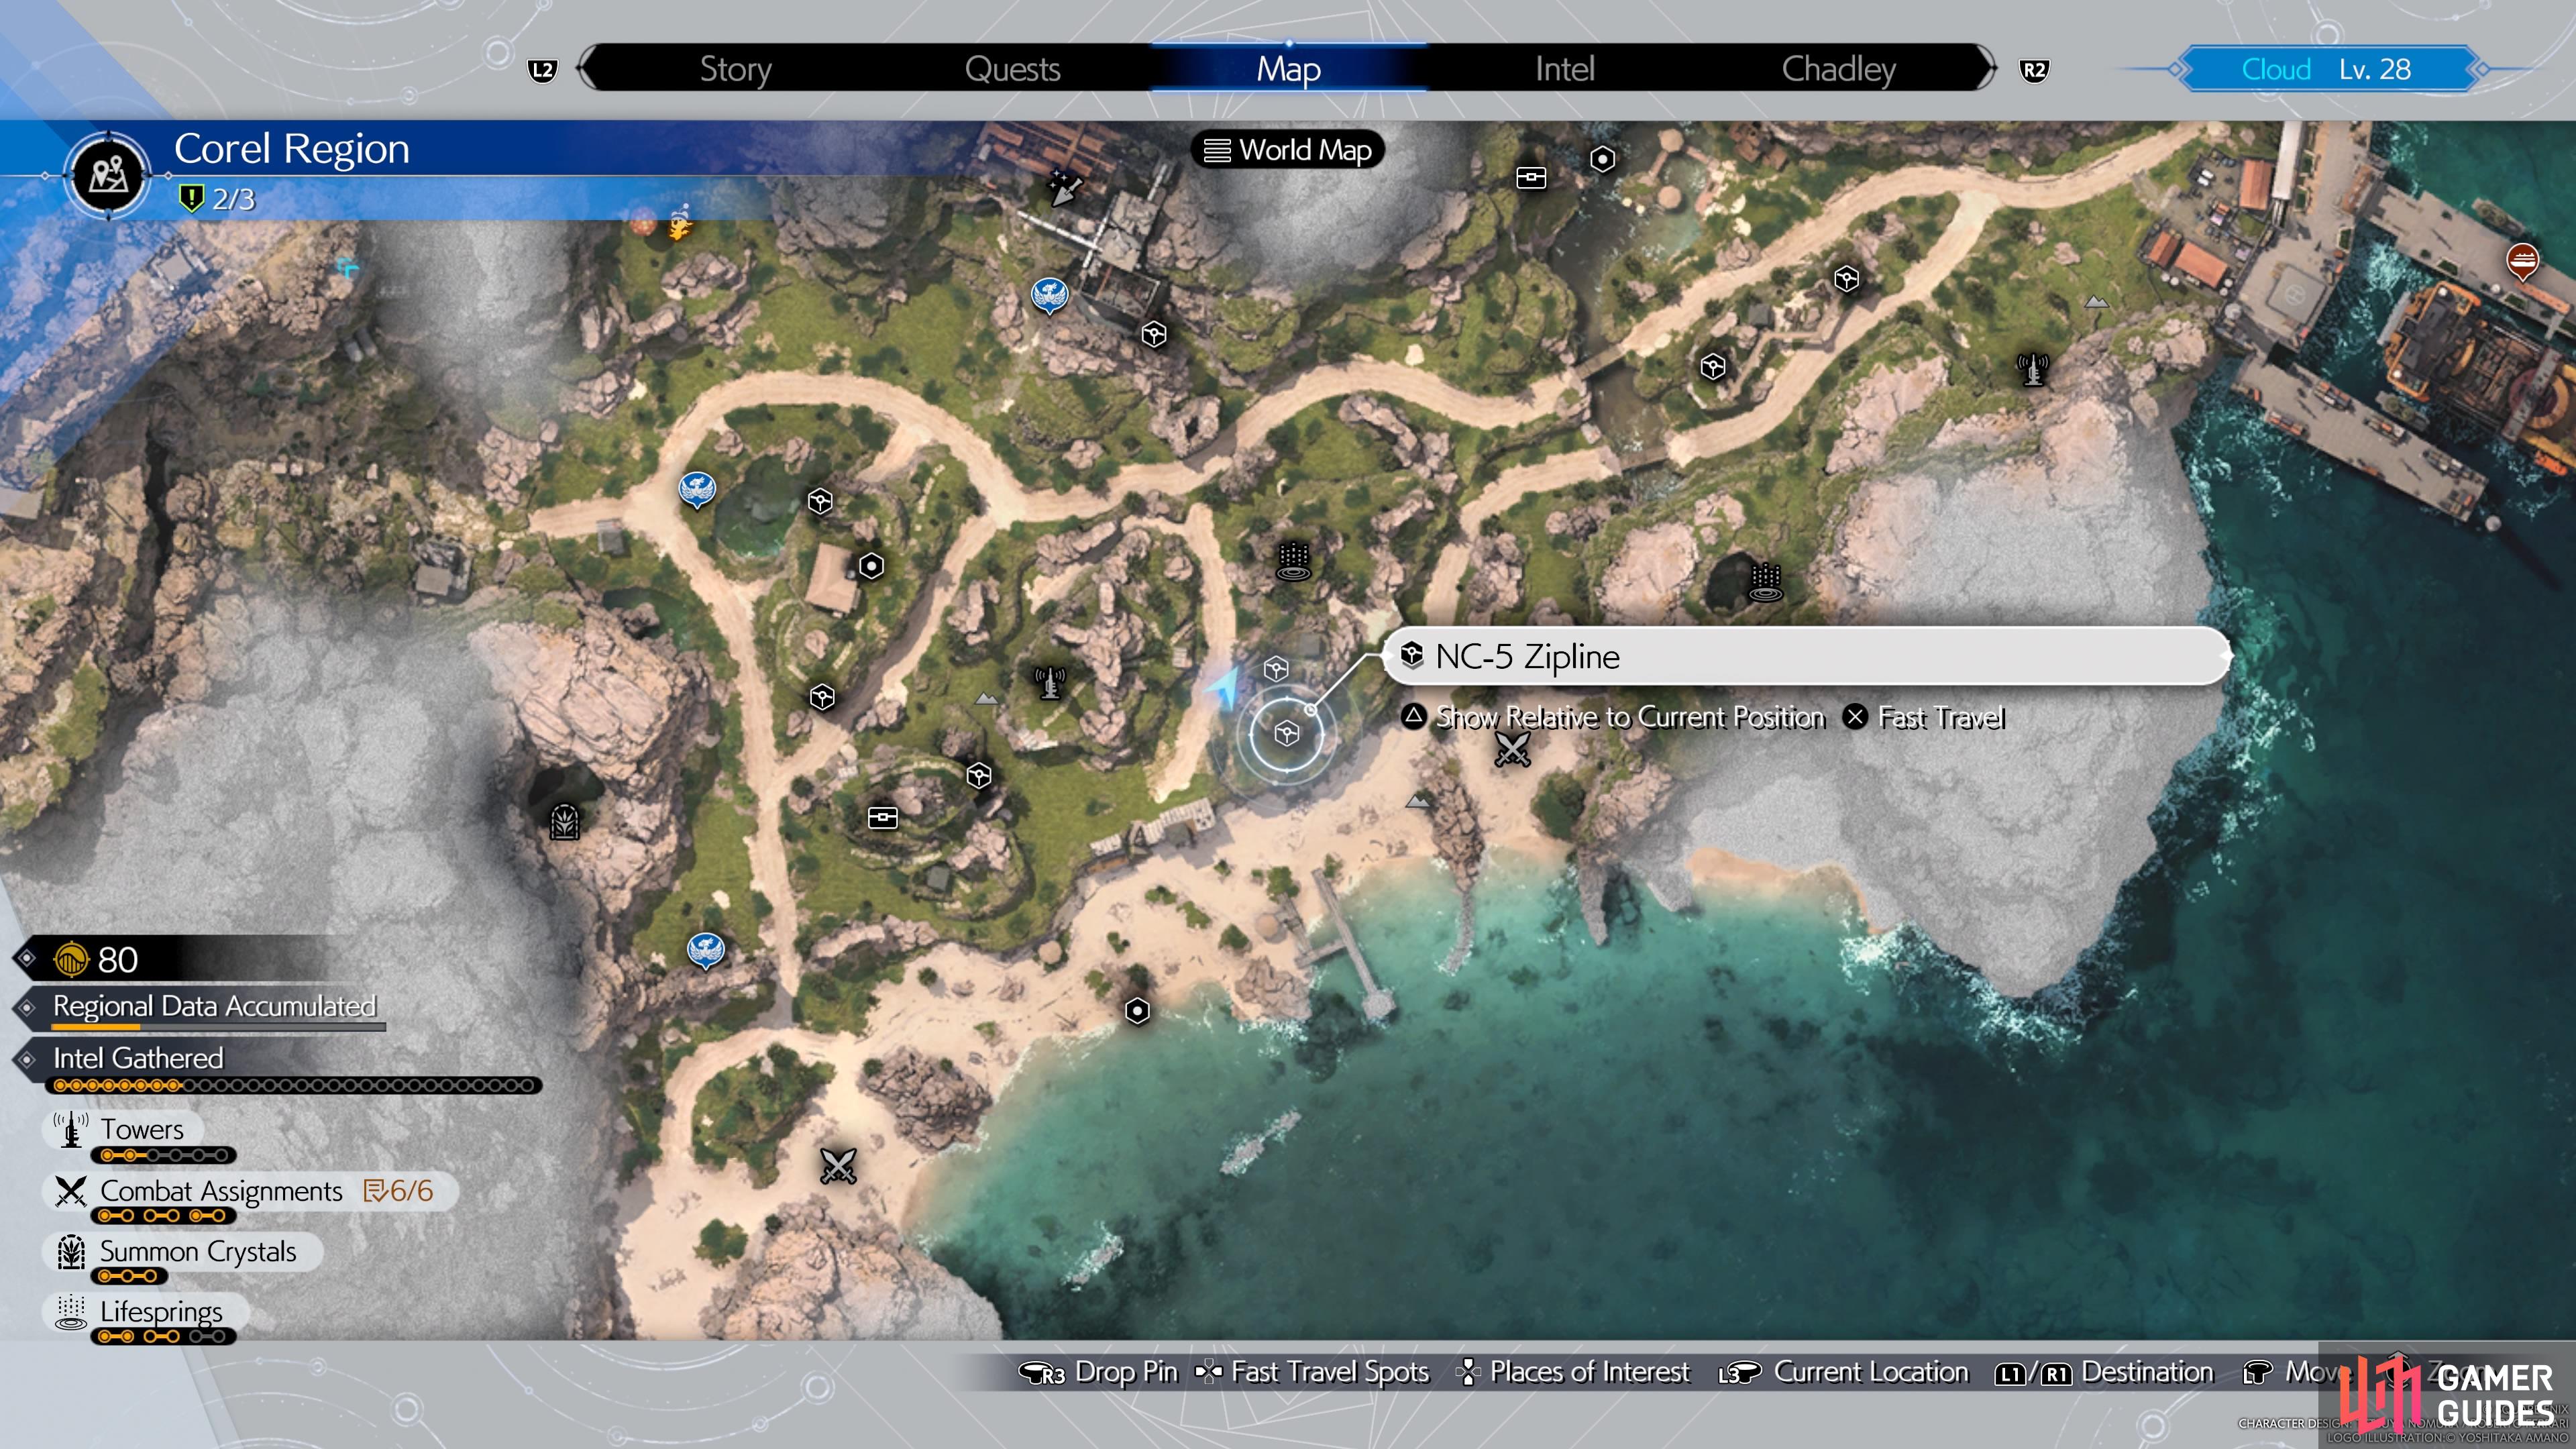
NC-5 Zipline
The fifth and sixth ziplines are right next to one another, with both of them located south and a little east of the fourth one. They’ll be located on the same landmass as Expedition Intel 2: Glencross Lifespring. The path leading up to the zipline will be on the western side, on the north-south running road there. Simply go up two sets of stairs and the zipline/Refurbished Materials will be right in front of you.
(1 of 4) The location of the fifth zipline on the map.
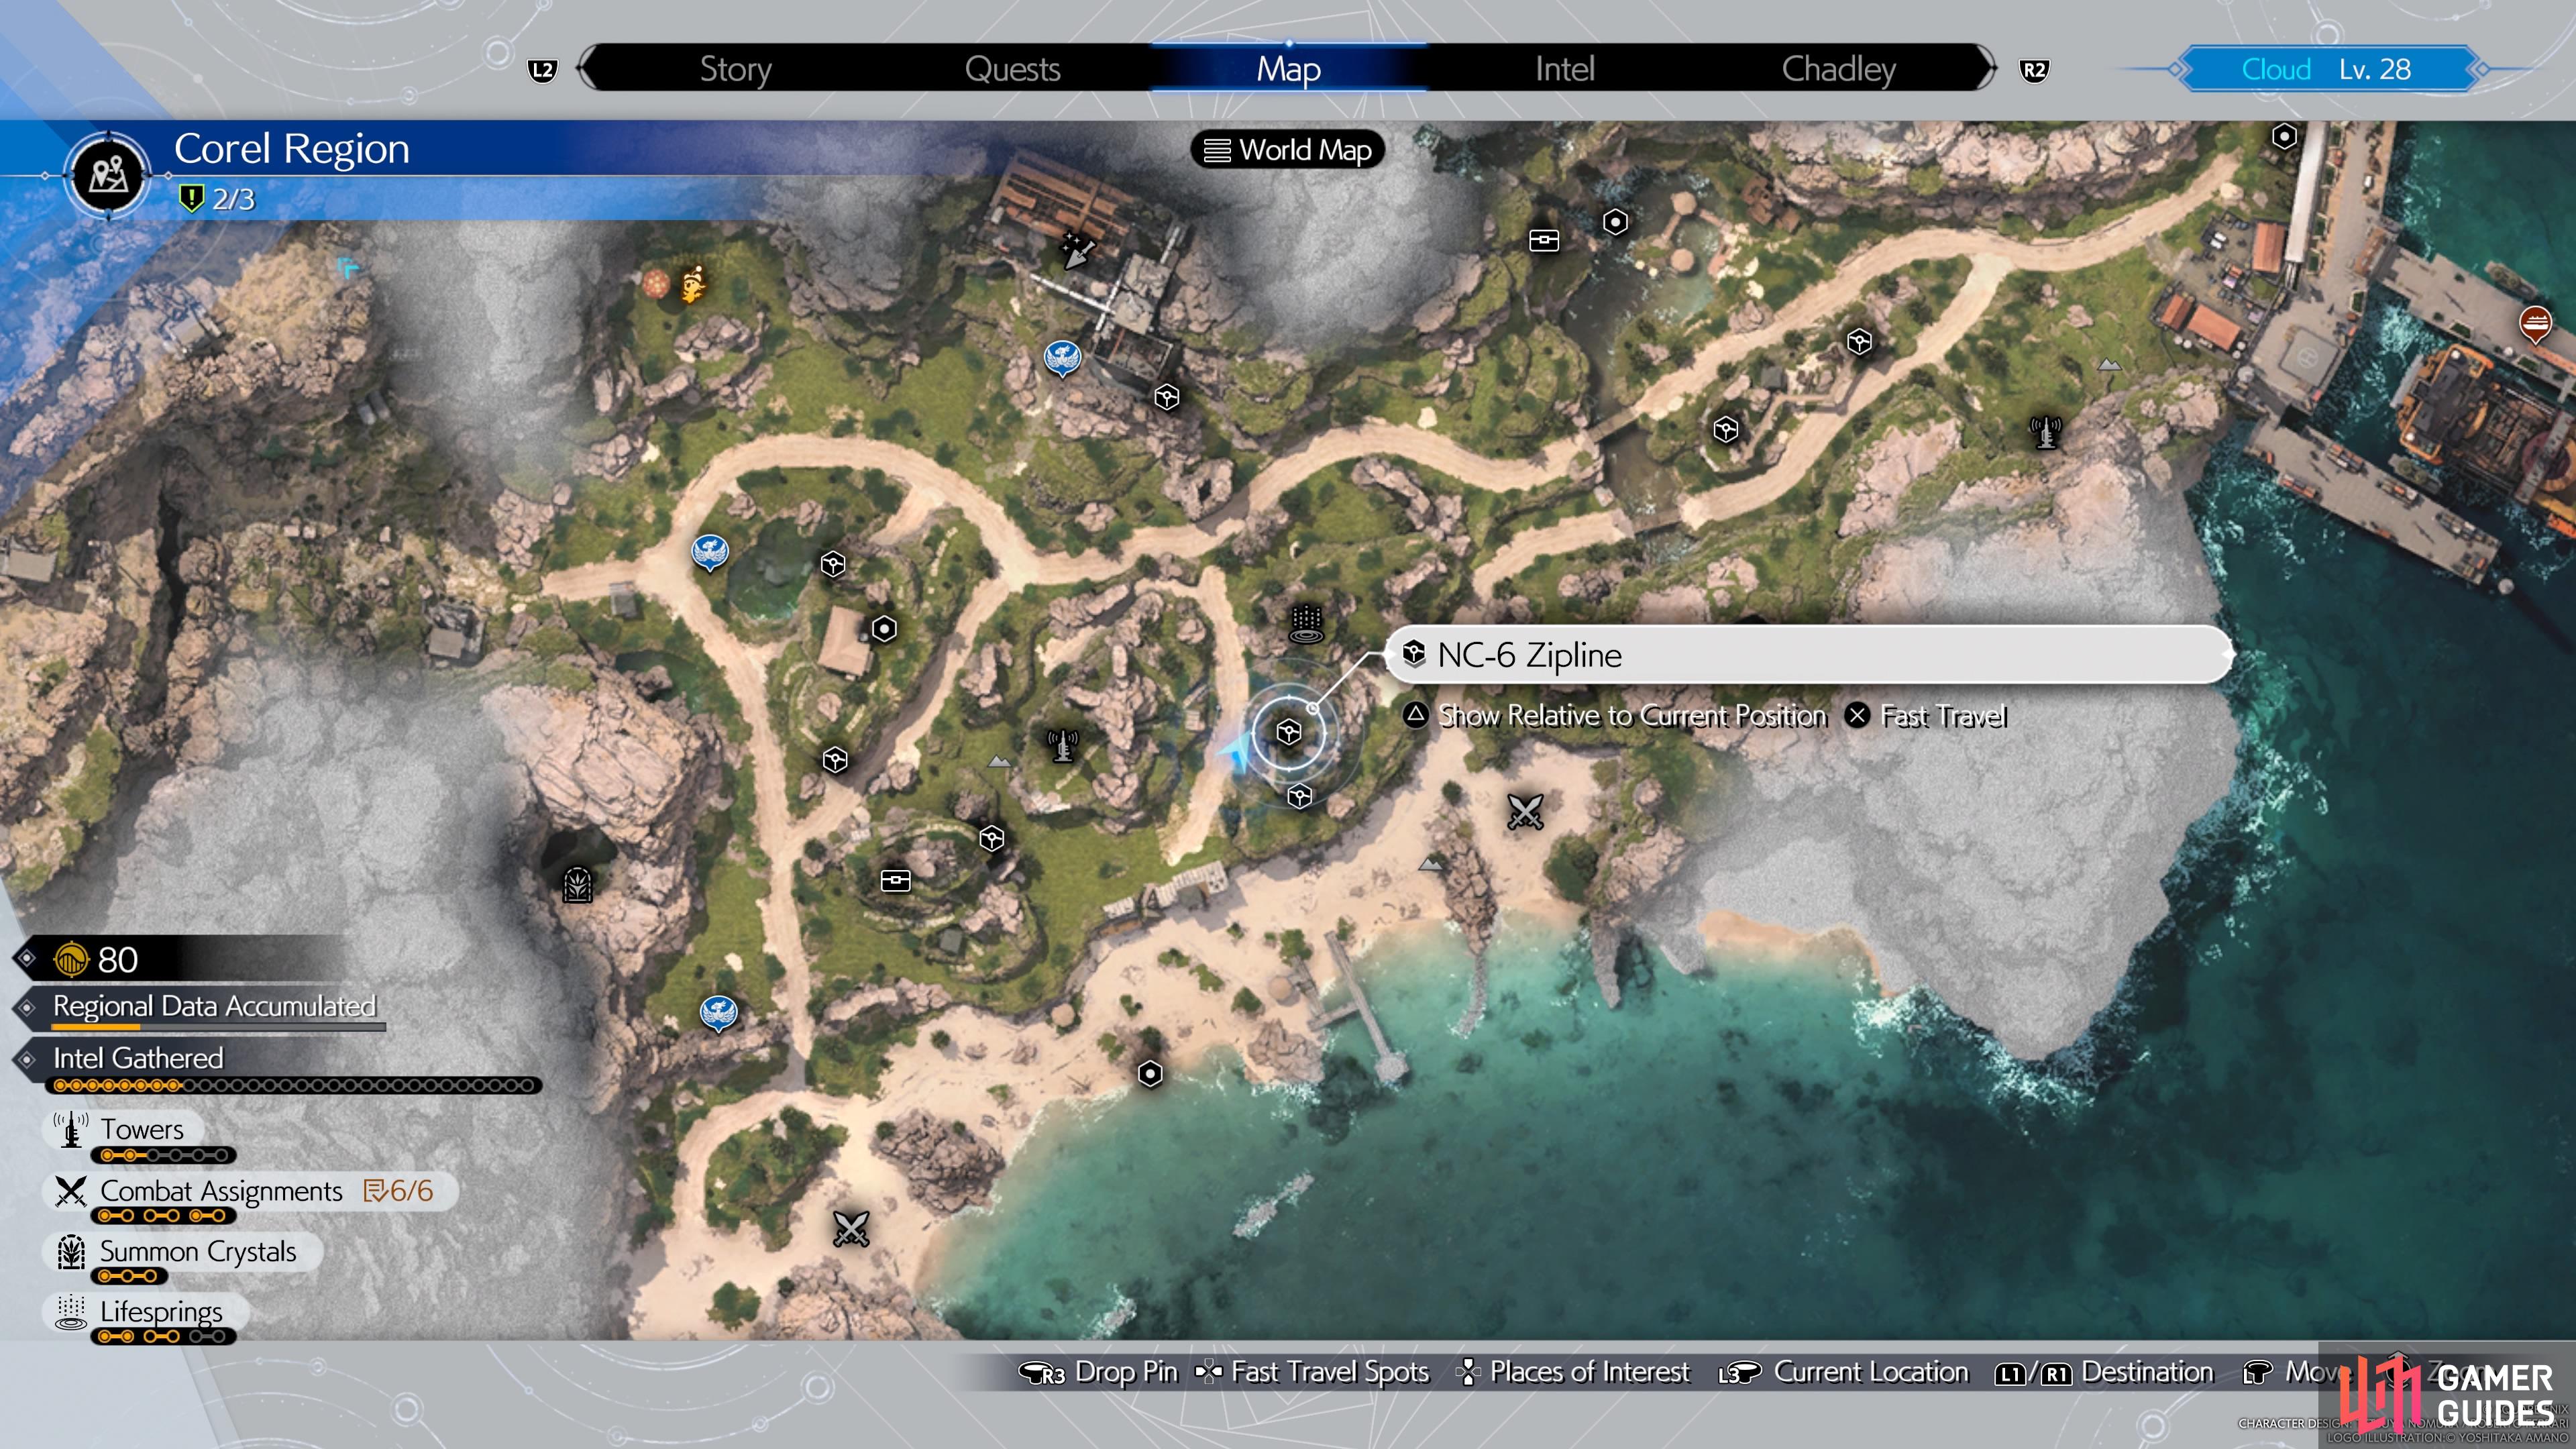
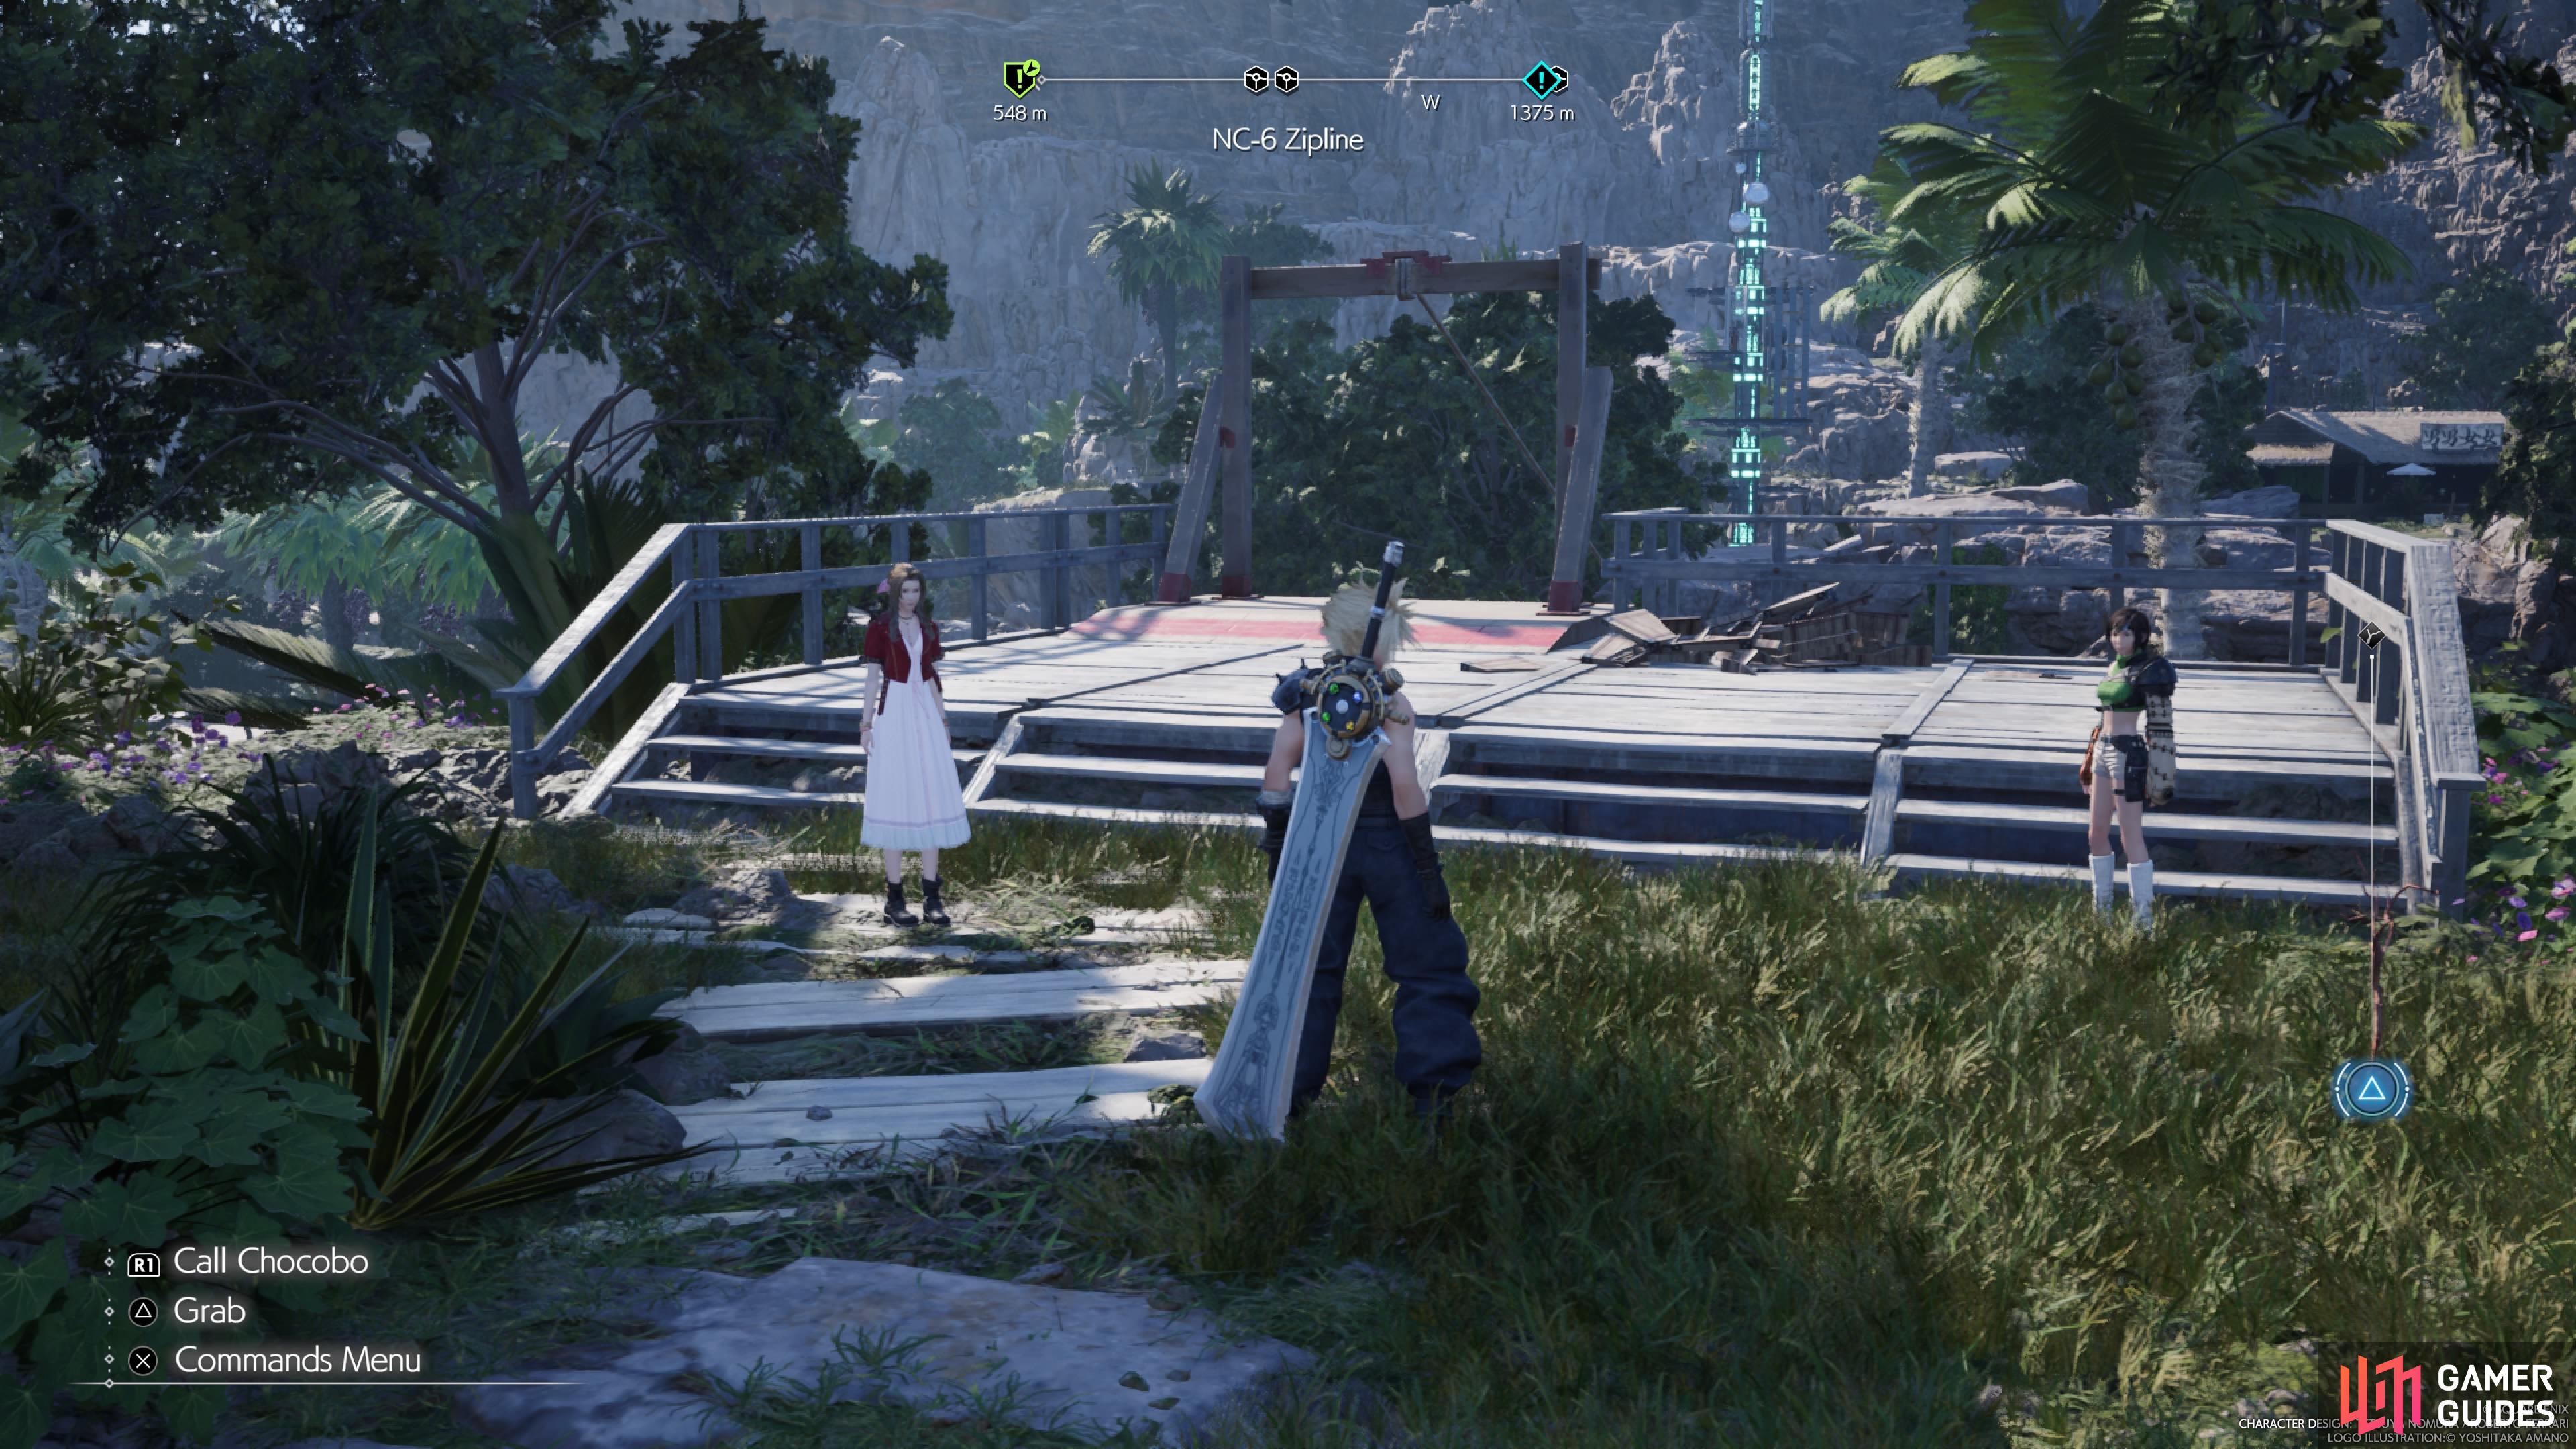
NC-6 Zipline
In the same area as the fifth zipline, turn to the north to find some more stairs. Go up those, turn to the west and the zipline will be right there, as well as the Refurbished Materials.
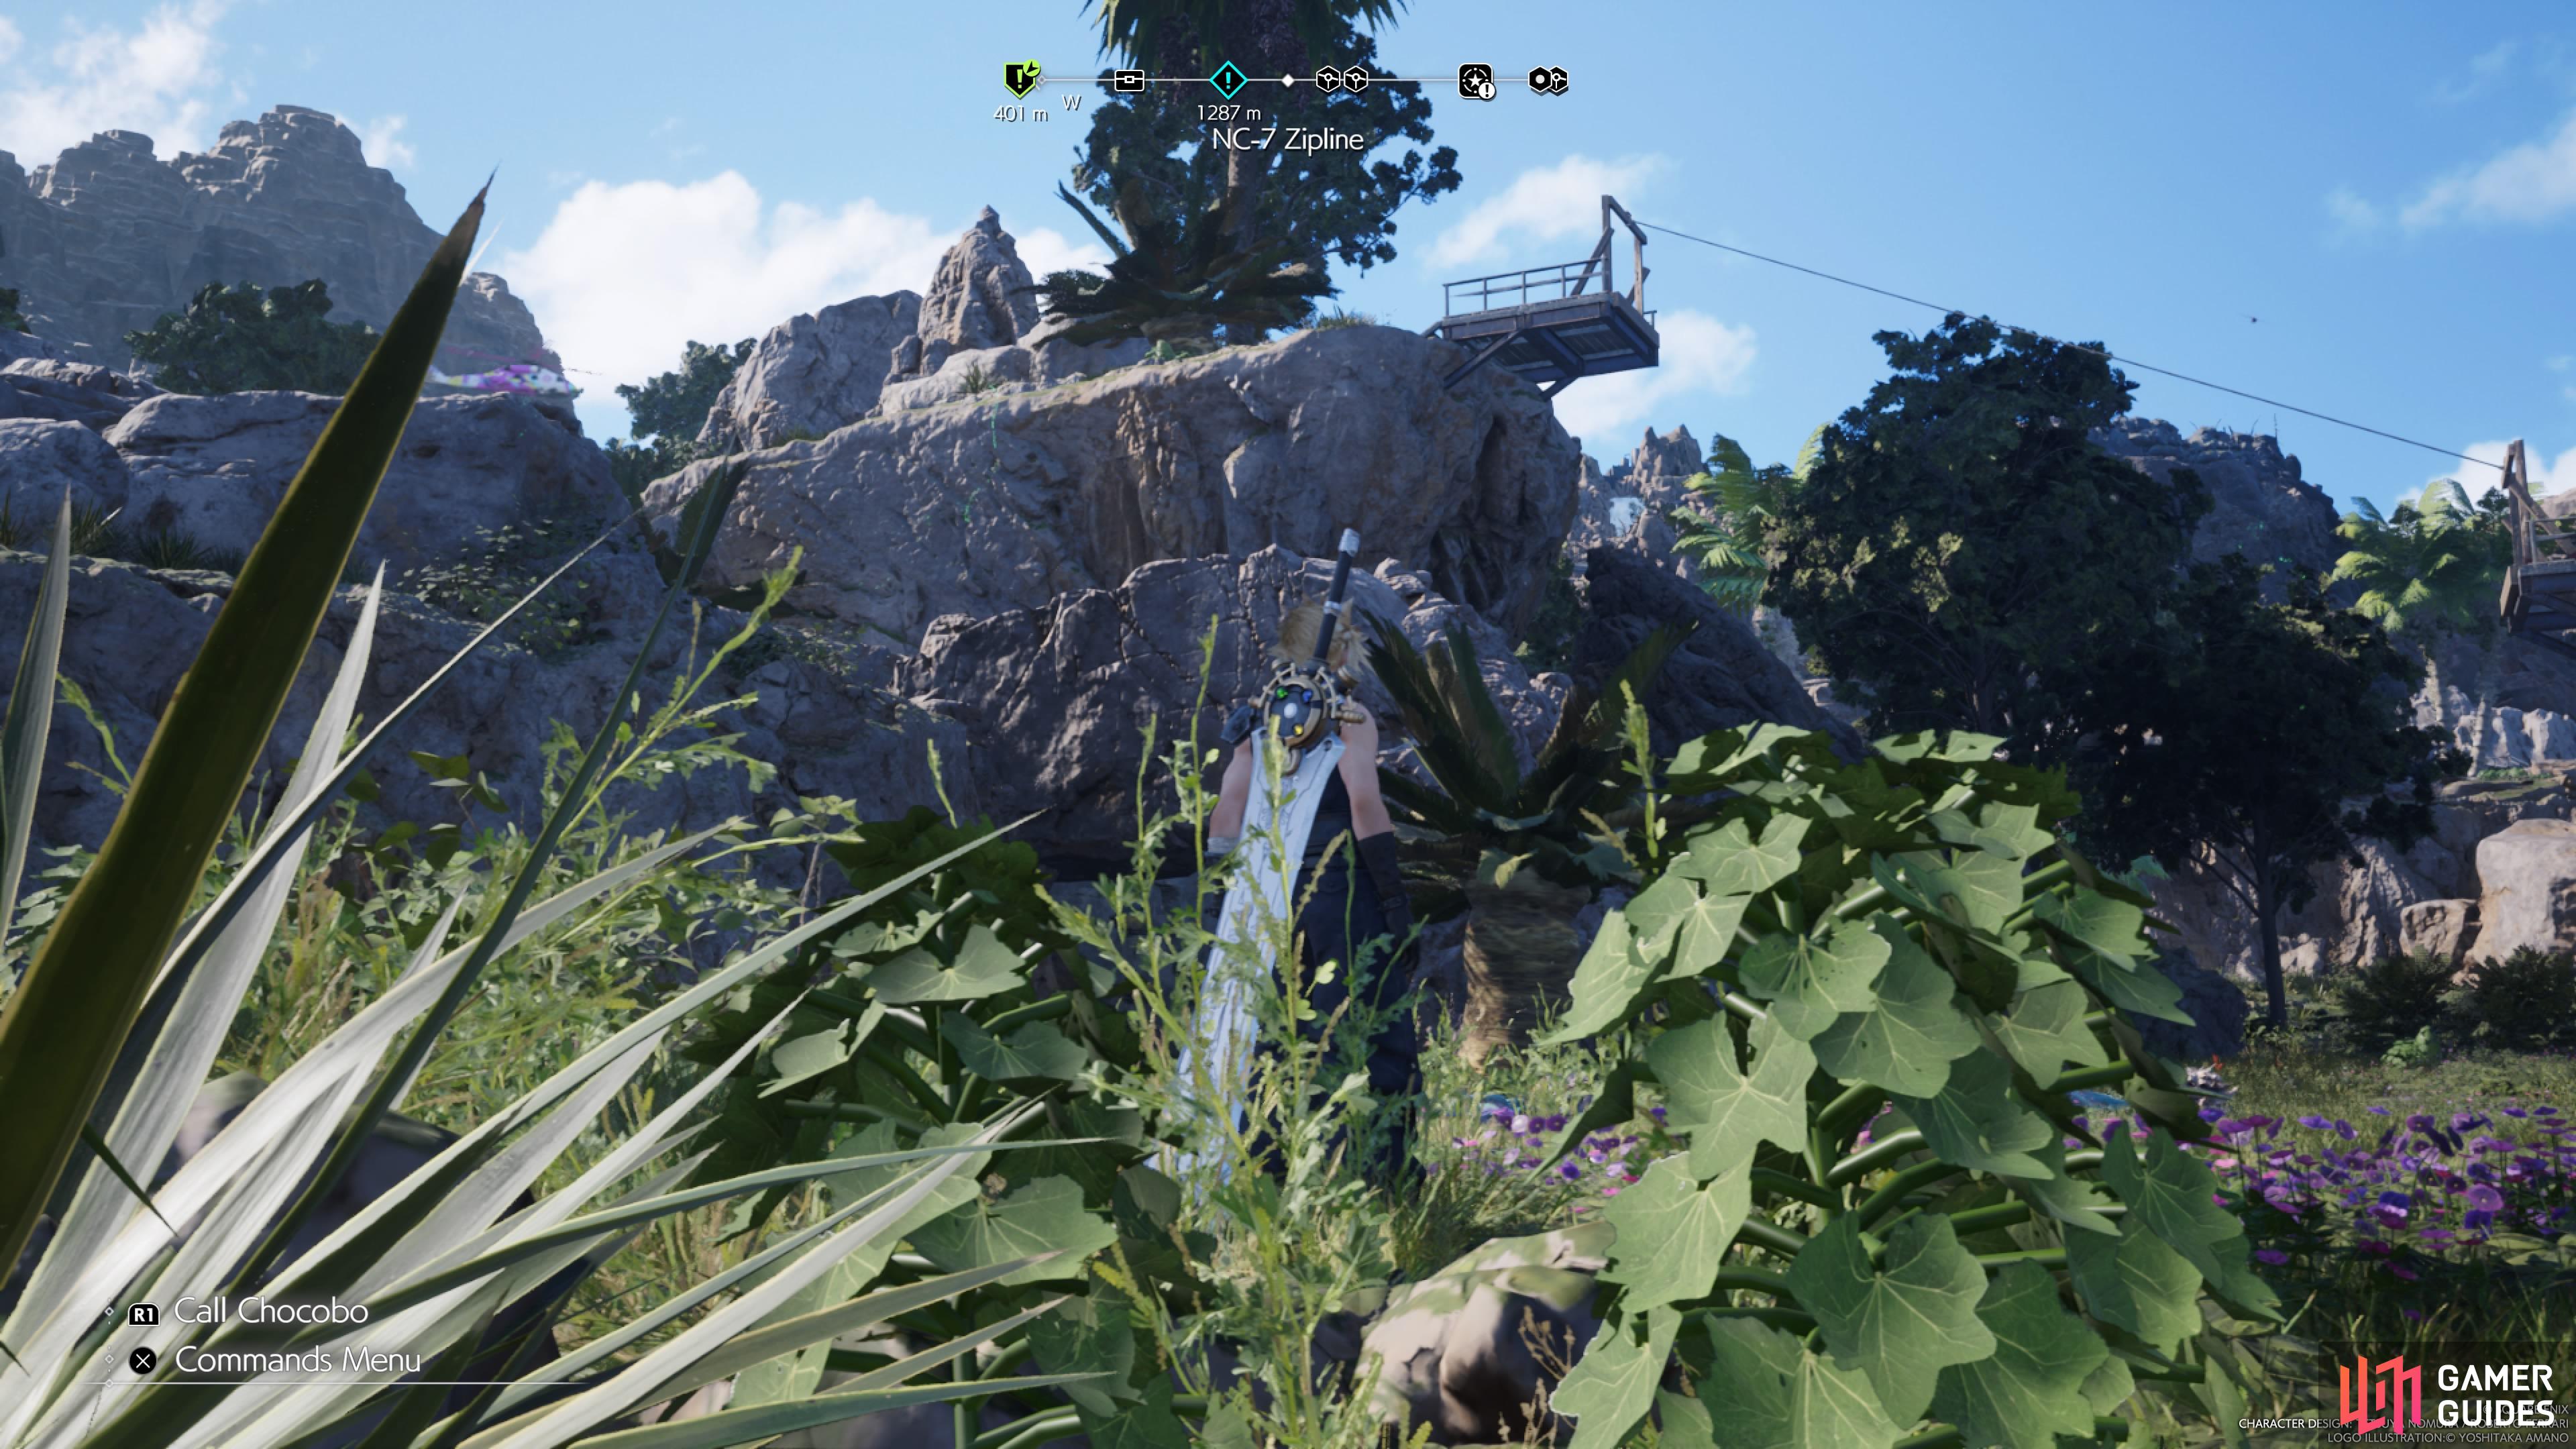
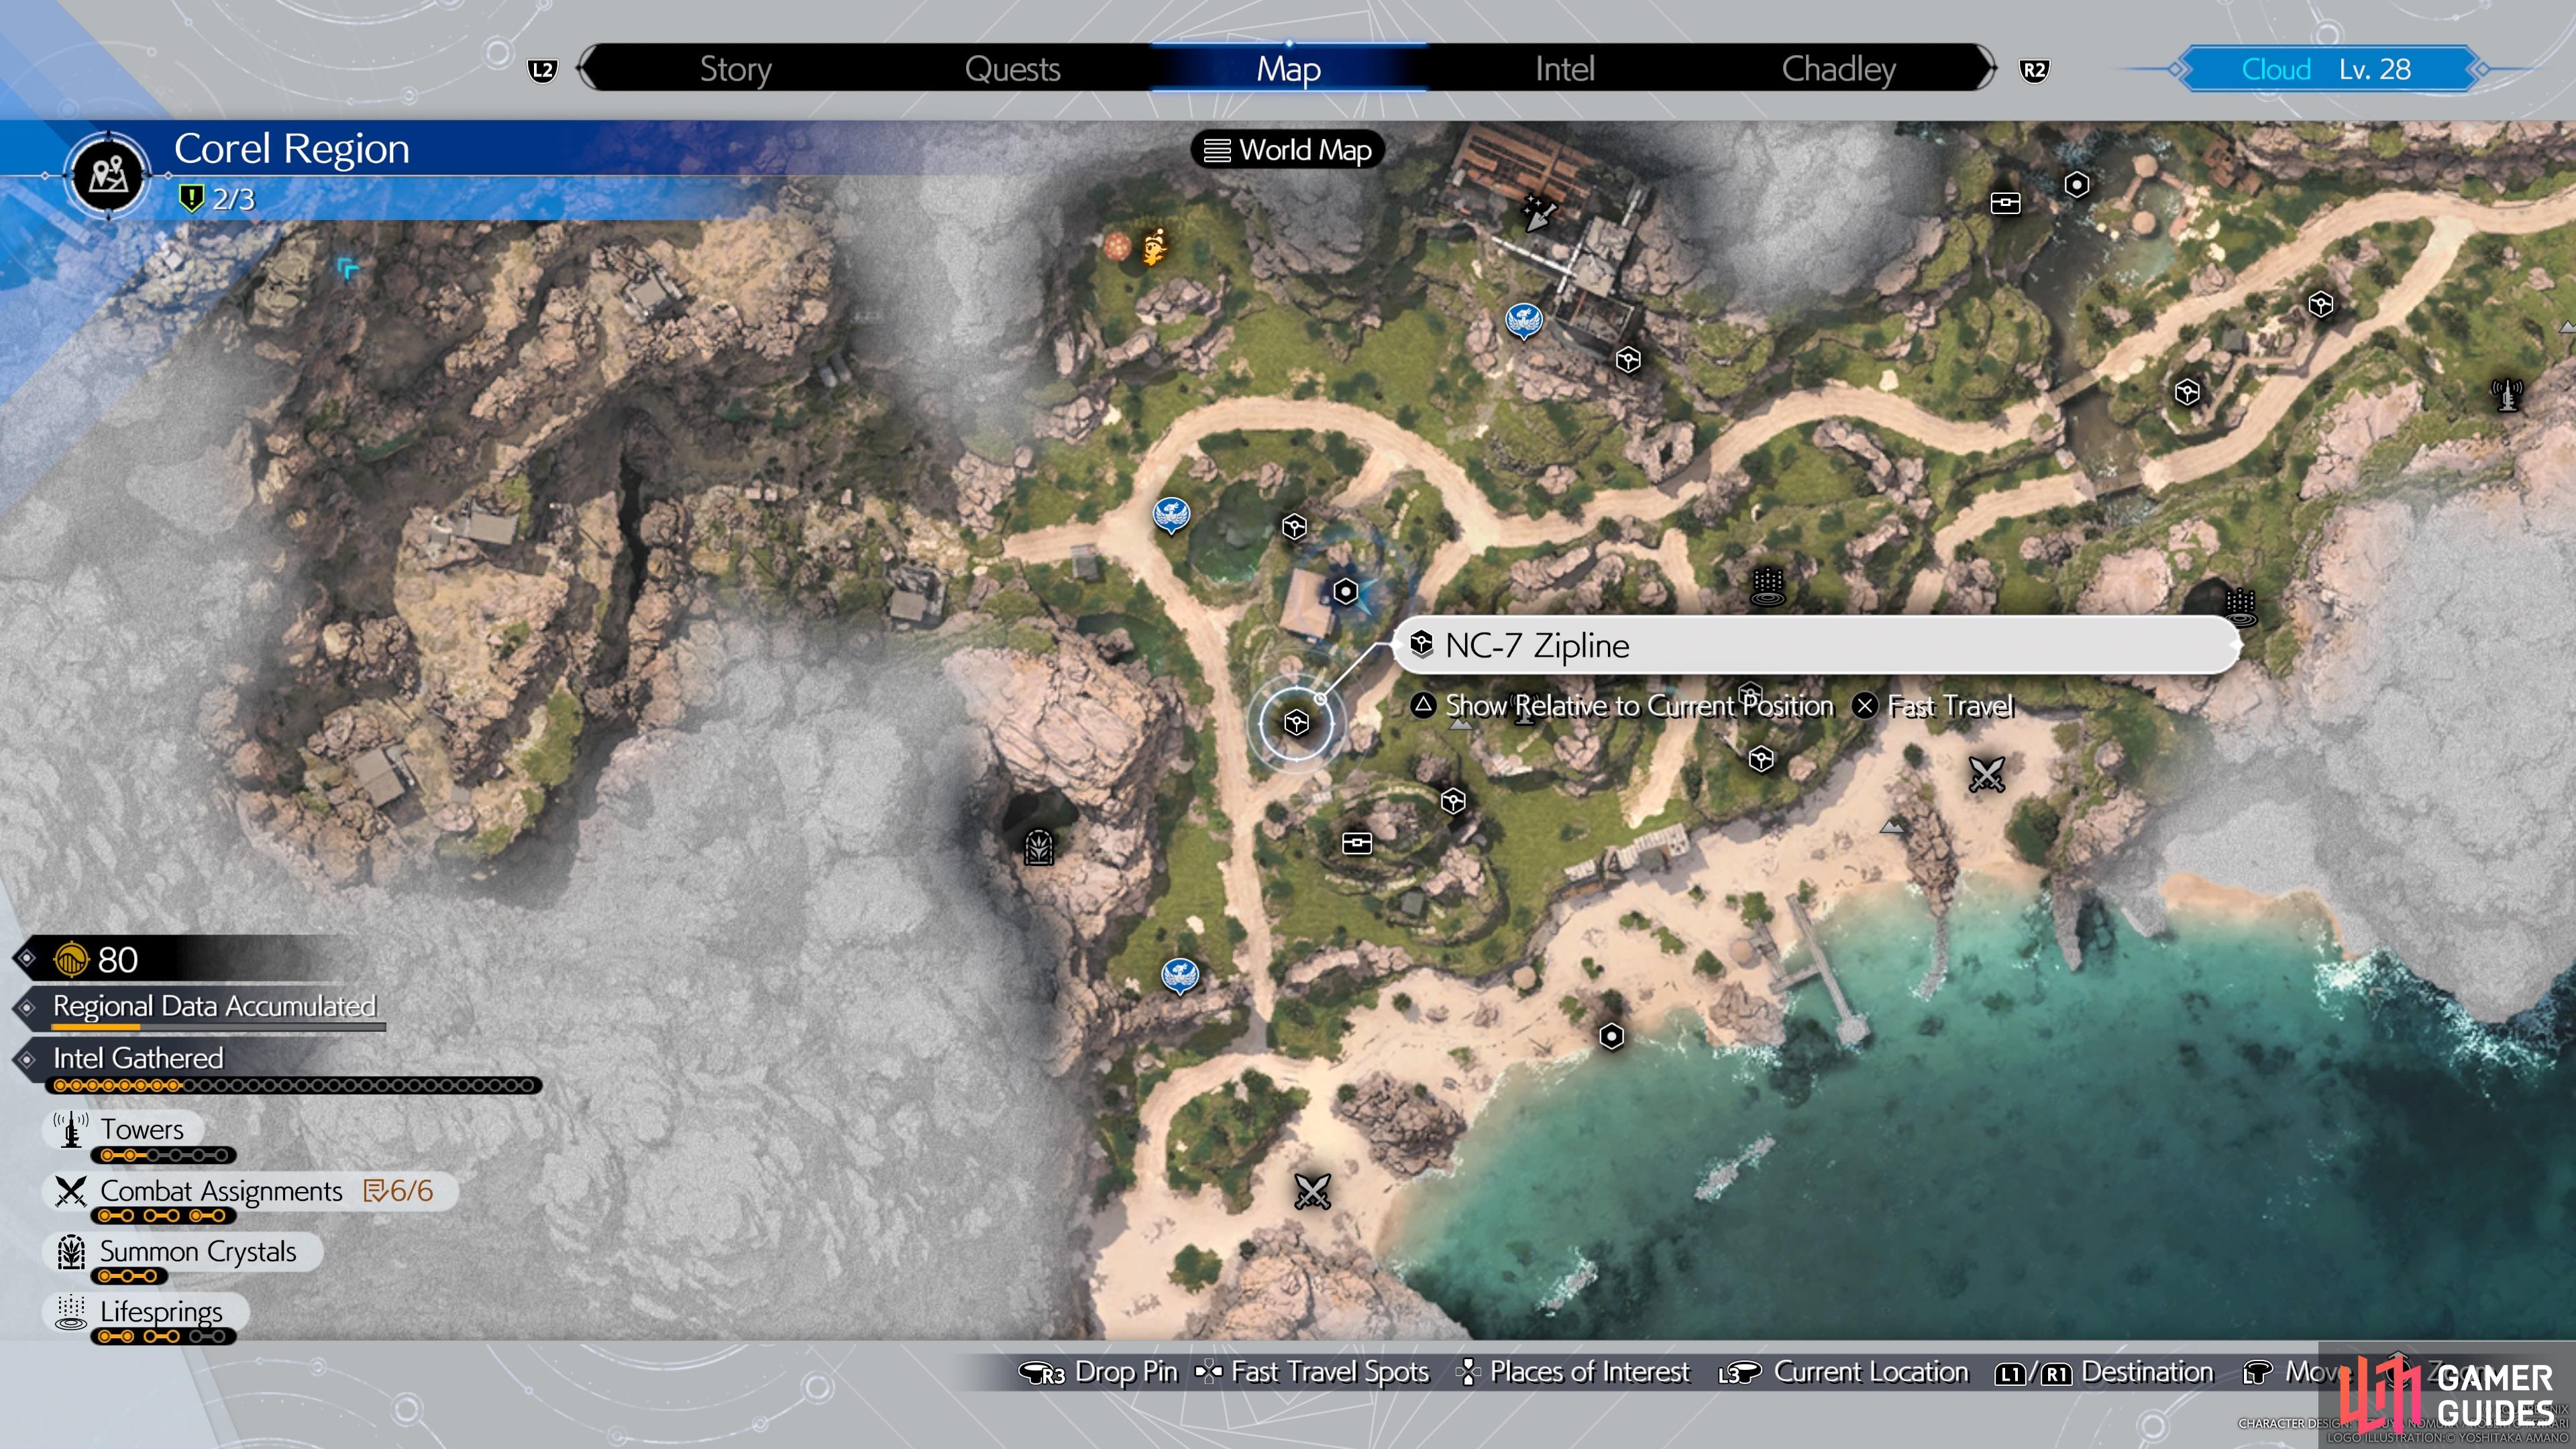
NC-7 Zipline
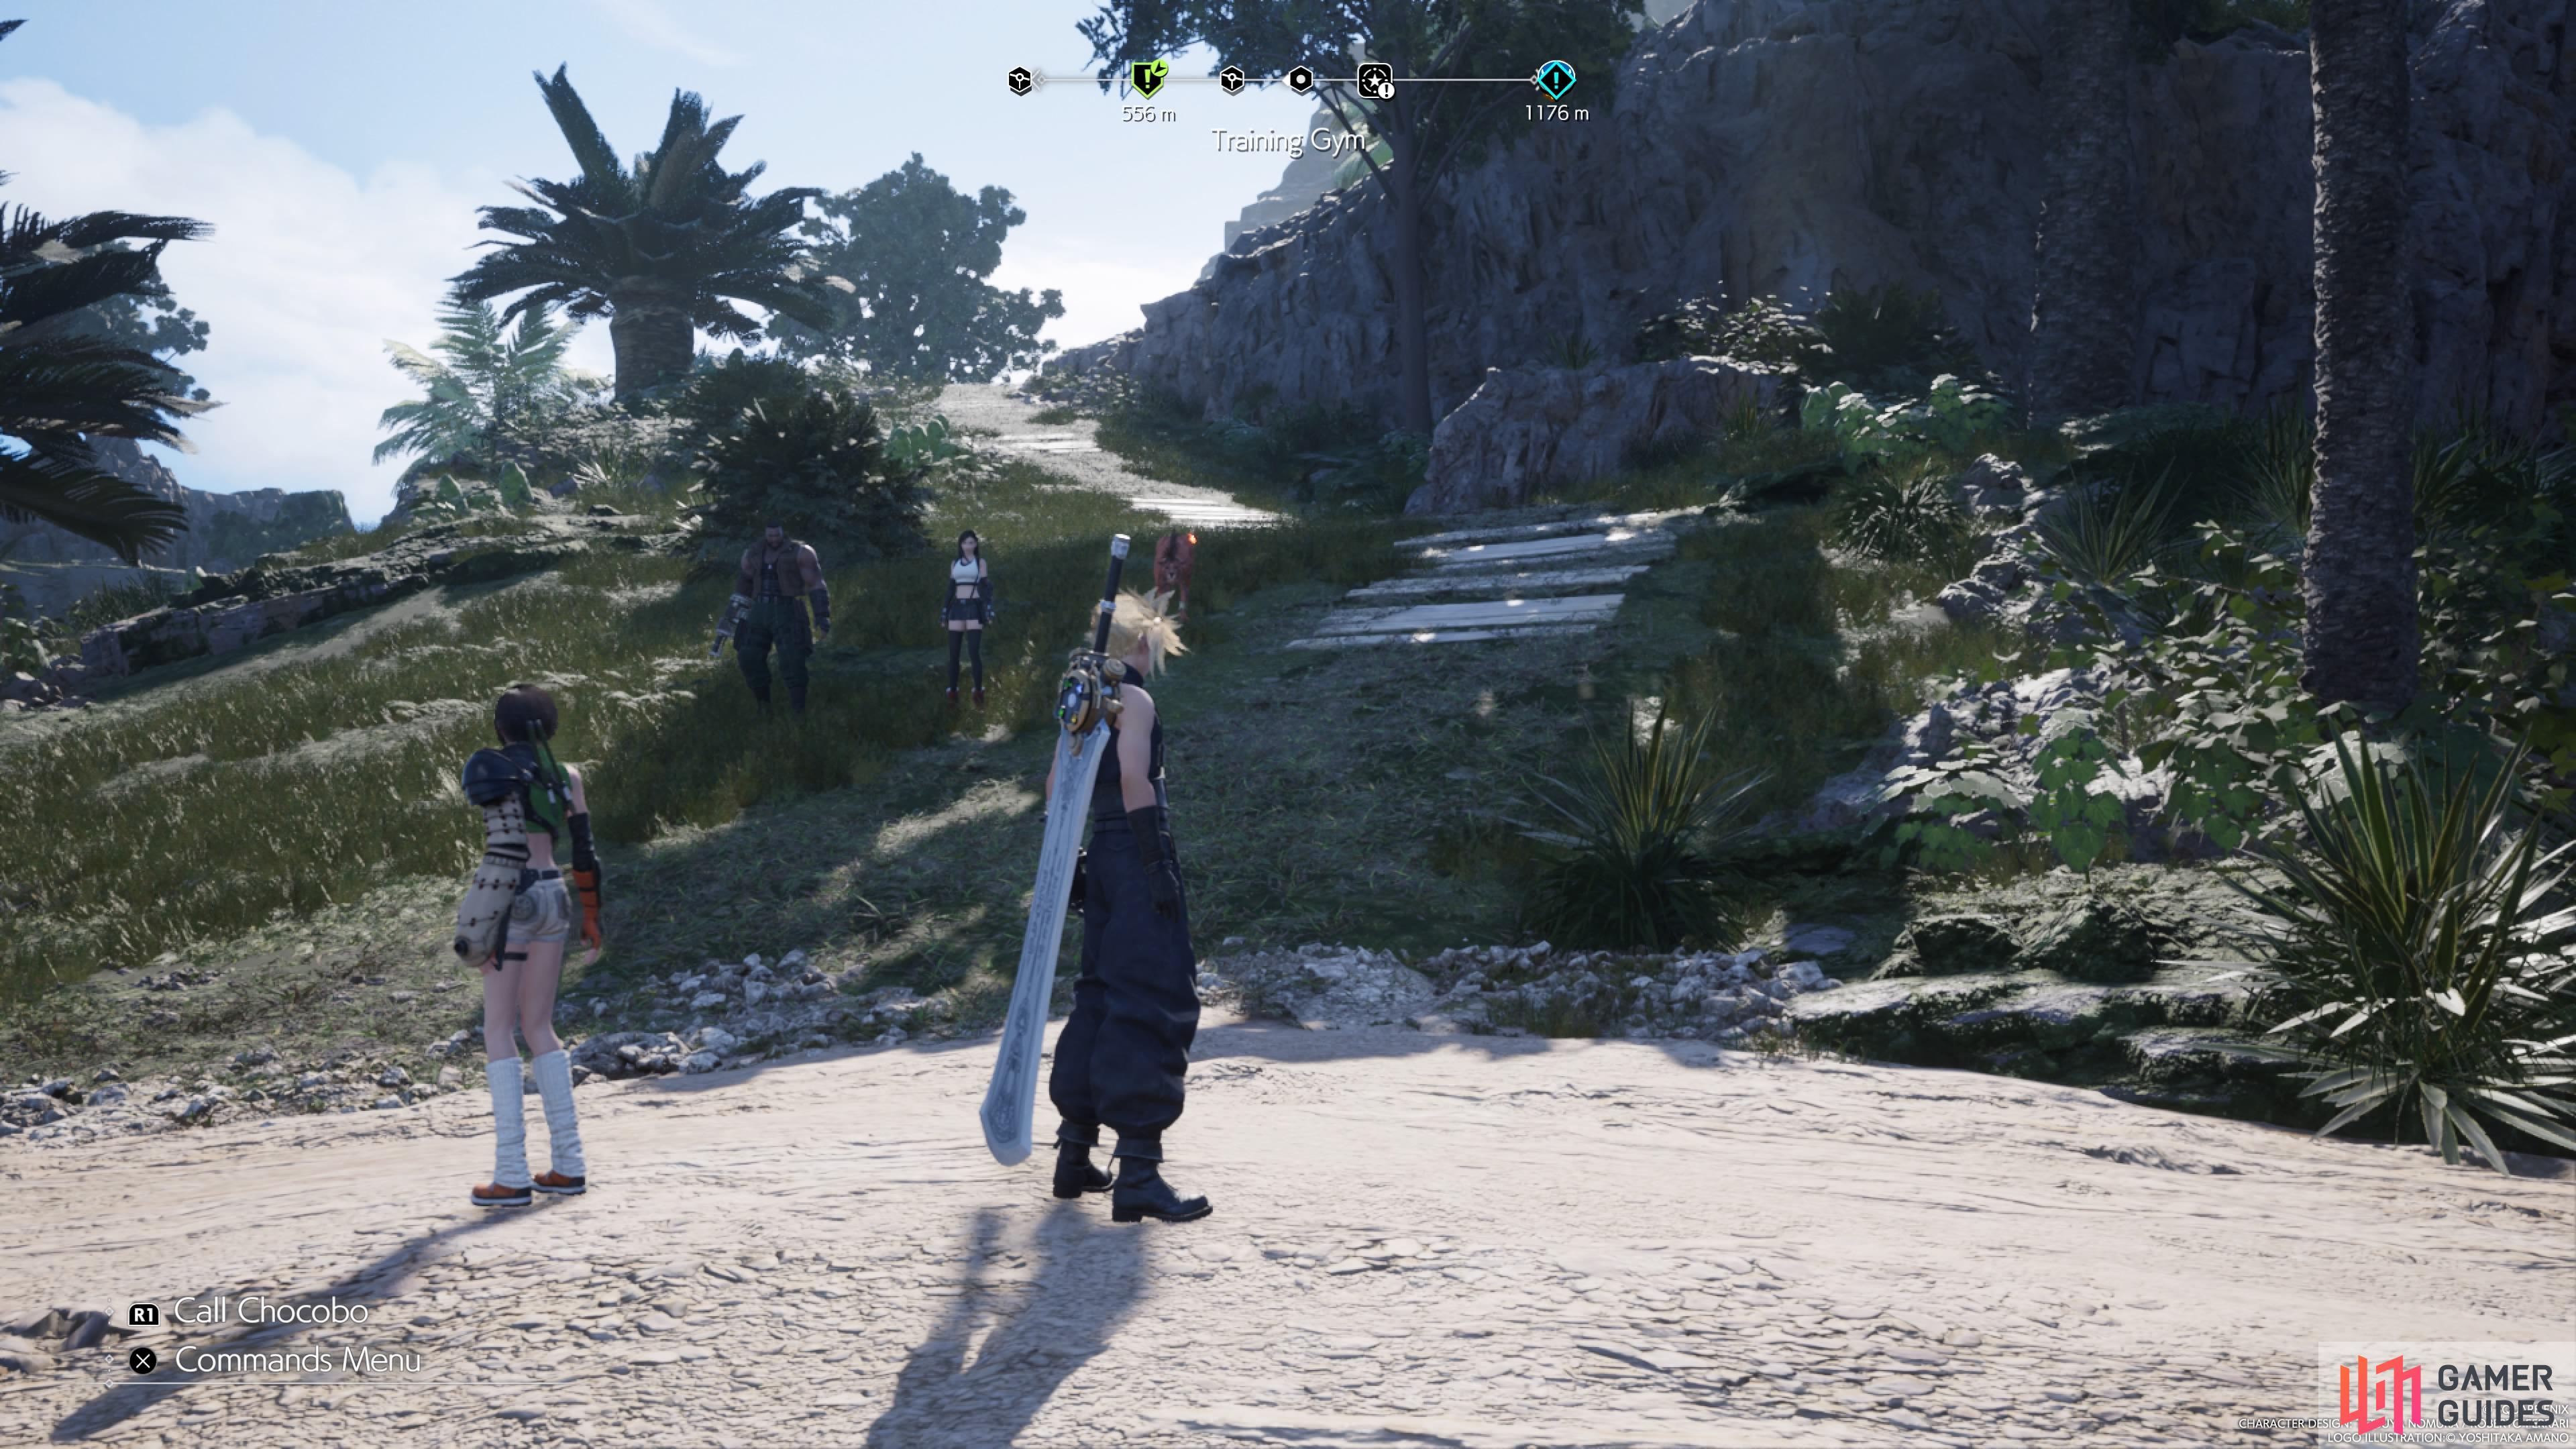
North of Twilight Hill, where the third zipline was located, you will find the Training Gym. Here is where Jules will be found for the Bodybuilders in a Bind quest. The path leading to the gym is on the northern side, so take it to the entrance. From the entrance to the gym, look to the south to find the zipline, as well as the Refurbished Materials.
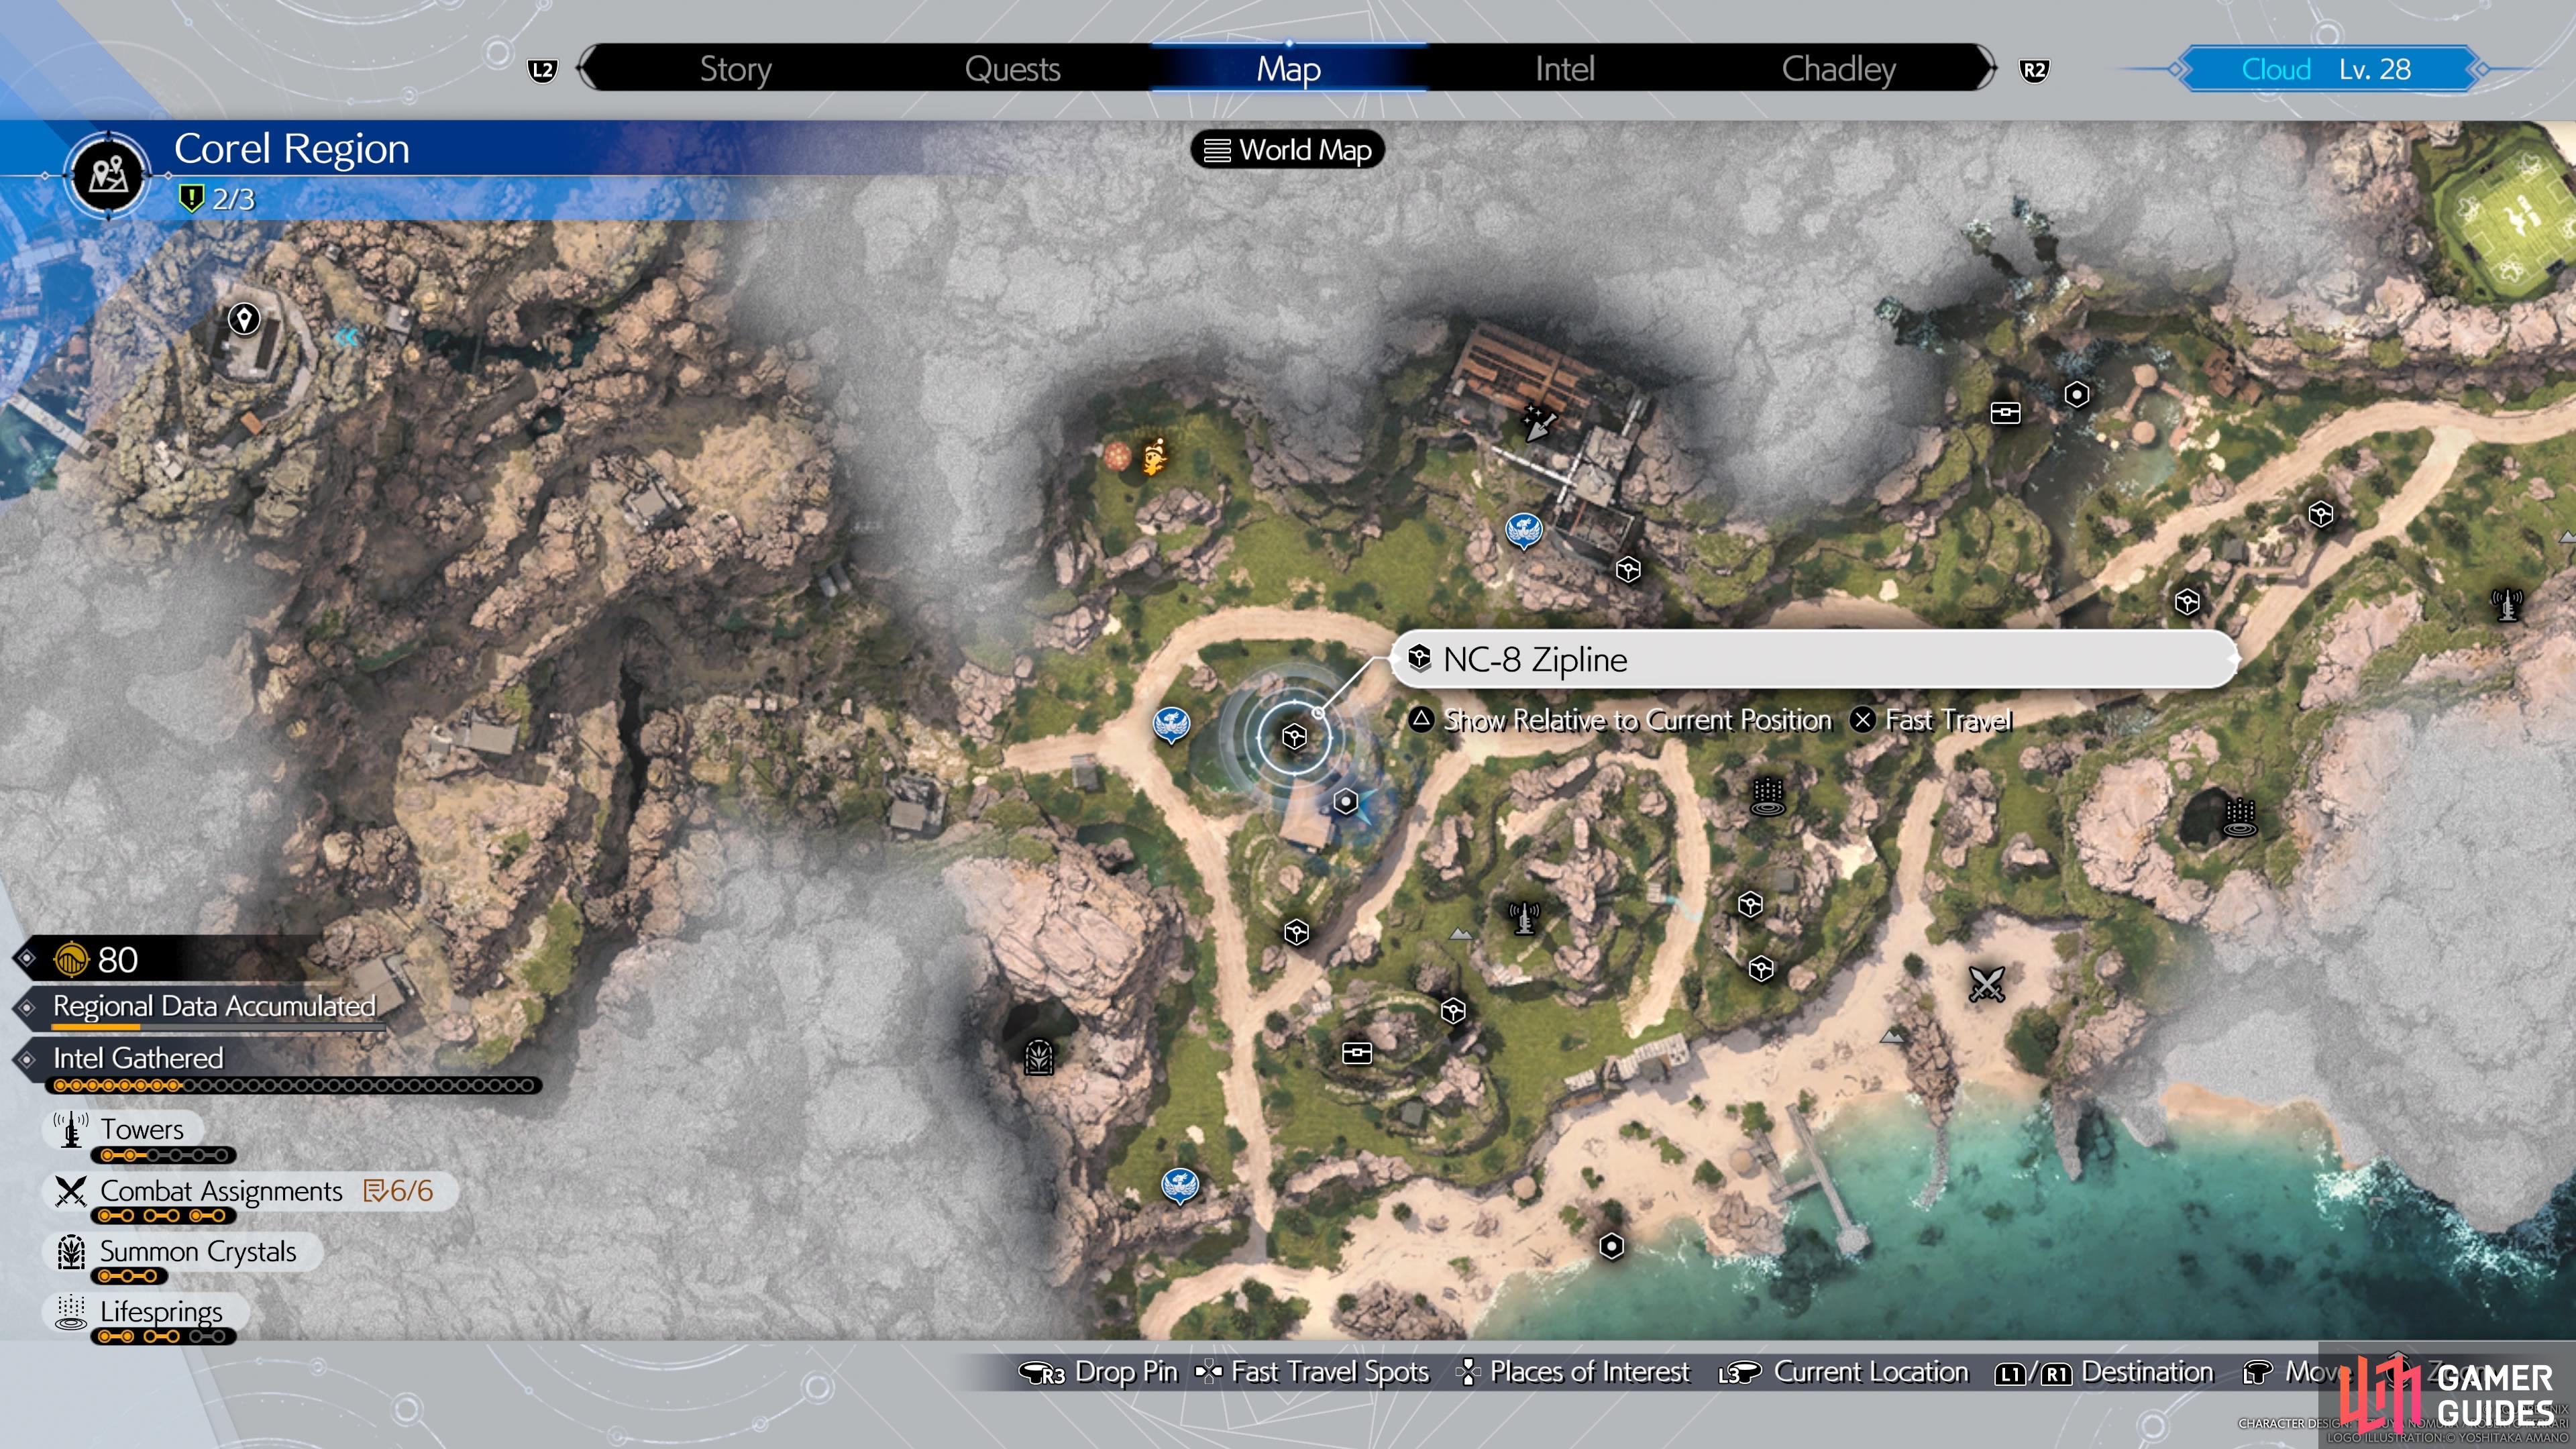
NC-8 Zipline
In the same area as the Training Gym, just go up a short flight of stairs to the north of the entrance for this zipline and Refurbished Materials.
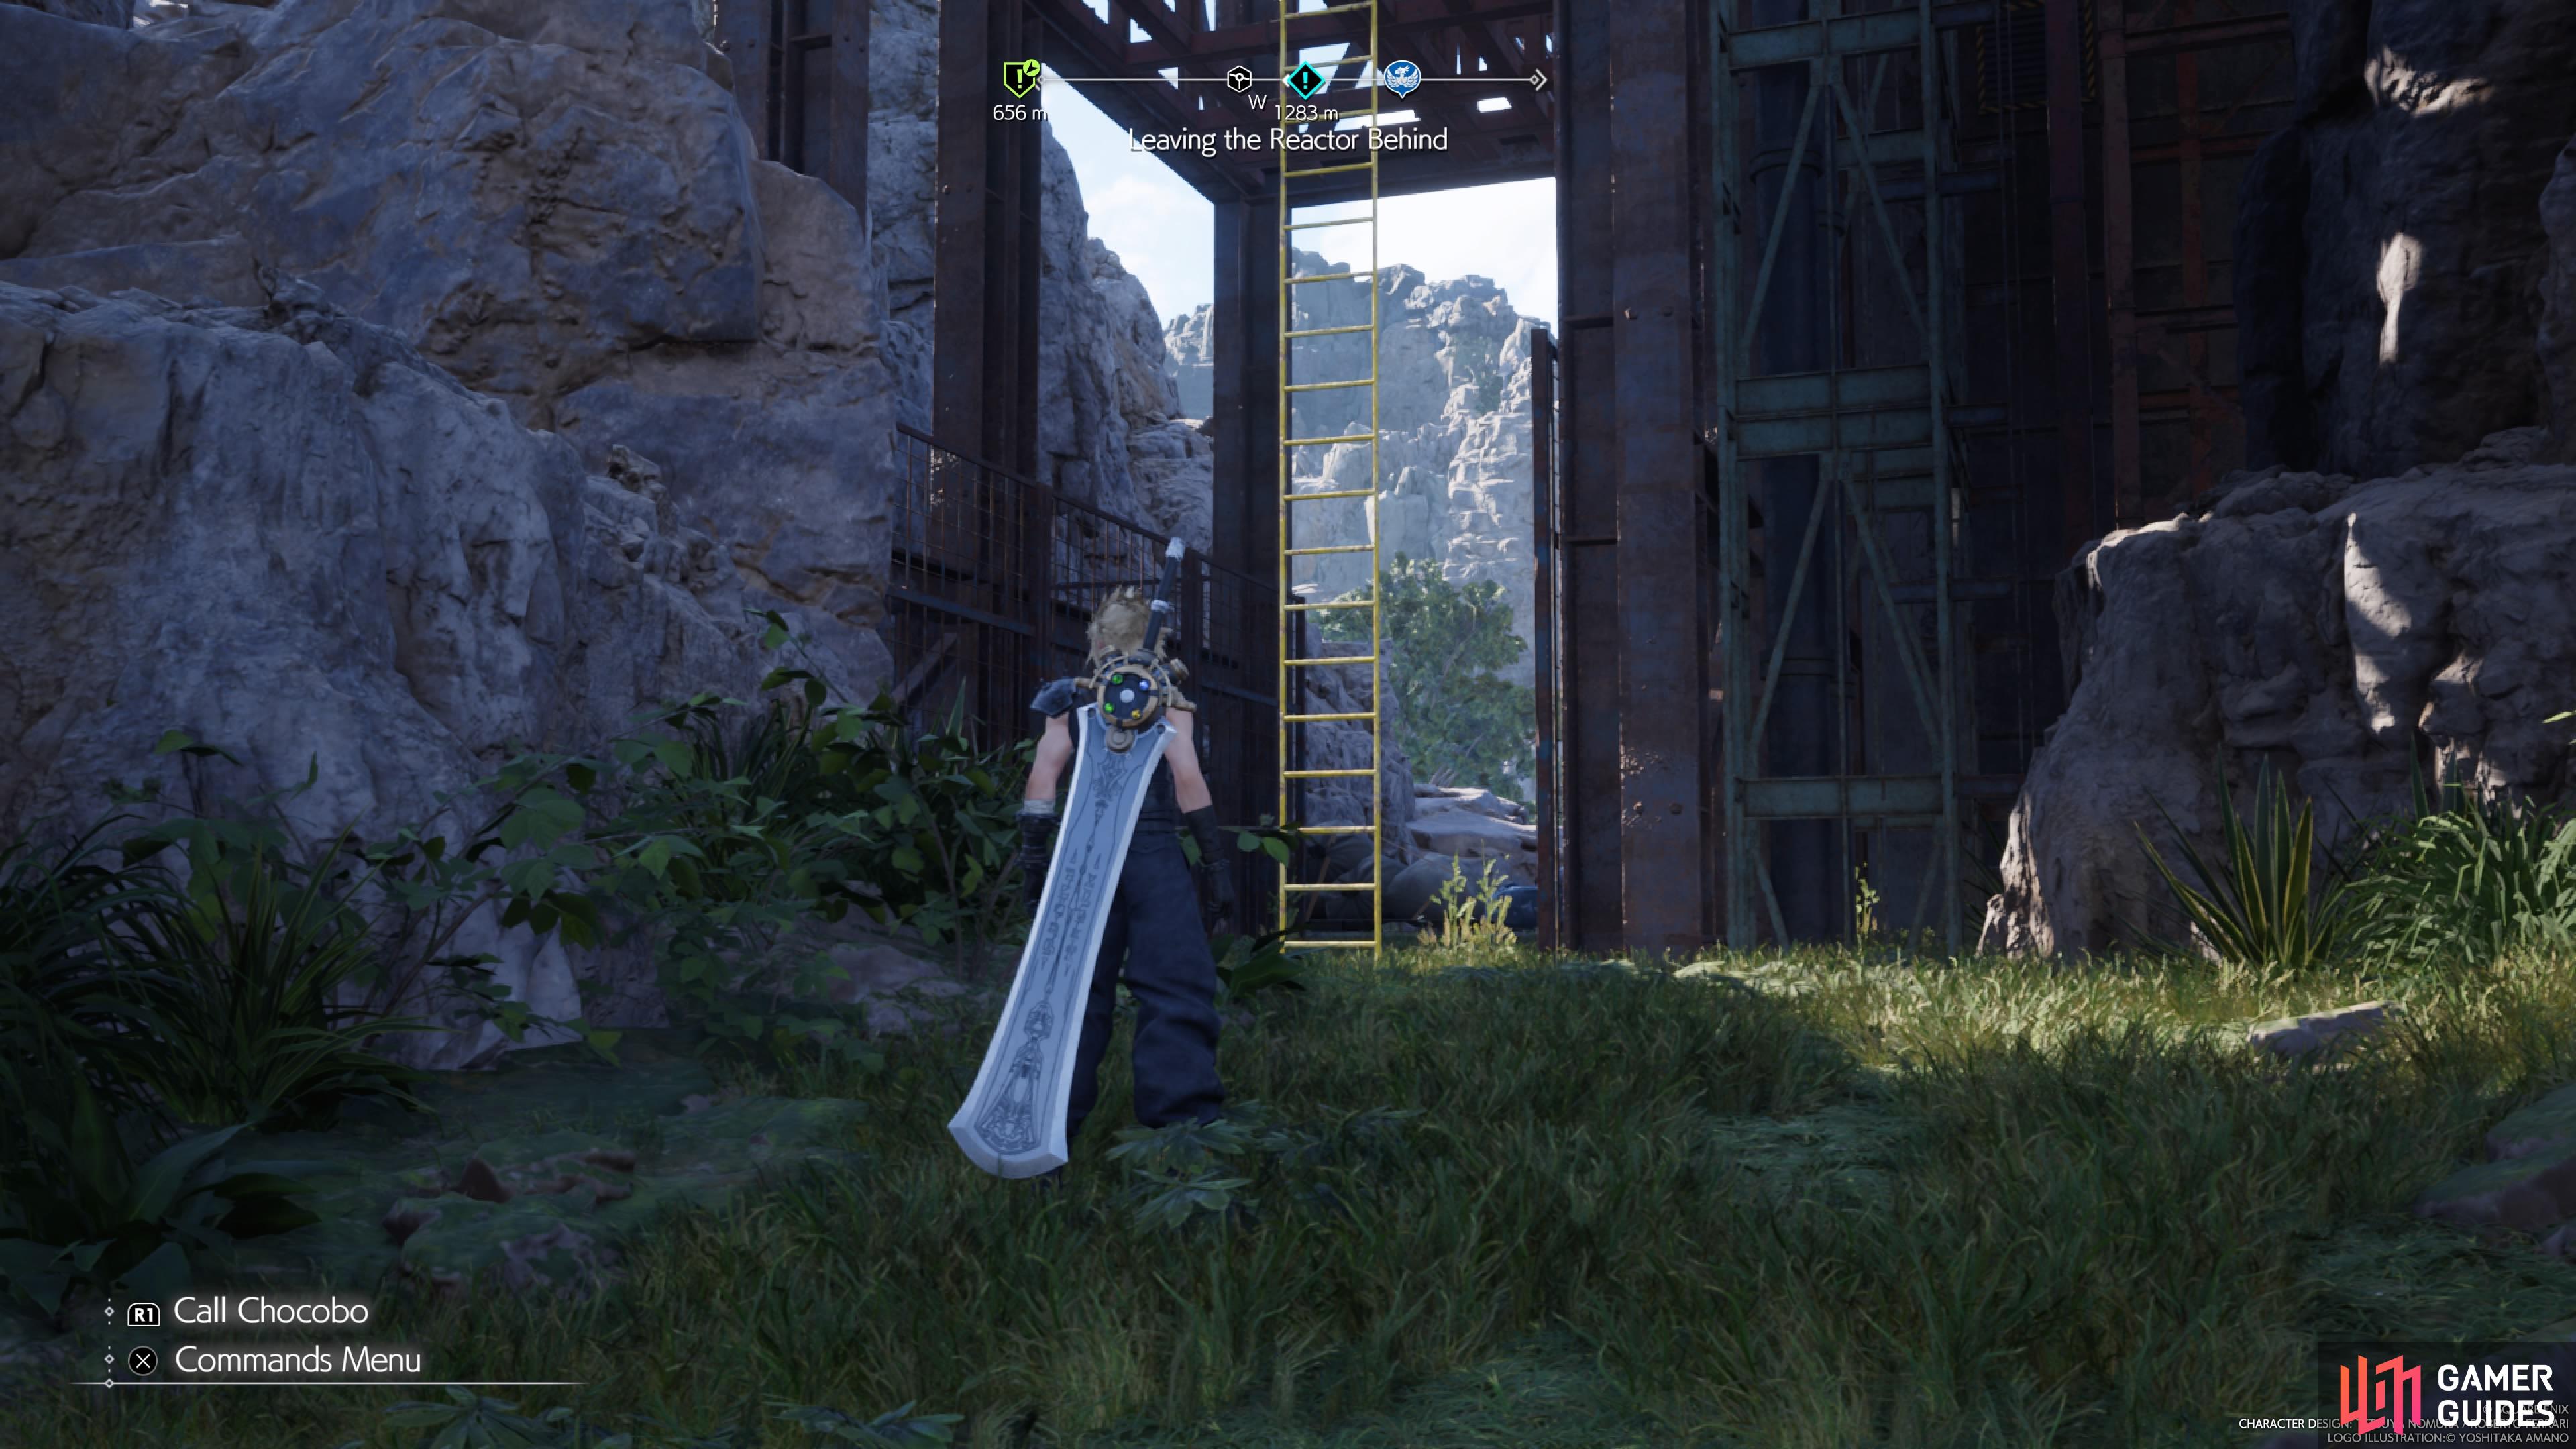
Once you have all eight of the Refurbished Materials, bring them back to the Johnnys at Costa Falls. It seems like the quest will be over at this point, but there’s still more to be done. They mention there are more Johnnys at the Factory Ruins, which is the same place where you found Zipline #4. Just go past the ladder you climbed and look for the main entrance, where the Johnnys will be found.
Where to Find the Boiler Valve
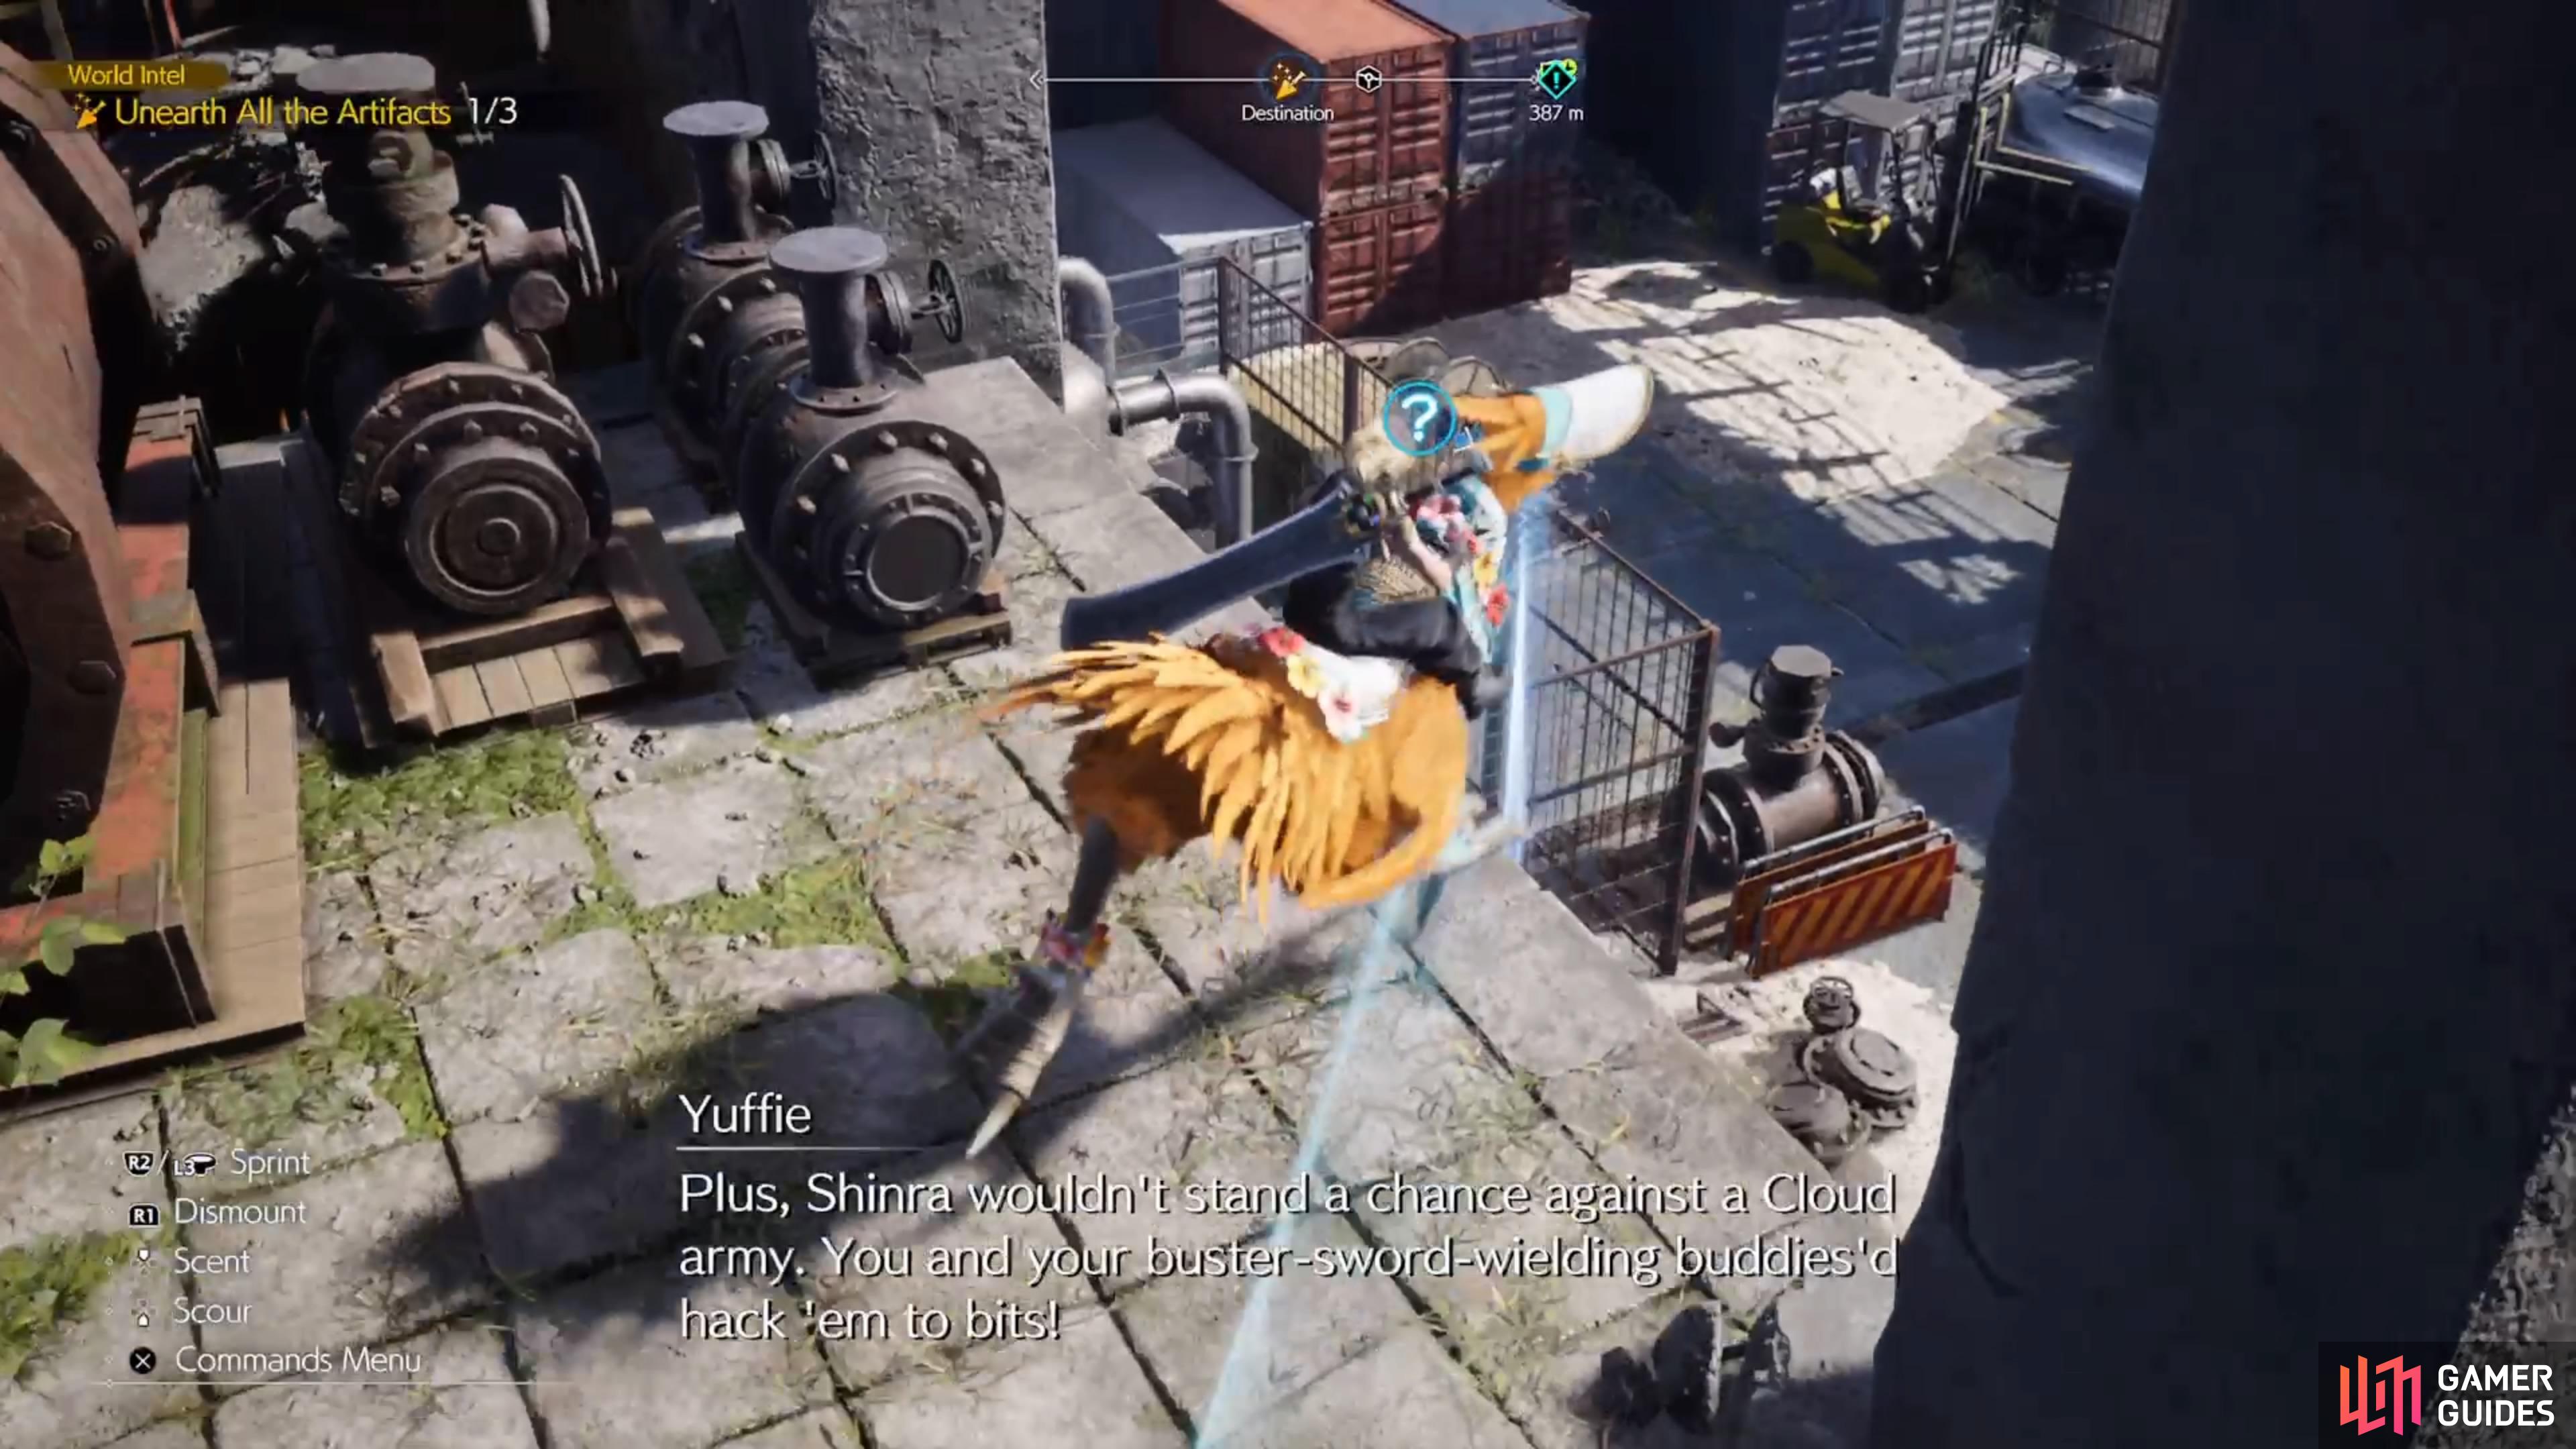
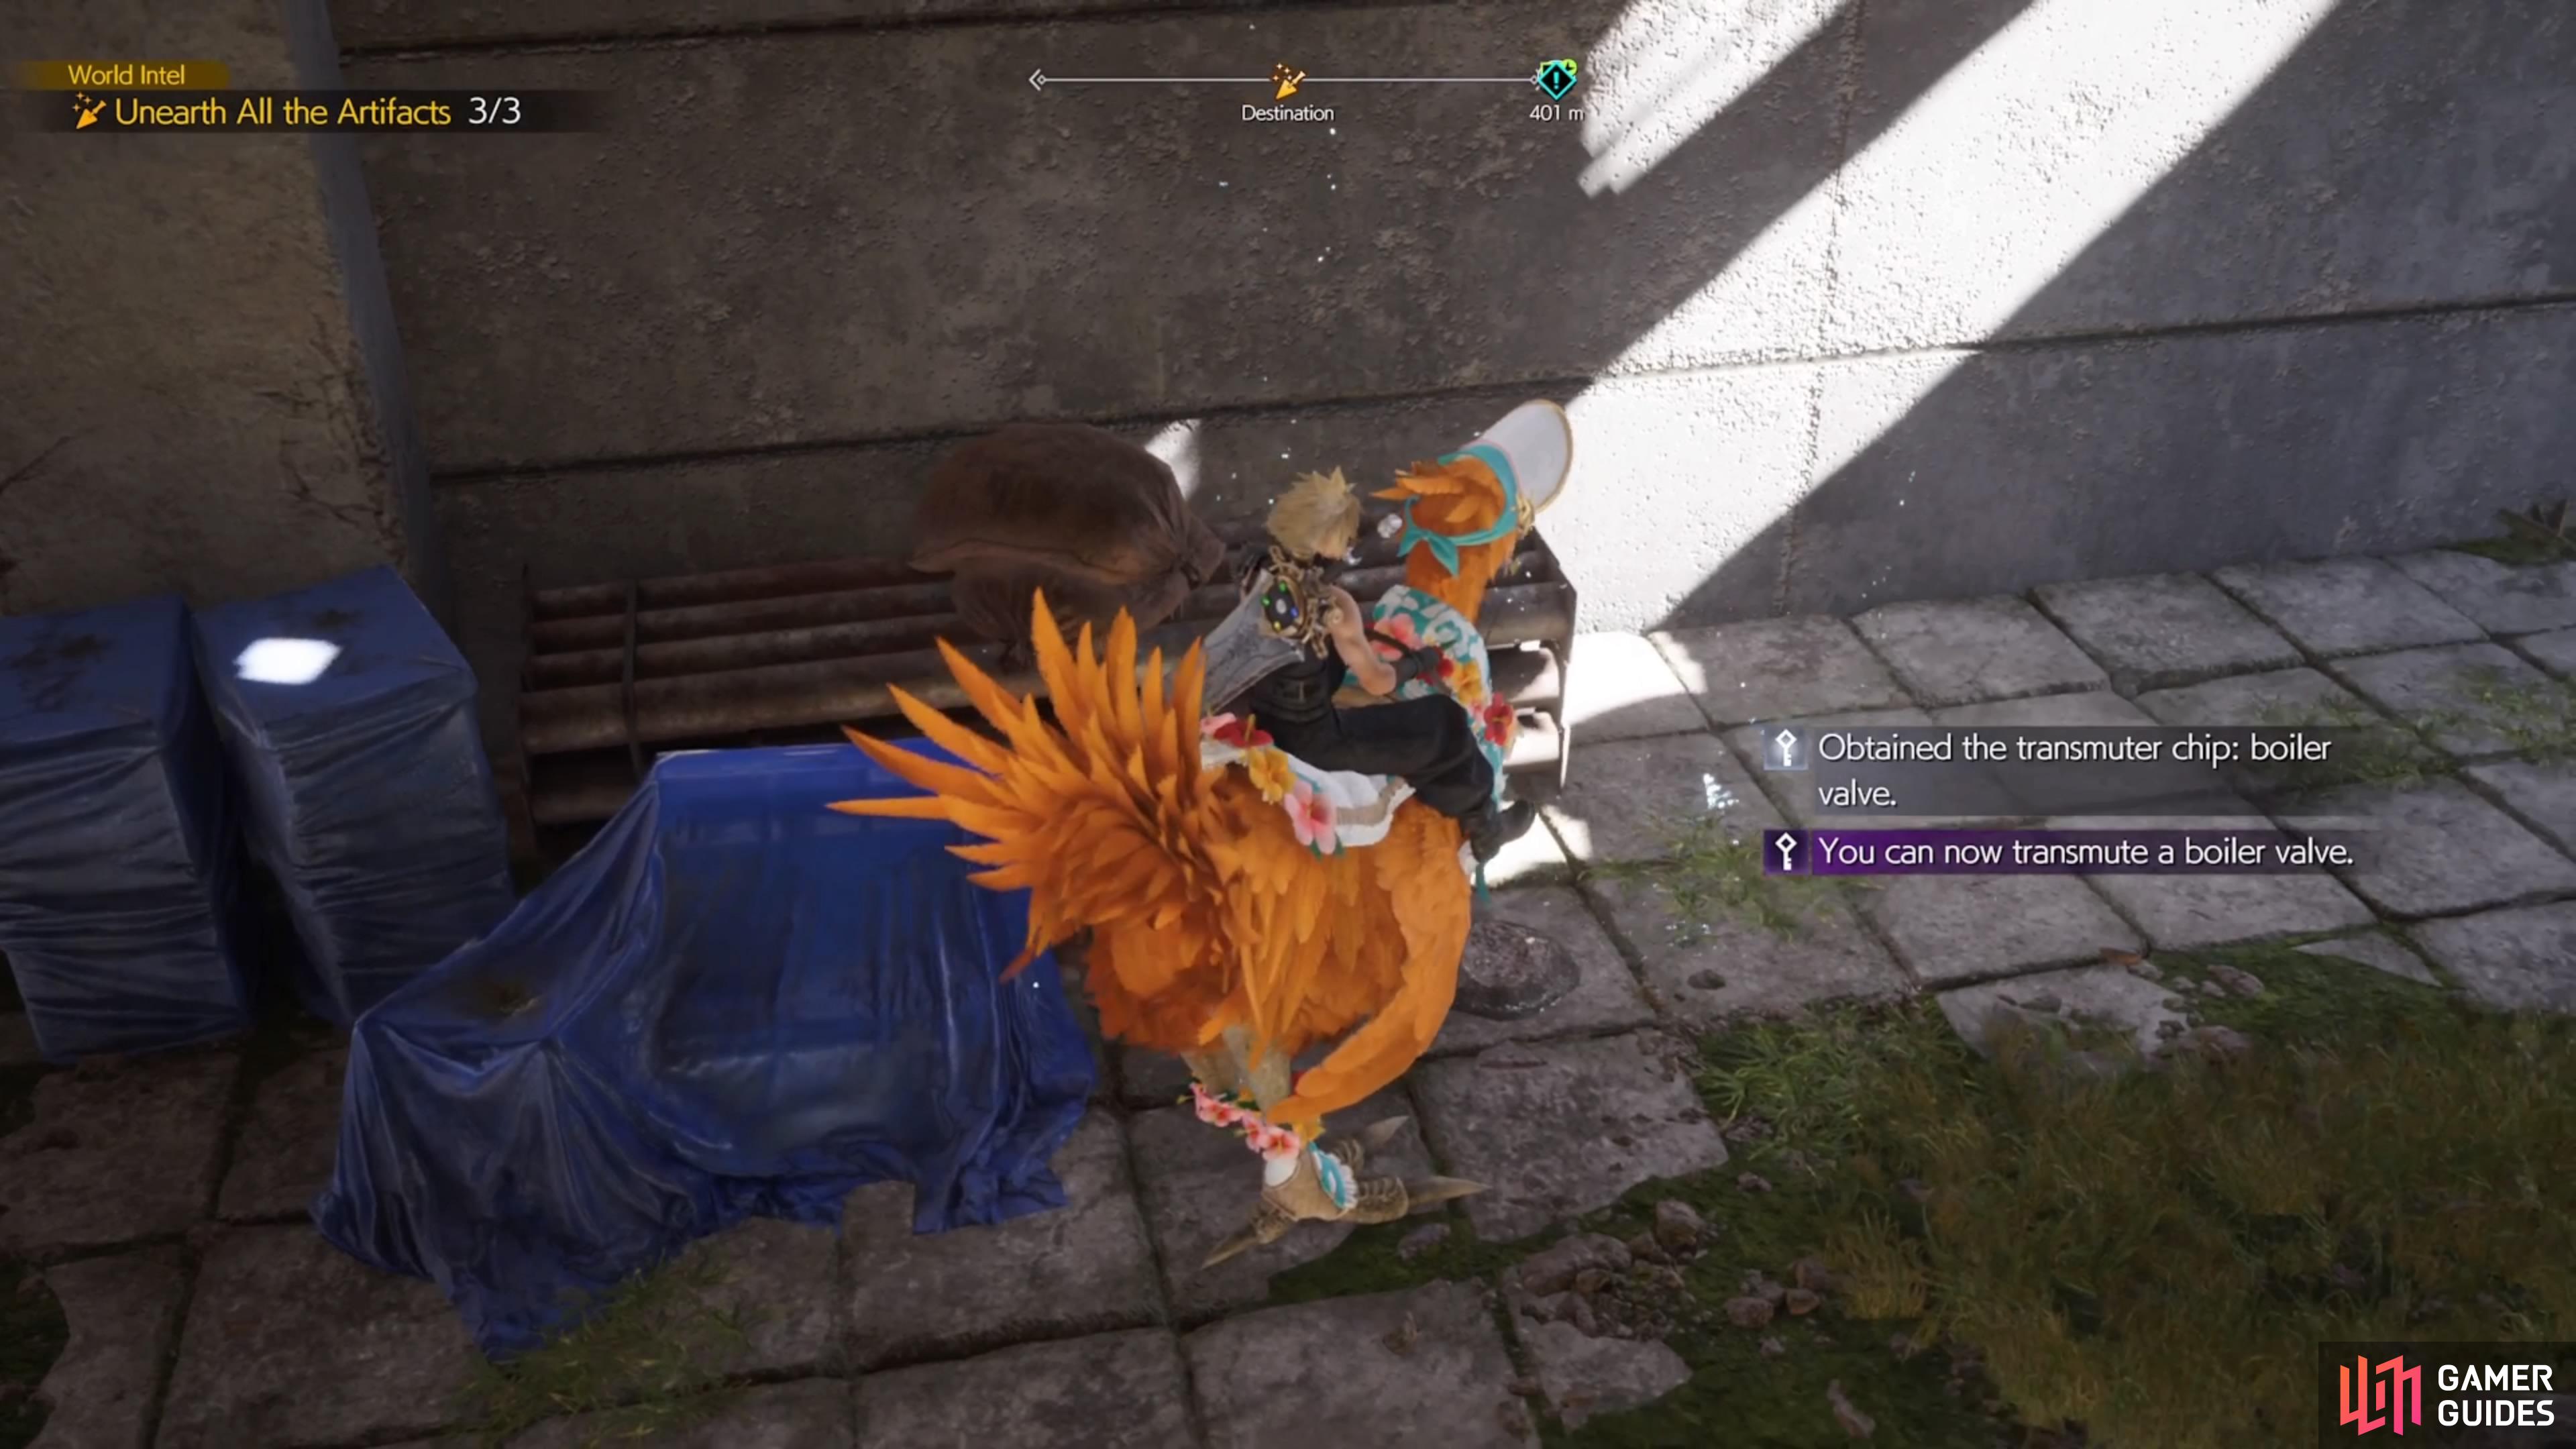
These Johnnys were in charge of fixing the boiler for the hotel, but they are having trouble finding the parts. They suggest that you help them with it, which will lead to you having to build the ![]() Boiler Valve, via a transmuter chip. This will require you to dig it up with your Chocobo, which you can rent from the Rent-a-Bird Stables by the exit to Costa del Sol. If you did Rendezvous in Costa del Sol, then you should have gotten access to the Chocobo for this little area. You will also need to find two Lifesprings in the Corel region, with two of them being in this little area right outside of Costa del Sol.
Boiler Valve, via a transmuter chip. This will require you to dig it up with your Chocobo, which you can rent from the Rent-a-Bird Stables by the exit to Costa del Sol. If you did Rendezvous in Costa del Sol, then you should have gotten access to the Chocobo for this little area. You will also need to find two Lifesprings in the Corel region, with two of them being in this little area right outside of Costa del Sol.
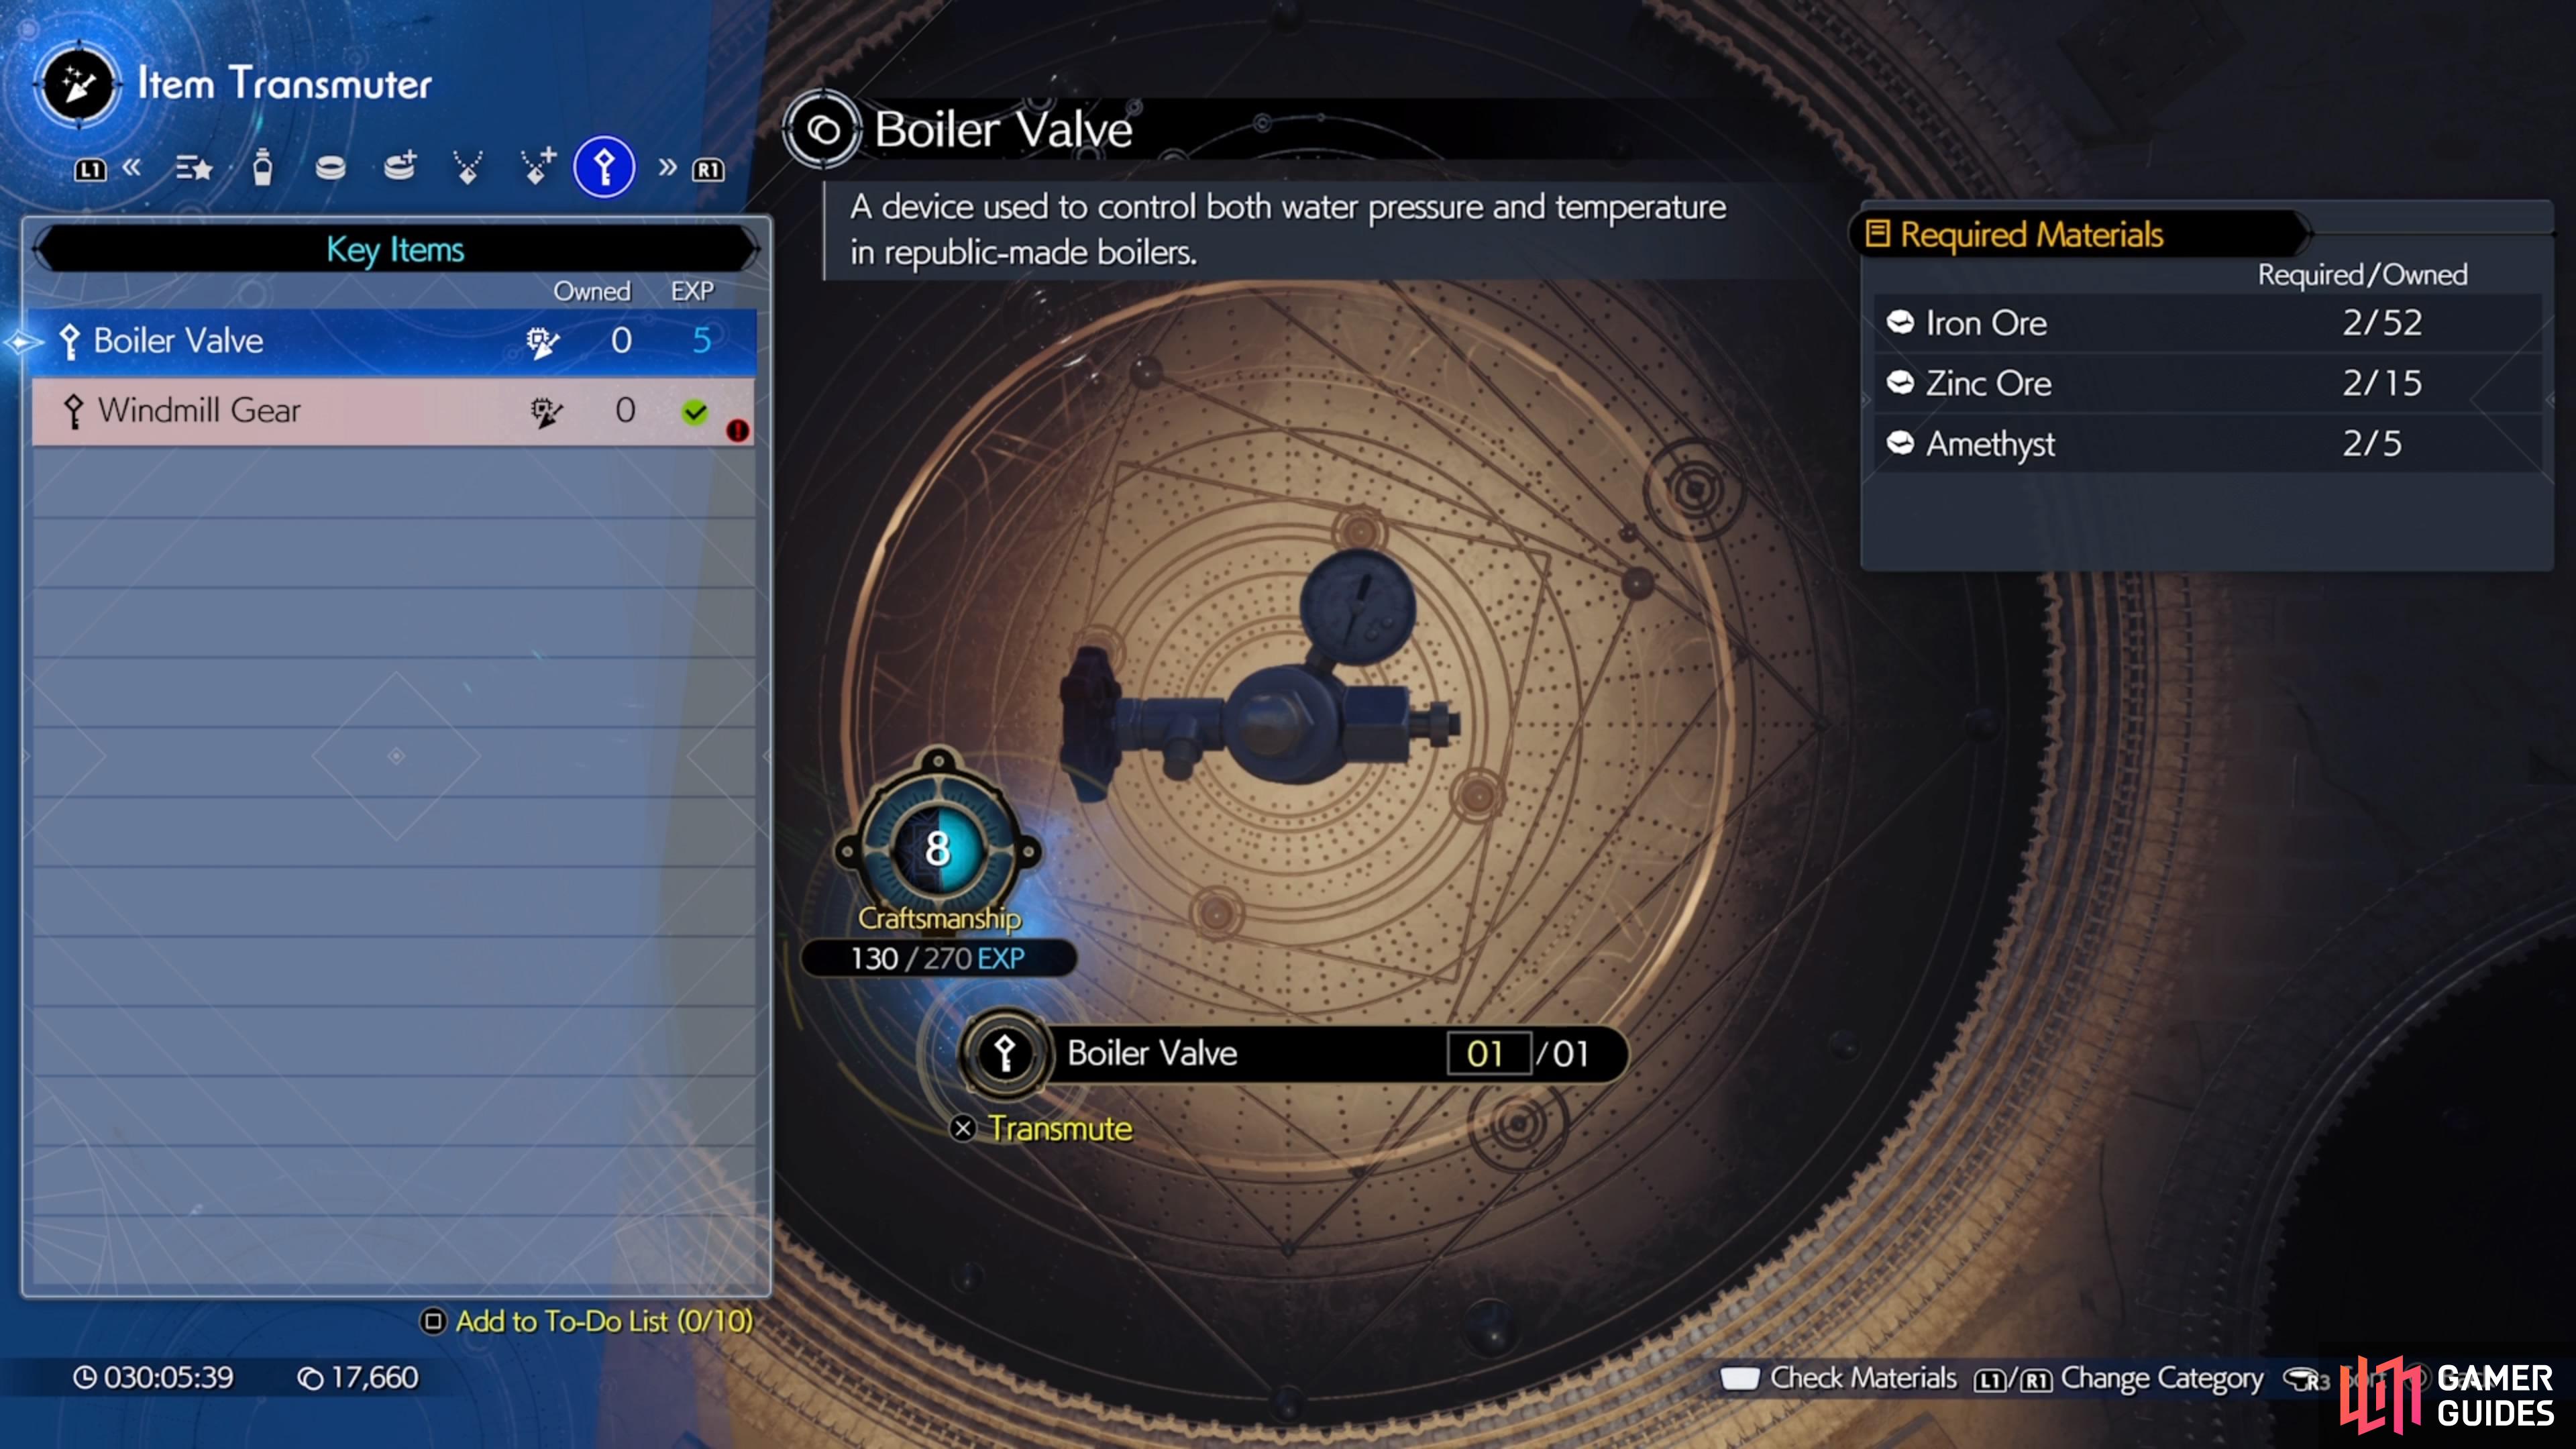
The Excavation Intel will be at the Factory Ruins, where the Johnnys are at. This can be one of the more annoying excavation sites, due to there being multiple levels to the building. However, it still functions the same way as any other time you’ve dug up something, so just follow the lines to the digging spots. One of the transmuter chips you will find is for the Boiler Valve. Once you have it in your possession, you will need the following items in order to craft it:

(1 of 4) Head for the factory here to find the second set of Johnnys.
The latter two items are found in the Corel region, while you should have plenty of Iron Ore from the previous areas. Upon crafting the Boiler Valve, you can bring it back to the Johnnys in front of the factory and hand it over to them. Unfortunately, there is one last task left for you to do, so it’s time to find the last Johnny in this area.
Tonberry King: How to Get the Pristine Crown
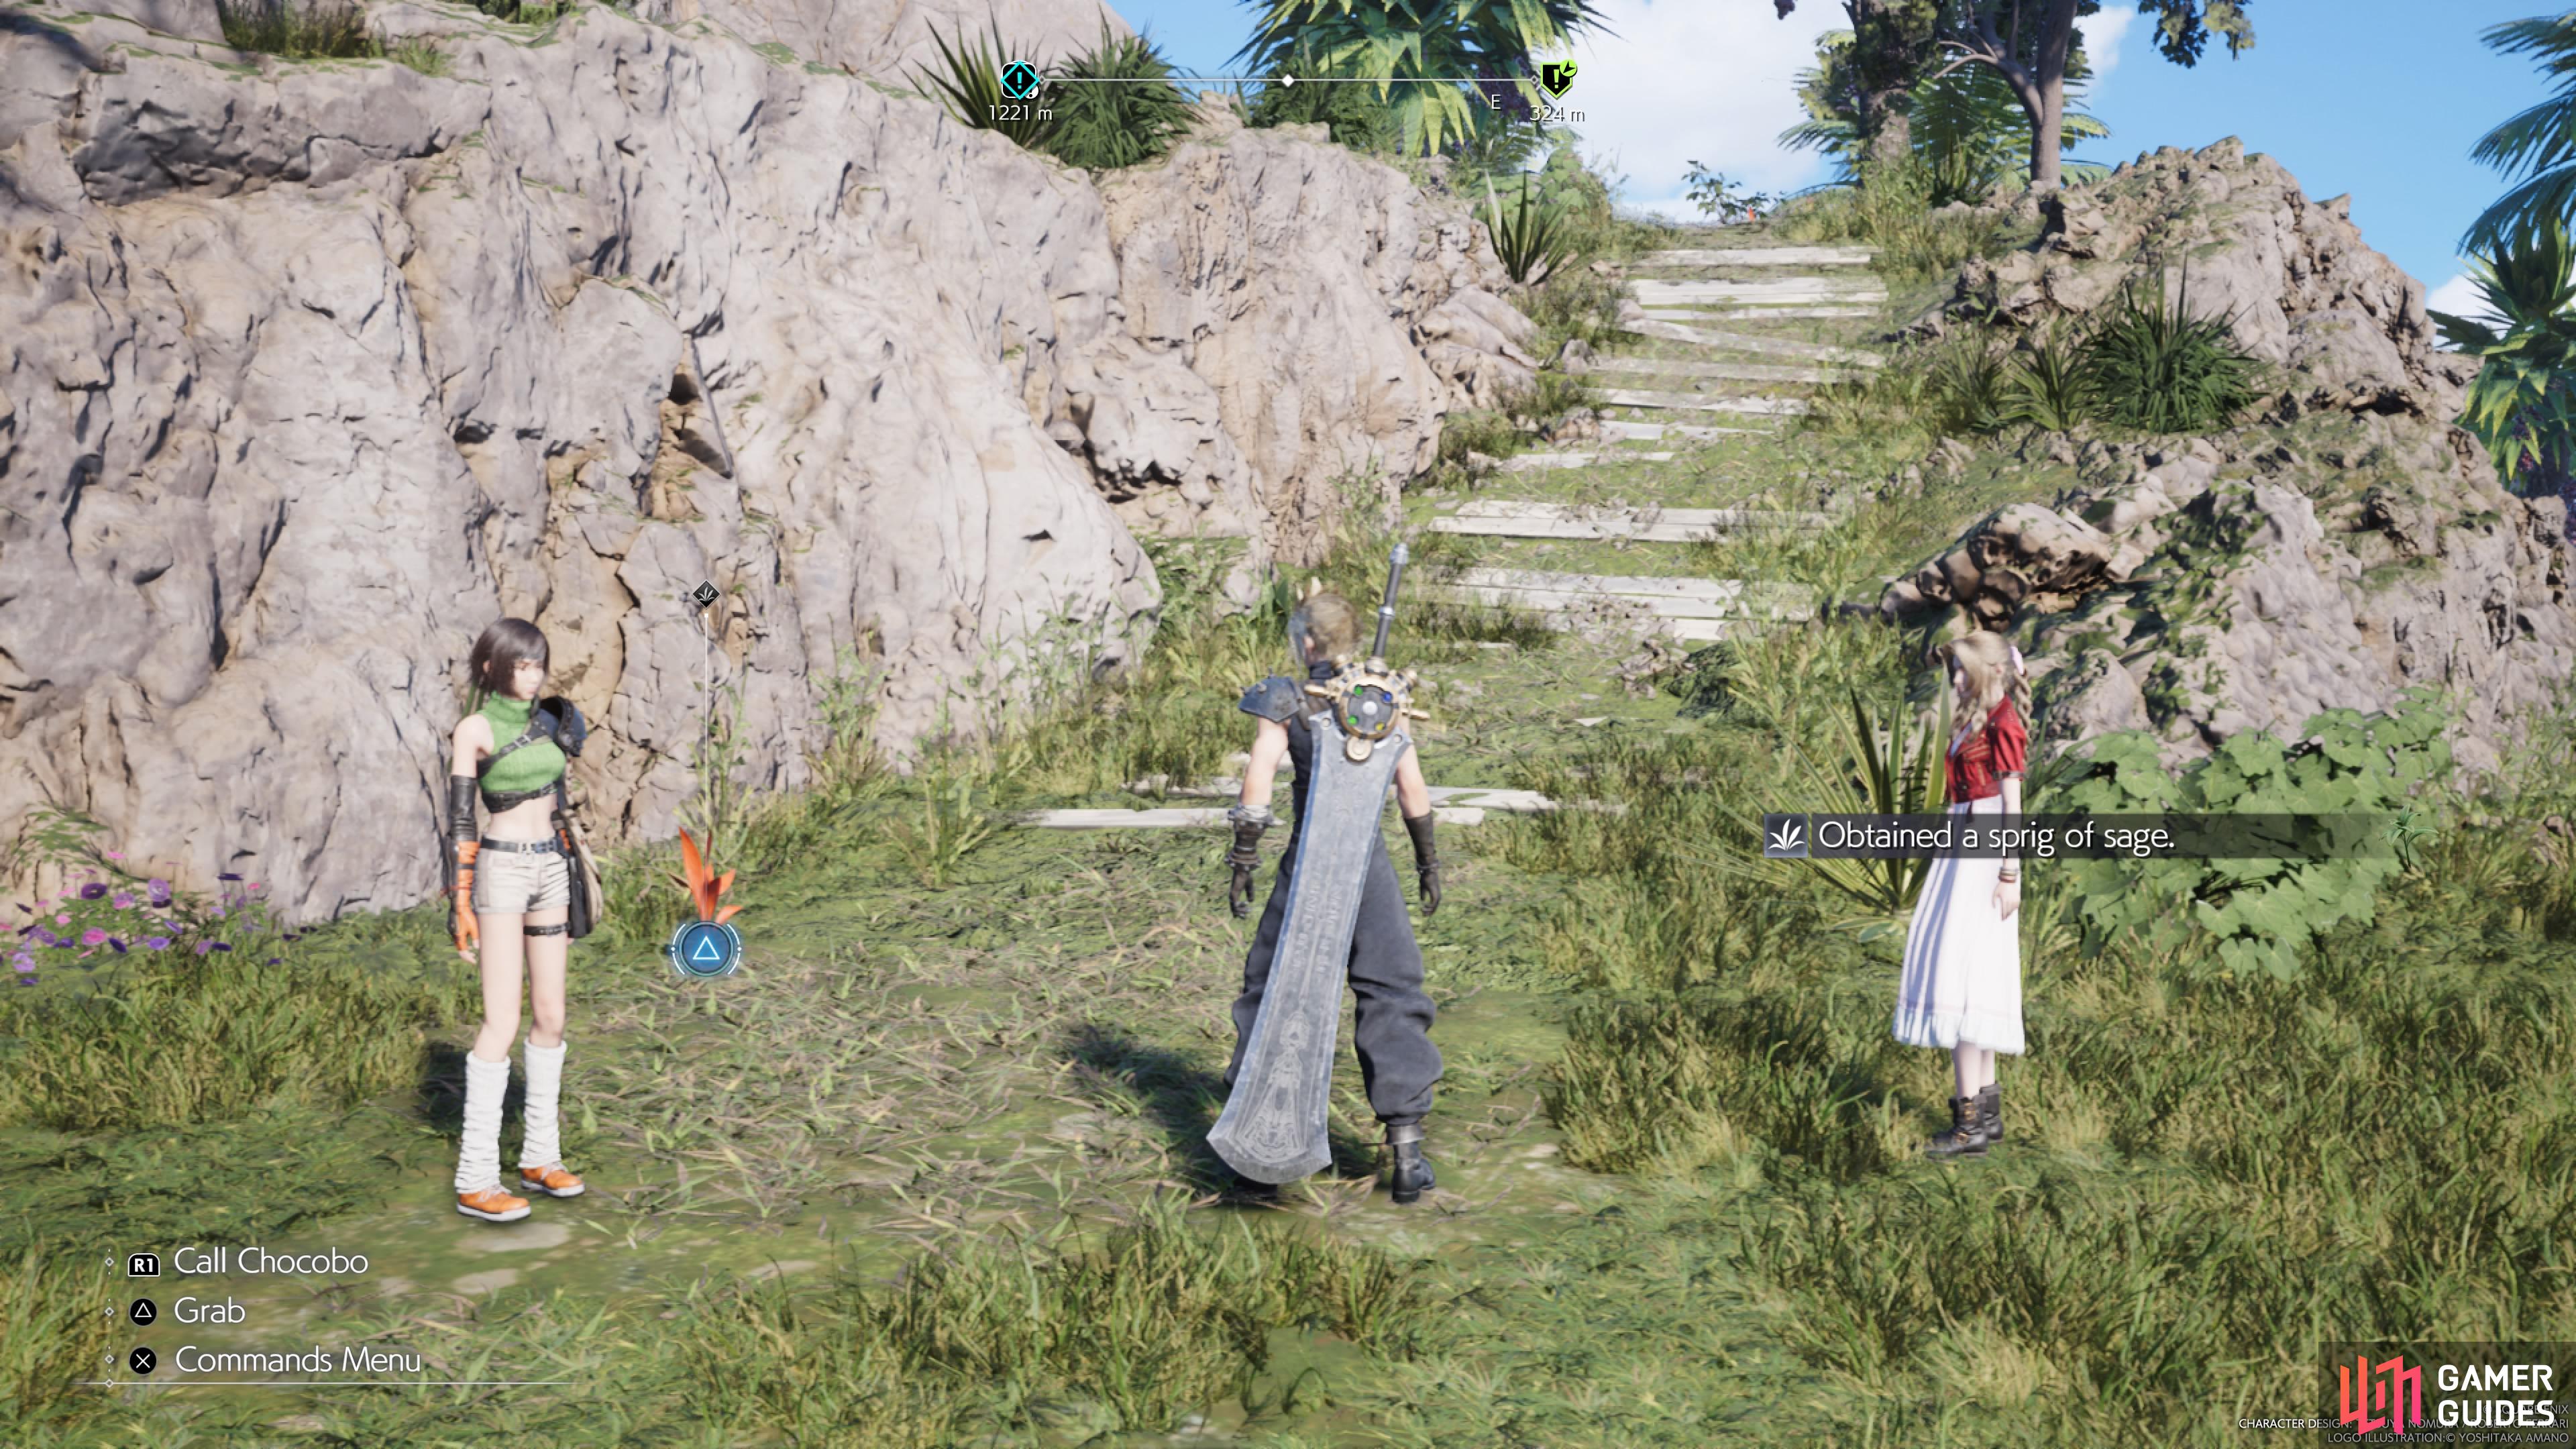
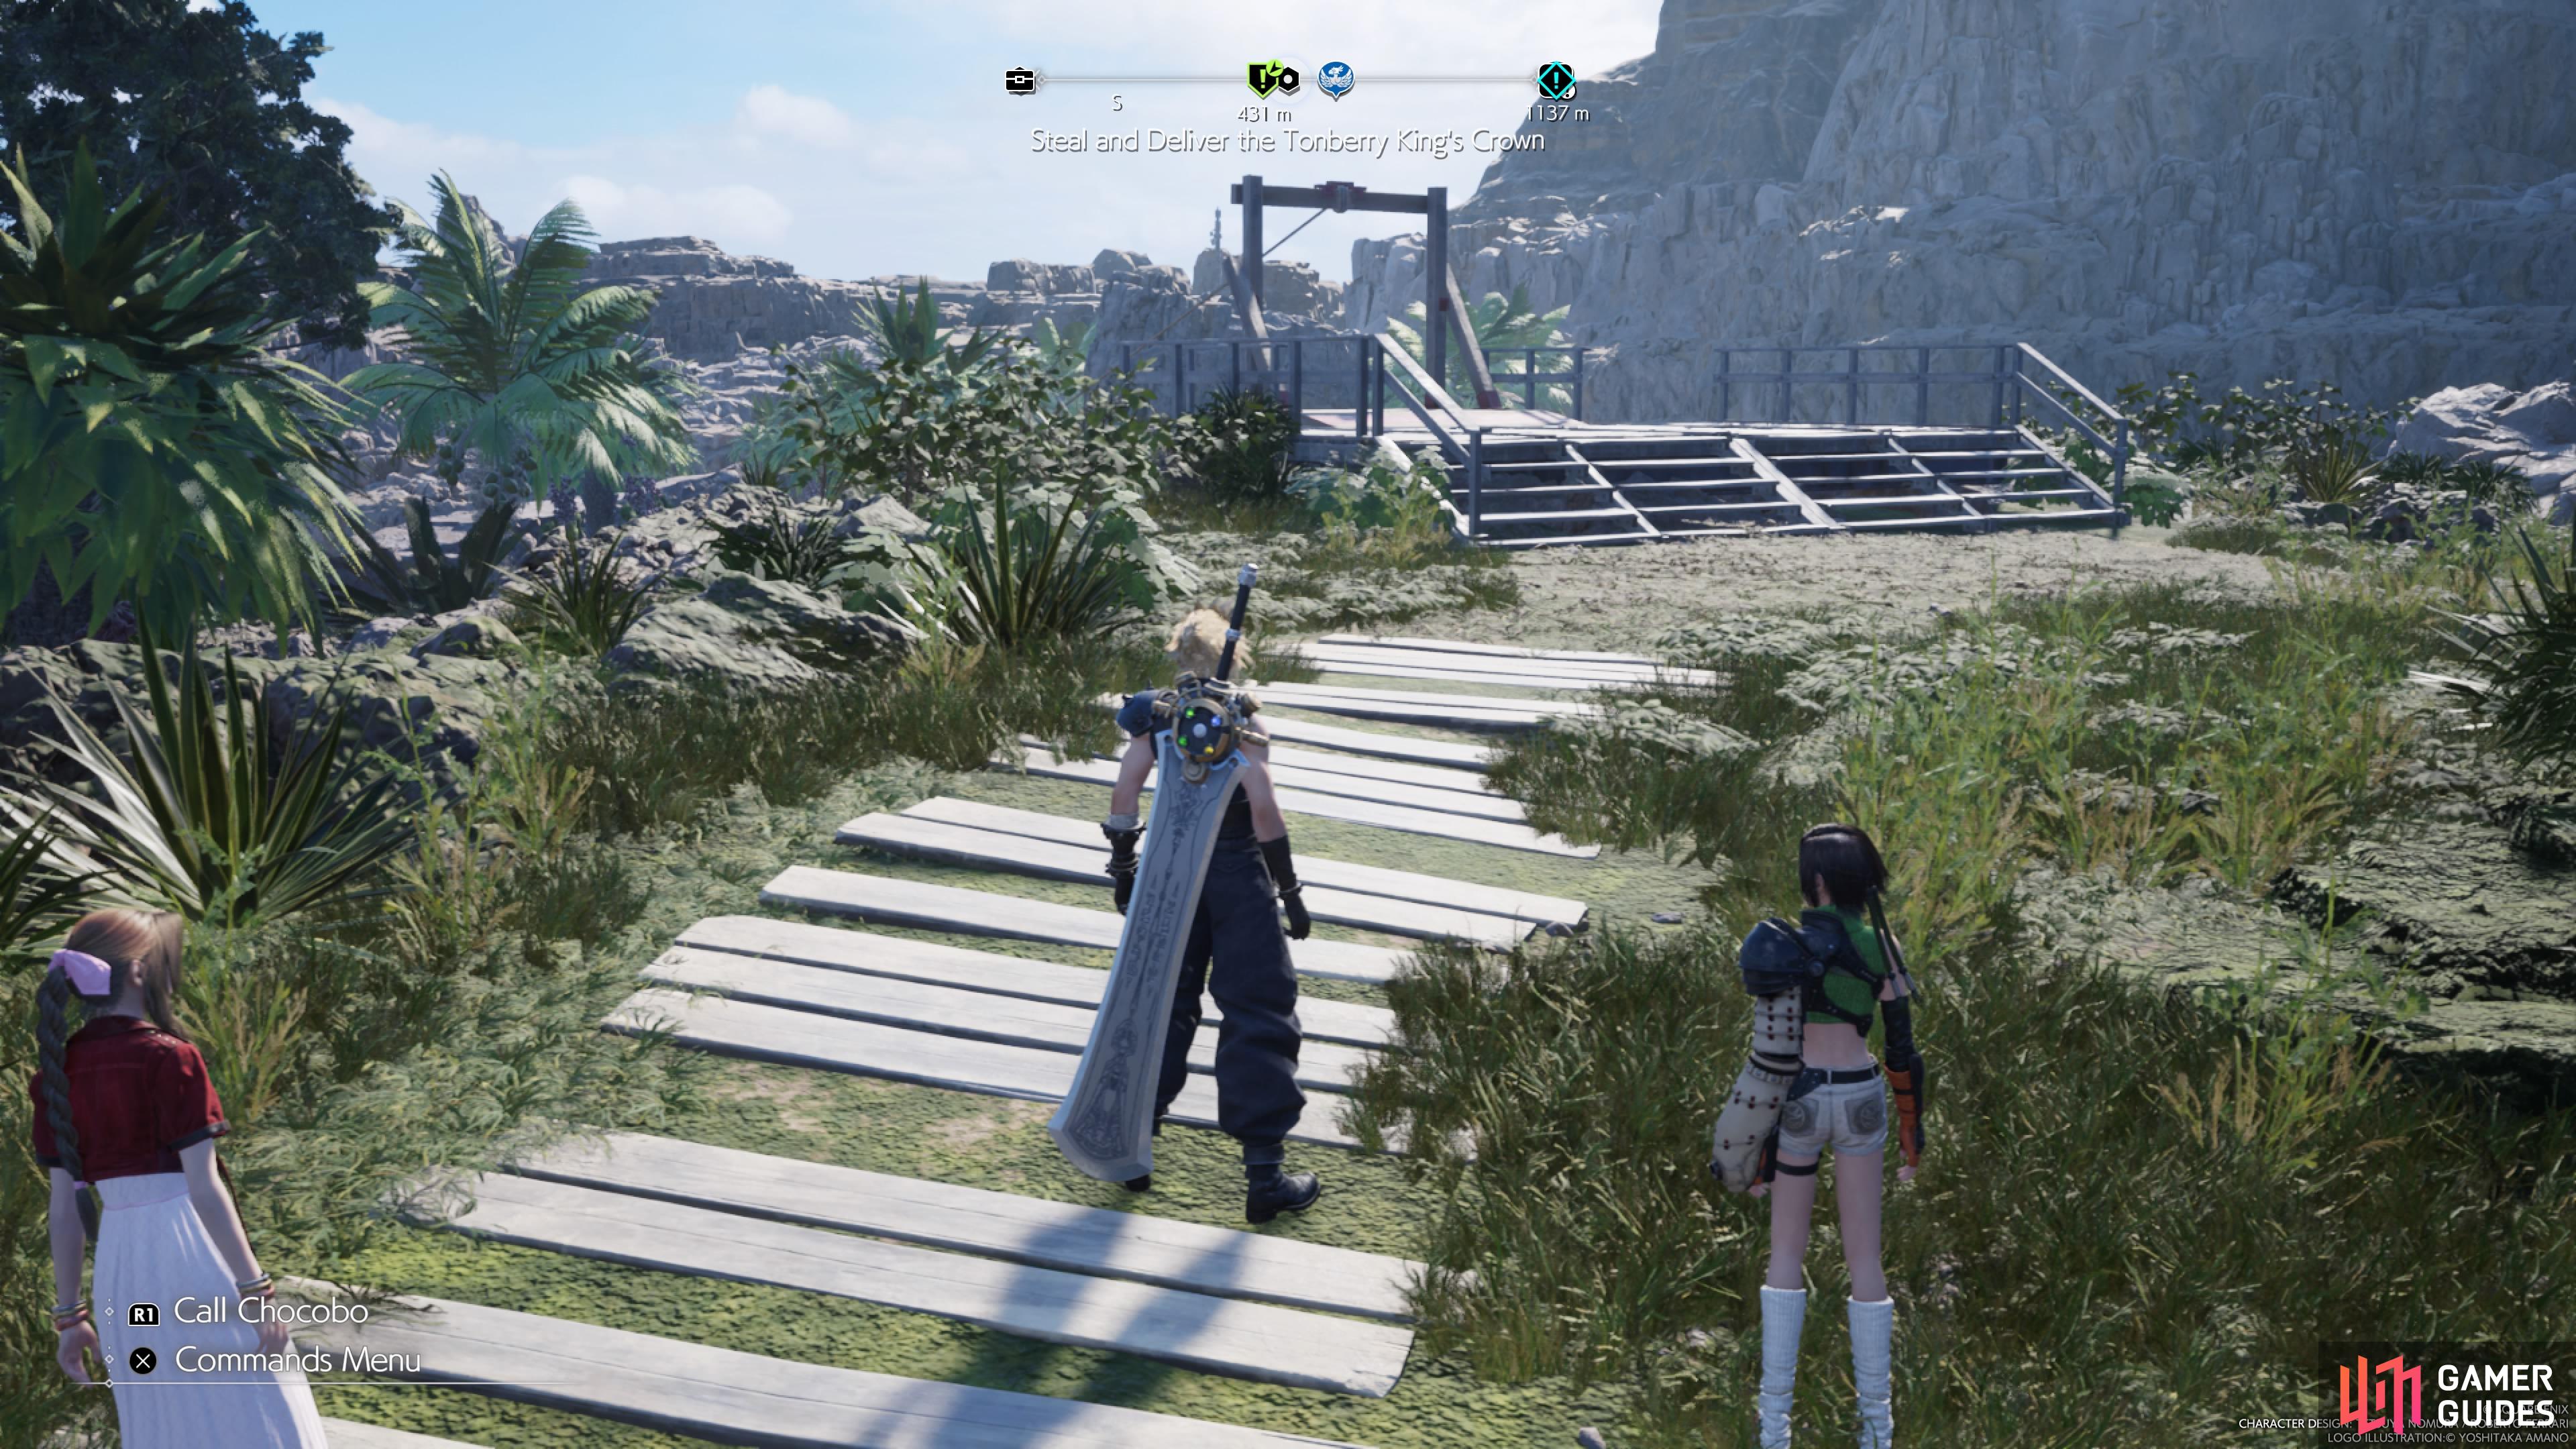
The last Johnny is in the southwestern corner of this initial area of the Corel region. He mentions that he is on the hunt for a crown for the hotel, just as a decoration piece. Of course, the crown is being held by a creature named the ![]() Tonberry King. Unfortunately, the
Tonberry King. Unfortunately, the ![]() Tonberry King is the classified foe for this region, which will require you to find all of the Lifesprings. While you have two from this smaller area, the other four cannot be reached until you get to Chapter 9.
Tonberry King is the classified foe for this region, which will require you to find all of the Lifesprings. While you have two from this smaller area, the other four cannot be reached until you get to Chapter 9.
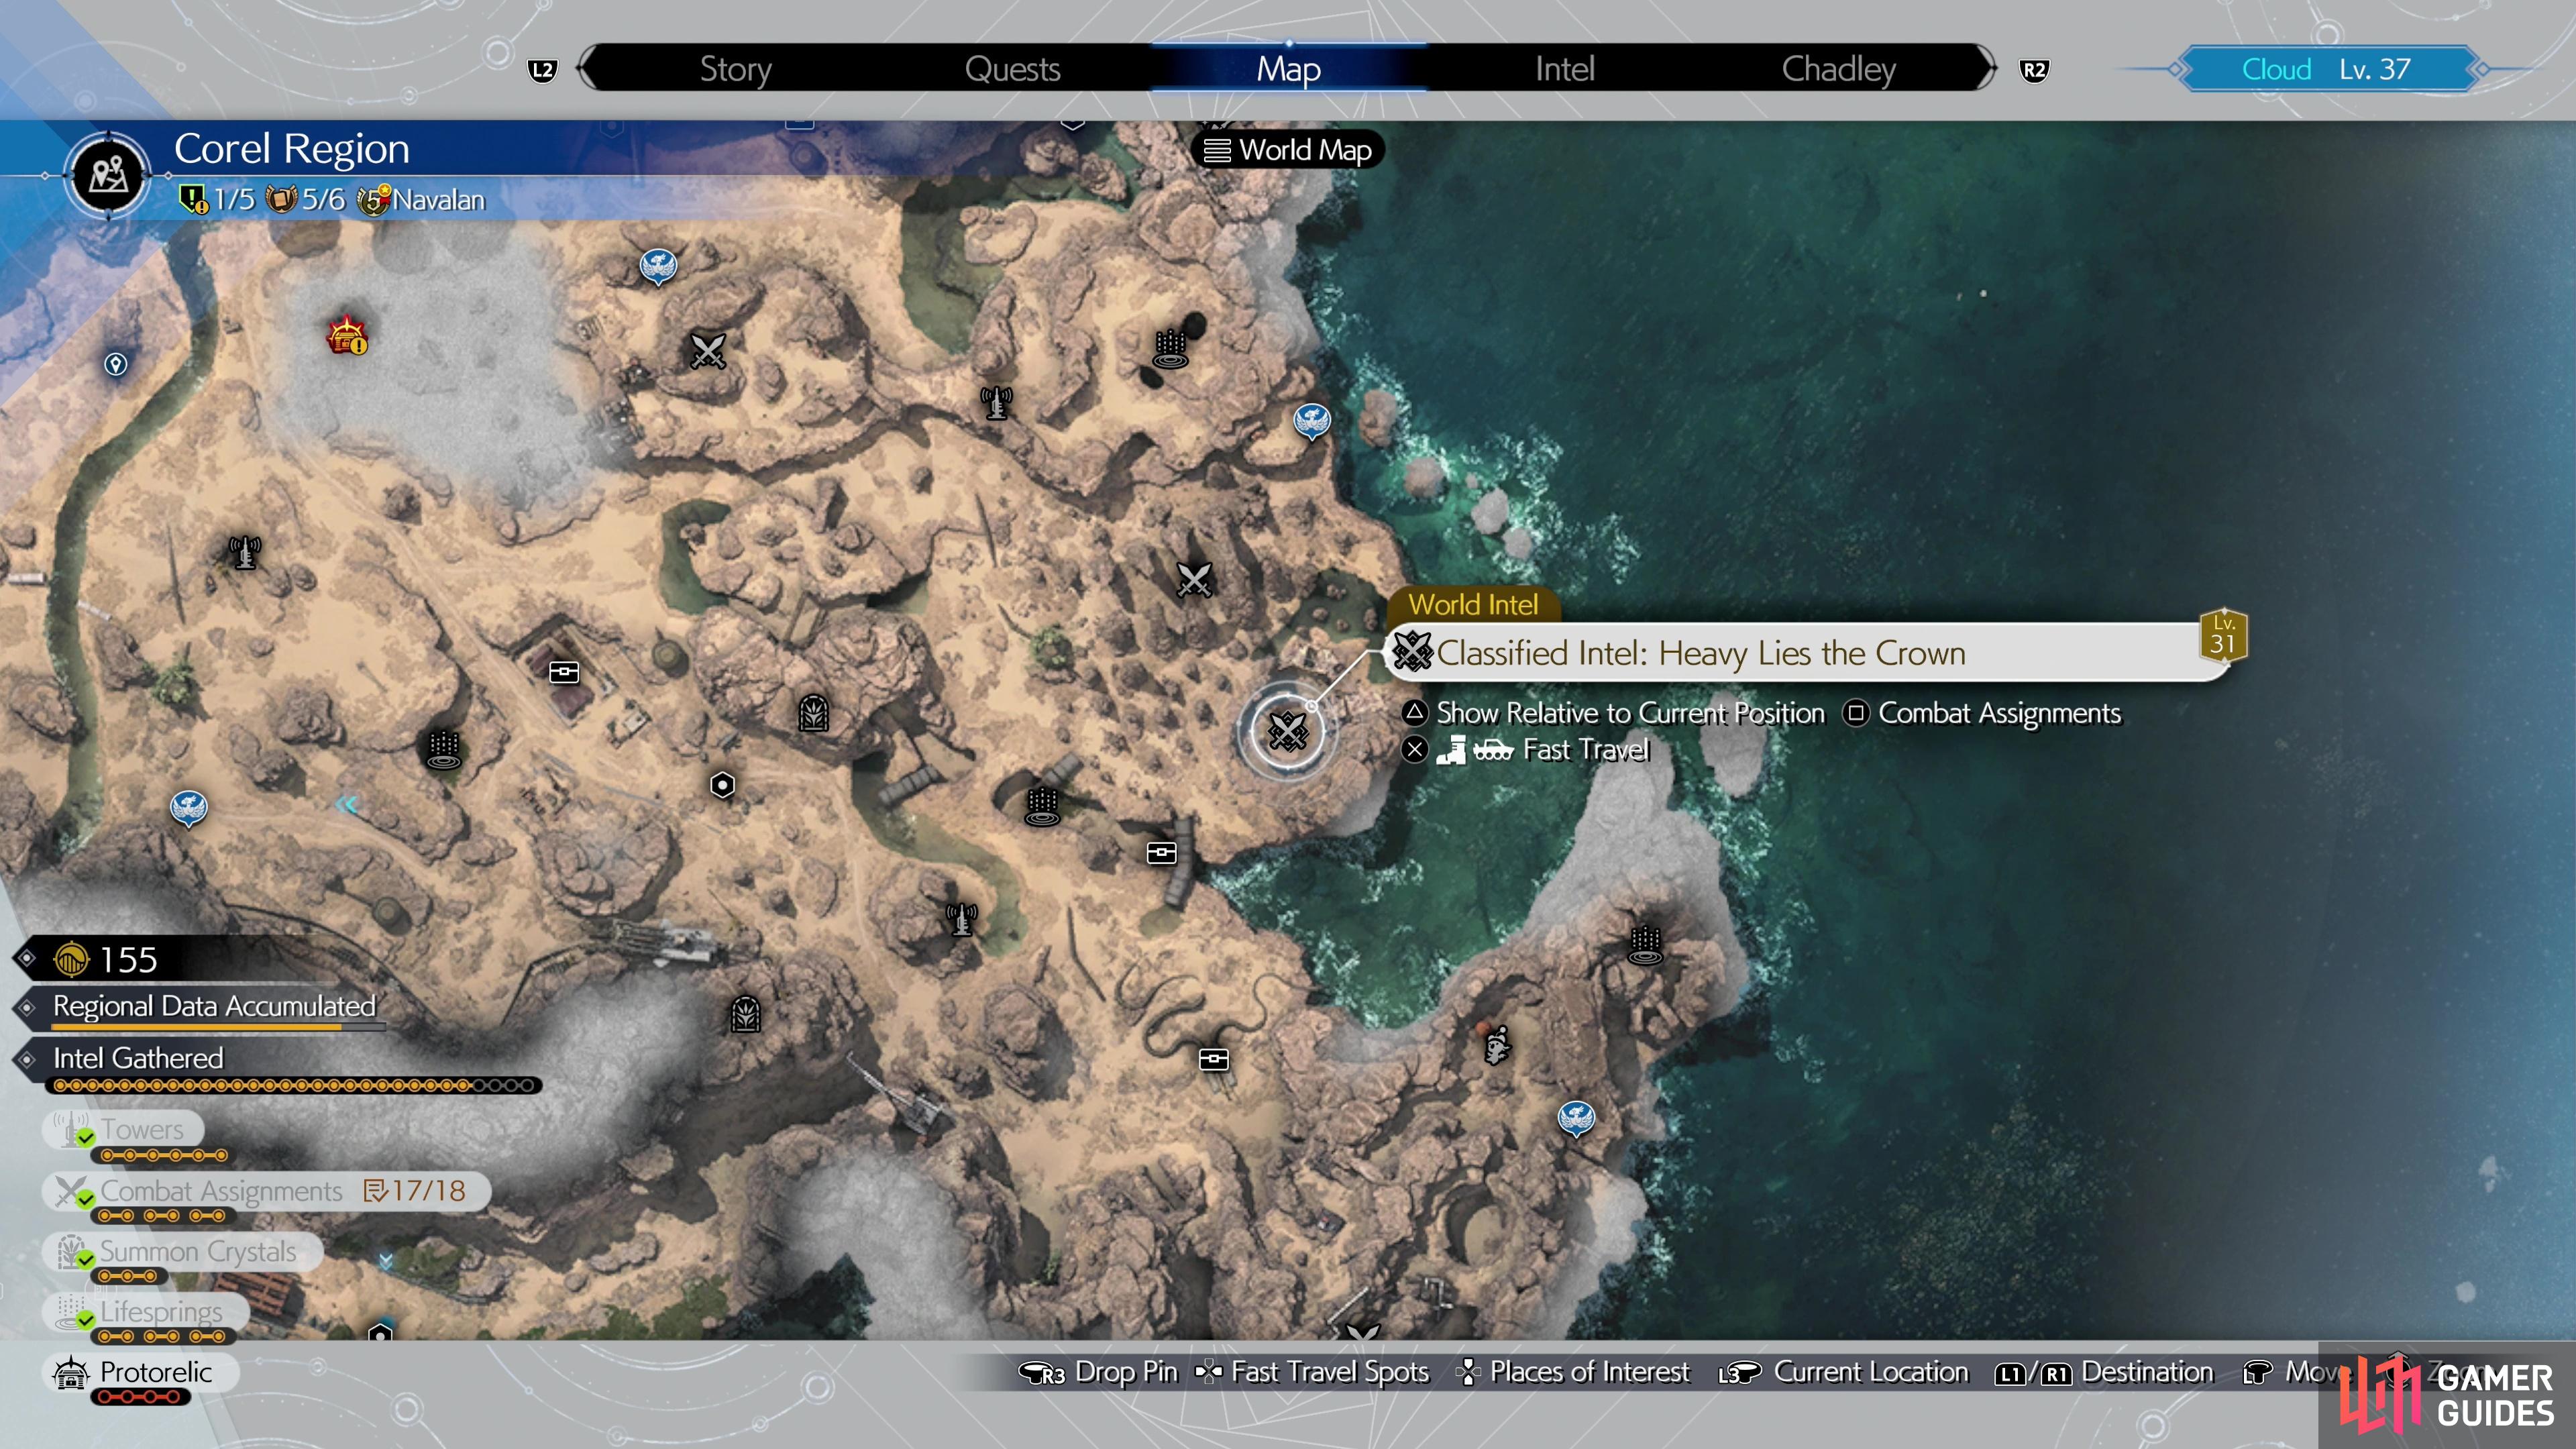
(1 of 4) The location of the Tonberry King on the map.
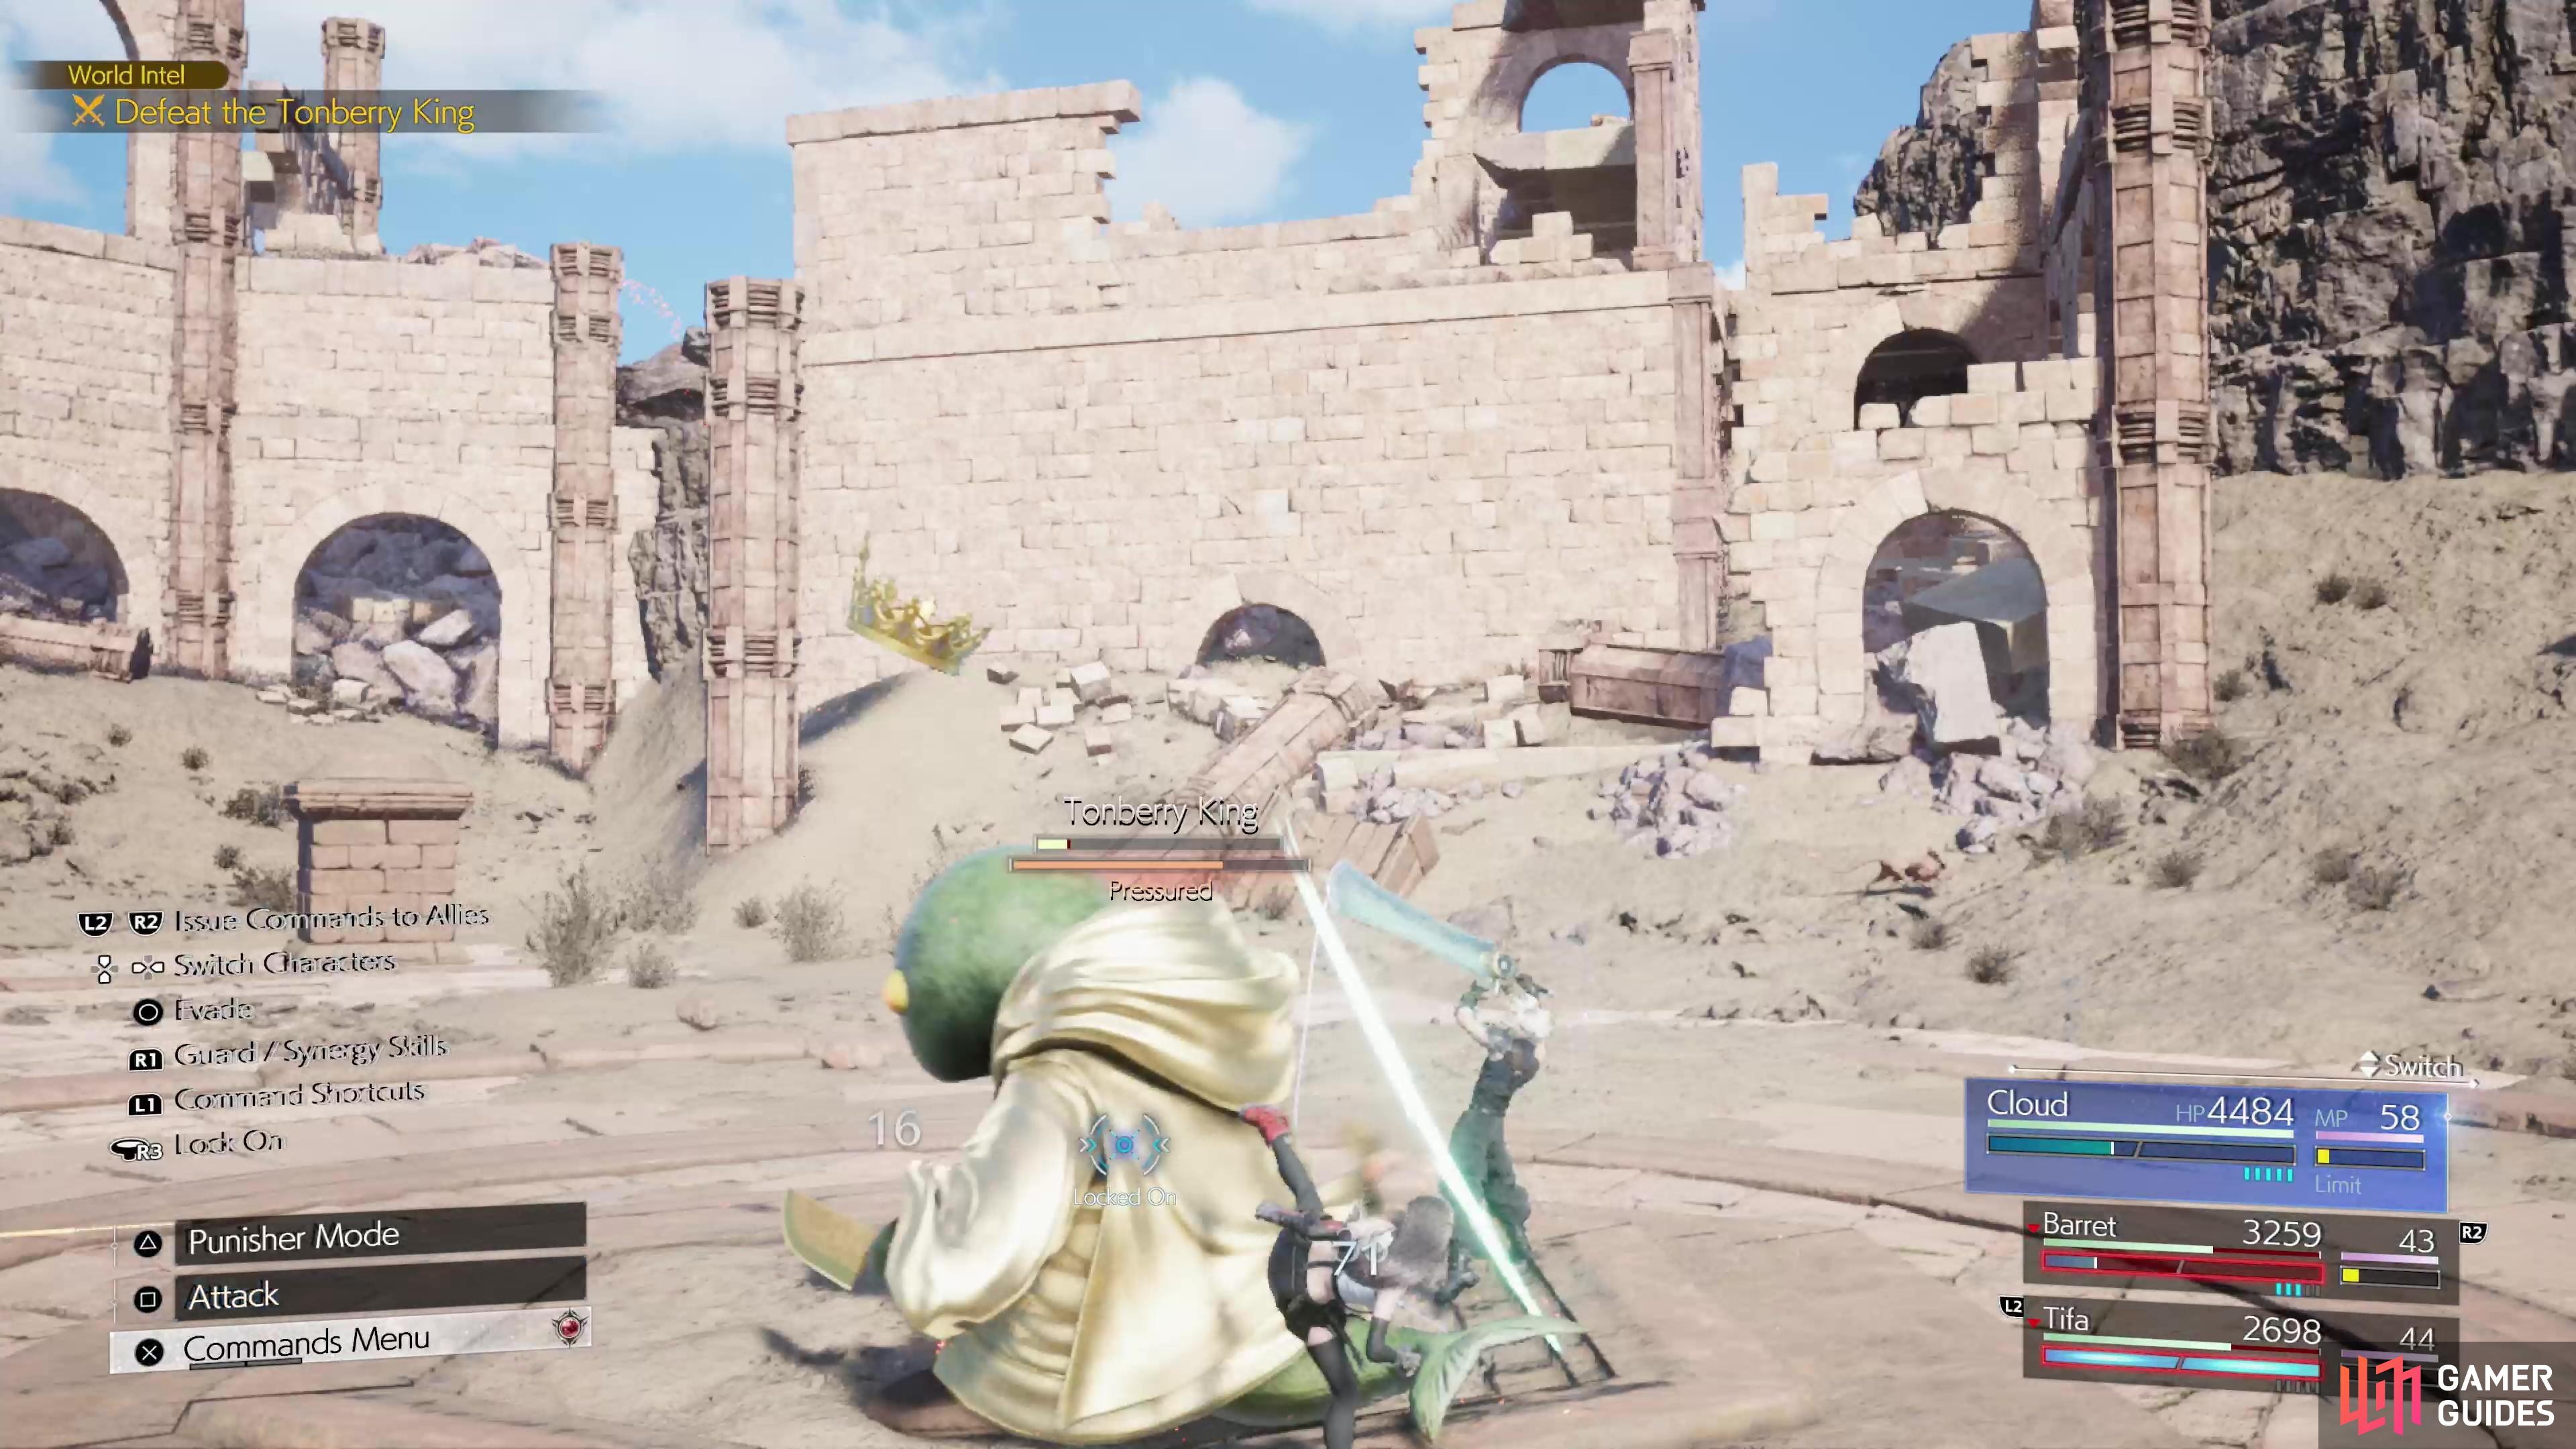
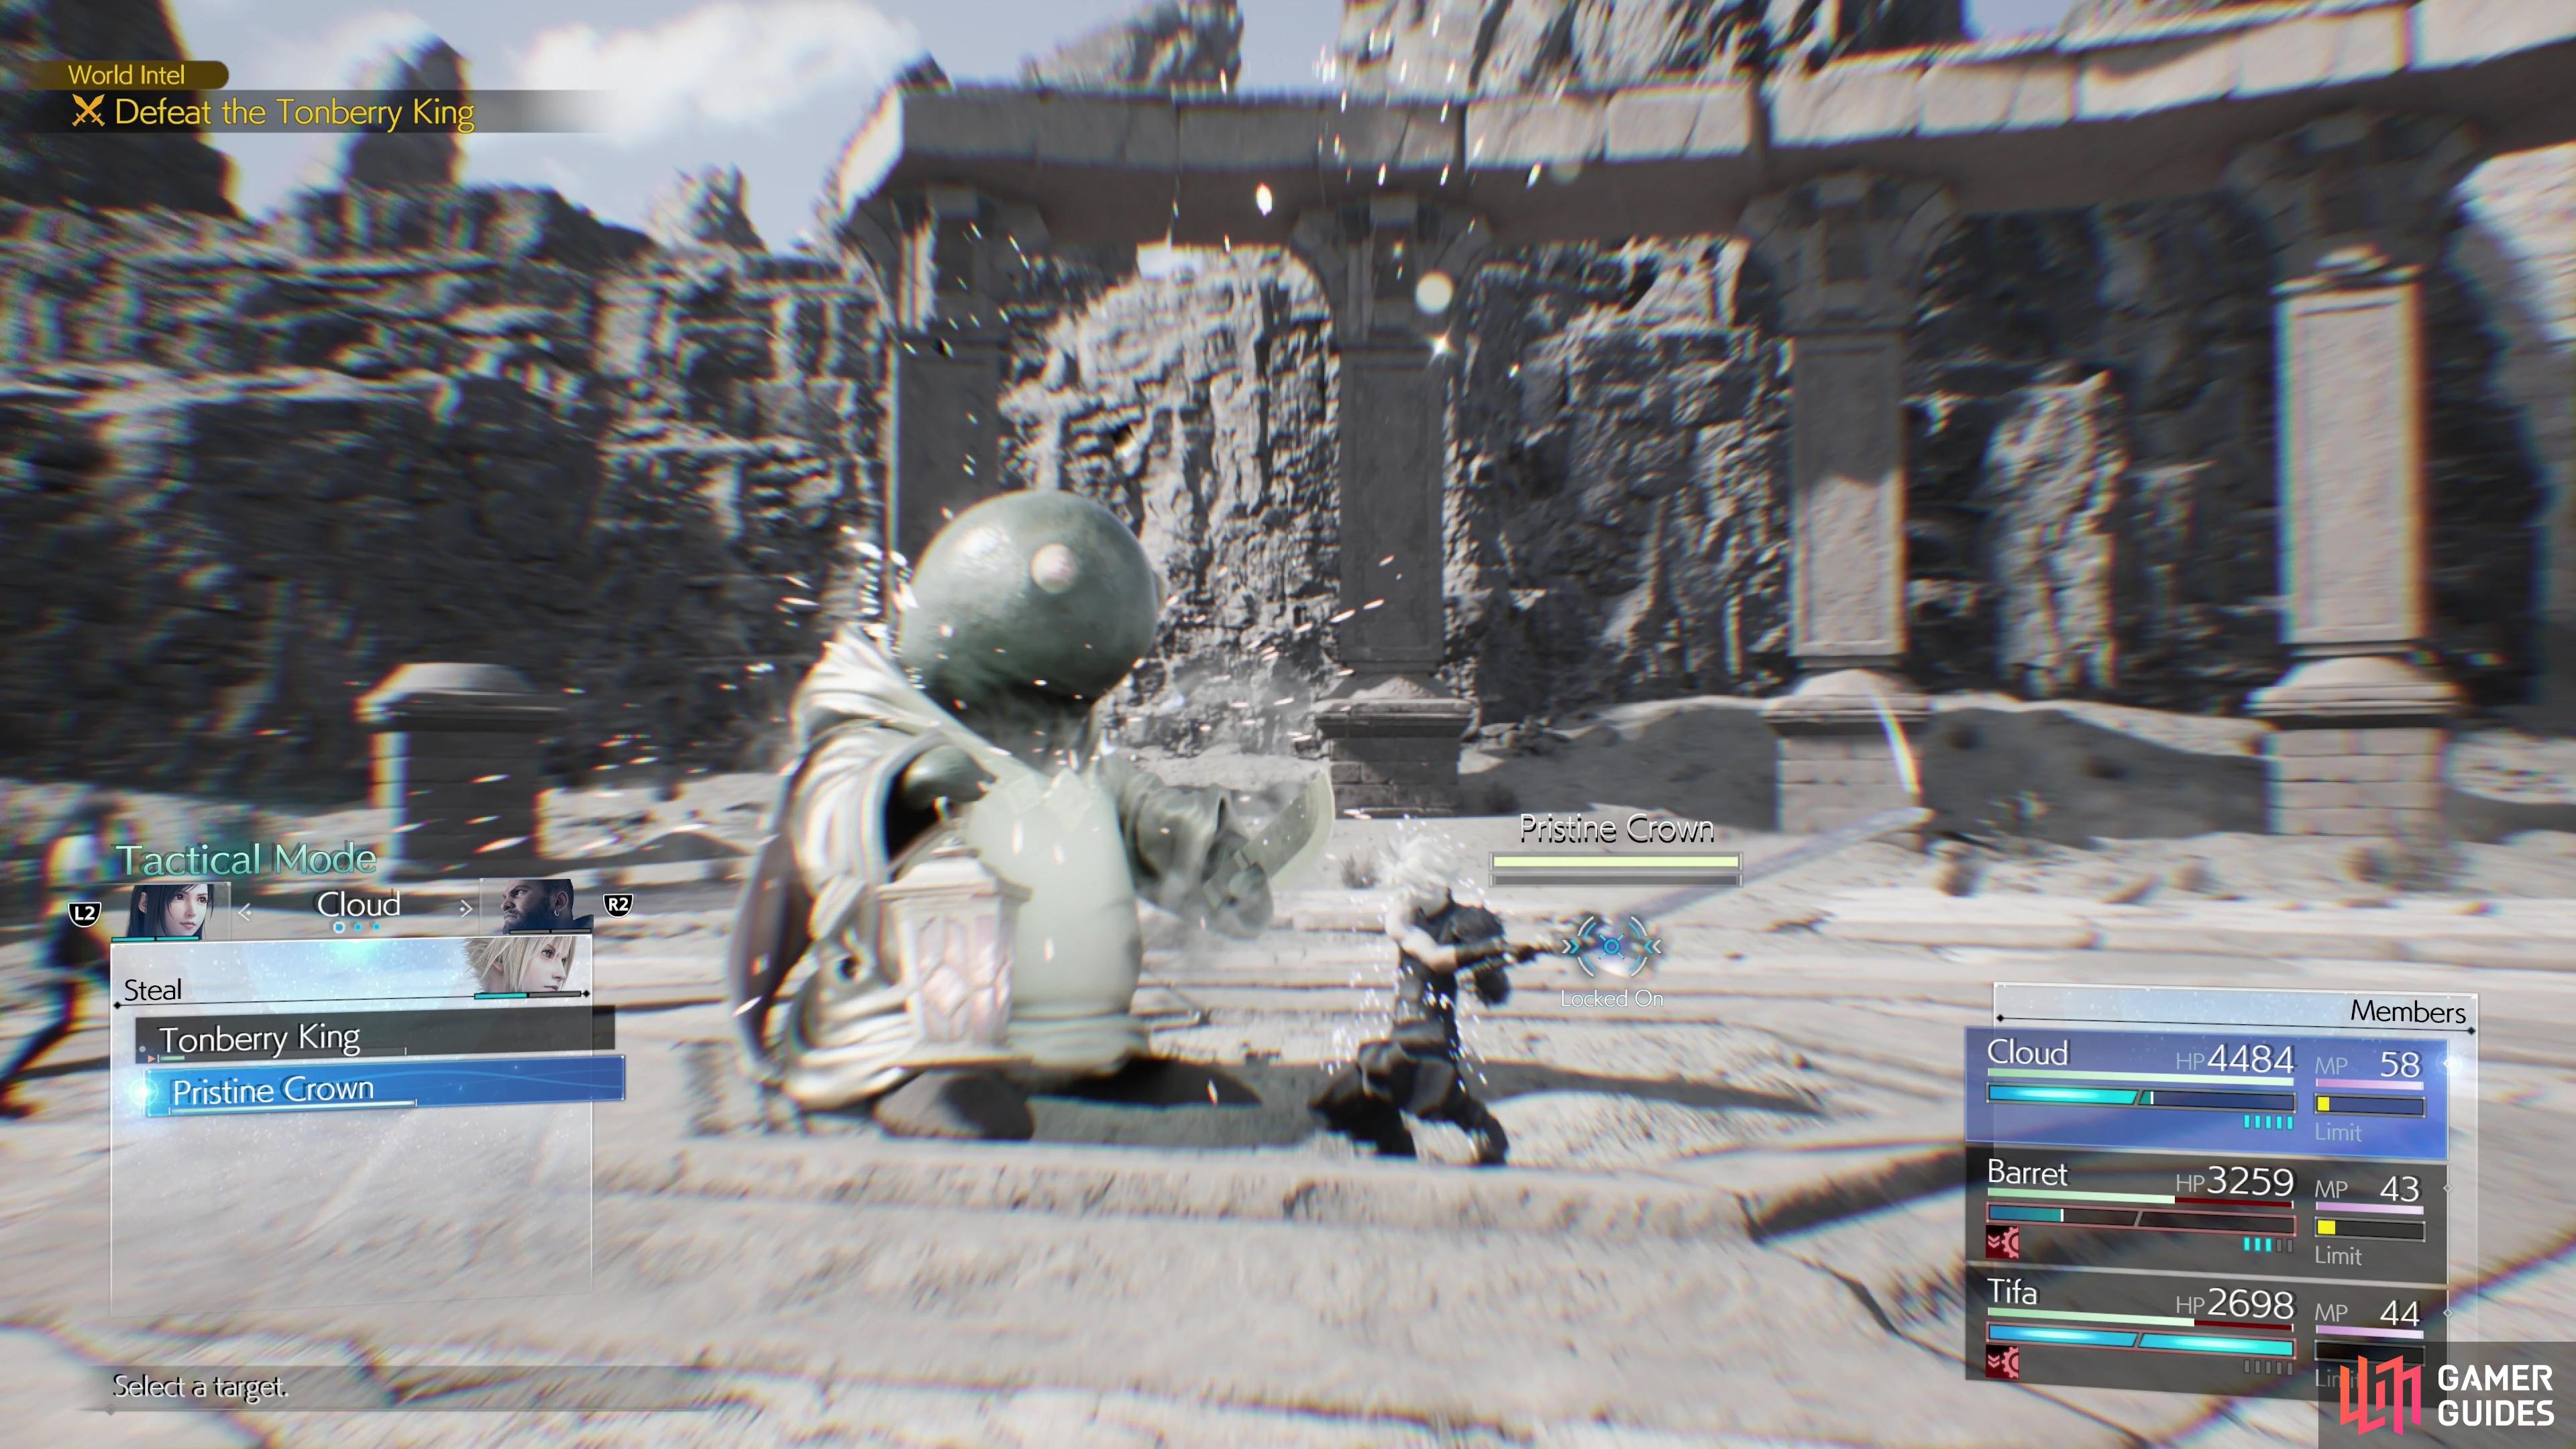
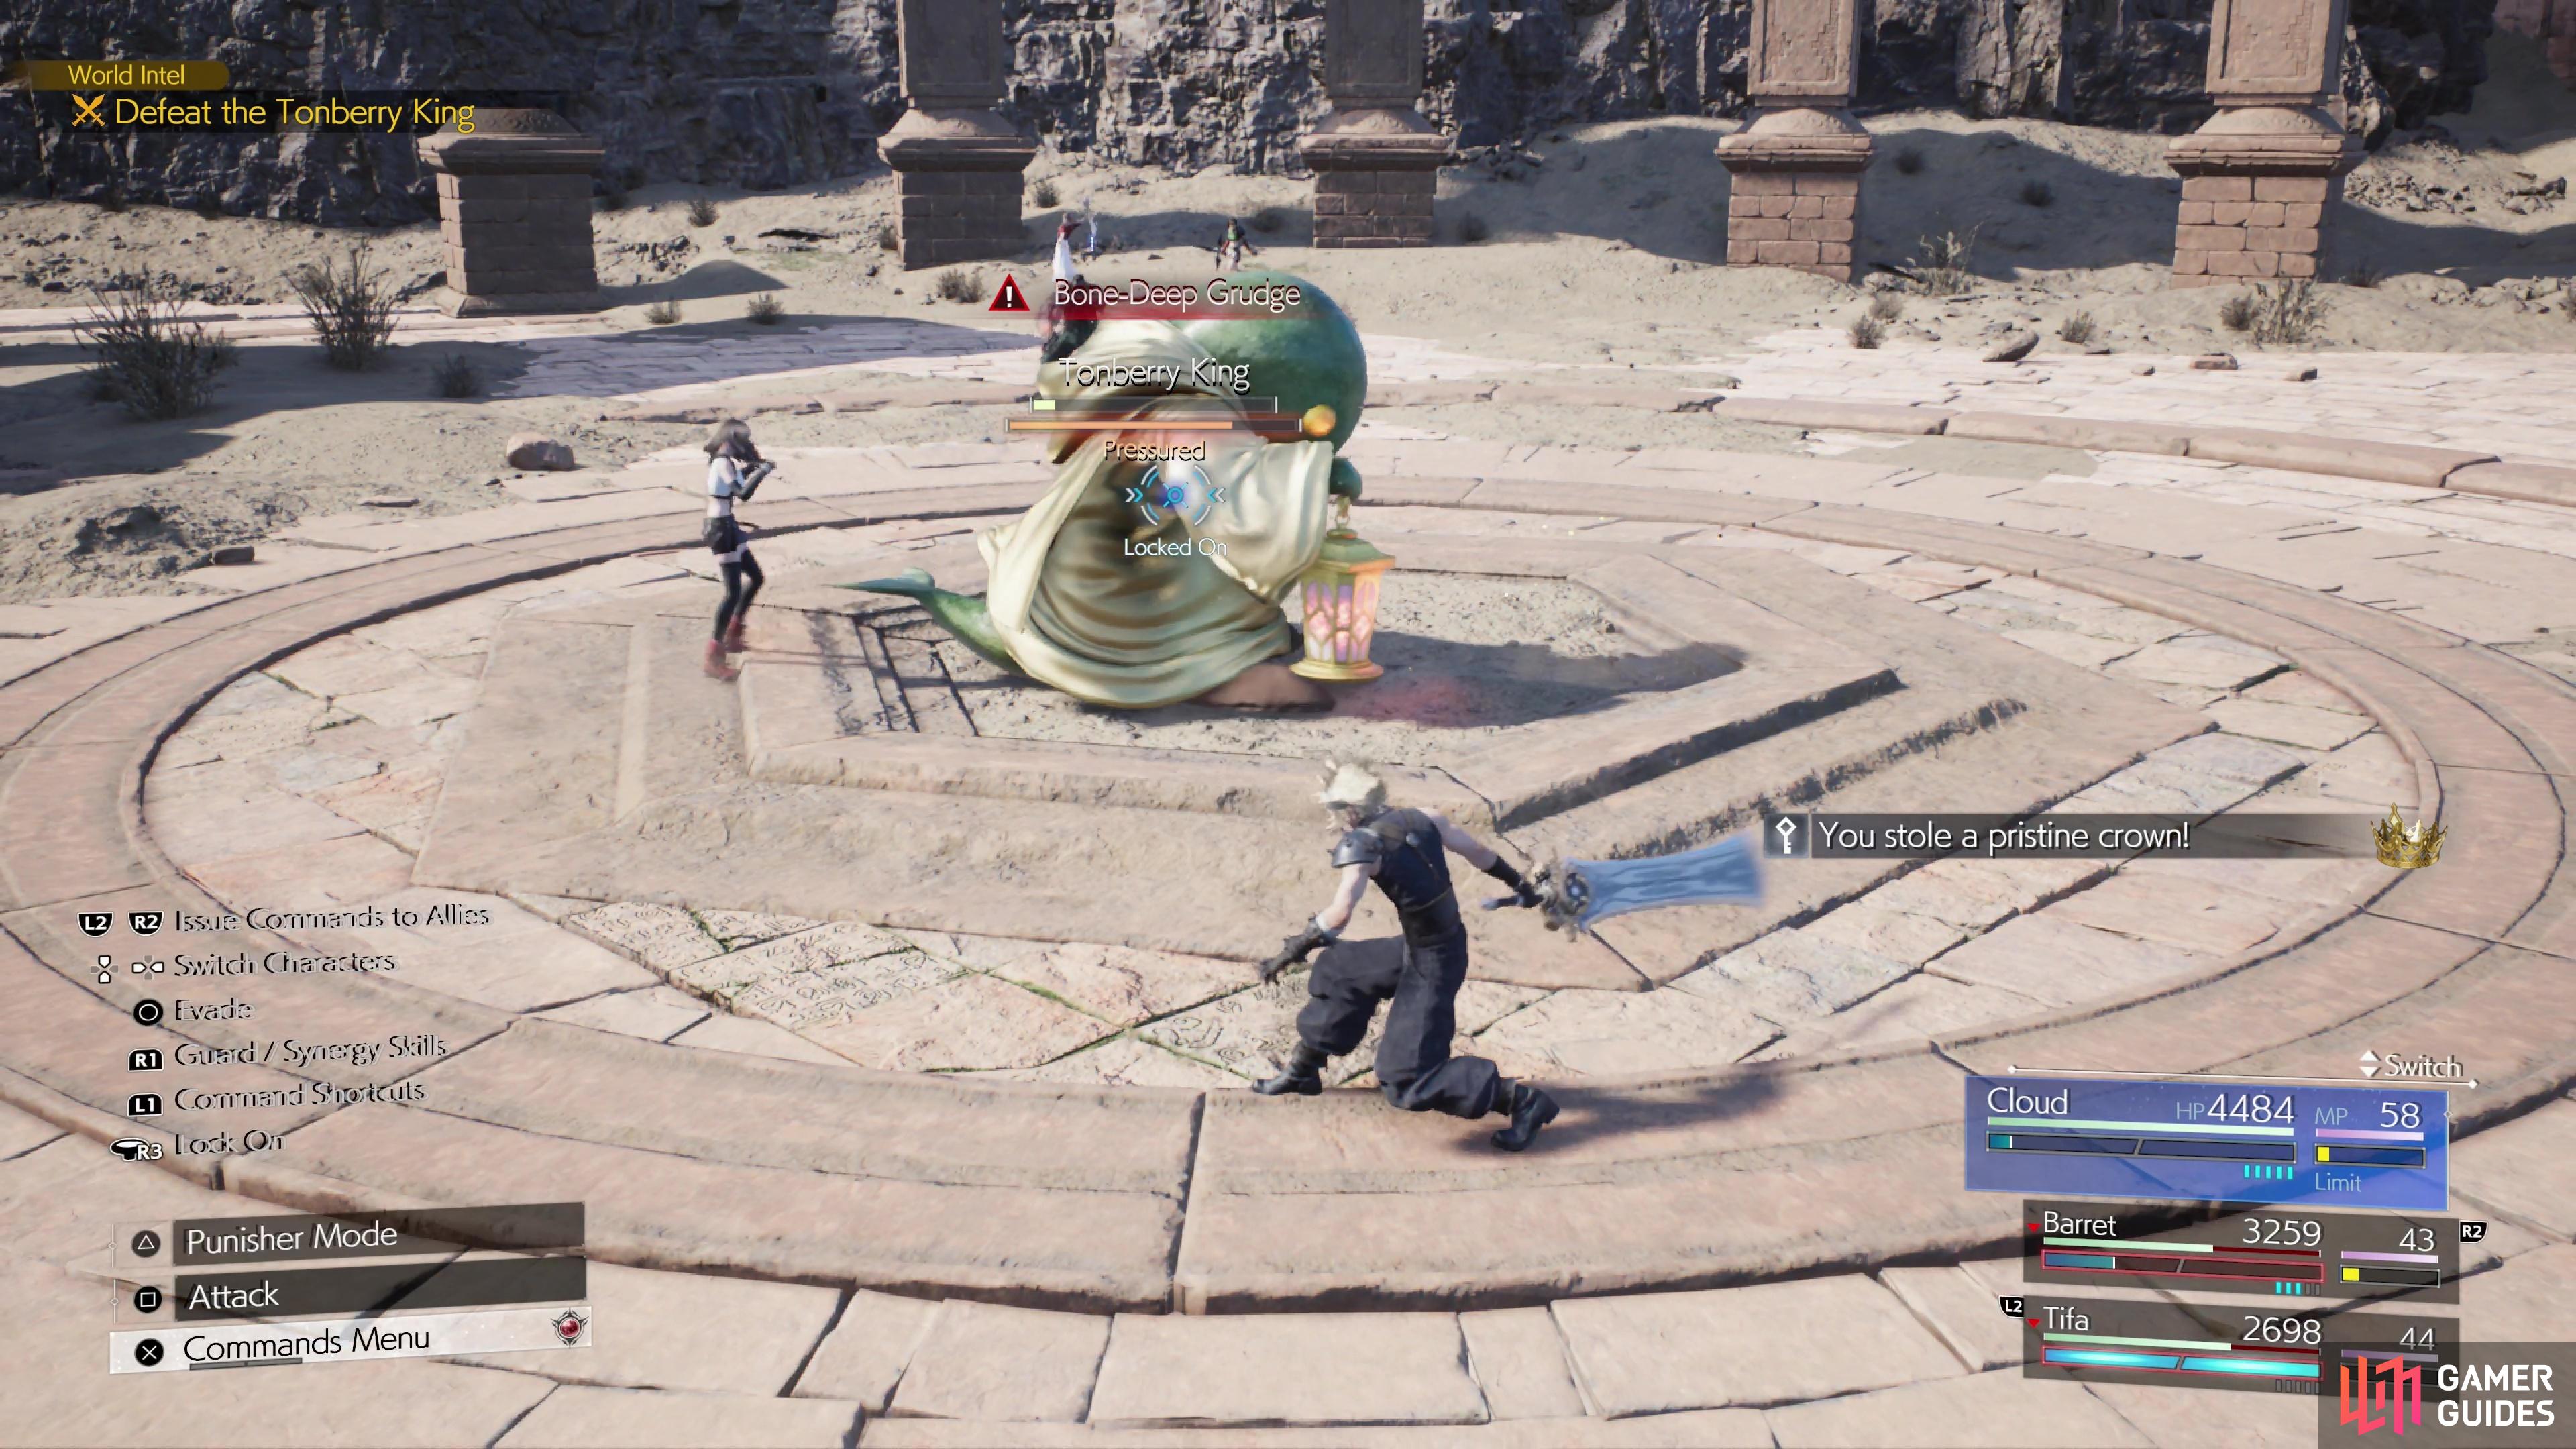
Once you have gotten that far and done the other four Lifesprings, the Tonberry King will be available to fight. Now, there are two different crowns you can get, depending on if you use Steal or not. During the battle, once you have done enough damage to the fiend or dodged its attacks, the crown will fall off of its head from being pressured. While it’s on the ground, you will need to use Steal on it, but you’ll have to be quick, as the Tonberry King will get it back once it gets close to the crown. Doing this successfully will net you the Pristine Crown, but if you defeat it without getting the crown, then you will receive the ![]() Marred Crown.
Marred Crown.
It doesn’t seem like the rewards are any different if you bring back the lesser crown, though. Upon retrieving it, bring it back to the lone Johnny who asked you to get it, then you can go back to the original Johnny at his hotel. At this point, the quest will be finished.
The Saga of the Seaside Inn Rewards
The following are the rewards you will receive for completing The Saga of the Seaside Inn quest.
| Rewards |
|---|
| Queen’s Blood Card |

 Sign up
No Comments