
This is a guide for the second part of the final boss fight in Xenoblade Chronicles 3 against Z Infinity, taking place in the Origin Interior.
Z Infinity is the final boss of Xenoblade Chronicles 3.
How to Beat Z Infinity
| Name | Level | Type |
|---|---|---|
| Z Infinity | 75 |  |
You’ve defeated Z’s human form, but he’s not done there. Z has transformed into the pure essence of a Moebius, and you’ll need to find a way to take him down if you’re to bring change to Aionios. Z Infinity sees a three level increase to 75, so hopefully you’re in or around that to start with. Unlike the previous battle, this is much more serious and there’s a lot more going on, across four distinct phases of the battle.
Phase 1
You’re up against Z Infinity for the first phase, and you can learn more about his Arts for this phase below:
- Archon Purge: Z Infinity shoots a plasma wave in a line AoE in front of him, dealing moderate damage to all targets it strikes.
- Moebius Breath: Z Infinity shoots a single target, dealing moderate damage and inflicting Ether Defense Down and Toxin.
- Moonless: Z Infinity releases a wave of energy, dealing moderate damage to all targets with a chance to inflict Topple.
- Hand of Origin: Z Infinity will move to a new location and will shoot two sweeping lasers across the battlefield dealing moderate damage and inflicting Knockback on all targets.
- Gravity Catastrophe: Z Infinity releases a wave of energy, inflicting Accuracy Down and Slow Recharge on all targets.
- Grandmaster: Z Infinity charges up, granting him the Attack Up and Fast Recharge buffs.
- Blaze Field: When you bring Z Infinity’s HP down to 15%, he will coat the field in darkness, causing all targets to take continuous damage until you finish this phase.
There may be no Enrage to worry about for the first phase, but you’ll still need to deplete all of Z Infinity’s HP to end this phase and he has plenty of Arts that can cause problems. Z Infinity himself is a massive head at the edge of the arena, however you can still strike him from around the center of the arena. More importantly though, you’ll want to pay attention to the arrow above your Arts to determine where the side is for positional Arts.
Archon Purge and Moebius Breath are the most common Arts you’ll see in this phase. Archon Purge is a line AoE that will deal moderate damage to anyone it strikes and due to how the AI approaches this battle, odds are it will hit most of your party. Moebius Breath, on the other hand, is Z Infinity’s only single target Art and will deal moderate damage along with inflicting Ether Defense Down and Toxin. Hopefully you have that War Medic or Valdi to use Cure Bullet and remove the debuffs.
Moonless is another AoE that will cause you problems as not only will it deal moderate damage, but it will also have a chance to Topple the entire party. Gravity Catastrophe is another AoE that will hit the entire party, only this will deal no damage but instead inflict Accuracy Down and Slow Recharge. Slow Recharge will cause your Arts to take longer to charge which is going to cause problems, especially for your Healers.
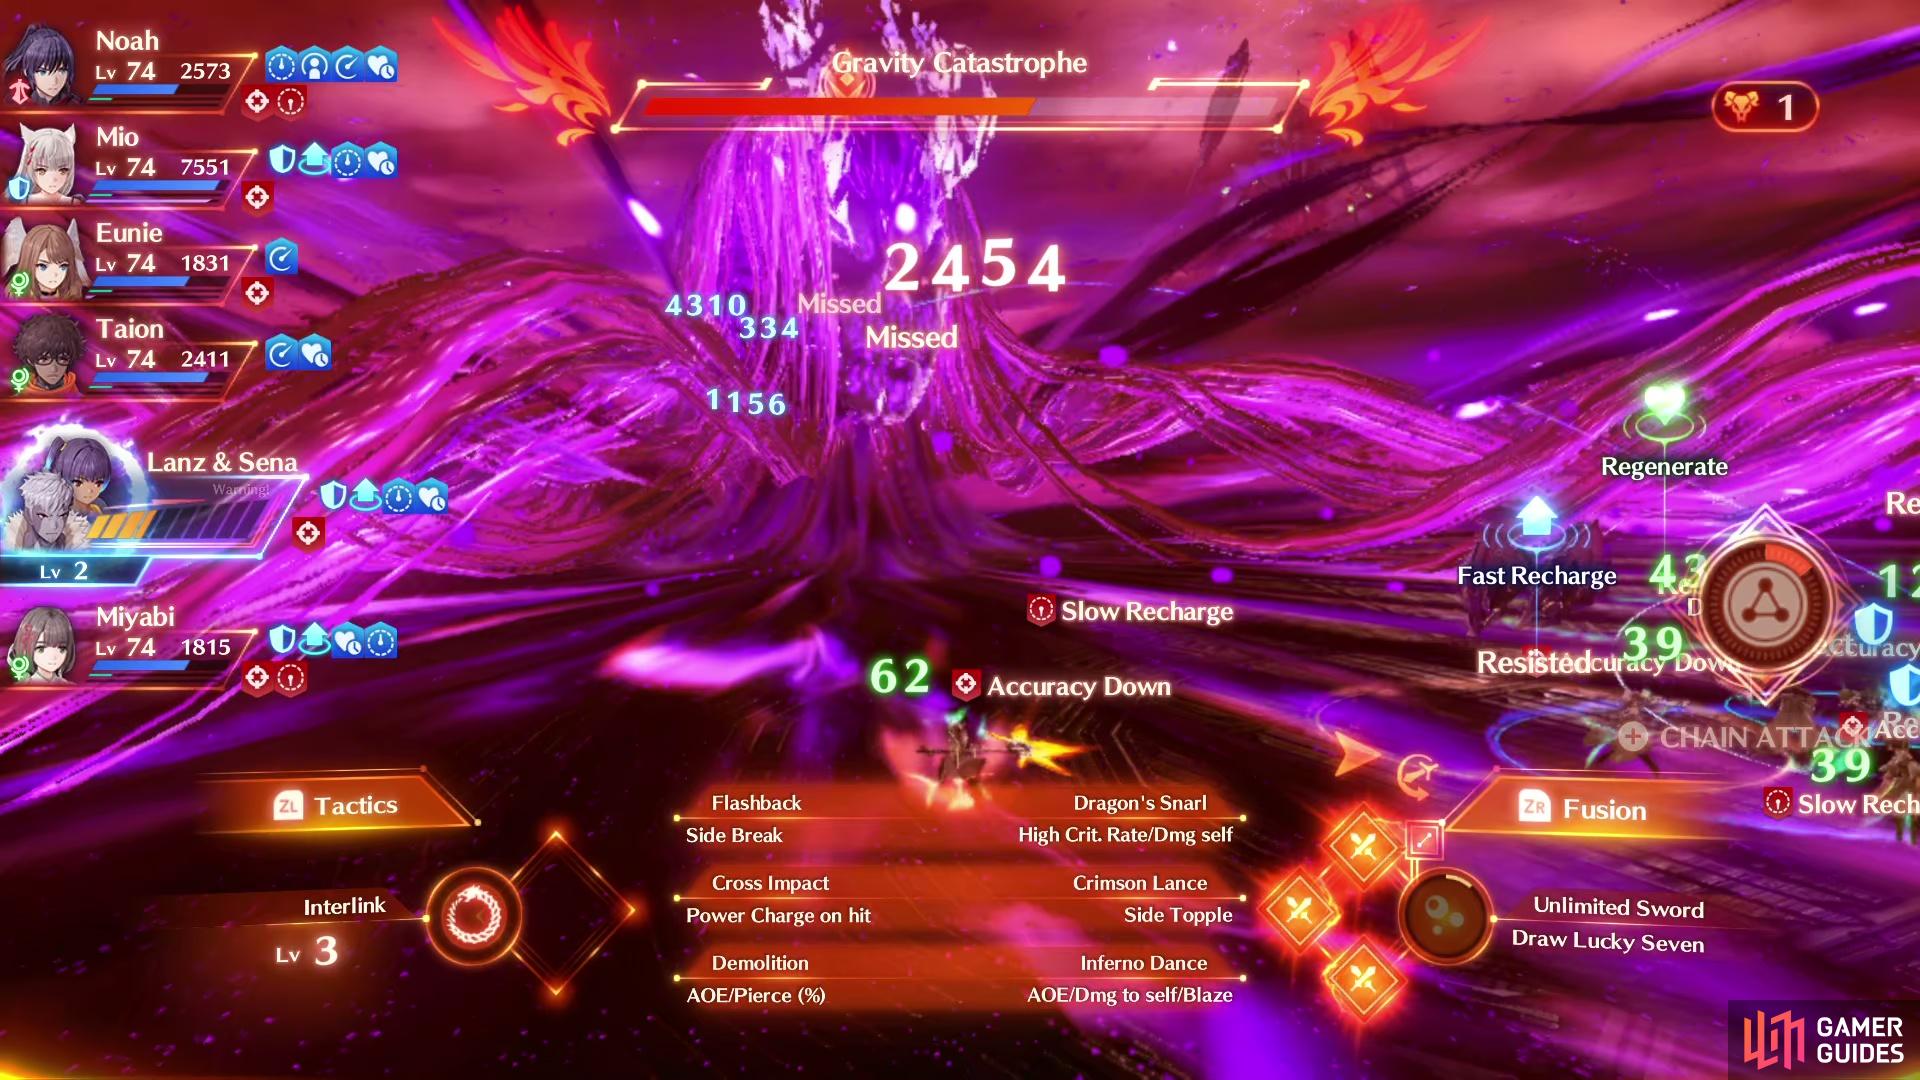
Gravity Catastrophe will slow the rate at which your Arts recharge.
Hand of Origin has an obvious tell, he’ll move to a different location in the arena and then cause two lasers to appear behind him and sweep across the arena, dealing moderate damage and Knockback. Grandmaster is his only non-attack Art which will give him both Attack Up and Fast Recharge, this makes him a much bigger problem as he’ll start using Arts like Archon Purge and Moebius Breath with greater frequency.
Don’t sit on your Interlinks or Chain Attacks for too long, as each phase requires you to completely deplete the HP gauge, likewise Lucky Seven should be used whenever it’s available. Once you bring him down to around 15% HP, he’ll use a Blaze Field across the entire arena that will persist until the end of this phase, go all out, using a Chain Attack if you have to, to force the change to the second phase.
Phase 2
Z Infinity will change his form as he wishes to challenge your bonds, and you’ll be fighting X Infinity for the second phase. You can learn all about the Arts available to her below:
- Void Sickle: X Infinity slashes multiple times around a single target, dealing moderate AoE damage around them if all hits connect and causing Blowdown.
- Meaningless Pain: X Infinity releases a wave of energy that deals massive damage to all targets and inflicts Topple. This triggers a scene at the same time.
- Threefold Malice: X Infinity shoots out three shockwaves that deal moderate damage and Knockback on any targets it hits.
- Sad Balloon: X Infinity will summon balloons that float above the party and explode, dealing moderate damage and inflicting Bleed and Toxin.
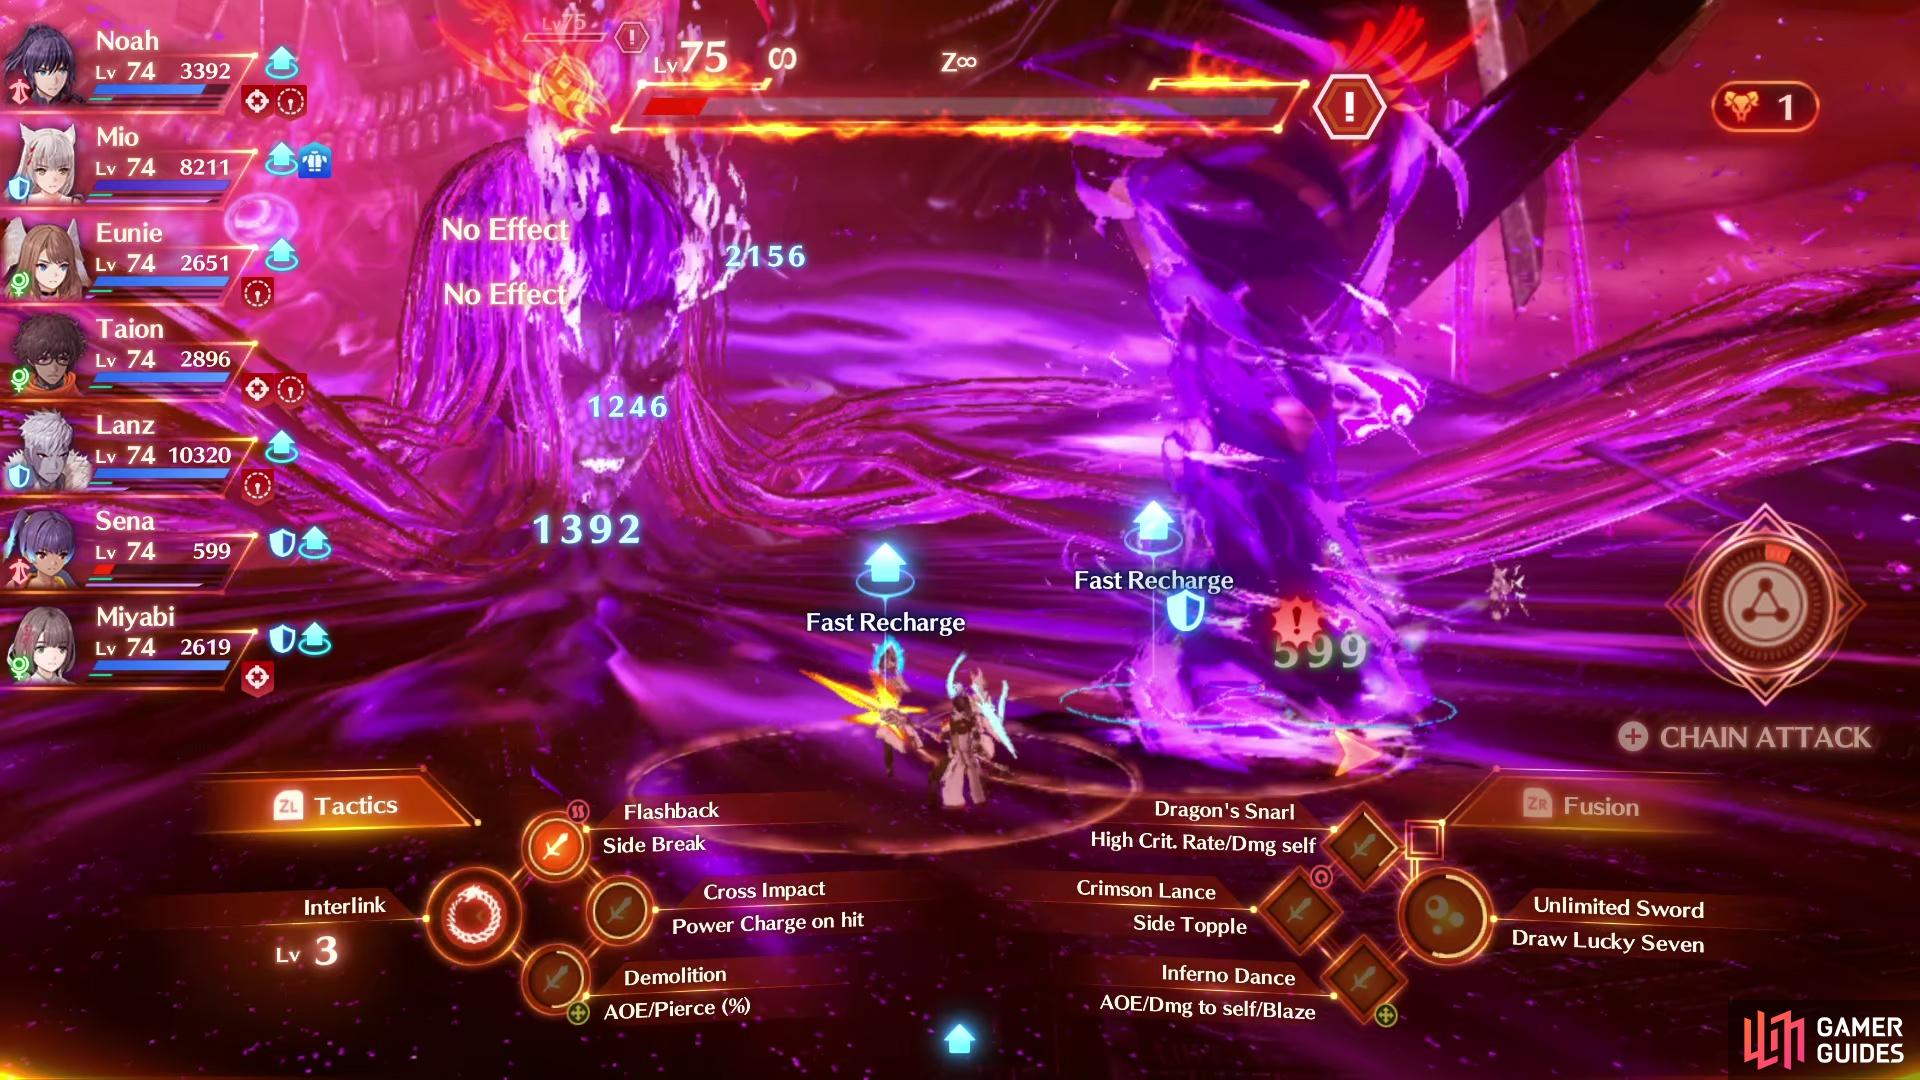
The start of this second phase is challenging, hopefully you heeded our warnings back before you started the final battles and have made sure that your Attacker/Healer/Defender is even for each of the Keves and Agnus parties. You’ll be fighting this phase with just Noah, Eunie, and Lanz so if you don’t have a Tank or Healer, you could find yourself in big trouble.
This also means you have no access to your Interlinks, which is another way to avoid damage normally. Thankfully, X Infinity does not have as much HP as the first phase, and you’ll want to try and rush her down to around 50-60% HP to trigger a scene. Following this scene, multiple Heroes will join the battle, making life a lot easier (Valdi joins here which is welcome).
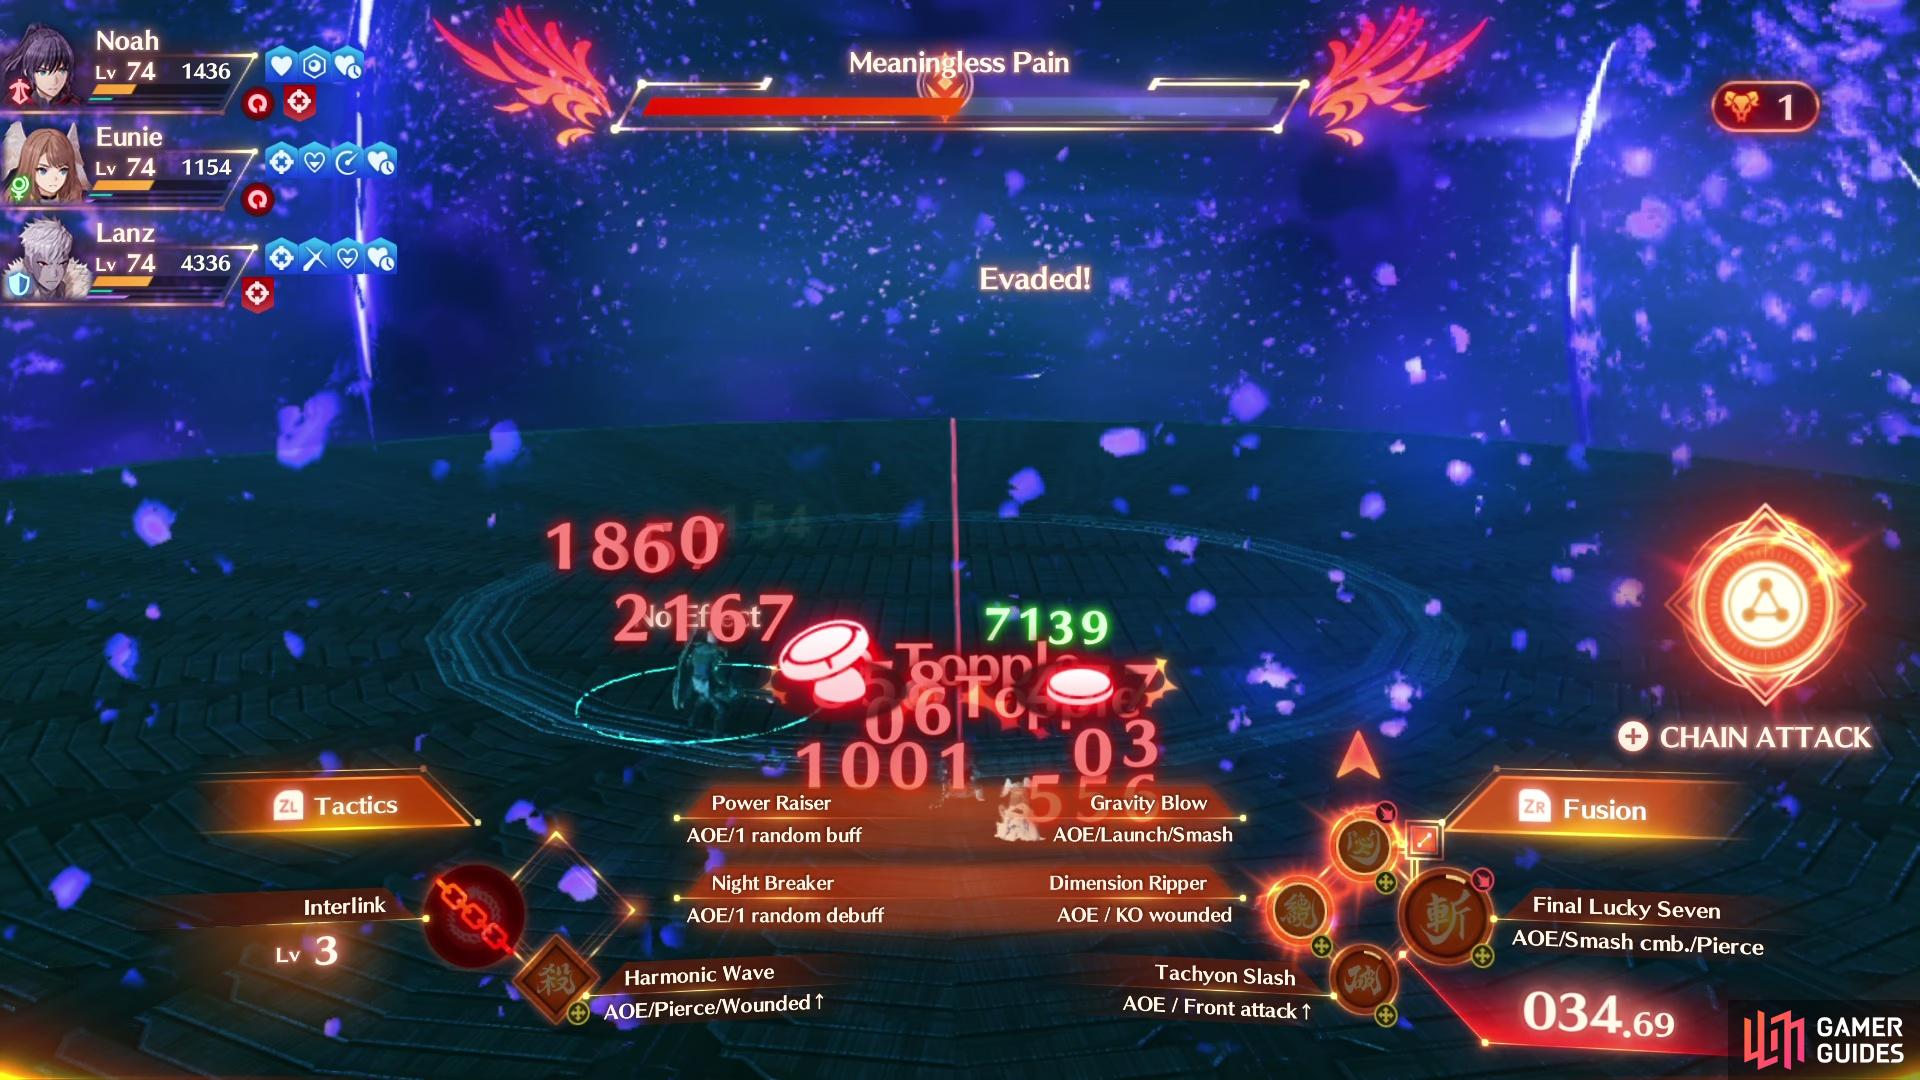
Meaningless Pain will deal massive damage but triggers a scene at the same time
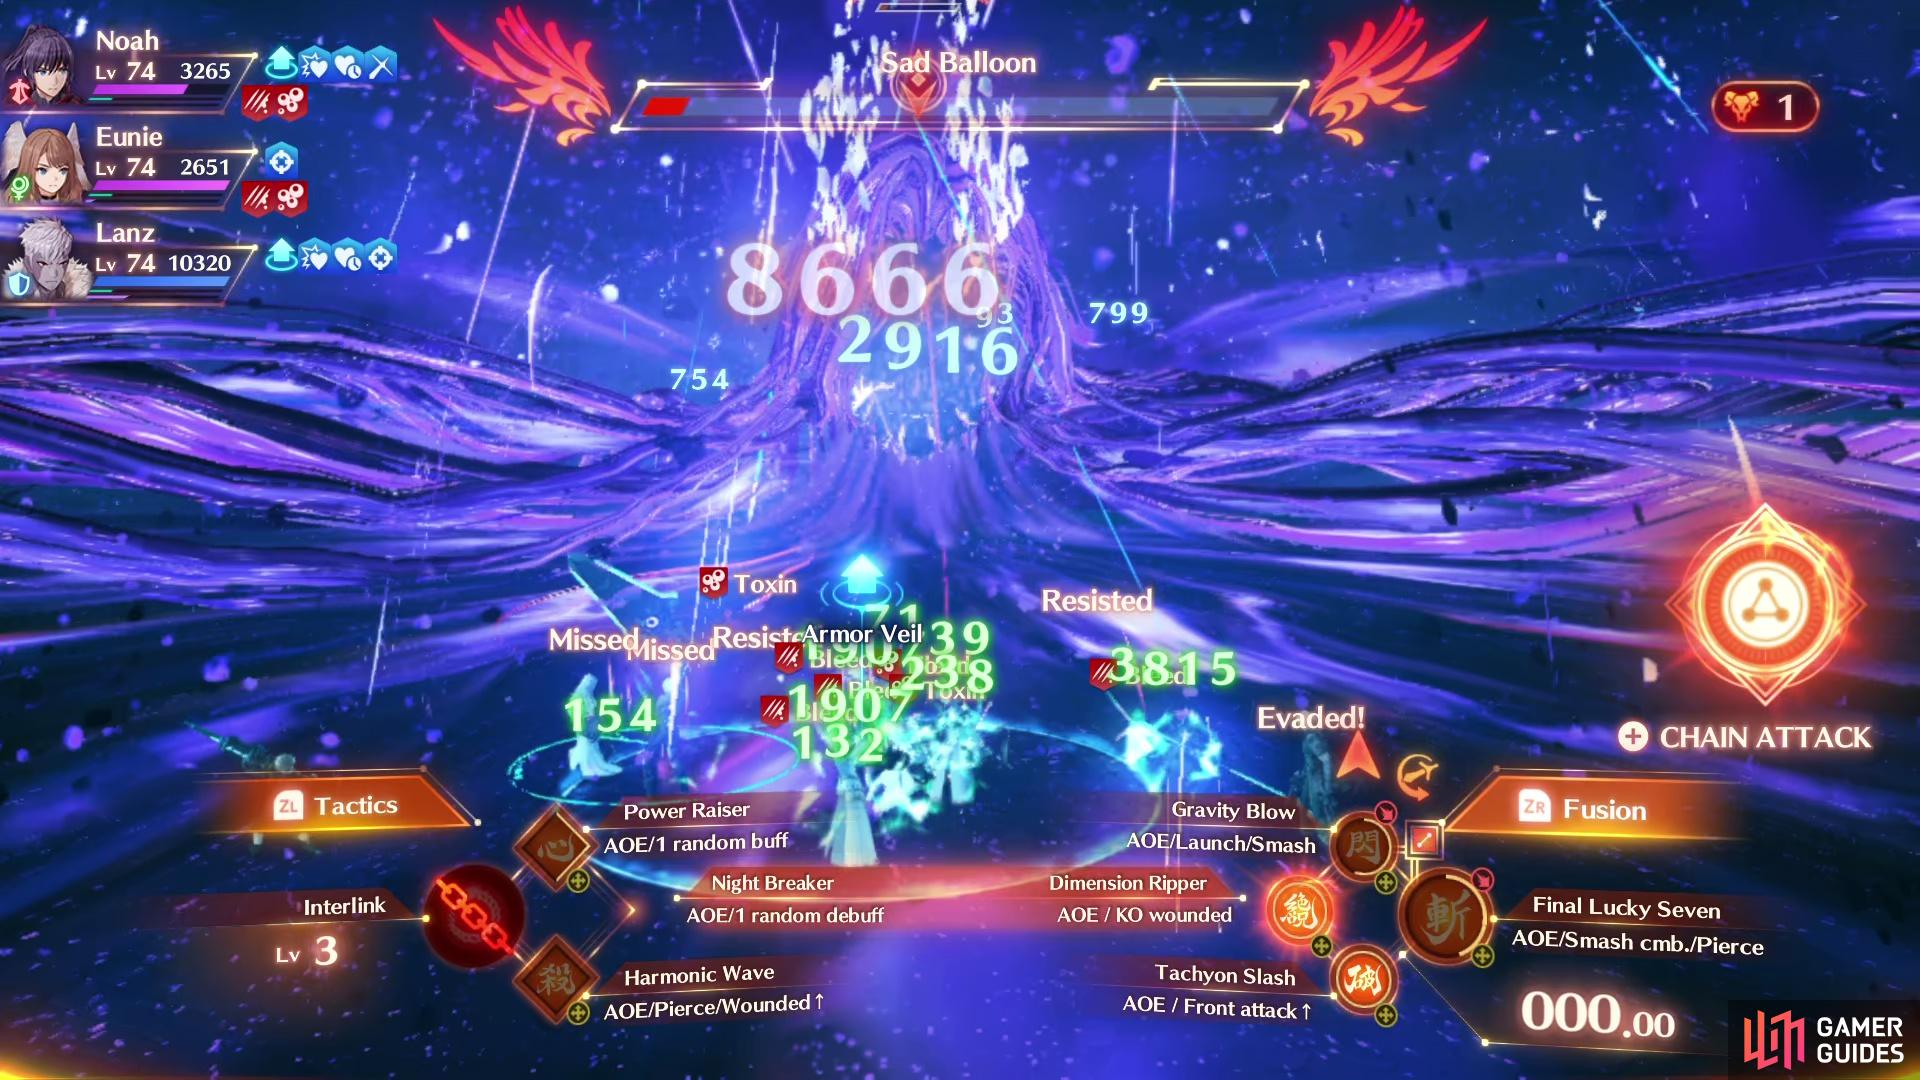
Sad Balloon will inflict both Toxin and Bleed.
As for X Infinity’s Arts, the main one to watch out for is Sad Balloon, this will not only deal damage but also inflict two nasty debuffs in Toxin and Bleed. If you’re fortunate, she won’t use it until Valdi enters the battle, at which point hopefully he uses Cure Bullet on you to remove it. Once you successfully navigate the first half of this battle, the rest shouldn’t be too bad and sooner or later, you’ll trigger more scenes.
Phase 3
Z Infinity shifts forms again, this time to Y Infinity and as you guessed, you’ll be in control of the other half of the party as Mio, Taion, Sena, and the chosen Hero you took into the party (Miyabi if you took our advice). You can learn all about the Arts available to Y Infinity below:
- Hammer Shake: Y Infinity will conjure a rock below a single target that deals moderate damage.
- Sandblast: Y Infinity conjures a massive rock below the party, dealing moderate damage in an AoE and a chance to inflict Accuracy Down and Toxin.
- Fervid Typhoon: Y Infinity causes wind to swirl around the arena, dealing moderate damage and Knockback.
- Glaring Violation: Y Infinity morphs into a giant orb that slams to the ground with a chance to inflict Daze on all targets.
Interestingly, this is a much easier phase than the previous one, purely down to the fact that you’ll have all the other Heroes with you from the start of the battle. On top of that, Y Infinity’s Arts are not as potent as the ones you had to deal with from X Infinity, especially with Fiona being in the party for this final battle (if you recruited her) who will buff the party constantly.
Both Hammer Shake and Sandblast are similar Arts, with Sandblast being AoE. It will inflict Accuracy Down and Toxin, but you should be able to deal with these with the buffs that Fiona provides. Fervid Typhoon is a minor nuisance, and you’ll find that more often than not, it won’t deal any damage but will cause Knockback.
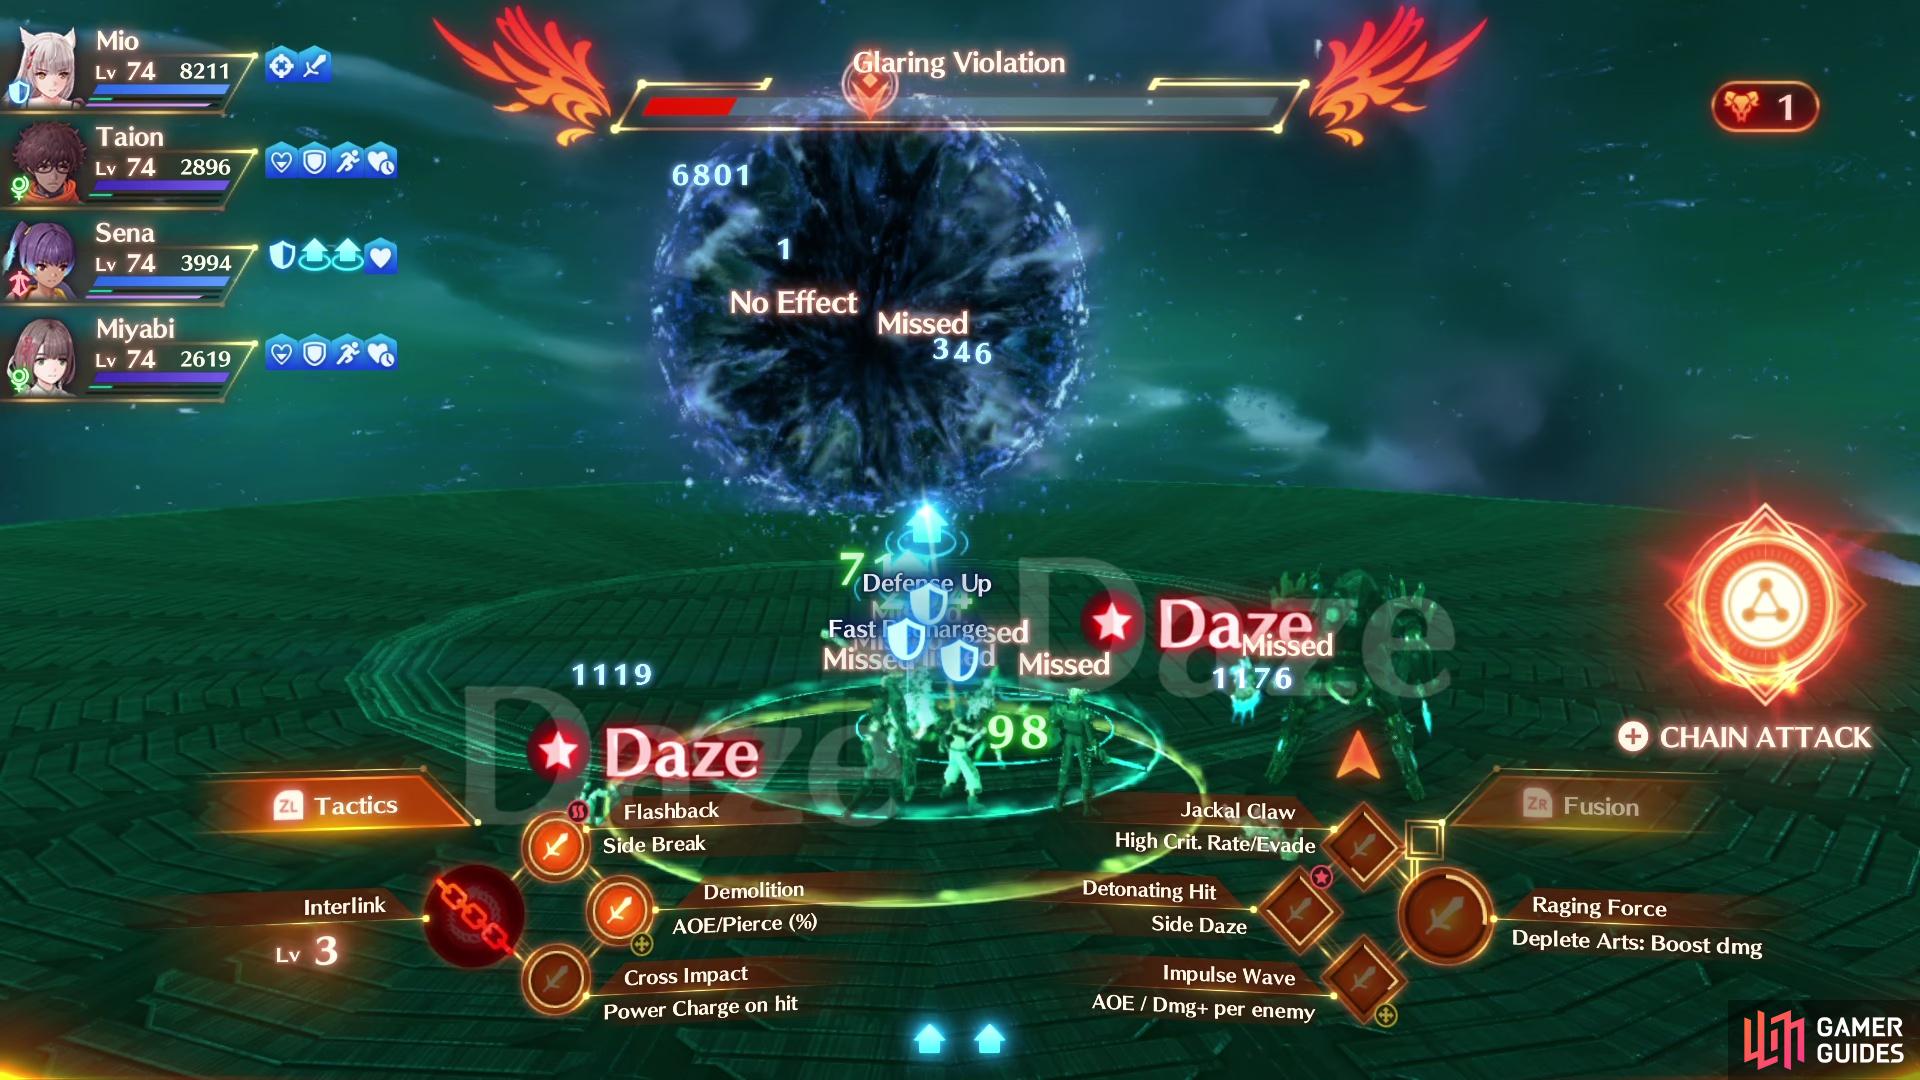
Glaring Violation has the possibility of inflicting Daze on the entire party.
Glaring Violation won’t deal any damage but it does have a high chance of inflicting Daze on multiple characters. If you find your Healer hit with this, consider switching over to them and manually releasing them from it as Daze can last a while.
If you’ve got this far through the battle, Y Infinity should pose little threat, especially with the additional help from the Heroes. Like X Infinity, he has nowhere near the same HP as Z Infinity, and you should also have Chain Attacks ready to go which can easily deal at least half of Y Infinity’s HP. Once you deplete Y Infinity’s HP, another scene will trigger, and the final phase will begin.
Phase 4
Z Infinity shifts forms back to his first form for the final phase of this battle. As a result, he’ll have access to all of his Arts from the first phase although there will be some new ones for you to contend with, which you can learn all about below:
- Astraea: Z Infinity spawns a massive tornado at the center of the arena, dealing continuous damage to anyone caught in it.
- Moebius Diffusion: Z Infinity releases a wave of energy, dealing moderate damage and inflicting Knockback.
- Origin Punishment: Once you take Z Infinity down to 85% HP, he will move to a new location and use his hair to attack all targets for major damage and inflicting Topple and then Daze.
- Infinite Finale: Once near death, Z Infinity will summon energy particles to fall from the sky, dealing damage to any target it strikes across the battlefield.
You’ll begin the final phase with any buffs or debuffs you already have on you from previous phases, so if you’re suffering some Bleed or Toxin debuffs, be sure to use Cure Bullet (if possible). For the most part, this final phase plays out similar to the first as Z Infinity has a tendency to use the Arts from the first phase more than his new ones although due to him being Enraged, you’ll have to deal with the increased damage that brings.
Moebius Diffusion is another simple AoE that will hit all targets for moderate damage, but it does have a chance to cause Knockback. More crucially, though, is Astraea, which will see a large tornado appear in the center of the arena. Anyone standing within or close to it will take continuous damage which can be fatal if you’re not careful.
Origin Punishment is only used once you bring Z Infinity down to 85% HP, but it is by far his deadliest Art. It will strike all of the party and inflict not just Topple but also Daze while dealing major damage. It’s imperative you quickly switch to your Healers and free them from Daze so they can get to healing as quickly as possible.
Astraea will leave a potent tornado in the center of the arena dealing continuous damage
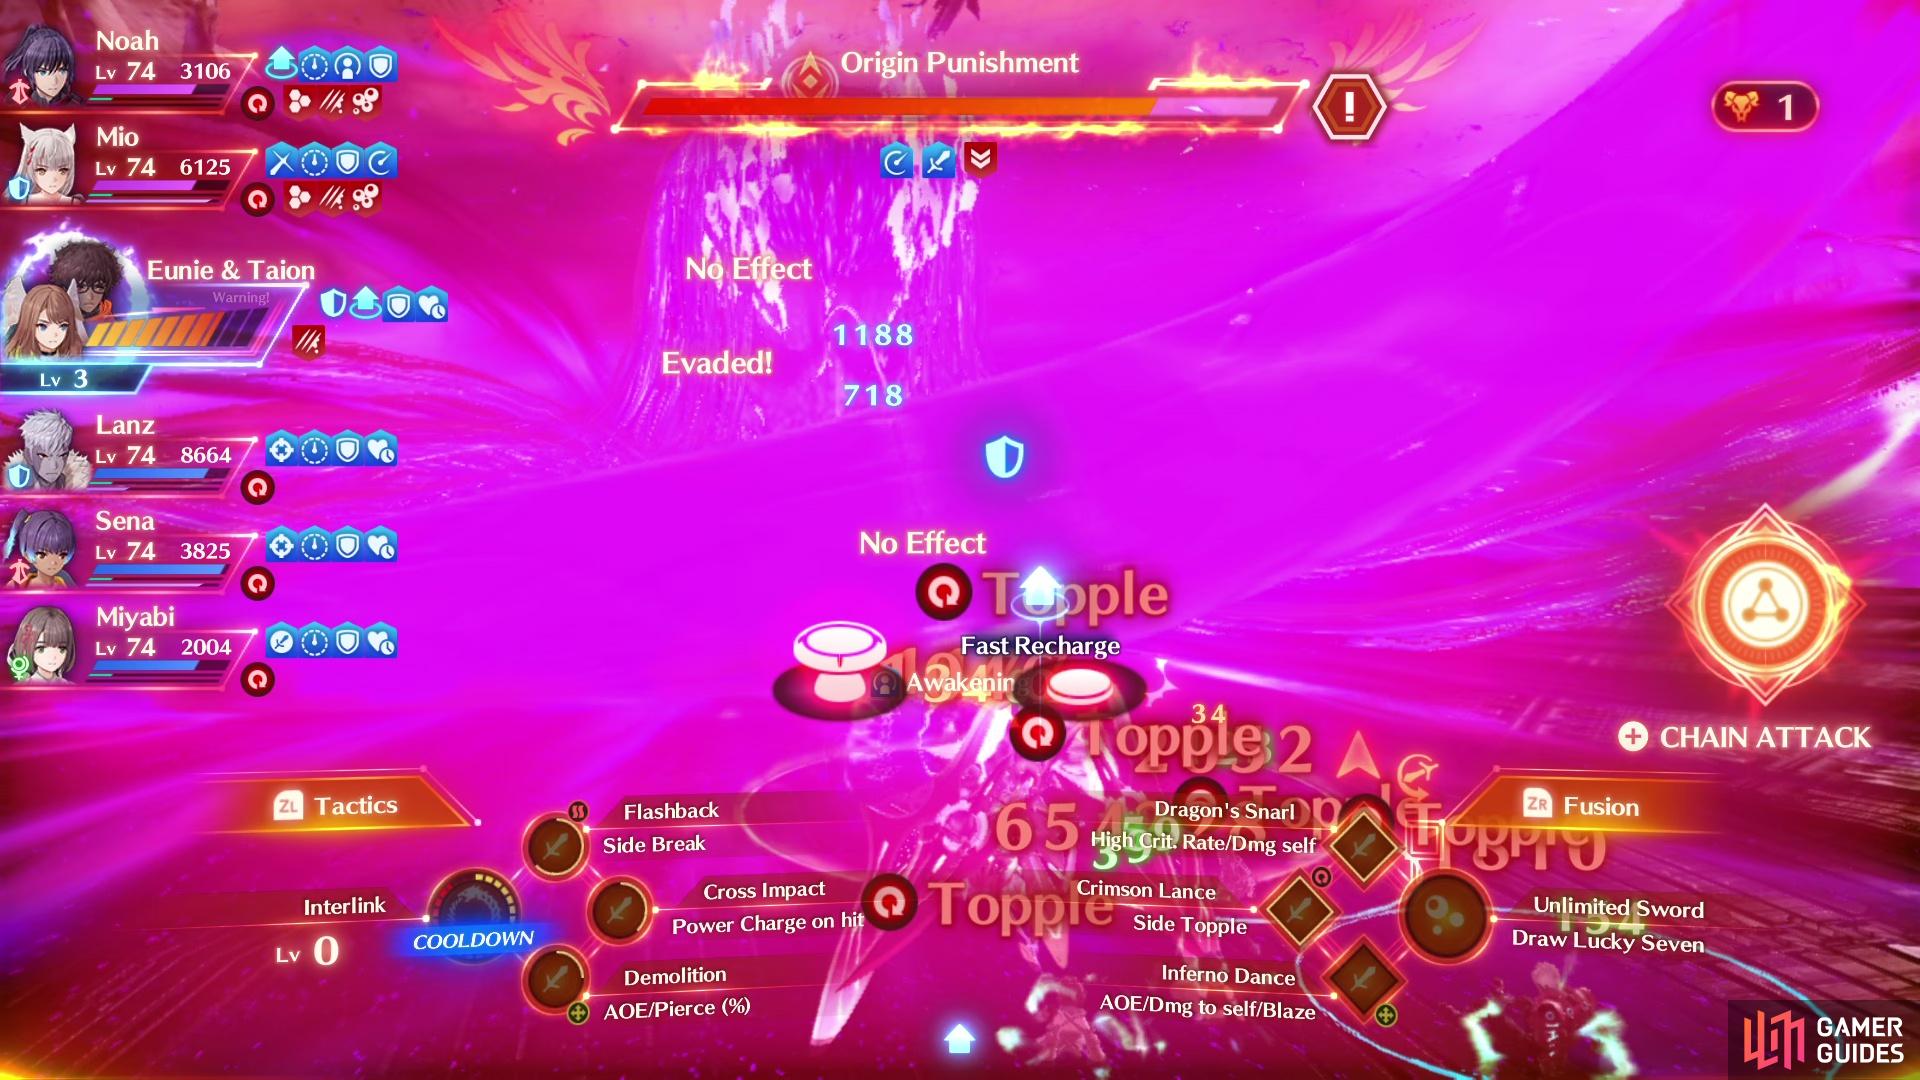
Origin Punishment will deal major damage along with Topple and Daze.
You’ll trigger a scene once you bring him down to 50% HP, this will see both Melia and Nia join the battle for the remainder and both have powerful Arts that should make the end of this battle much easier. The rest of the battle will play out the same until you bring Z Infinity close to death, at which point he’ll use Infinite Finale which is an arena-wide Art that can deal continuous damage. This is the time to jump into a Lv 3 Interlink or a Chain Attack to finish the battle off.
Watch the lengthy scenes that follow Z Infinity’s defeat and give yourself a pat on the back as the credits roll. You’ll get the chance to save your game and can then take on the post-game content, where the final two Heroes can be unlocked.
No Comments