This is a guide for the “Unwavering Resolve” Hero quest in Xenoblade Chronicles 3. It’ll navigate you through the necessary steps to starting the Quest and unlocking a new Hero, Isurd.
Unwavering Resolve is a Hero Quest to unlock Isurd in Xenoblade Chronicles 3.
Lambda uses the Urayan Tunnels to mine ether. Unfortunately, there’s been a cave-in. Go check it out.
| Icon | Hero | Prerequisite | Level | Rewards |
|---|---|---|---|---|
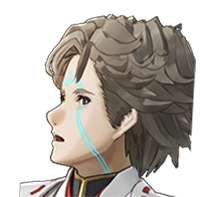 |
Isurd | Chapter 4 | 27 | 1760 EXP, 1940 G, 10 SP |
How to Start the Unwavering Resolve Quest
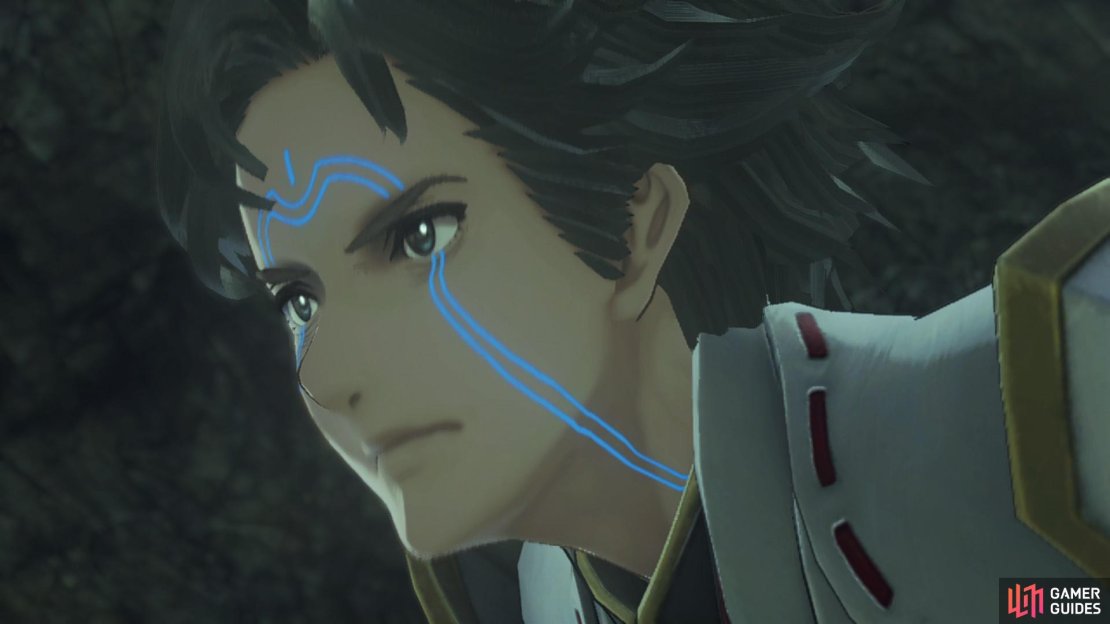
Although completely optional, this Hero Quest is a lot easier to unlock, with the prerequisite simply being to have started Chapter 4. Once you regain control in Colony Lambda, make your way up to the commander’s tent to find Isurd and begin the Quest. Despite being a Level 27 Hero Quest, you’ll want to ensure that you’re at least Level 29 for the battle at the end of it.
Reaching the Cave-in
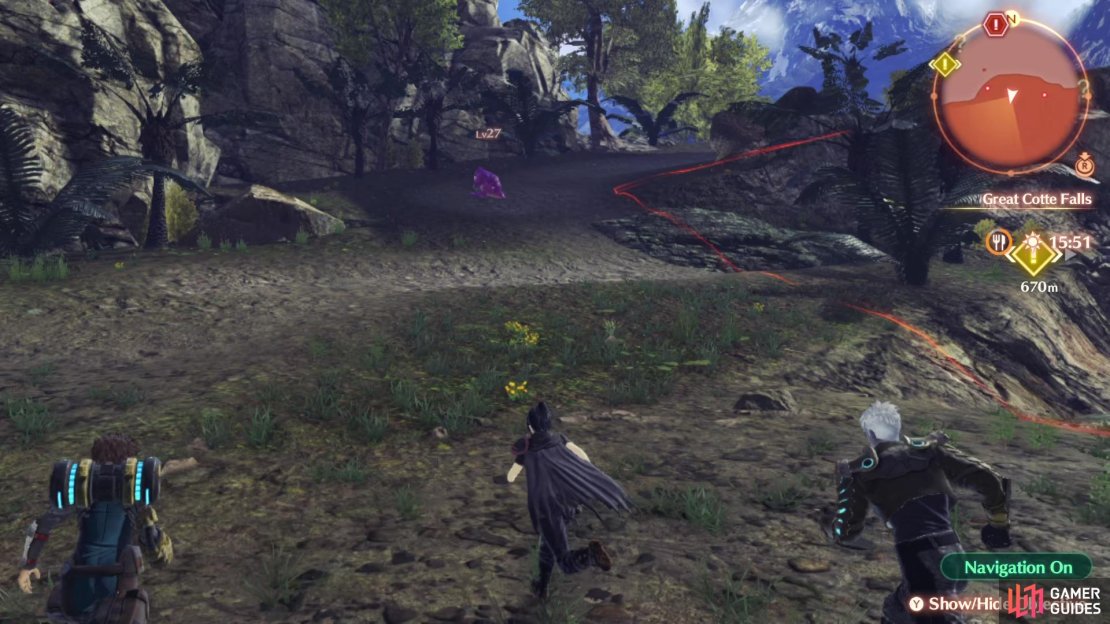
You’ll need to make your return to the Urayan Tunnels, but this time, you’ll need to be on the higher level. Thankfully, from the Colony, you can now head southwest to find a slope leading north and back to the east. Take it and then head northwest into the tunnels and over to the Quest marker.
The cave-in is quite a distance from your current position, so head forward and examine the Point of Interest to create a makeshift bridge that you can use to get back up here easier. Return to the elevator nearby and use it to take it up. From here, follow the linear path back and around, defeating any Scorpox’s brave enough to challenge you along the way.
(1 of 3) You’ll need to take the path up to the south of Colony Lambda
This will eventually lead you to Elevator No.2 which you can use to take down to the Quest marker. Move the boulder out of the way and follow the path to a cave where a group of Scorpox have gathered around a Levnis. You should be above their level, but don’t underestimate them as the sheer number of them can cause you some issues. Isurd is a competent Healer, however, so even if things go south, he should be able to have you covered. Following the scene, Skip Travel back to Colony Lambda and speak with Isurd once more.
Dealing with the Auto-Levs
Isurd has one final task for you, to check in on the operational Auto-Levs. You’ll need to return to the upper level here, so Skip Travel to the Myma Gate Landmark and head south along the path to reach the Quest marker.
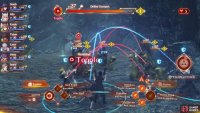
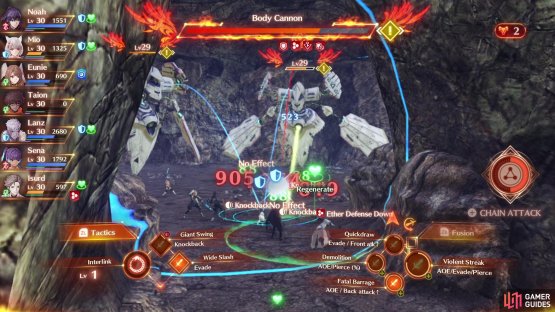
Head inside the nearby cave to learn that the two Auto-Levs are now operational but cannot tell the difference between ally or enemy. This is a problem, and Noah and co. will need to disable them to prevent them from causing more harm. Both of your targets are Level 29 and can pack a punch so pick a target and focus it down. The Armadillos will be Enraged from the start and Body Cannon is a powerful Art, especially if you’re unfortunate to have them both use it at the same time.
(1 of 2) Body Cannon is a dangerous Art on the Armadillos
Body Cannon is a dangerous Art on the Armadillos (left), consider building up the Chain Attack gauge on one and unleashing it on the other. (right)
Use one of the Armadillos to build up your Chain Attack and Interlink Level and then unleash an Ouroboros Chain Attack on the other. Once they’re defeated, watch the scenes that follow and Isurd will pledge to aid you whenever you call upon him, adding him and the extremely useful Strategos Healer Class to your ever-growing arsenal.




No Comments