
This is a guide for the Seeker’s True Intent Standard Quest in Xenoblade Chronicles 3.
How to Start the Seeker’s True Intent Standard Quest

(1 of 2) You will find the two pieces of Info in the Ascension Grounds

You will find the two pieces of Info in the Ascension Grounds (left), The area is small enough that they won’t be hard to locate (right)
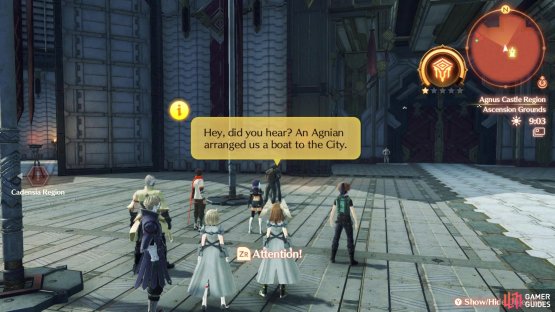
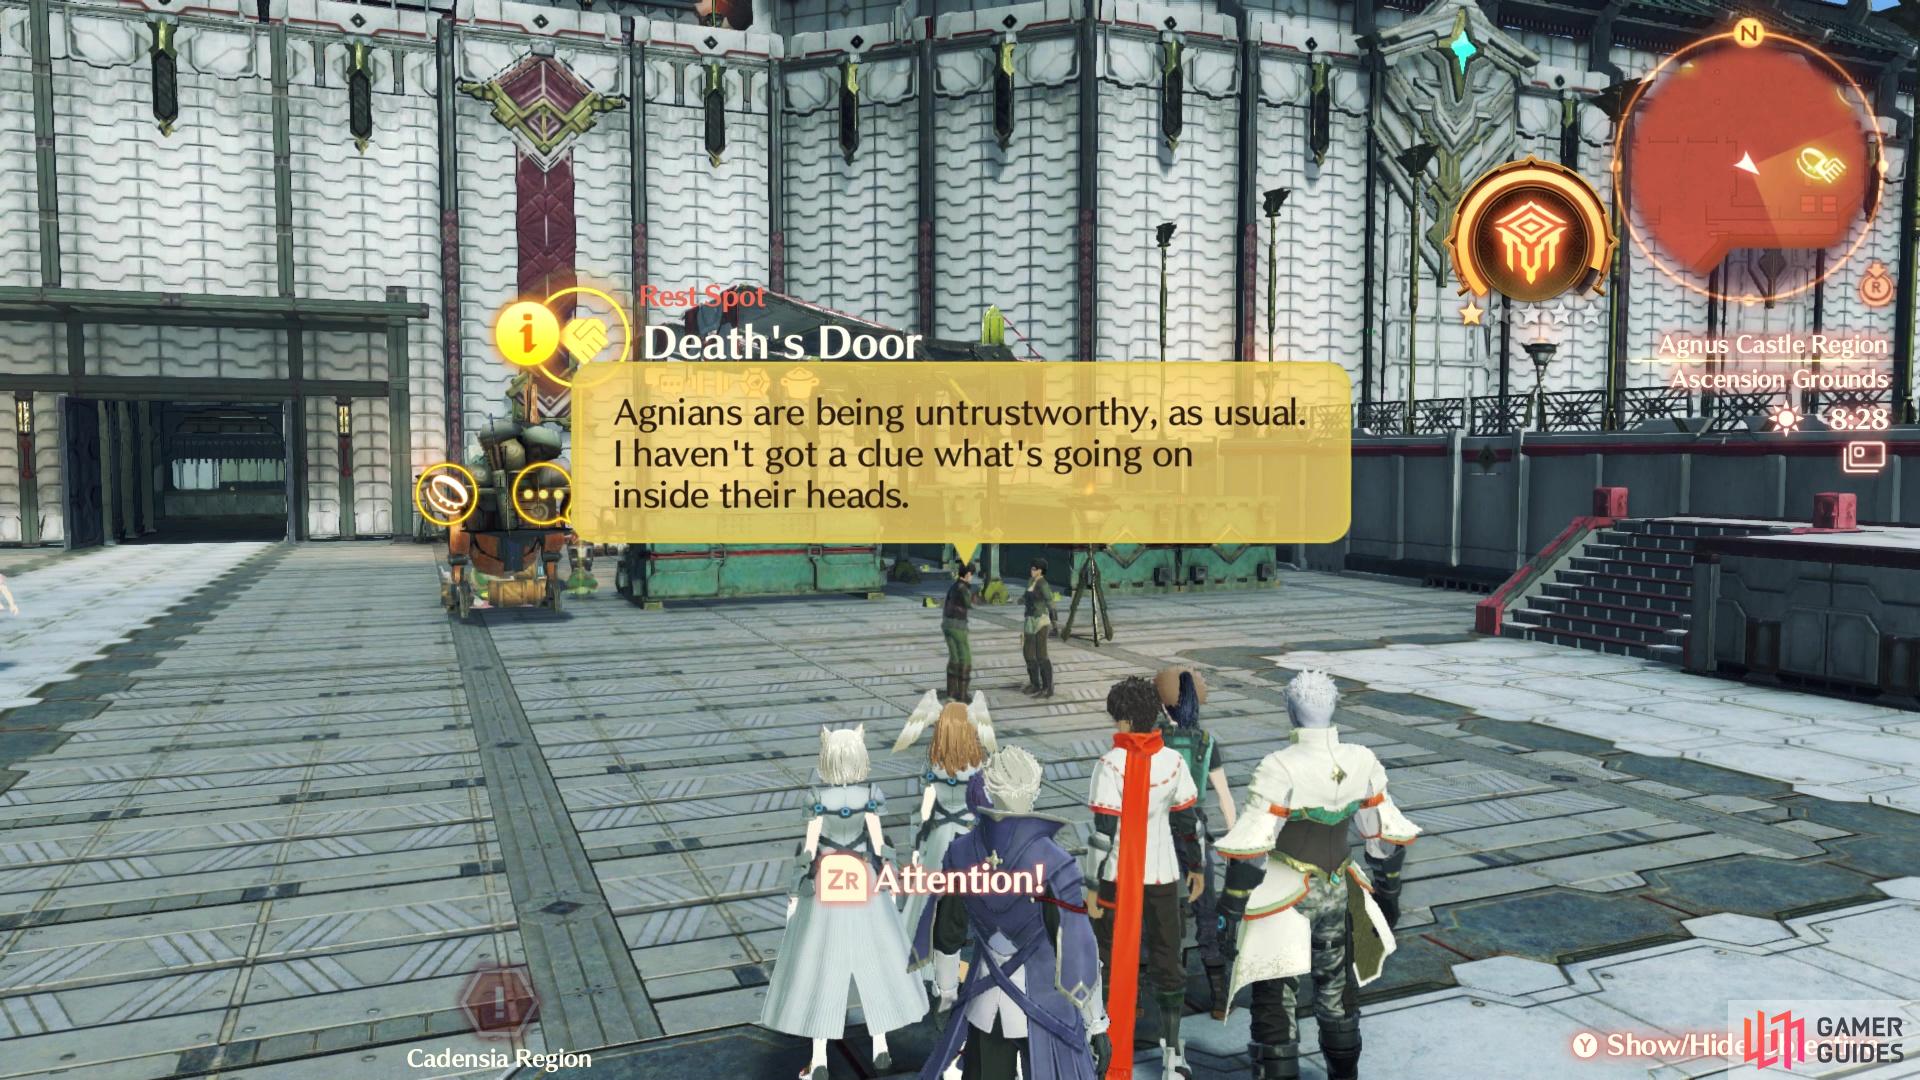
You will need to complete the Going Home quest before this one will become available. After doing that, go to the Ascension Grounds to find some Info pieces available to you. Two of them will net you the Seeker’s Rumors Info, which you can discuss to get the quest. The Ascension Grounds isn’t a big area, so it will be pretty easy to find the pieces of Info.
How to Complete the Seeker’s True Intent Standard Quest
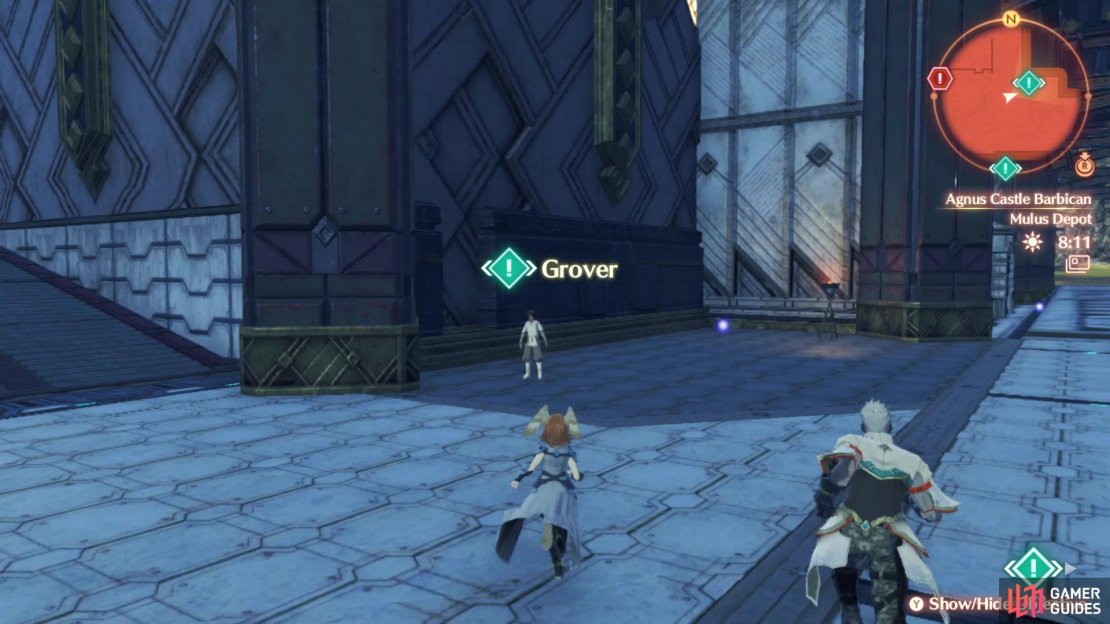
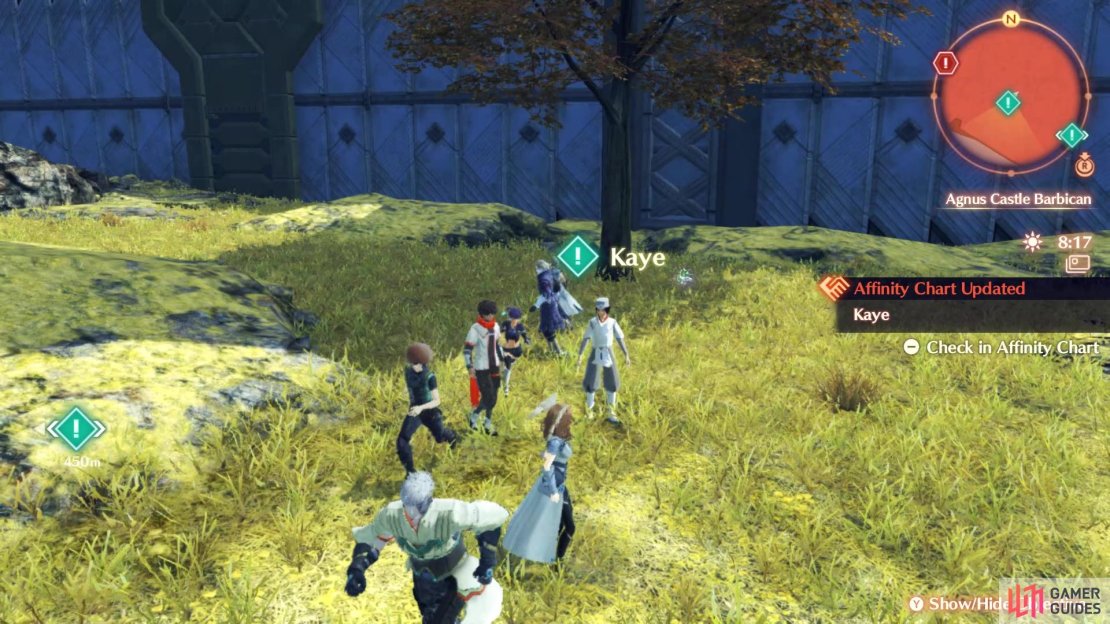
You are looking to find out some more info about Seeker, who some of the Lost Numbers people don’t seem to trust, despite him helping them out. To get this info, you will need to speak with four specific NPCs. It is best to do this alongside The Three Fiends, if you are doing the non-battle option, since some of the NPCs are shared with that quest and it eliminates running around twice for them.
- Soona - Found in the breakroom/prison cells area of the base
- Grover - Found at Mulus Depot
- Kaye - Just southeast from Prison Camp, Freight Gate landmark
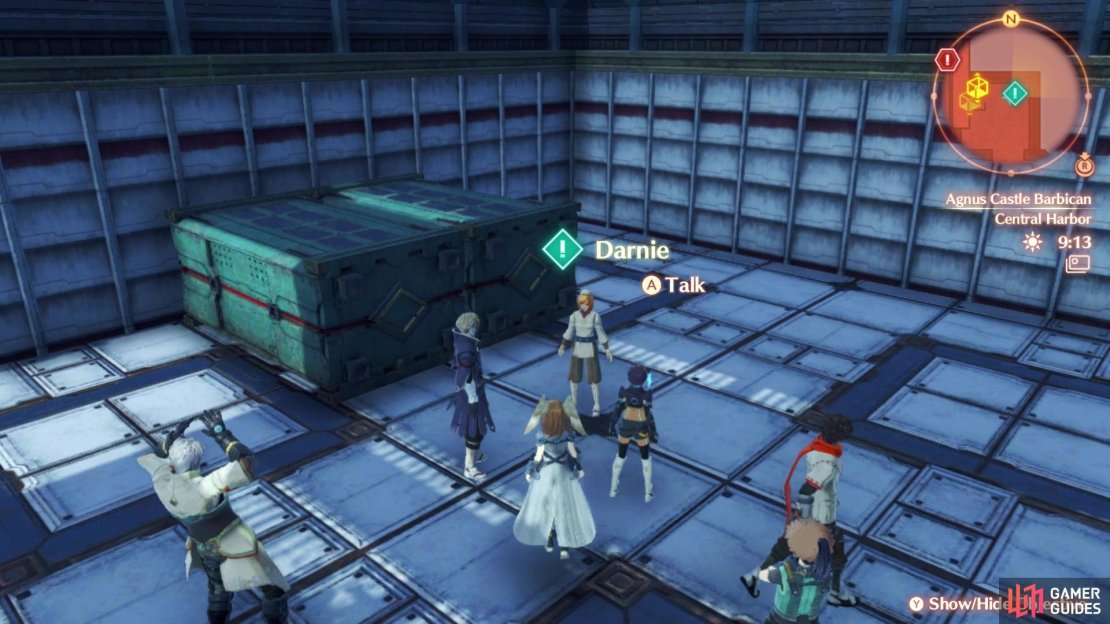
- Darnie - Found at the Central Harbor (take elevator south of Mulus Depot)

(1 of 4) Soona is one of the NPCs you need to talk to
After speaking with those four NPCs, you will get the Seeker’s Indentity Info, so discuss it to continue with the quest. Speak with Seeker on the western side of the Ascension Grounds, who wants to send some provisions over to the City to help with things. He sends you to Darnie, who will be at the harbor, so either fast travel to the Funicular Approach landmark or use the Agnus Soldier in the Ascension Grounds to head to Mulus Depot. From there, you just head south and use the elevator to reach the harbor. Darnie doesn’t quite have enough to send to the City yet, so she asks you to procure any more provisions.
| Item | Location | Progress |
|---|---|---|
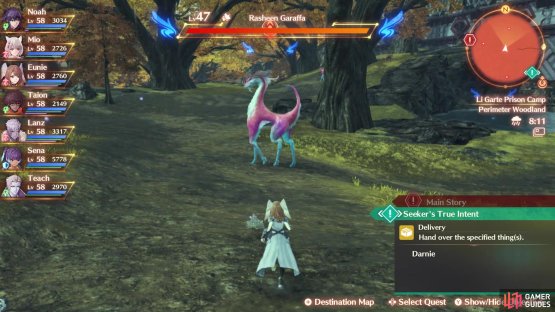
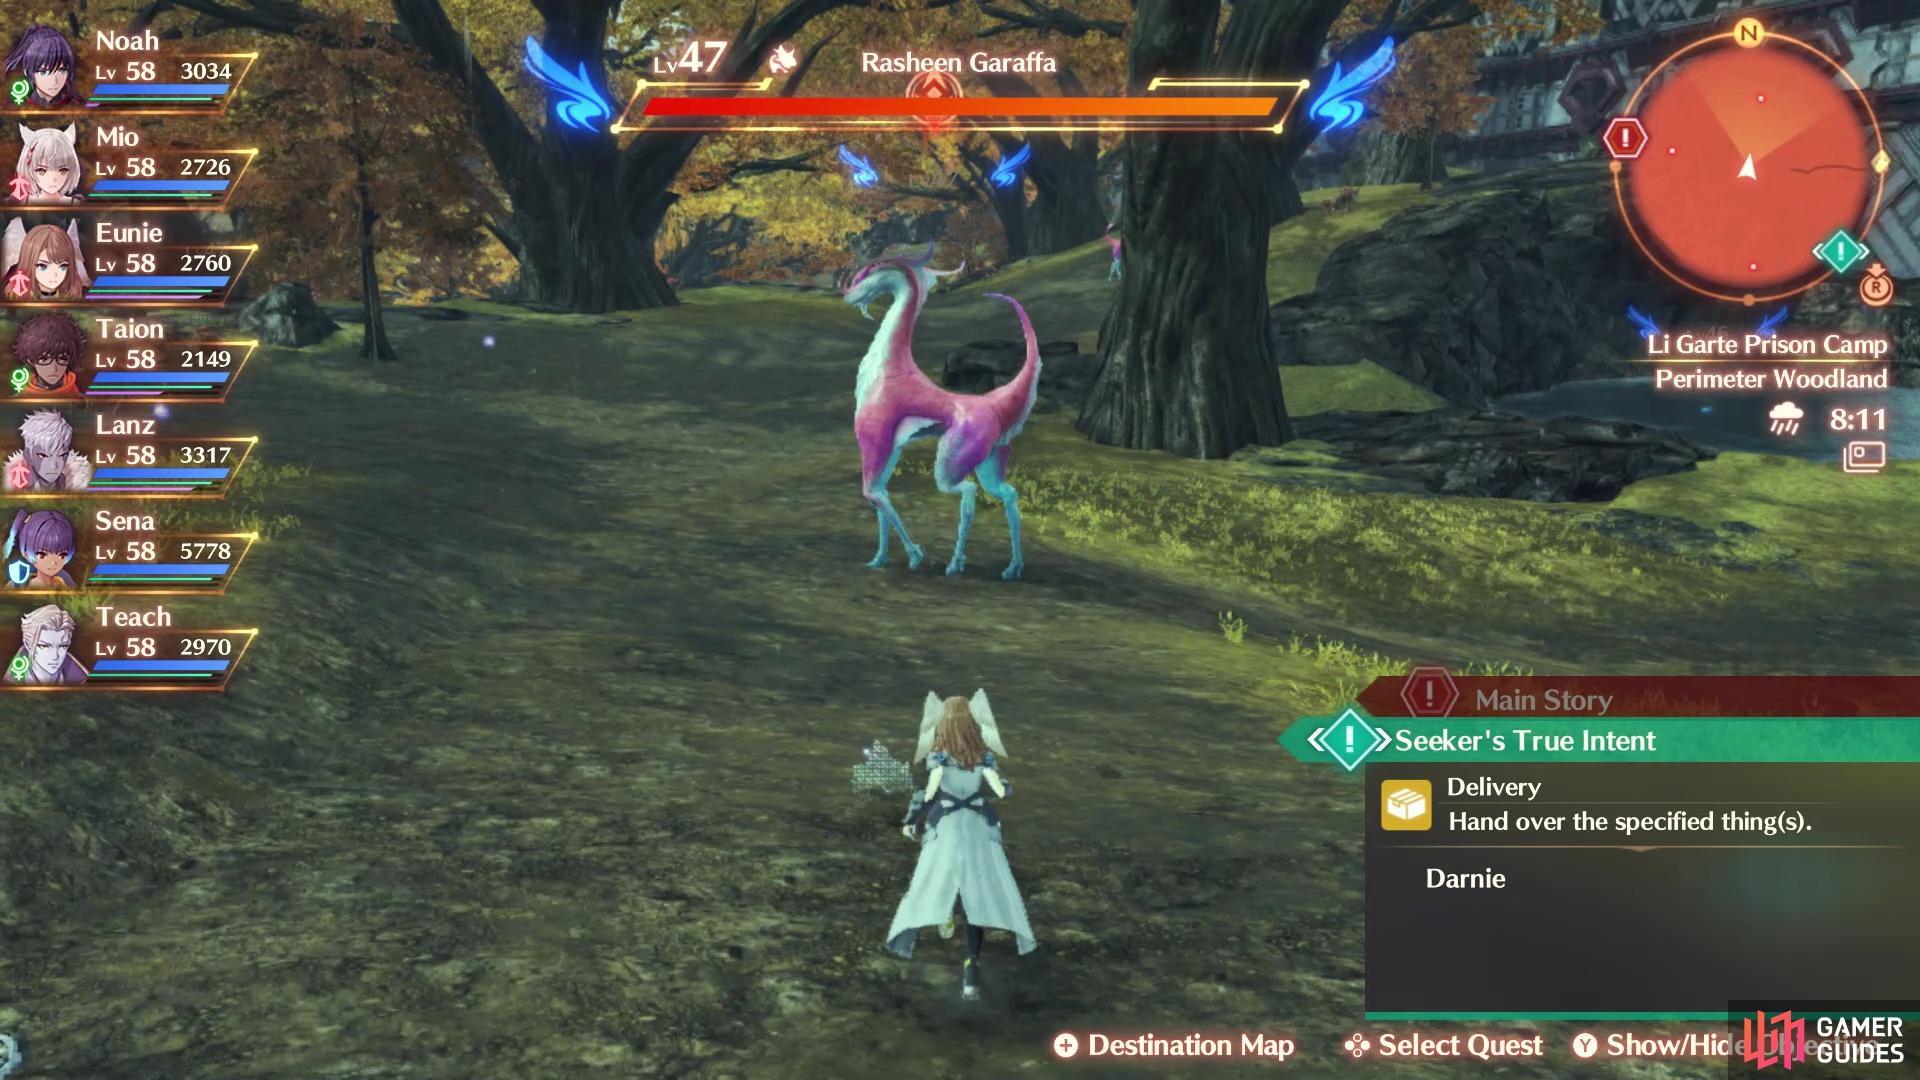
| Garaffa Tenderloin (Rare) | Perimeter Woodland | 7% |
| Imperial Taos Egg (Common) | Dannagh Desert (check northern areas) | 3% |
| Taos Wingtip (Common) | Dannagh Desert (check northern areas) | 3% |
| Marbled Quarmu Meat (Rare) | Needle Reef Beach (Cadensia) | 5% |
| Crustip Jet Spray (Rare) | Millick Meadows (low level ones by Luca’s Eyot) | 7% |
| Fatty Serprond Fillet (Common) | Throughout Cadensia (these are level 60+) | 3% |
| Red Piranhax Egg (Common) | In waters by Shark’s Jaws Cape | 2% |
| Rich Quarmu Sea Milk (Common) | Needle Reef Beach (Cadensia) | 3% |
It’s important to keep track of the rarity of the items needed, since you can’t just hand over a Rare or Legendary Imperial Taos Egg; it has to be a Common one. This makes things a little complicated, especially if you haven’t been fighting enemies along the way. Of all of the options, the Garaffa Tenderloin seems to be the best way to finish this portion of the quest. They are quite abundant in the Perimeter Woodland area, and the Tenderloins (especially the Rare needed) drop quite often. Since the Tenderloin is one of the items that offer the highest progression, you would only need a total of 15, provided you have zero of any other items on the card.
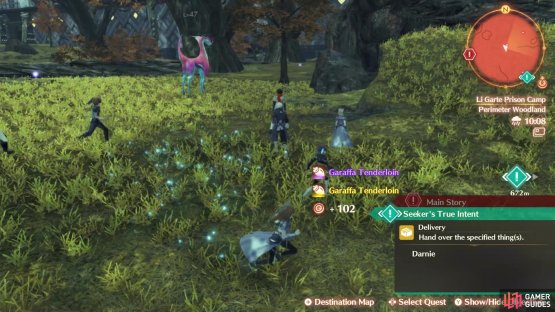
(1 of 2) Garaffas are a common sight in the Perimeter Woodland

Garaffas are a common sight in the Perimeter Woodland (left), and they seem to drop the Tenderloins you need quite often (right)
Upon filling up the meter, return to Seeker to tell him the news and finish the quest.
| EXP | Gold | SP | Rewards |
|---|---|---|---|
| 3920 | 1840 | 3 | Gleaming Medal (Rare) x1 |
No Comments