This is a guide for Chapter 1 of Xenoblade Chronicles 3, taking place at the very start of the game when you gain control for the first time in the Aetia region.
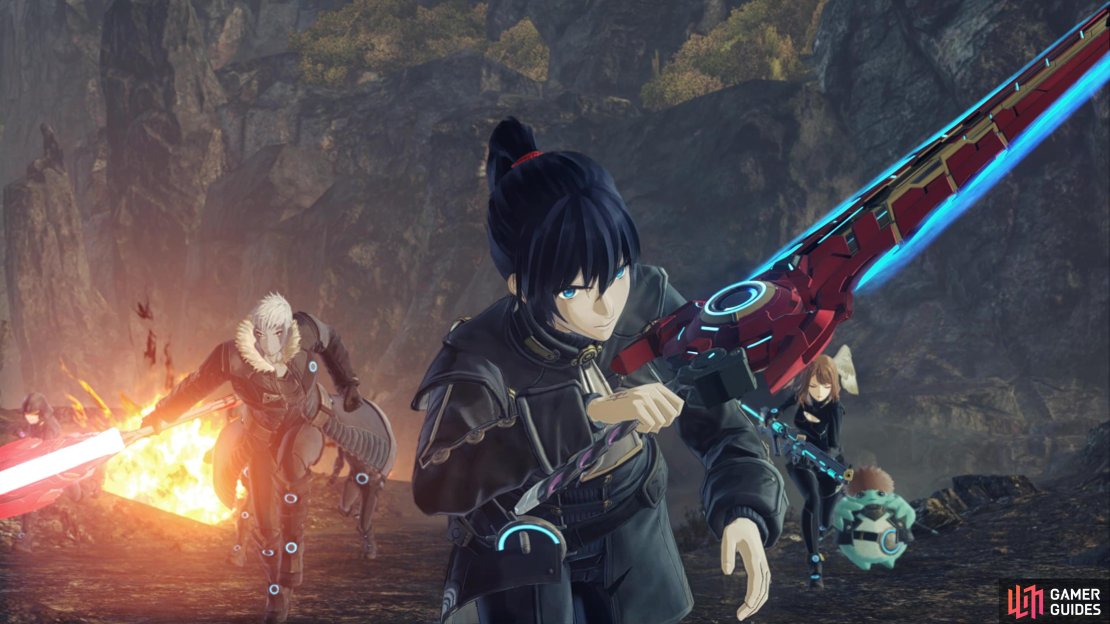
You’re introduced to Noah, Lanz, and Eunie at the start of the game
Xenoblade Chronicles 3 opens with a rather bleak picture, painting the setting for which seems to be perpetual war between two warring factions, Keves and Agnus, and the game’s protagonist, Noah, is the commander of the special forces unit for Keves. Once the intro finishes, you’ll find yourself immediately thrust into battle within the region of Aetia against the Sigma Main Force from Agnus.
Battles in Xenoblade Chronicles 3
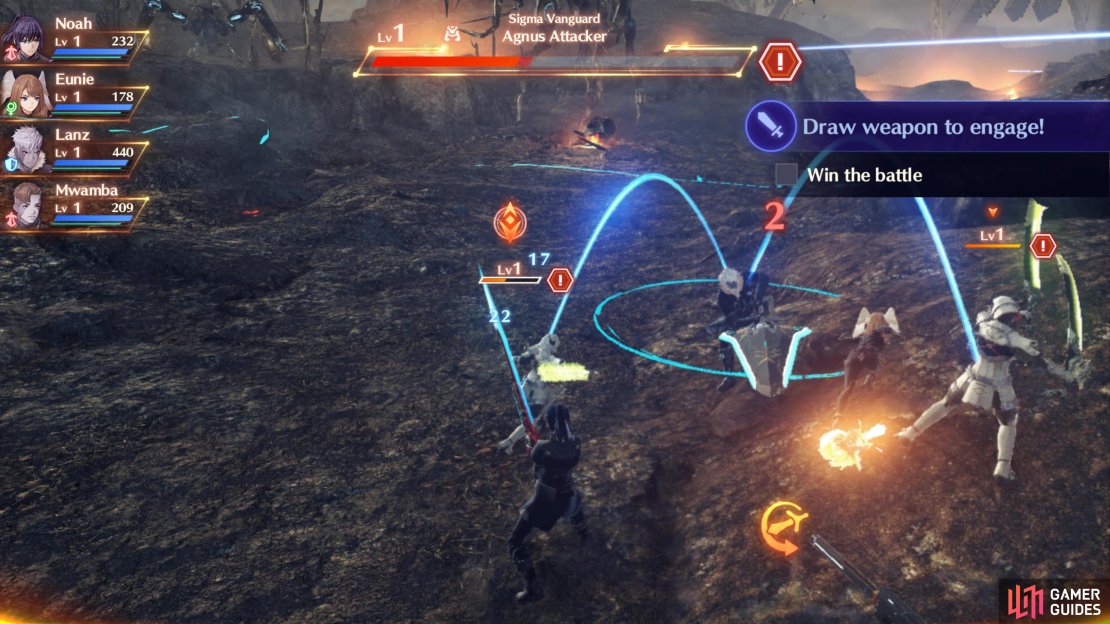
As with its predecessors, Xenoblade Chronciles 3 eases you into all of the battle mechanics as the story progresses. For now, you’ll be in control of Noah as the game introduces you to the basic. Before you can even engage in combat, you’ll first need to have a target, and then press 
The Agnus Attackers are simple fodder for you, simple auto-attacks will suffice while Lanz will easily hold aggro for you as the group’s initial Tank and Eunie heals. The next battle will introduce you to using Arts, which can be later assigned to one of 


More importantly, your position when using Arts are vitally important, especially when playing as an Attacker Role that Noah finds himself in. After you’ve mowed down a few squads of Agnus soldiers, you’ll encounter a larger enemy, an Ulula. You’ll notice that every character has a Talent Art which can be found on the 
(1 of 4) Your characters will auto-attack when standing still
For the Attacker Role, you’ll need to ensure you nail your positional Arts on the enemy such as Sword Strike from the side and Edge Thrust from the back, you’ll also gradually fill the gauge by dealing critical hits or taking part in combos (that will unlock later in the story). Put this to the test against the Ulula, positioning Noah to the side to use Sword Strike before circling behind to use Edge Thrust. Noah’s Talent Art, Overclock Buster is incredibly useful and deals plenty of damage, but if you time it for when you have an enemy Dazed, it’ll increase the damage further.
Head for Colony 9
Following the lengthy scenes, you’ll finally get the chance for some exploration in your current area, Everblight Plain. Your goal for now is to reach the settlement of Colony 9 located to the x but it’s well worth taking the time to get more familiar with the combat system and other functions in the open world.
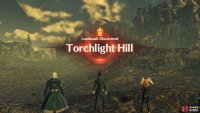
You’ll begin by unlocking the Torchlight Hill Landmark, these Landmarks are vital in your exploration as not only will they grant you a small amount of EXP, but you’ll also return to your last Landmark upon defeat in combat. That’s not all however, when you find every Landmark in a region, you’ll fully uncover the map. Thankfully, we have you covered there already if you want to go ahead and take a look at the current area to discover chests and other points of interest, just head to the Aetia Region map.
Containers in Everblight Plain
| Container # | Location | Items |
|---|---|---|
| 1 | Everblight Plain | Attack Stone |
| 2 | Riccalo Pond | Nopon Coin (Silver) x2 |
| 3 | North of Colony 9 | Chrome Scarf, Gemstone x2 |
| 4 | Northwest of Colony 9 | Nopon Coin (Silver) x2 |
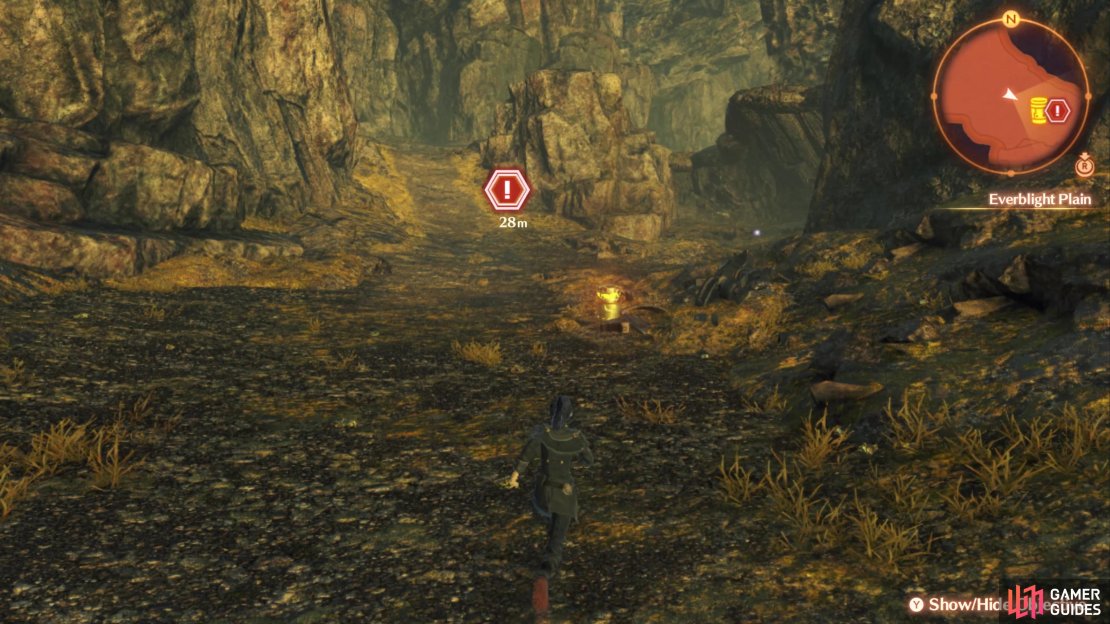
Your trek to Colony 9 is a short one, but there are still four Containers to loot along the way, with the first one being required as part of a story tutorial. As you get near a Container, it’ll be displayed on the map, this is handy for some of the Containers that are out of reach until later in your adventure. This first Container will award you an Attack Stone, this is a useful Accessory to equip to Noah right now (as the game will direct you to). The second Container can be found to the northeast of the water once you reach Riccalo Pond. This houses two Silver Nopon Coins, this curious currency is used for an abundance of tasks that you’ll discover as your adventure progresses, so be sure to gather as many as possible.
(1 of 4) You can’t miss the first Container
Once you can see Colony 9 below you, don’t head down and instead follow the path north and to the east to find the third Container, this one holding a Chrome Scarf which extends the duration of the Break status. The final Container for now is located just to the west and north a little of Colony 9, this one contains another two Silver Nopon Coins.
Soldier Husks in Everblight Plain
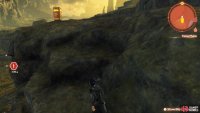
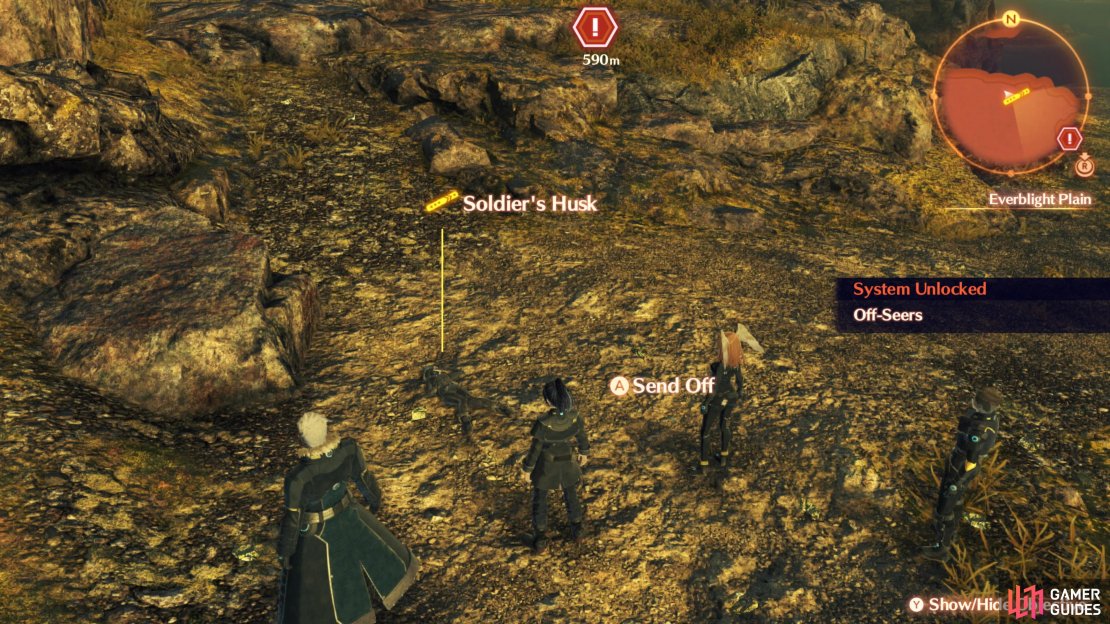
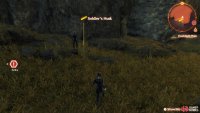
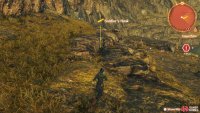
(1 of 3) The first Soldier Husk is required
Being an Off-Seer, Noah has the ability to perform a Send Off, allowing him to grant peace to the recently departed. The main purpose for this is to obtain Affinity towards the respective areas throughout Aionis. You’ll be directed to the first Soldier Husk as part of the story, you can’t miss it. The second Soldier Husk sits on a raised area of the path to the east of Riccalo Pond while the final Soldier Husk in this area is on the cliff to the north of Colony 9.



No Comments