This is a guide for the Enemies and Allies Standard Quest in Xenoblade Chronicles 3.
How to Start the Enemies and Allies Standard Quest
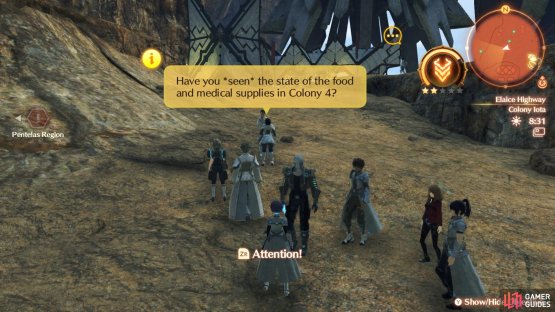
To begin, you will need to have done the Her Reasons Hero Quest, which will liberate Colony Iota. Once you have completed that, progress the main story until you reach Chapter 4. Note that if you are progressing your levels normally and not grinding to a point of overleveling, you will likely be well into Chapter 4, as Her Reasons and the surrounding area is level 40+. When this is all done, you should see some Info Collecting points in that colony that mention Colony 4. There are two of these, so get both and then discuss the Colony Iota Goods topic at the canteen. Doing this will unlock this quest.
(1 of 2) One of the two Info Collection spots needed to unlock this quest
One of the two Info Collection spots needed to unlock this quest (left), One of the two Info Collection spots needed to unlock this quest (right)
How to Complete the Enemies and Allies Standard Quest
Finding Torus Hollow
Colony Iota helps other colonies with their Collectopaedia Cards, by sending them supplies. Alexandria figures it will help out if you have access to their storage, since it means you will also be able to dole out supplies to those colonies, too. To get to the storehouse, you will need to head to Torus Hollow first. This is a cave system that is located to the north of Colony Iota. So, leave via the north exit, then continue northwest from the Slanne Wondersphere landmark. It should be noted that the enemies in the area will be about level 40-45 or so, which will also include Torus Hollow.
If you happened upon the Purus Palecolumn landmark, then you can simply fast travel to that, making sure to keep an eye out for the Impish Langobard Unique Enemy, who is a lot higher level than the normal enemies. Just north of that landmark will be the entrance to Torus Hollow, with Rhyza guarding the entrance. Speak to him to gain entry to the cave.
Finding the Supply Storehouse
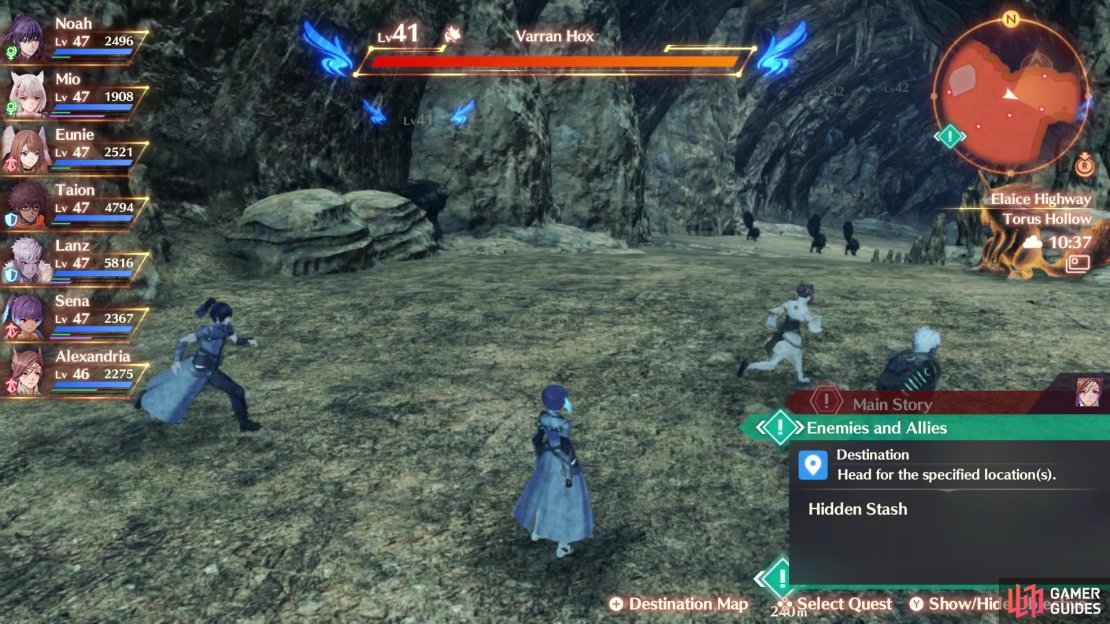
The inside of Torus Hollow is nothing special, with the enemies being around level 41-45 or so. Just be careful to not die in here, as you will likely be sent back outside of the cave, since there’s only a single landmark inside, and it’s pretty deep into the place. There will also be a few Elite enemies along the path you’re taking, so make sure you go slow and take them on one at a time. When you get to the first split, take the eastern path, then go west at the second fork. This should put you in the bottom portion of the cave (with the Cadion Cliffside landmark), making things a little easier, should you run into trouble. Just be extra mindful to not aggro the level 60+ flying creatures at the bottom.
(1 of 3) There will be a few Elite enemies on the way to the storehouse
The final bit will just have you going west, where you will find the entrance to the storehouse. Chelle will hand over Colony Iota Goods x5, which you will hand over to the commander of Colony 4, Ethel, via the Collectopaedia Card. If you go to your list of Cards, there should be Ethel’s at the very bottom, with the necessary items being the Colony Iota Goods you just received. Register the list (+200 Affinity for Colony 4 and a Silver Belt accessory for your troubles), then speak to Chelle once more to finish the quest.
| EXP | Gold | SP | Rewards |
|---|---|---|---|
| 1,760 | 1,940 | 3 | Colony Iota Goods x15 |


No Comments