This is a guide for Chapter 5 of Xenoblade Chronicles 3, covering life at Li Garte Prison Camp in the Cadensia Region.
What to do at Li Garte Prison Camp
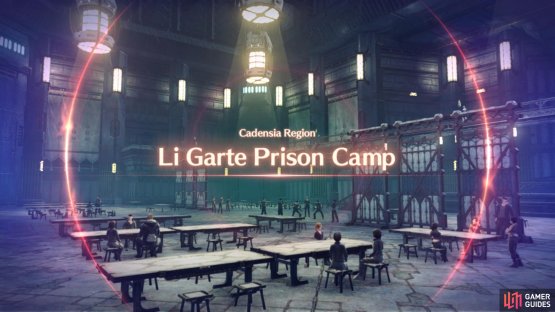
(1 of 2) Get used to the sights, because you’ll be here for a while.
Get used to the sights, because you’ll be here for a while. (left), After showing her who’s boss, speak to Ghondor. (right)
After going toe-to-toe with Ghondor and her cronies, the next time you’re in control, you’ll be next to the Cell No. 1 rest spot. Head west, back to the Central Cell where you brawled. Then have a friendly chat with Ghondor who’s sitting at a table near the south.
Having gained Ghondor’s trust for now, return to Cell No. 1. Inspect the rest spot, then “Rest” to advance the story. The next day, once again, make your way back to the Central Cell. As you approach, you’ll receive a message from the Prison Warden, including details of today’s task.
This will trigger the Standard Quest, First Day of Prison.
Standard Quest: First Day of Prison
(1 of 2) This is the first of three quests.
This is the first of three quests. (left), It’s tedious work, but you need to play the part. (right)
To complete this quest, exit to the west to reach the Perimeter Woodland, then go around grabbing all the required collectables:
- Carnomile x20
- Gold Burdock x20
- Peachy Truffle x20
- Honey Plum x20
That’s a lot of stuff, but you can interact with prisoners with a quest-event marker (question mark) to receive 7 to 10 of a particular item, reducing the amount you need to find yourself. After obtaining everything, return to the prison interior and hand them to the Prison Guard by the entrance of the Central Cell.
This will end the quest. Afterwards, return to Cell No. 1 to advance to the next day. Once again, head for the Central Cell to get another quest, Second Day of Prison.
Standard Quest: Second Day of Prison
(1 of 2) You get to fight something this time!
You get to fight something this time! (left), Now’s a good opportunity to let off some steam. (right)
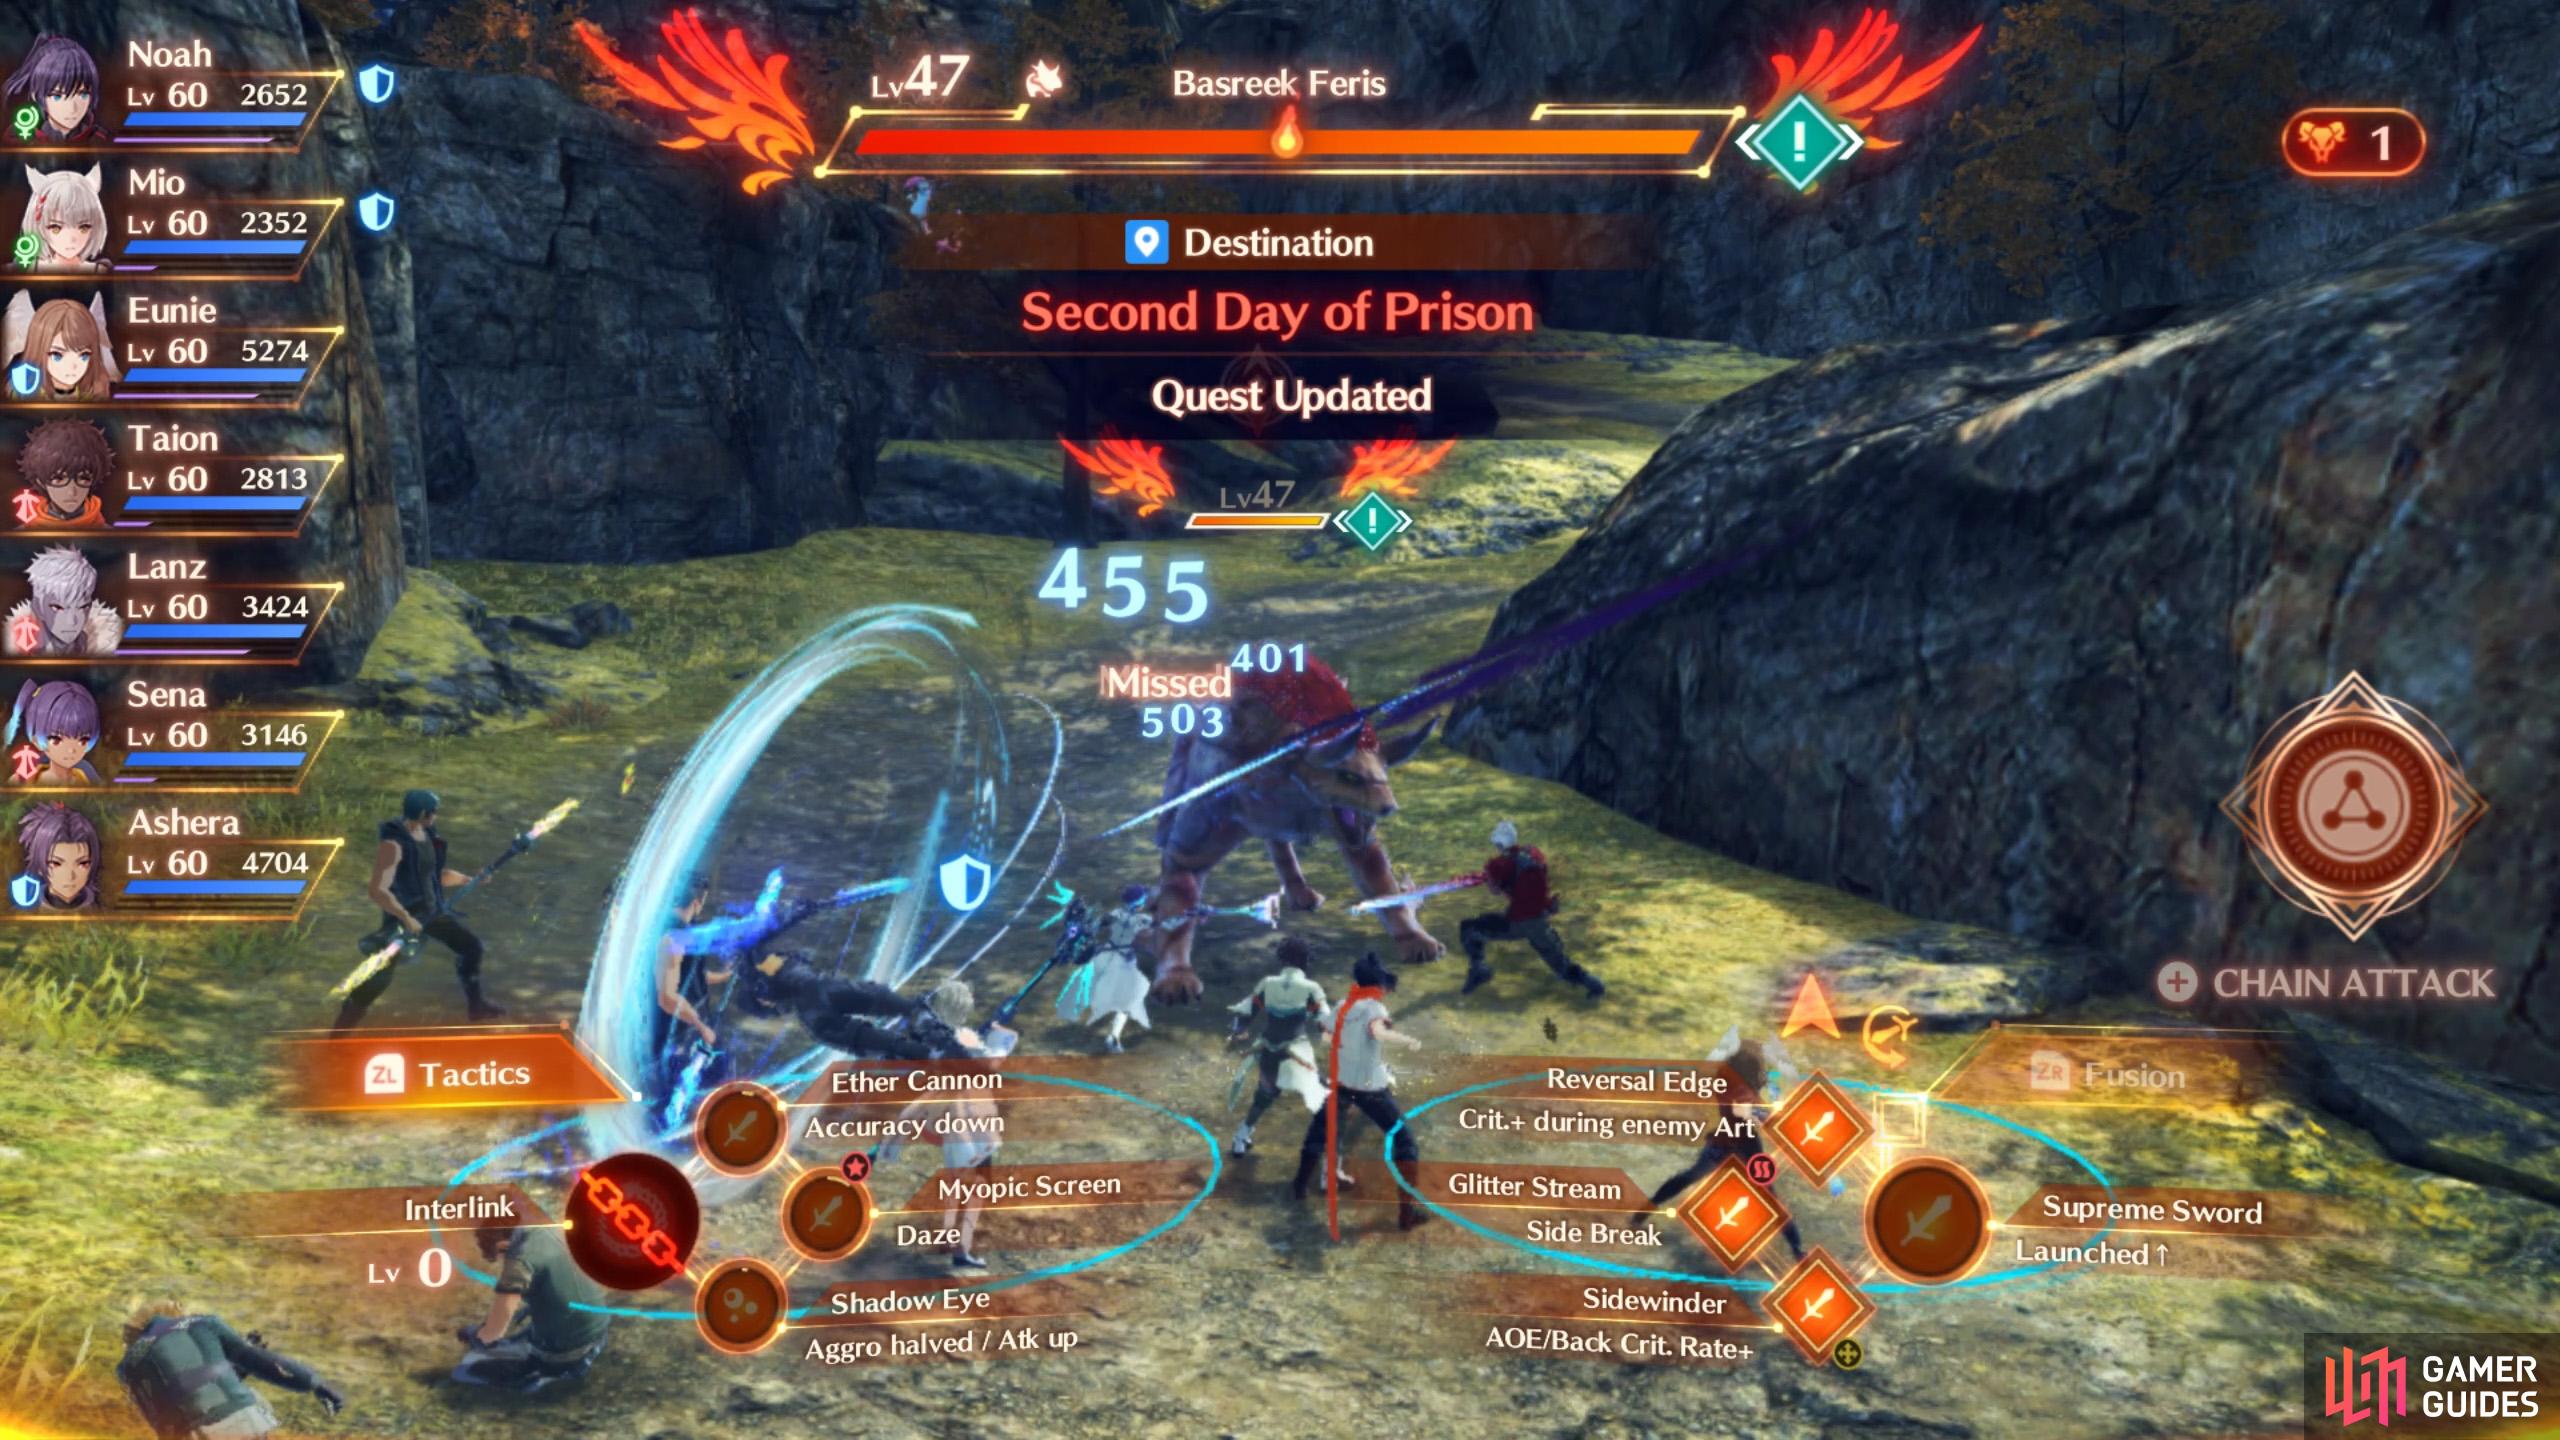
Once again, depart for the Perimeter Woodland. About halfway down, adjacent to Watchtower No. 1, you’ll run into the fiend in question: a Level 47 Basreek Feris. This will trigger a fight, where Ghondor and her buddies aid you.
After you’ve reduce the Feris to 2/3 of its HP (before it gets enraged), the Feris will flee. Follow its tracks south and you’ll eventually catch up near the main entrance of the prison. Now you’ll have to fight the Feris properly, without any external help. It’s a tough blighter alright, especially without Interlink, but you’ve probably fought worse.
Having defeated the Feris, report back to the Prison Guard near the entrance of the Central Cell. This time, they won’t believe you completed the task. Begin heading back to the Perimeter Woodland. You’ll run into Ghondor again, who gives you what you need. Show this to the Prison Guard to shut them up and end this quest.
Afterwards, head over to Ghondor who’s sitting nearby. After a few cutscenes, you’ll leave off inside the Communal Cell Block, facing the direction of Cell No. 1. Head that way and, when ready, inspect the rest spot and choose “Rest” to advance the story. The next day, enter the Central Cell to get your final quest, Third Day of Prison.
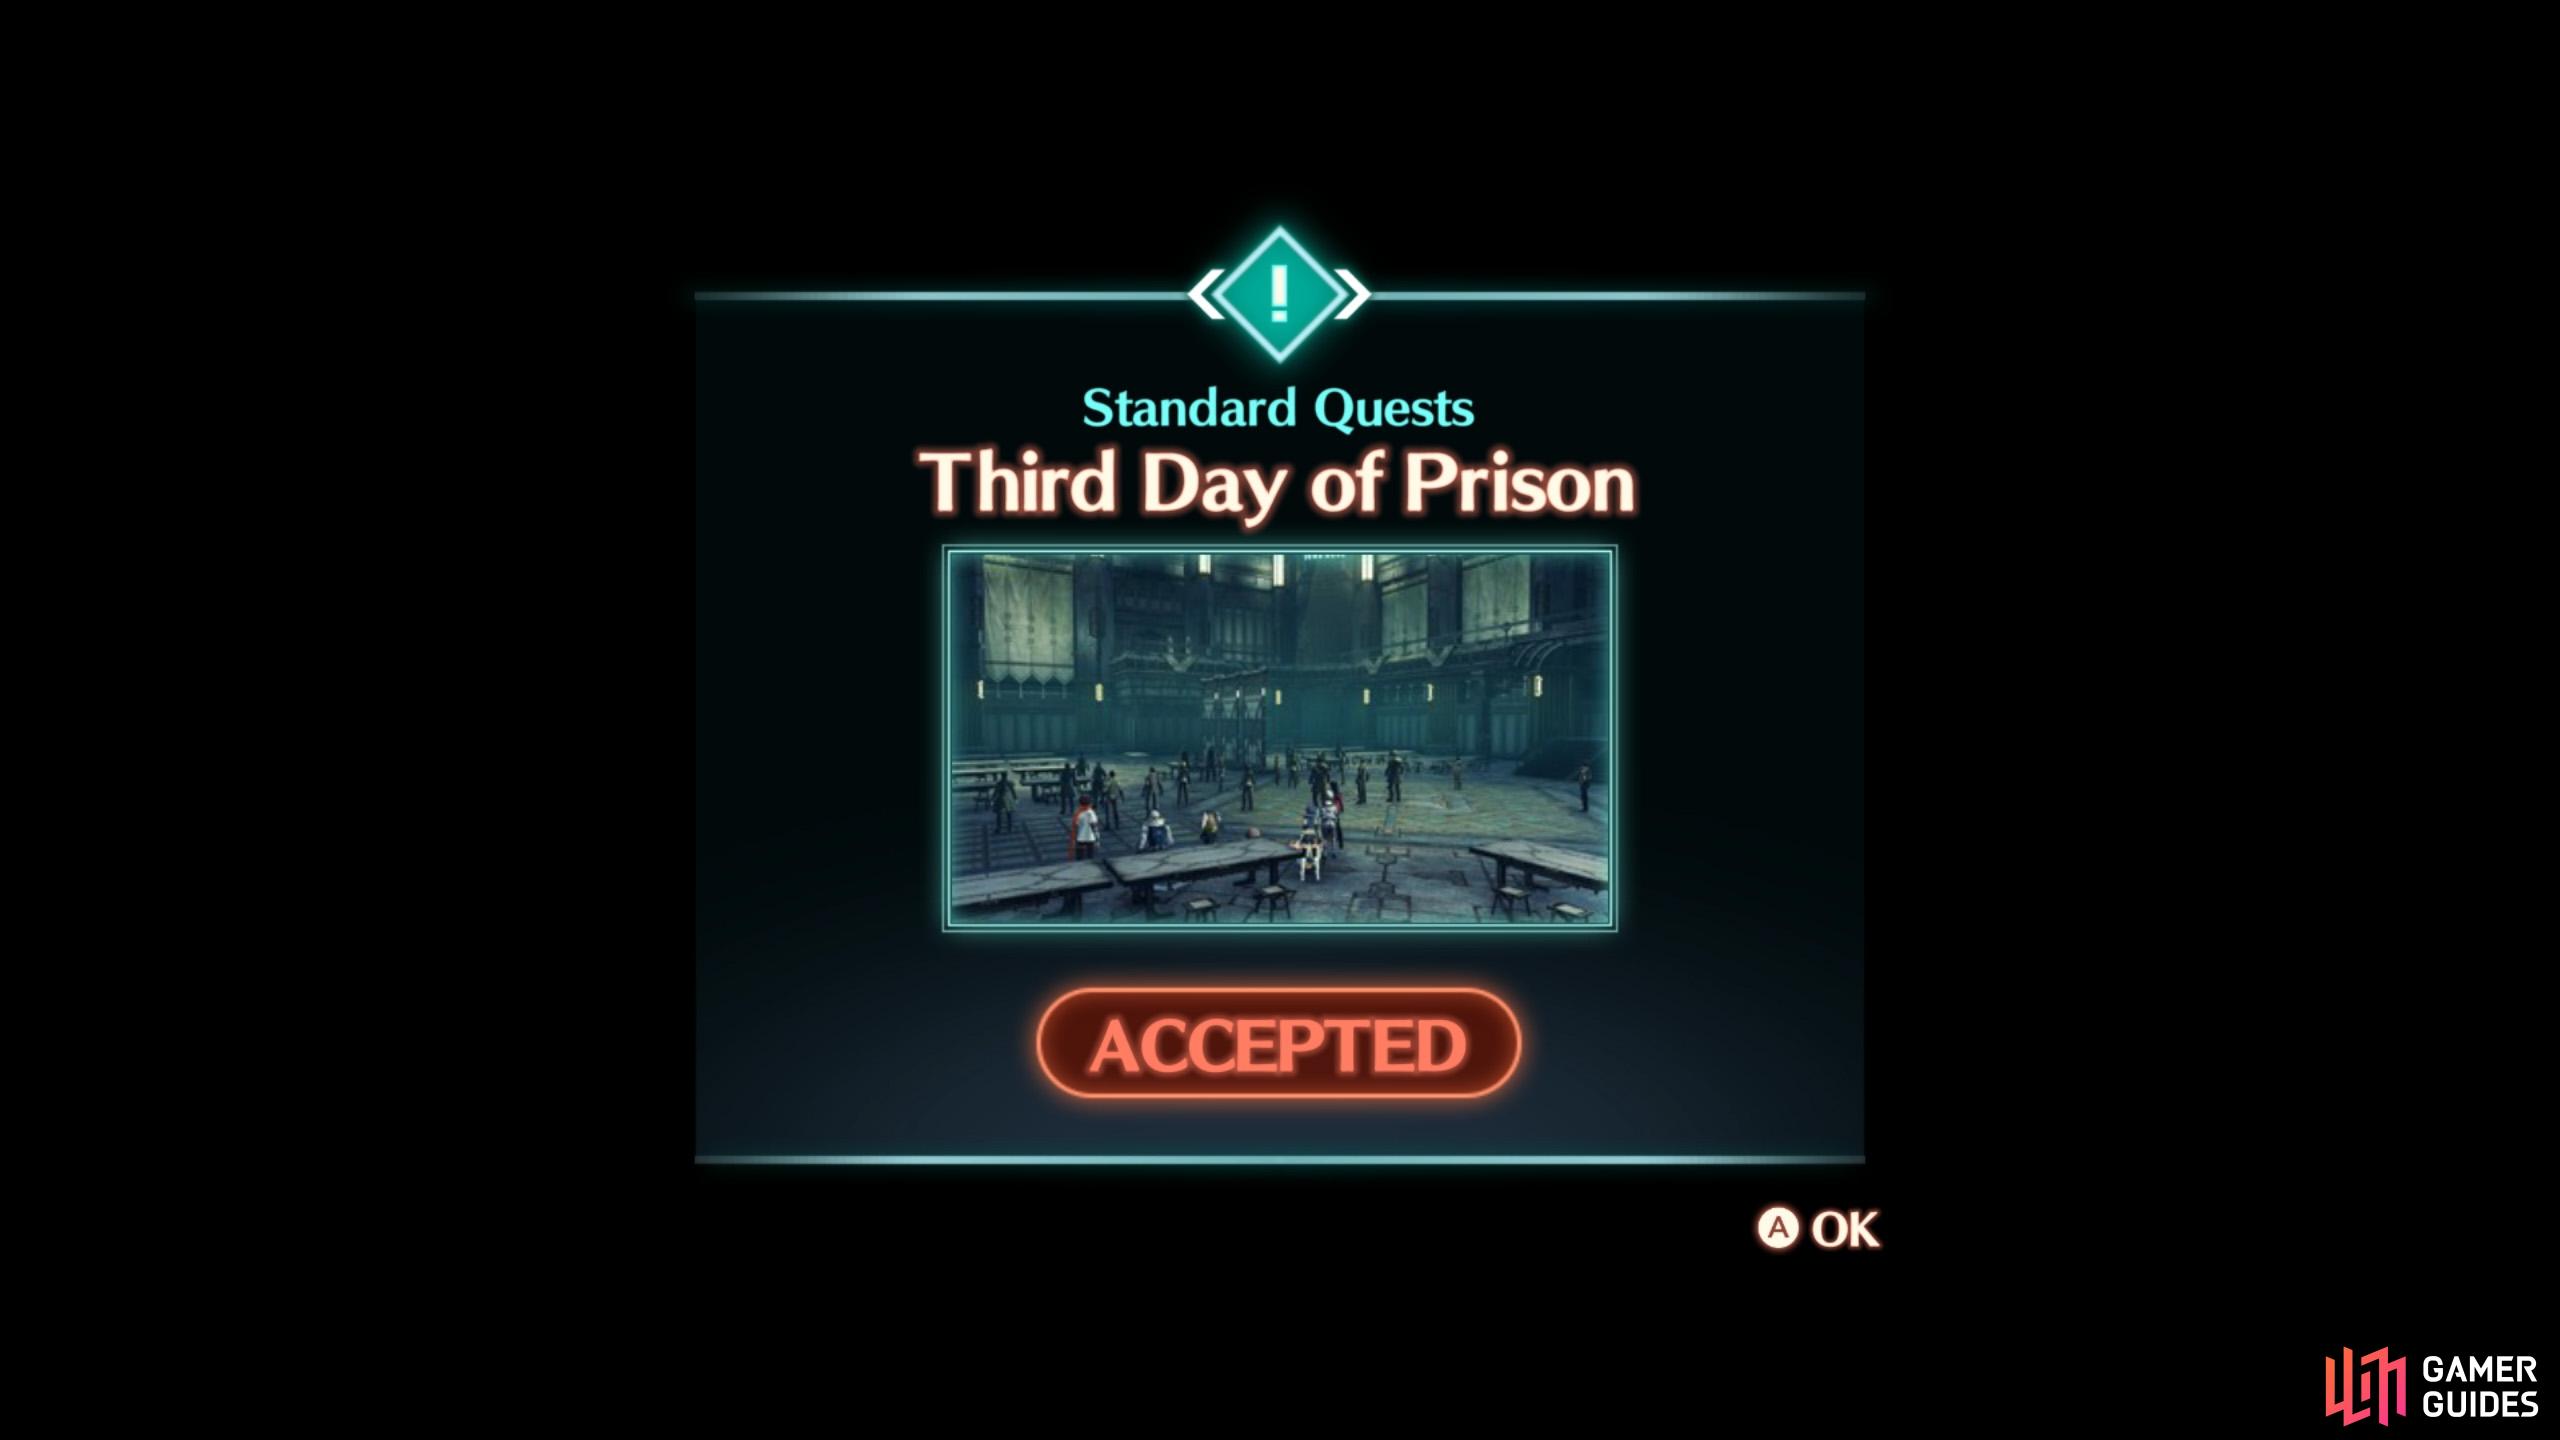
Standard Quest: Third Day of Prison
(1 of 2) Almost over…
Almost over… (left), Your prey isn’t too far away. (right)
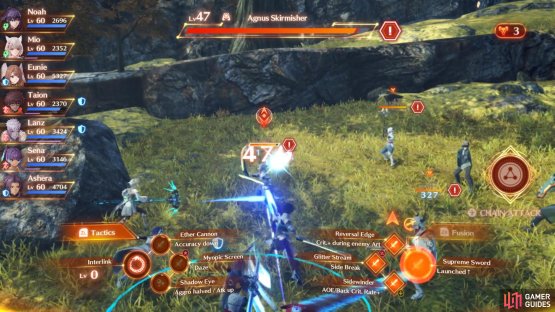
As usual, leave for the Perimeter Woodland. Your task is to defeat 3 Kaalm Garaffa wandering around. These will be easier than the Basreek Feris. You’ll find them a short distance south of the Perimeter Outlet, just below the first ledge. They’re all clustered together, but won’t bother helping each other out.
After defeating all three, the mayhem will begin and this quest will end.
How to escape Li Garte Prison Camp
(1 of 2) Assist the Lost Numbers in their fight against the Agnian guards.
Assist the Lost Numbers in their fight against the Agnian guards. (left), Then meet up with Ghondor outside Watchtower No. 1. (right)
Near where you fought the Kaalm Garaffa, there will be three small group of Agnian troops fighting the Lost Numbers. Head over and assist the Lost Numbers by defeating all the foes. Once the coast’s clear, head over to Watchtower No. 1 to the west, to rendezvous with Ghondor.
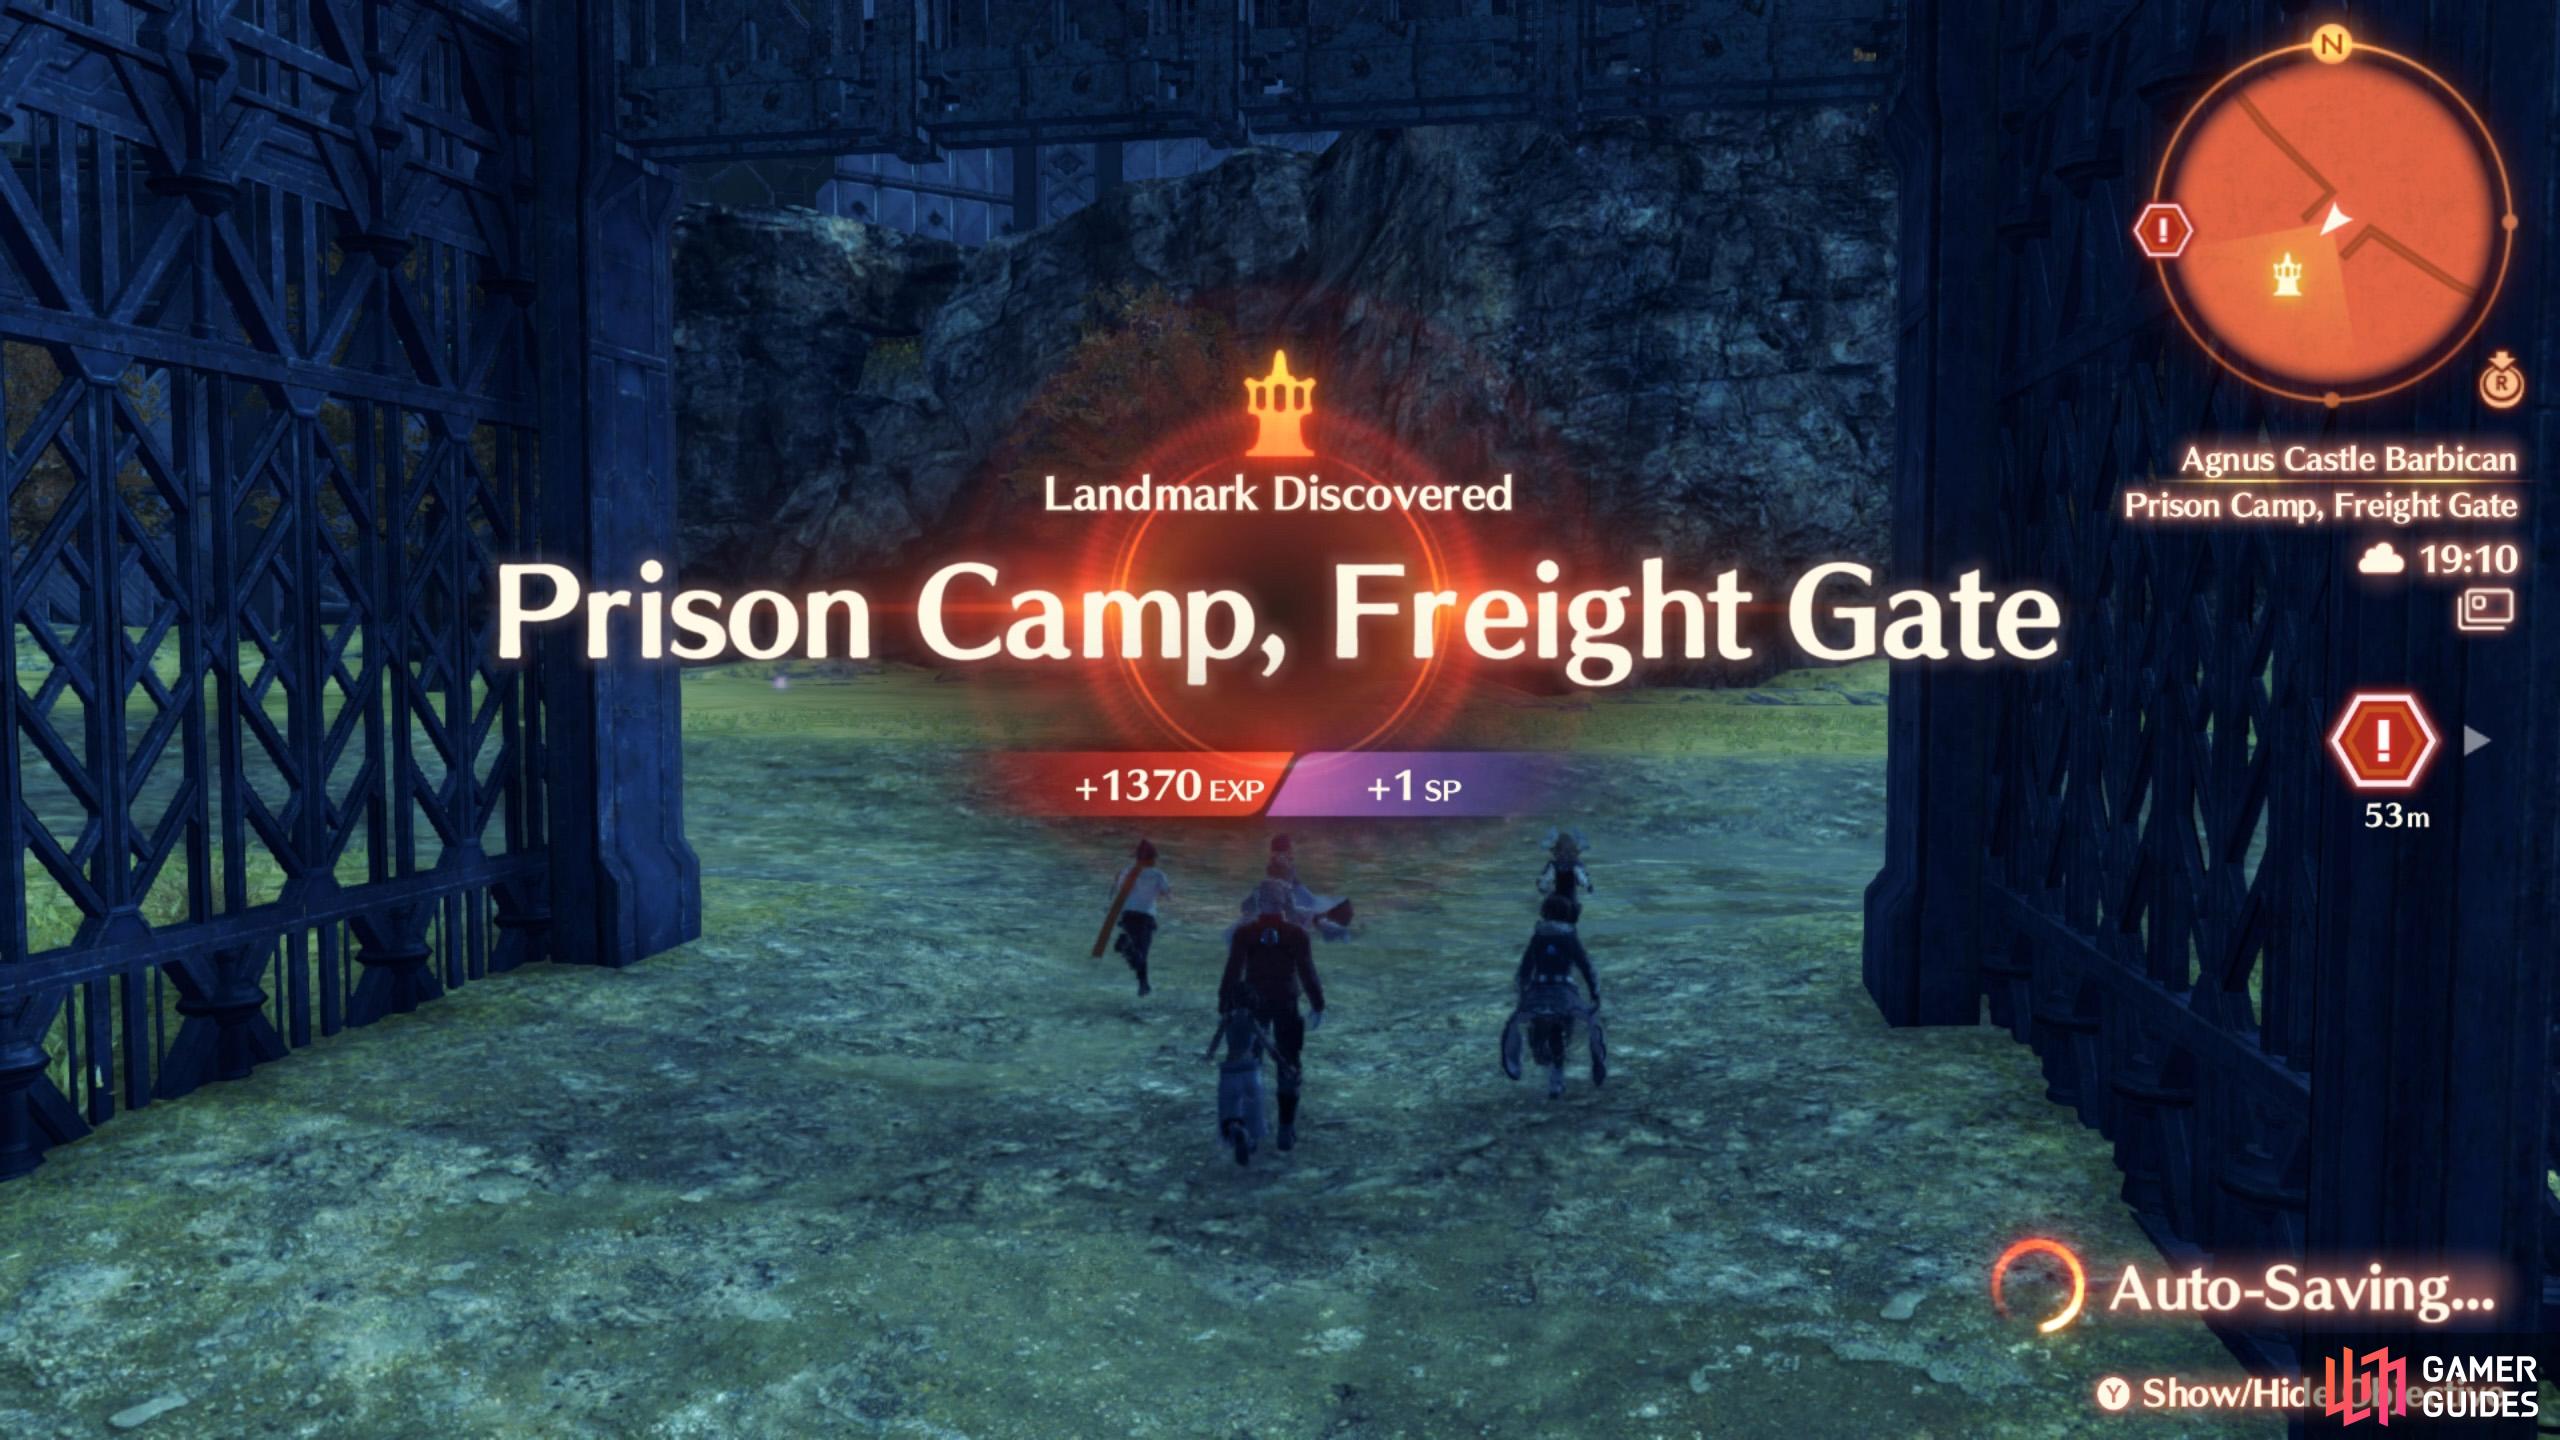
Moving on, you’ll need to deal with four more small group of Agnian troops locked in combat with your allies, towards the south-east. After clearing the way, you can advance to the Prison Camp, Freight Gate, past the unlocked gate. From here, attempt to travel west to initiate the finale of this chapter.
Locations at Li Garte Prison Camp
Landmarks
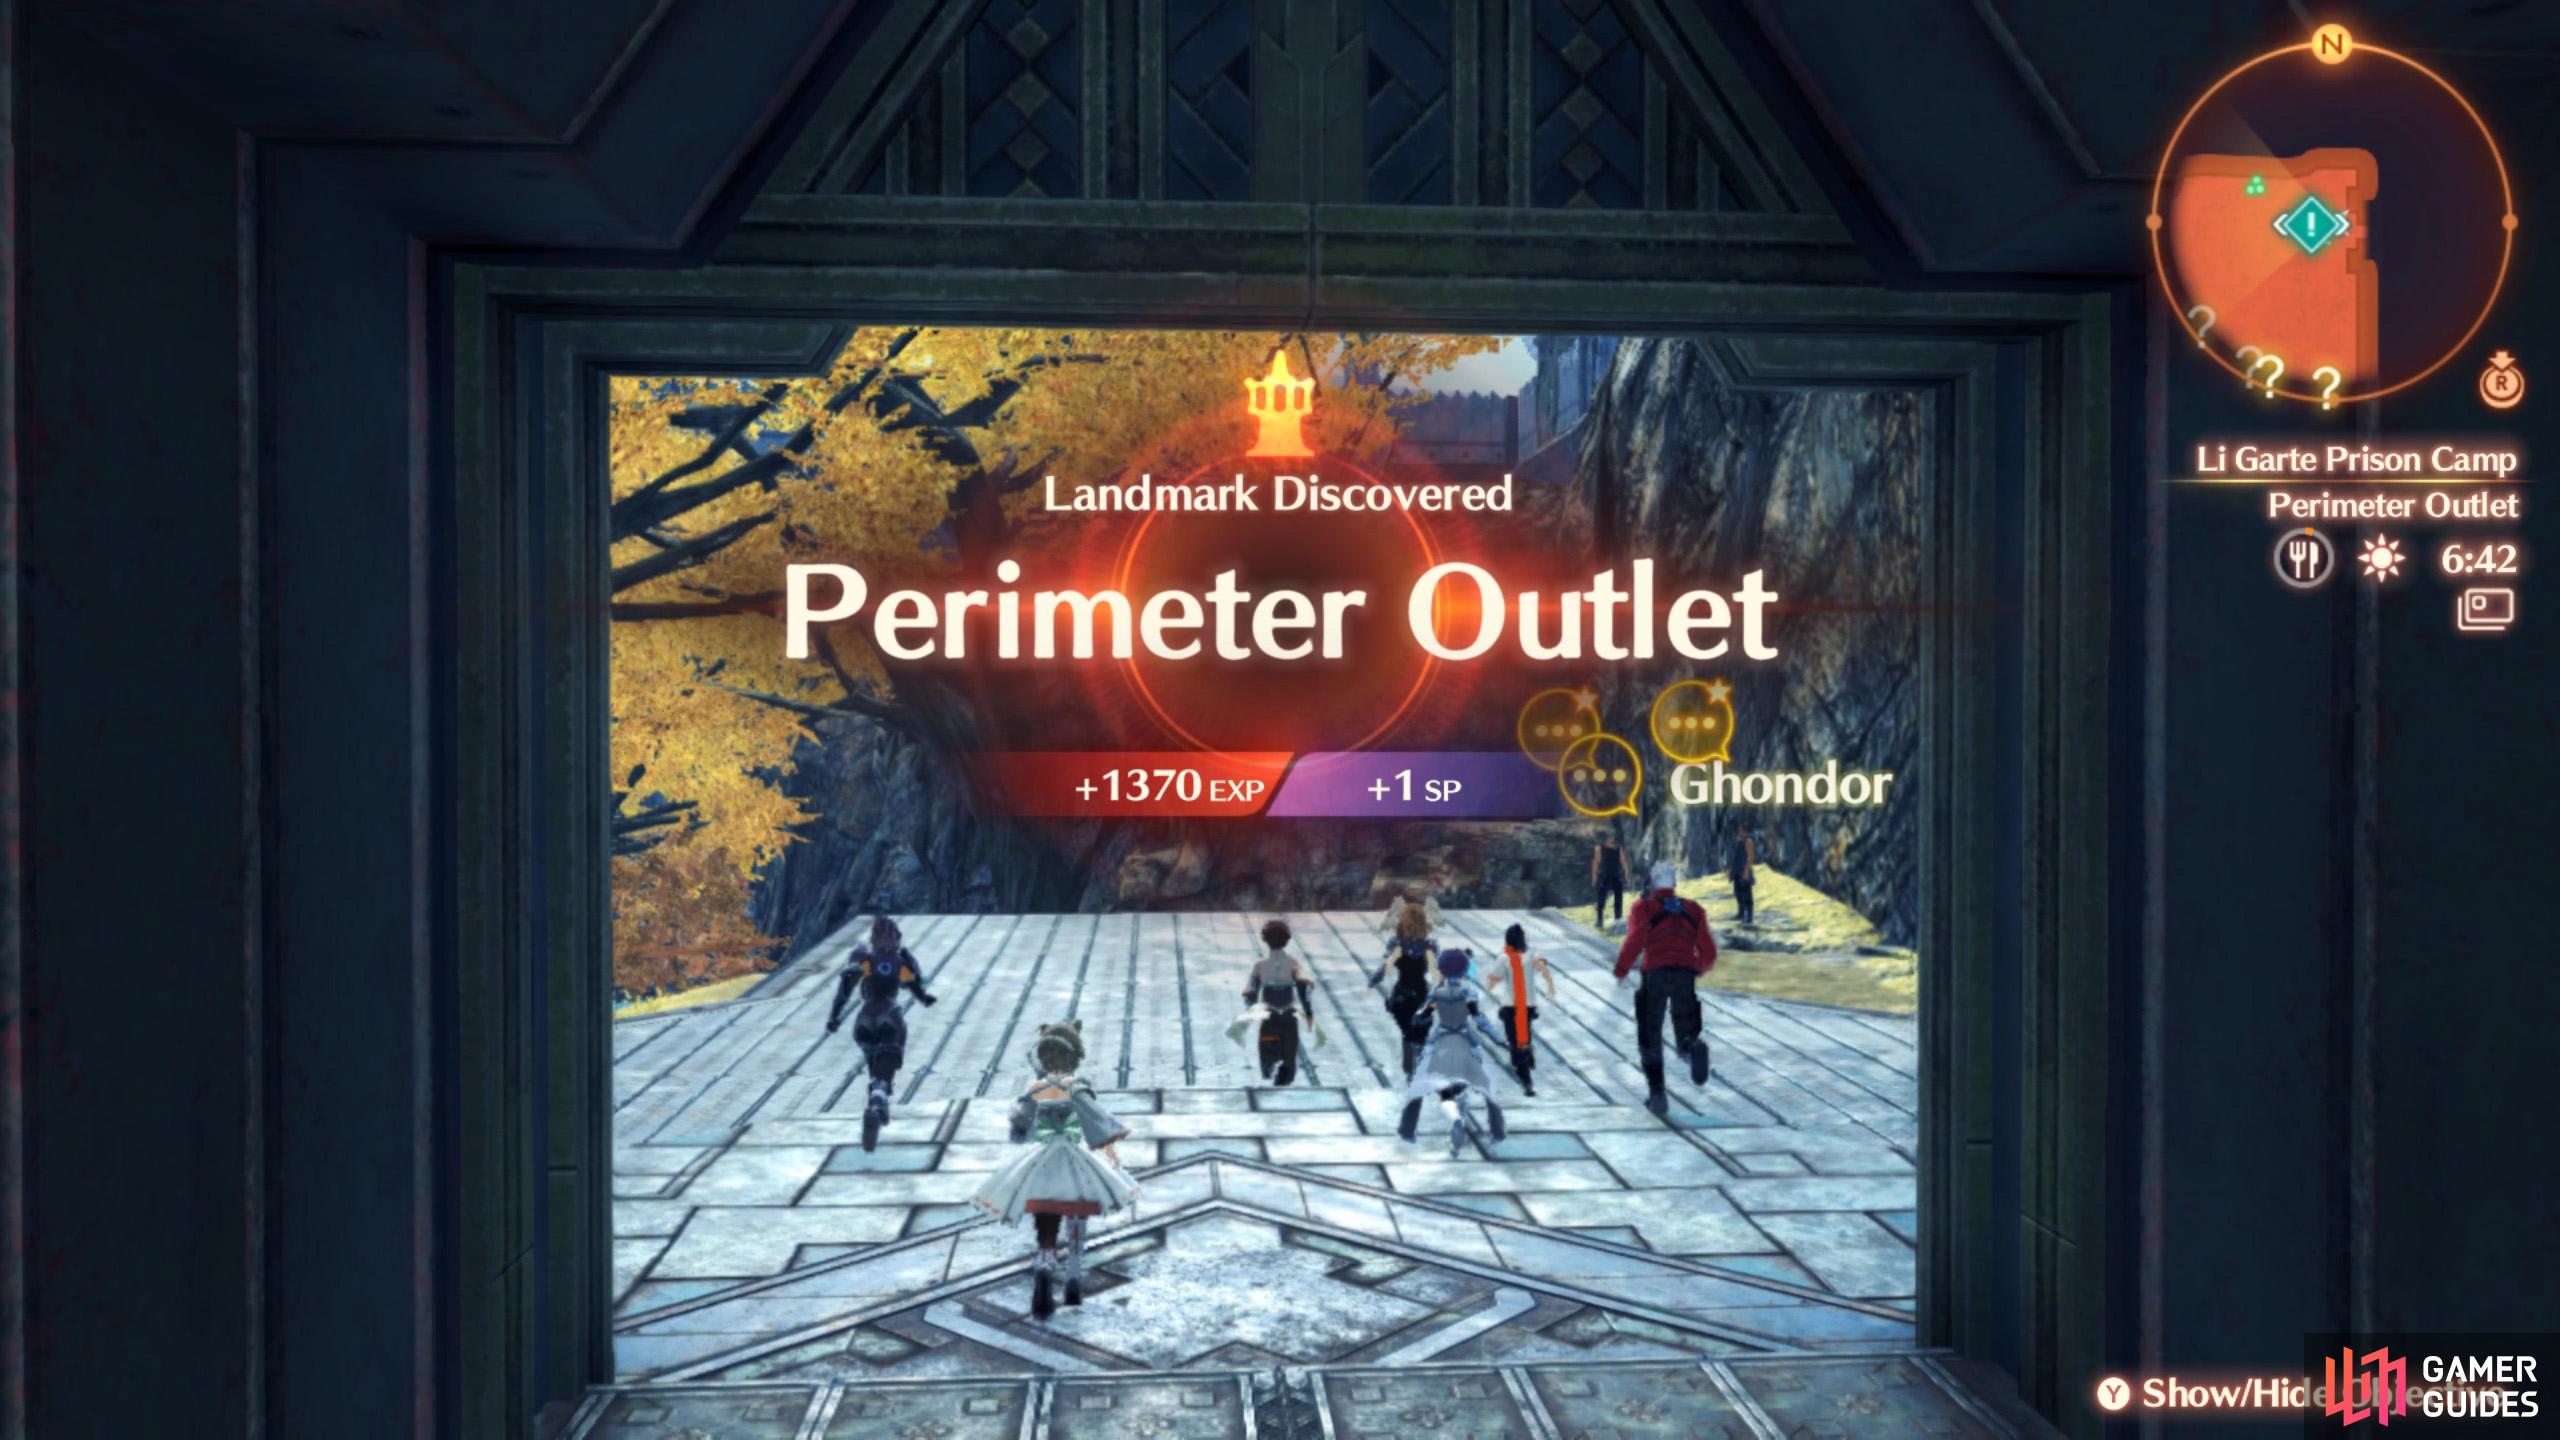
(1 of 2) This leads to the Perimeter Woodland.
This leads to the Perimeter Woodland. (left), Sweet freedom is just around the corner! (right)
| Name | Description |
|---|---|
| Perimeter Outlet | Main entrance of the prison interior, via the west side. |
| Prison Camp, Freight Gate | Entrance to the prison exterior, at the south side of the Perimeter Woodland. |
Rest Spots
| Name | Description |
|---|---|
| Cell No. 1 | North-east corner of the prison interior, within the Communal Cell Block. |
Containers at Li Garte Prison Camp
| Container # | Map Marker | Location |
|---|---|---|
| 1 | Map Marker | South-west corner of the Perimeter Woodland. |








No Comments