
This is a guide for Chapter 1 of Xenoblade Chronicles 3, taking place following the events after the first boss battle in Alfeto Valley in the Aetia region.
The team decides to return to Colony 9 to deliver a report on the situation.
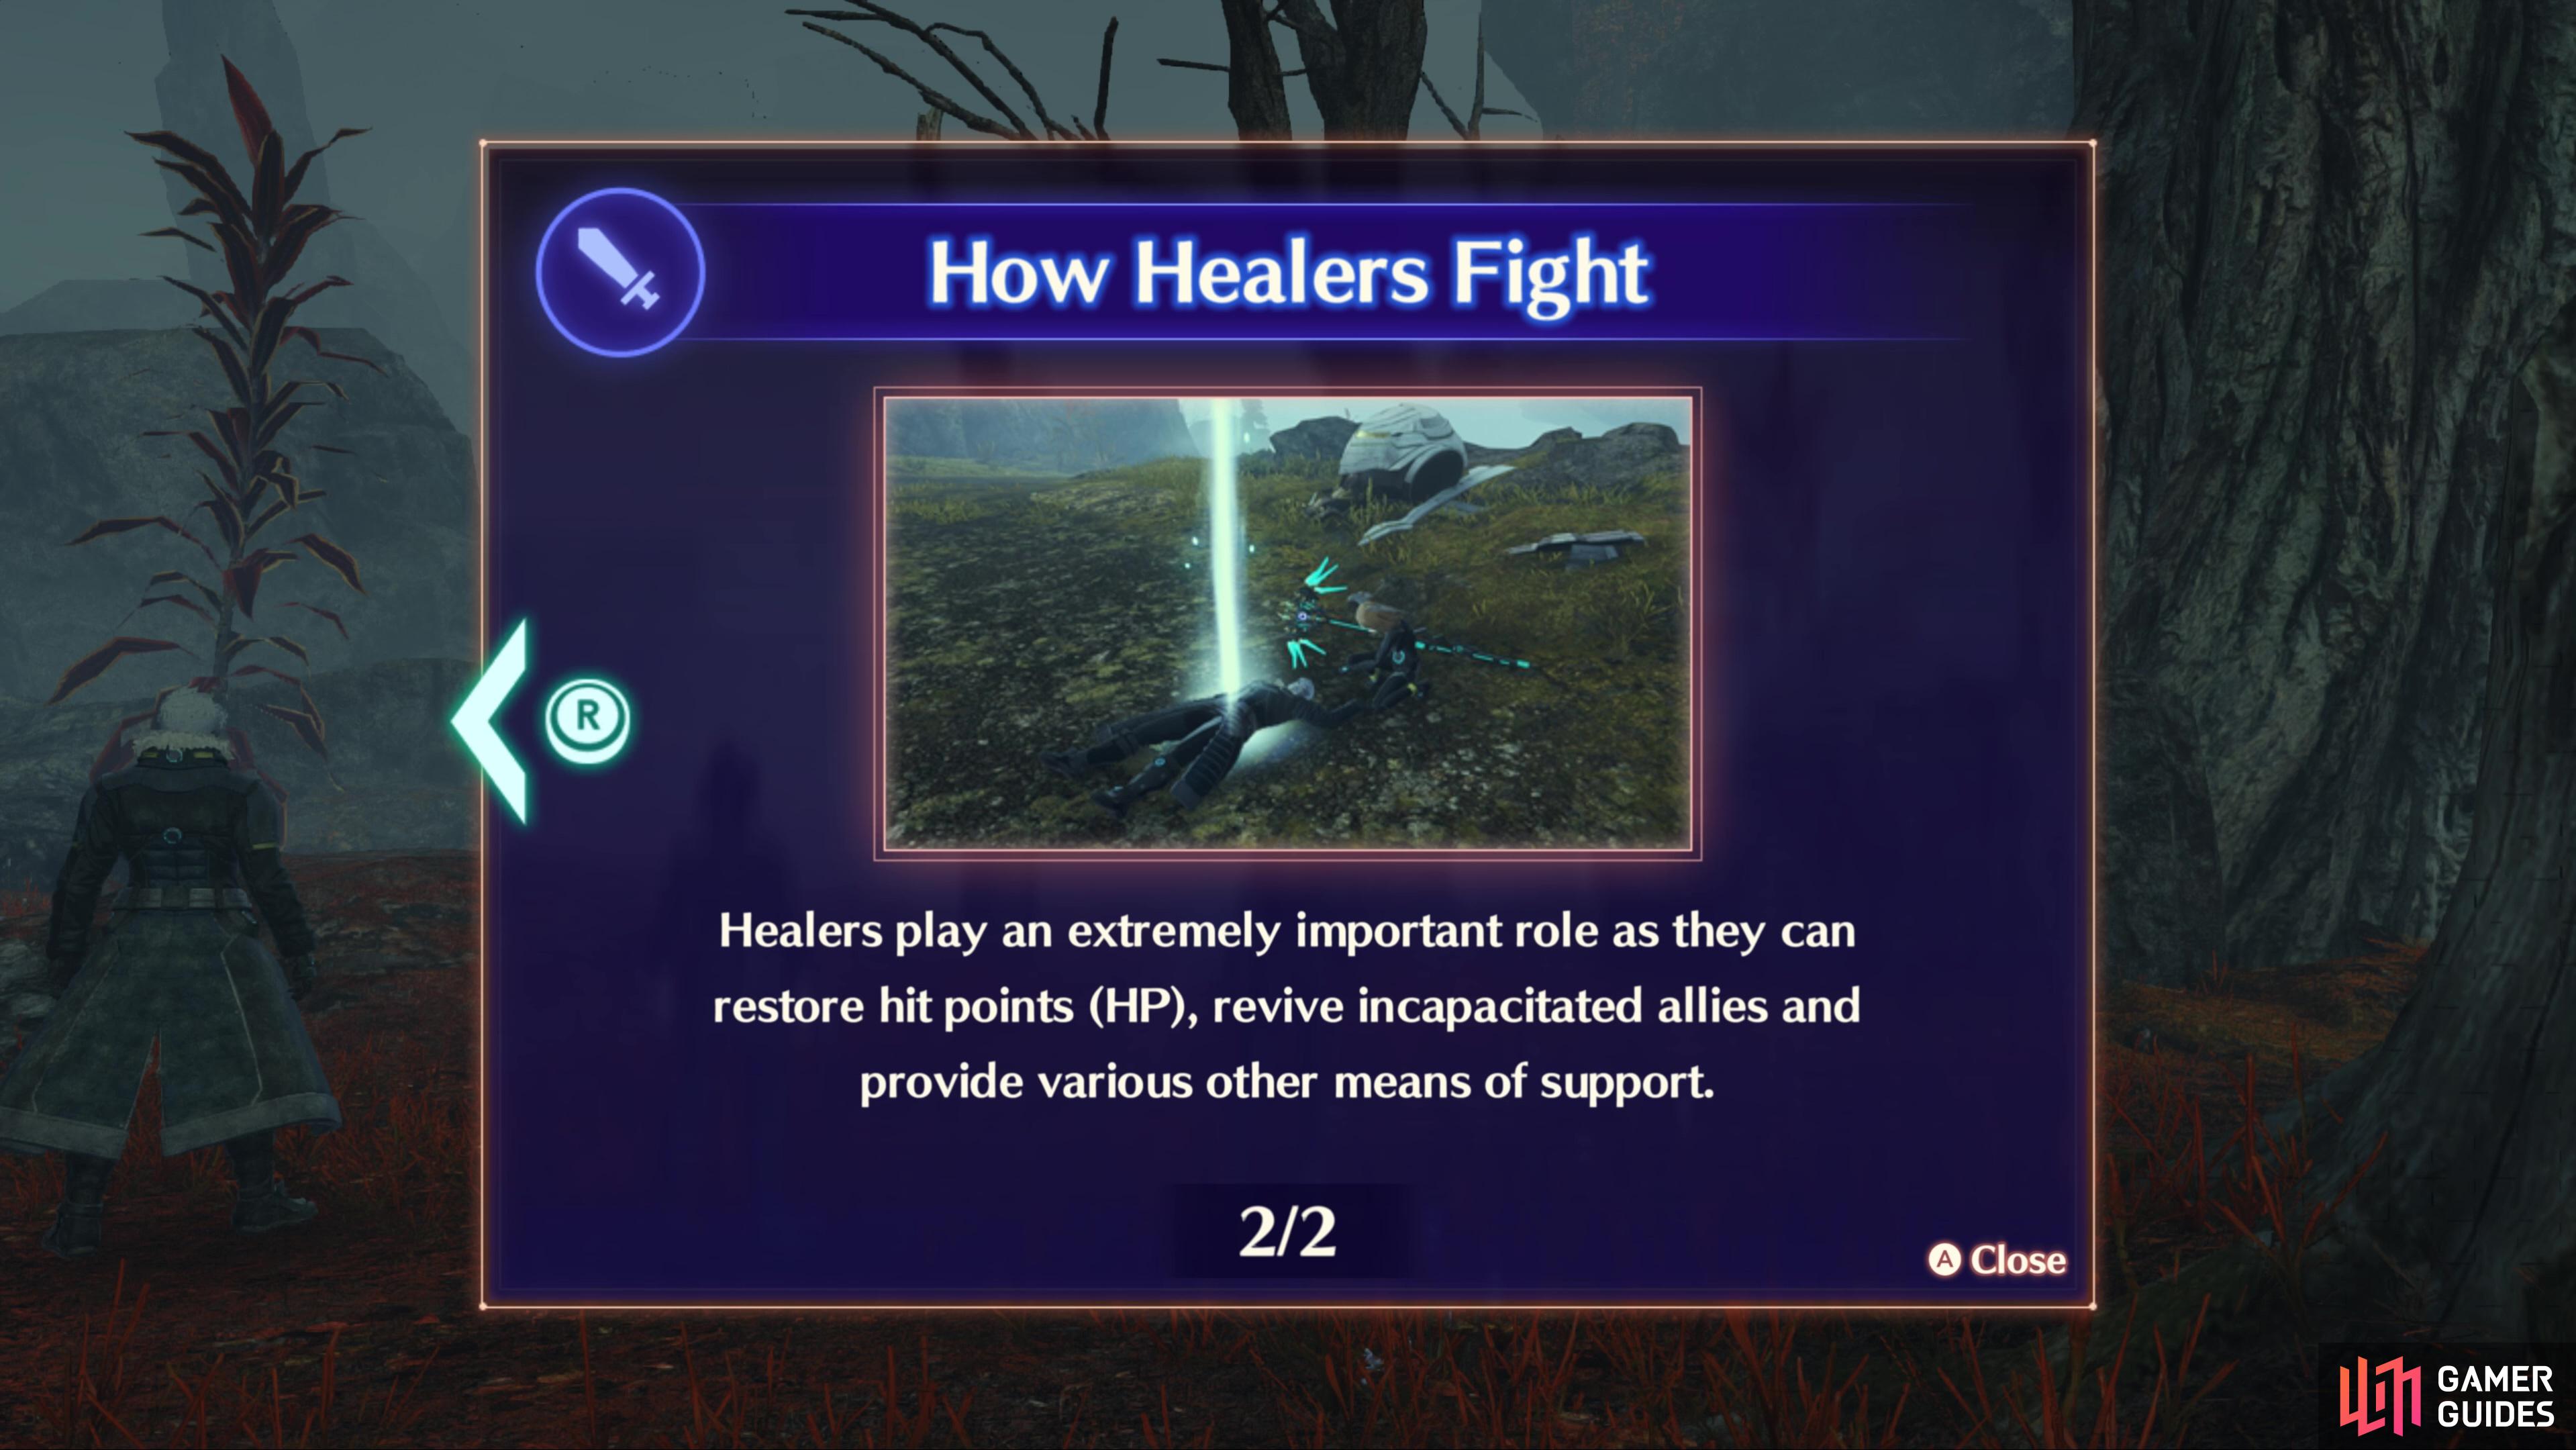
How Healers Fight
Following the events after defeating Moebius, both squads will decide to return to their respective Colonies to get stock of the situation. Given Noah’s recent exertions, Lanz decides that Eunie should take lead of the group, forcing you to control a Healer for this stretch of the game.
The first main difference between Noah and Eunie is the fact that you’re now controlling a Healer, as Eunie is a Medic Gunner. This means that it will play differently to Noah’s Attacker role, and you’ll also now be responsible for the general upkeep of the party. This means you’ll need to make use of healing Arts, revive anyone that may become incapacitated and make use of support Arts.

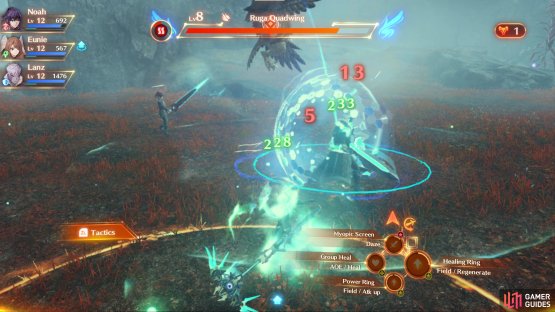
(1 of 2) You’ll be in control of the Healer Role to begin with
You’ll be in control of the Healer Role to begin with (left), you’ll need to keep the HP up of your allies while playing as Eunie. (right)
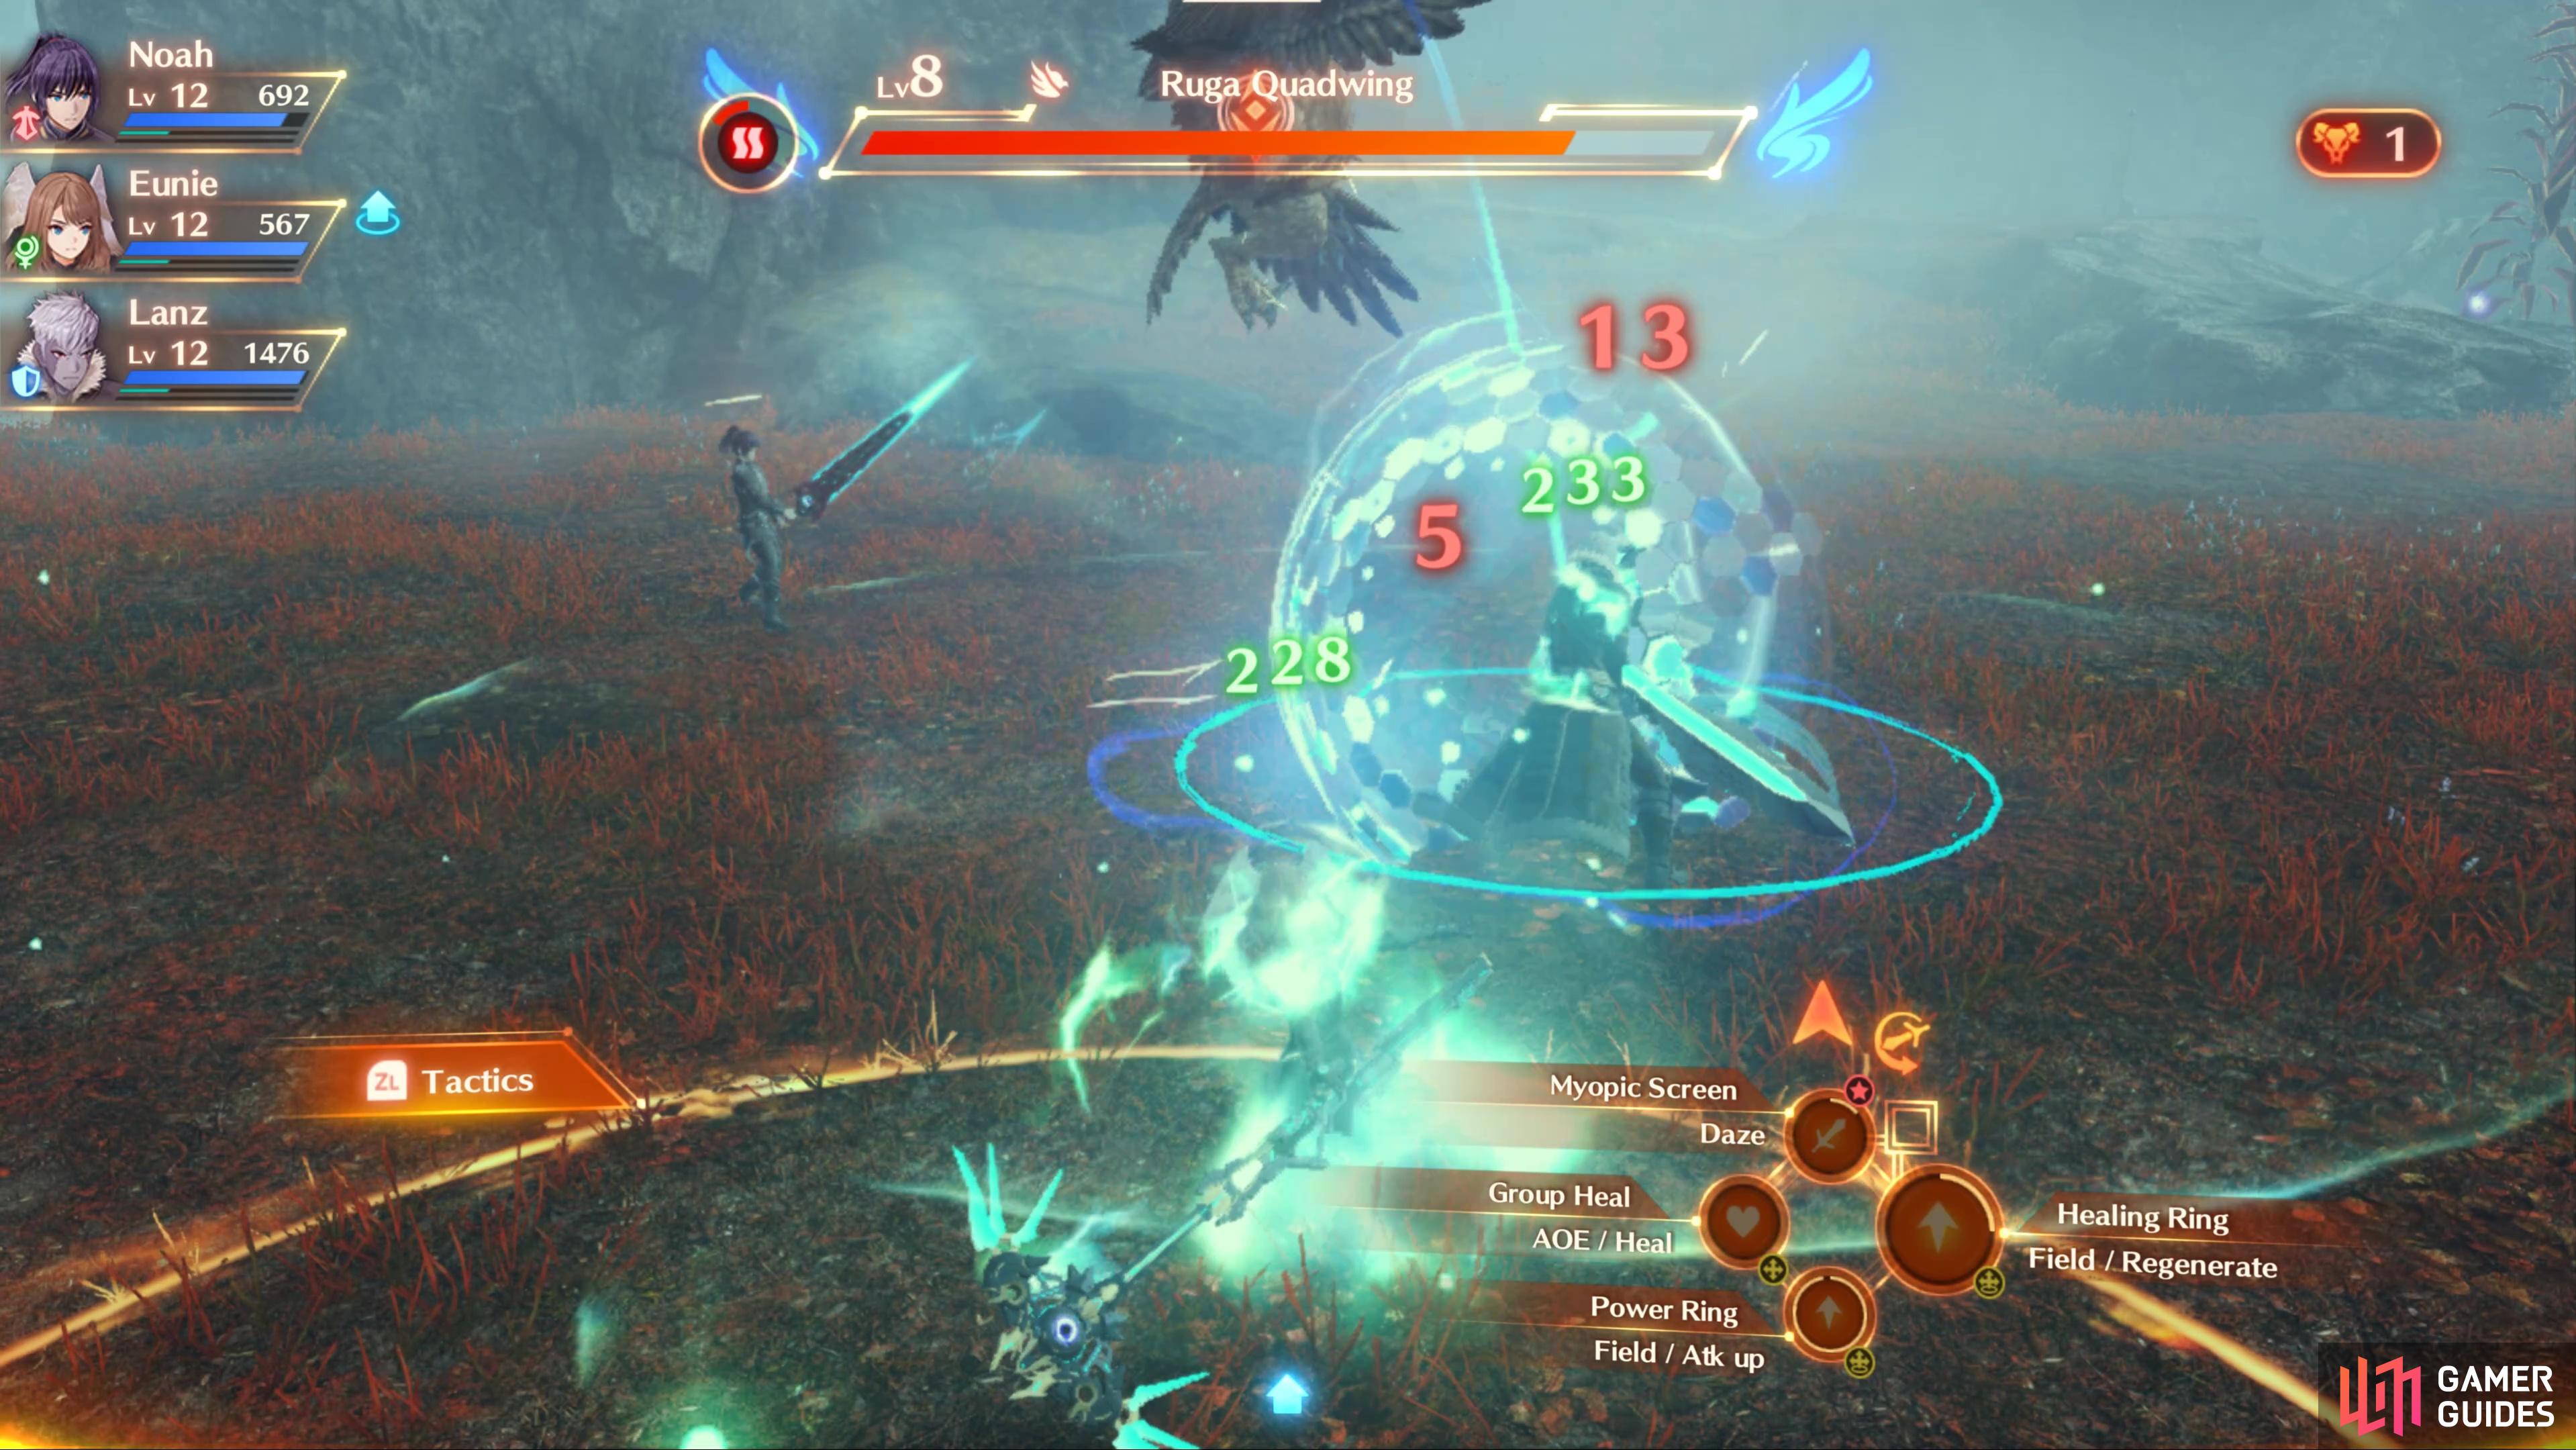
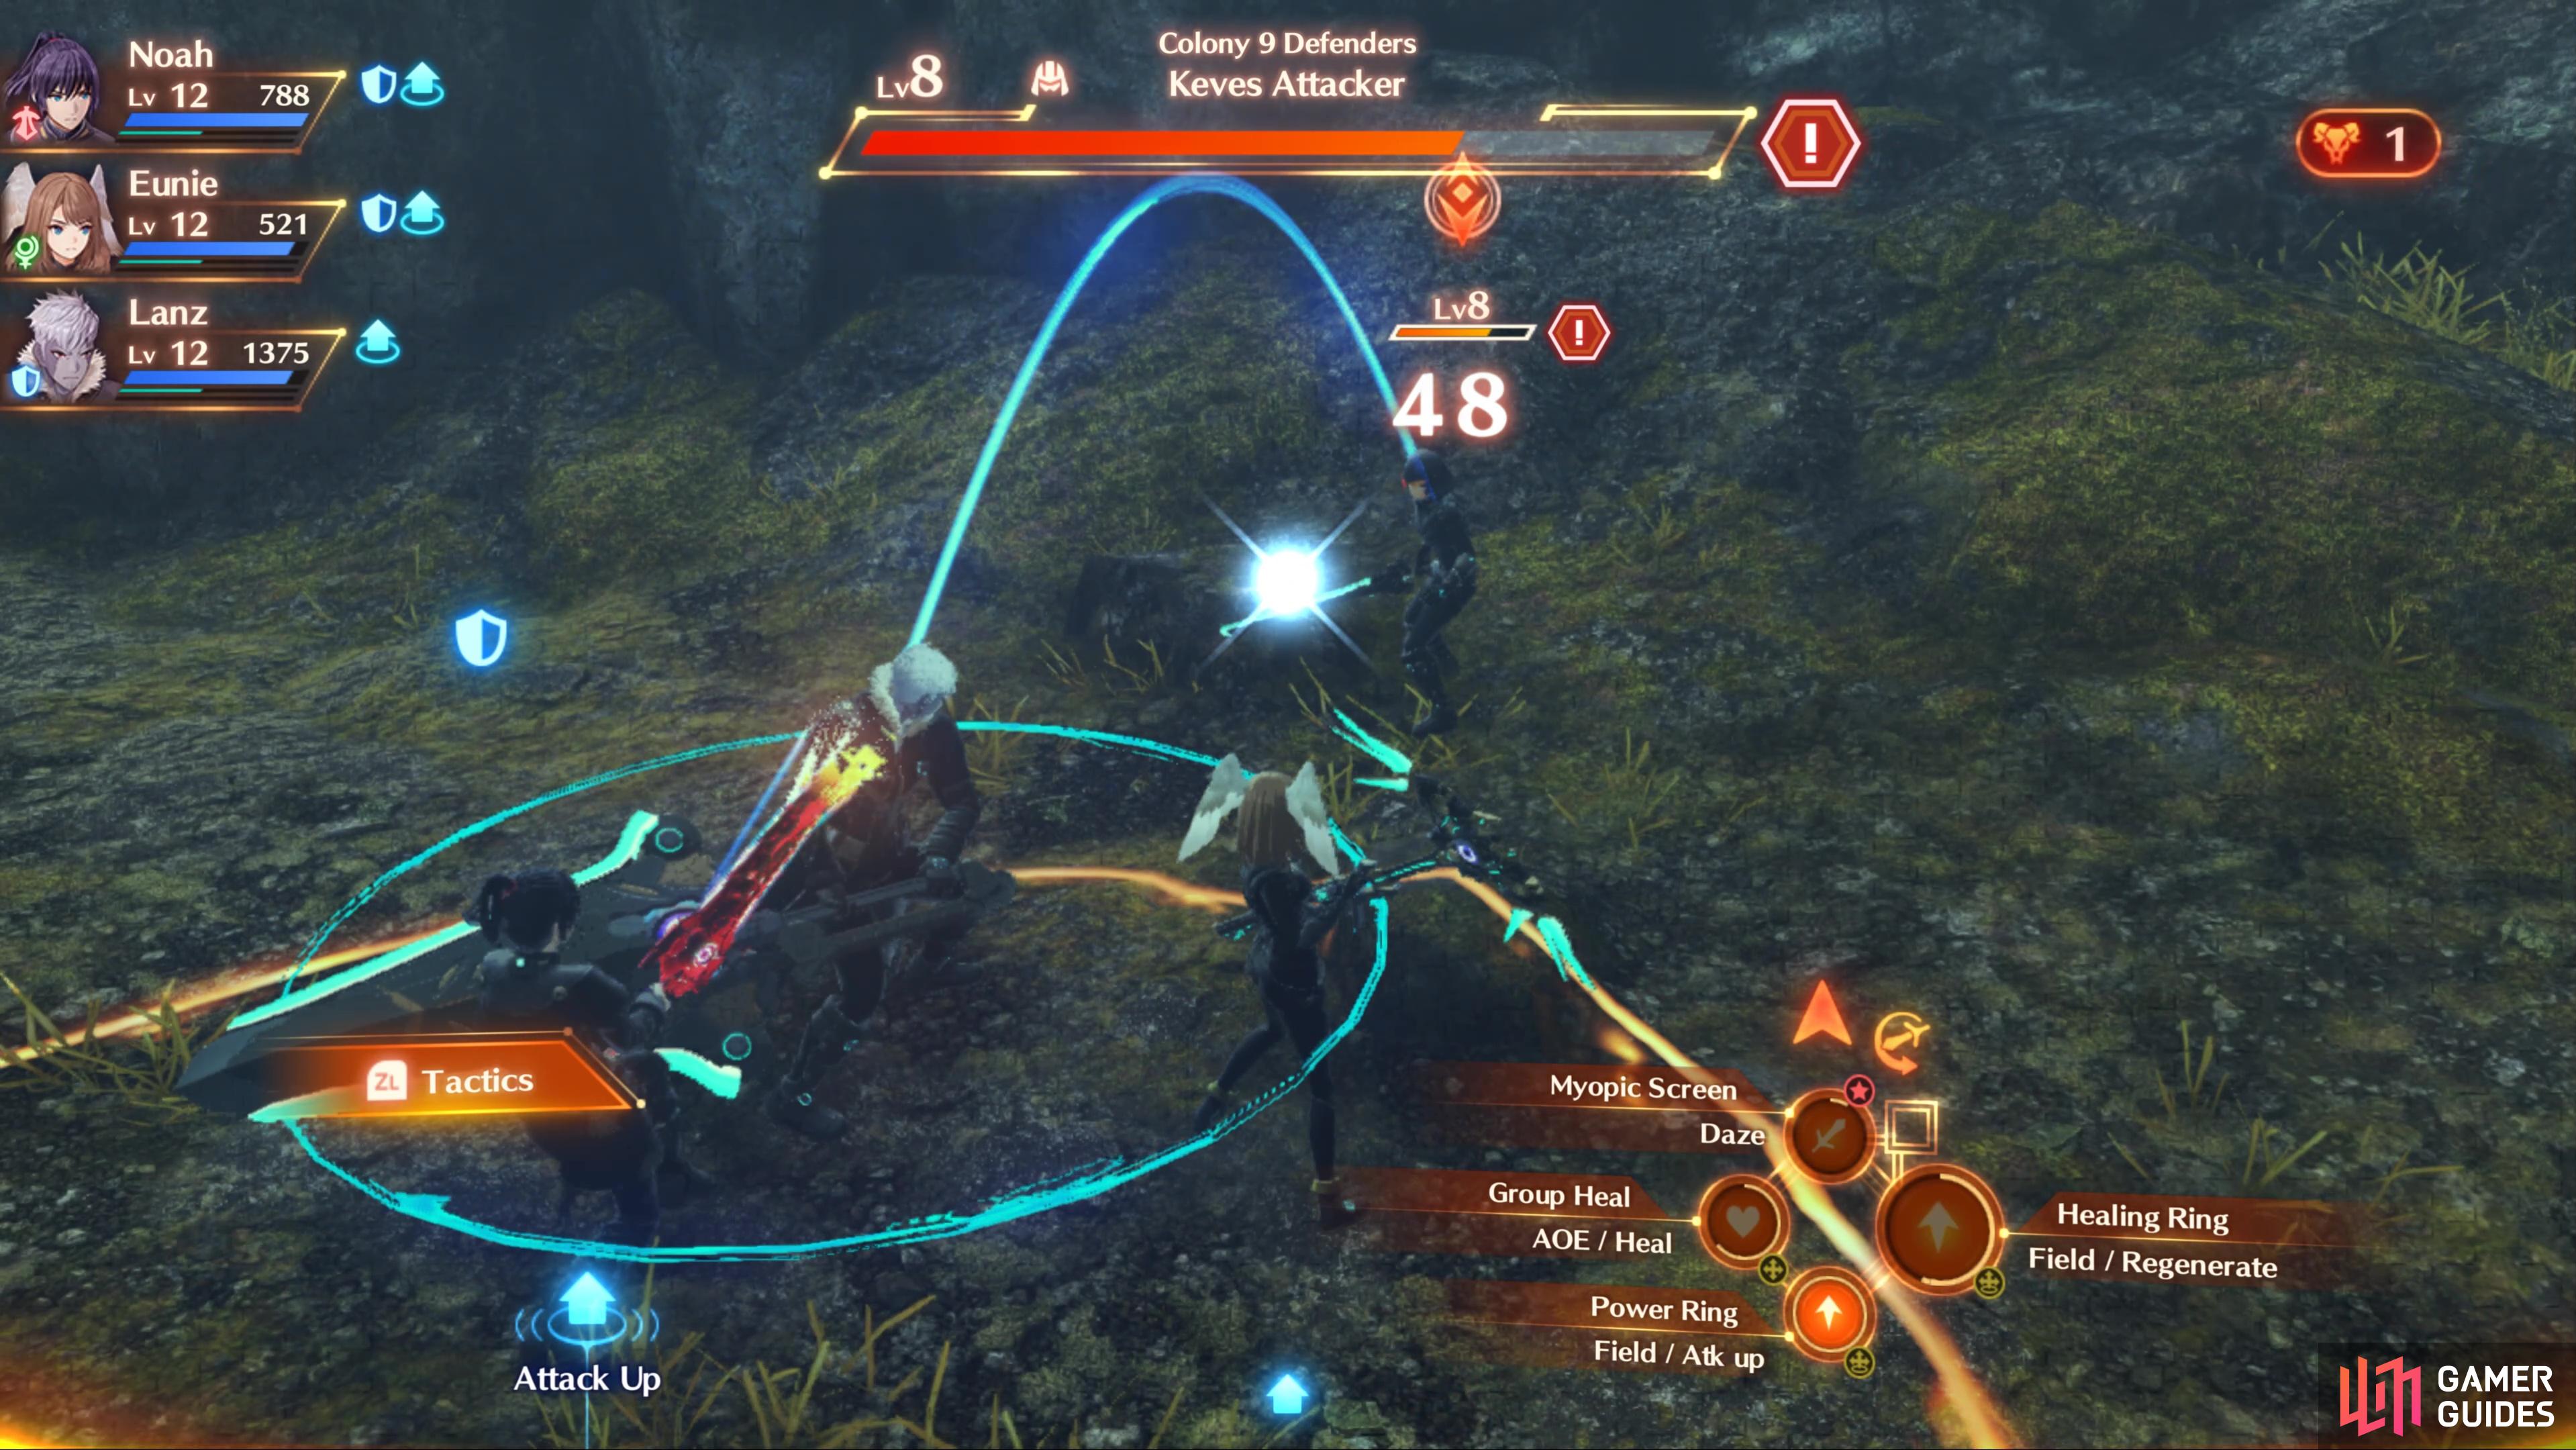
Role Actions will change with the Healer too, creating different methods to fill the Talent Gauge. To increase this, you’ll need to use Arts that place field effects on the battlefield it will also fill gradually by using any actions that offer support, be it buffs, removing debuffs, reviving and general healing. Eunie’s current Talent Art, Healing Ring, is your most potent healing ability right now.
For now, your destination is the way you came as you’ll be prevented from going any other direction. Unfortunately, Skip Travel is also disabled right now so you’re going to have to make the trek yourself. This is a good opportunity however to fight some battles and get used to the Healer Role as you may find yourself needing to manually control Healers at times in the tougher battles. You’ll also notice that Volffs and other beasts have replaced the Agnus and Automatons you fought on the way down.
Although not too difficult, this battle will test your abilities to keep your party alive.
Once you reach the Main Story objective, you’ll be forced into battle against your former allies, Colony 9 Defenders. These are all Attackers and should pose little threat at this point, but still provide an ample test of your healing abilities and you may find yourself needing to make use of Healing Ring. Following your victory, Noah remembers the words of Moebius and the group realize they can’t return to Colony 9.
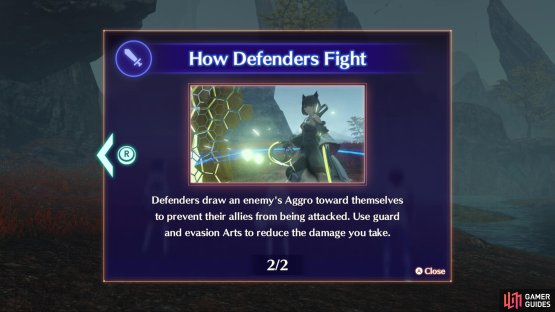
How Defenders Fight
Play switches to Mio and her group at this point, as they too encounter the same issues that Noah’s group have with their own Colony. This time around, you’ll be in control of Mio and the Defender Role, the final Role for you to learn how to play.
Mio is the Zephyr Class, and her tanking Arts change slightly from how you may have noticed Lanz tanking. The Zephyr Class is more of an Evasion tank, looking to evade attacks rather than block them as much. As you may expect, your role as a Defender is to draw the enemy’s Aggro toward you while using guard or evasion arts to limit the damage you take. Once again, you’ll need to perform different Role Actions as a Defender to fill the Talent Gauge. The best way to do this is by using Arts that cause Aggro, although you can also gradually fill it by blocking, evading, and interrupting your foes.

(1 of 2) You’ll be in the Defender Role when play switches to Mio

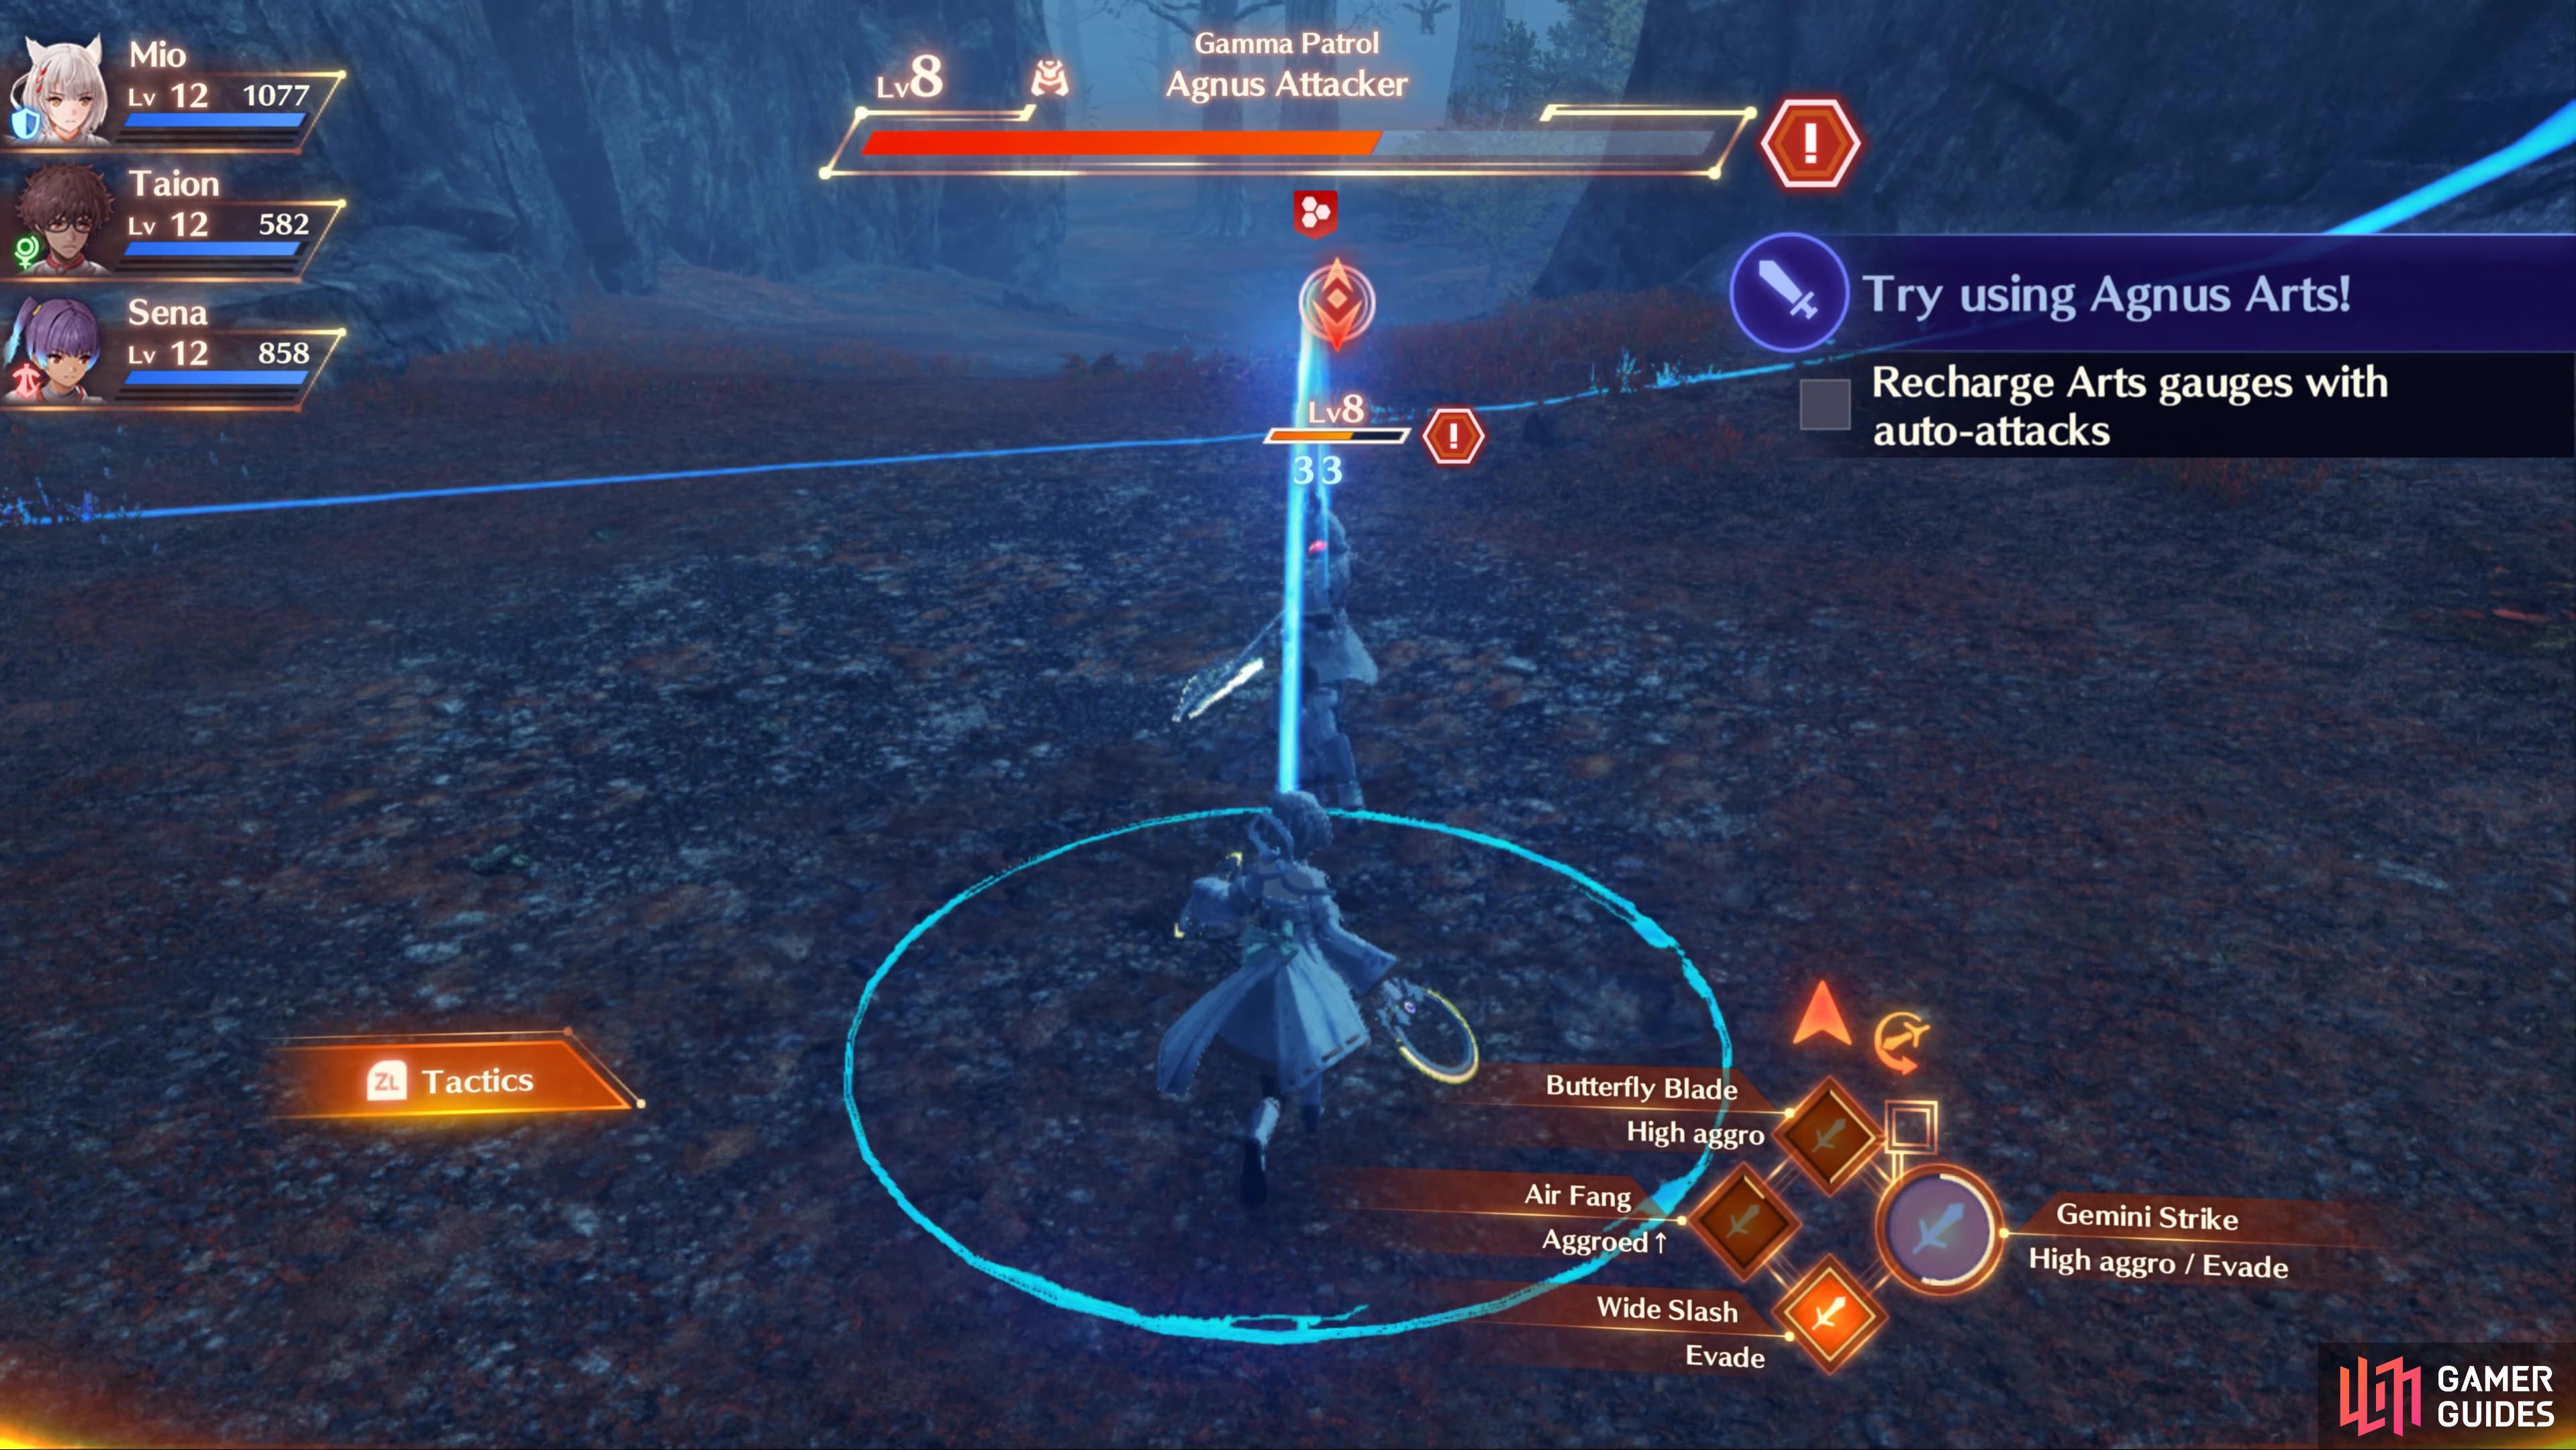
You’ll be in the Defender Role when play switches to Mio (left), you’ll want to ensure the blue line is always on your tanks. (right)
You’ll find yourself in Melnath’s Shoulder, in Loch Ciel with your destination being where you fought Moebius. As you follow the Main Story marker, you’ll be forced into battle against a sole Agnus Attacker, this should be no problem to deal with, but it will give you your first taste at tanking. Make sure that the enemy’s target line is blue and on Mio by using her Aggro Arts. In general, you can use the targeting lines to see if an enemy is on a tank (blue) or another party member (red). If you see a red line, do everything you can to grab the Aggro of that enemy.
You’ll also learn that Agnus Classes recharge their Arts different than their Keves counterparts. While Kevesi classes’ recharge over time, auto-attacks will recharge Agnian classes’ Arts gauges. Take the time to practice some more against the enemies around here as you follow the destination marker and if you’re feeling truly confident, attempt some Elite or the Unique enemy in this clearing.
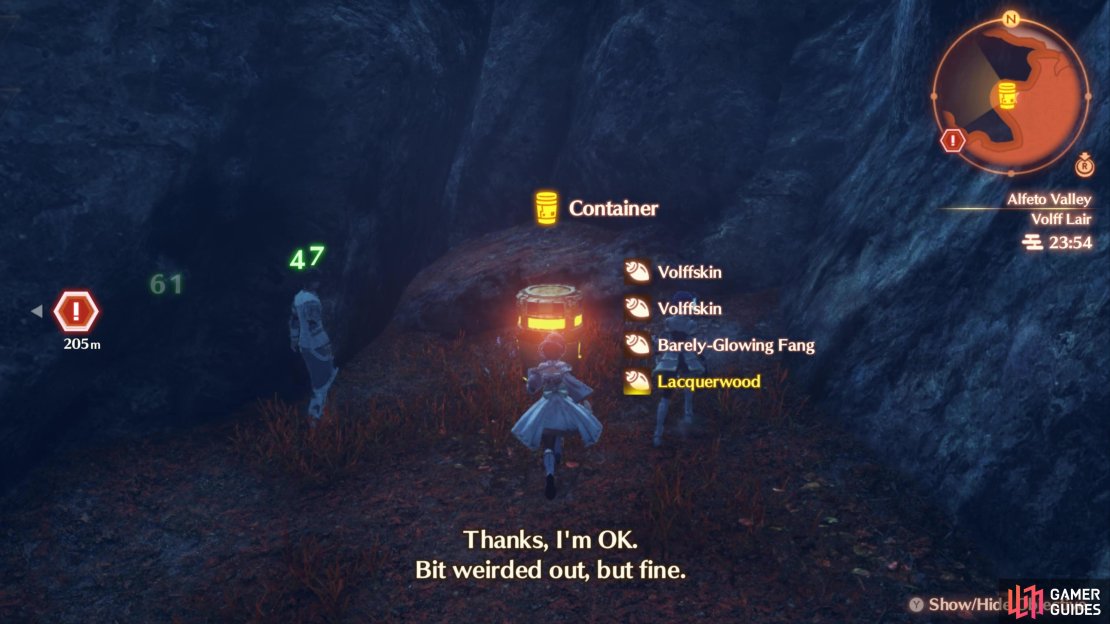


(1 of 3) Take down an Elite Enemy to gain access to this Container
While you make your way to the south, head to the western corner in the clearing first to locate a Container behind a group of Volffs (including an Elite), inside you’ll find a Bronze Temple Guard (Rare) and two Gemstones. You’ll also find another Soldier Husk nearby before you make the short trip west to the destination marker where some lengthy scenes will take place and eventually concludes Chapter 1.
No Comments