
This page offers a guide on how to complete No Want of Courage and unlock Ethel as a permanent party member in Xenoblade Chronicles 3.
Hero Quest: No Want of Courage.
How to Unlock ‘No Want of Courage’
To begin this quest, you’ll have to first speak to Oleshandra during the Helping Out standard quest. She can be found at the Colony 4 Medical Quarter, near the canteen. After collecting both bits of info, you’ll then be prompted to sit and discuss Colony 4’s problems at the Colony 4 Canteen rest spot. After resting and discussing, you’ll begin the No Want of Courage quest.
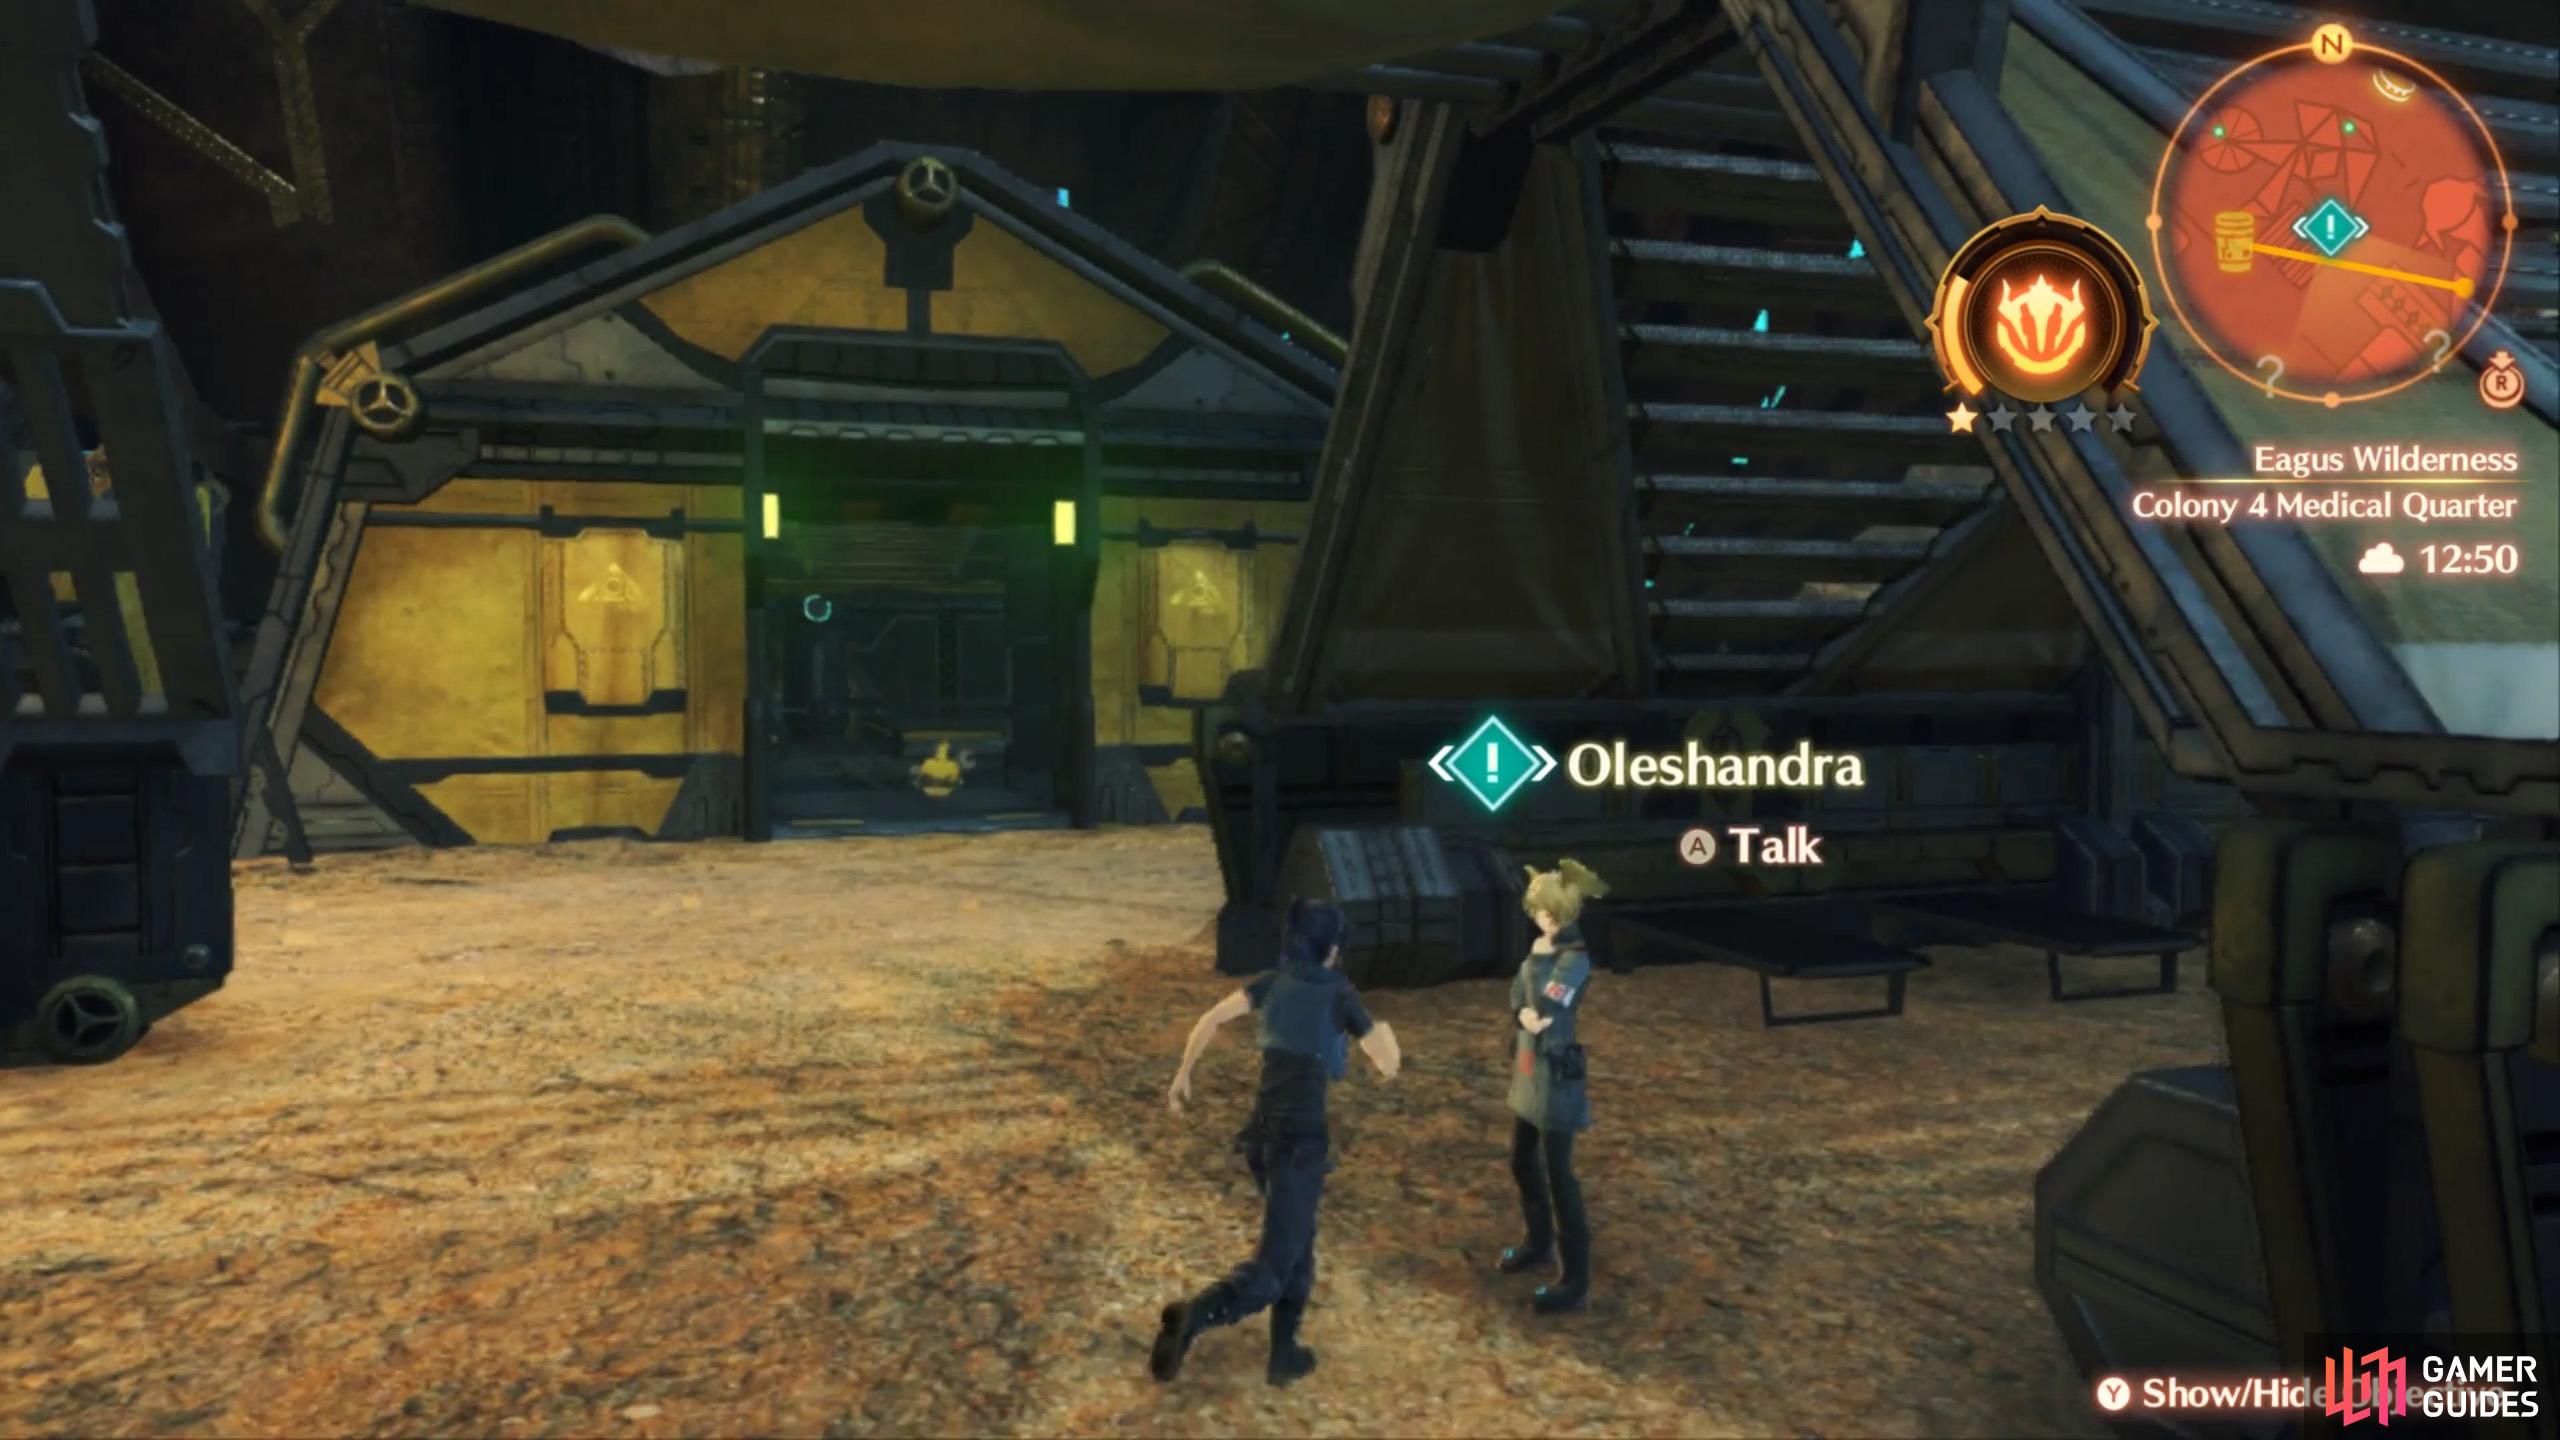
Oleshandra at the Colony 4 Medical Quarter, near the canteen.
Find Ethel at Galghour’s Menhir
After resting, you’ll need to head over to Galghour’s Menhir, which can be found northeast of Colony 4. To get to this area, you’ll need to run through Racine’s Platter and take the ladder shortcut down to Piento Basin. At the center of this area, you’ll find Galghour’s Menhir, which is a large mound with a spiral path going all the way to the top.
Ethel is found on the top of Galghour’s Menhir and there are a few enemies that’ll try to fight you as you make your way up the spiralling path. If you’d prefer you can just run past them all the way to the top to trigger the cutscene with Ethel.
You can just run past the enemies found on Galghour’s Menhir!
Find the Supply Drop
After speaking to Ethel, you’ll be prompted to focus on the supply drop by using  . The supply drop is to the northwest and after another talk with Ethel, you’ll be required to head over to the supply drop. Leave Galghour’s Menhir and make your way over to the Wall of the Great Hand. During this period you’ll also have Ethel fighting alongside you!
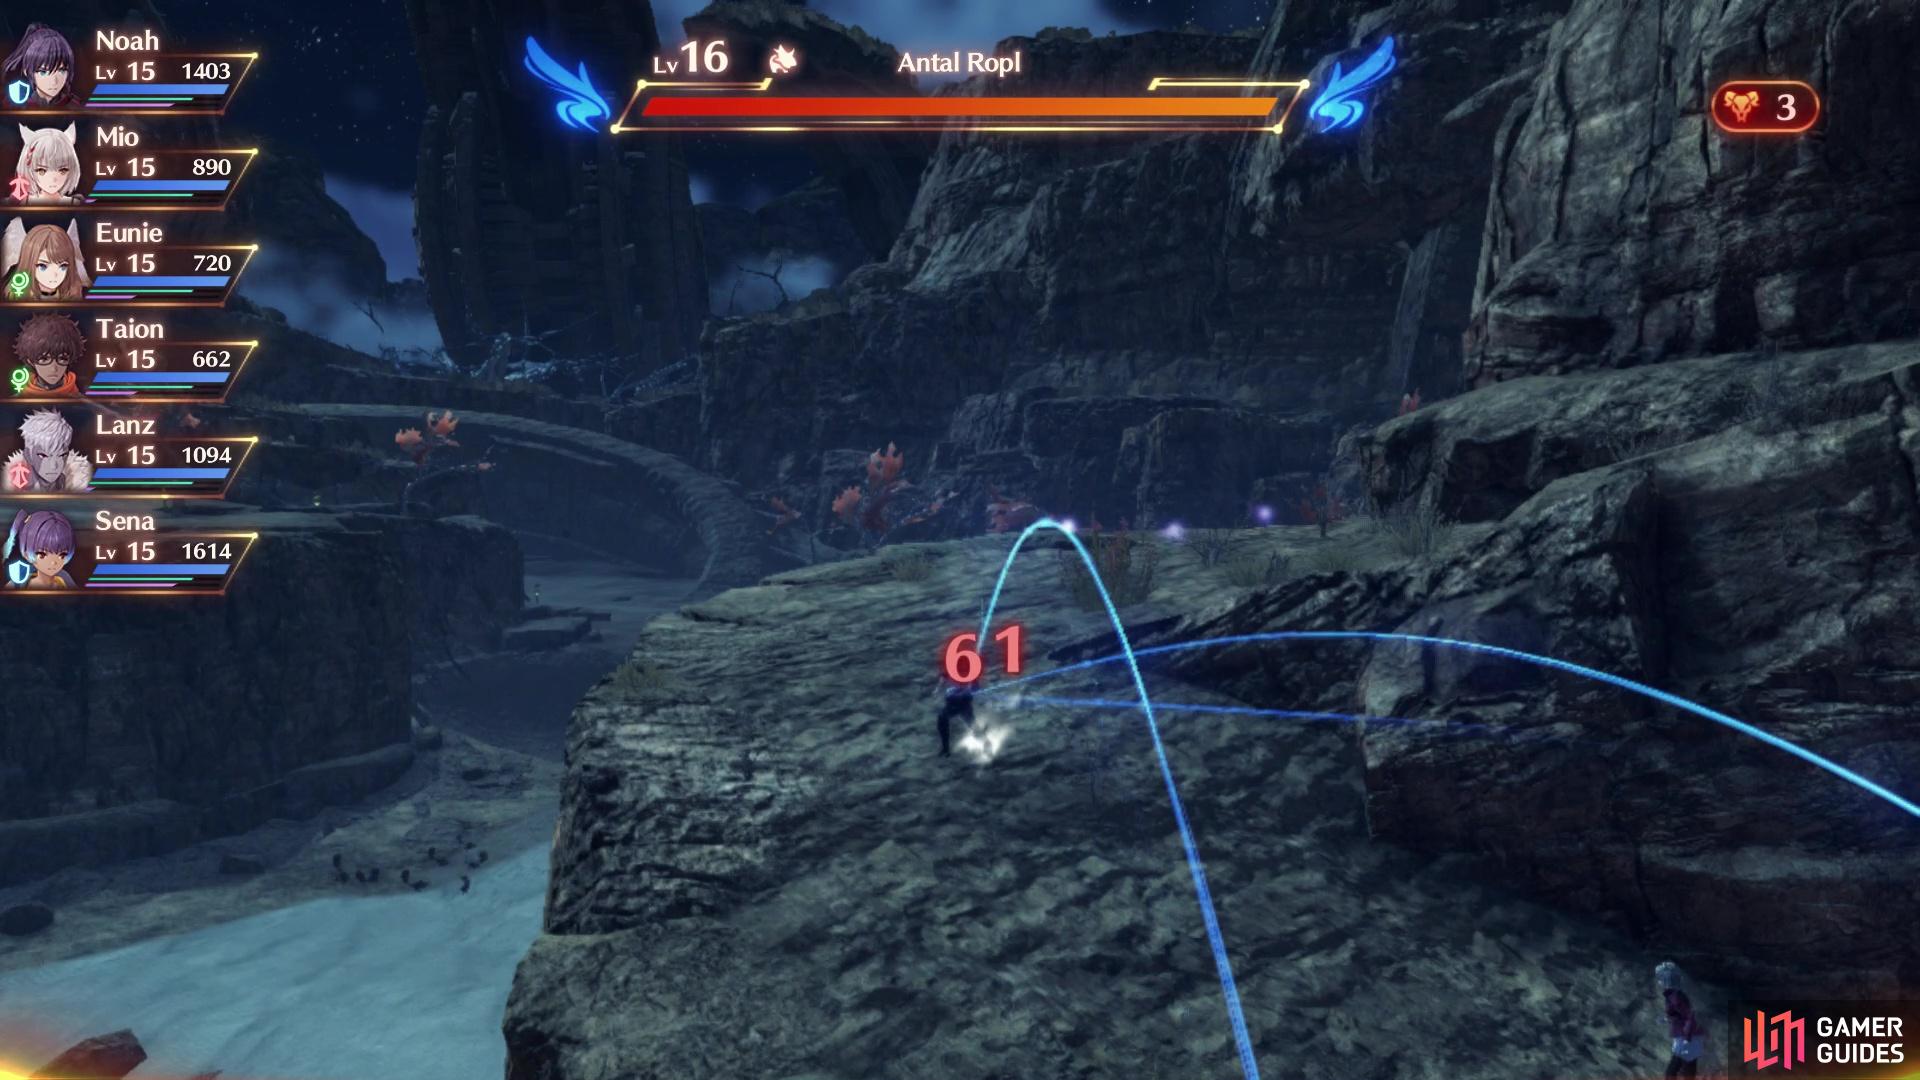
Now there are two ways to pass the wall to reach the supply drop. The easiest (but perhaps not the most obvious) way to cross the wall is to locate the hole found in along a ledge in the middle of the wall.
The second way you could choose to pass the wall is to try cheesing it and dropping off the top of the wall. If you have a high enough level you can find one of the shorter parts of the wall and hope you can drop down without dying! Not the most ideal method but who doesn’t love a bit of limit testing?!
As you approach the supply drop area, you’ll trigger a fight with 4 Level 17 Volffs!
How to Defeat the 4 Hunter Volffs
Depending on how quickly you’ve passed through the game, you may be a level or two lower than the Hunter Volffs but this fight is still definitely doable even if you are underlevelled. You’ll want to make the most of interlinking to perform AOE attacks and whittle down their health with the powerful Ouroboros arts. If you do it at the very start of the fight you may be able to use the Ouroboros form again near the end of the fight depending on how long the battle lasts and whether your partner is still alive.
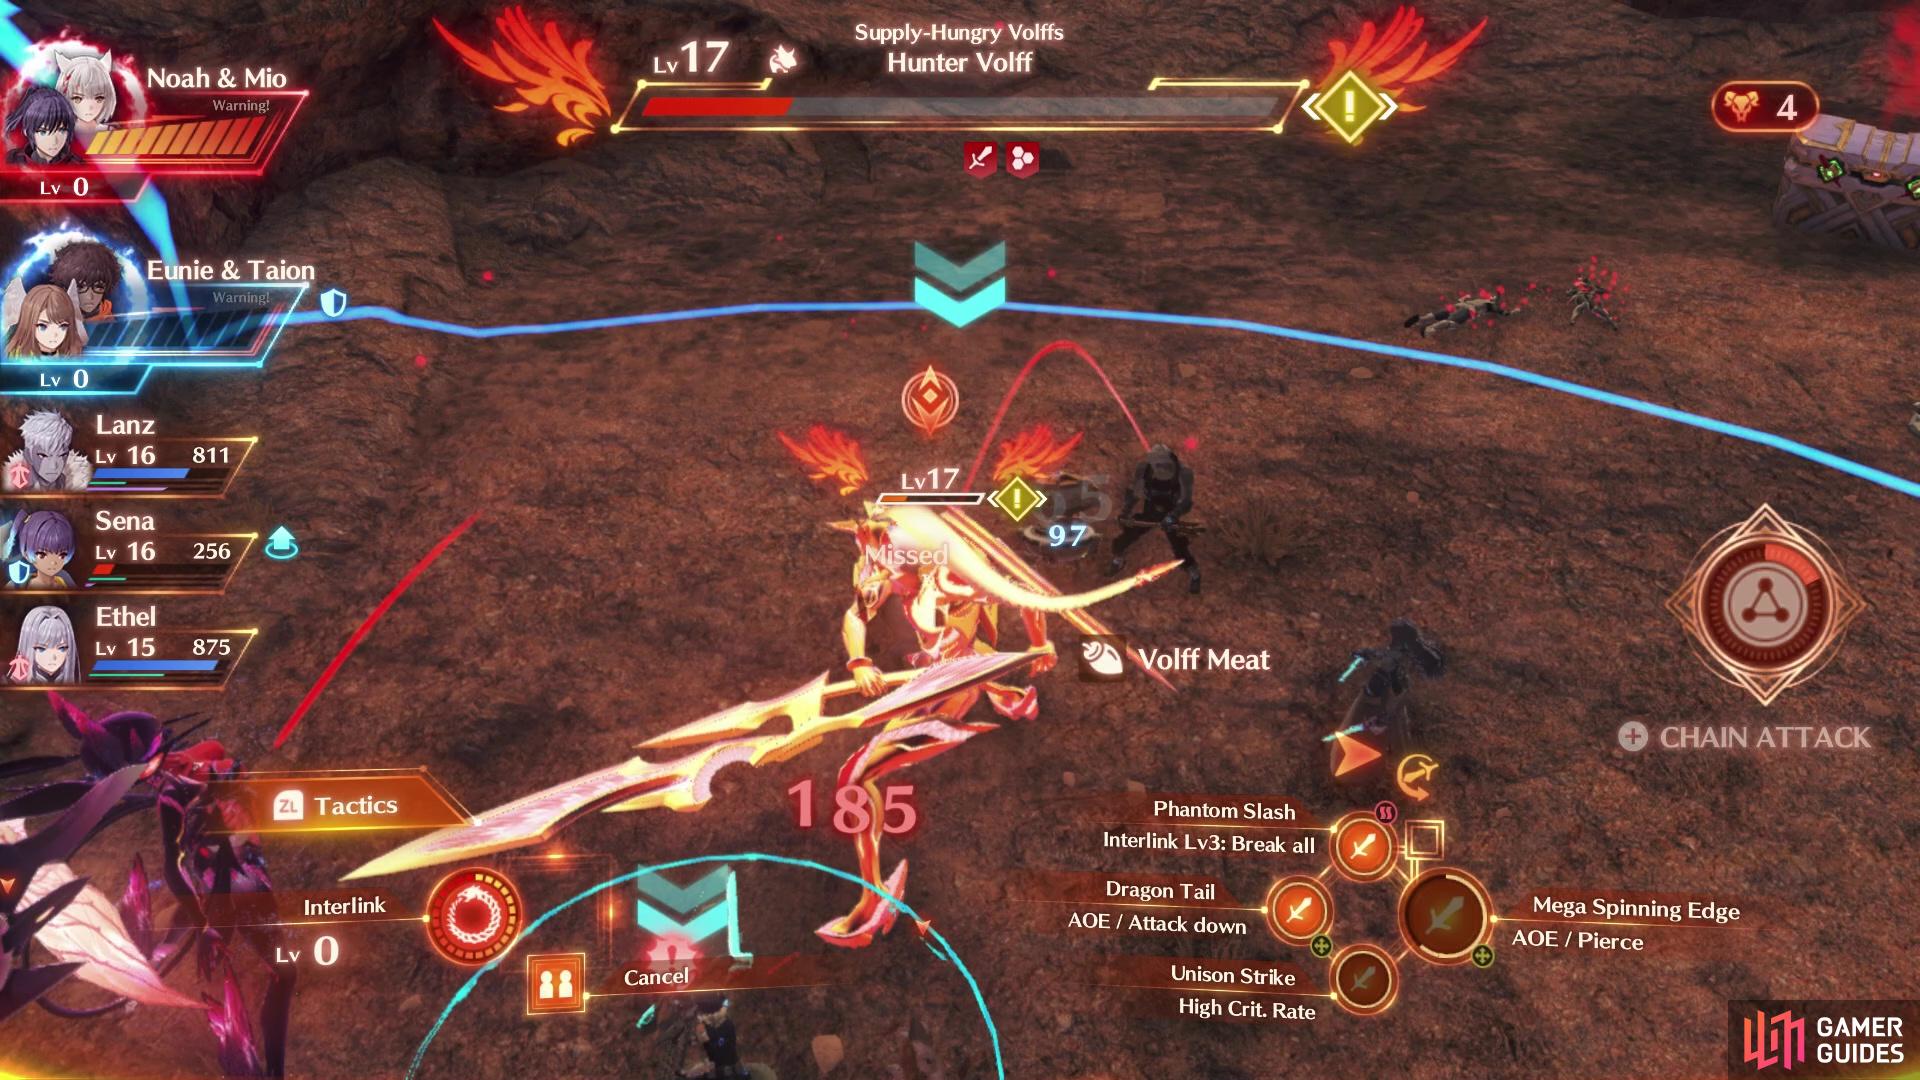
Poor Volffs won’t know what hit ’em!
If you’re playing as an aggro character you should be mindful to keep an eye on the healers in your party. It’s important they stay alive to heal you and provide other useful buffs so make sure to frequently draw aggro away from them. To do so, you’ll need to be quick to switch between enemy targets and use your aggro arts!
As always, positioning is always key in combat, and even more so in fights with multiple strong enemies. Make sure to utilise the buff circles - the evade circles are particularly useful as they’ll help you dodge attacks.
And finally, you’ll definitely want to try to pull off some combos! If you have a preference (break>topple>daze or break>topple>launch) you can select it in the tactics menu during the fight. It’s probably unlikely that you’ll trigger a chain attack as the volffs fight won’t last all that long so just try to do as much damage as you can through your ouroboros form and by landing positional arts effectively!
Once you’ve defeated them, you’ll be prompted to collect the supplies from the supply drop. Be sure to also send off the Soldiers nearby to earn affinity points with the colony.
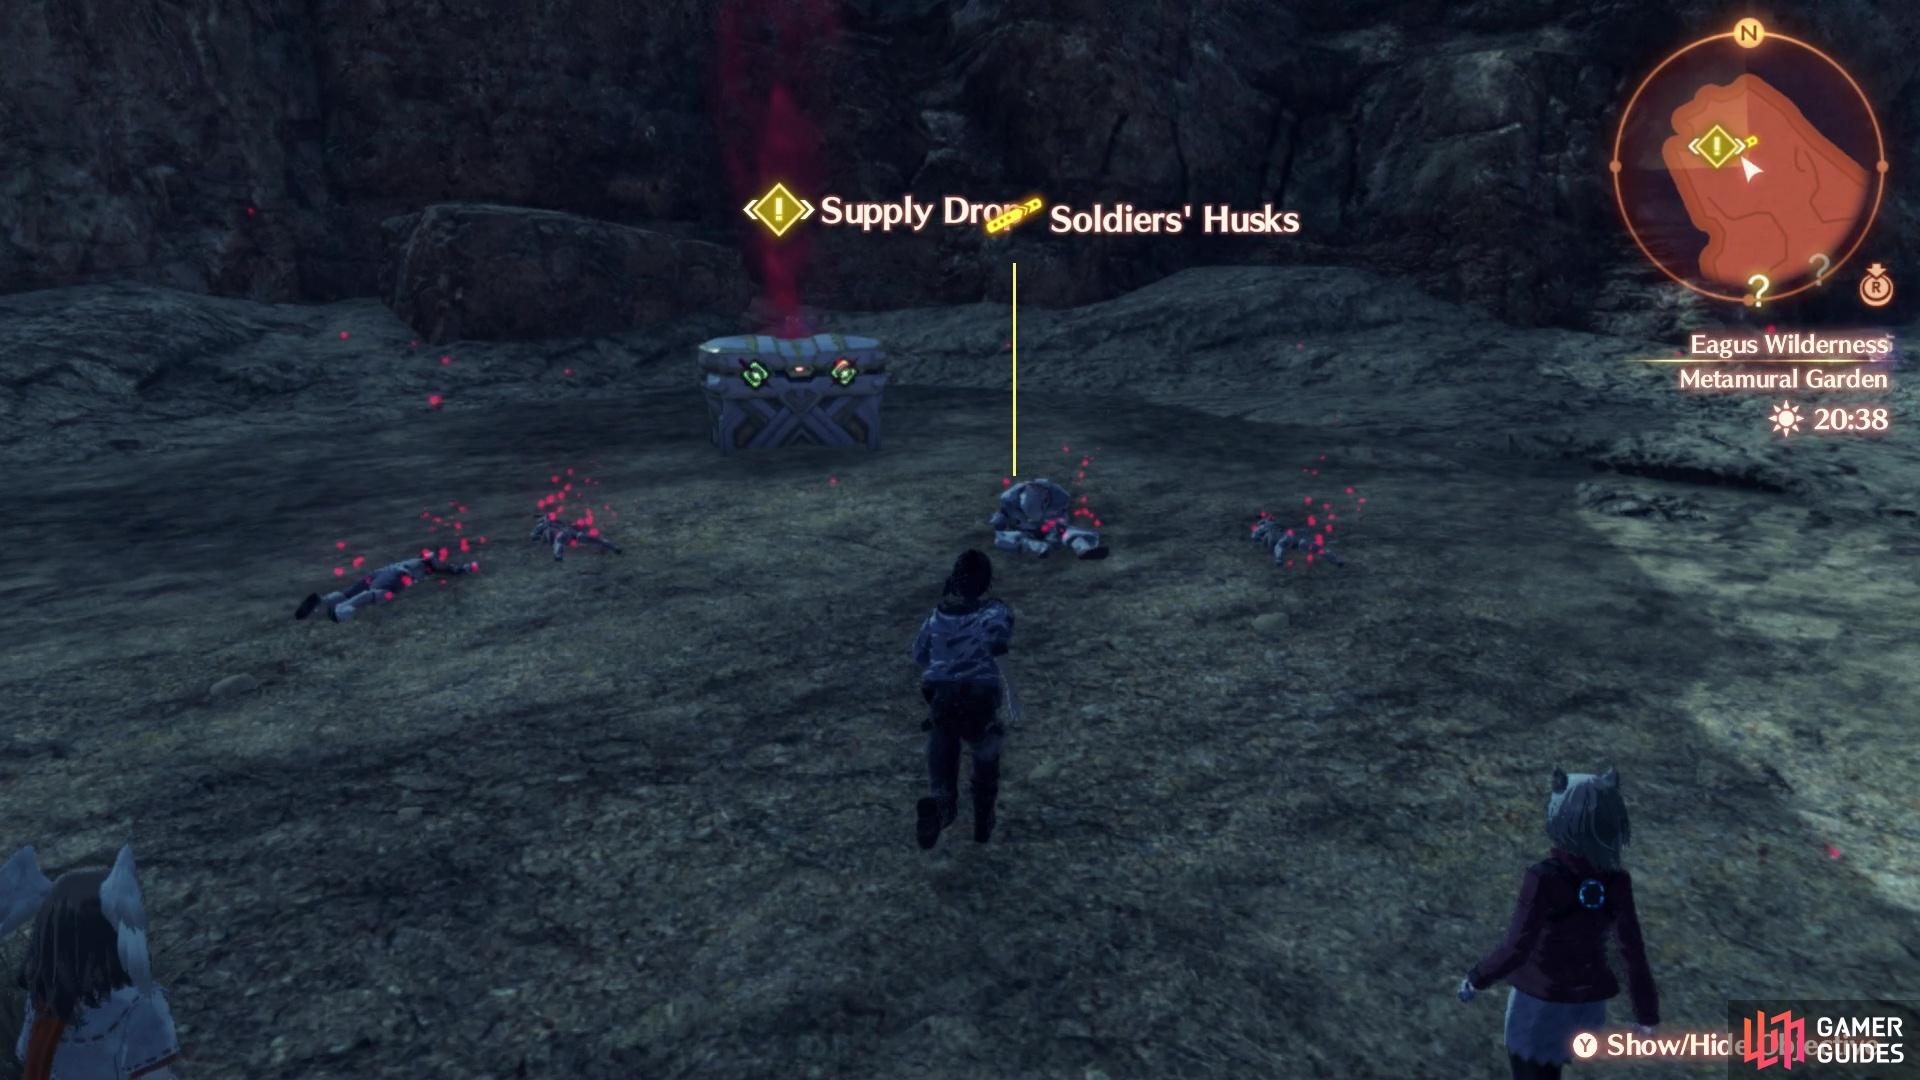
Don’t forget to grab the supplies after defeating the volffs!
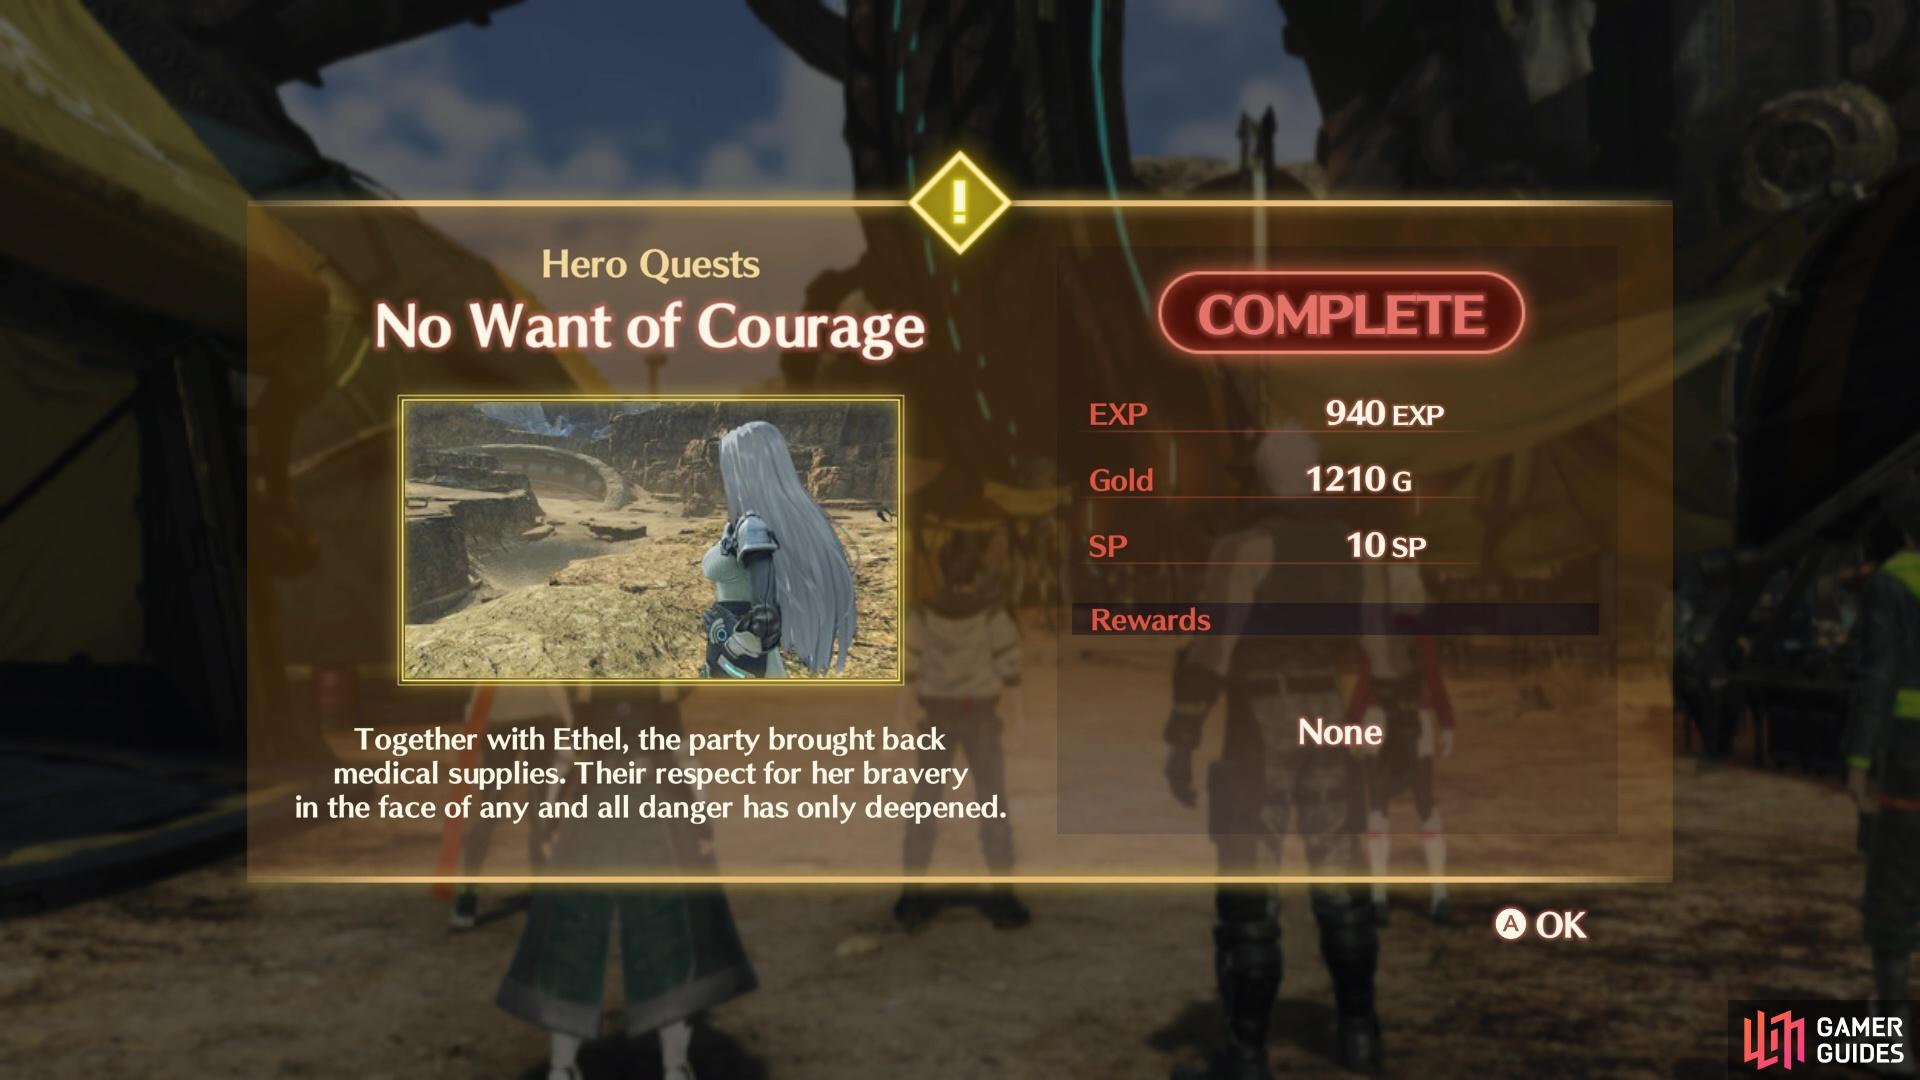
After collecting the supplies, you’ll need to return to Colony 4. You can fast travel to one of the colony 4 landmarks if you’d like to save yourself some time. Following a brief cutscene, Ethel will join your party permanently and you’ll complete the Hero Quest! For completing the quest, you’ll earn 940EXP, 1210G and 10SP.
Ethel’s Class
Ethel is a Flash Fencer and it is an attacker class. With Ethel, you’ll want to use buff Arts prior to deploying attack arts.

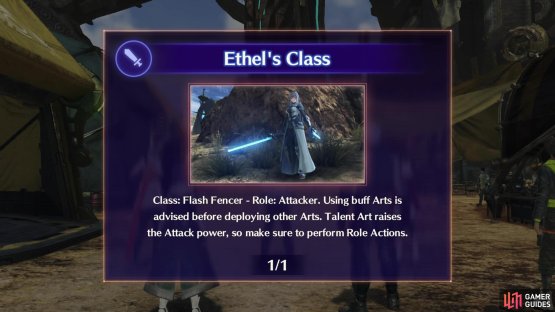
(1 of 2) You’ll now have Ethel in your party!


You’ll now have Ethel in your party! (left), she is an attacker and her class is called the Flash Fencer. (right)
No Comments