This is a guide for Ghondor’s Ascension Quest, Knowing Your Family, in Xenoblade Chronicles 3.
How to Start the Knowing Your Family Ascension Quest
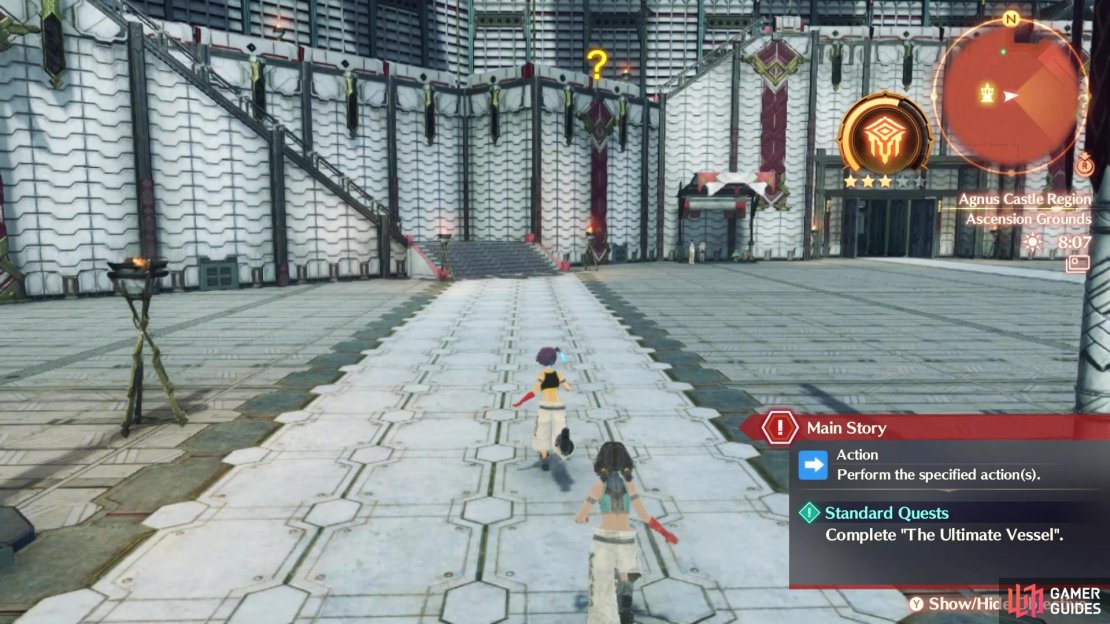
Approach this marker with Ghondor in your party to start
You won’t be able to start this Ascension Quest until Chapter 7 of the main story. You will also need to have the Inheritor of the Martial Artist class at Rank 10, who happens to be Sena. Once you have fulfilled those two conditions, then head to Agnus Castle (Ascension Grounds) and you will find a  at the top of the nearby stairs. Note that there might be some other quests that are required before this one becomes available, so concentrate on the ones at Agnus Castle.
How to Complete the Knowing Your Family Ascension Quest
It turns out some ginormous monster attacked a scavenger team in the Fornis Region, and chased them away, although the monster did let them go. Of course, being curious, the party decides to go check out this giant monster. Once you regain control, fast travel to the Singbreeze Funnel landmark in the Fornis Region, then head southeast from there to the marker on your map. There will be a scene here, where you find some Kevesi soldiers that mention a monster at Singbreeze Funnel.
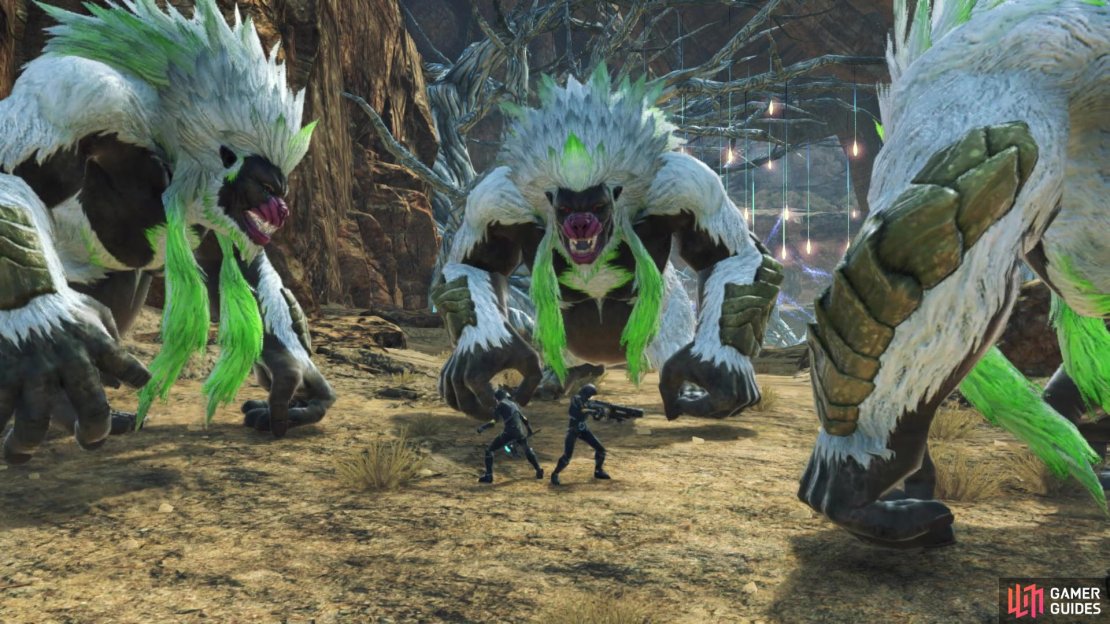
Make your way back to the Singbreeze Funnel area and continue until you reach the marker, where you will find three Giant Gogols attacking some Kevesi soldiers. While they may have a little more health over their normal counterparts, they aren’t any different than the normal Gogols. They are level 62, but you should just concentrate on one at a time, before moving onto the next one. When they all have been defeated, there will be a scene following the battle and you will learn about a giant Tirkin. In fact, you will see this giant Tirkin, but it will run away, so you will need to follow its tracks.
(1 of 3) You will be fighting some Giant Gogols
The tracks will lead you through a good portion of Elaice Highway and to Ag’s Talon. Upon finally catching up to the Tirkin, you find out it attacked the others because it was protecting its children. It’s only trying to find a peaceful place to live, while also trying to scrounge up enough food to eat. Ghondor, who seems a little less confrontational, decides to help the Tirkin get some food. There are three different items you will need, two of which are general collectibles you might already have, while the third is a quest-specific one.
Where to Find Juicy Broccoli
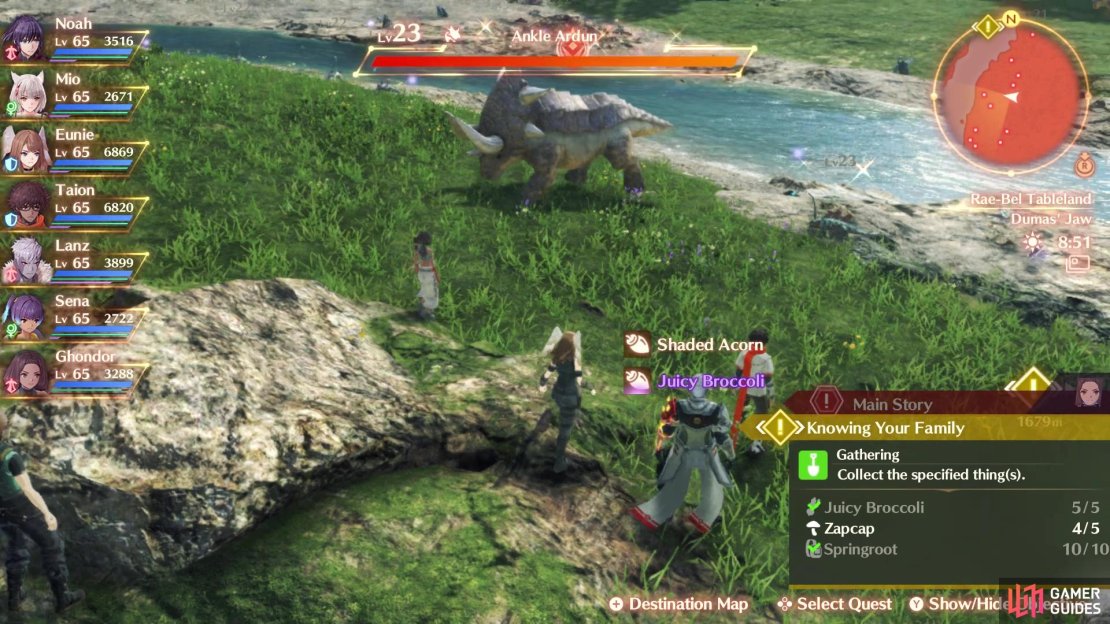
![]() Juicy Broccoli is a fairly common item that can be found in the Rae-Bel Tableland area of the Fornis Region. Whenever you first arrive in the Rae-Bel Tableland area is an ideal spot for farming the items. Note that if you have this quest set as active, then the collectables will be marked for you, so you won’t be going completely blind here. You will need five of these.
Juicy Broccoli is a fairly common item that can be found in the Rae-Bel Tableland area of the Fornis Region. Whenever you first arrive in the Rae-Bel Tableland area is an ideal spot for farming the items. Note that if you have this quest set as active, then the collectables will be marked for you, so you won’t be going completely blind here. You will need five of these.
Where to Find Zapcap
Zapcap is another of the fairly common items you will need to find for this quest. One such place that you can get them is in the Laprel Knoll area of the Fornis Region. This is the area around the Shikashaka Mesa landmark and similar to the Juicy Broccoli, they will be marked if you have this quest set to active. You will need five of these.
Where to Find Springroot
Thankfully, the last item on the list is a quest-specific item, so you don’t need to be looking around aimlessly for them. The Springroot will be found in two locations, with the game just giving you a general area highlighted on the map. Both will be by the Purus Palecolumn landmark; you want to head southeast from it and you should see the little blue pillars of light next to the large tree root for the first set. For the other, go back to the landmark and look for the rock to the west of it. The Springroots will be on the side of that rock.
(1 of 4) Juicy Broccoli is found in Rae-Bel Tableland
After collecting all of the goodies, start making your way back to the Tirkin and on the way, you should witness a cutscene. Continue making your way back to the Tirkin to find those same Kevesi soldiers from earlier attacking it now. Of course, this leads to a fight against them. You have five enemies to deal with here, and your best option is to deal with the Sniper and Rescuer first, since they will go down quickly. You can then go after the Blocker Elite third, then worry about the two Levnises at the end. All of the enemies are level 62, except the Blocker, who is level 63.
Watch the scenes after the battle, which will bring you to the end of the quest. Ghondor will be Rank 20 with her class, and you will be able to level up the other characters for the Martial Artist to Rank 20.
| EXP | Gold | SP | Rewards |
|---|---|---|---|
| 5360 | 4720 | 10 | – |


No Comments