
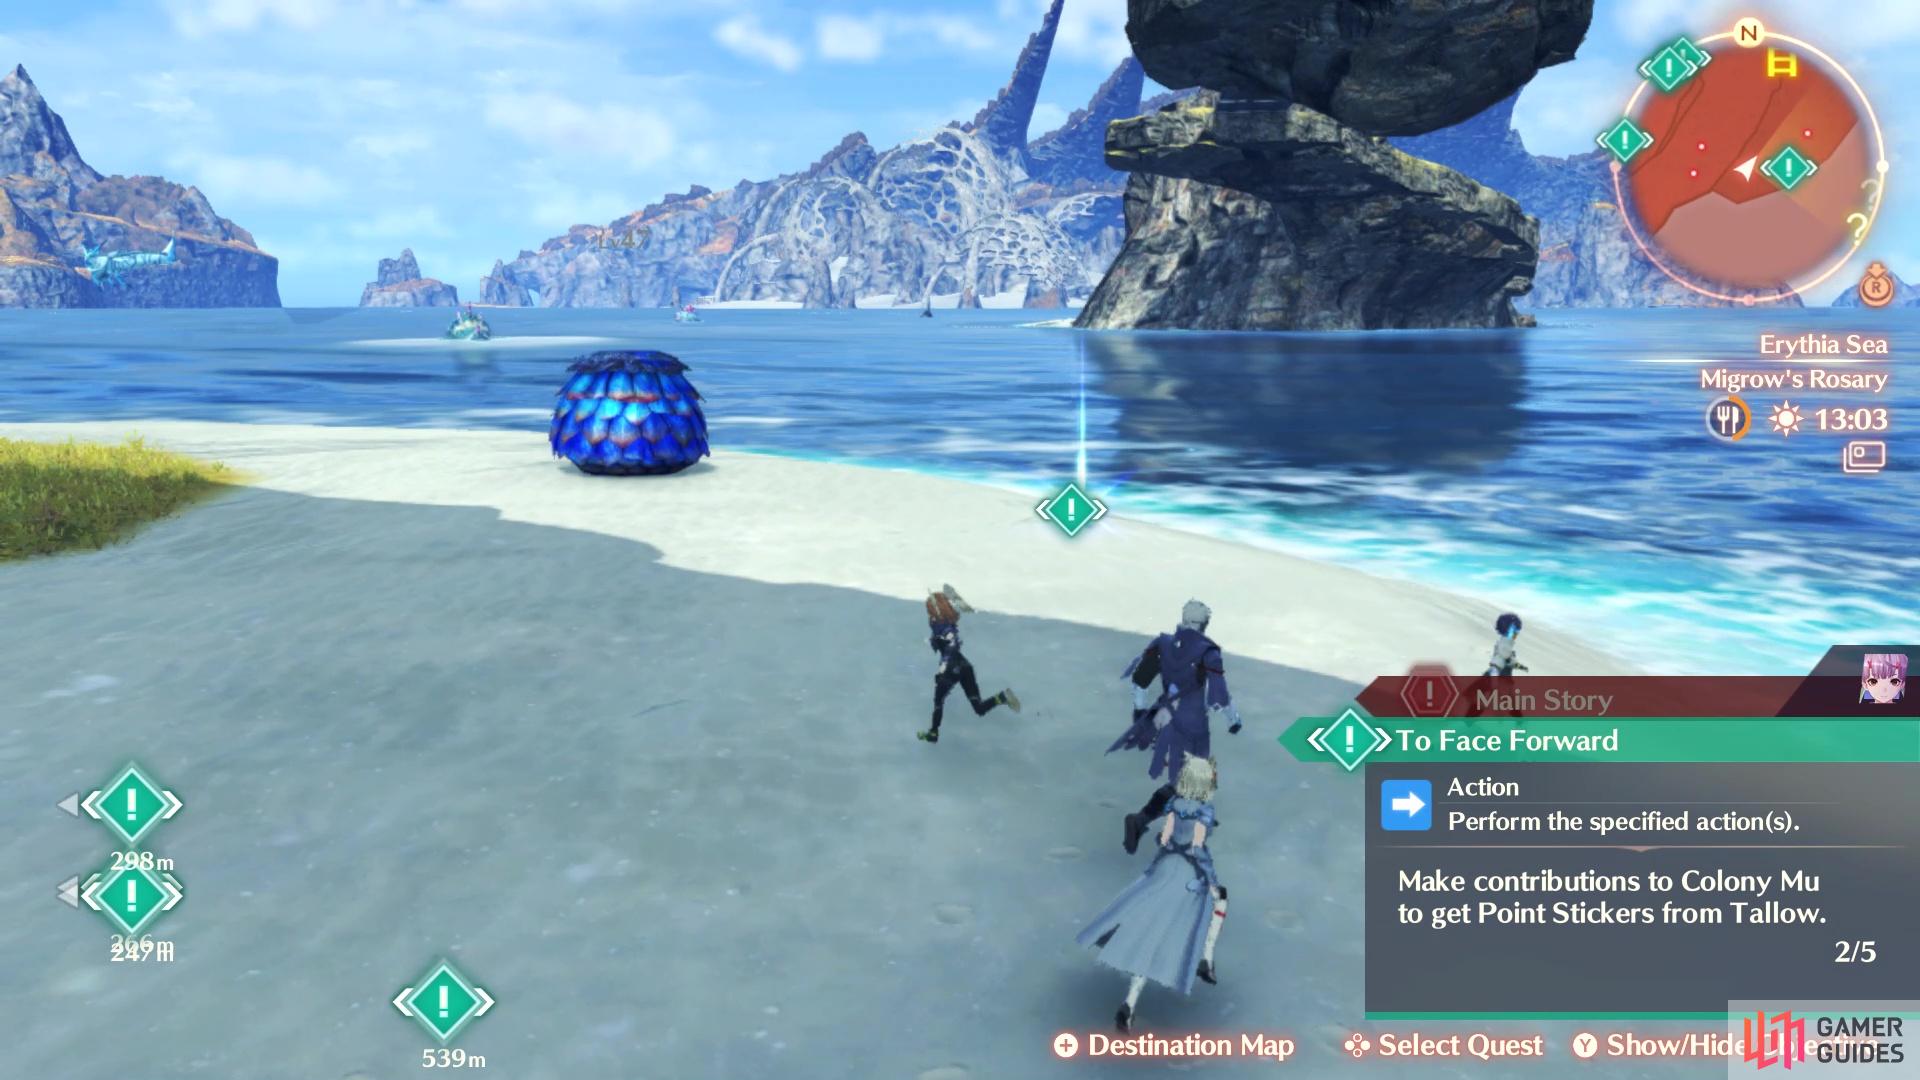
This is a guide for the To Face Forward Standard Quest in Xenoblade Chronicles 3.
How to Start To Face Forward Standard Quest
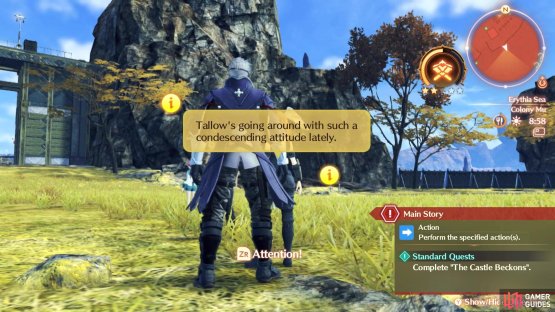
(1 of 2) One of the two Info spots needed for this quest


One of the two Info spots needed for this quest (left), The other Info spot needed for this quest (right)
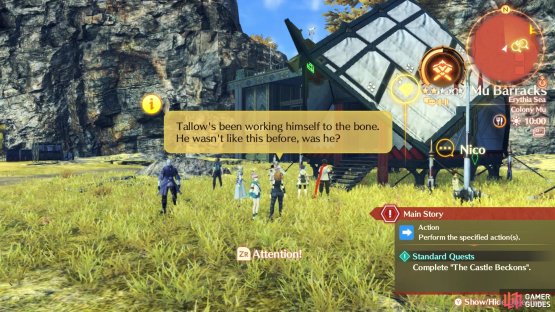
First and foremost, you will have to liberate Colony Mu, which is done by doing the Transparent Dreams Hero Quest. Once you do that, you will then have to complete the Unease Standard Quest in Colony Mu. There will be two new pieces of Info you can gather in the colony, one not far from the entrance and the other by the Barracks. You will need both of these to get the Tallow’s Reputation Info, which you can discuss at the Colony Mu Barracks (has to be here) to start the quest.
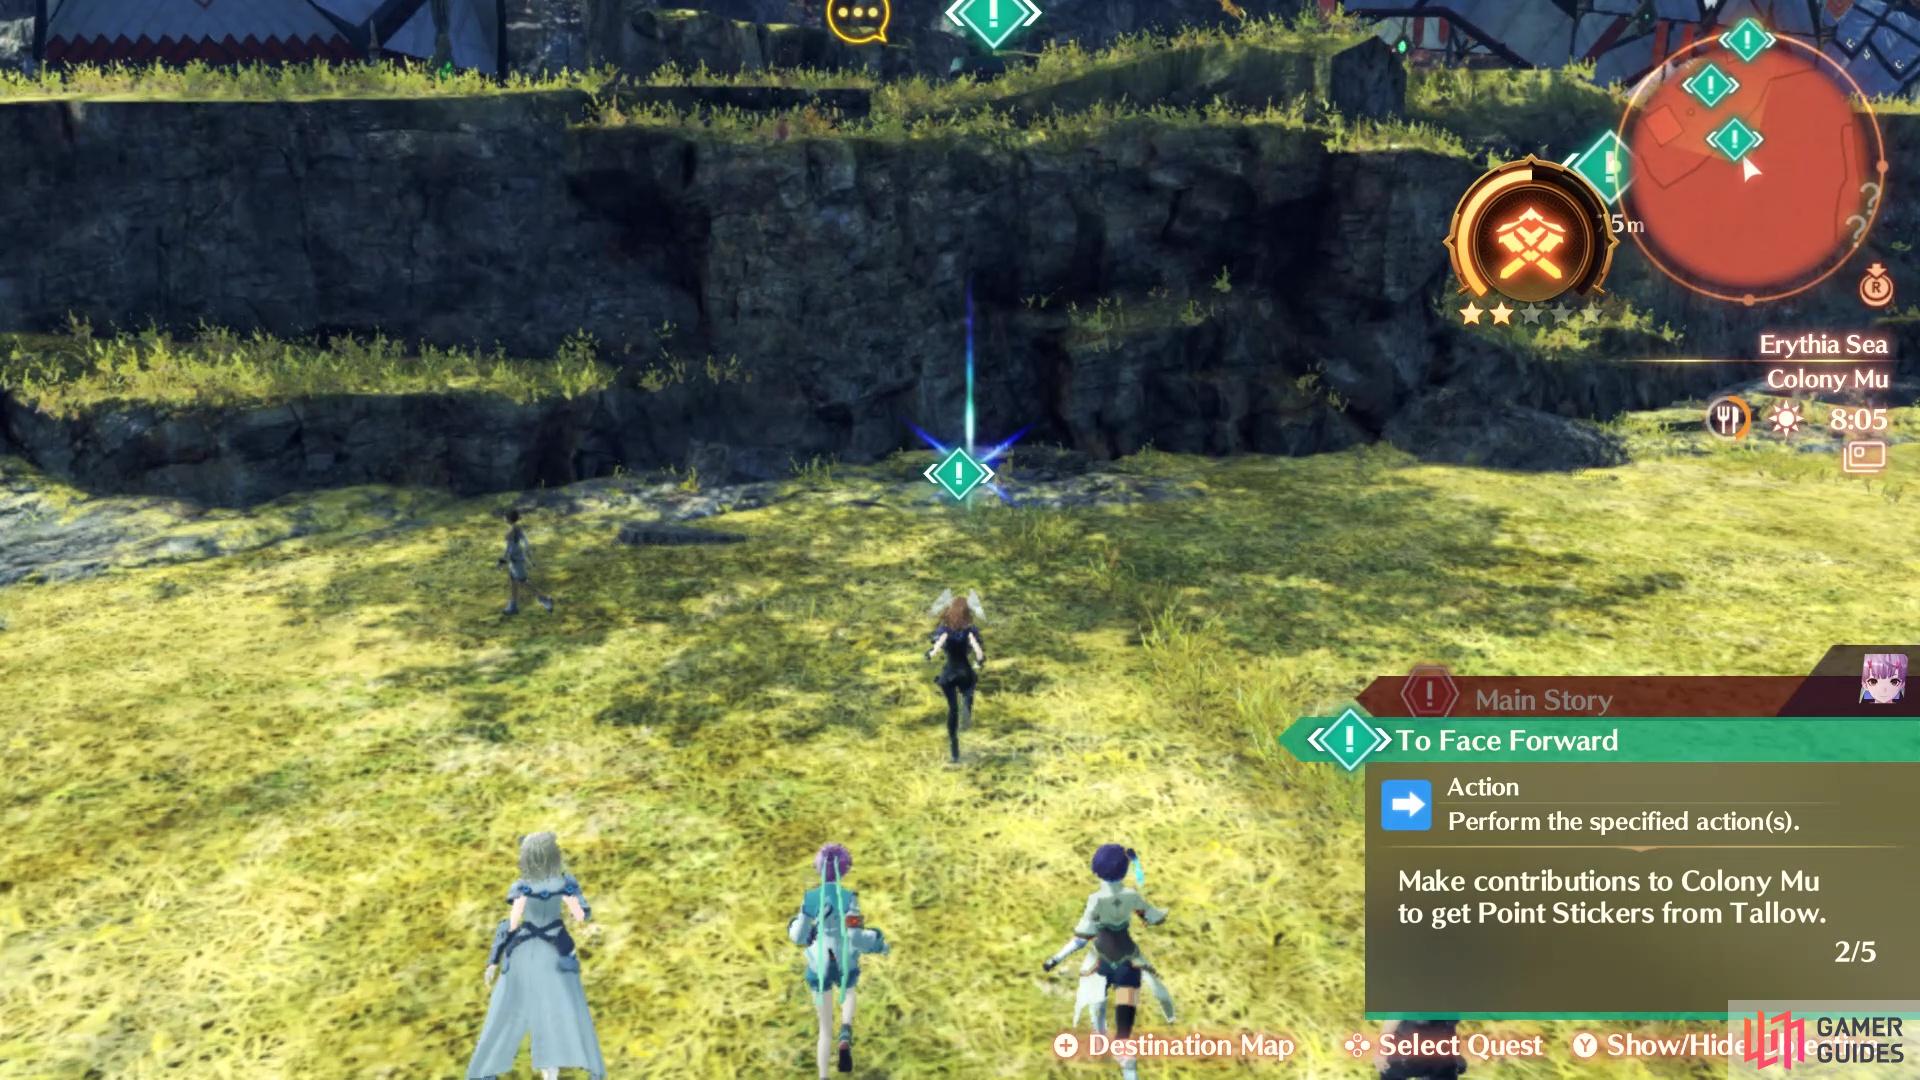
How to Complete To Face Forward Standard Quest
Head on over to the Canteen for a scene, where Tallow and Shu come up with a little “competition” to get people in the colony to find some stuff to do. Basically, for each task you do that contributes to the colony, you can report it to Tallow and get a sticker on your Progress Point Card. In total, you only need to do five tasks to complete the quest, but there’s seven tasks to actually do (which will all be covered here on this page).
How to Complete Tussore’s Task
Tussore will be found not too far from the main entrance to the colony. Their Armus seem to be letting out some scared wails from time to time, so Tussore wants you to go check up on them. At this time, it is easiest to fast travel to the Conchrock Beach landmark and follow the trail, as if you were running to Colony Mu. You will find some Armuvore Aligos along the way, of which there are three sets. Defeat all three sets of them, then report back to Tussore to finish their task. Note that while going this way, you will most likely run into Kana, who has another thing for you to help with for this quest.


(1 of 2) There are three sets of Aligos you have to defeat for Tussore
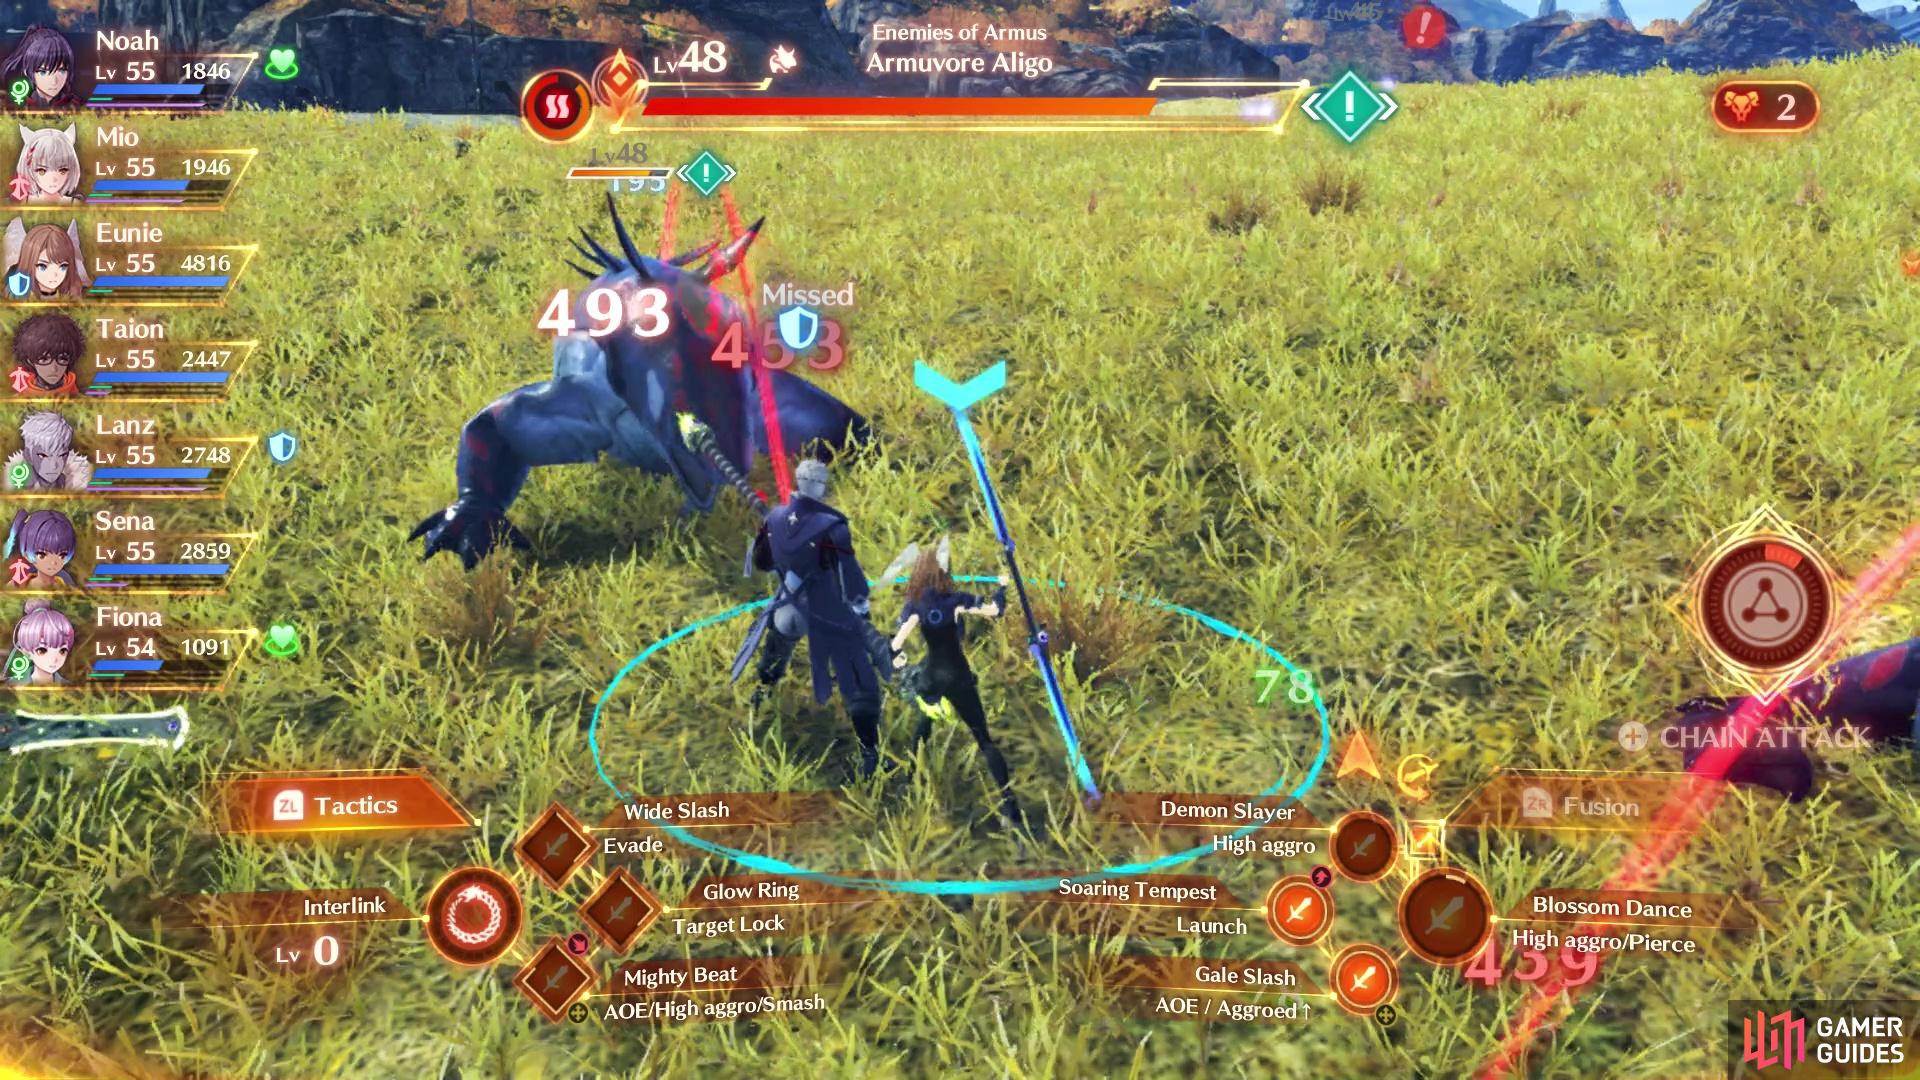
There are three sets of Aligos you have to defeat for Tussore (left), Kana is being harassed by some Gulkins (right)
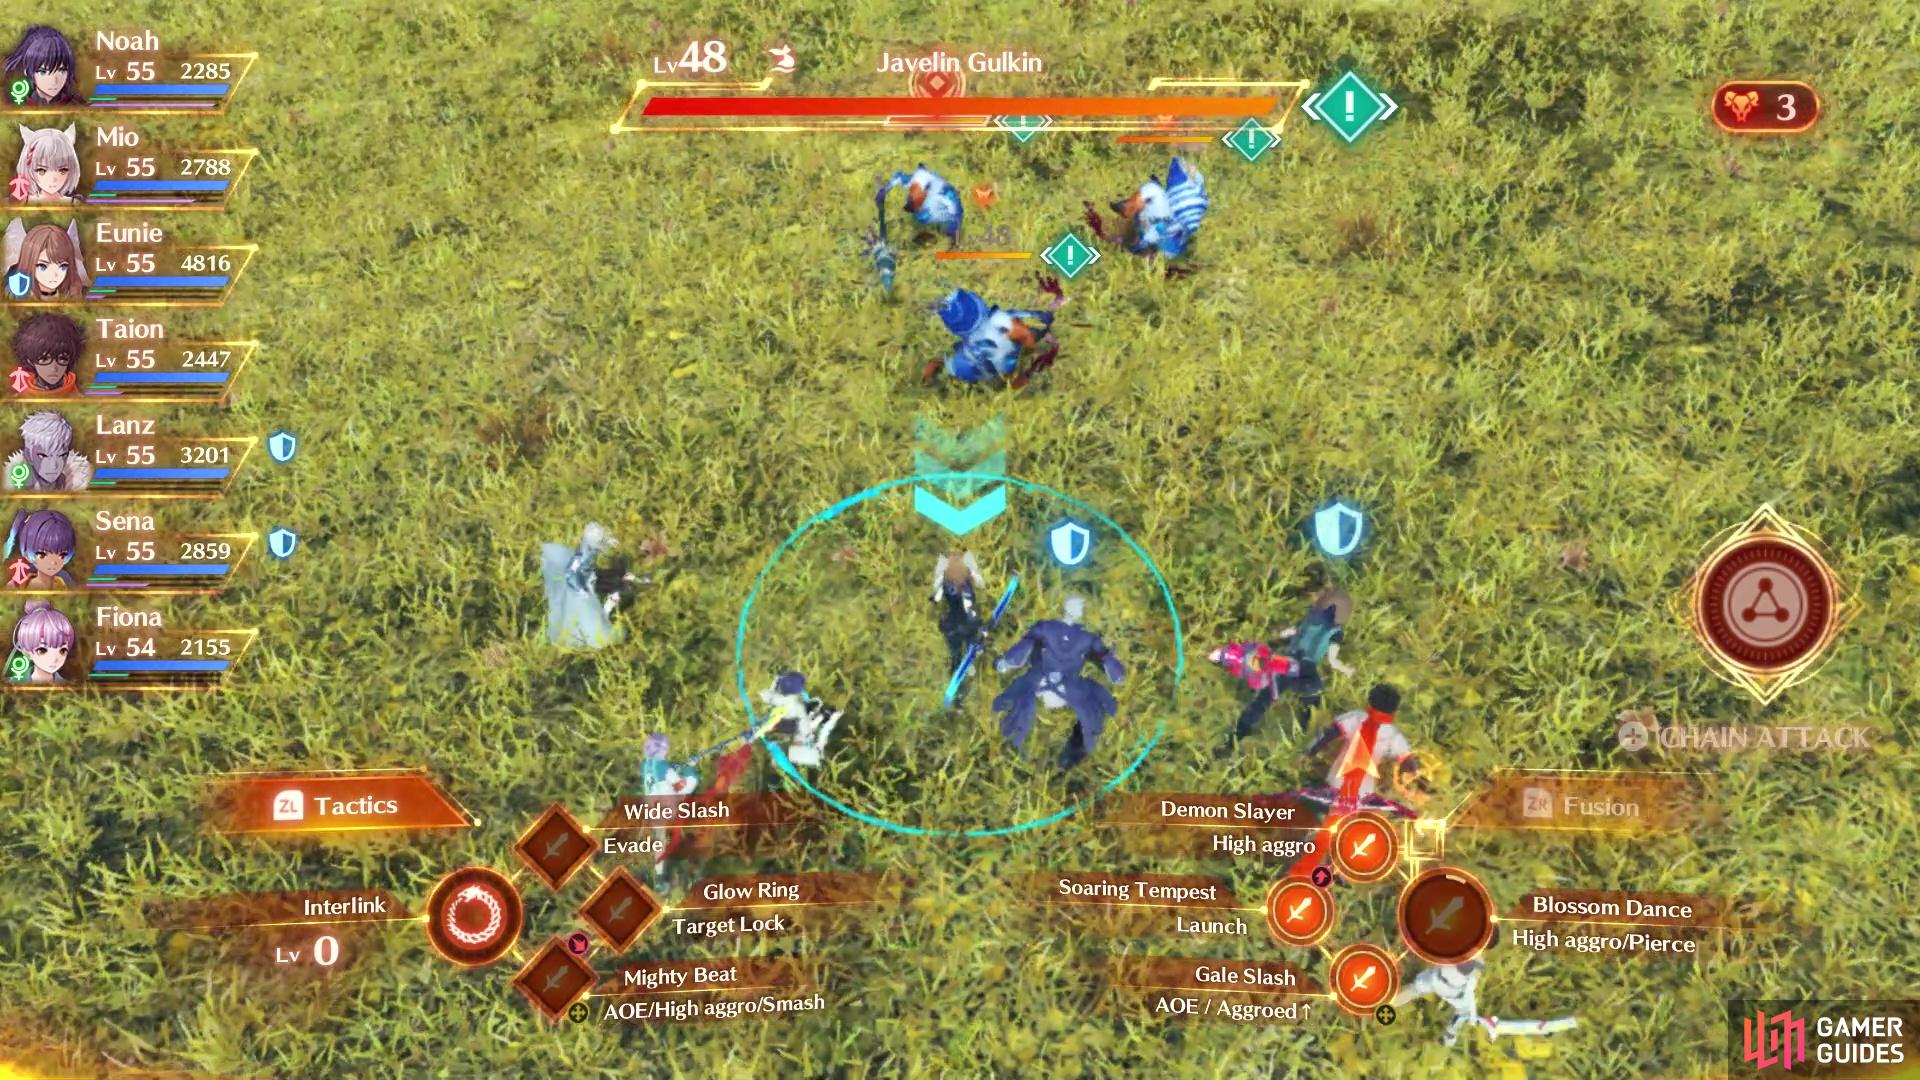
How to Complete Kana’s Task
While you’re likely doing Tussore’s task, you will run into Kana outside of the colony. It seems they are being harassed by some Gulkins, so you decide to join them in bringing them down. There are three Gulkins, all of which are level 48 and shouldn’t really take much to defeat them. Once they have been defeated, you will be done with this task.
How to Complete Nico’s Task
You will find Nico in front of a tent between the Canteen and Barracks. Nico wants to expand the colony’s food to include those that can last a while, since the fresh seafood doesn’t have a long shelf life. This is a gathering task, where you bring back certain items and hand them over, with a percentage bar filling up. Once you reach 100%, then you will be done with the task. Note that if you’re doing this quest as soon as you have access to the Erythia Sea, then you won’t be able to get the Peachy Truffle, as that is found around the prison and would require you to advance the story some.
| Item | Location | Progress |
|---|---|---|
| Dish Philodendron | Daedal Isle (near Eternal Canopy, in the grassy area) | 20% |
| Red Nameko | Around Headwater Camp | 20% |
| Sweetcap | Morrack Inlet | 10% |
| Wakeshroom | Morrack Inlet | 10% |
| Peachy Truffle | Prison Perimeter Outlet | ?? |
How to Complete Ayase’s Task
Ayase will be on top of the northern gate, so climb the ladder to reach her. Just speak with her and she will ask you a question. We answered with Confide in someone, but the other option also seems good, so it doesn’t really matter. That is all you need to do to finish this task.
How to Complete Lotus’ Task
Lotus will be standing on the beach, at the northern dock. Lotus found what appears as a doll washed up on the beach, but it is missing a shoe, so they want you to see if it had washed up someplace else. Fast travel to the main entrance of Colony Mu, then cross the bridge and drop down to the beach on the eastern side of that area, which is where you will find the Beat-Up Shoe. Bring it back to Lotus, who will be by the canteen, to finish this task.


(1 of 2) The doll’s shoe will be found on this beach
The doll’s shoe will be found on this beach (left), Pick up this Broken Pendant to trigger Mikaela’s task (right)
How to Complete Mikaela’s Task
There is one task that isn’t assigned to a person, at least, at first. Not far from the entrance to the colony, there is an item on the ground. Go ahead and pick it up to see it’s a Broken Pendant. Once you have, you will see another marker appear nearby, who is Mikaela. Hand her the Broken Pendant to get another sticker.
How to Complete Hildemarie’s Task
You will be able to find Hildemarie at the Bed of Woes and Wishes, and her task is pretty easy. She will be down on herself, since she doesn’t have any talent she’s good at, which will prompt a choice to pop up on your screen. It doesn’t seem like a choice matters here, but we chose to go with, Not at all. That’s all you need to do to finish this task.
Once you have completed the five necessary tasks (or all of them, if that’s your fancy), speak to Tallow to initiate some scenes, bringing you to the end of the quest.
| EXP | Gold | SP | Rewards |
|---|---|---|---|
| 3320 | 1620 | 3 | Warped Crystal (Rare) x1 |
No Comments