
This is a guide for Chapter 4 of Xenoblade Chronicles 3, covering the second portion of High Maktha Wildwood in the Pentelas Region.
Where to go after the Mysterious Raider
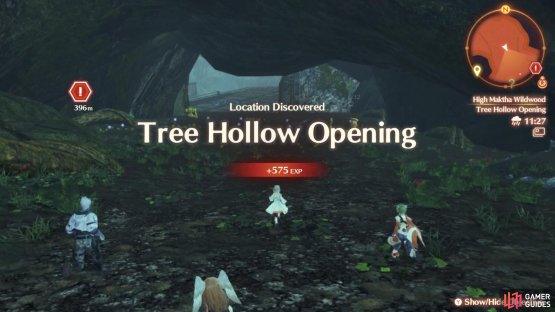

(1 of 2) Pass through the Tree Hollow Opening.

Pass through the Tree Hollow Opening. (left), After the next zip-line, there’s a camp not too far away. (right)
Once your mystery assailant has literally vanished into thin air, proceed south-east through the Tree Hollow Opening. At the end, there’s another zip-line that will take you further into the woods. Beyond, head east, then south towards a camp, at which point the gang decides to rest.
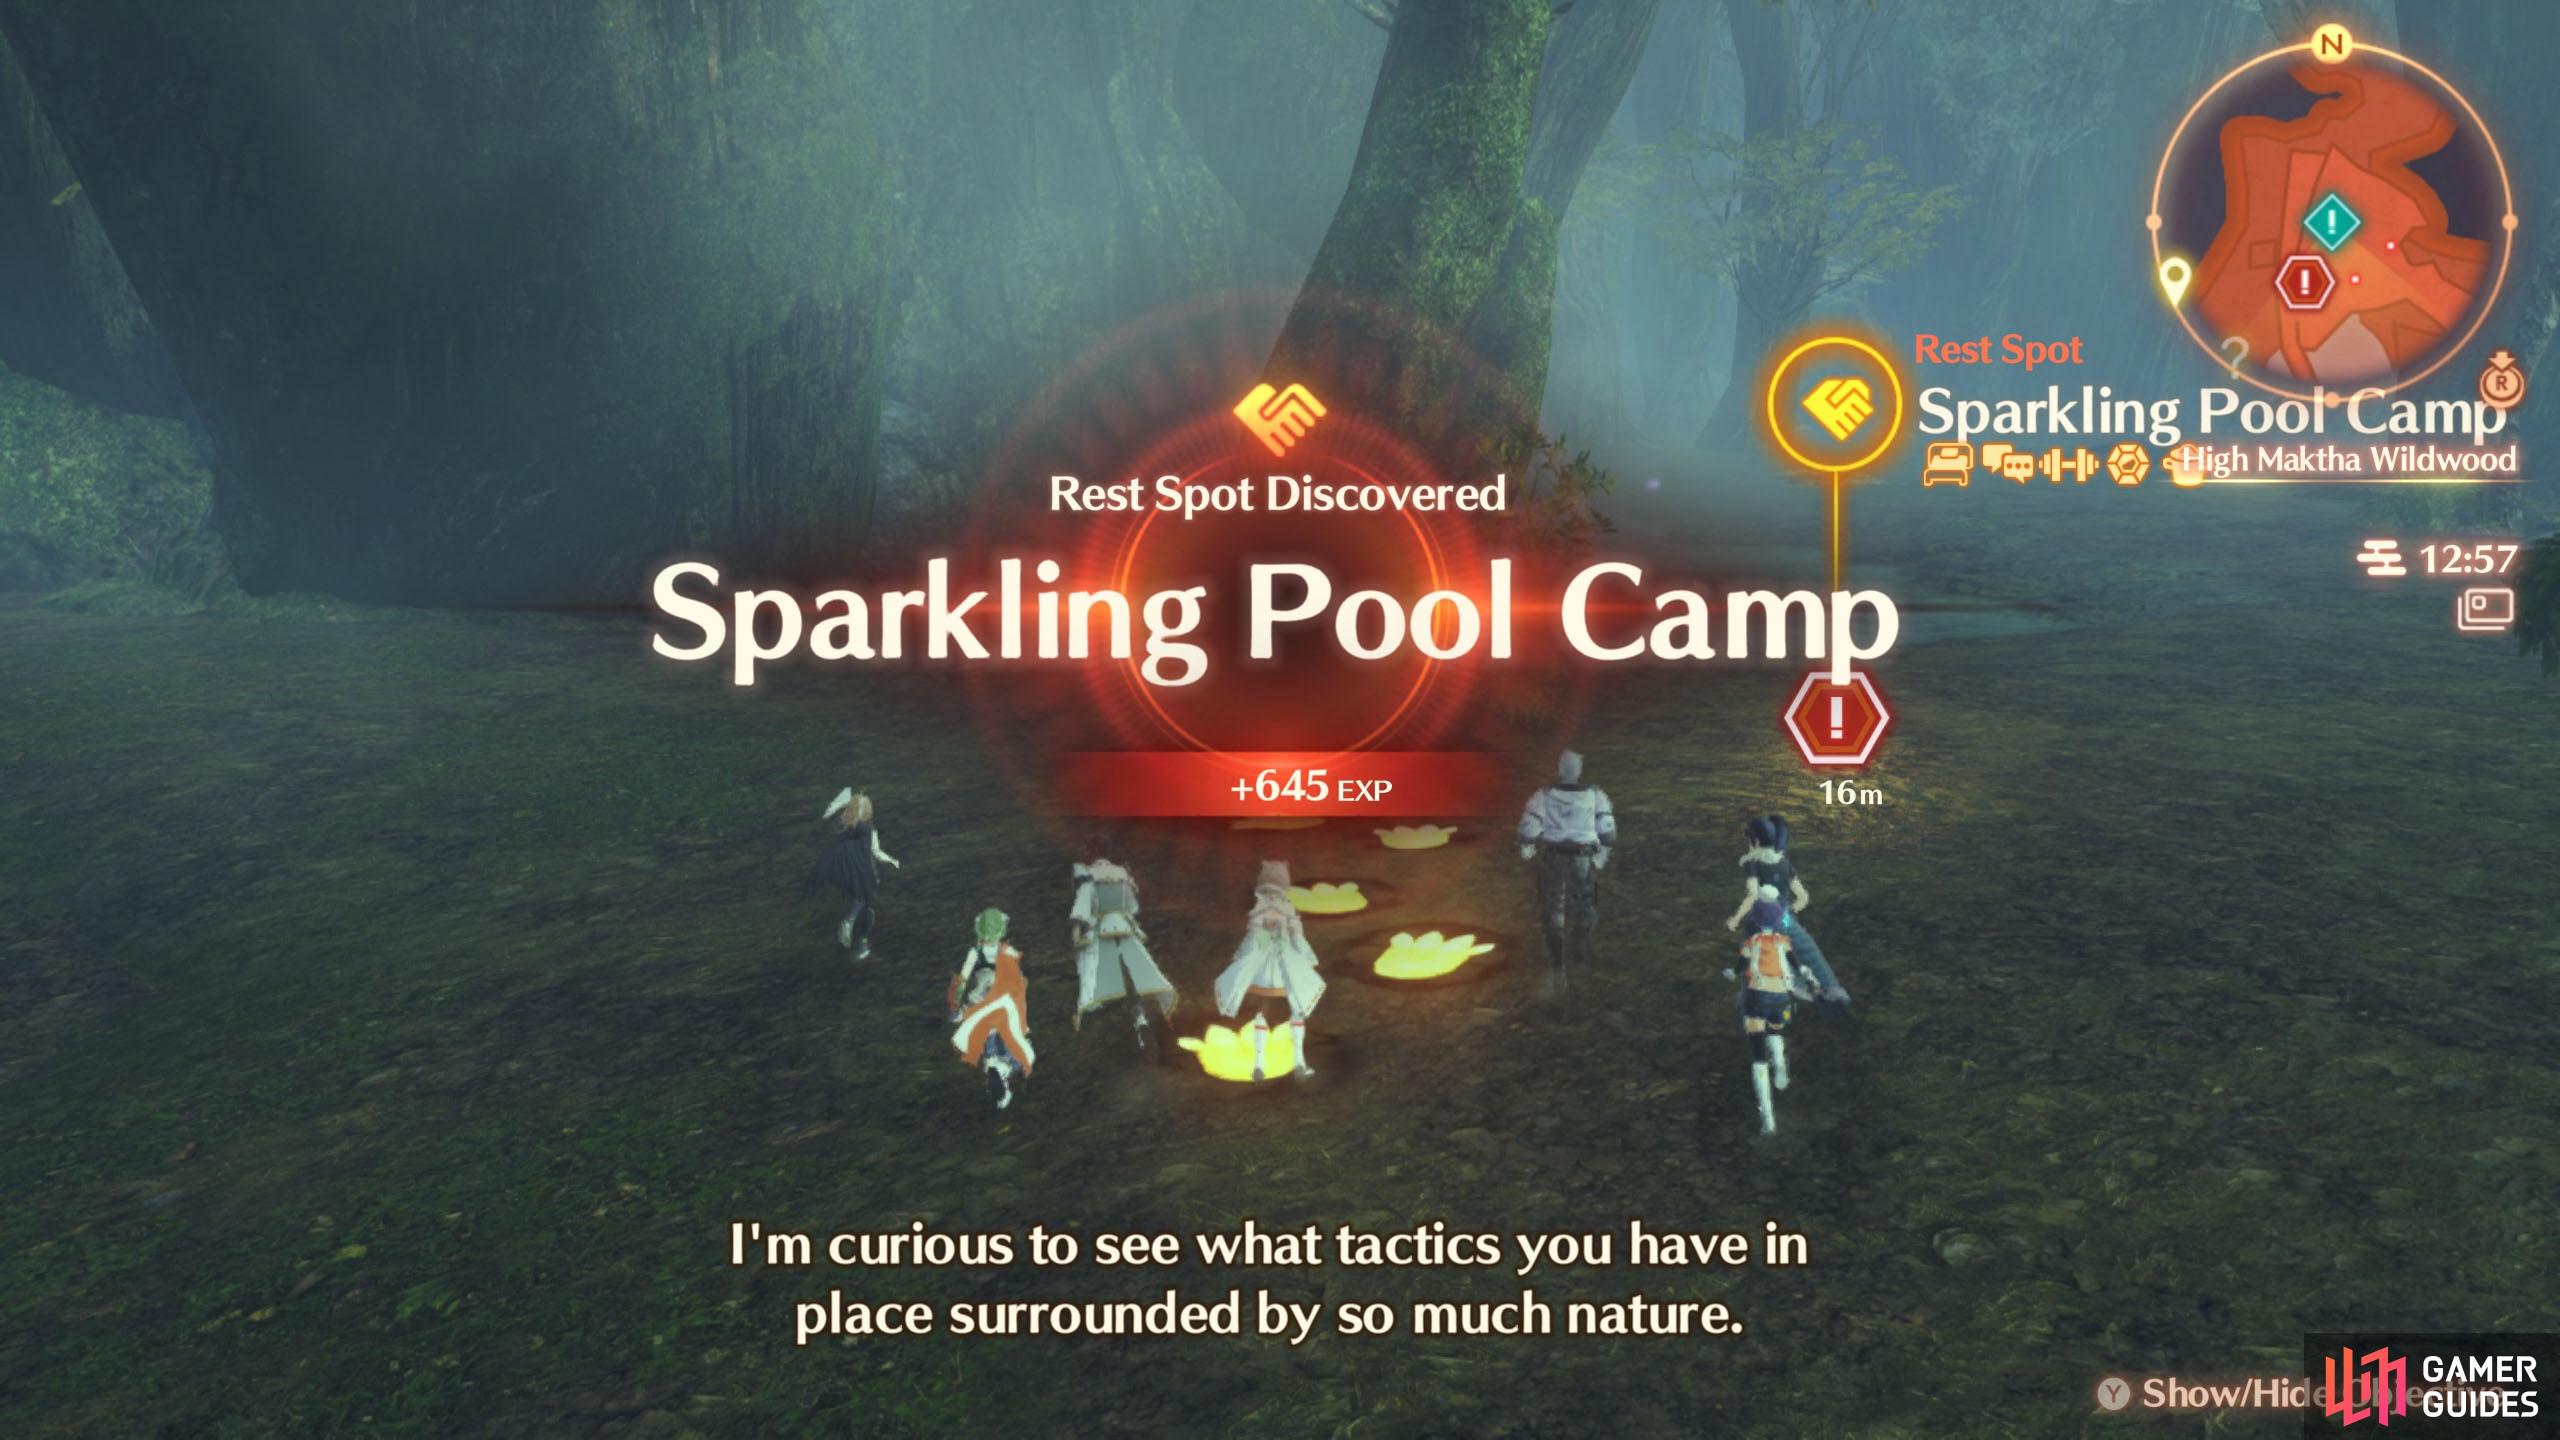
Inspect the Sparkling Pool Camp and, when you’re all done for the day, choose Rest.
Standard Quest: Stolen Provisions

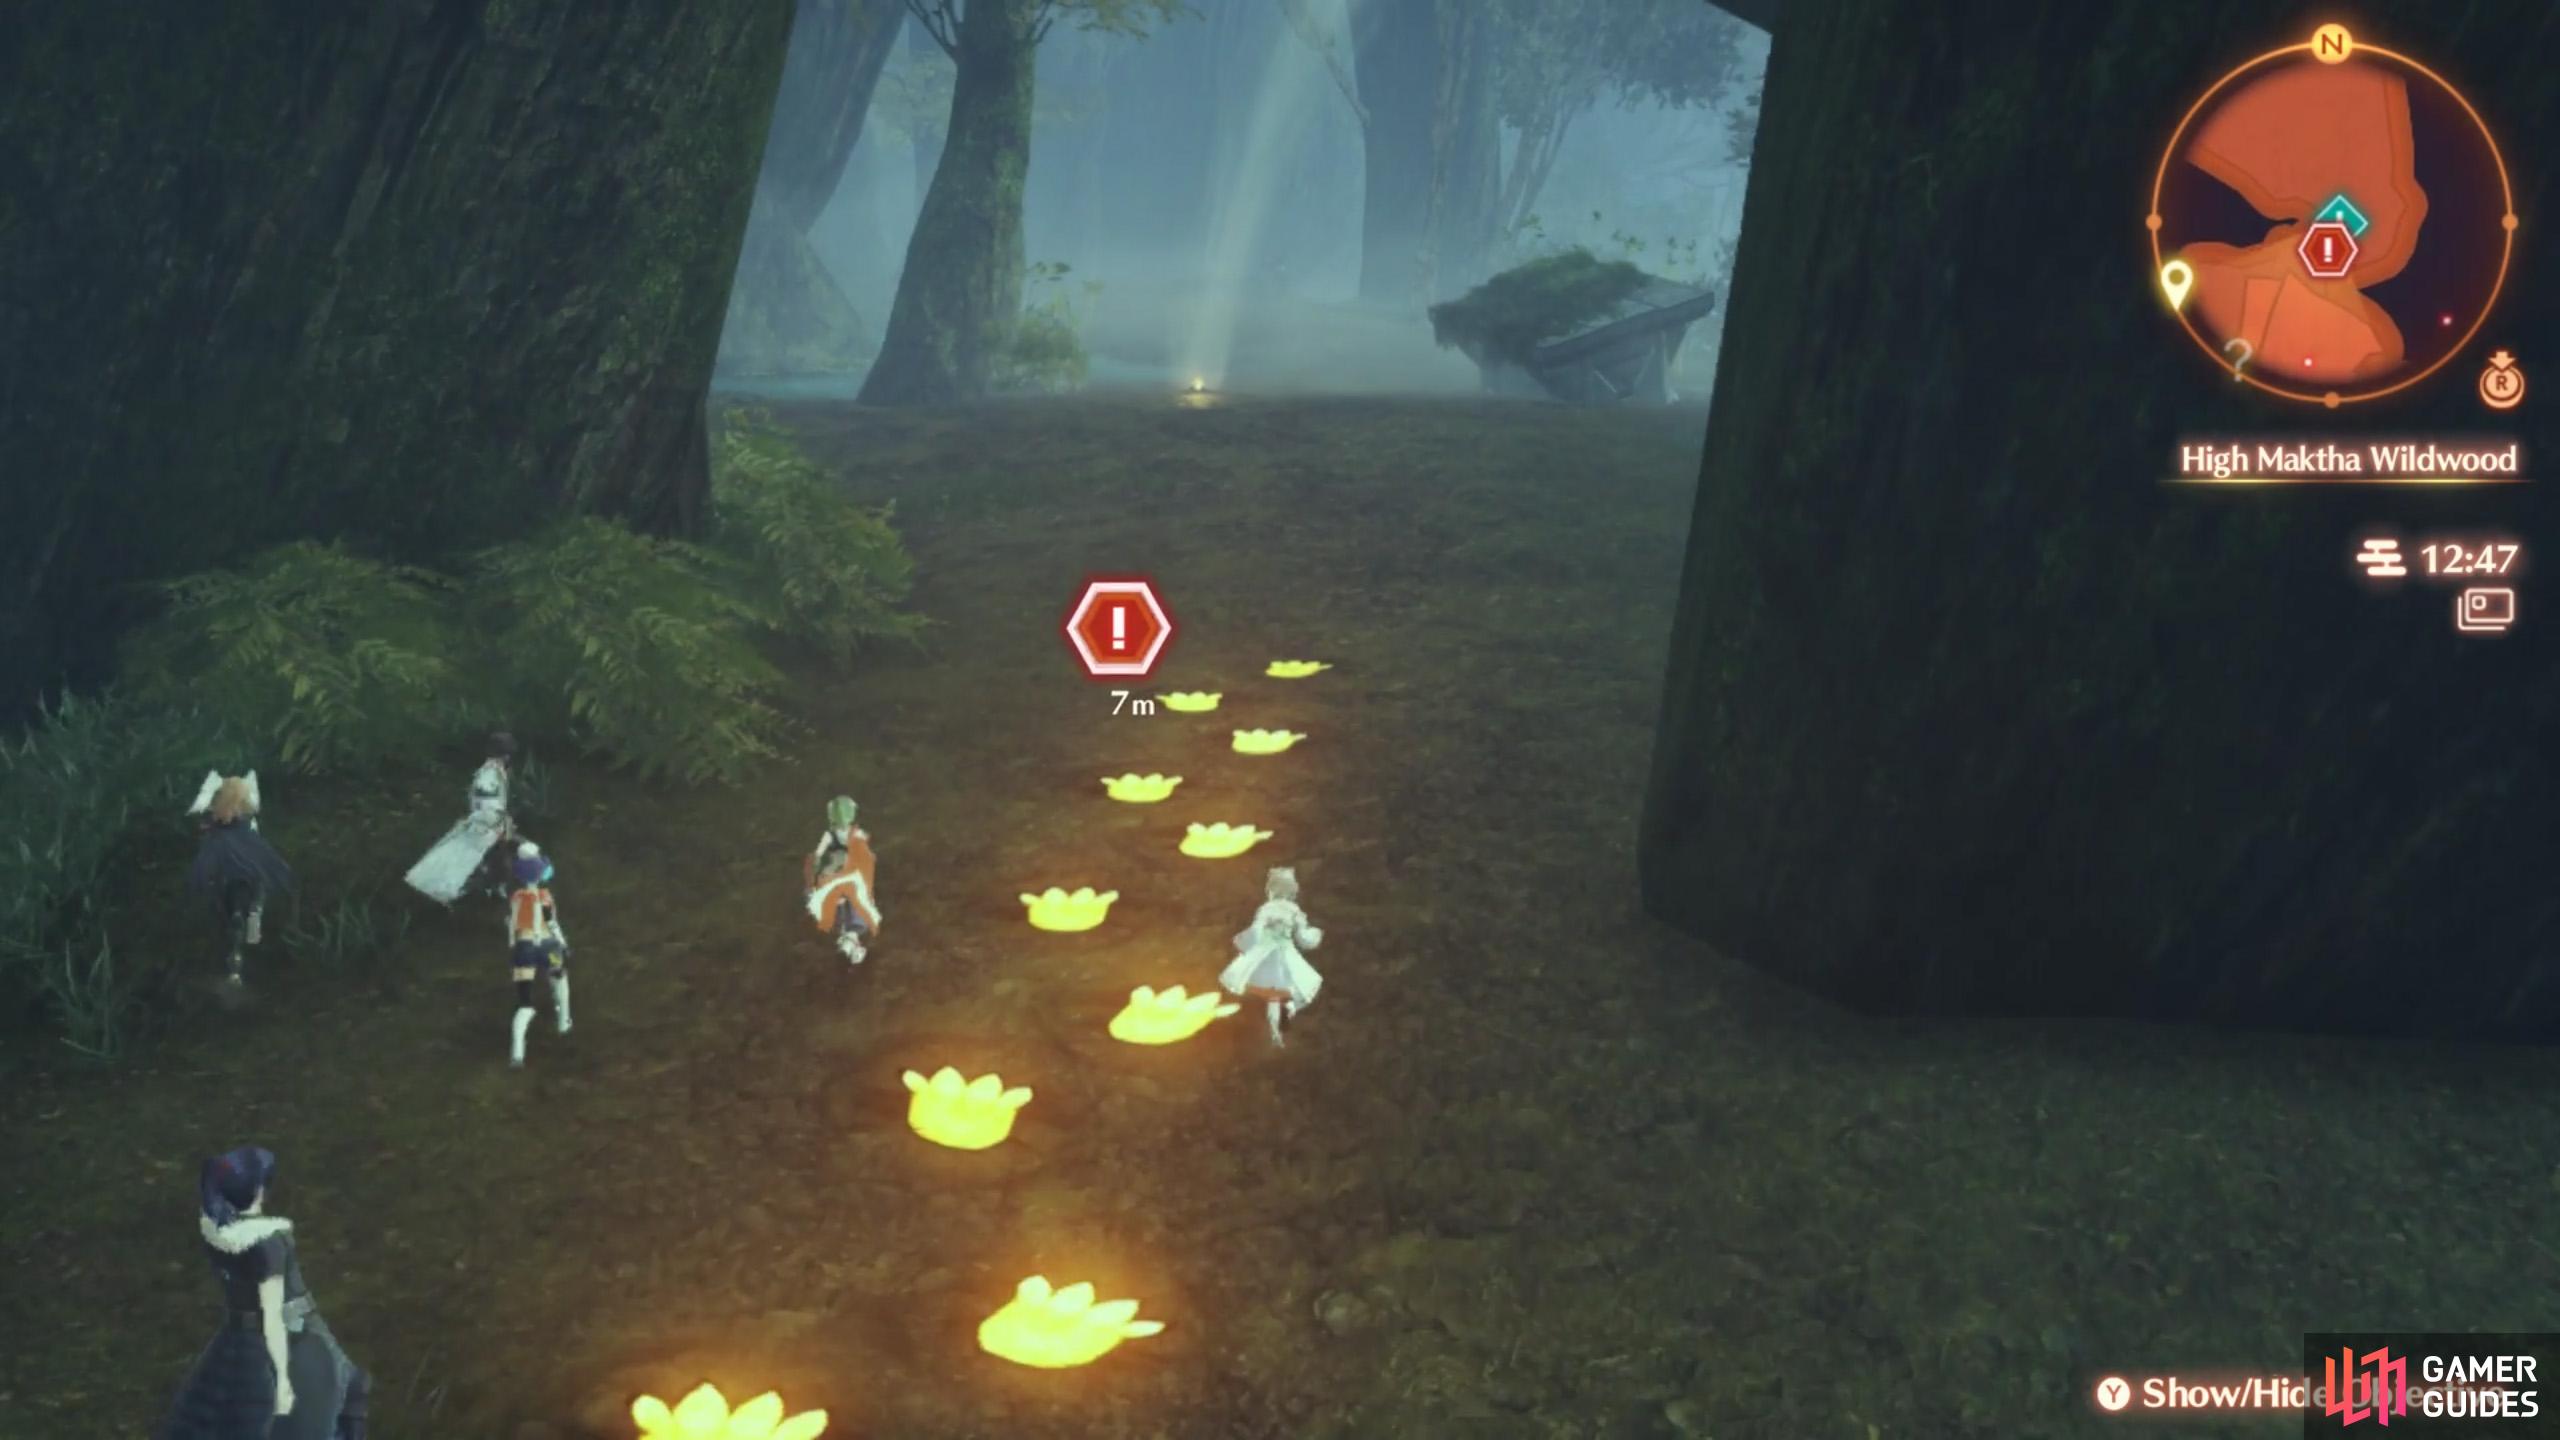
(1 of 3) No provisions equals no go.
Whoops, our heroes have lost the supplies needed for the remainder of the journey. Fortunately, they’re in a woods, so it’s time to forage up some new supplies. It’s either that or continue along the road with growling stomachs or worse.
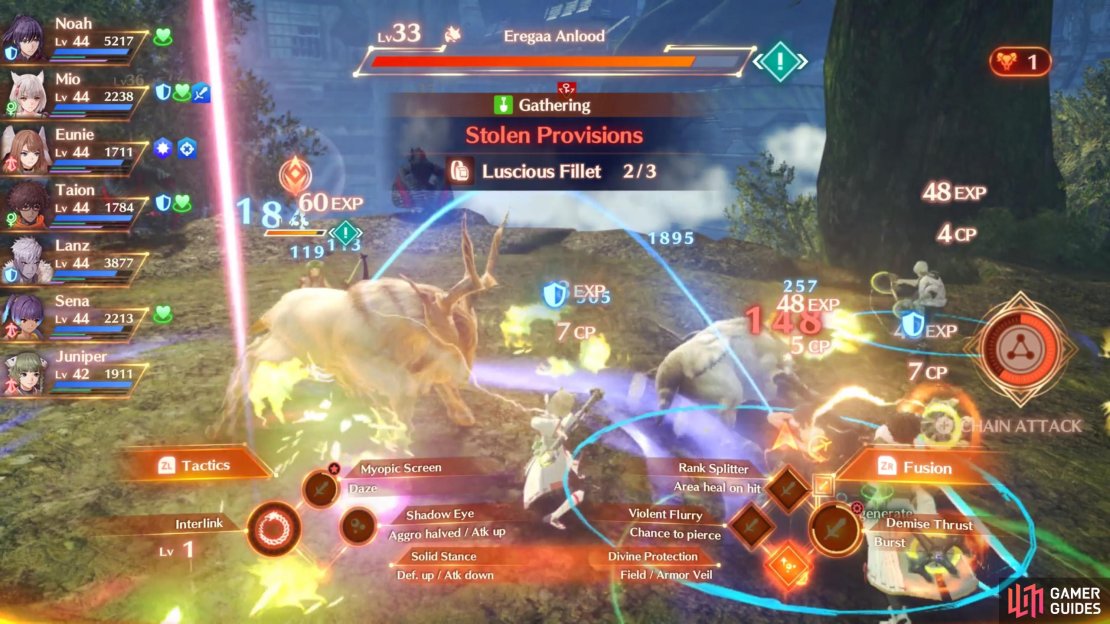
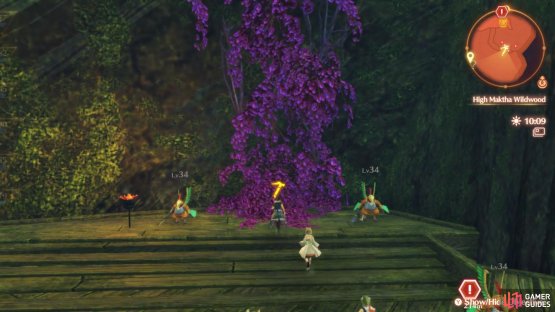
First, make your way south and bash up the three Level 33 Eregaa Anlood foes to obtain their Luscious Fillet. Afterwards, enjoy a brief cutscene.
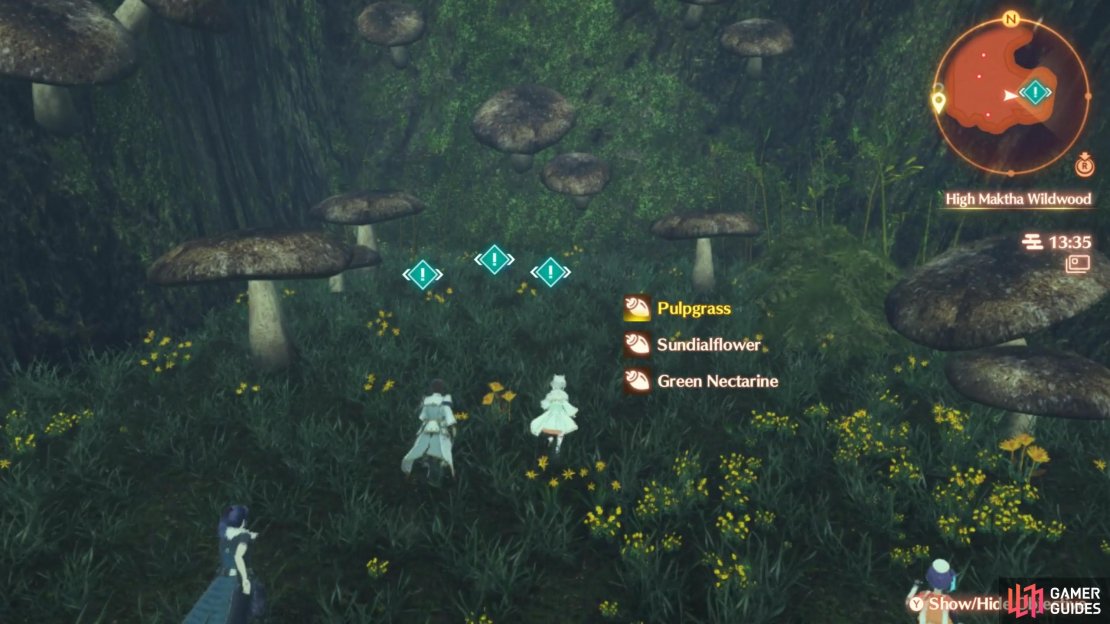
Next, keep going south towards a small grove. Another cutscene will trigger. When you’ve regained control, continue down the path towards the very end. Feel free to climb the trees along the way, grabbing whatever’s perched on top.
When you reach the end of the path, there will be yet another cutscene. Then this quest will end.
Quest Rewards
| EXP | Gold | SP | Rewards |
|---|---|---|---|
| 2600 | 0 | 5 | None |
Head back to camp
Having replaced your stolen supplies, fast-travel back to the Sparkling Pool Camp. Grab some popcorn because it’s time for a long slew of cutscenes! Wouldn’t be a Xenoblade game without them.
Where to go after resupplying
(1 of 2) Climb up this wall, which the Tirkin are monitoring.


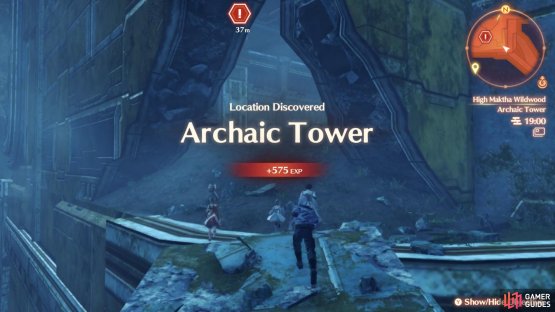
Climb up this wall, which the Tirkin are monitoring. (left), Make your way north towards the Archaic Tower. (right)
After that little distraction, it’s time to hit the road again. From the campsite, head east until you reach a climbable wall guarded by a bunch of Tirkin.
If you continue past the wall without climbing it, then head north, you’ll reach Low Maktha Wildwood, which is swarming with high level foes.
To progress the story, climb up the wall, then make your way north. About halfway along this path, you’ll trigger a brief cutscene. Once you’re back in control, continue north into the Archaic Tower. Then head upstairs to the Tower Camp, at which point the cutscenes will take over again.
The next day, carry on upstairs, then travel east along the bridge and continue going that direction through the Runo Ruins. On the other side of the ruins, where the area greatly opens out, prepare yourself. Because if that wide open space isn’t perfect for a boss fight, we don’t know what is!
Locations
(1 of 2) Yonder lies the Keves Castle Region.
Yonder lies the Keves Castle Region. (left), Whew, time to rest again. (right)
Landmarks at High Maktha Wildwood (Part 2)
| Name | Description |
|---|---|
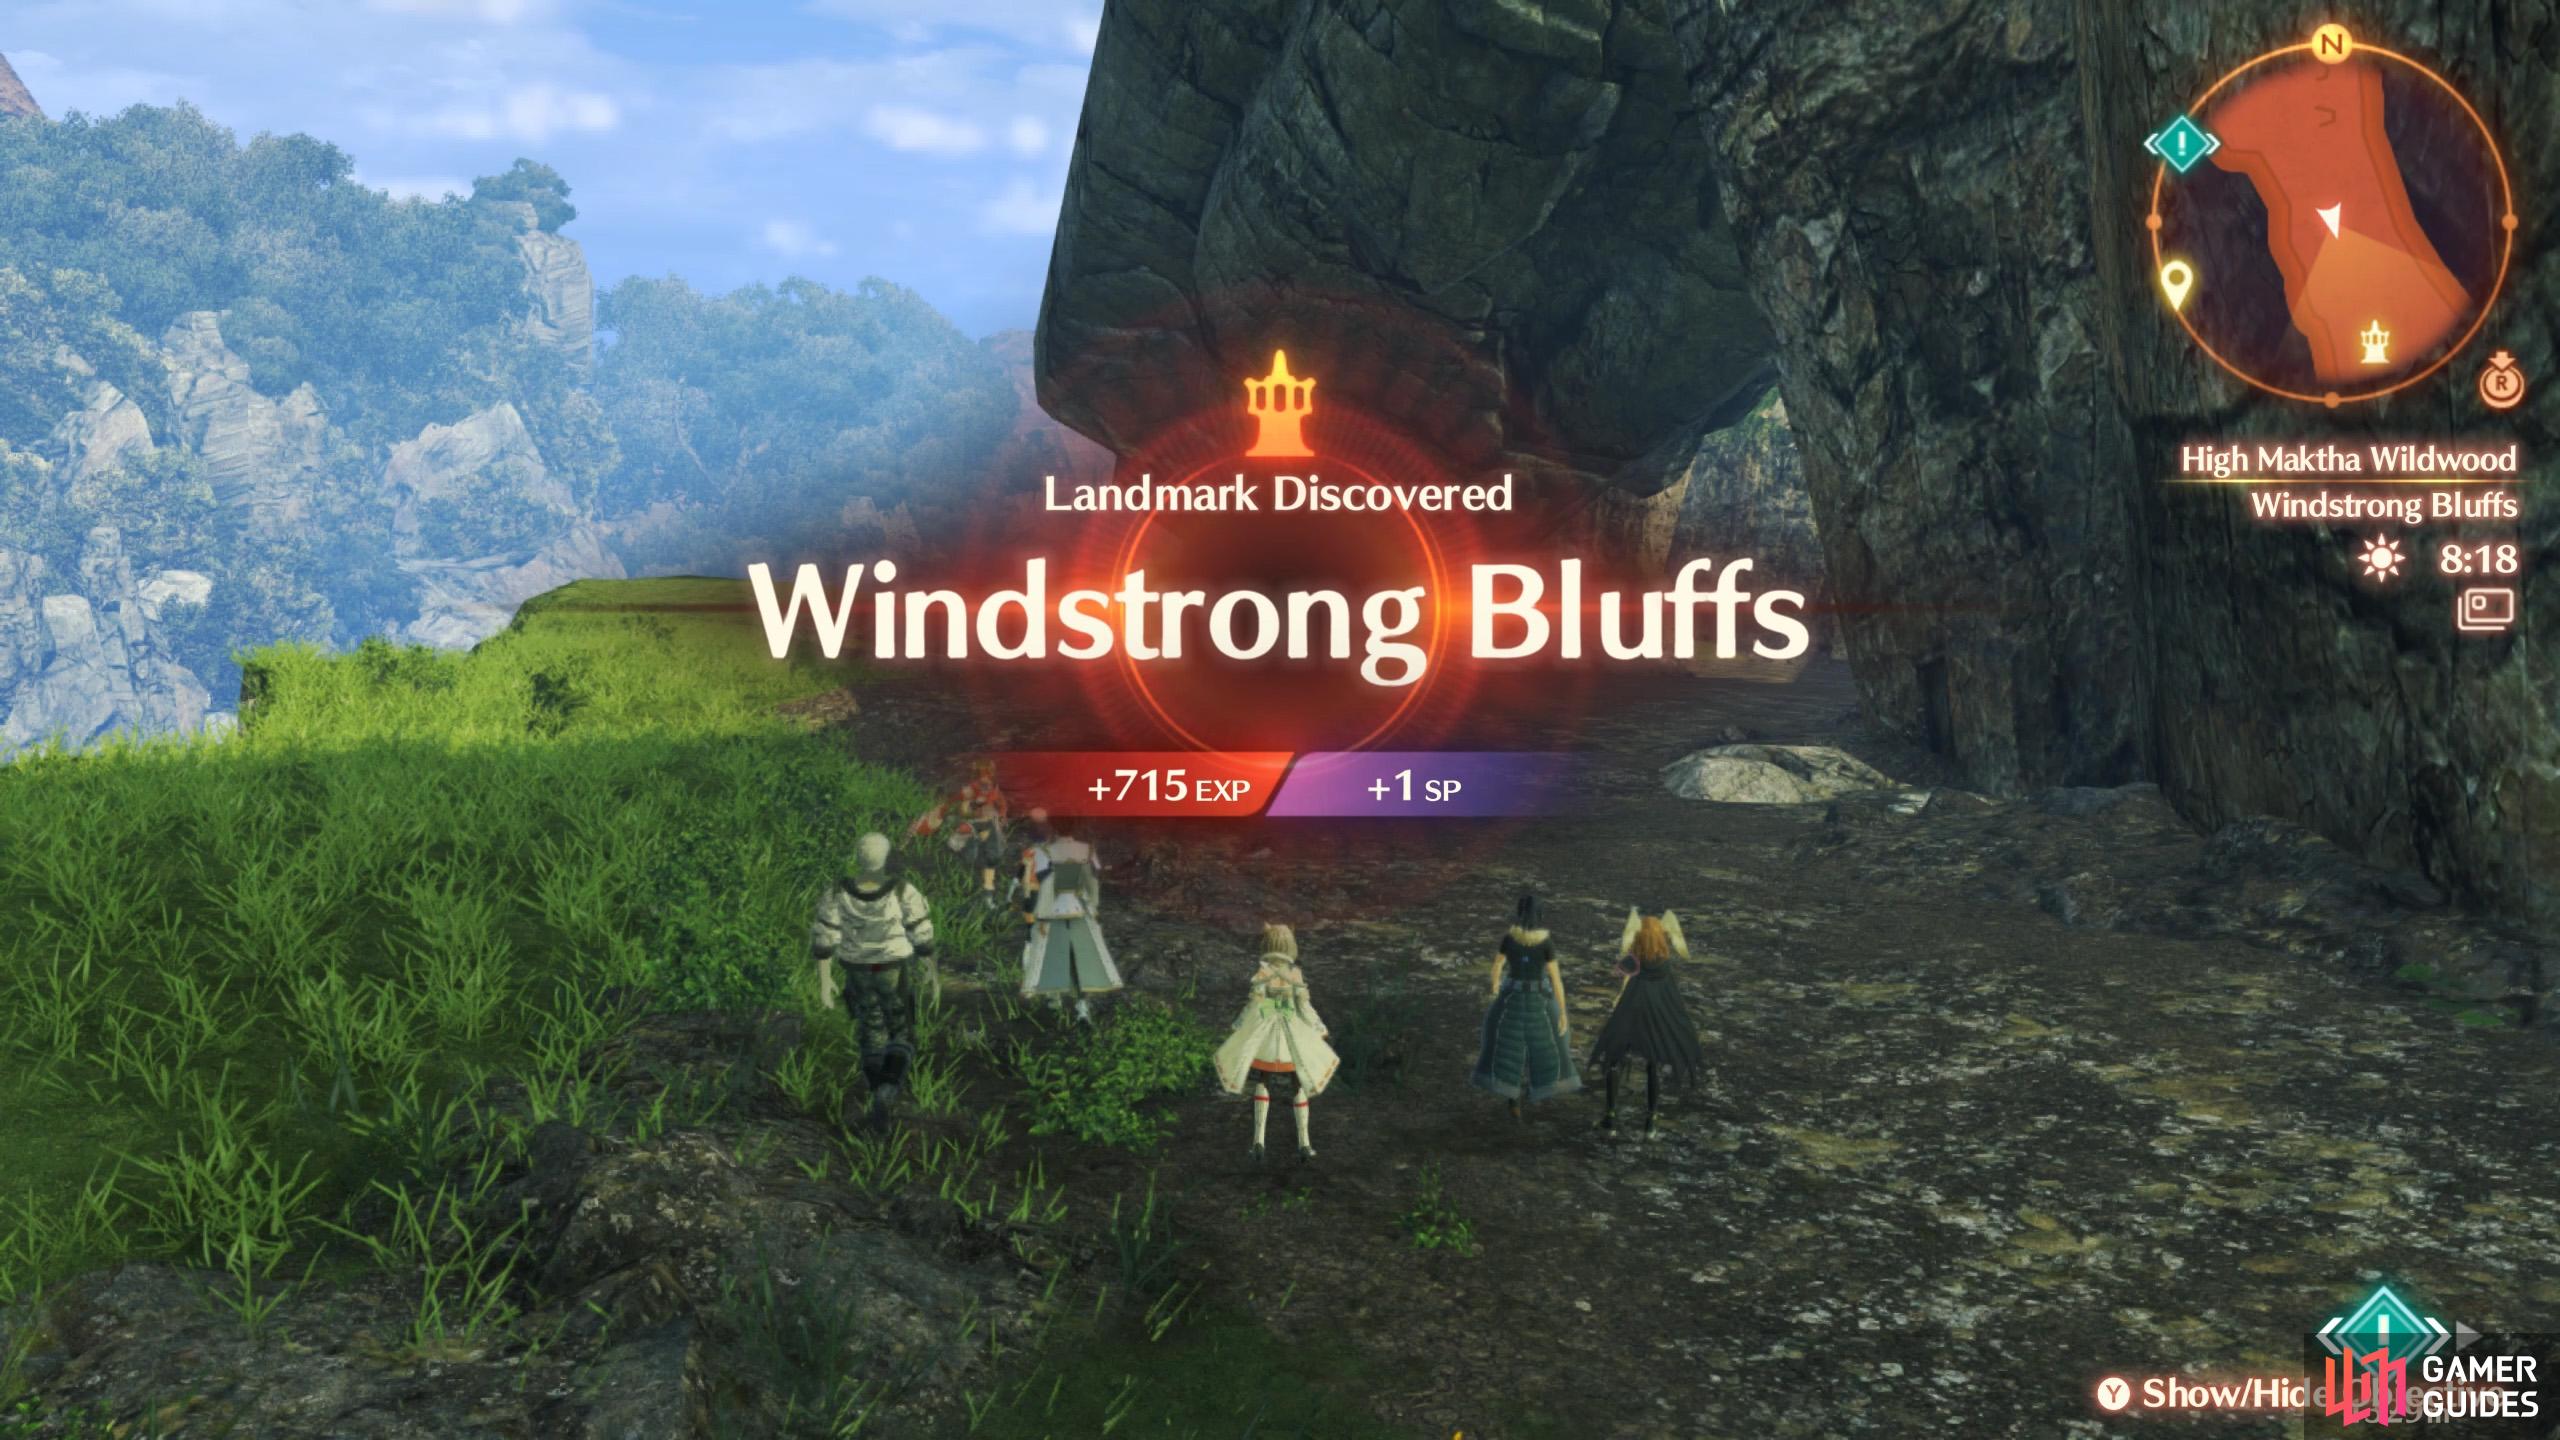
| Windstrong Bluffs | Near exit to the Keves Castle Region, towards the far east of this region. After the boss fight. |
Rest Areas at High Maktha Wildwood (Part 2)
| Name | Description |
|---|---|
| Sparkling Pool Camp | Across the zip-line after Tree Hollow Opening. |
| Tower Camp | Middle level of Archaic Tower. |
| Engardo Pass Camp | North from the exit to the Keves Castle Region, towards the far east of this region. After the boss fight. |
Containers at High Maktha Wildwood (Part 2)
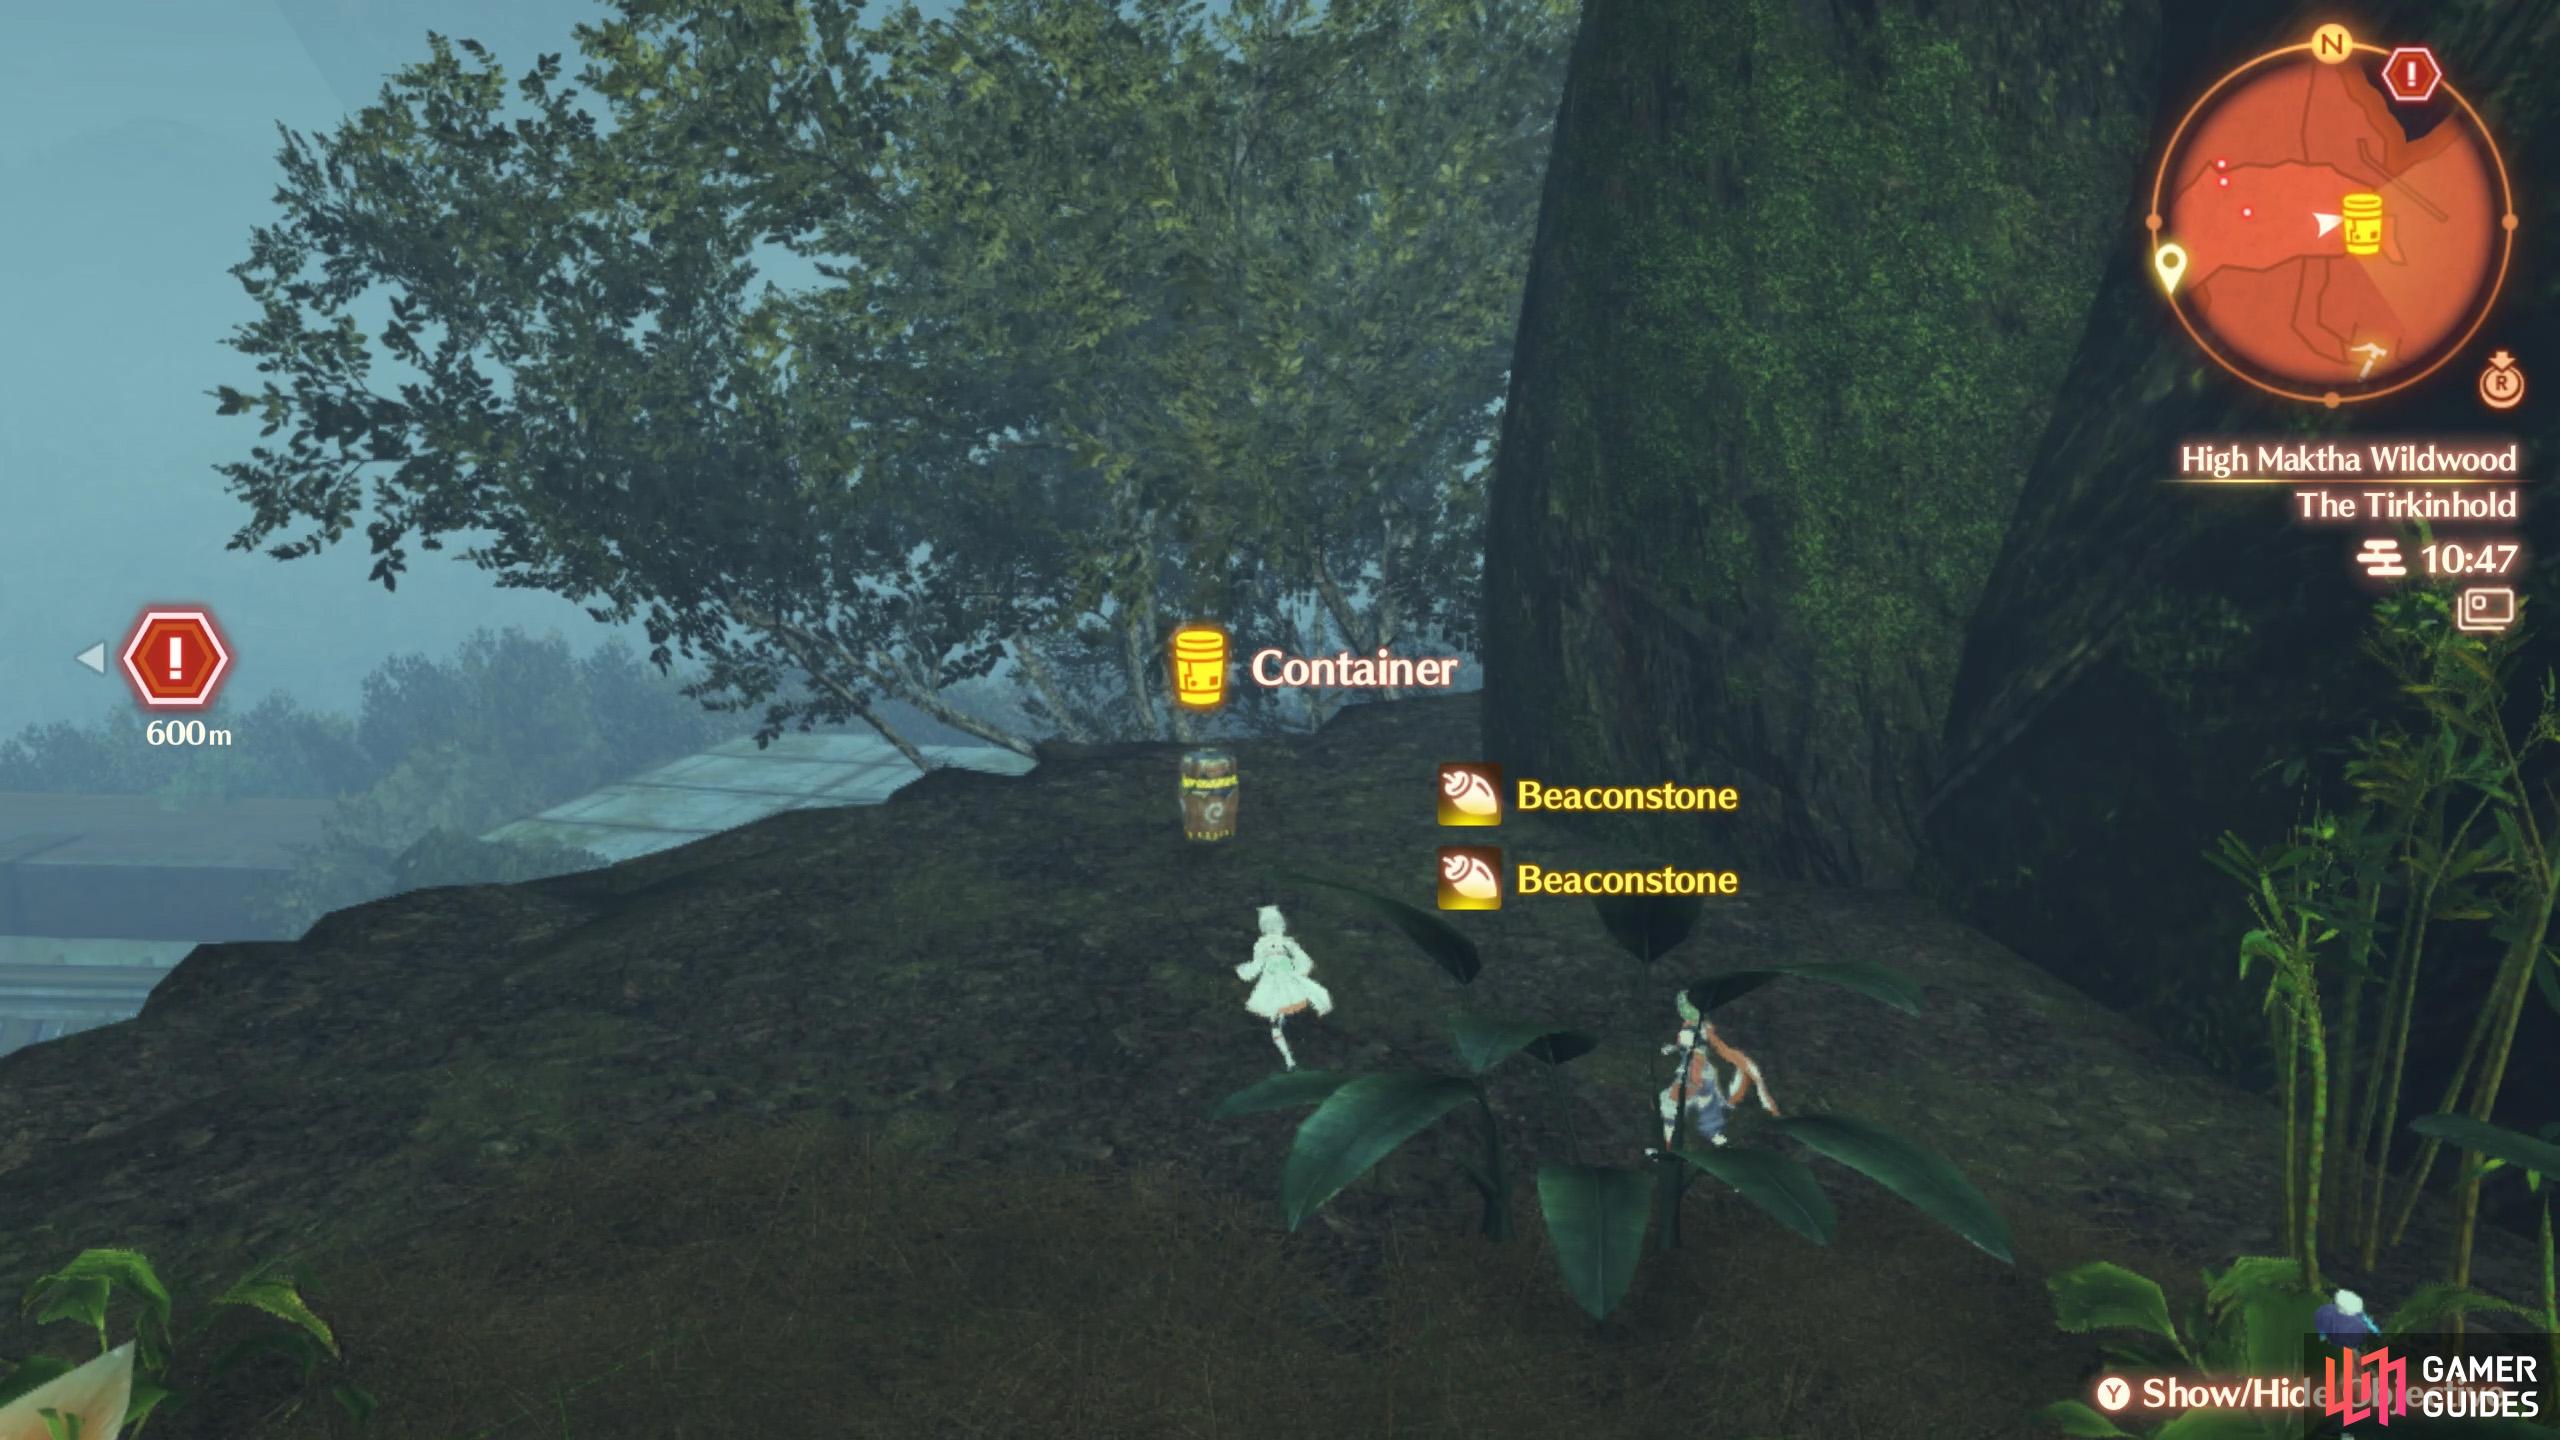
(1 of 2) At far end of the Tirkinhold.
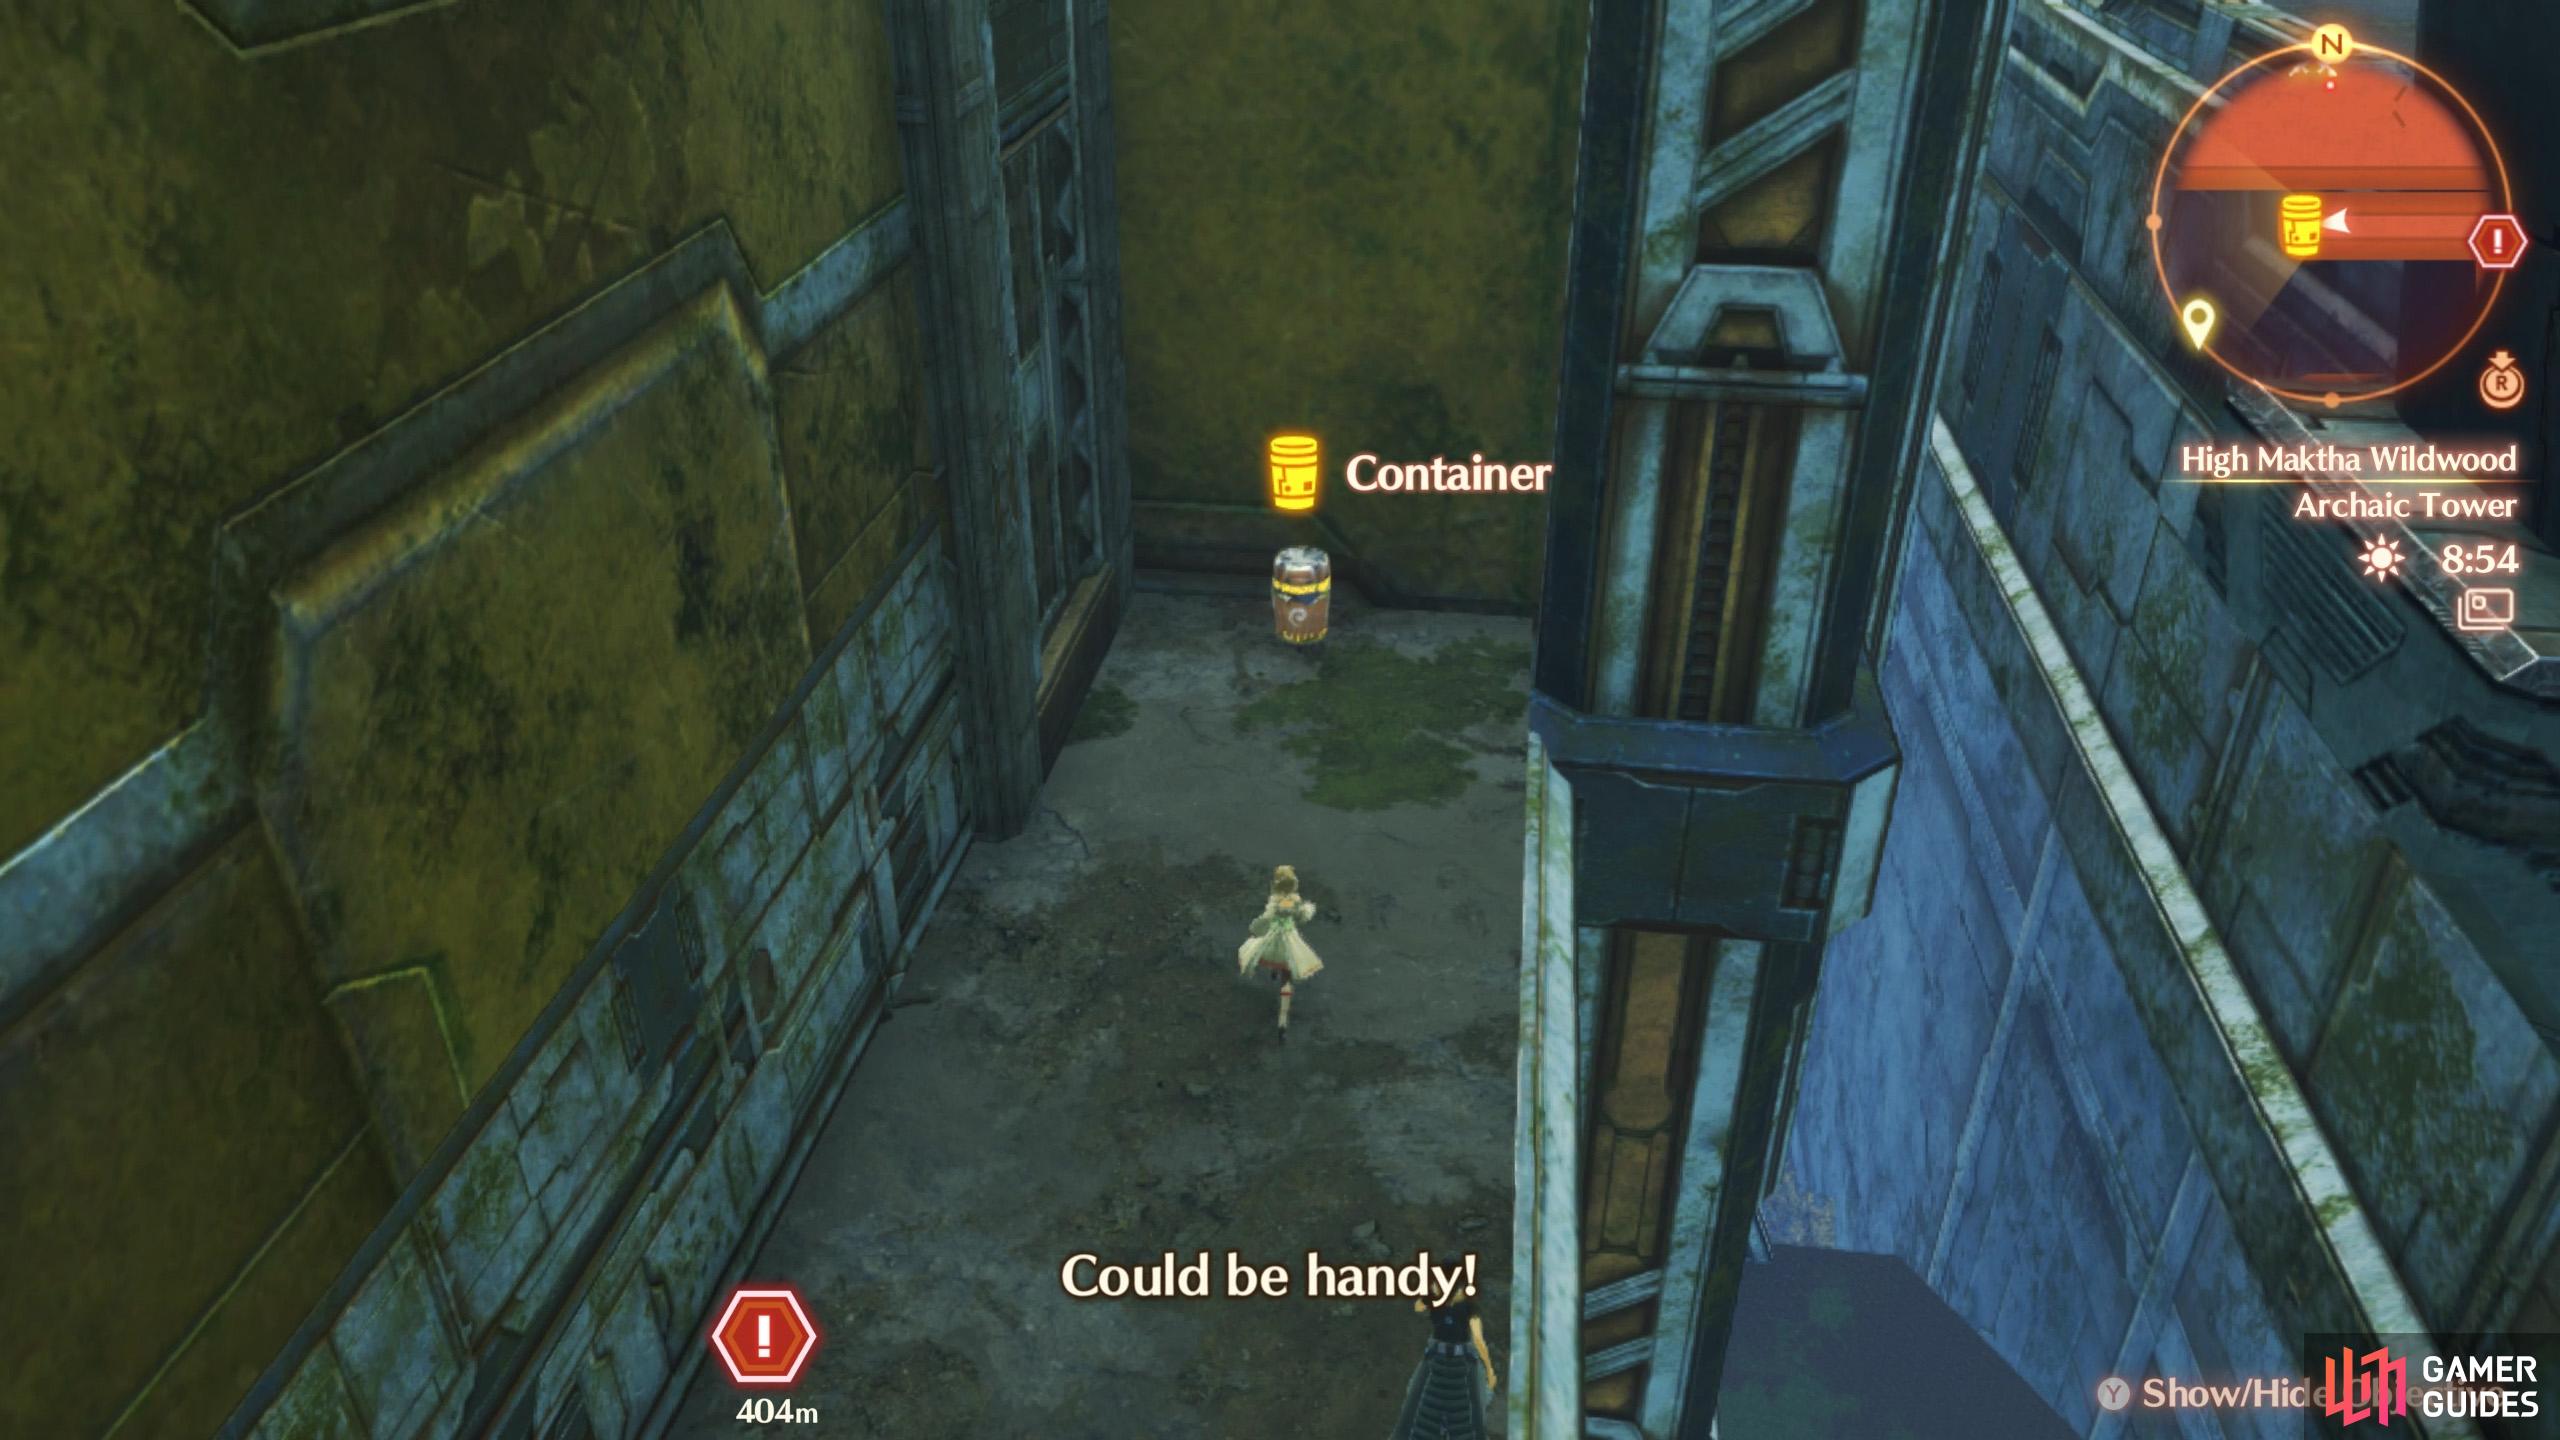
At far end of the Tirkinhold. (left), End of the pathway along north side of Archaic Tower (right)
| Container # | Map Marker | Location |
|---|---|---|
| 1 | Map Marker | South from Sparkling Pool Camp. Atop one of the first trees in the grove area. |
| 2 | Map Marker | End of the Tirkinhold. |
| 3 | Map Marker | Highest floor of the Archaic Tower. |
| 4 | Map Marker | End of narrow pathway along the north side of the Archaic Tower. |
| 5 | Map Marker | Around Runo Ruins, on the higher level, by south-west corner. |
| 6 | Map Marker | Engardo Pass, near north-east corner. After the boss fight. |
| 7 | Map Marker | West from Engardo Pass Camp. After the boss fight. |
Soldier Husks at High Maktha Wildwood (Part 2)
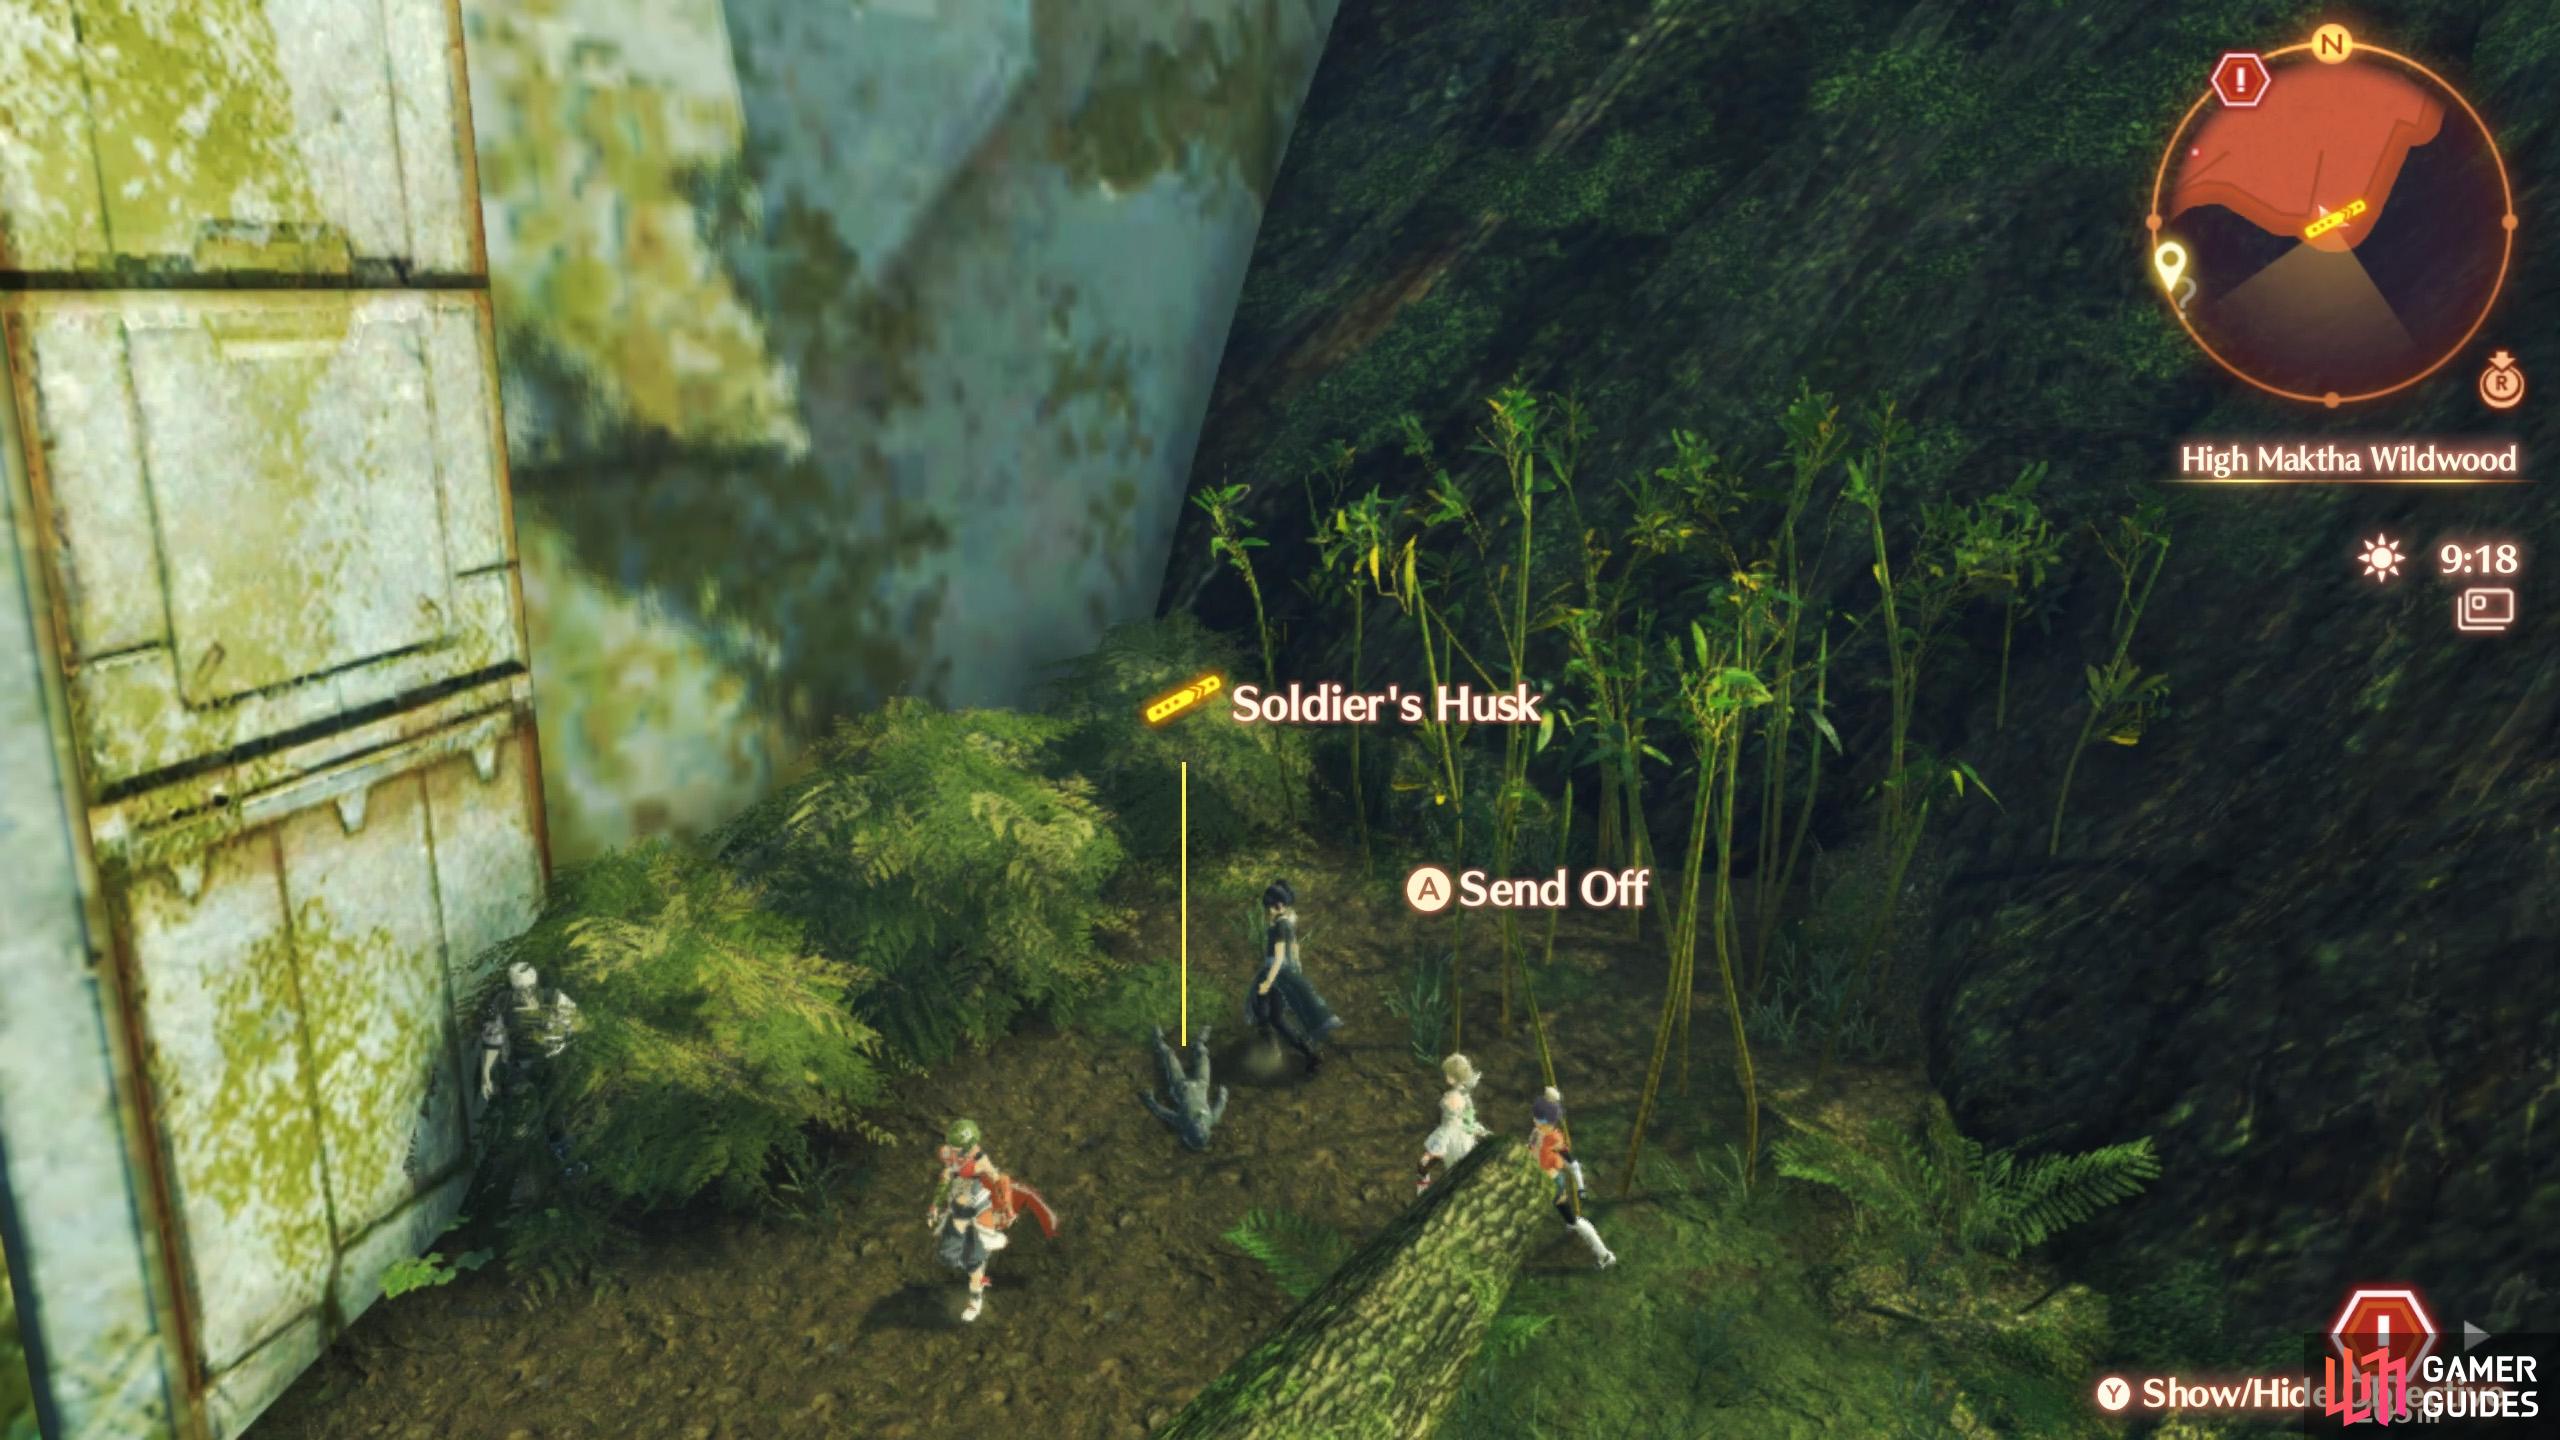
(1 of 2) Near the beginning of the path that leads to Low Maktha Wildwood.
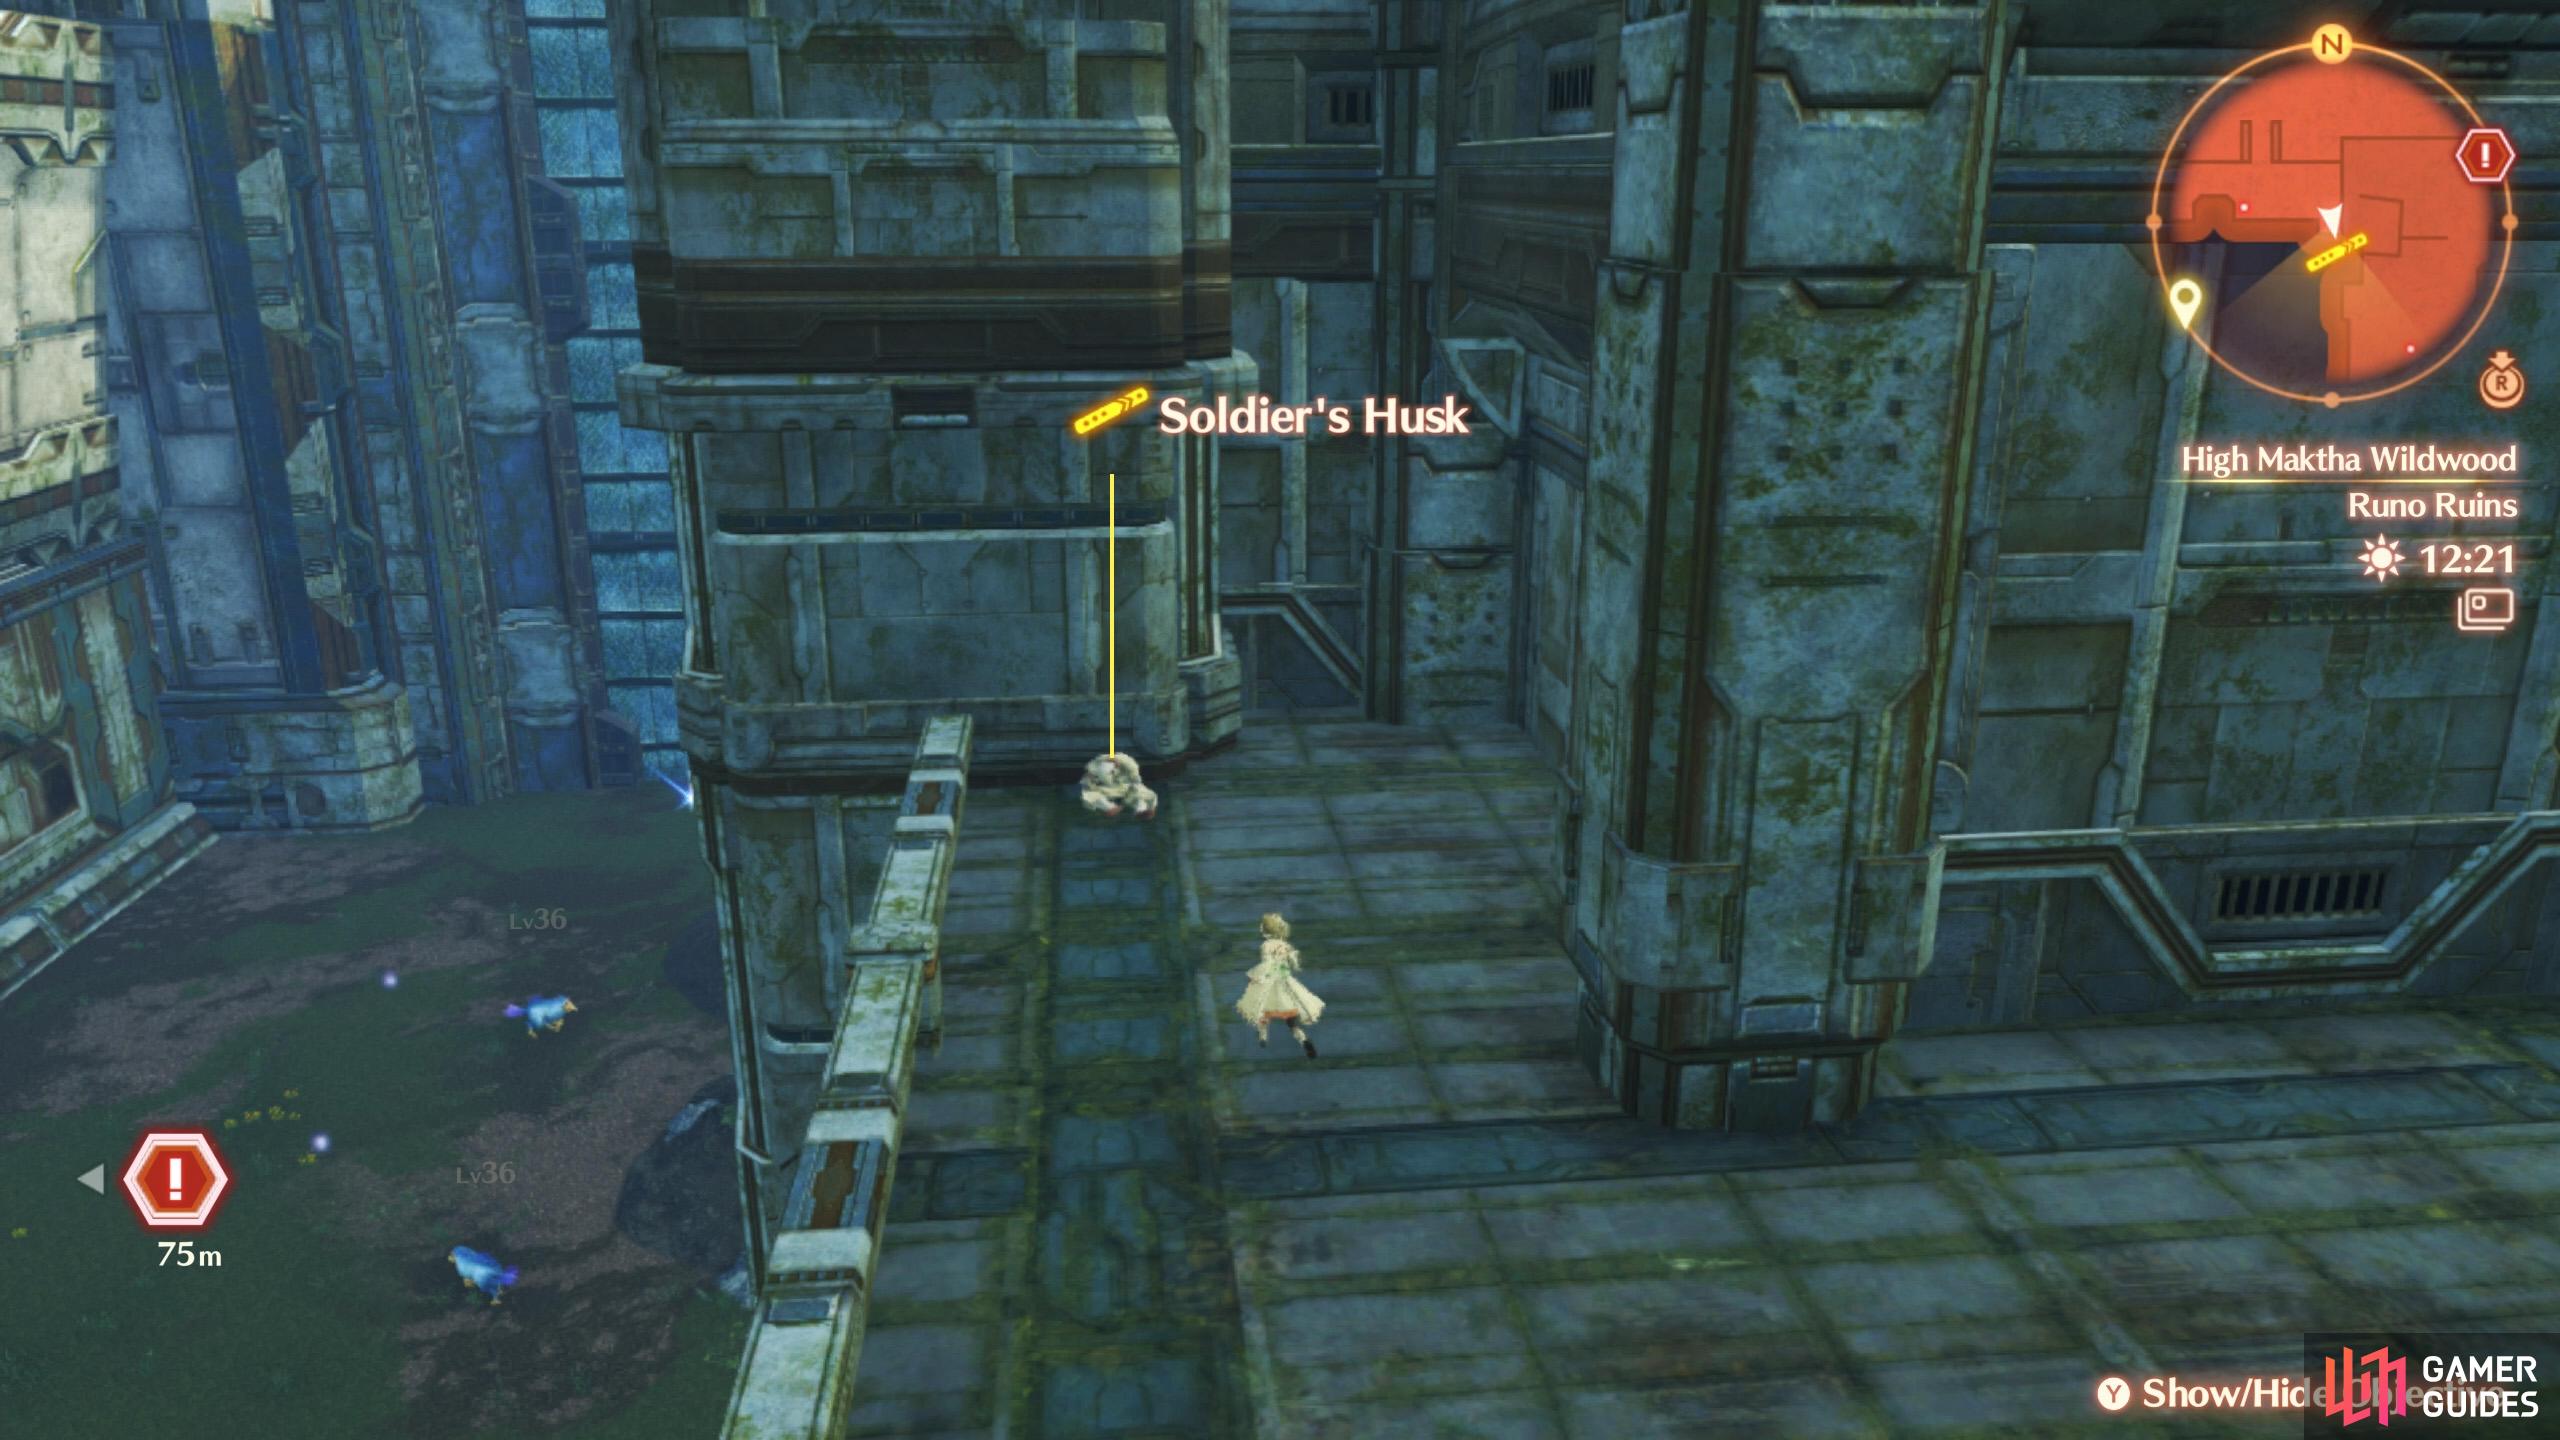
Near the beginning of the path that leads to Low Maktha Wildwood. (left), Near exit of Runo Ruins. (right)
| Soldier Husk # | Map Marker | Location |
|---|---|---|
| 1 | Map Marker | South from Sparkling Pool Camp, in the stream area. |
| 2 | Map Marker | East from the Tirkinhold, along the way to Low Maktha Wildwood, by a corner. |
| 3 | Map Marker | Runo Ruins, on the higher level, by south-east corner. |
No Comments