
This is a guide for the Consul and Moebius K boss fight in Chapter 2 of Xenoblade Chronicles 3, taking place in Racine’s Platter in the Fornis region.
Consul K and Moebius K are a boss fight in Chapter 2 of Xenoblade Chronicles 3.
How to Beat Consul K/Moebius K
| Name | Level | Type |
|---|---|---|
| Consul K (phase 1) | 17 |  |
| Moebius K (phase 2) | 17 | |
Consul K - Phase 1 Strategy
This is the first battle where you can freely use the Interlink option, which allows your chosen pair (only Noah and Mio for now) transform into their Ouroboros form. Unfortunately, you won’t be able to stay in this form for as long as the boss battle in Chapter 1 as there’s now a heat gauge that will gradually fill up over time and once full, will take you out of Interlink. You can also manually cancel out of Interlink by pressing the  button.

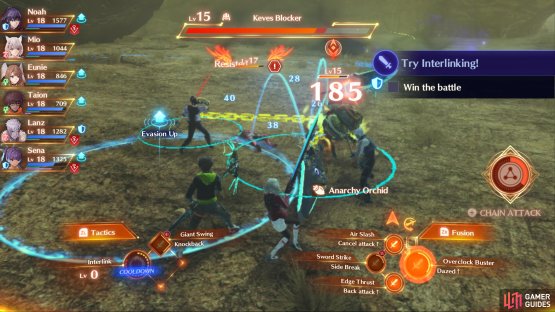
(1 of 2) Take down the Keves soldiers as they appear starting with the Rescuer

Take down the Keves soldiers as they appear starting with the Rescuer (left), then focus on the Blocker. (right)
To begin with, Consul K will fight on his own while using his Colony 4 Fire Support Art that will rain down fire on the battlefield. More importantly, he’ll use Bodyguard which will call Keves Soldiers to his aid. To begin with, this Art will only summon a single Keves Blocker, but as the fight wears on and he uses this Art more often, he’ll summon more at a time, including Rescuers.
As with Silvercoat Ethel, you’ll want to turn your attention to any Keves Soldiers that appear before resuming your assault on Consul K, especially any Rescuers. This becomes even more important later in the battle.
Consul K has plenty of tricks up his sleeve, and you can find out more about them below:
- Colony 4 Fire Support: Calls upon the Colony 4 cannons to target a single party member and deal moderate damage. This can sometimes cause multiple shots at a time and inflict Daze on the target.
- Bodyguard: Calls upon Keves Soldiers to come to his aid and join the battle. These can come in the form of Attackers (Trooper, Blaster, and Sniper), Defenders (Blocker), or Healers (Rescuer) and more will appear at once as the battle rages on.
- Sonic Straight: Consul K will punch in front of him, causing a wave of damage to targets in a straight line in front of him inflicting moderate damage.
- Hellbound Hammer: Consul K swings his giant hammer at one target, causing Topple and inflicting major damage.
Consul K’s boss battle is a tale of two fights, before Enrage and after. Before he’s Enraged, he tends to focus more on auto-attacks and relies on Colony 4 Fire Support and Bodyguard as his main Arts. He will rarely, if at all, use his other Arts at this stage of the battle.
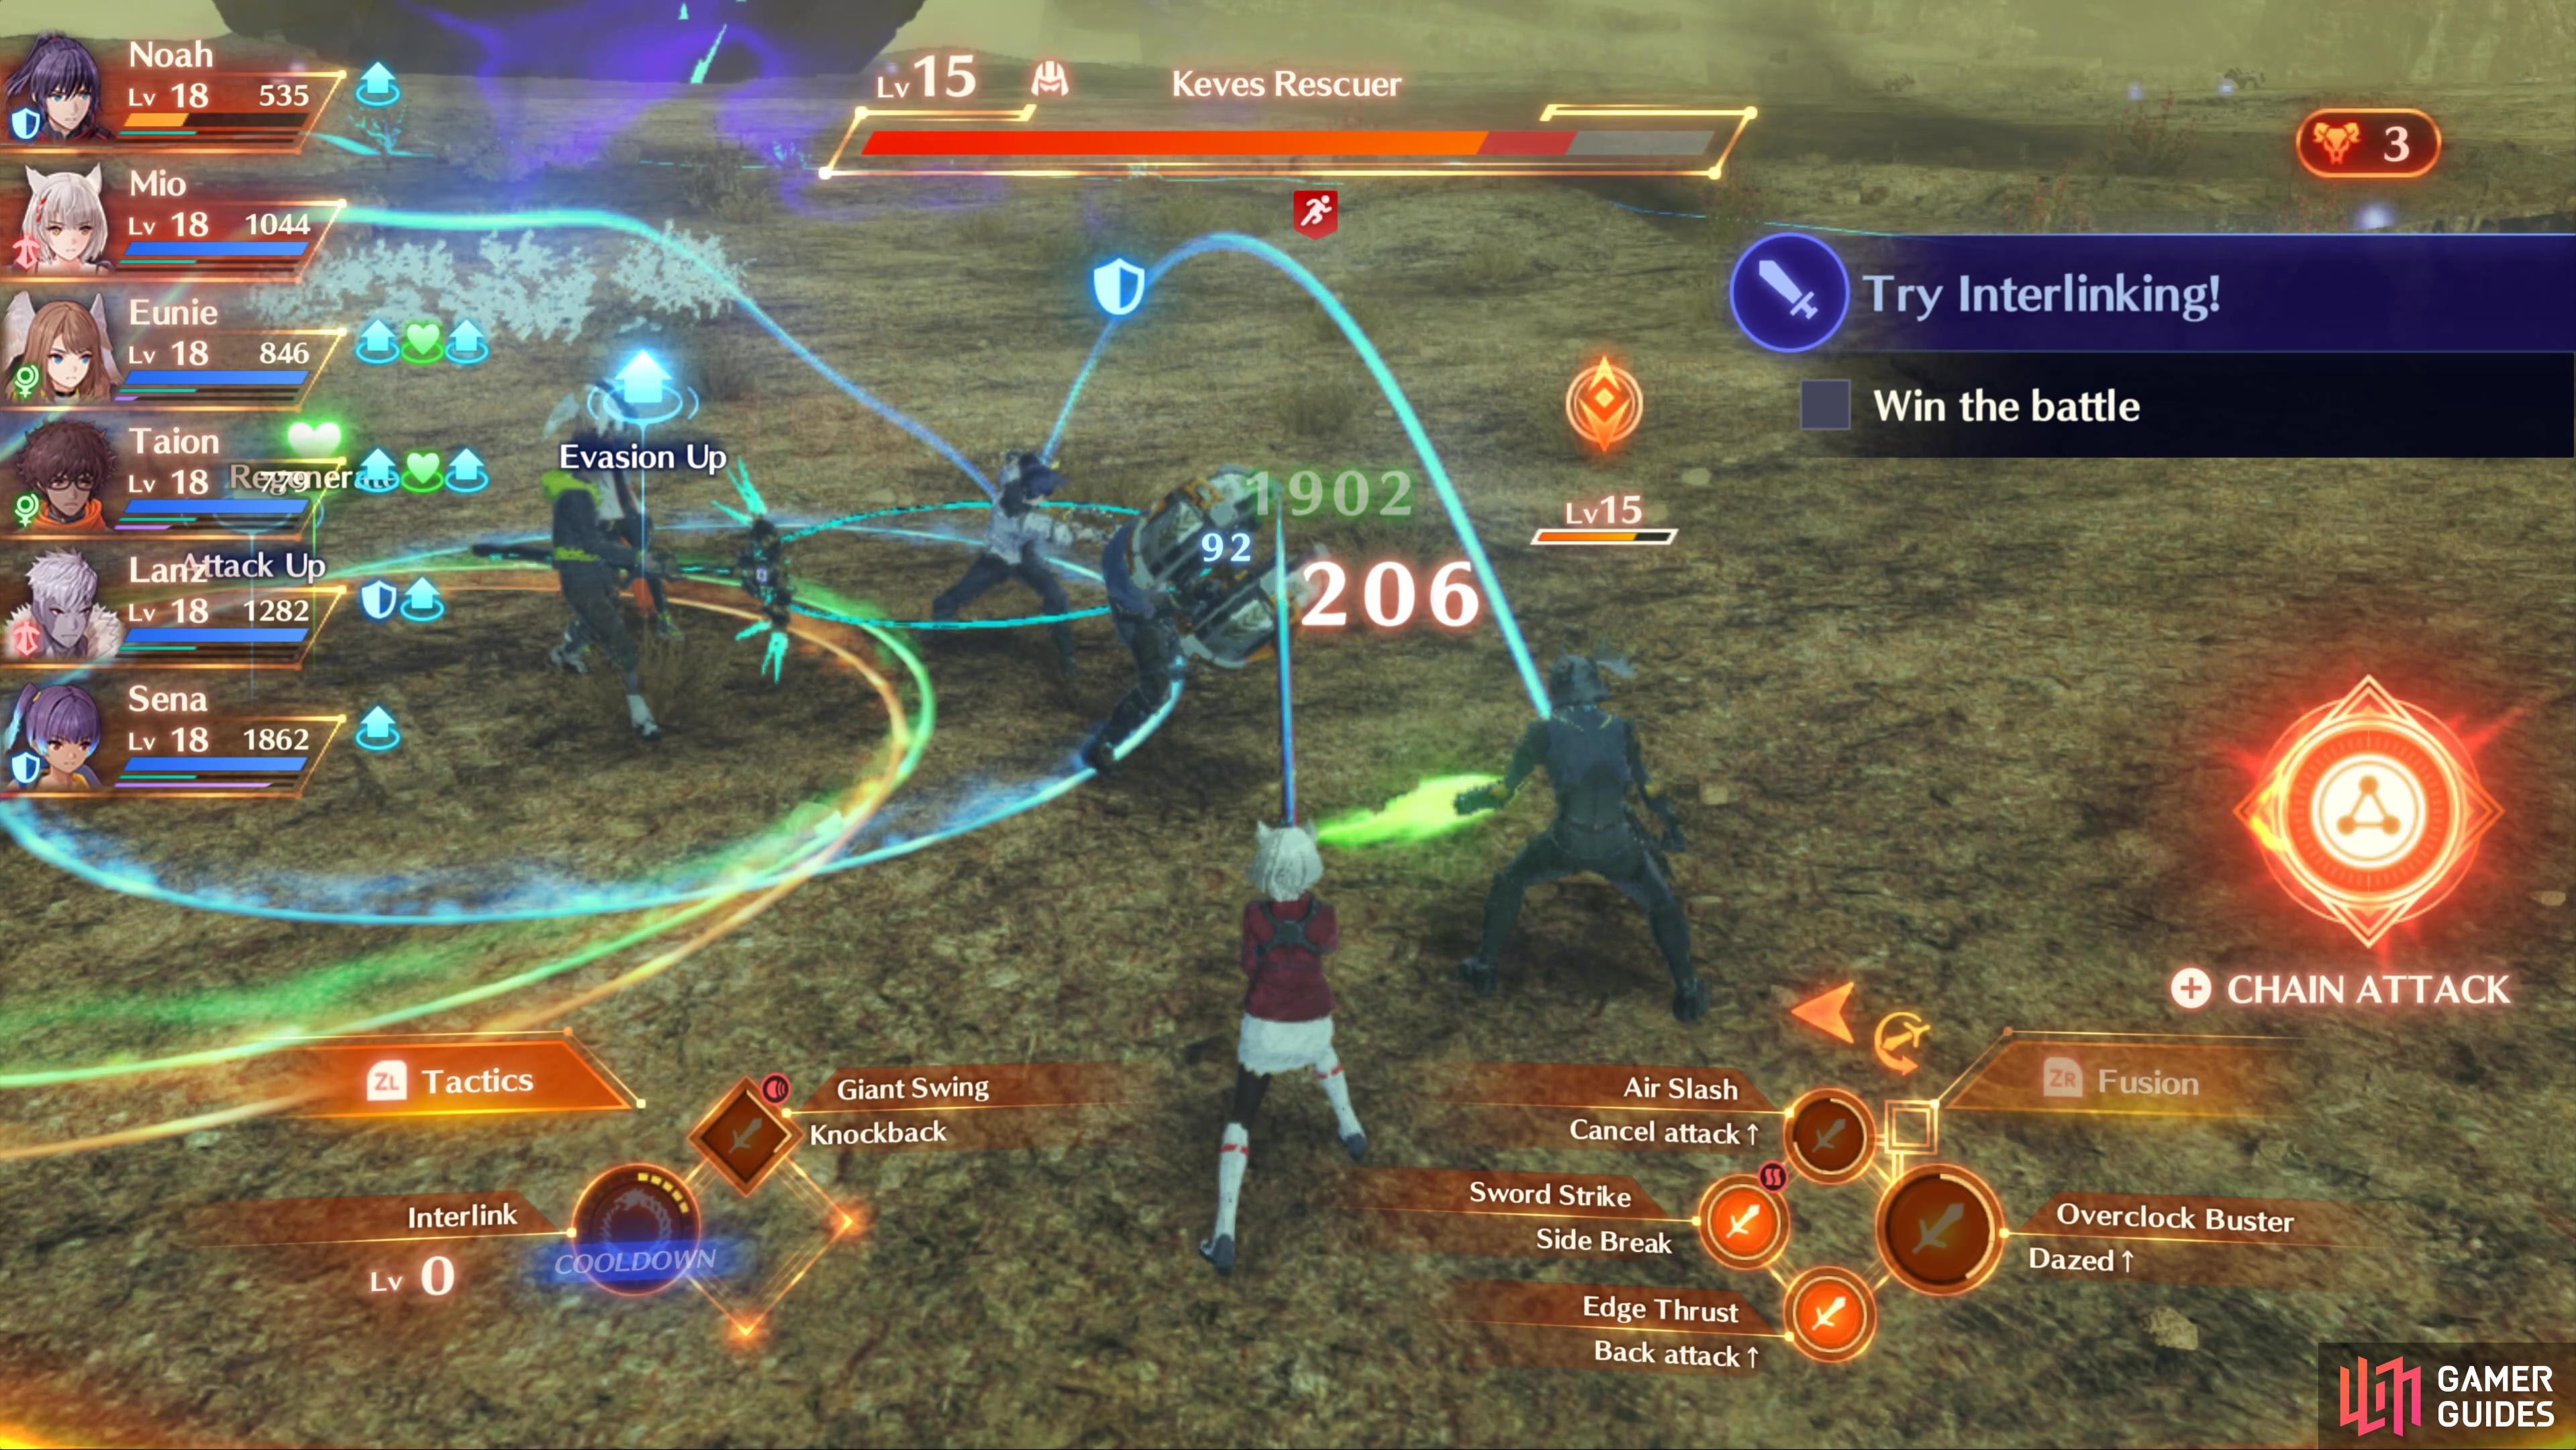
With that in mind, your main priority is to whittle him down with your own Arts while focusing on any Keves soldiers summoned via Bodyguard. There will only be a single Blocker to begin with, but as you deal more damage to him, he’ll summon two soldiers and then eventually three (around his Enrage) which will include a Rescuer that can group heal, this should be your main priority.


(1 of 2) Consul K will summon more enemies with Bodyguard the more he uses it

Consul K will summon more enemies with Bodyguard the more he uses it (left), Colony 4 Fire Support will inflict Daze on the target. (right)
Once you push Consul K into Enrage, you’ll have to deal with three Keves soldiers every time he uses Bodyguard along with him now using more damaging Arts. Sonic Straight is a nasty linear AoE attack that will deal moderate damage to anyone who is standing in front of him, a likely chance as the AI tends to stand in field circles for the buffs.
Hellbound Hammer will only hit a single target, but it’s a powerful attack that will not only deal major damage but will also inflict Topple, putting that character out of action for a while. This is dangerous for Tanks who won’t be able to block or evade while they’re Toppled. Still, Consul K isn’t as difficult as the battle before so consider saving your Chain Attack gauge for the second phase.
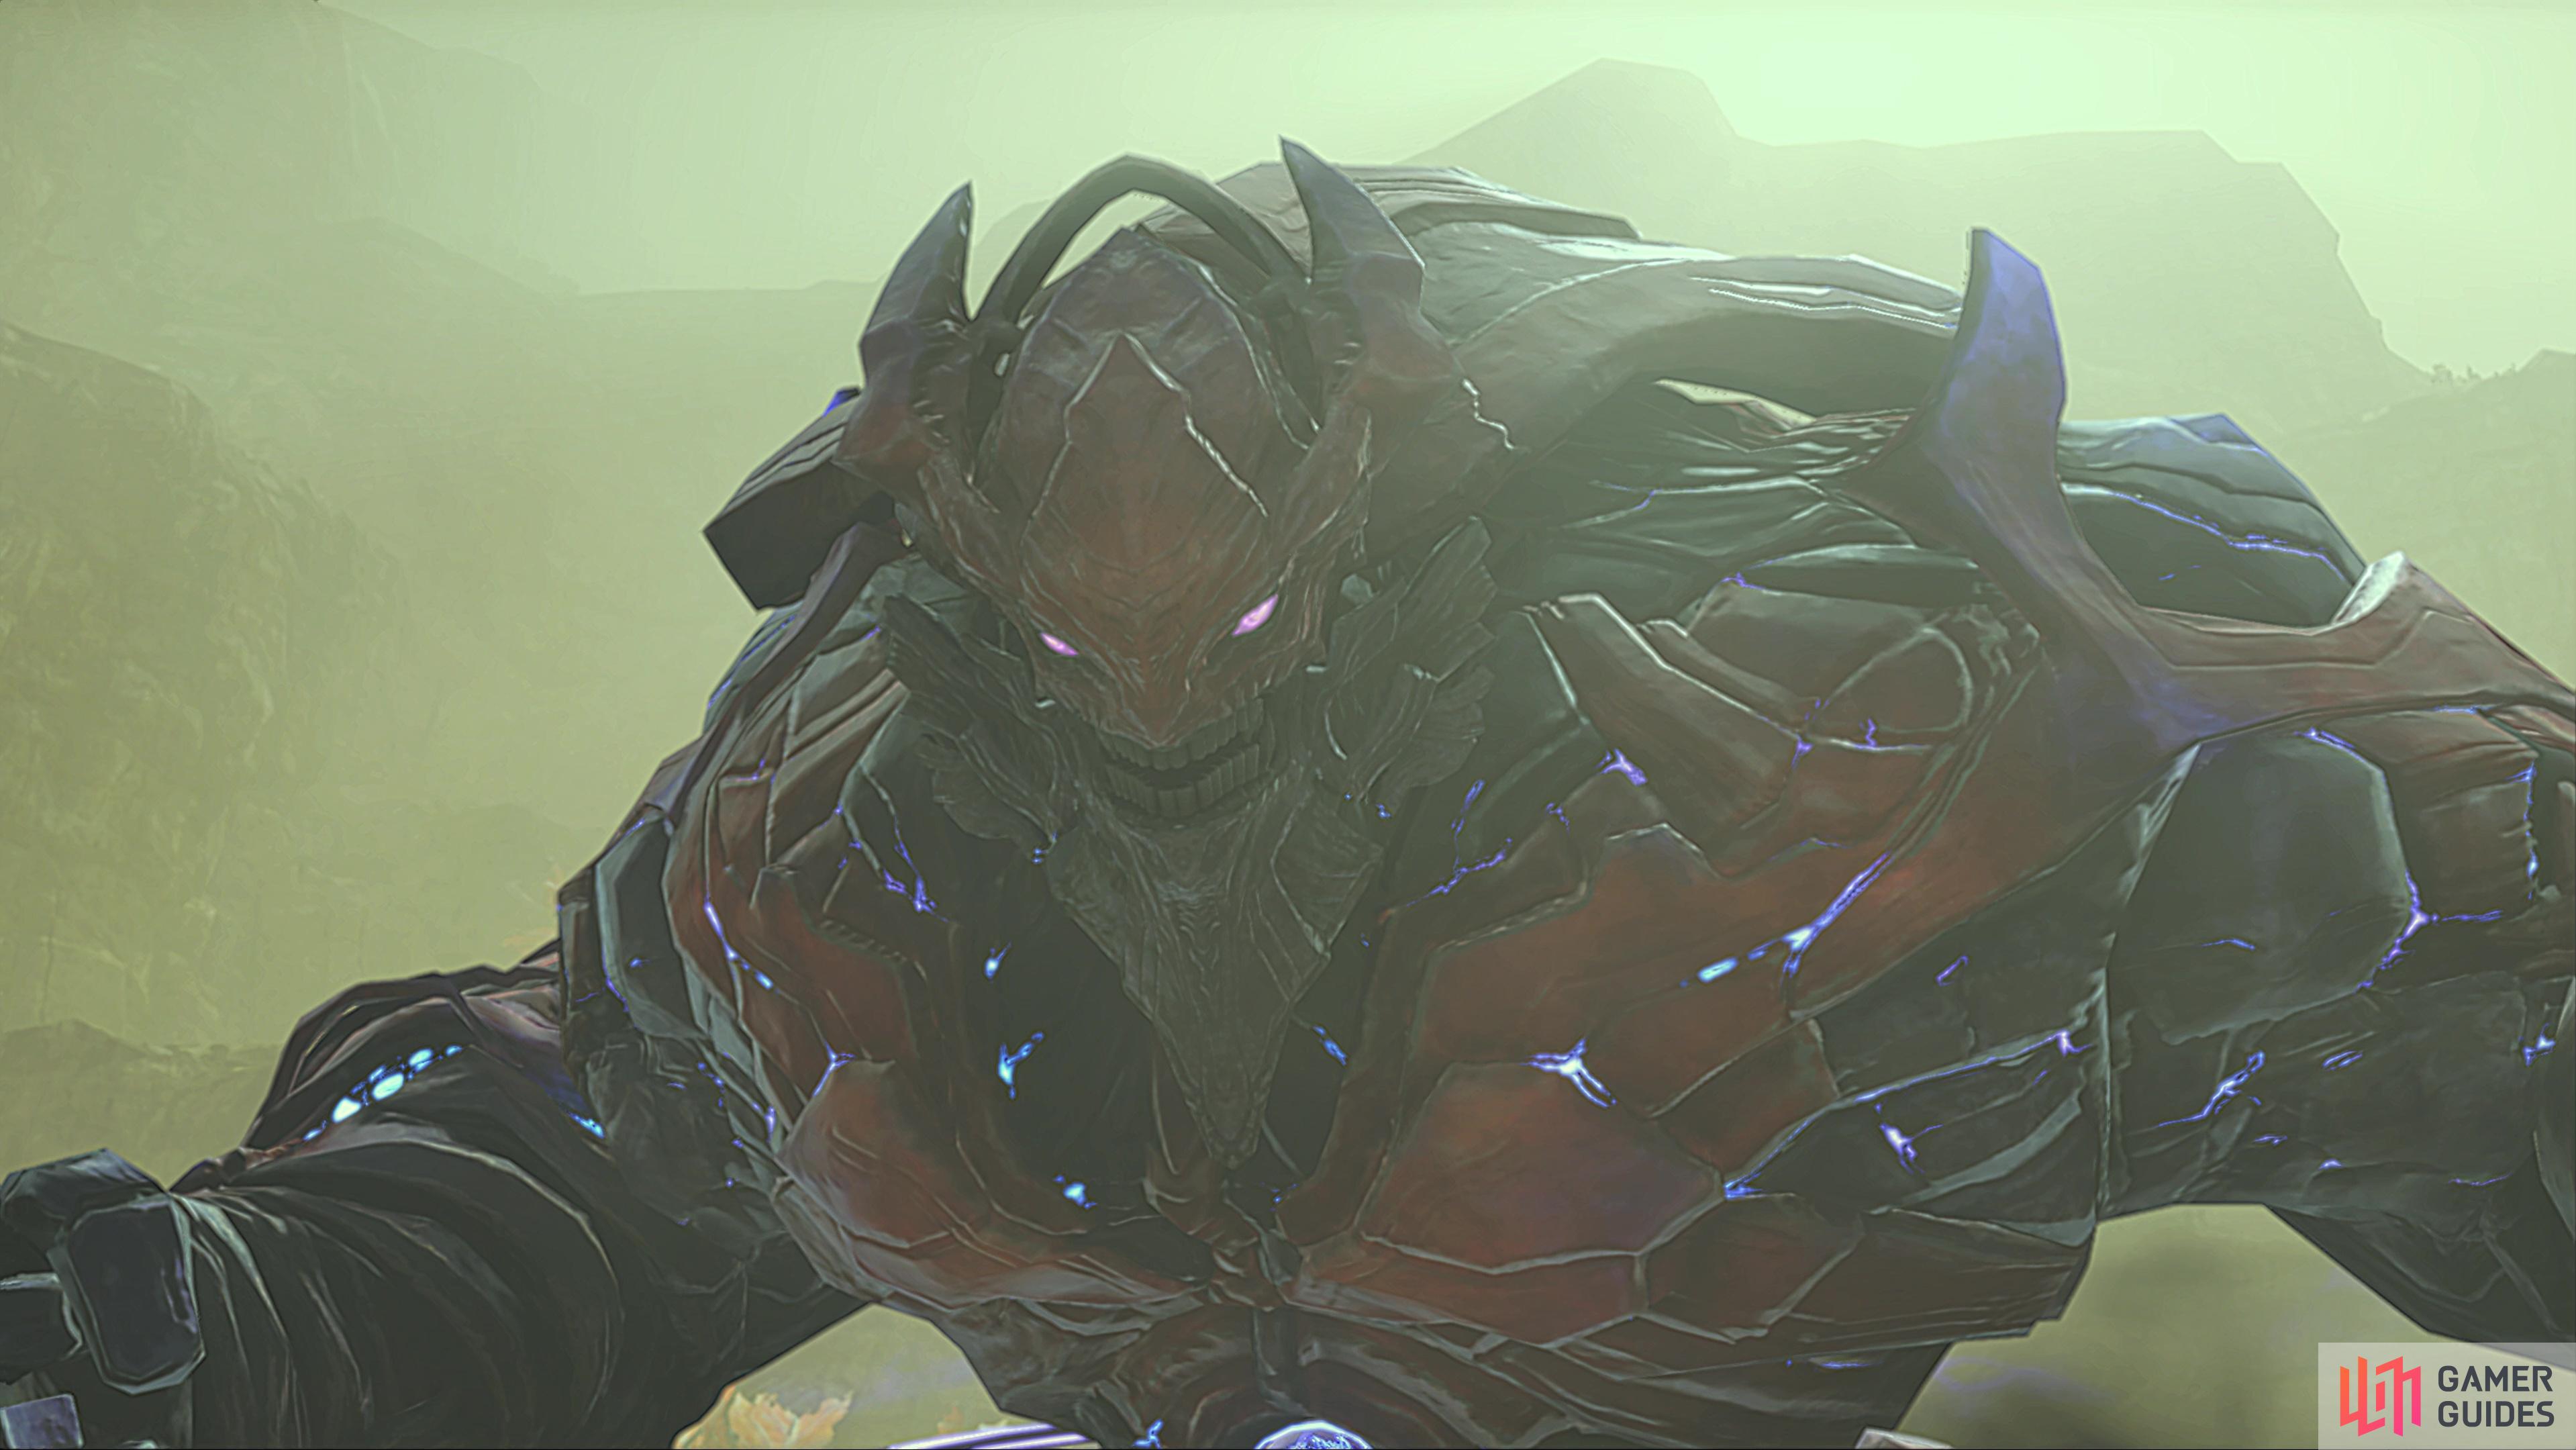
Moebius K - Phase 2 Strategy
Following some lengthy scenes, Consul K will transform into his Ouroboros form, and you’ll fight him again. The other two pairs have now unlocked their Ouroboros forms too and can Interlink just as Noah and Mio could do before hand, this gives you the upper hand in this battle. Eunie and Taion’s Interlink especially has some powerful healing Arts to use.
Moebius K has a different set of Arts for this phase of the battle too, and you can learn about them below:
- Mighty Orb: Moebius K will shoot an elemental orb at a single target. This will also inflict the Shackle Blocking debuff which makes it so a character can’t block, dangerous for Tanks.
- Mega Sonic Straight: This is a stronger version of Consul K’s Sonic Straight, dealing moderate damage to all targets in a linear AoE in front of him.
- Victory Pose: Moebius K takes the time to flex his muscles, during which he’ll gain the a buff.
- Muscle Knockout: This is a multi-hit attack on a single target that will deal major damage and inflict Daze, putting the character out of action for a while.
- Power Recovery: This Art won’t be activated it immediately, it will be charged first and should it fill, Moebius K will restore his HP.
It’s clear to see that Moebius K is a far tougher adversary as expected, but you’ll have the benefit of being able to Interlink with all three pairs. The good news is, your party members will use Interlink sporadically themselves, there’s no need for you to manually change characters although it is recommended if you wish to use Eunie’s and Taion’s Interlink for healing purposes.
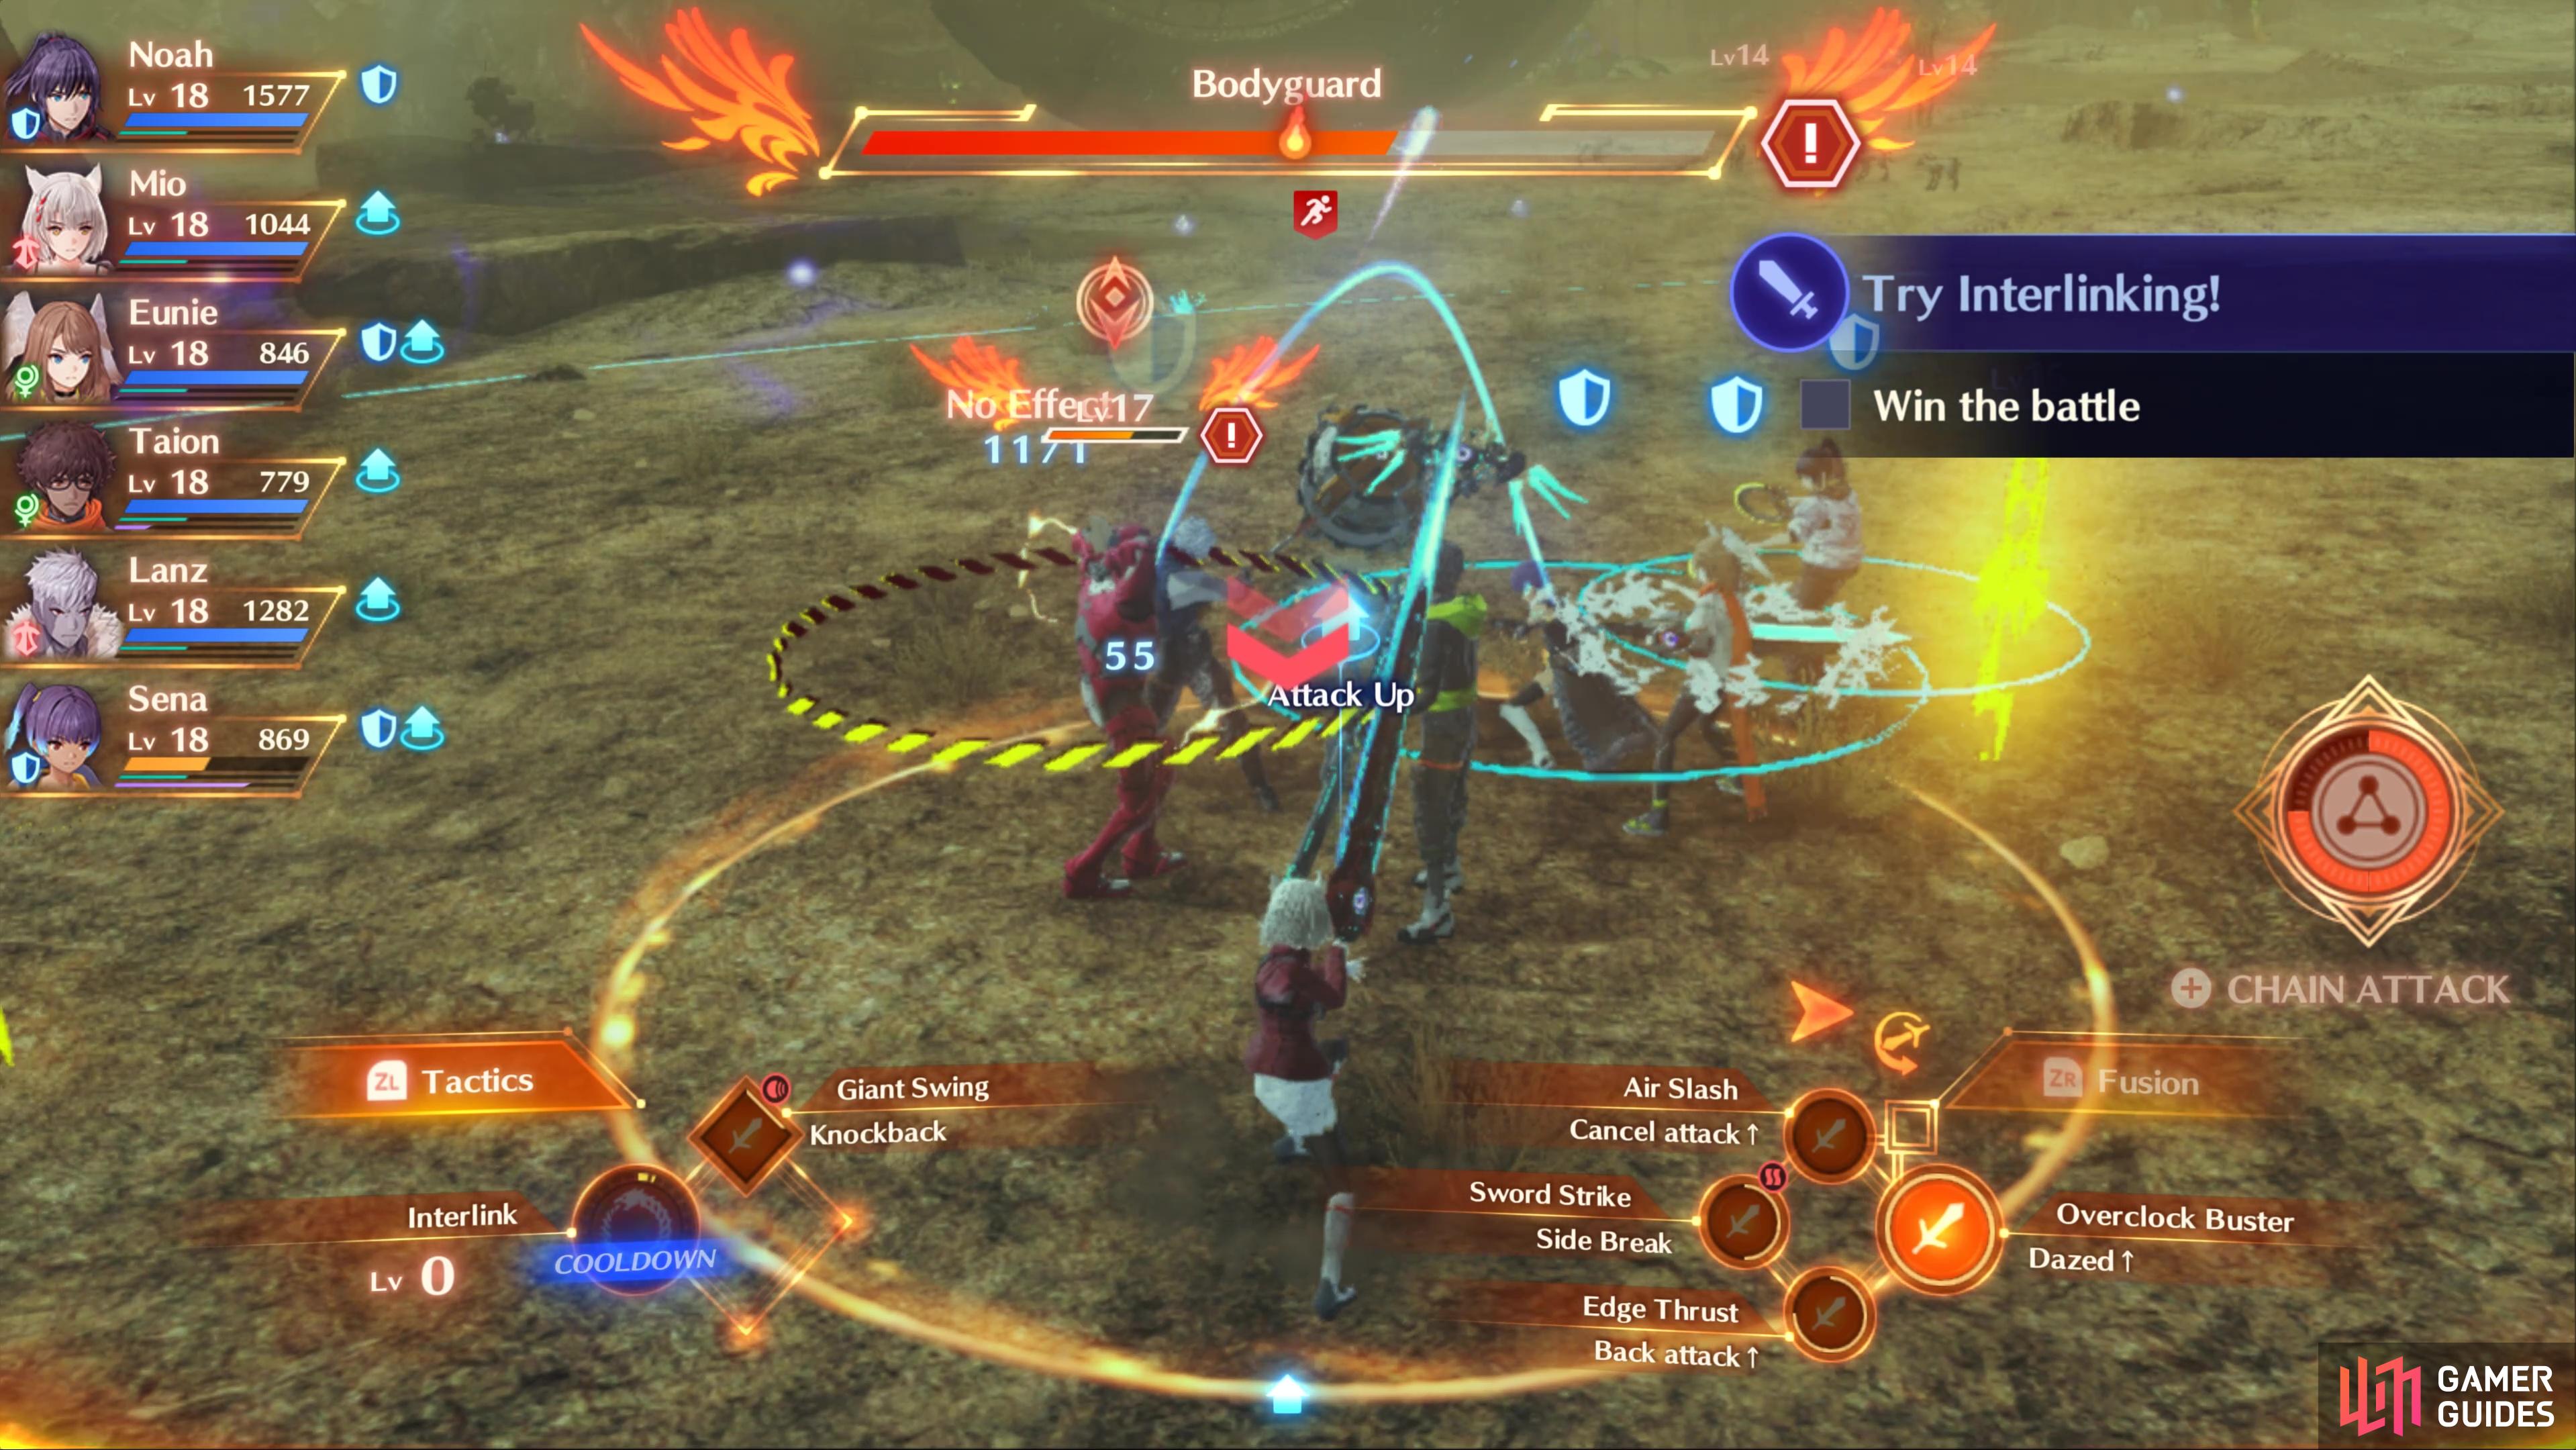
Moebius K has a completely different set of Arts to his Consul form, all of which can be deadly. Mighty Orb is perhaps the greatest threat however, even if it doesn’t deal as much damage as some of his other Arts. This should be hitting your Tank, and it comes with a nasty debuff that will cause the Shackle Blocking debuff which prevents that character from blocking. This means your chosen Tank is going to be taking full damage from all of Moebius K’s attacks unless you get lucky and evade it.


(1 of 2) Moebius K seems to have a shield that will resist damage from time-to-time

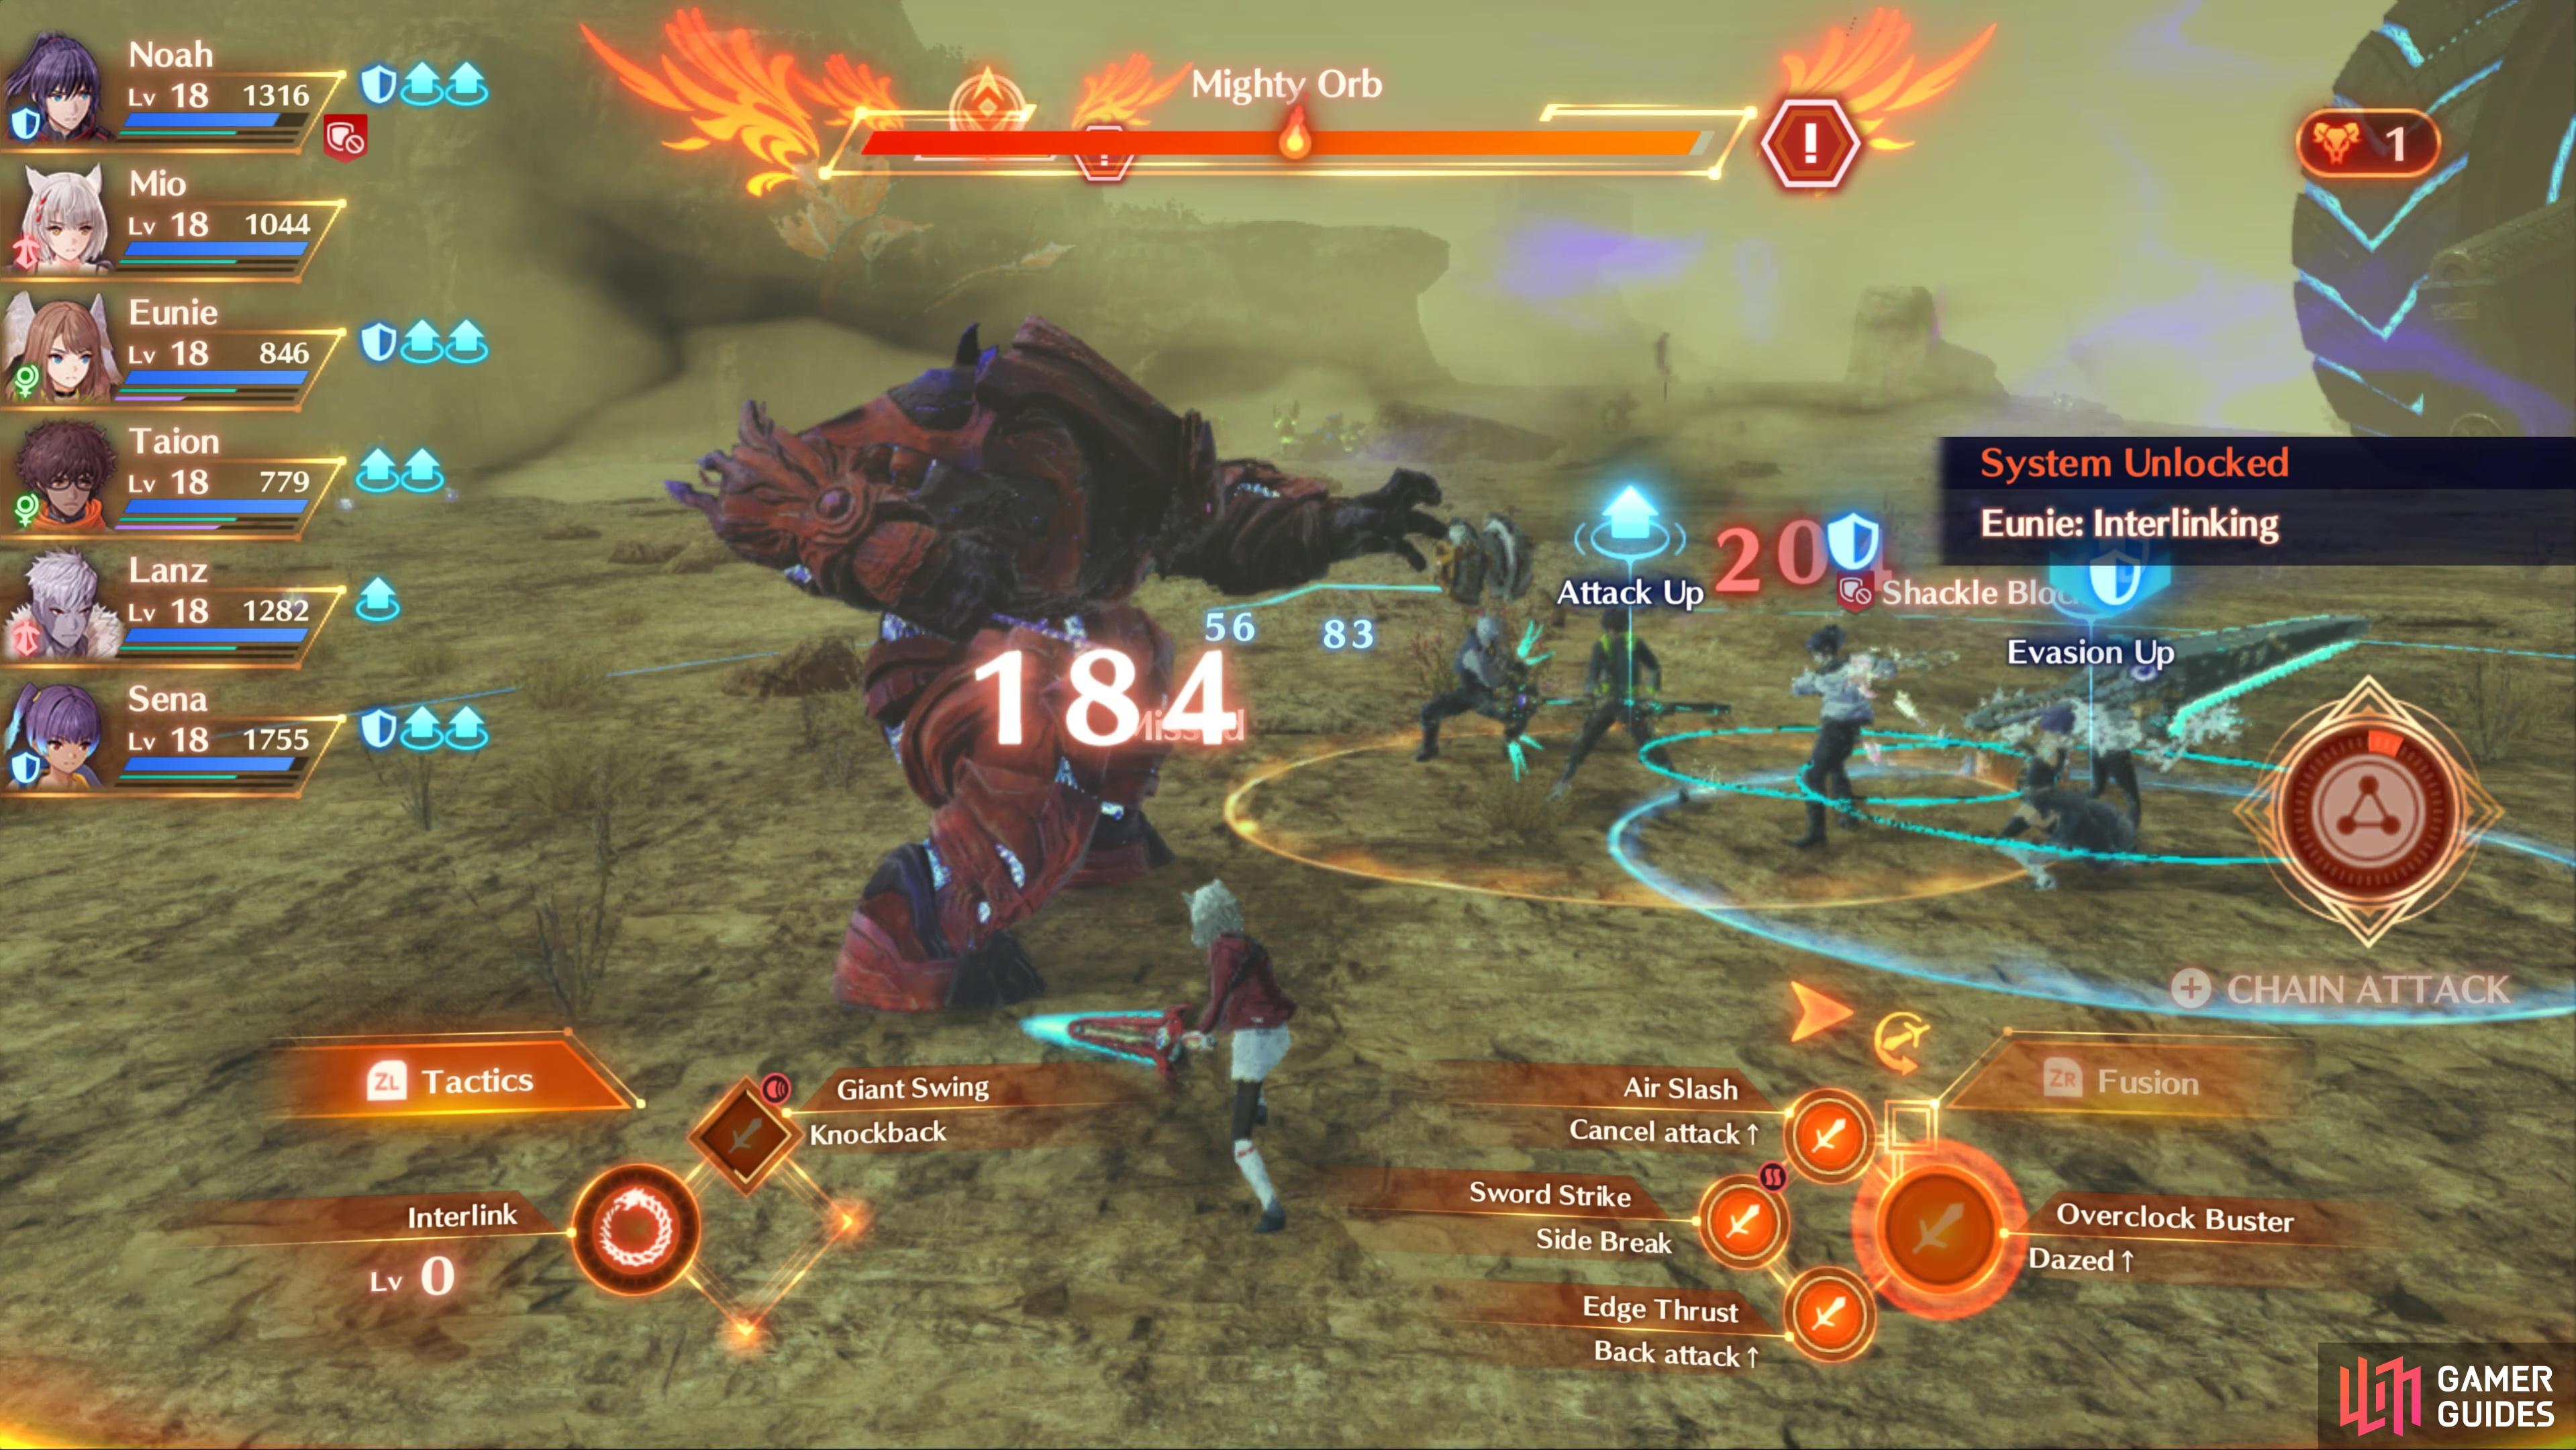
Moebius K seems to have a shield that will resist damage from time-to-time (left), Mighty Orb will prevent that target from being able to block for a time! (right)
Muscle Knockout is equally as damaging, it will deal major damage if each hit connects while also causing Daze. If this hits a Tank with Shackle Blocking, you’re going to take a lot of damage here. Moebius K’s final Art to worry about is Power Recovery, which he uses when he’s closer to death. If the gauge fills, he’ll restore his HP so try to use the Topple Combo or initiate a Chain Attack at this time.
You’ll want to make frequent use of Interlink throughout this battle, it’ll deal more damage than your characters in their current classes. Moebius K seems to have a shield that will occasionally resist some of the damage out deal and cause you to bounce off him, there’s nothing you can do about this, however. Hopefully you have a full Chain Attack ready to go once you Enrage Moebius K and make full use of Interlinking to put K down for good.
No Comments