
This is a guide for the Armu and Ardun Ranch sidequest in Xenoblade Chronicles 3. It will tell you which pairings to pick and where to find all of the ingredients for feeding.
How to Start the Armu and Ardun Ranch Quest
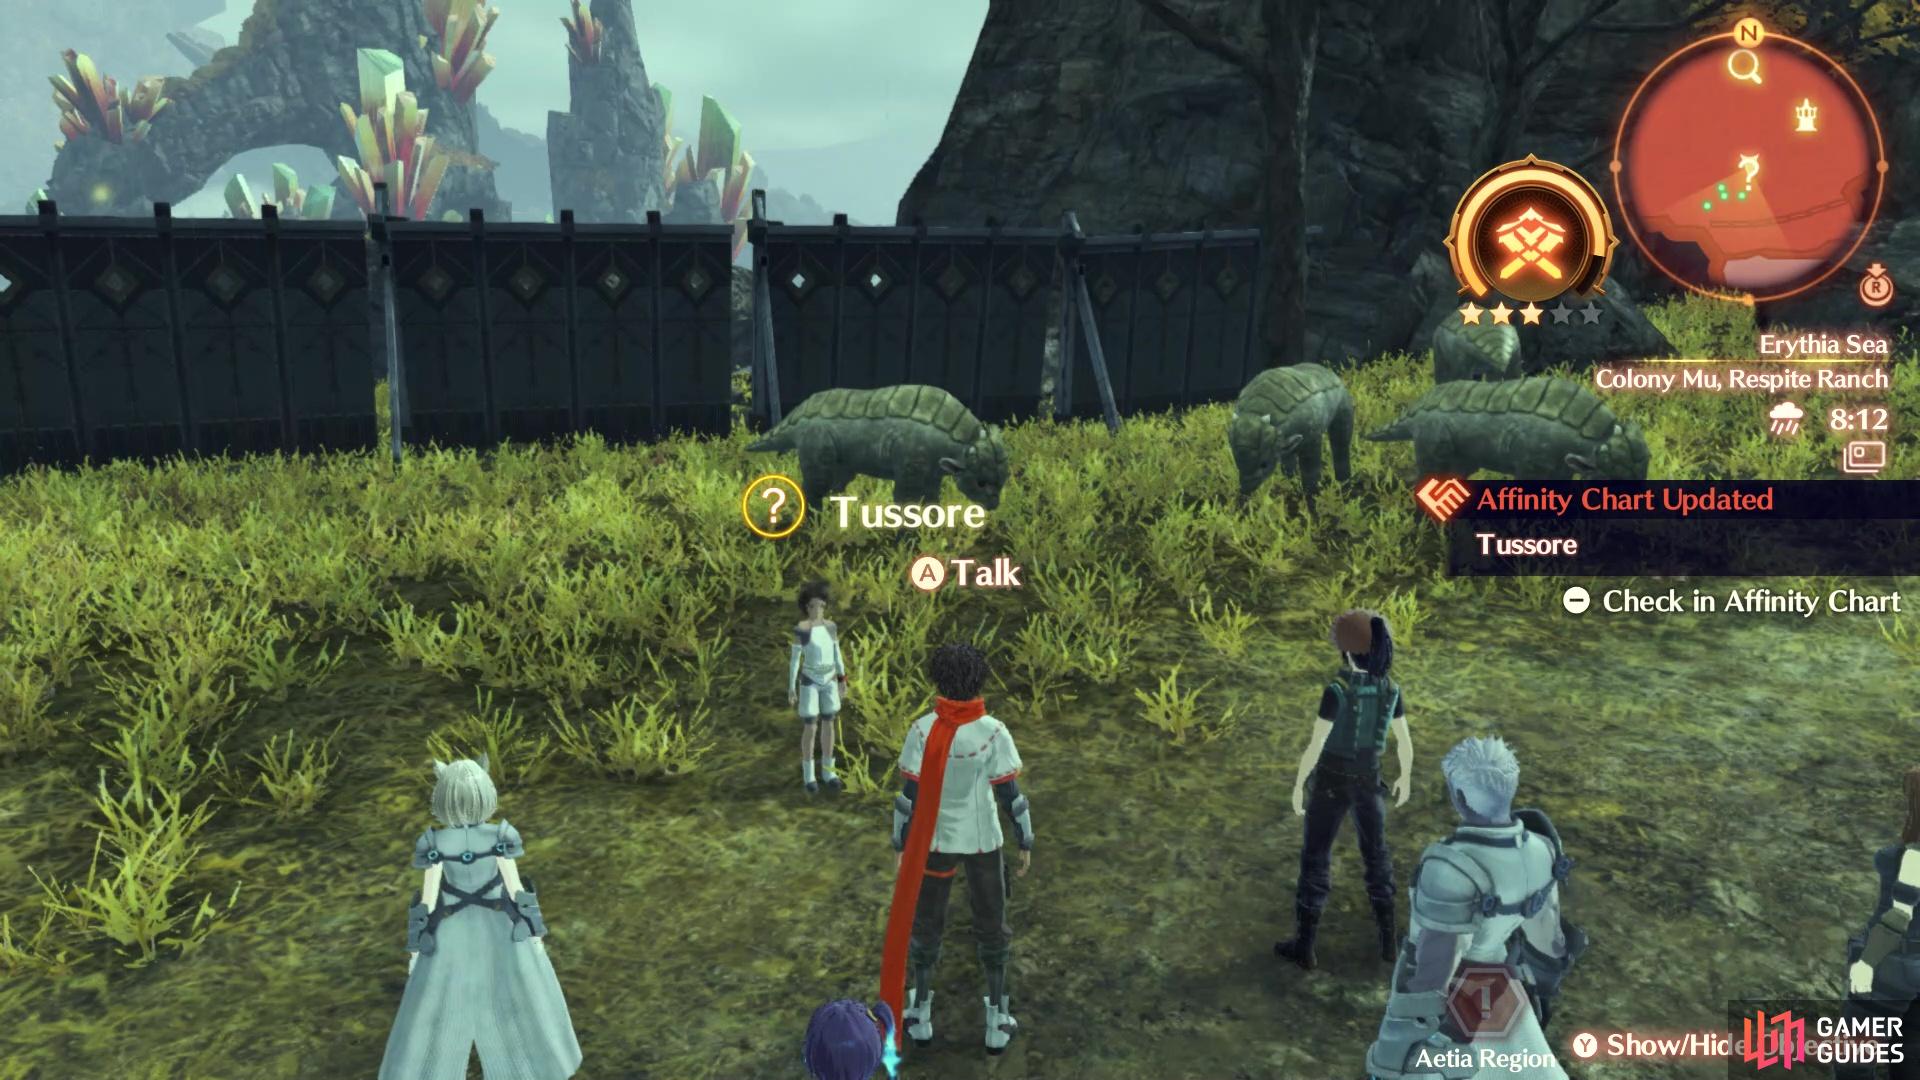
Speak to Tussore after finishing the previous quest to start the Ranch sidequest
It should be noted that this isn’t an official quest in the game, as it doesn’t get put into your log at all. After completing The Future I Want to Spin, you will have the option to continue helping Colony Mu with their Armu and Ardun Ranch. You just need to simply speak with Tussore to continue doing that.
How to Complete the Armu and Ardun Ranch Quest
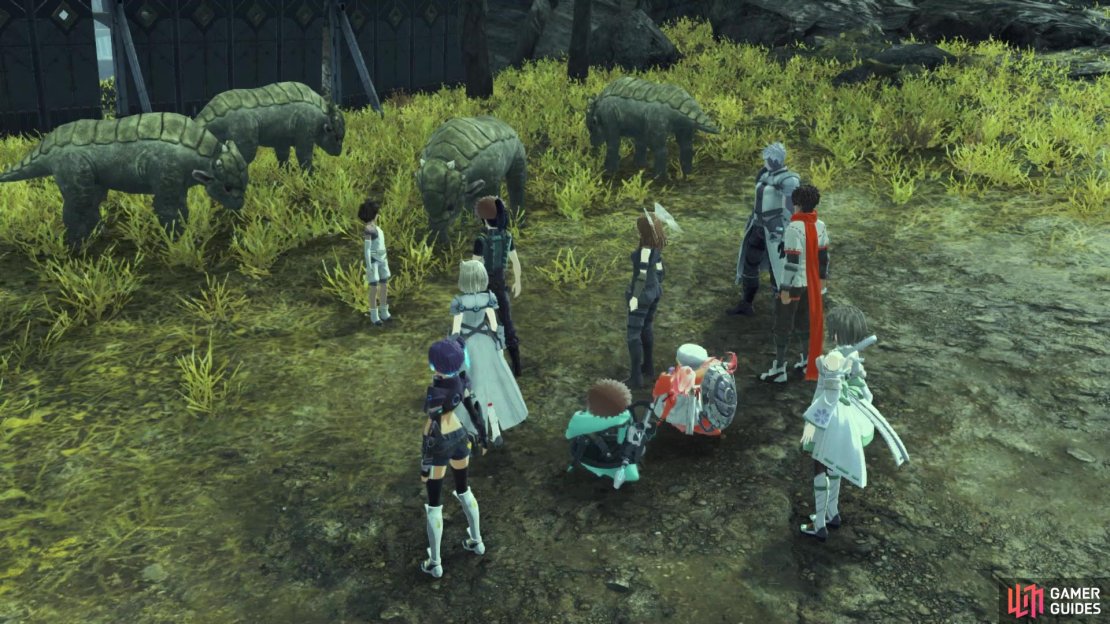
This little sidequest is completely optional, but it does have an end to it. The way you do things here is similar to what you did in The Future I Want to Spin, only it’s elongated. Instead of just feeding the creatures once, you will have to fill up three different sets with items you can find/purchase. After fulfilling each of the three lists, you will then have to choose a pair of Armu/Ardun, force the weather to rain, and come back to little babies. This will continue until you get a specific mating pair to show up, which will eventually bring about the end of the quest.
As already mentioned above, instead of there being a single list of items to procure for feeding the Armus/Arduns, there will now be three. You will have to get each of these to 100% before being able to pick a mating pair.


(1 of 4) There will be three different lists for feeding the creatures
Feeding List 1
The best option here is the Pulpgrass, as you can purchase it from the Traderpon at Colony Tau, assuming you have the Colony Rank there at two stars.
| Item | Location | Progress |
|---|---|---|
| Armu Barley | Corne Island/Migrow’s Rosary (Cadensia Region) | 25% |
| Perfume Herb | Corne Island/Migrow’s Rosary | 10% |
| Sunny Aloe | Twinpalm Isle (Cadensia Region) | 25% |
| Thinskin | Twinpalm Isle (Cadensia Region) | 10% |
| Pulpgrass | Purchase at Traderpon at Colony Tau | 25% |
| Amethyst Melon | Daedal Isle (Cadensia Region); By Tengate Ruins | 10% |
| Blue Sorghum | Daedal Isle (Cadensia Region); By Tengate Ruins | 10% |
| Fourtune Clovers | Laprel Knoll (Ribbi Flats) | 50% |
Feeding List 2
Oddly enough, the best item here is the one that contributes to the progress the most, the Cracker Nut. You will be able to purchase these from the Traderpon at Colony 9, assuming your Colony Rank is at two stars.
| Item | Location | Progress |
|---|---|---|
| Armu Barley | Corne Island/Migrow’s Rosary (Cadensia Region) | 10% |
| Fragant Grass | Yzana Plains (South of Colony 9) | 4% |
| Beautiful Shoot | Ishan Isle (Cadensia Region) | 10% |
| Drumstick Leek | Purchase at Traderpon in Colony Mu | 4% |
| Juicy Melon | Daedal Isle (Cadensia Region); By Tengate Ruins | 4% |
| Polarizing Pip | Migrow’s Rosary (Cadensia Region) | 10% |
| Cracker Nut | Purchase at Traderpon in Colony 9 | 20% |
| Red Nameko | Near Headwater Camp (Cadensia Region) | 4% |
Feeding List 3
The third list is the same as the one during The Future I Want to Spin, except the items fill up less of the progress bar. Basically, all of the percentages were cut in half.
| Item | Location | Progress |
|---|---|---|
| Armu Barley | Corne Island/Migrow’s Rosary (Cadensia Region) | 5% |
| Dish Philodendron | Daedal Isle (Cadensia Region); By Tengate Ruins | 2% |
| Frangible Yam | Daedal Isle (Cadensia Region); By Tengate Ruins | 2% |
| Plumage Peach | Ishan Isle (Cadensia Region) | 5% |
| Dance Apple | Yzana Plains (north of Colony 9) | 5% |
| Heart Peach | Hovering Reef 6/Hovering Reef 7 (Keves Castle Region) | 10% |
| Accord Acorn | Daedal Isle (Cadensia Region); By Tengate Ruins | 2% |
| Khaki Kernel | Laprel Knoll (Ribbi Flats) | 5% |
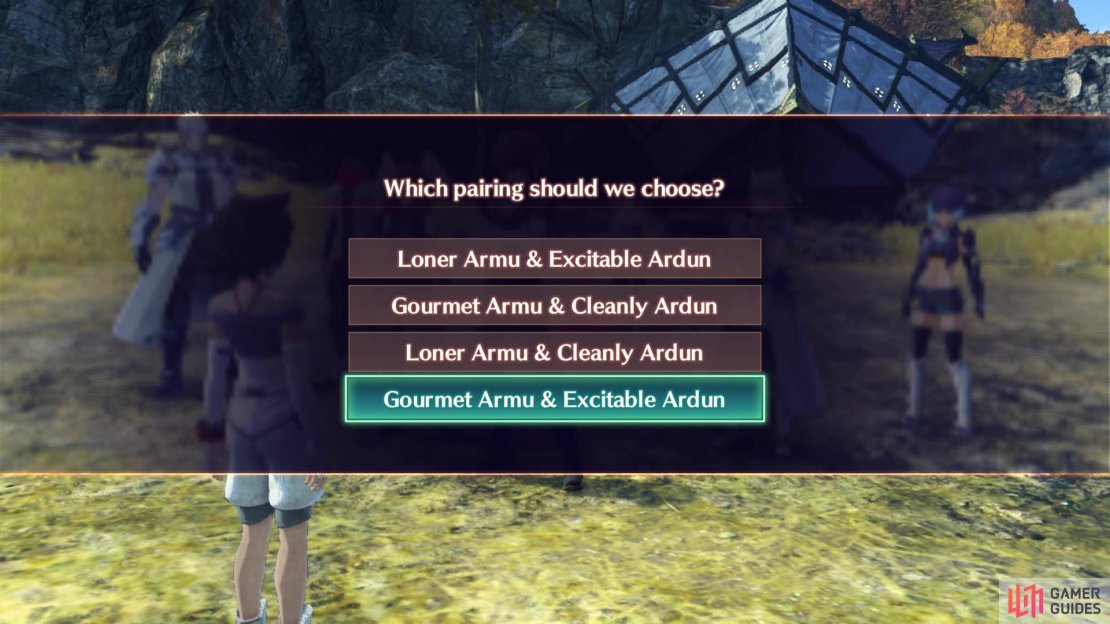
Armu/Ardun Pairings
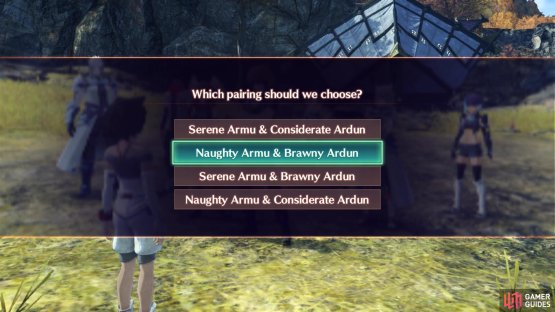

(1 of 2) When you see Naughty and Brawny appear, make sure to pick that one
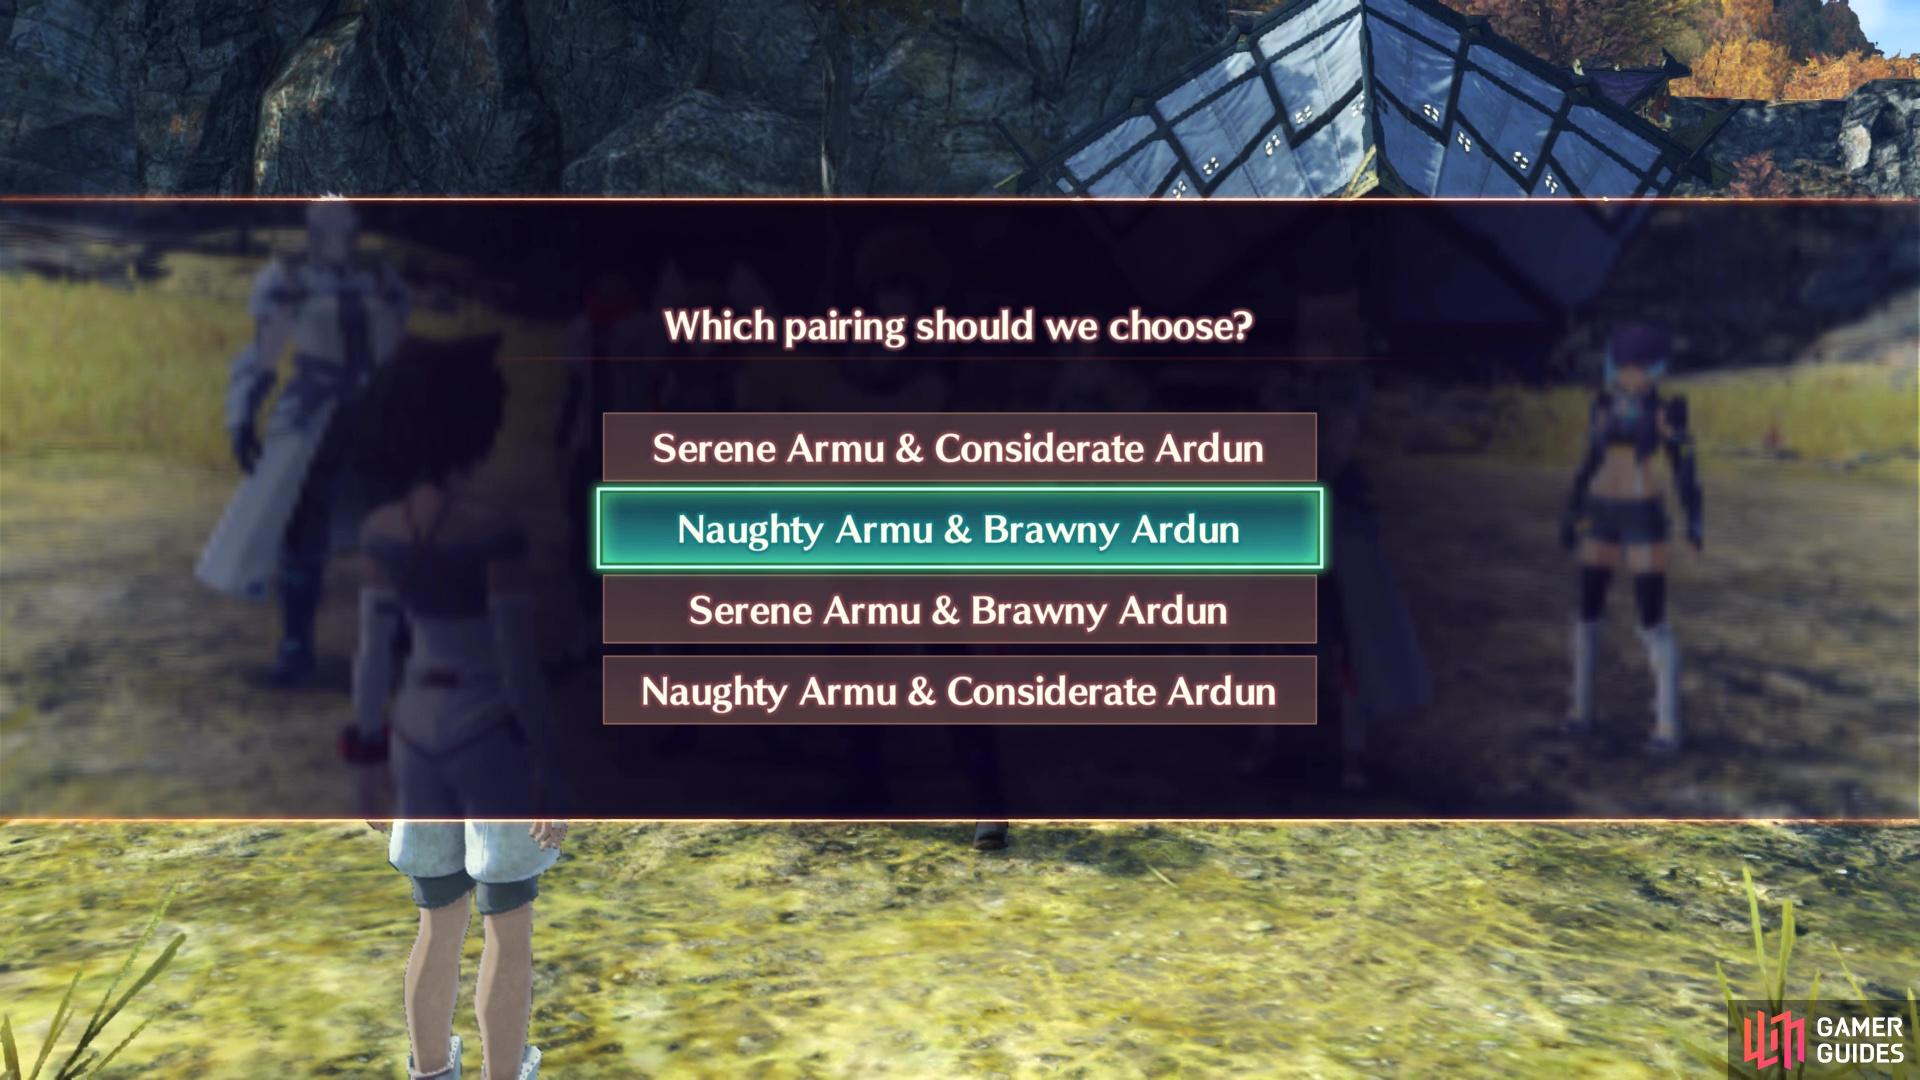
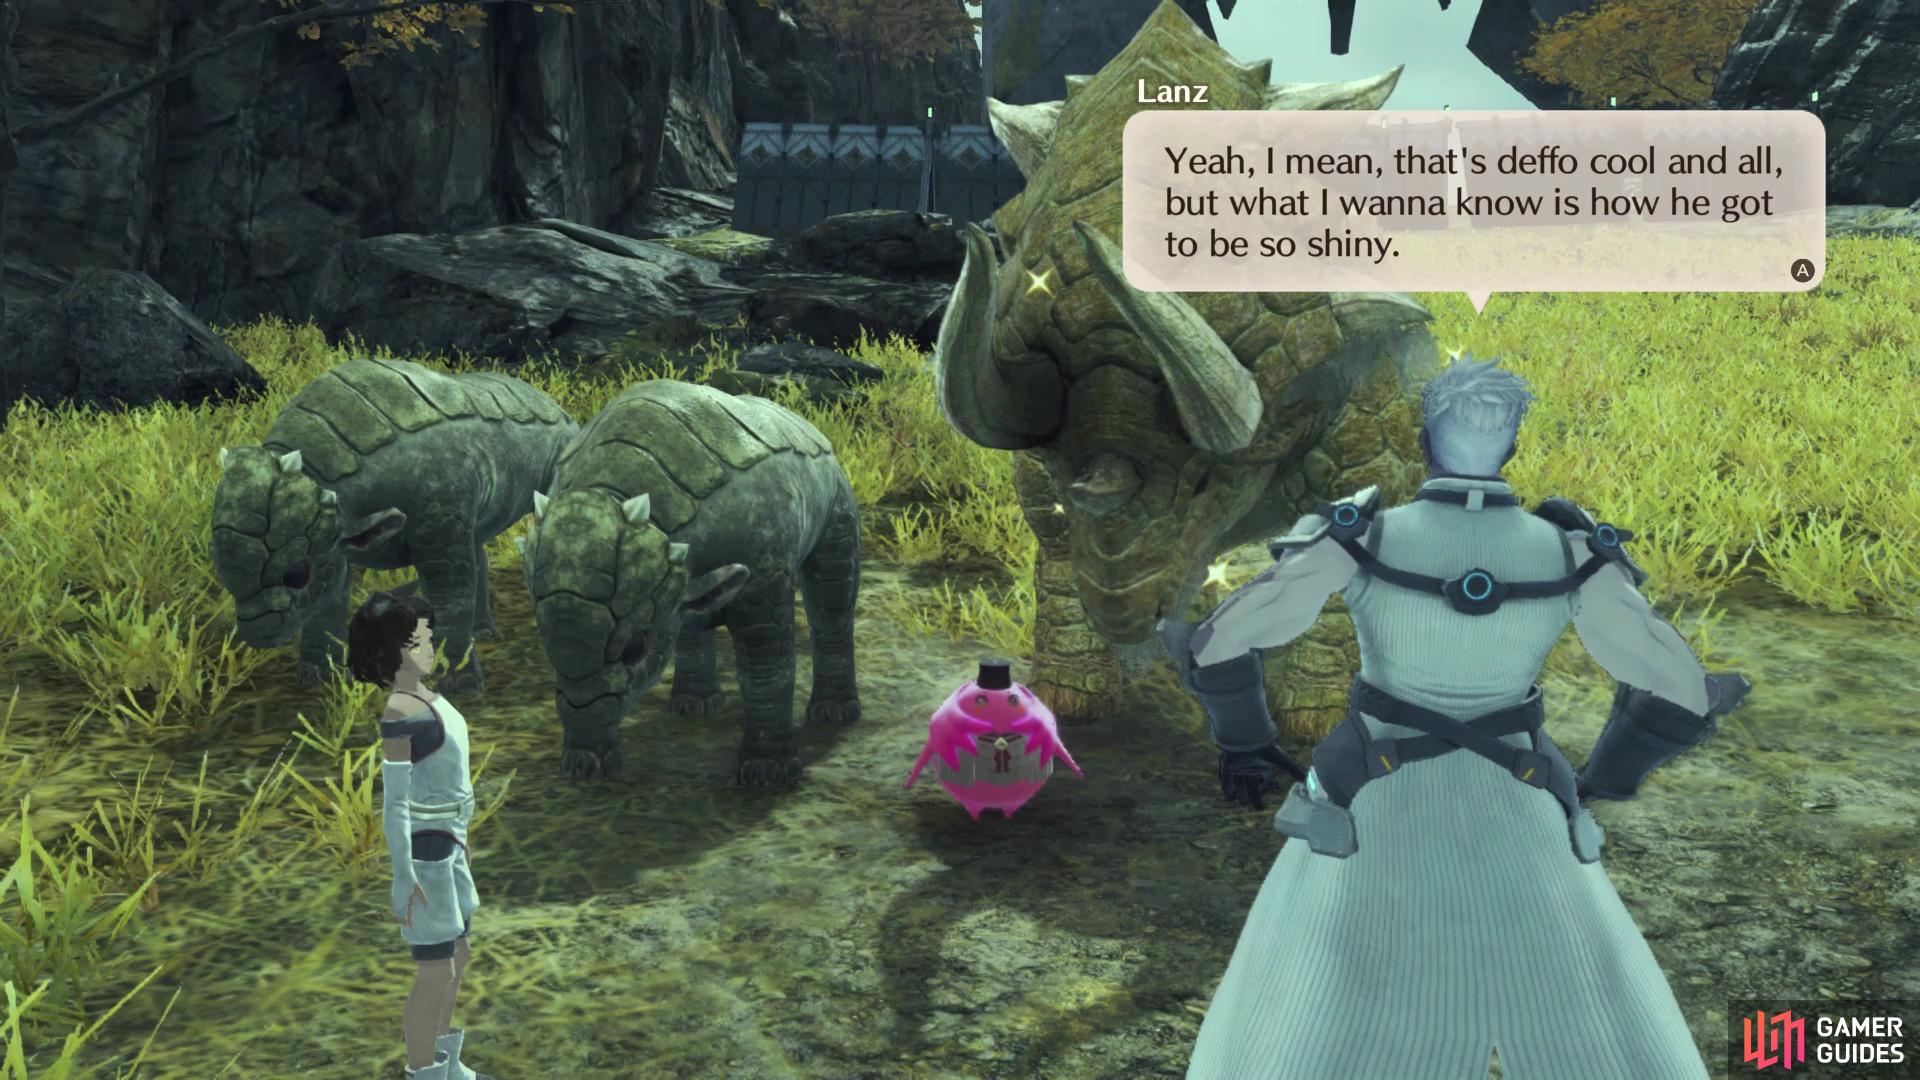
When you see Naughty and Brawny appear, make sure to pick that one (left), It will trigger a cutscene after the rain, with a shiny Ardun (right)
After feeding the creatures three times, you will then be tasked with picking a pair for mating. As with the choice previously, you will want to choose ones whose personalities will mesh together. Of course, the whole endgame here is to keep doing the whole thing until you see the Naughty and Brawny pairing. Picking this will result in the final breeding you need to do. Remember to visit Pitapata after choosing a pairing, who is found at Anu Shoals. To get to that Nopon, fast travel to the Seaspray Lookout, then take the zip-line west and the next one south to reach an island with a spiraling path. Follow this path up and you should see Pitapata standing right next to a Container. Speak to him and pay 10,000 G to make it rain, then return to Colony Mu.
- Greedy and Indulgent
- Dainty and Adamant
- Naughty and Considerate
- Gourmet and Excitable
- Timid and Easygoing
- Naughty and Brawny
How to Defeat the Assassin Moramora
Upon getting the Naughty and Brawny pairing, visit Pitapata one more time to get it to rain, then return to Colony Mu. If done right, you should see a cutscene with an Ardun that is shining. It is level 59, so you should be about the same level to make things easier on yourself. Fermented Breath is a hard-hitting AoE that is frontal, so you should try to stick to the sides, if you’re playing a non-Defender. Spinning Bolt is another AoE that hits a wider area, but the damage is pretty low. The Moramora does seem to be susceptible to Combos, so if you’re equipped for those, continually do them to make the battle a lot simpler.

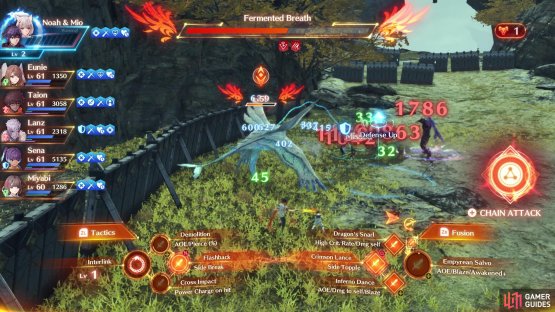
(1 of 2) A Moramora will attack the colony at the end


A Moramora will attack the colony at the end (left), Fermented Breath is its most powerful move and hits in a frontal AoE (right)
Once you defeat the Assassin Moramora, there will be a scene and you will be done with the whole sidequest. You will receive some Legendary-tier Cured Armu Sirloin and Fresh Armu Milk, as well as two Nopon Coins (Gold). There will be no more ranching for you.
No Comments