
This page details all the locations found in the Cadensia Region in Xenoblade Chronicles 3.
There are 54 locations to find in the Cadensia Region.
All Locations in Great Sword’s Base
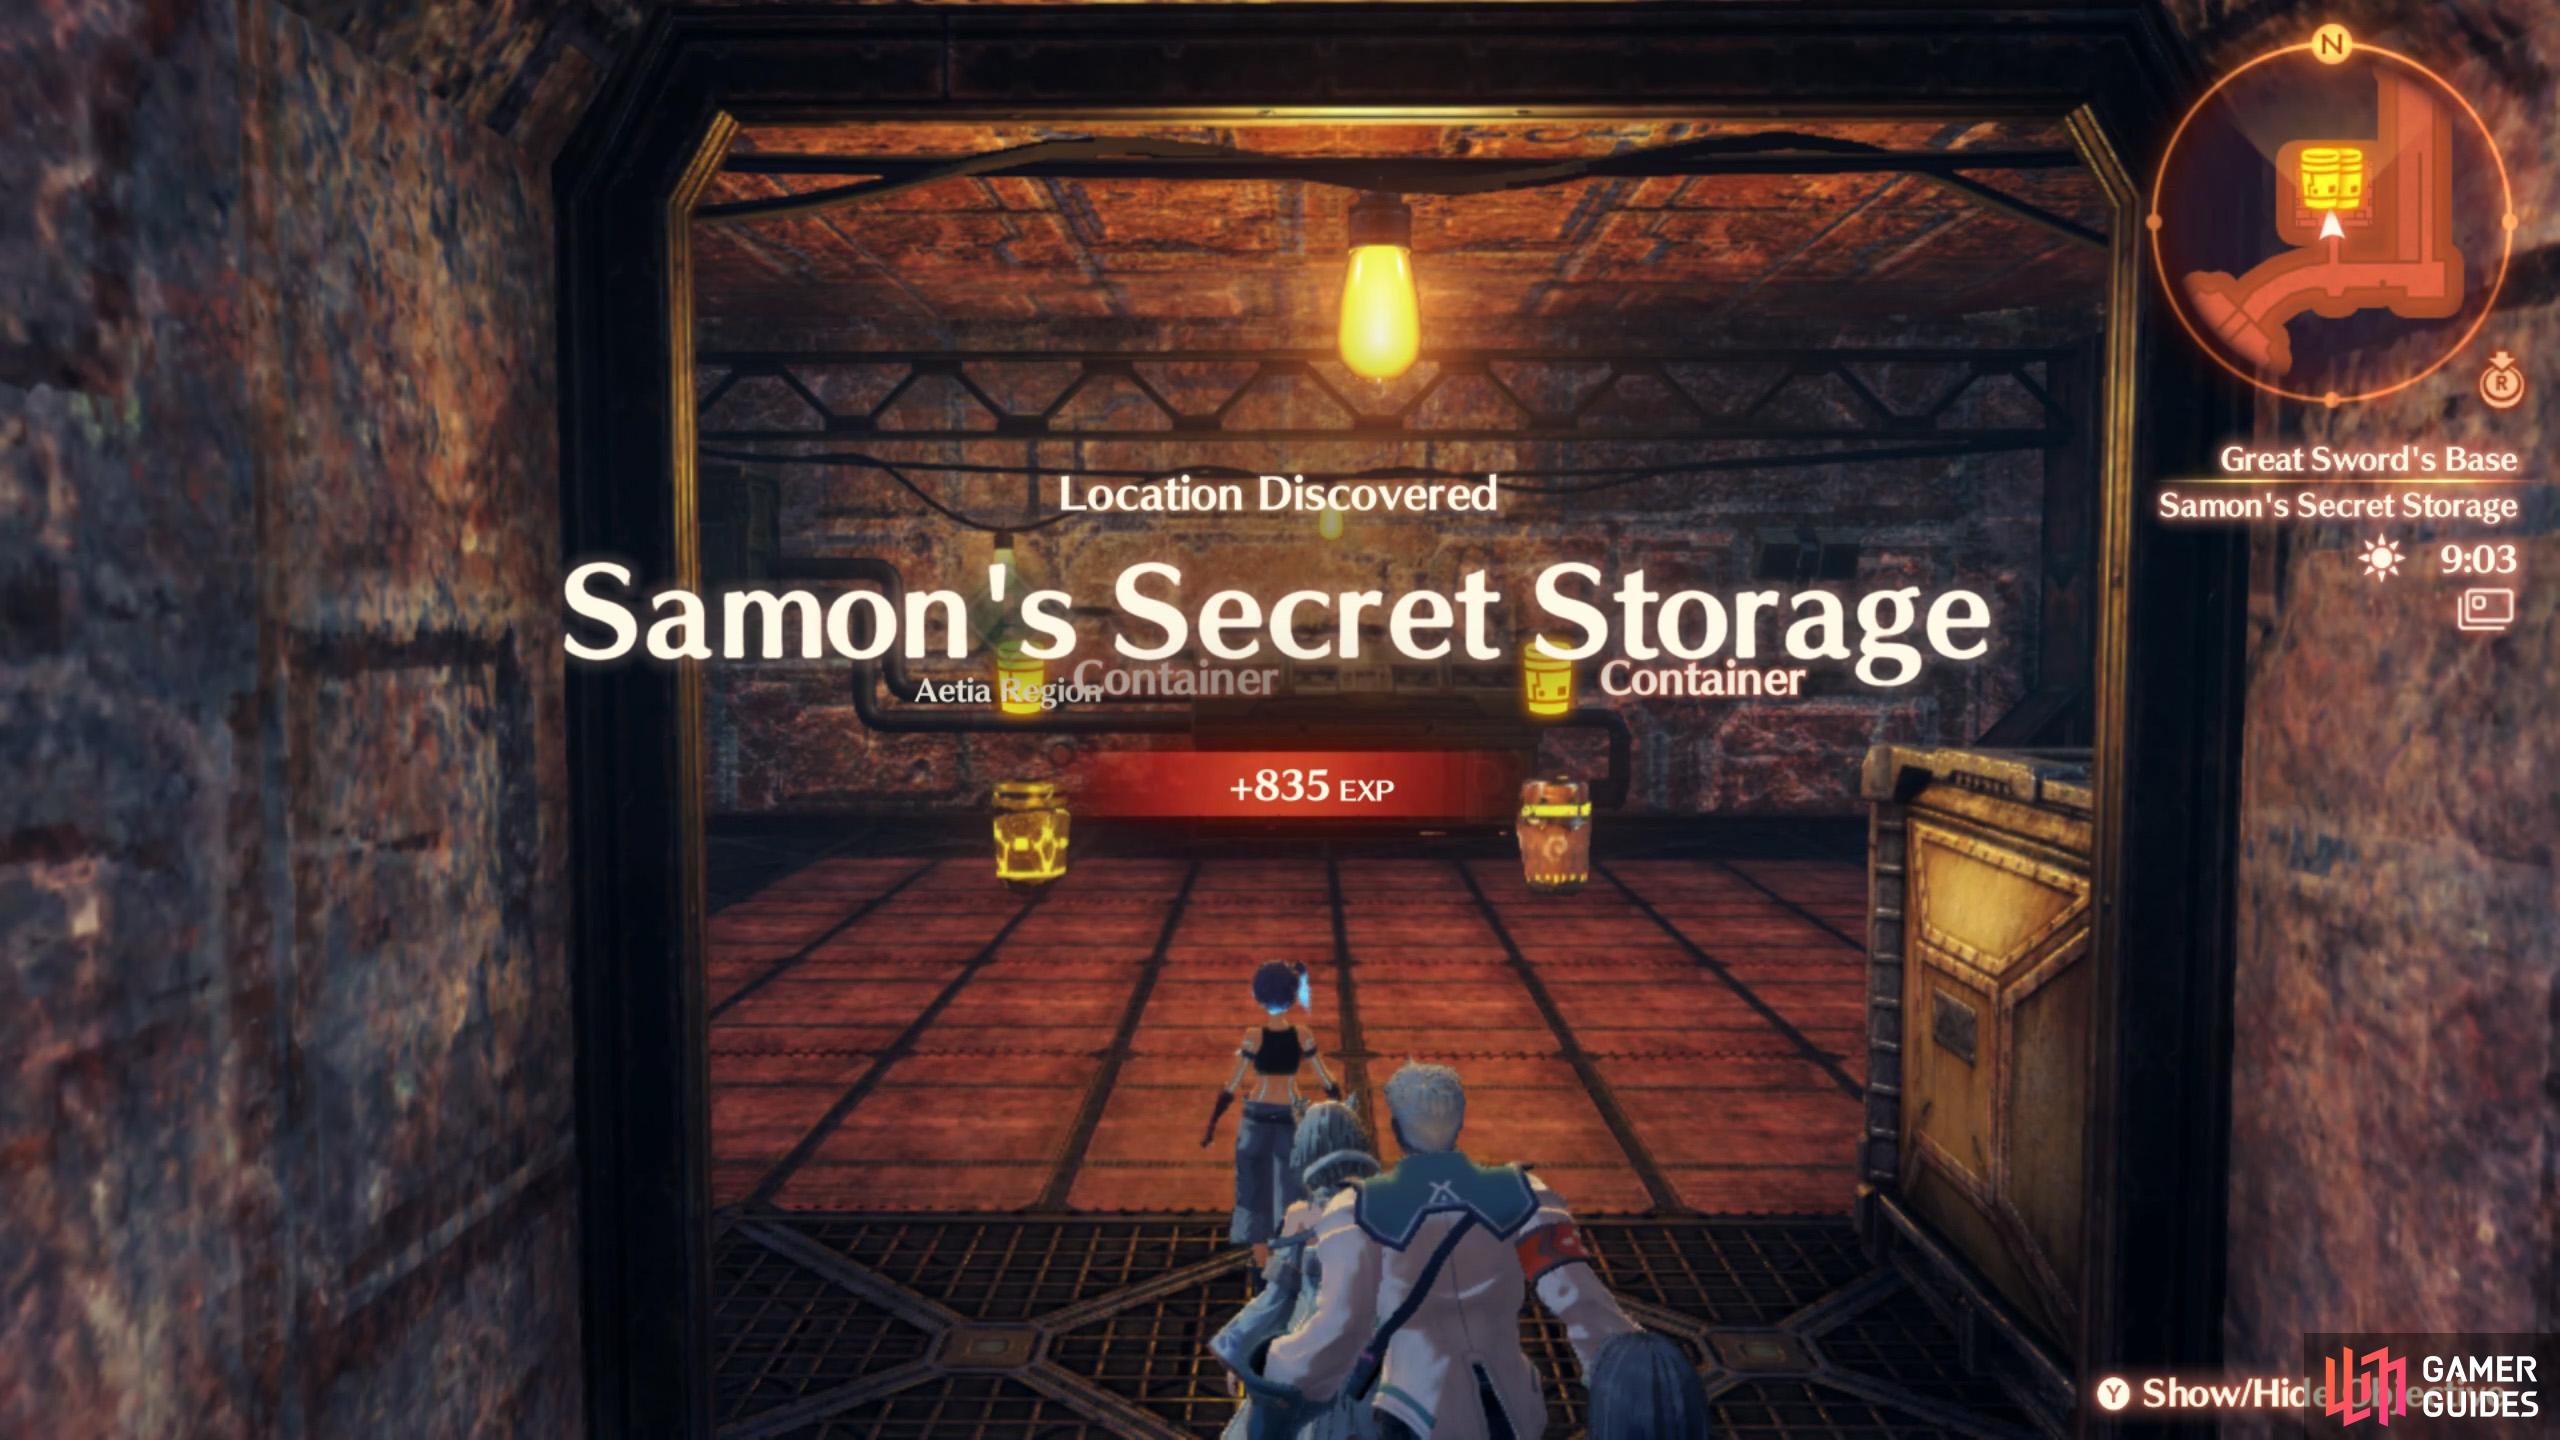

(1 of 2) This secret room is accessible during Chapter 7.
This secret room is accessible during Chapter 7. (left), You must undertake Gray’s Ascension Quest to enter here. (right)
| Location | Description | Map | Reward |
|---|---|---|---|
| N’ohm Wetlands | Between Bannis Path and the Swordface. | Map Marker | 835 EXP |
| Great Sword Passage | North from the Swordface. | Map Marker | 835 EXP |
| Samon’s Secret Storage | Beyond locked door halfway along the Great Sword Passage. Need Secret Storage Key from Dock No. 3. | Map Marker | 835 EXP |
| Hidden Weapon Lab | Secret passageway to the east near beginning of the Great Sword Pssage. Accessible by progressing Gray’s Ascenion Quest. | Map Marker | Unknown |
| Sentridge Harbor | North of Fuller Elevator Landing. | Map Marker | 915 EXP |
| Dock No. 3 | West from Sentridge Harbor. Accessible during Chapter 7. | Map Marker | 1780 EXP |
| Knife’s Edge Pass | After leaving Sentridge Harbor, do a left u-turn. South from Morrack Inlet. | Map Marker | 1100 EXP |
| Pedesto Valley Floor | Keep following the path south from Knife’s Edge Pass. | Map Marker | 1100 EXP |
All Locations in Erythia Sea
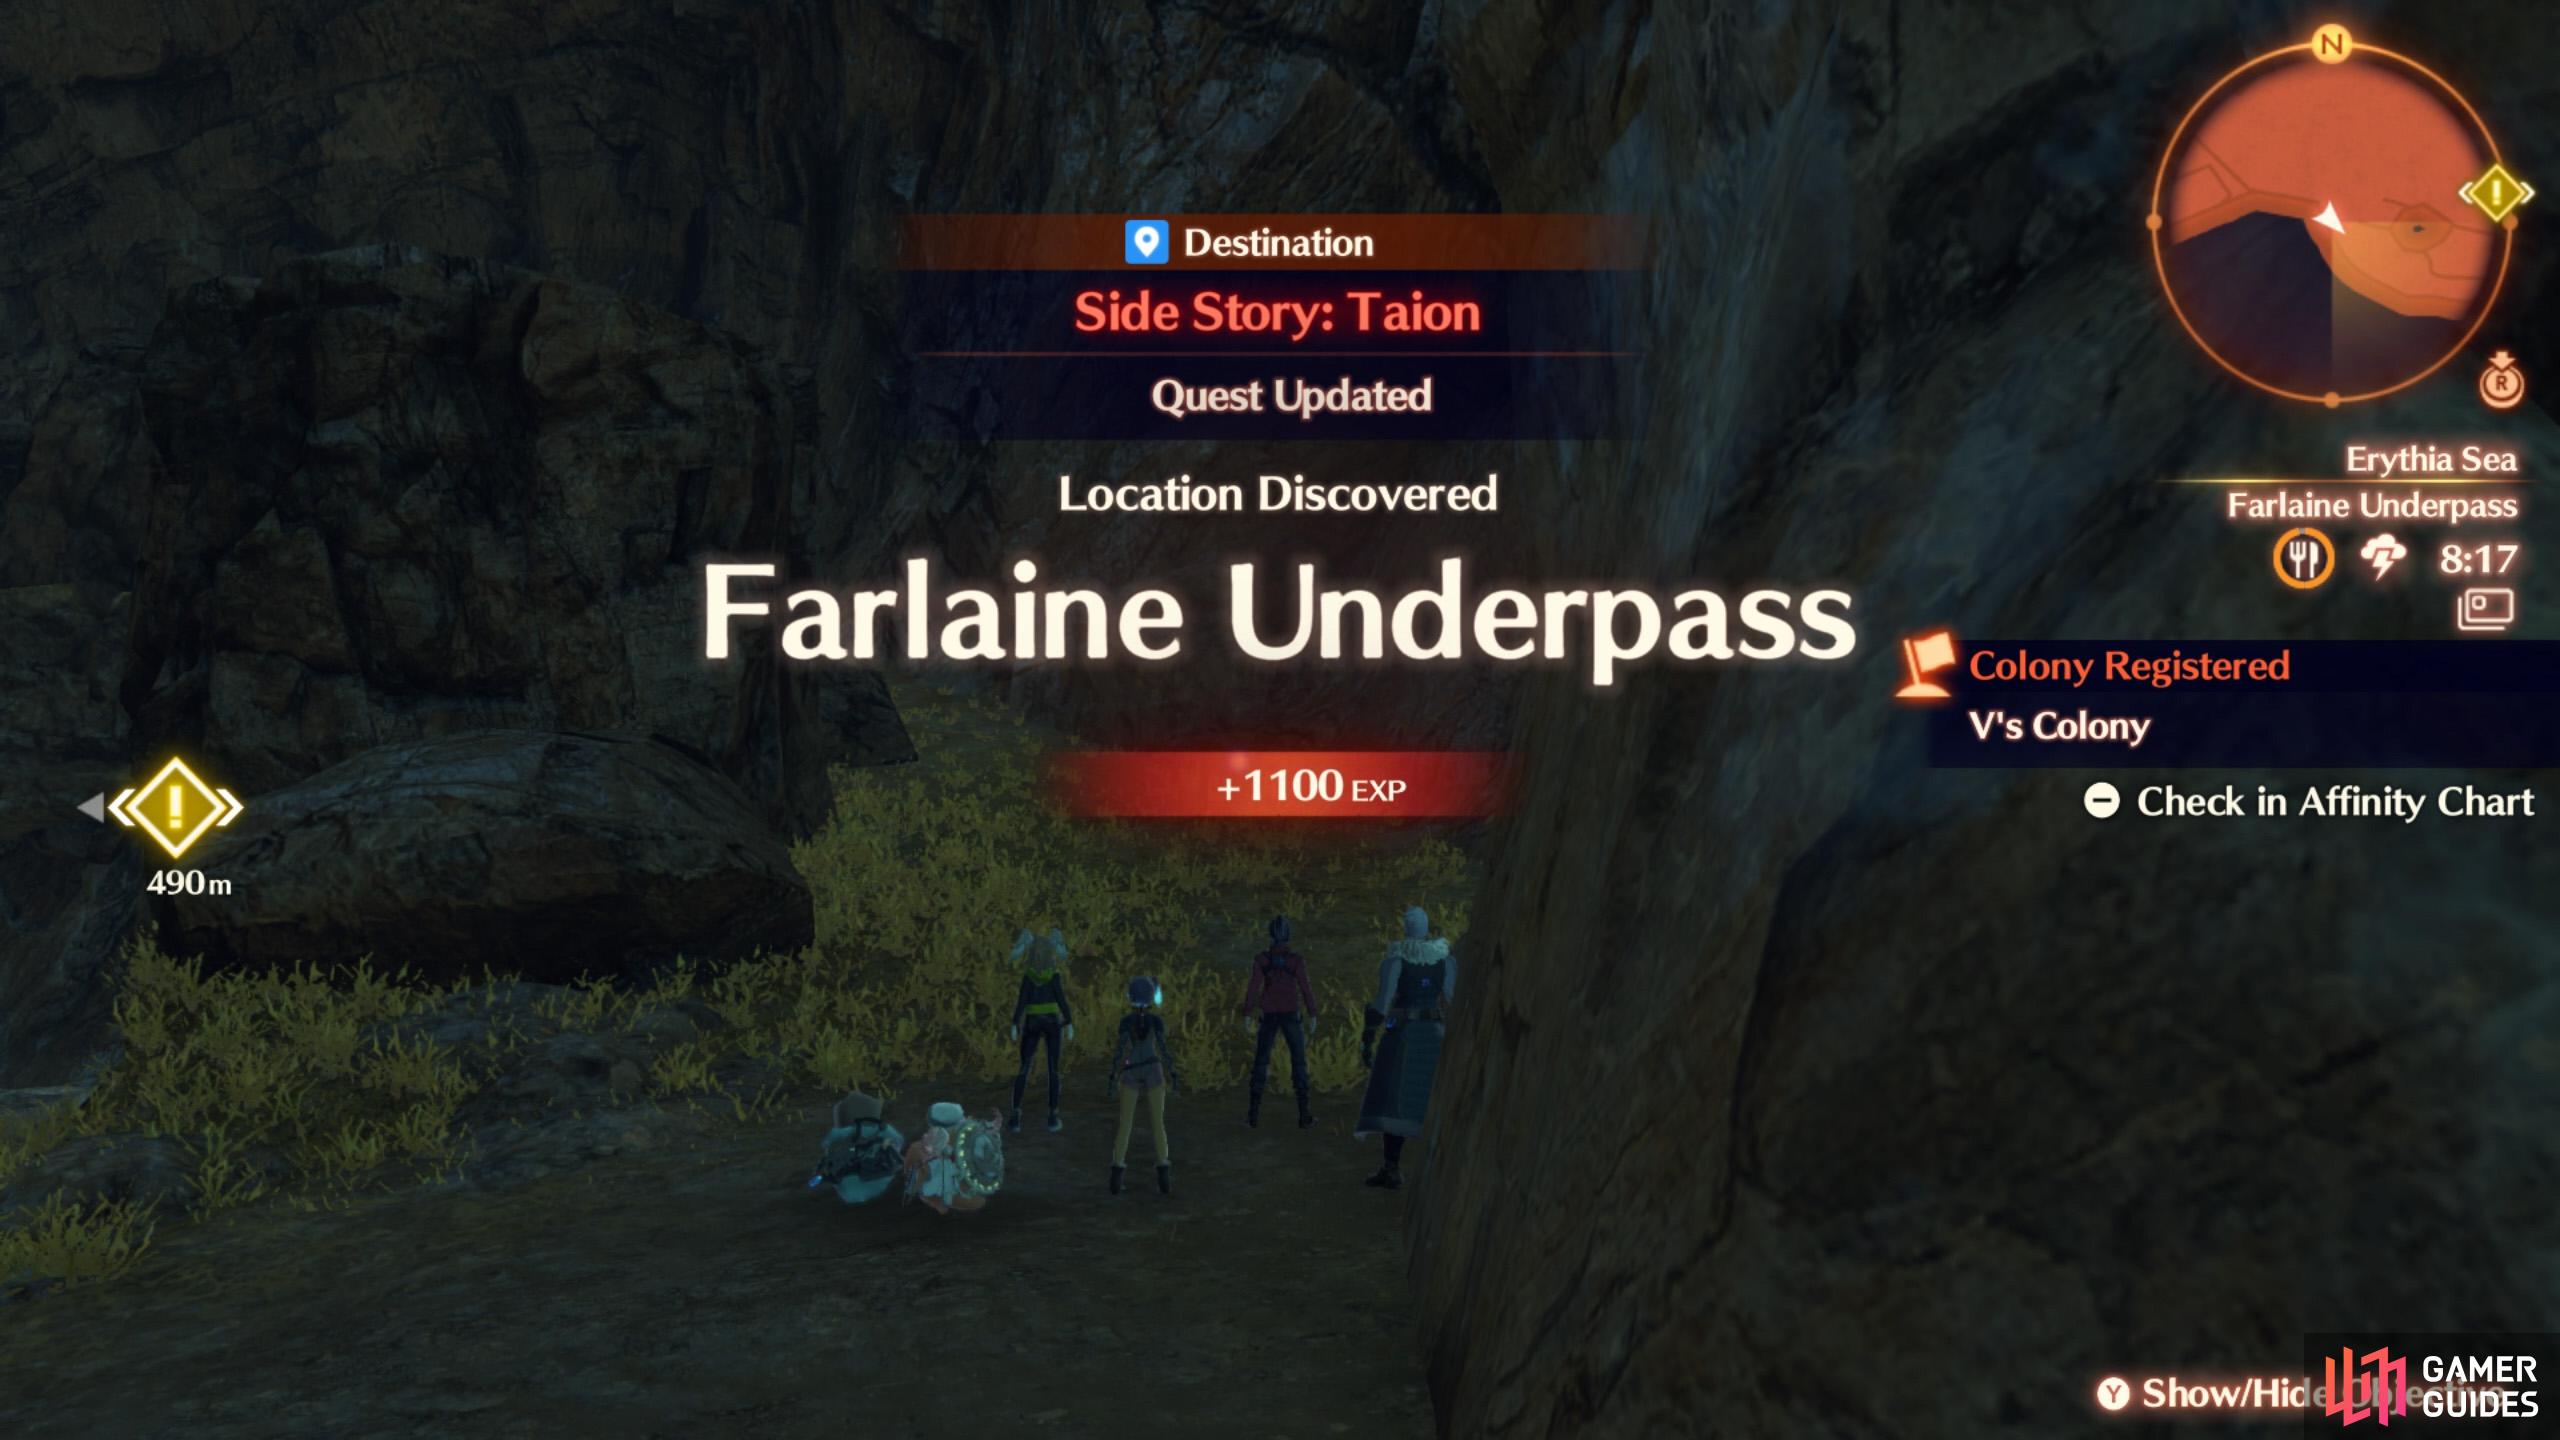
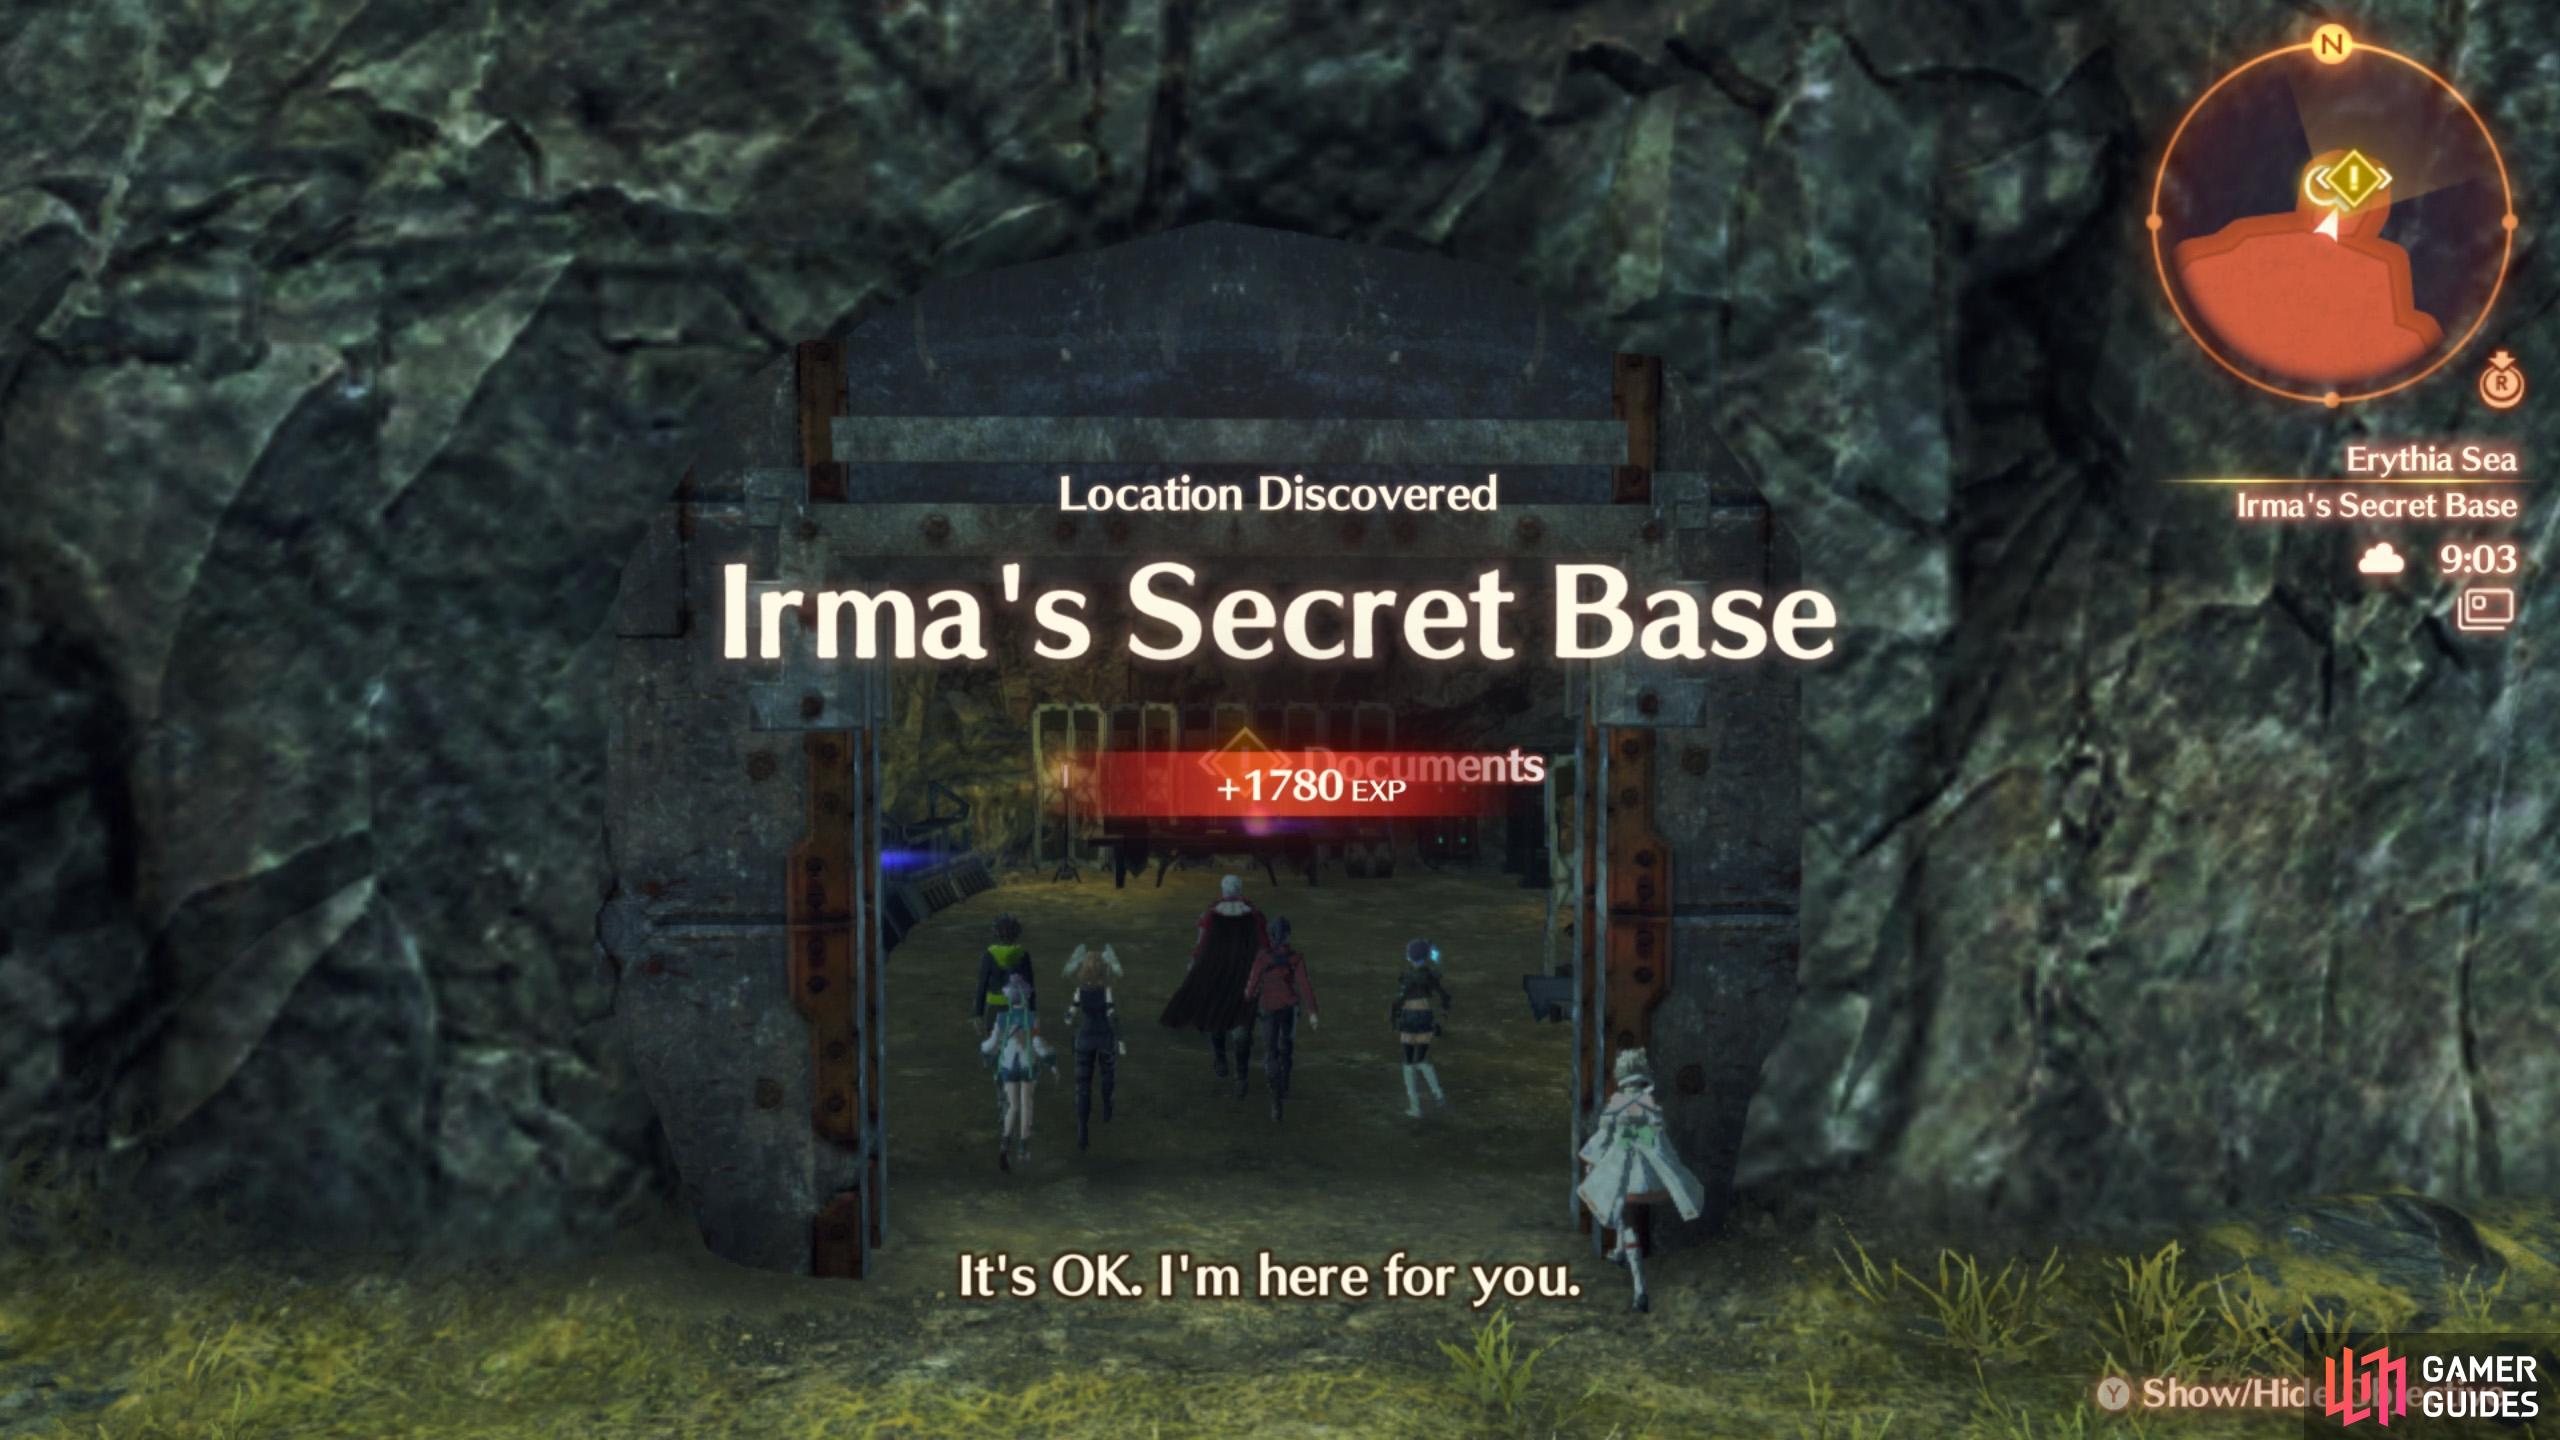
(1 of 2) You must begin Taion’s Side Story to reach here.
You must begin Taion’s Side Story to reach here. (left), This hidden location is available during Fiona’s Ascension Quest. (right)
| Location | Description | Map | Reward |
|---|---|---|---|
| Vinisog Holm | When you enter the open sea from Sentridge Harbor, it’s the small island located north-north-east. | Map Marker | 990 EXP |
| Cay of the Trick Grotto | Island near south-west corner of the open sea. Home to Pioneer’s Inlet. | Map Marker | 1100 EXP |
| Baldotas Atoll | Spiky island near south-west corner of the open sea. Home to the Atoll Ferronis Hulk. | Map Marker | 1100 EXP |
| Farview Cape | Outcrop of land north from Cay of the Trick Grotto, along the western edge. | Map Marker | 1100 EXP |
| Corne Island | Island along west side of the open sea, north from Baldotas Atoll and north-east from Farview Cape. | Map Marker | 990 EXP |
| Antol Pit | Cavity around the center of Corne Island. Accessible by climbing the wall north-west from Doublecrag Gate. | Map Marker | 1100 EXP |
| Migrow’s Rosary | Bridge-linked island around north-west corner of the open sea, before the Agnus Castle portion. North from Corne Island. | Map Marker | 1100 EXP |
| Colony Mu | North-west corner of Migrow’s Rosary. | Map Marker | 1100 EXP |
| Colony Mu Viewing Deck | North-west from the Colony Mu Main Gate. | Map Marker | 1100 EXP |
| Colony Mu Hidden Coast | North-east corner of Colony Mu. | Map Marker | 1100 EXP |
| Irma’s Secret Base | Beyond locked door at north-west corner of the open sea, before the Agnus Castle portion. Accessible during Fiona’s Ascension Quest. | Map Marker | 1780 EXP |
| Hykt’s Cove | Near the tip of the west “arm” of land that seperates the open sea with Agnus Castle. North from Conchrock Beach at Migrow’s Rosary. | Map Marker | 990 EXP |
| Krezen Cliffs | Along north edge of the open sea, before the Agnus Castle portion. North from Lavi Sandbar. | Map Marker | 1100 EXP |
| Farlaine Underpass | East from Hermit’s Inlet. Accessible by progressing Taion’s Side Story. | Map Marker | 1100 EXP |
| Lost Colony | Keep going east along Farlaine Underpass. Accessible by progressing Taion’s Side Story. | Map Marker | 1100 EXP. |
| Sea Lizards’ Tide Pool | Isolated lagoon east from Lavi Sandbar and north from Anu Shoals. | Map Marker | 1100 EXP |
| Anu Shoals | Near east side of the open sea, before the Agnus Castle portion. East from Thurbin Island. | Map Marker | 990 EXP |
| Hargan Point | Along east edge of the open sea. East from Daedal Island. | Map Marker | 1100 EXP |
| Colony 15 | North from Hargan Point Camp. Must trigger quest event at Ishan Island, towards the west. | Map Marker | 1100 EXP |
| Oshia’s Reef Ravine | South from Hargan Point. Need to exit the ship to enter. | Map Marker | 2385 EXP |
| The Aegis Sea | South-east corner of the open sea. Need to exit the ship to enter. | Map Marker | 1100 EXP |
| Cape Arcaphor | Big area of land east from Vinisog Holm | Map Marker | 1100 EXP |
| Brasa Geothermal Belt | South from Searing Strand, which is south-east from Vinisog Holm. | Map Marker | 1100 EXP |
| Brasa Spa | Follow the west branch from the entrance of Malevolent Hollow. | Map Marker | 1100 EXP |
| Rebellion Cave | Go along the east branch from the entrance of Malevolent Hollow. | Map Marker | 1100 EXP |
| Needle Reef Beach | Small strip of beach along the edge of the sea between Searing Strand and the entrance via Sentridge Harbor. South-south-east from Vinisog Holm. | Map Marker | 1100 EXP |
| Daedal Island | Big island north from Vinisog Holm. | Map Marker | 1100 EXP |
| Tengate Ruins | West side of Daedal Island. | Map Marker | 1100 EXP |
| Thurbin Island | Island north-north-east from Daedal Island. | Map Marker | 990 EXP |
| Erythia Relay Base | East side of Thurbin Island. Can enter via the west or by using the zip-lines from Anu Shoals. | Map Marker | 990 EXP |
| Data Archives | Inside the relay base building, upstairs, in the southern room. | Map Marker | 1390 EXP |
| Lavi Sandbar | Sandy island north of Thurbin Island. | Map Marker | 1100 EXP |
All Locations in Agnus Castle Barbican
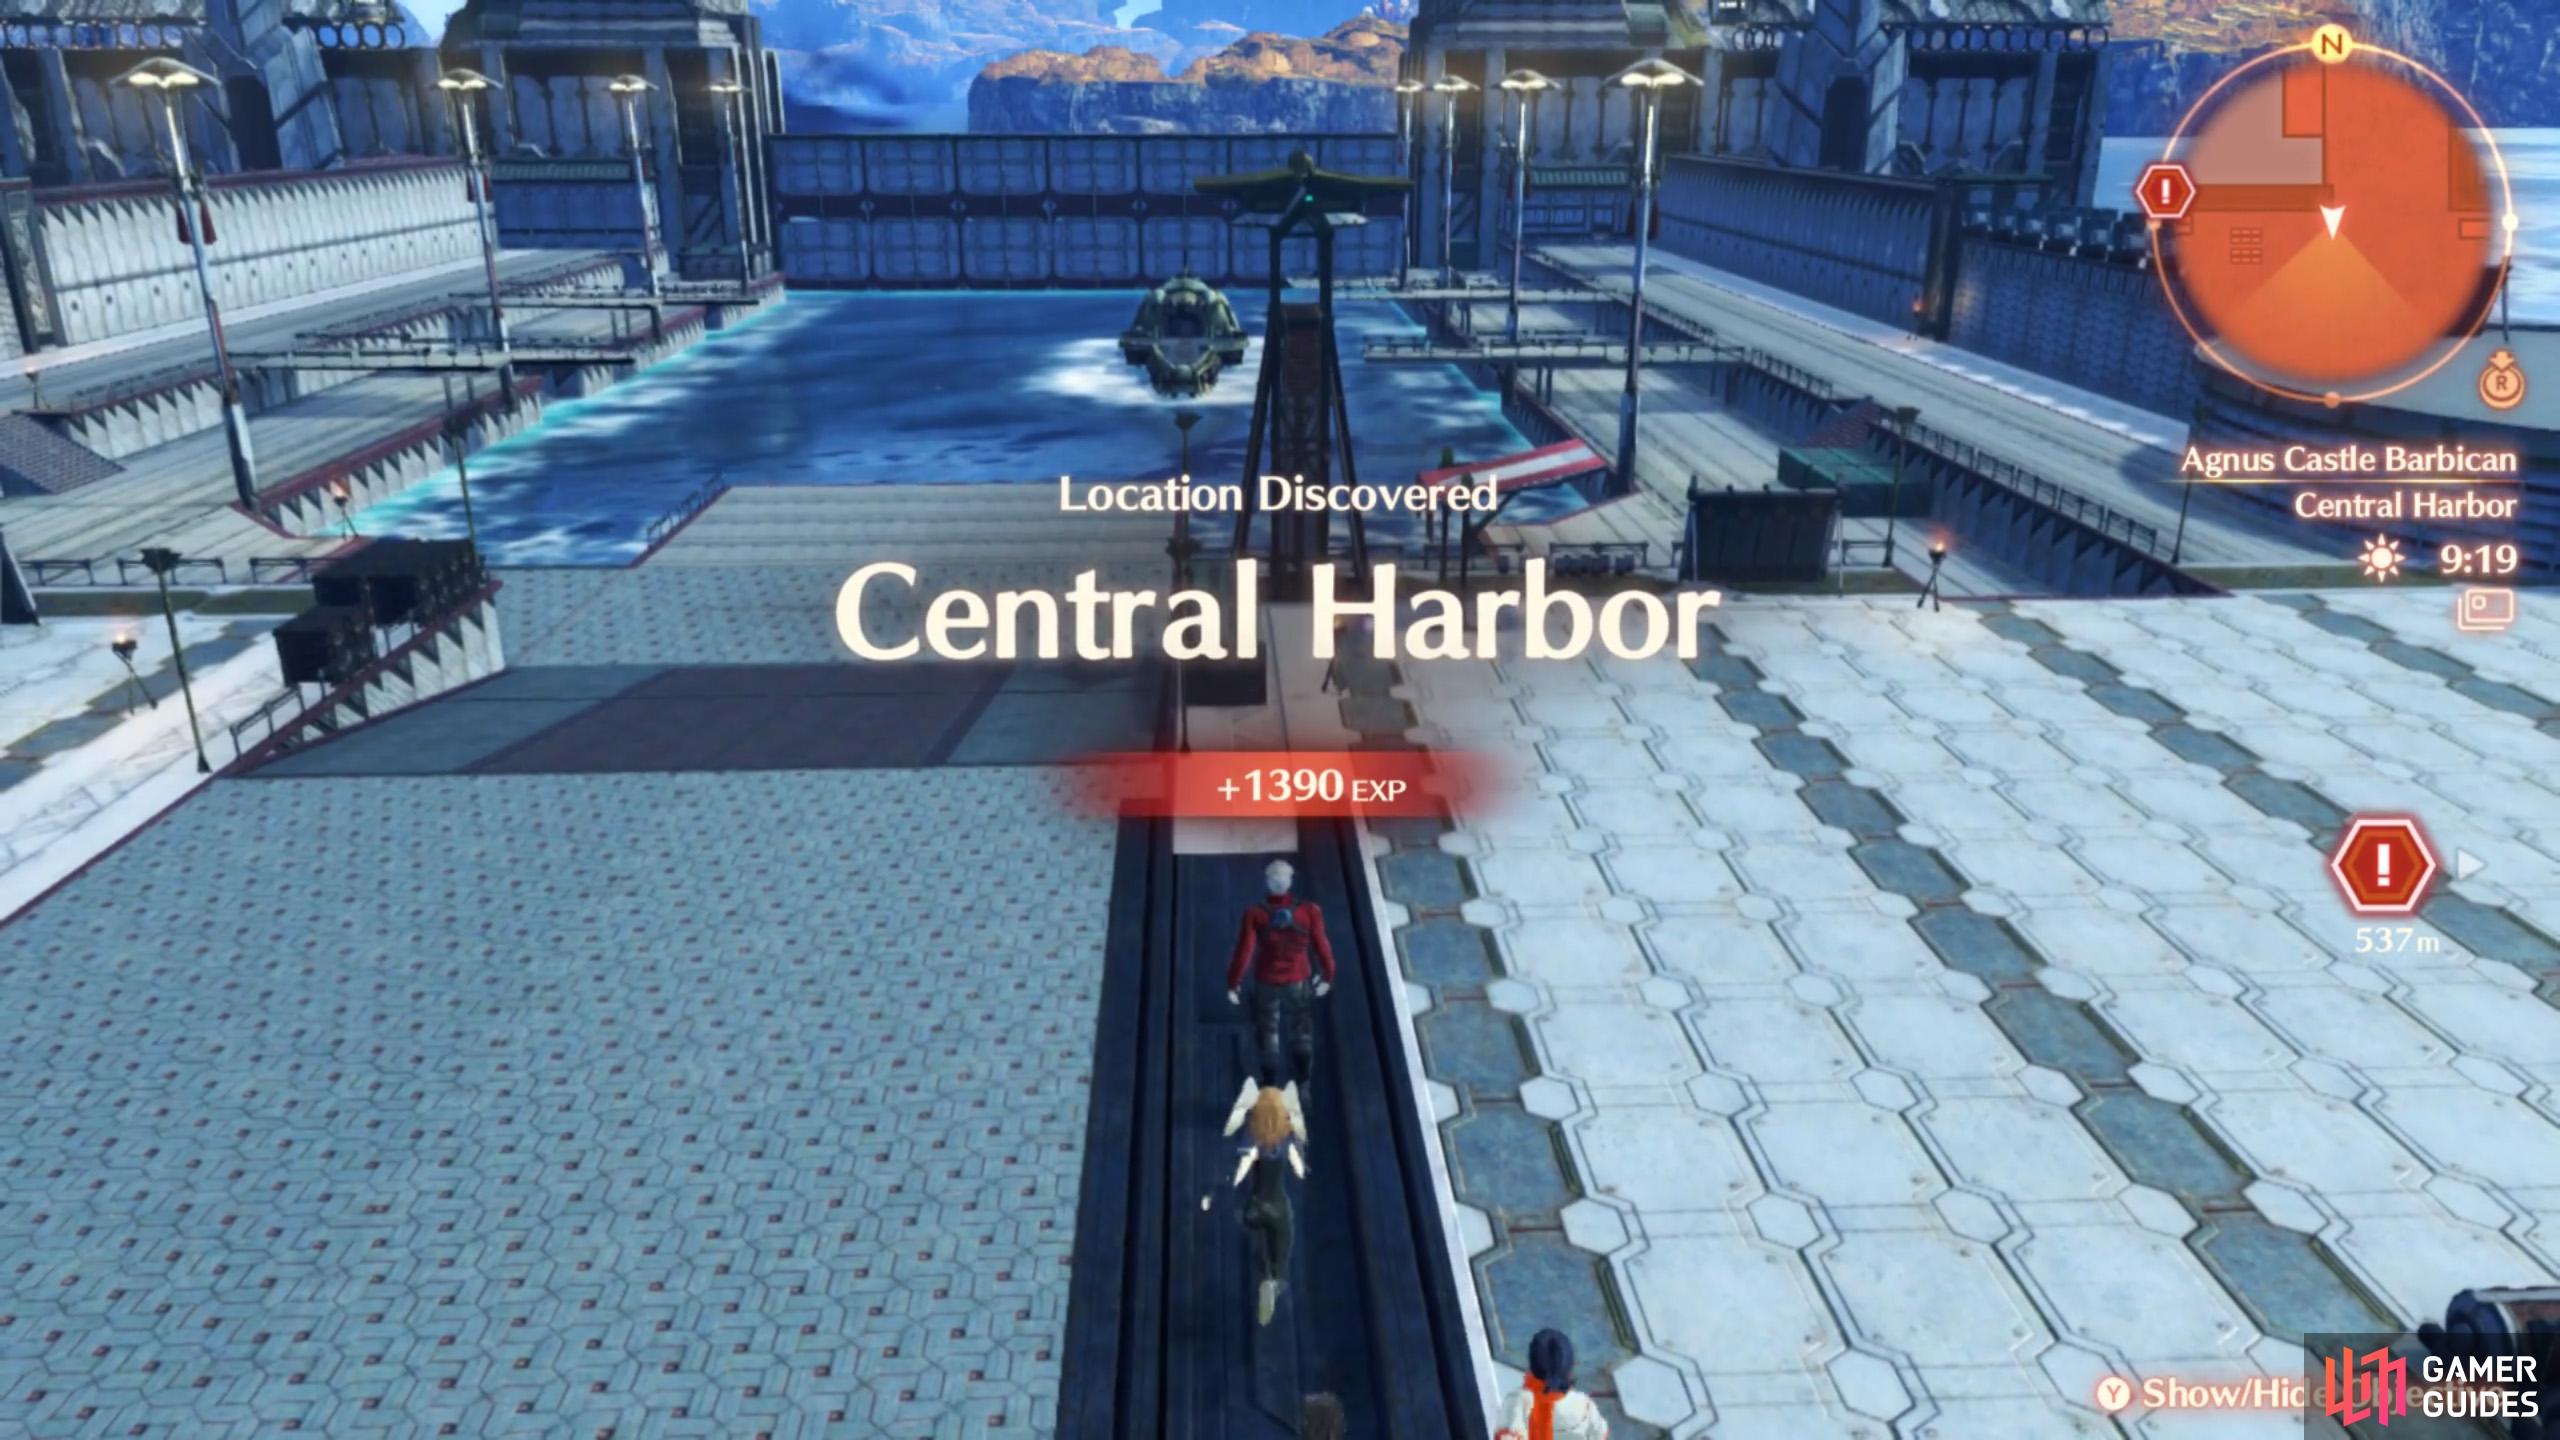
(1 of 2) Head south from Mulus Depot to reach the harbor.
Head south from Mulus Depot to reach the harbor. (left), You should also go all the way east from Mulus Depot. (right)
| Location | Description | Map | Reward |
|---|---|---|---|
| Patulia Bay | The area of sea surrounding Agnus Castle. | Map Marker | 1095 EXP |
| Sea-Gnawed Cave | Accessible via small gap along east side of the castle base, between the bridge and the edge of the sea. | Map Marker | 1095 EXP |
| Prison Precipice | North edge of the castle base. | Map Marker | 1095 EXP |
| West Perimeter Gate | West from the Prison Camp, Freight Gate. | Map Marker | 1095 EXP |
| Hope’s Rest | After going through West Perimeter Gate, at far end of the southward path. | Map Marker | 1250 EXP |
| Central Harbor | South from Mulus Depot and Funicular Approach. | Map Marker | 1390 EXP |
| Perimeter Bridge | Bridge east from Mulus Depot. | Map Marker | 1390 EXP |
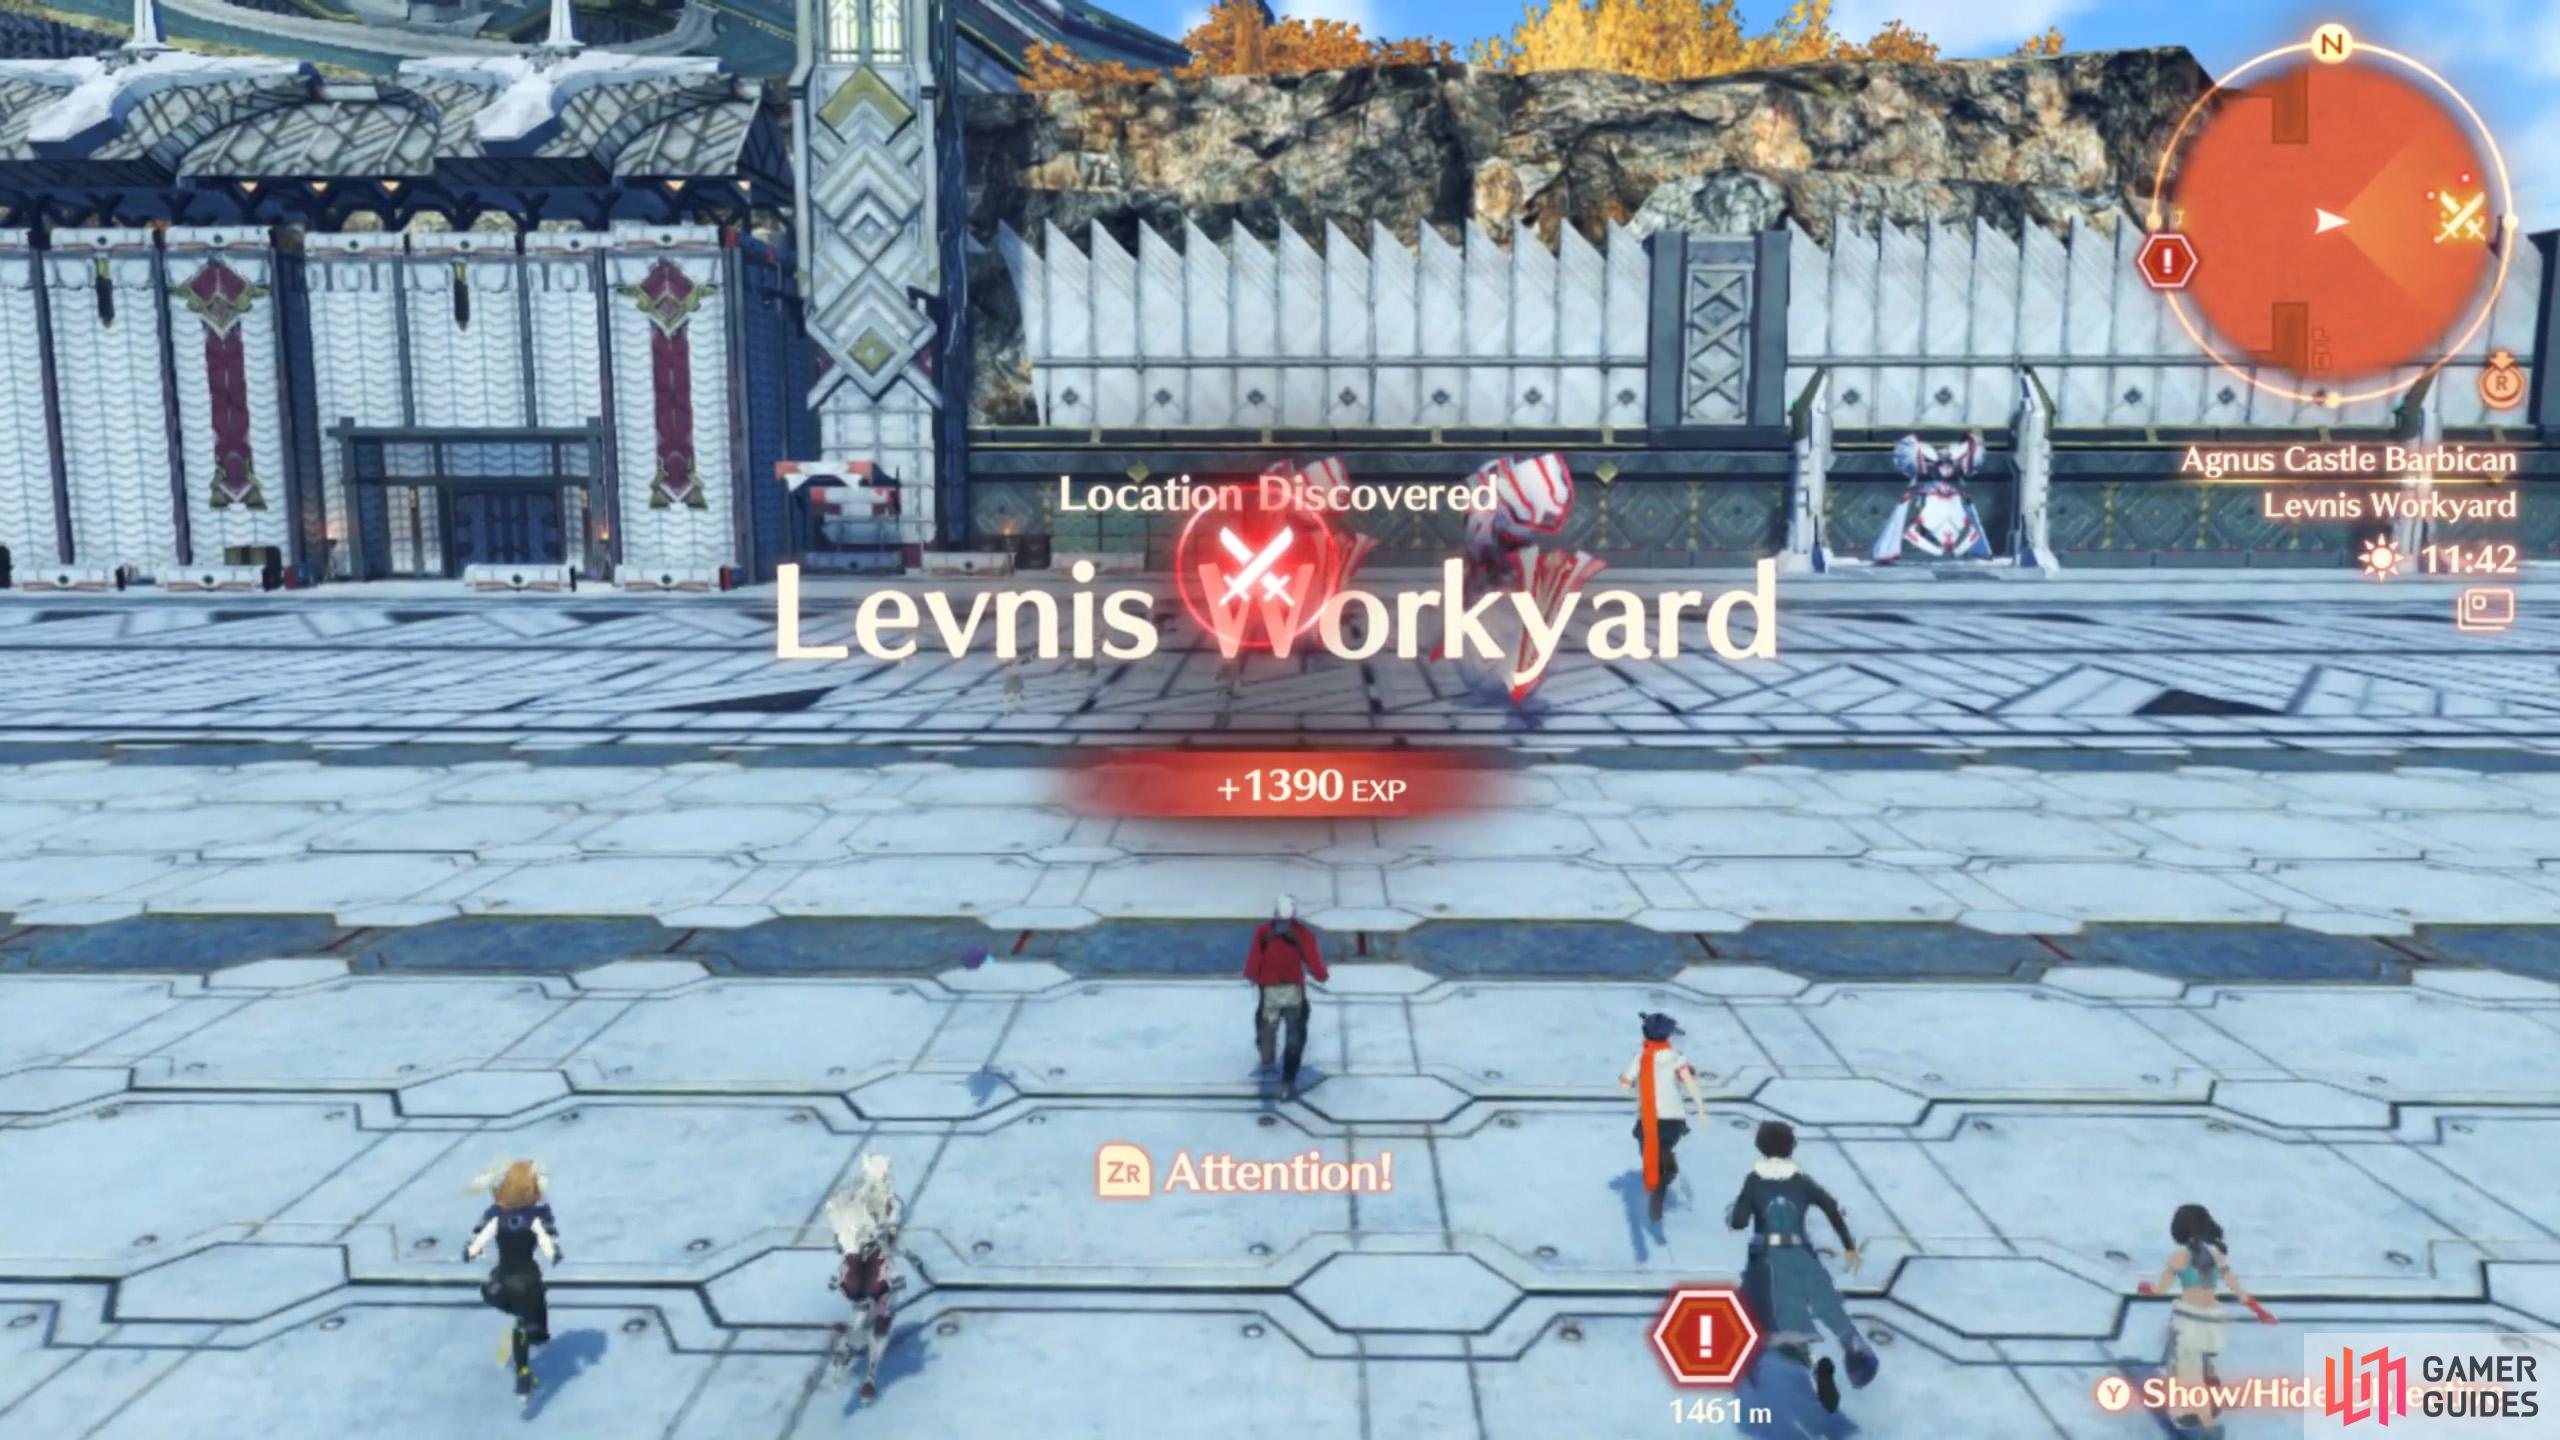
| Levnis Workyard | Continue east along the Perimeter Bridge. | Map Marker | 1390 EXP |
All Locations in Li Garte Prison Camp
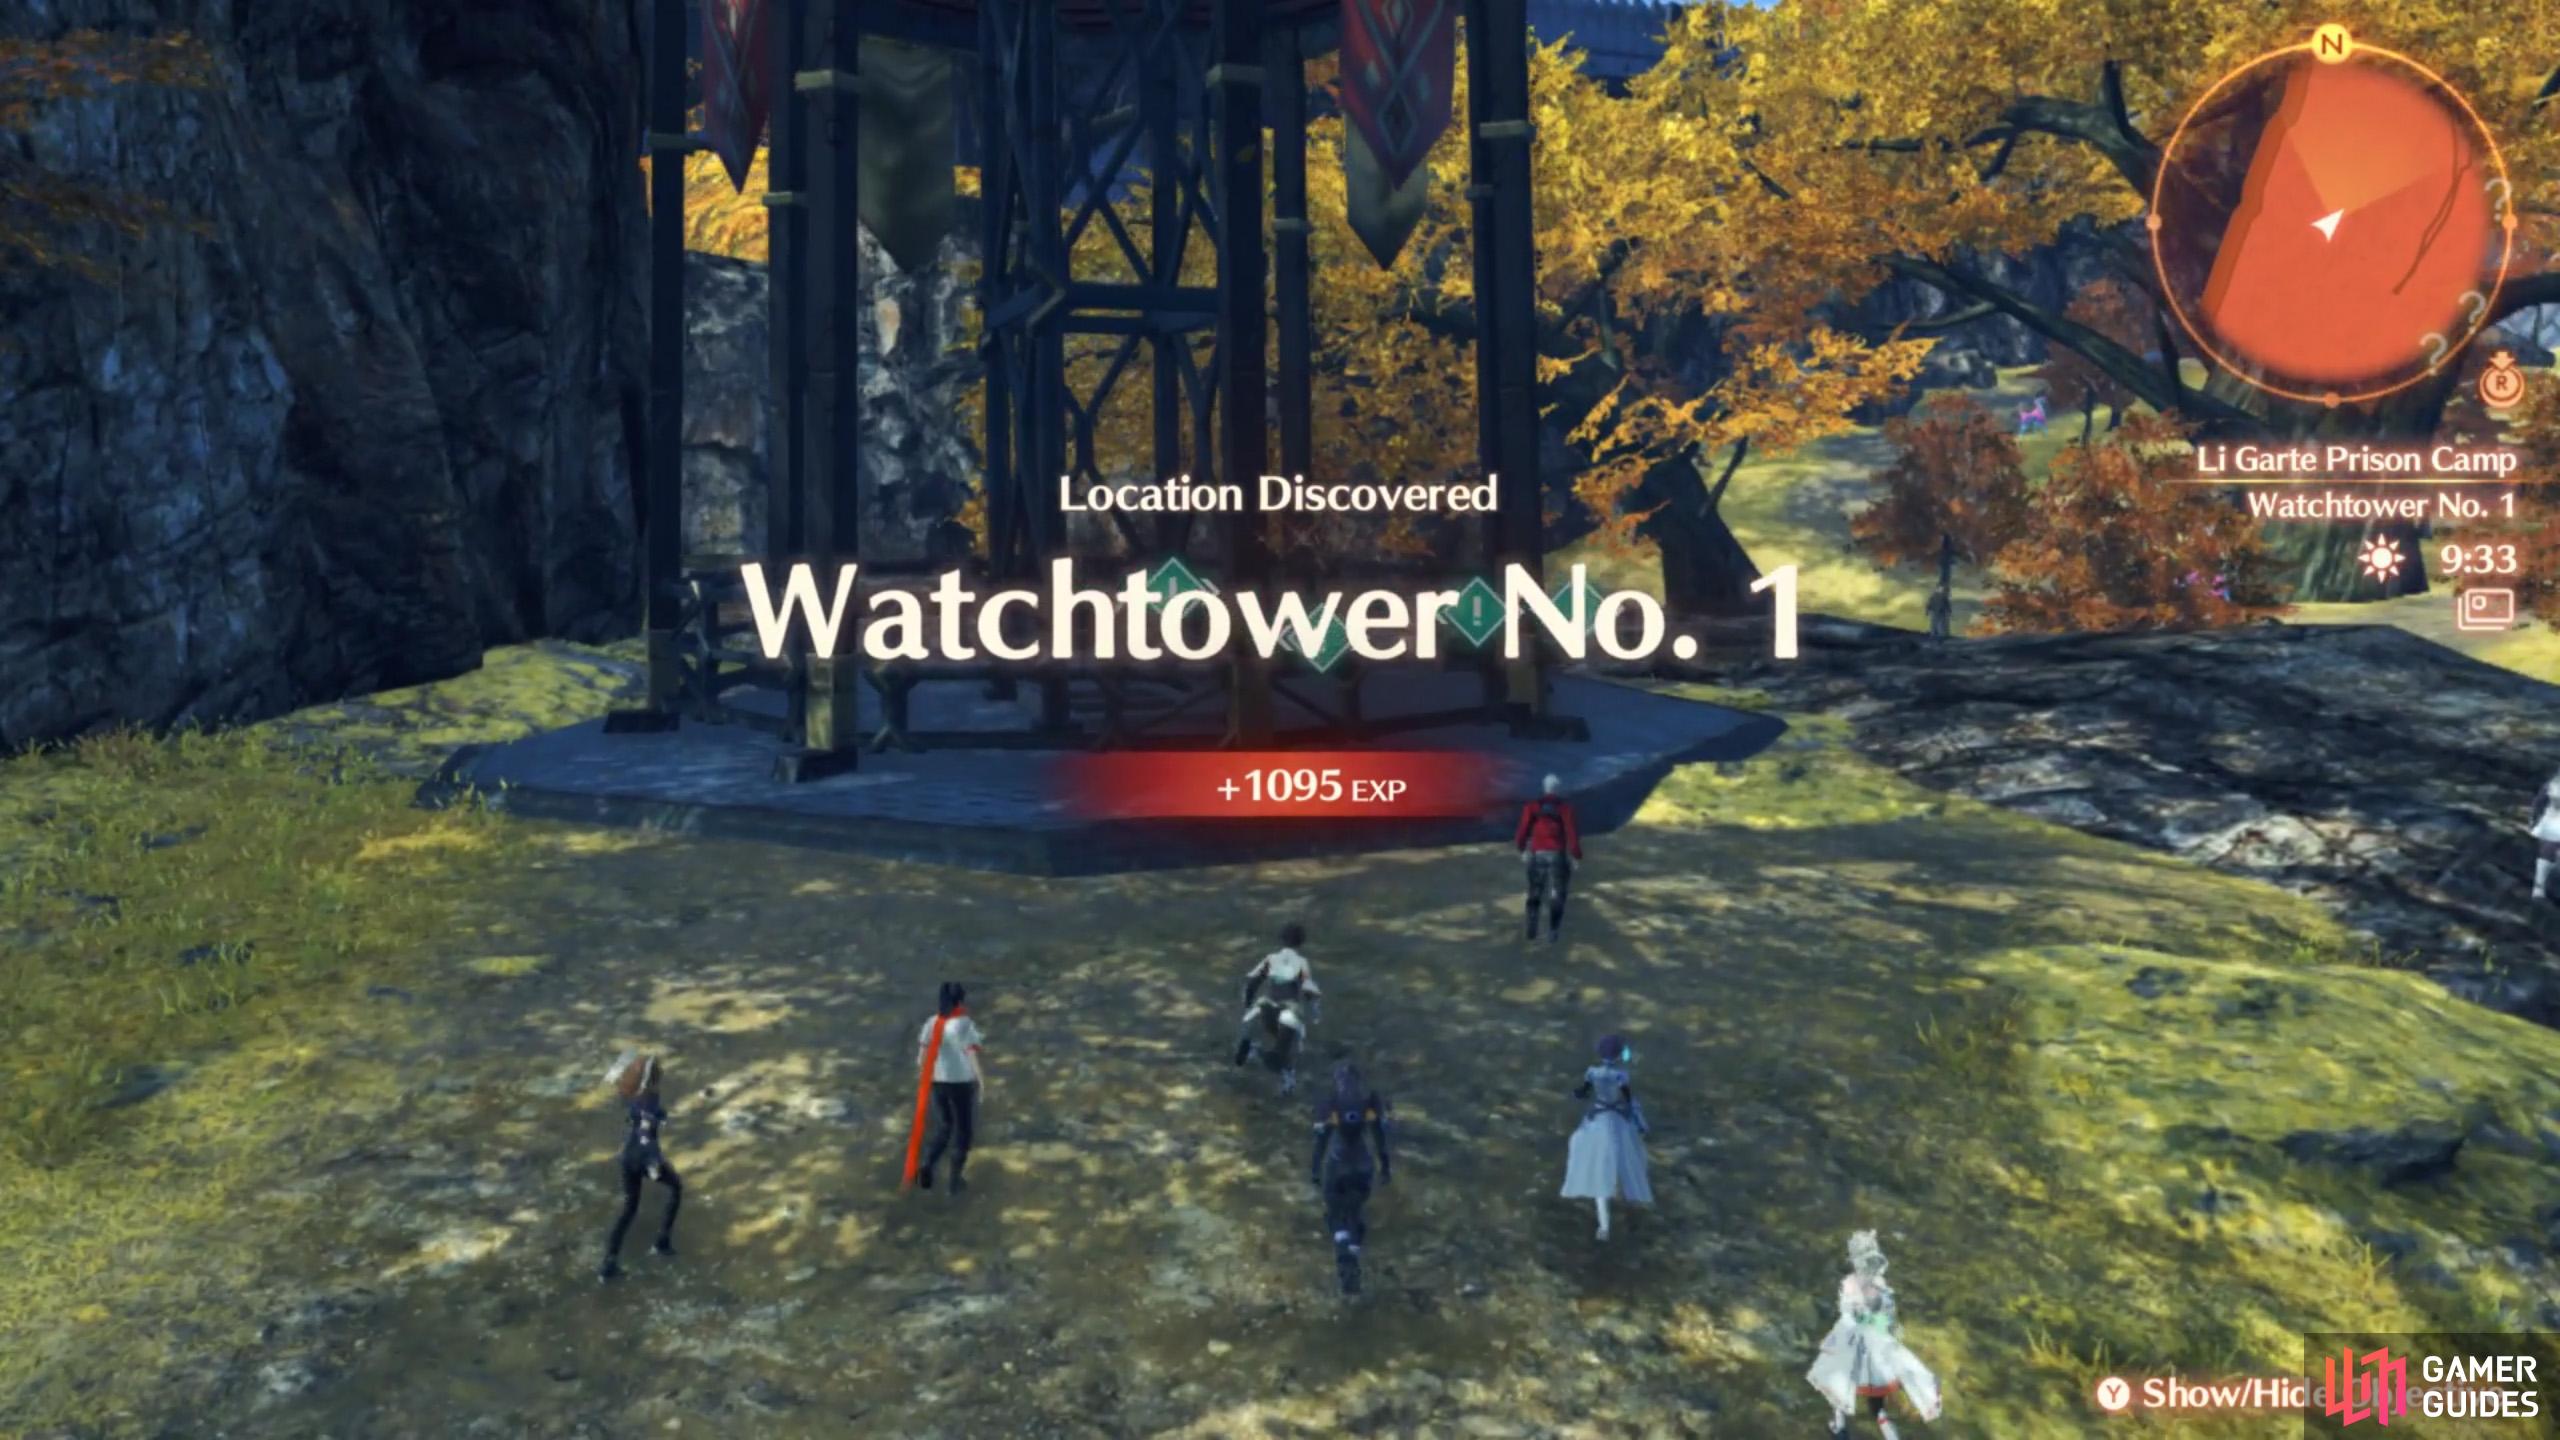
(1 of 2) Don’t forget to check out this watchtower!
Don’t forget to check out this watchtower! (left), You can reach this area during your second infiltration, when helping Segiri. (right)
| Location | Description | Map | Reward |
|---|---|---|---|
| Food Storage | Near north-west corner of the prison interior. This is the first room you enter. | Map Marker | 1095 EXP |
| Central Cell | West side of the prison interior. | Map Marker | 1095 EXP. |
| Communal Cell Block | East side of the prison interior | Map Marker | 1095 EXP |
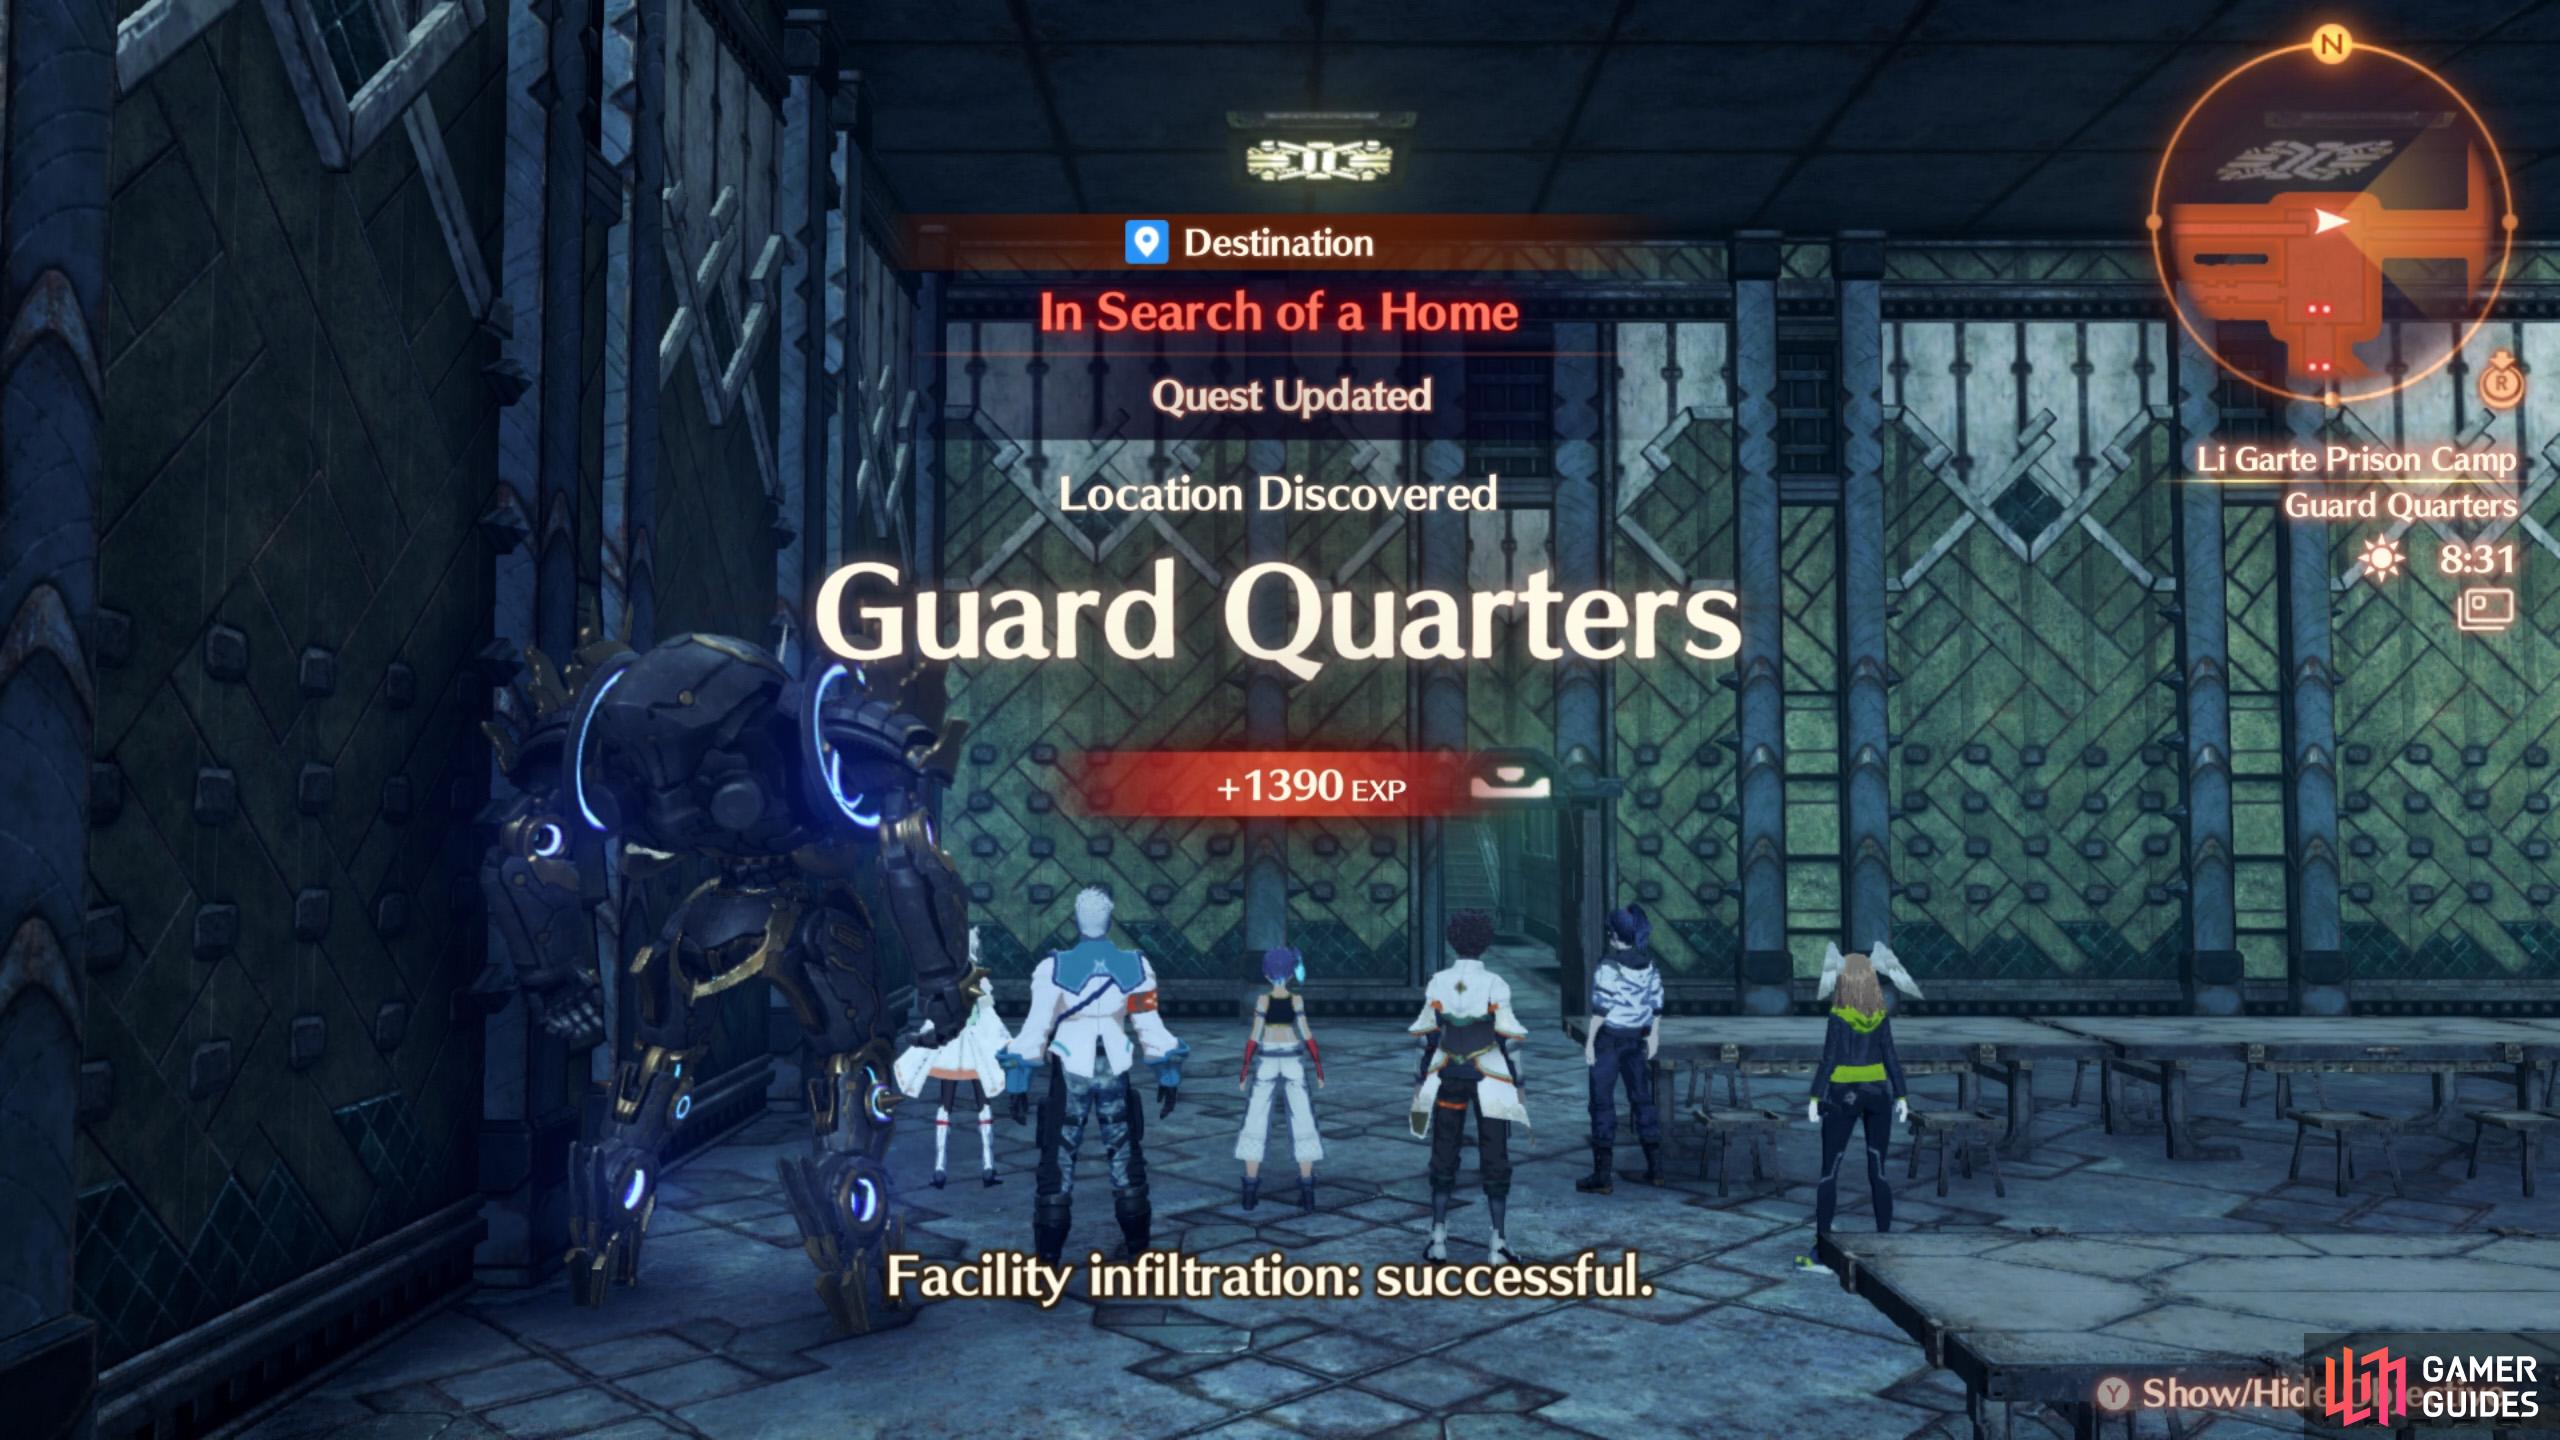
| Guard Quarters | Between Food Storage and Communal Cell Block. Accessible during the “In Search of a Home“ Quest, after recruiting Segiri. | Map Marker | 1390 EXP |
| Perimeter Woodland | Woods west of the prison interior. | Map Marker | 1095 EXP |
| Watchtower No. 1 | At end of slope around west side of the Perimeter Woodland. | Map Marker | 1095 EXP |
No Comments