
This is a guide for exploring the optional Low Maktha Wildwood area in Xenoblade Chronicles 3, possible from Chapter 4.
What is Low Maktha Wildwood?

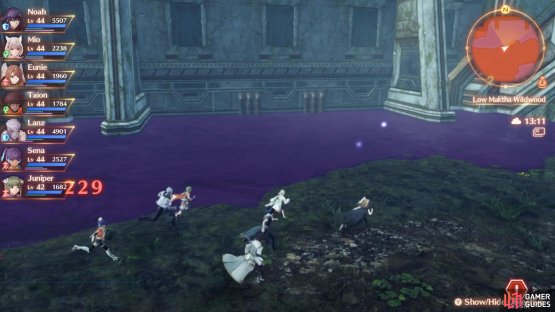
(1 of 2) The monsters here are very high level.
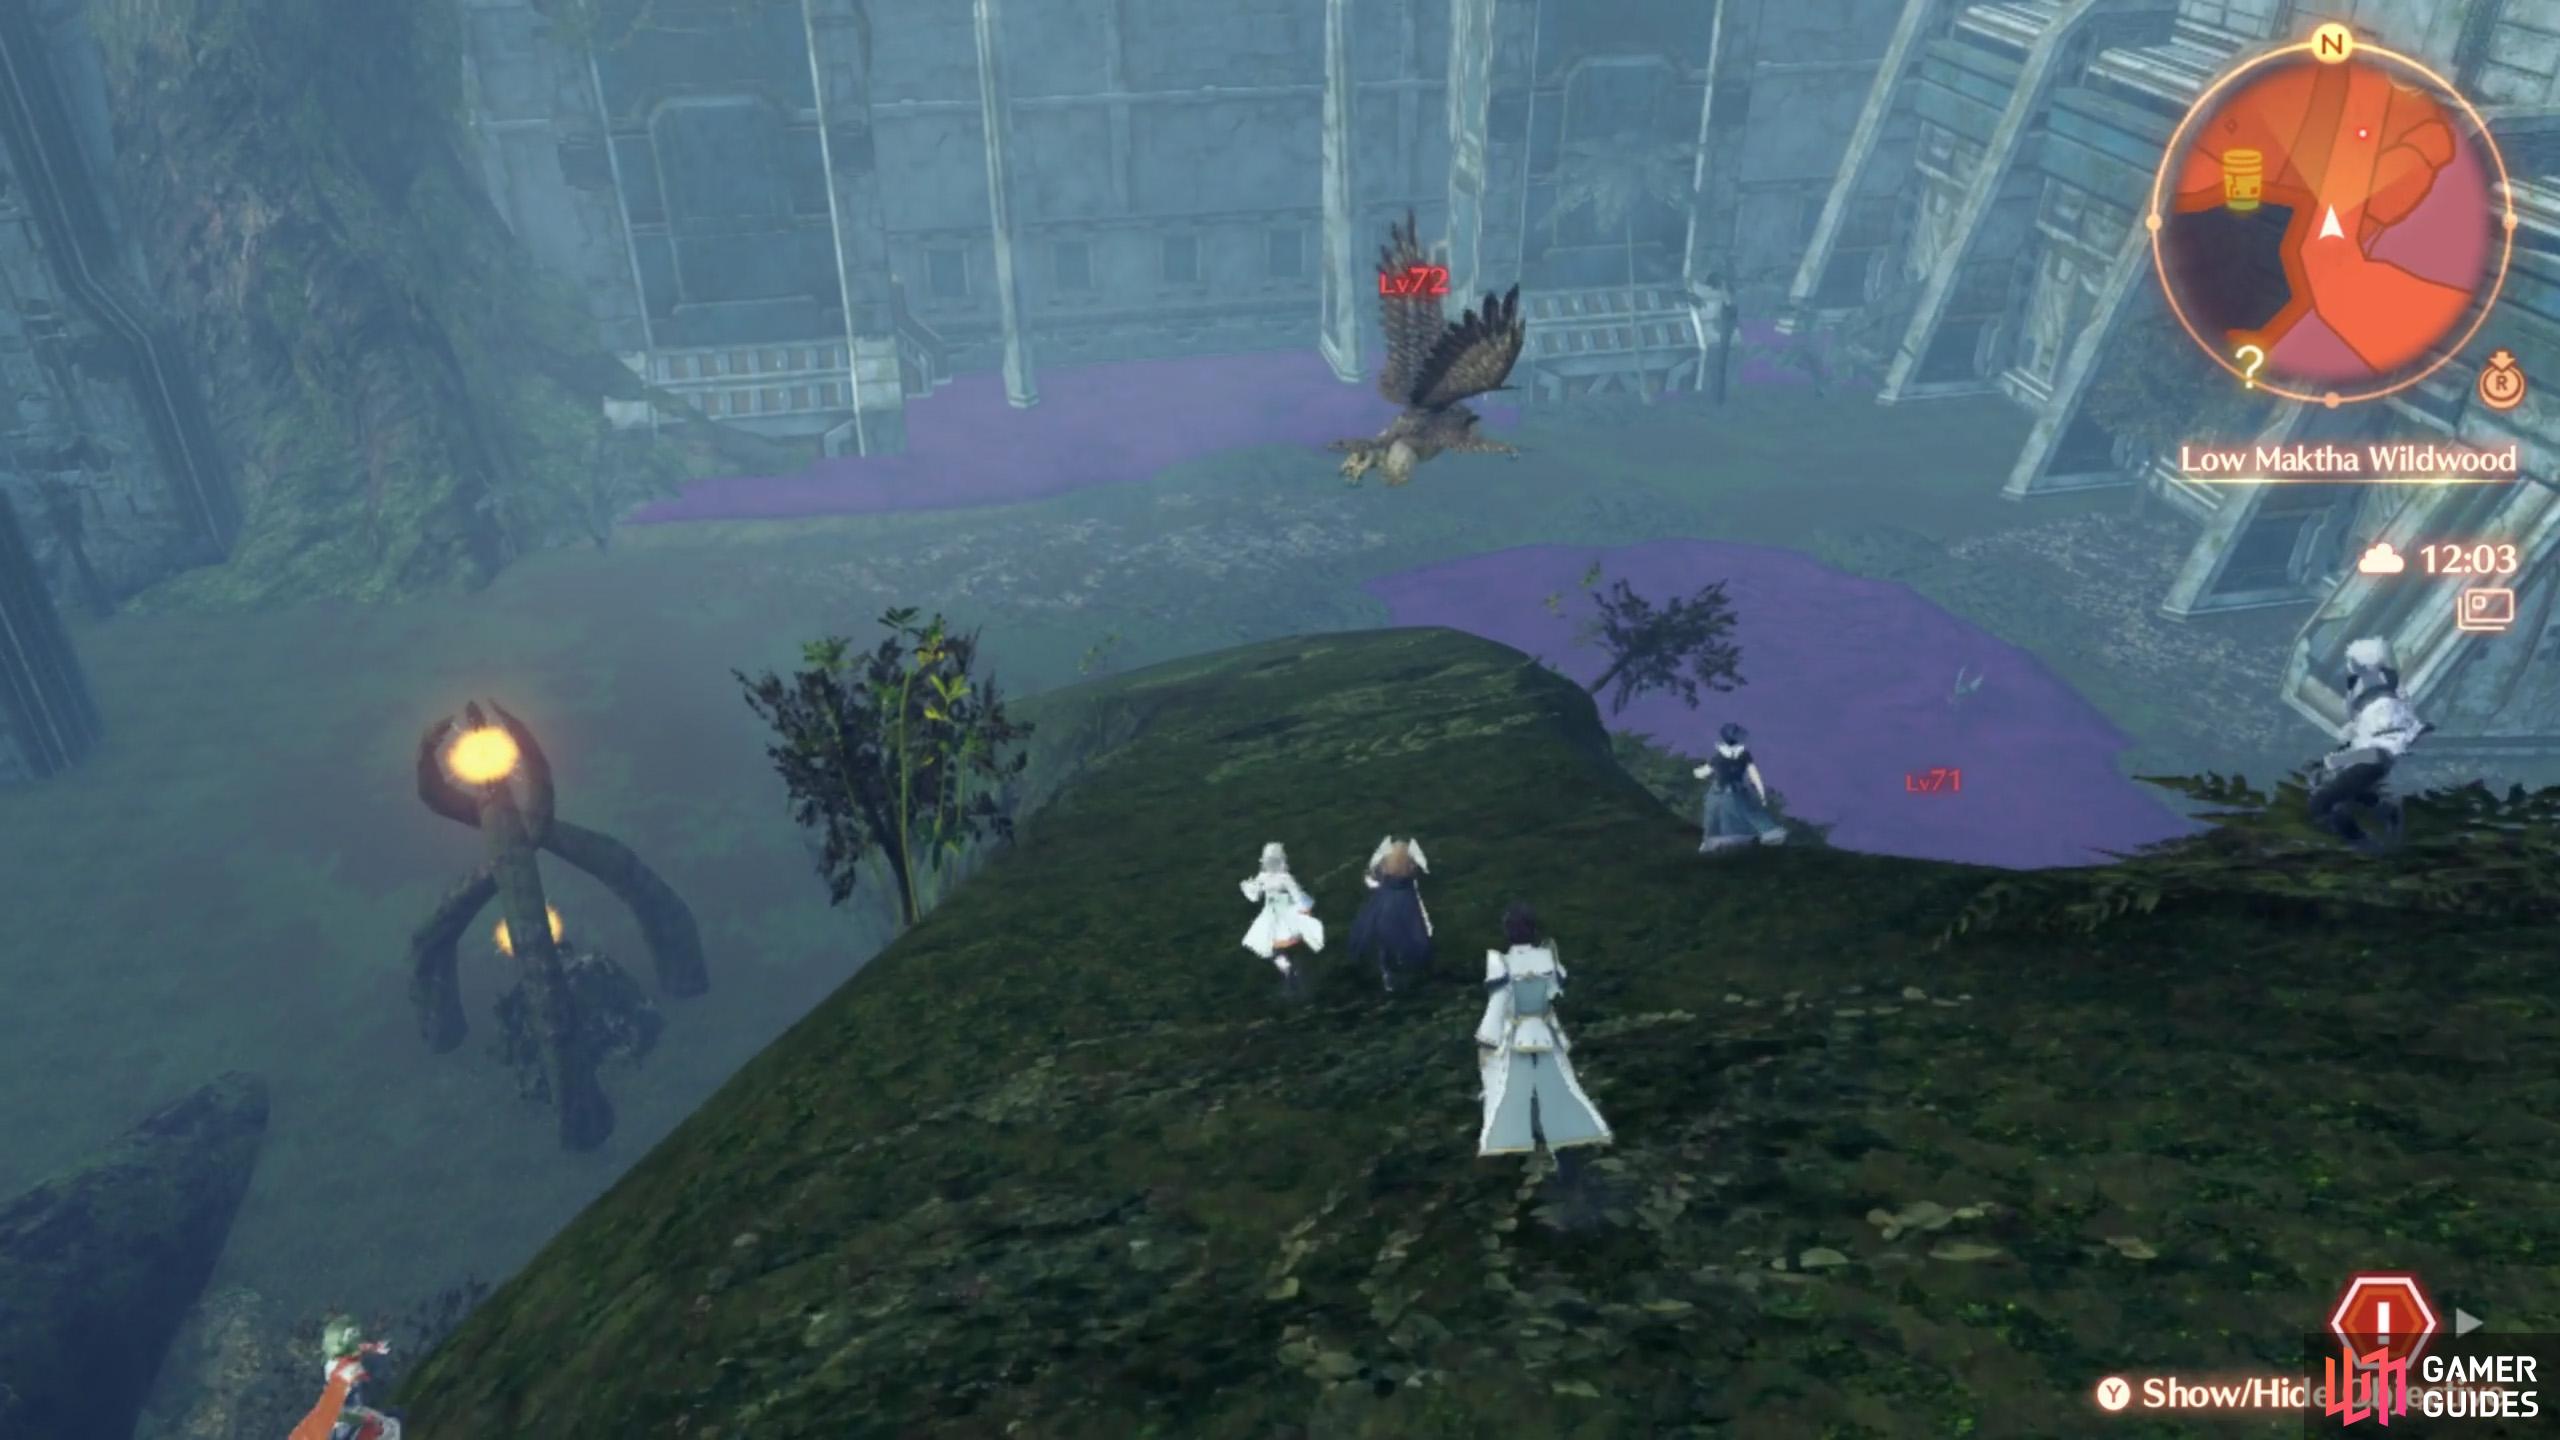

The monsters here are very high level. (left), Also, beware of the toxic pools. (right)
Low Maktha Wildwood is a sub-area of the Pentelas Region, accessible via High Maktha Wildwood. You can reach it by following the descending path north from the Tirkinhold, past the halfway mark of the woods.
During Chapter 4, you’ve no reason to visit Low Maktha Wildwood, although you can if you want.
Where to go at Low Maktha Wildwood
You’ll enter Low Maktha Wildwood near the Warning Tree, which will be the landmark you return to if you run into trouble (very high chance). Annoyingly, it’s one of only two landmarks here, so if you kick the bucket halfway along, you’ll have to run all the way back to where you left off.
There are three main attractions in the lower section of the woods.
First, go south around the first pool on the right. After a while, you should spot a giant dragon monster, who’s sitting at a crossroad of sorts. If you go south-west from here, you can reach Gingin’s Treehouse, where you can accept a quest from the reclusive Nopon living here.
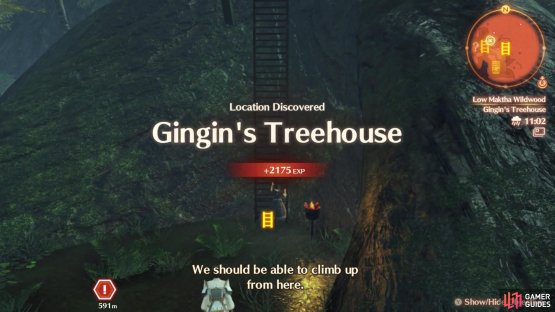
(1 of 2) A sole Nopon lives at this treehouse.

A sole Nopon lives at this treehouse. (left), There’s also an elevator that leads back up to Colony Tau. (right)
Next, if you continue south from the treehouse, you’ll stumble upon the Cross-Maktha Elevator. Riding the elevator will take you near Colony Tau, outside the watchtower on the higher level. Afterwards, you can ride the elevator back down to Low Maktha Wildwood, which functions as a pseudo-shortcut. (It’s generally faster to just fast-travel to the Warning Tree.)
Lastly, proceeding east, then south-east from the dragon will send you to the Cavern of Oblivion. This awful place is full of nasty poison pools and swarming with high level fiends. If you’re really stealthy and/or save-scum (by saving your game and reloading when you die), you might be able to pave a path to the end.
There, you’ll encounter the second landmark and a fun “surprise”, a Level 100+ unique monster. If you’re exploring during Chapter 4, don’t even think about challenging it. But there’s a little trick to steal some of the treasures behind it.
How to Sneak Past Dreadwyrm Nizoont

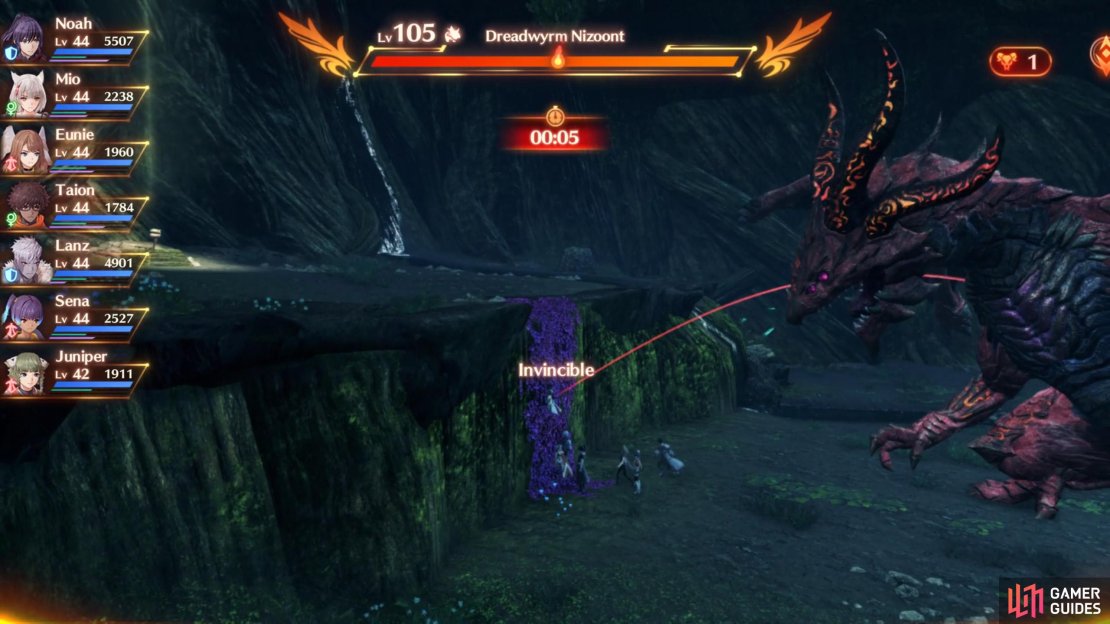
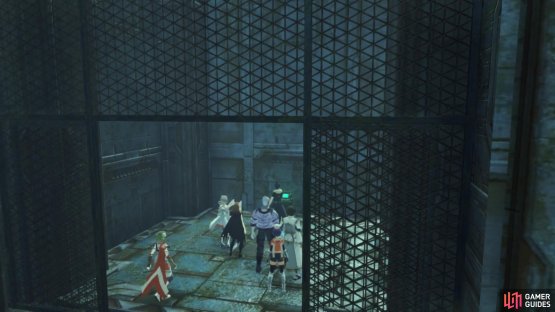
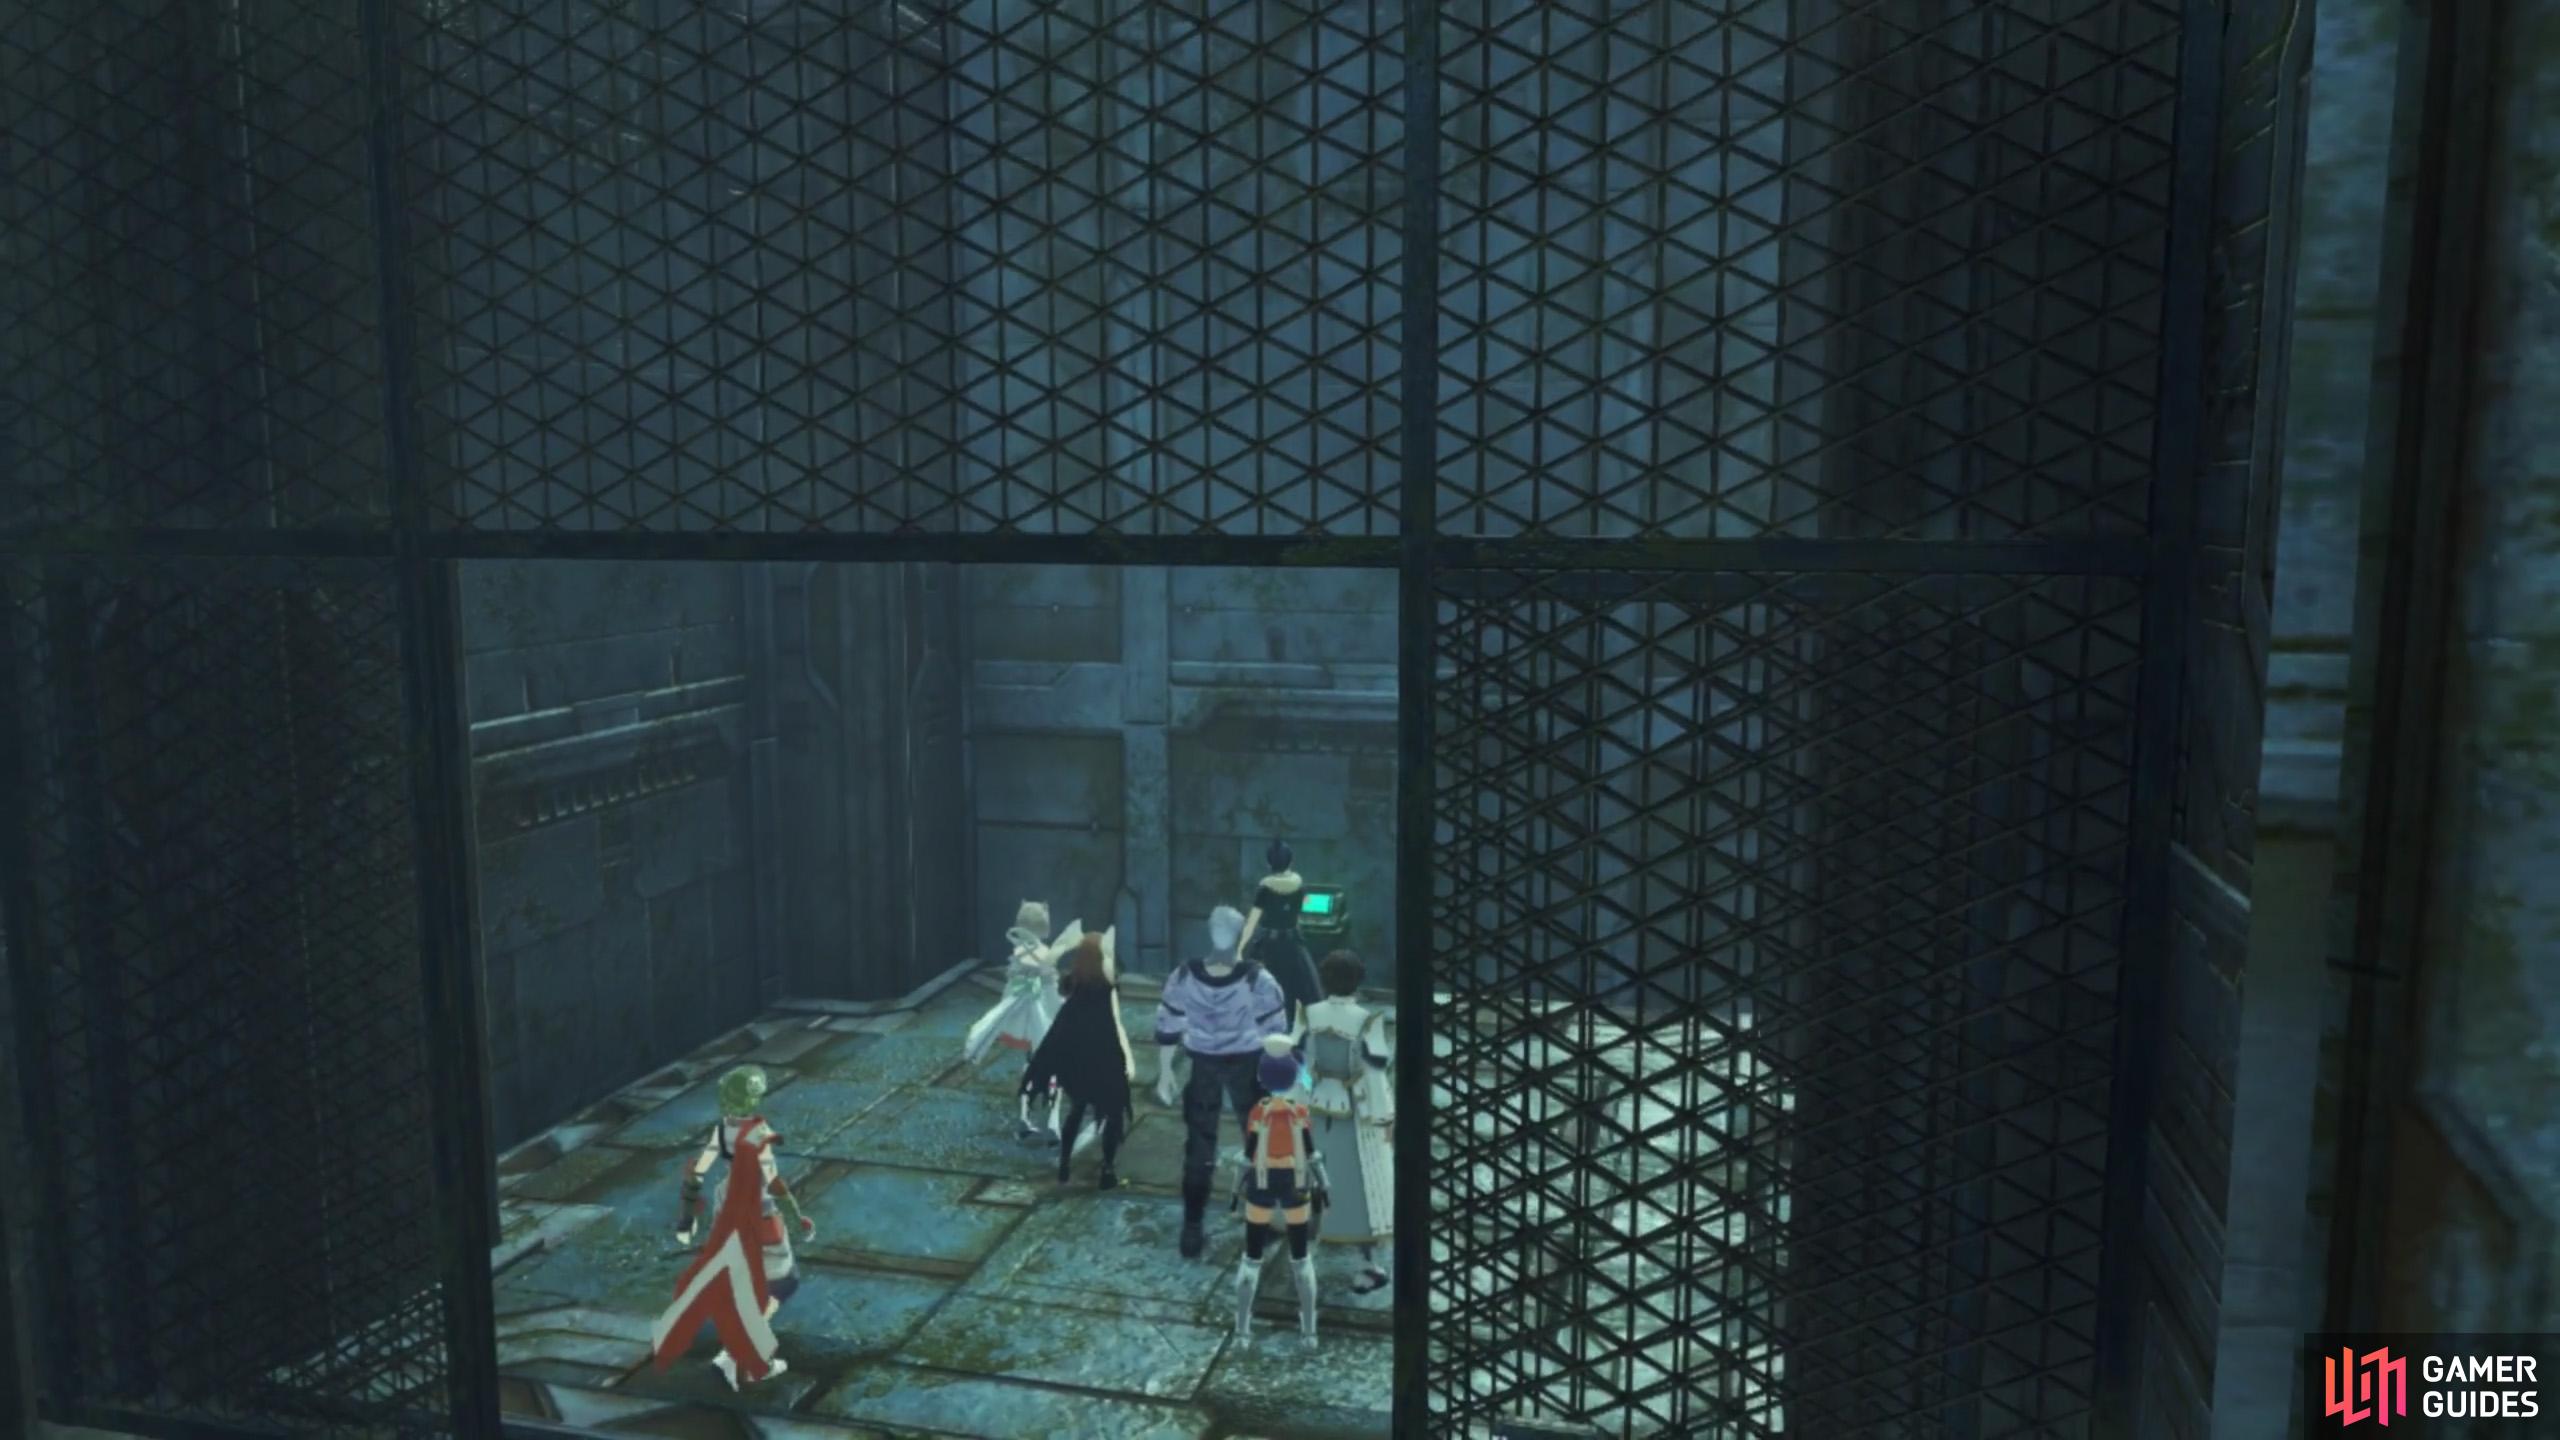
(1 of 3) Aggro the Dreadwyrm, then leave its chamber to make it despawn.
What you can do is walk up to the monster to catch its attention, then retreat backwards until it gives up. Now wait for the monster to despawn, then immediately leg it to the climbable wall at the back. You should just about make it. If you didn’t know, walls and ladders confer invincibility and makes monsters stop attacking you.
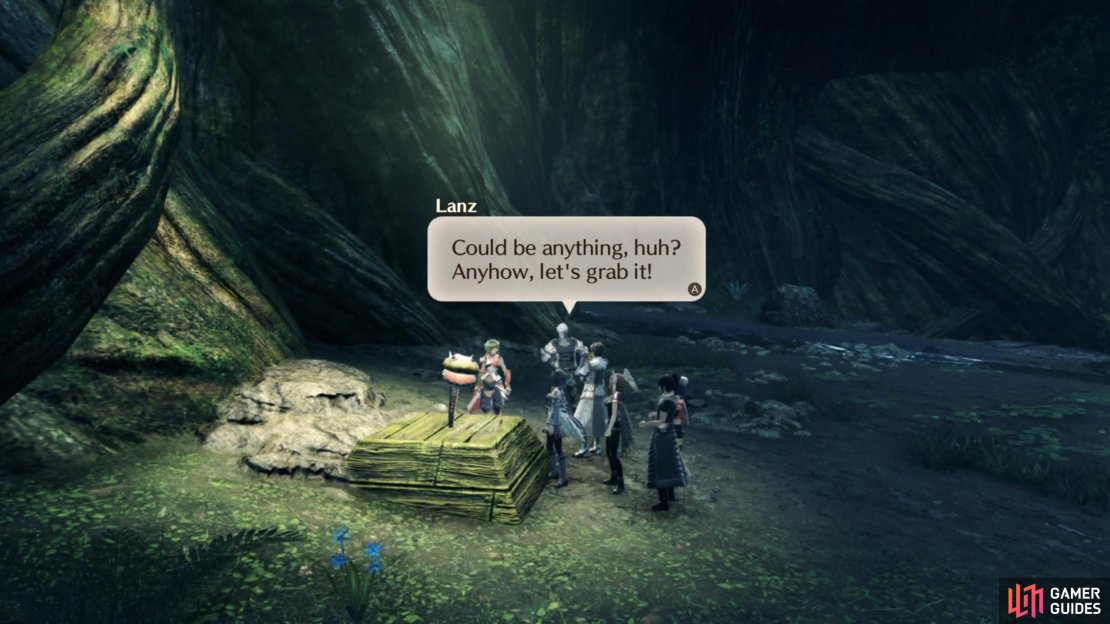
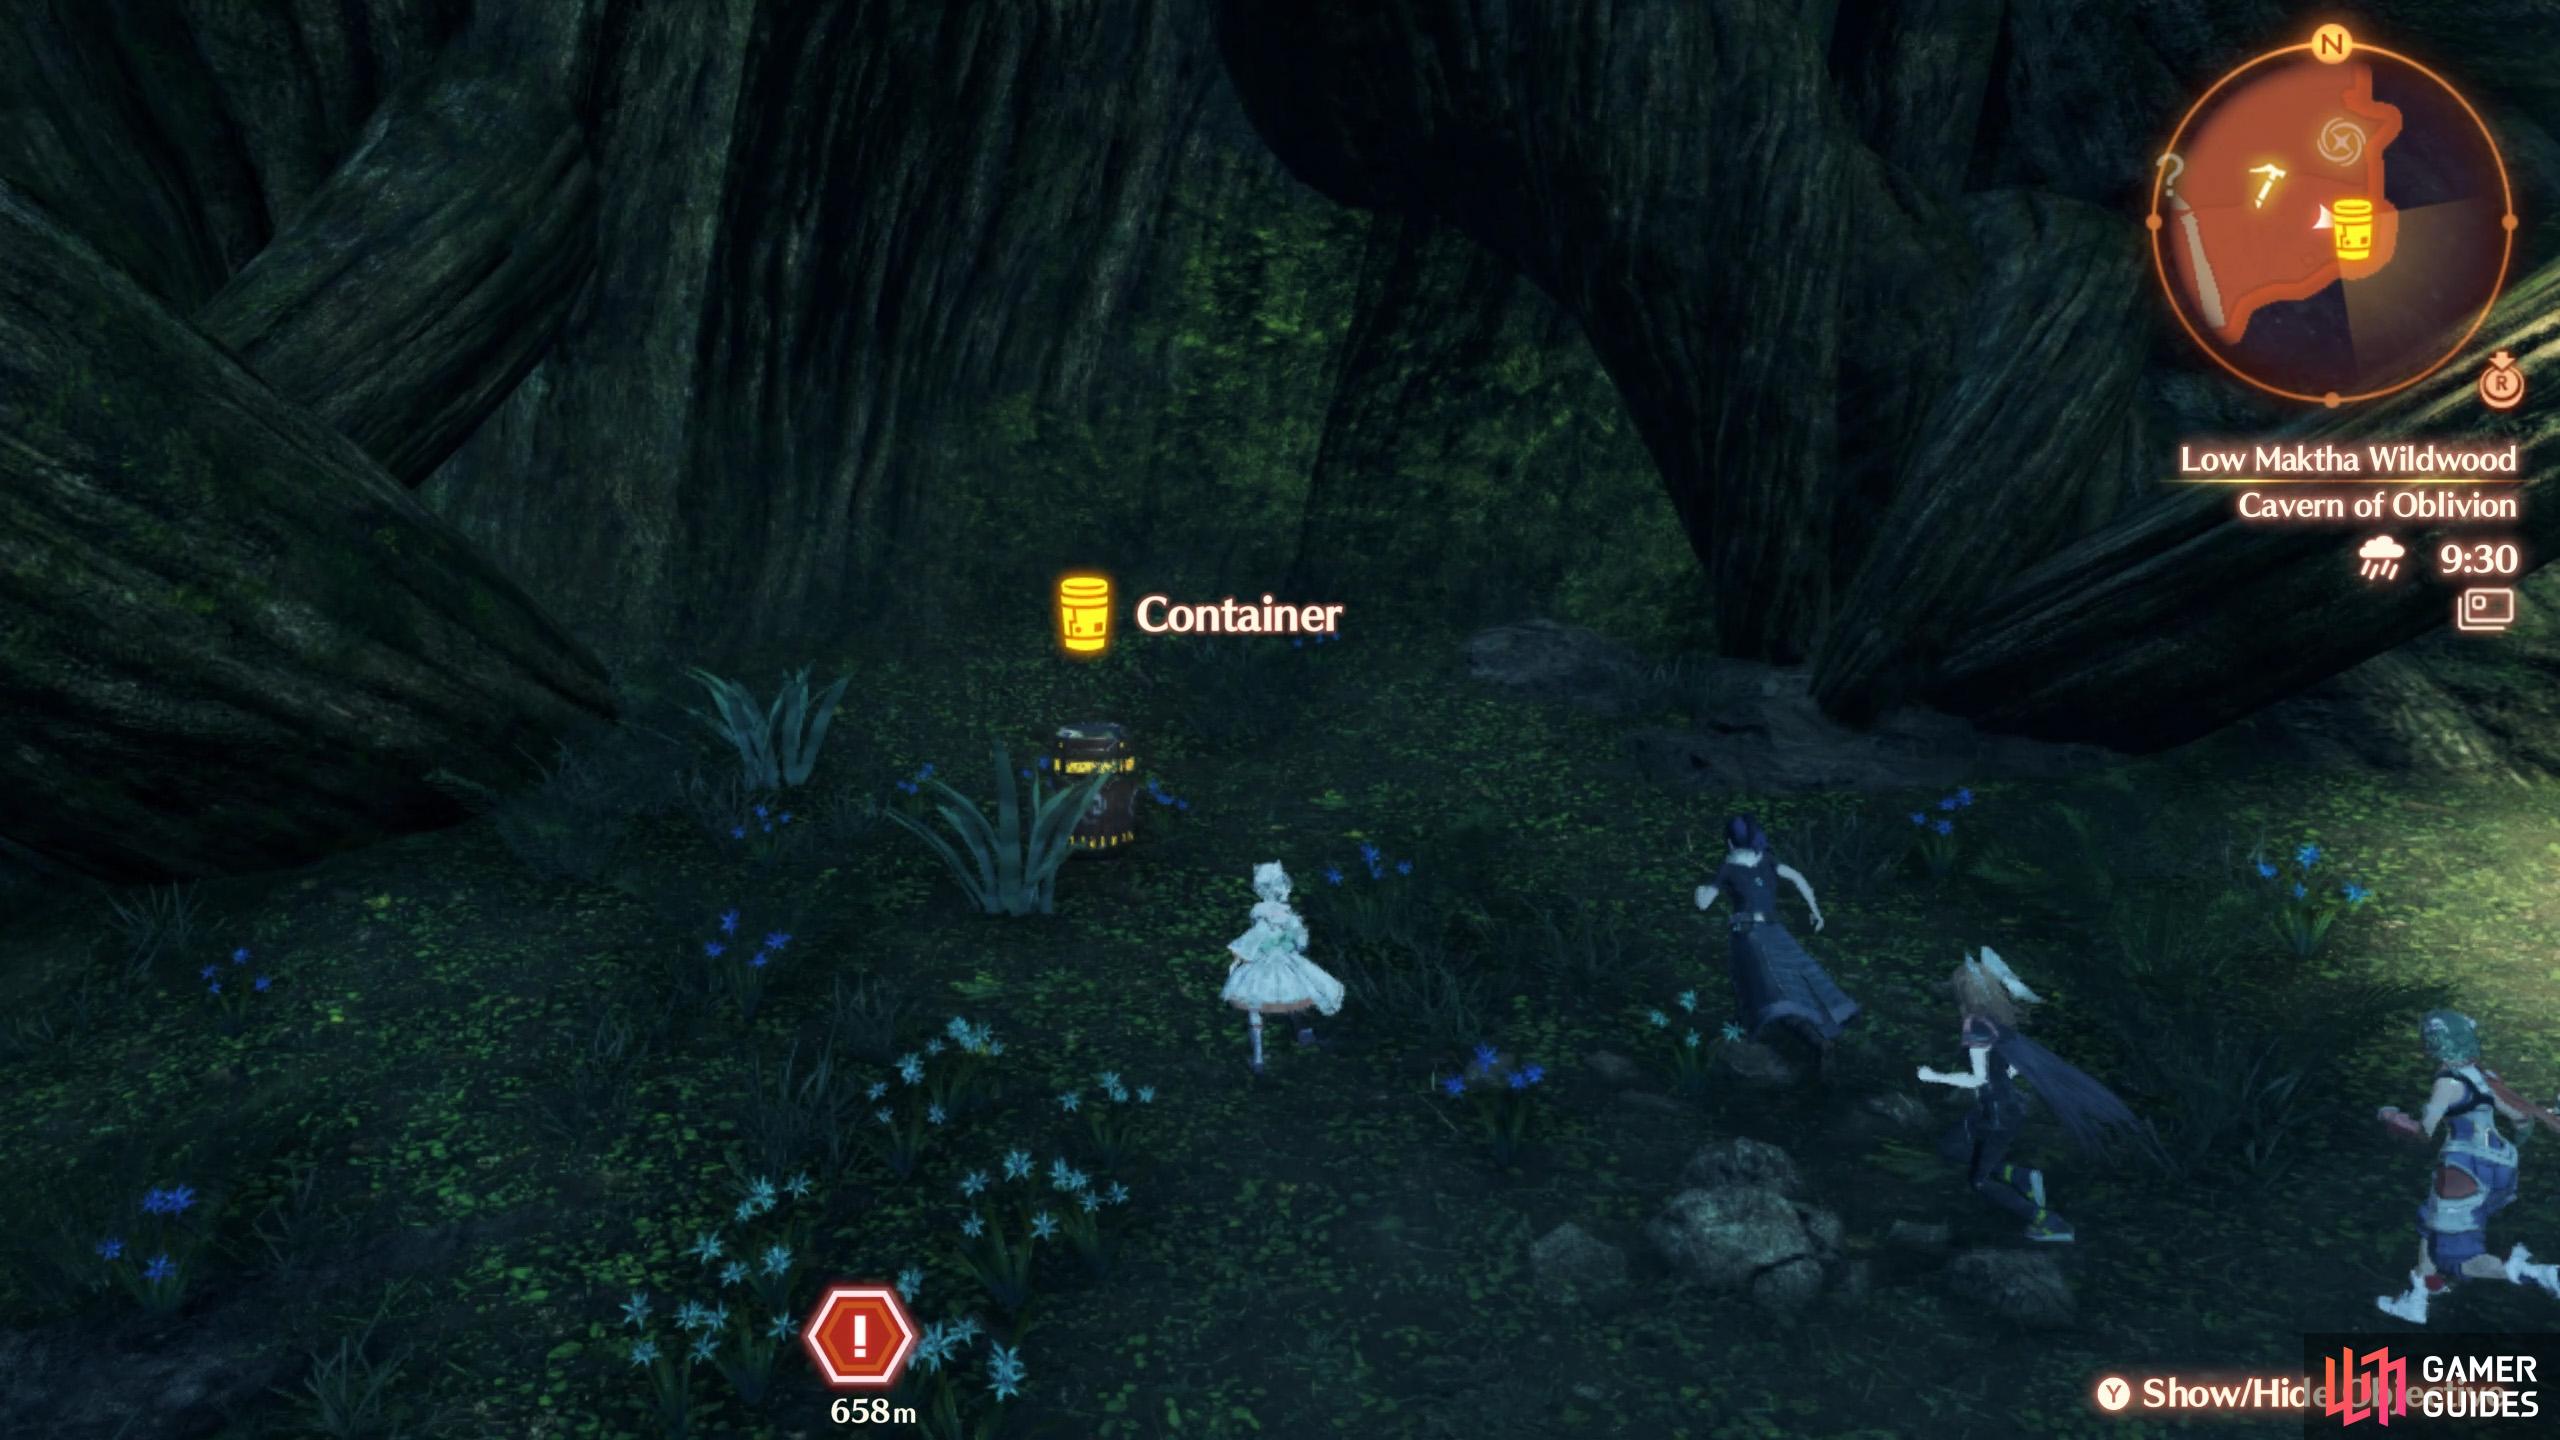
From here, you can open the container, grab the Legendary Biter etc., while occasionally going back to the climbable wall to despawn the frightful monster.
Locations
Landmarks at Low Maktha Wildwood
| Name | Description |
|---|---|
| Warning Tree | Entrance, if you continue onwards from the base of the climbable wall near the Tirkinhold. |
| Forgotten Trick Gate | Before final chamber in the Cavern of Oblivion, towards the south-east. |
Containers at Low Maktha Wildwood
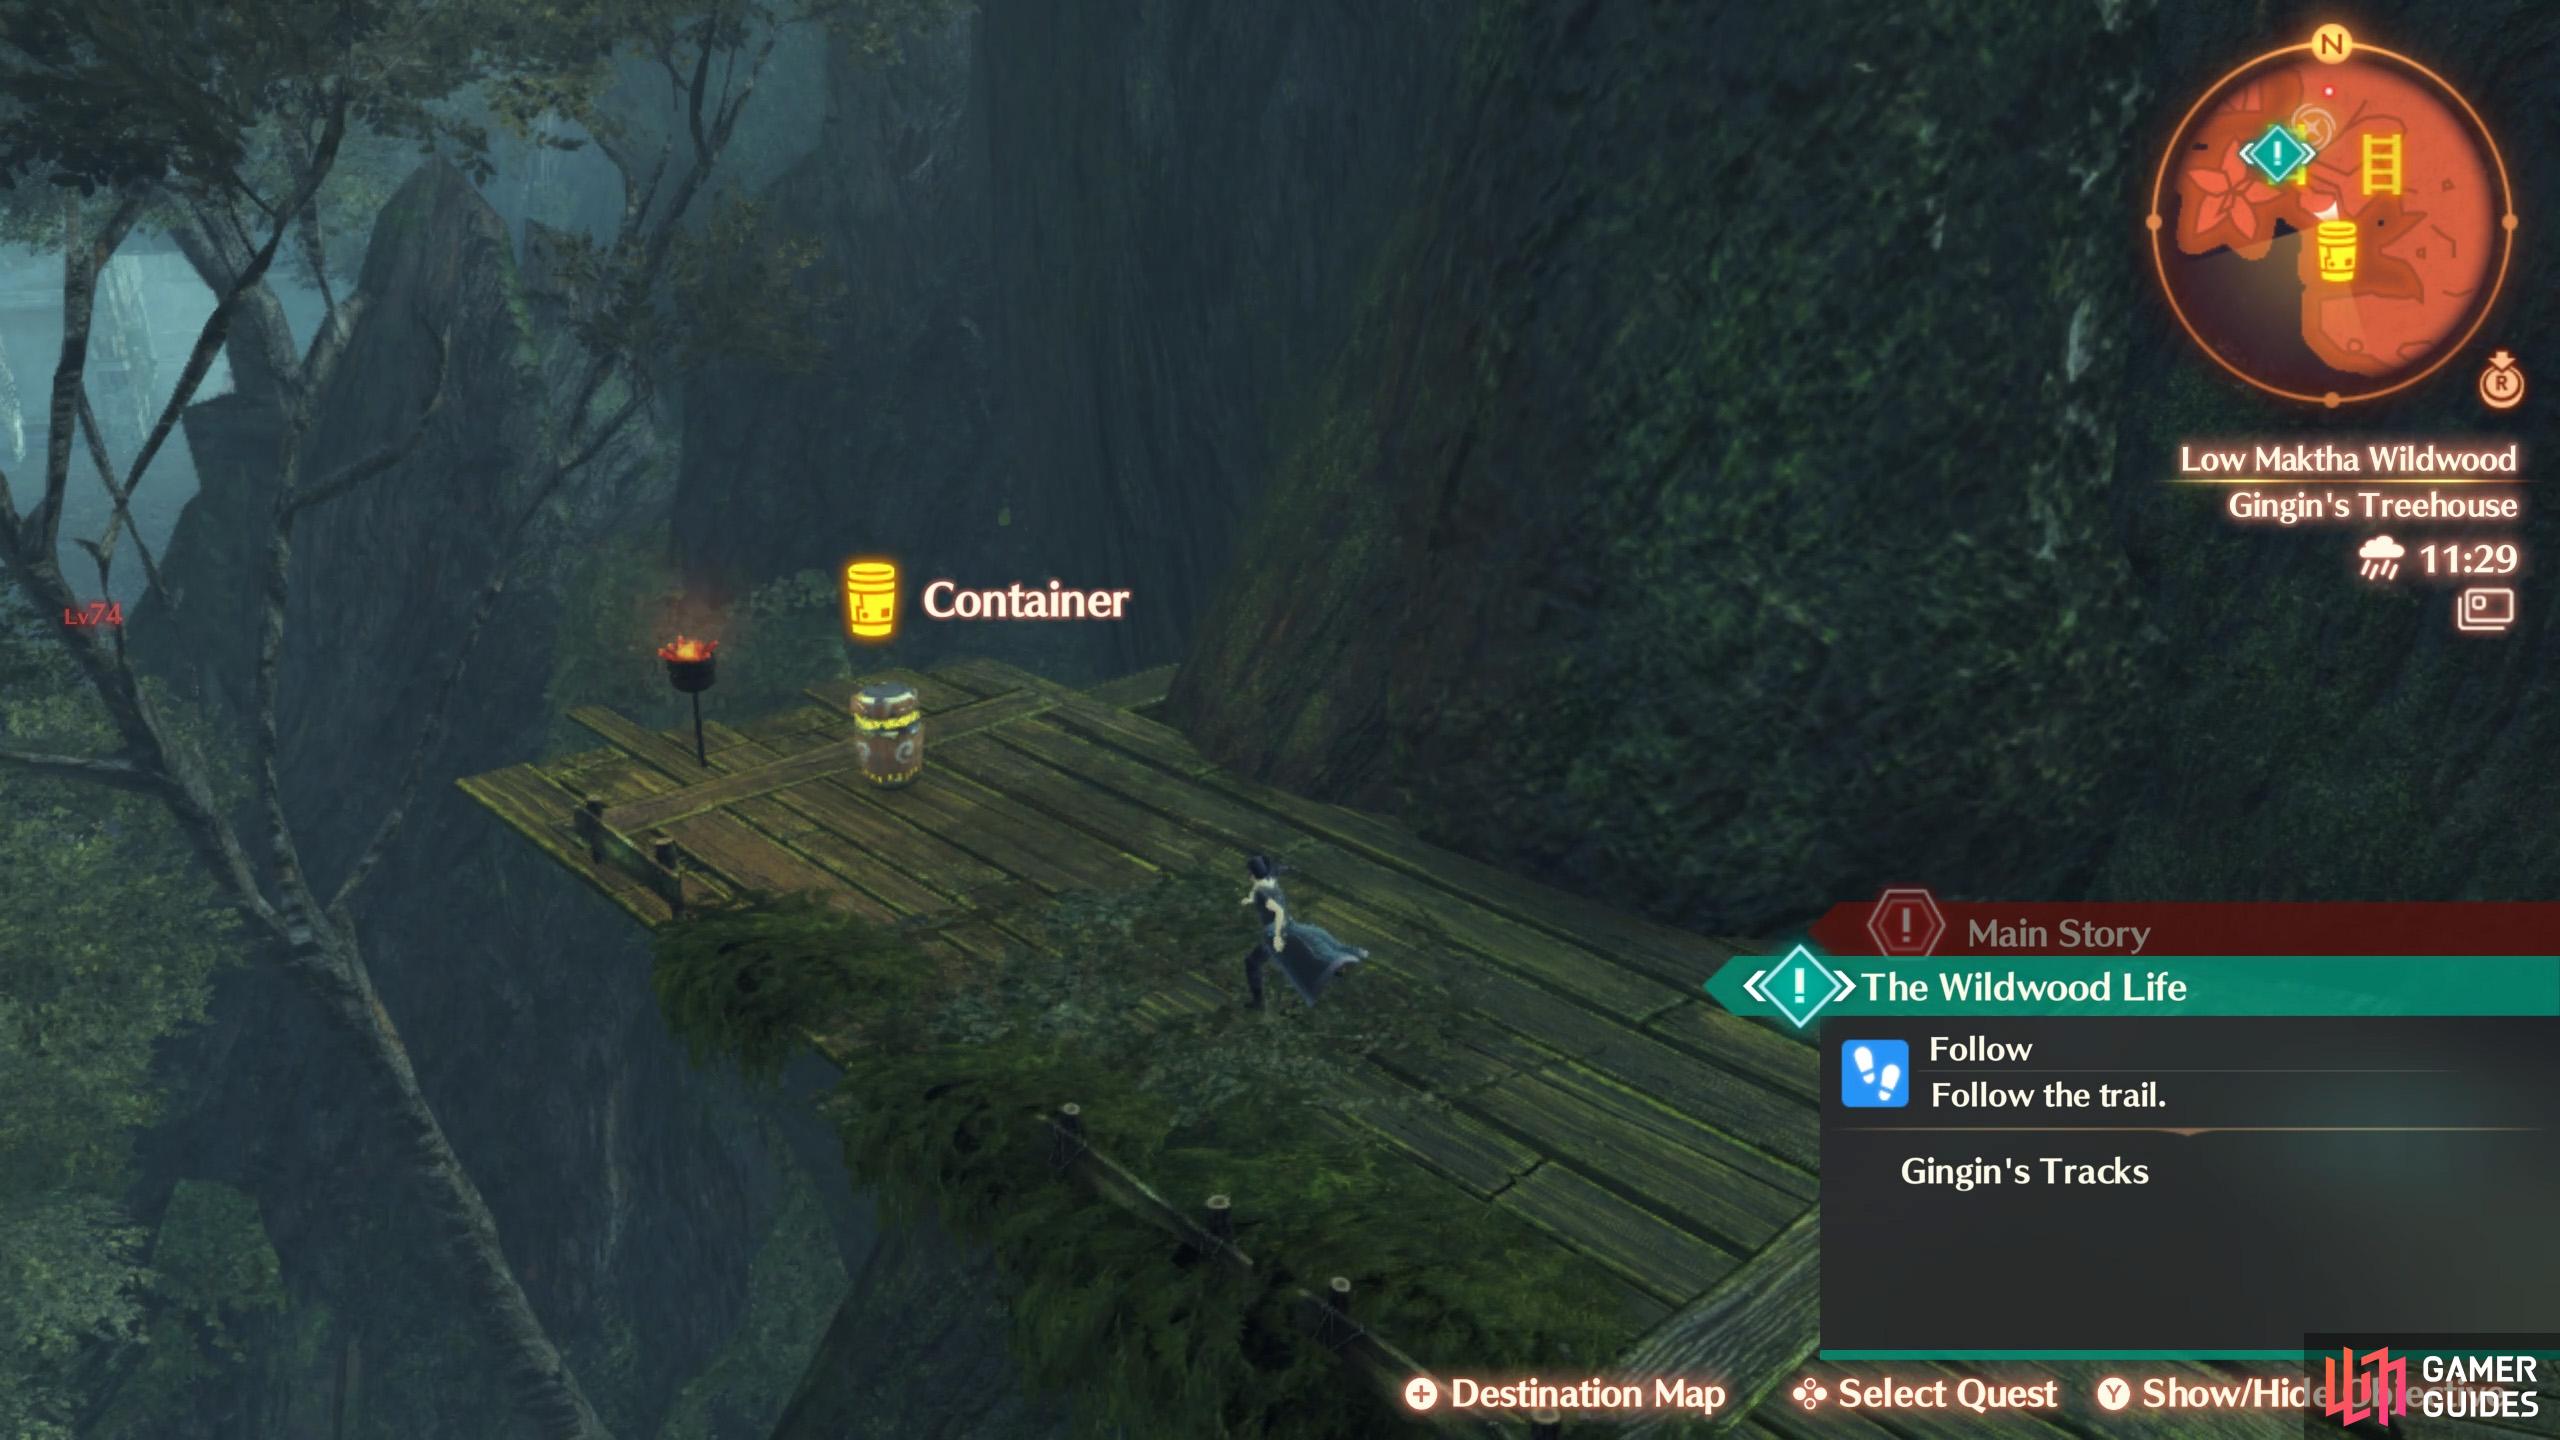
(1 of 2) Atop Gingin’s Treehouse
Atop Gingin’s Treehouse (left), Behind Dreadwyrm Nizoont. (right)
| Container # | Map Marker | Location |
|---|---|---|
| 1 | Map Marker | South of Warning Lamp, between the tree trunks. |
| 2 | Map Marker | South-east from the entrance, on the other side of a poison pool, near a y’know massive dragon. |
| 3 | Map Marker | Cavern of Oblivion, along the first branch on the right. Enemy nearby. |
| 4 | Map Marker | Cavern of Oblivion, in a cavern east from Gorgeous Mandora. Enemy nearby. |
| 5 | Map Marker | End of the Cavern of Oblivion, behind the unique monster. You can aggro it, run back, wait for it to despawn, then ruuuuun for the climbable wall. |
| 6 | Map Marker | Atop Gingin’s Treehouse, south-southwest from the entrance. |
| 7 | Map Marker | Ancient Storehouse, south-west from the entrance. |
| 8 | Map Marker | South-east from Gingin’s Treehouse. |
| 9 | Map Marker | South from Gingin’s Treehouse, next to the Cross-Maktha Elevator. |
No Comments