This is a guide for the Colony Mu’s Resolve Standard Quest in Xenoblade Chronicles 3.
How to Start the Colony Mu’s Resolve Standard Quest
(1 of 2) One of the two Info Fragments needed for this quest
One of the two Info Fragments needed for this quest (left), The other Info Fragment needed for this quest (right)
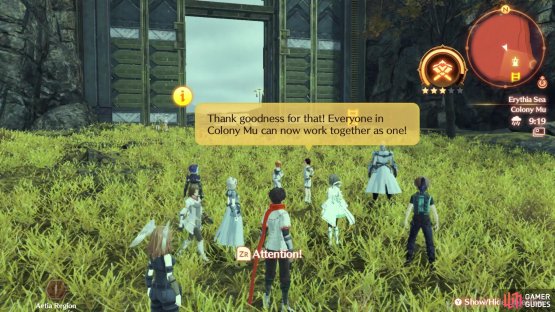
You will need to finish The Future I Want to Spin before this quest will become available. Once you have, go around Colony Mu and look for two Info Fragments, which will give you the Lively Colony Mu Info. One will be by the front gate and the other is by the canteen. Discuss this topic at a rest spot/canteen to start the quest.
How to Complete the Colony Mu’s Resolve Standard Quest
Ayase asked Fiona to pass a message along to the party, meaning that she wants to speak with them. You will find Ayase in the Viewing Deck area. She wants your group, with Fiona included, to try and capture Colony Mu, as a combat exercise. Basically, you will start from the bridge leading to the front gate and run through the colony, fighting groups of three, one of which will be a named NPC and the other two being generics. Start the exercise by speaking with Nico by the front gate. Note that during the exercise, you won’t be able to do anything else in Colony Mu, so if you wish to take a break, then speak with Nico once more.
(1 of 2) You should take out the two regular soldiers first
You should take out the two regular soldiers first (left), then you can concentrate on the named NPCs afterwards (right)
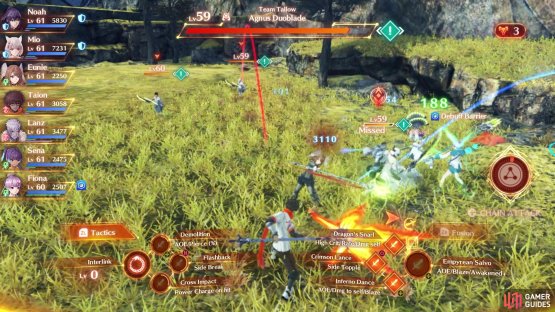
As already mentioned above, you will be fighting sets of three enemies each, one of which will be a named NPC and the other will be generic Agnian troops. There’s a total of eight sets, so you will need to fight through a total of 24 enemies in order to complete the quest. All of the groups are far enough away from one another, that you shouldn’t be worried about aggroing another group. All of the normal enemies will be level 59, while the named NPCs will be level 60. Naturally, you should get rid of the normal enemies first, then concentrate on the named NPC last, since they have more health and are stronger. After defeating all 24 enemies, the quest will be over.
| EXP | Gold | SP | Rewards |
|---|---|---|---|
| 3920 | 1840 | 3 | Metallic Kneeguard (Rare) x1 |


No Comments