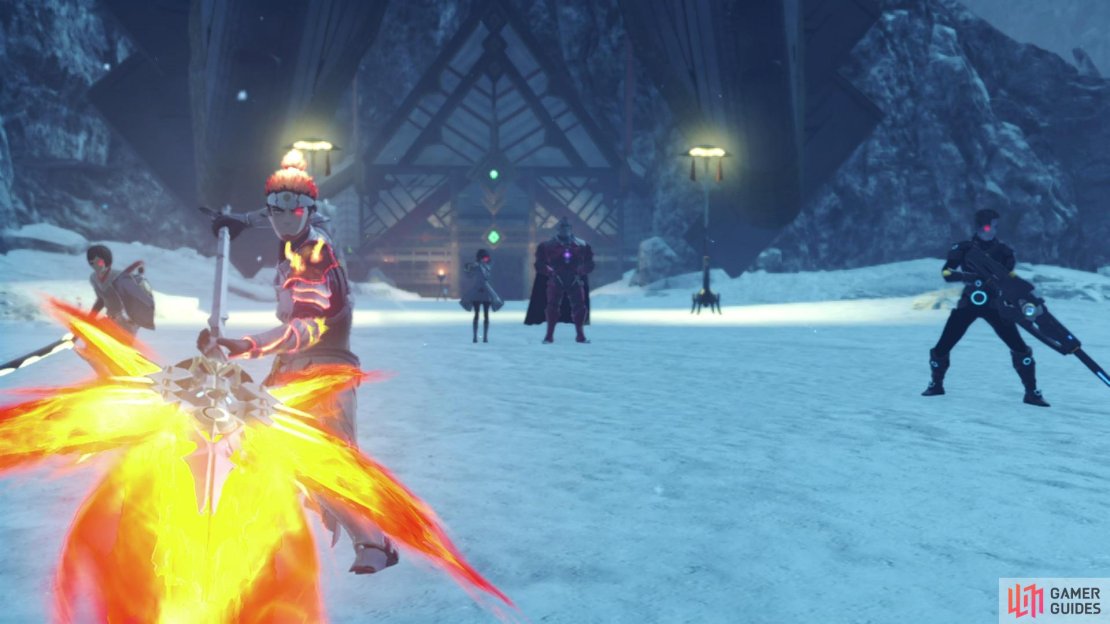
This is a guide for the Colony Omega Pipers boss fight in Chapter 6 of Xenoblade Chronicles 3, taking place in the Upper Aetia region.
The Colony Omega Pipers are a boss in Chapter 6 of Xenoblade Chronicles 3.
How to Beat the Colony Omega Pipers
| Name | Level | Type |
|---|---|---|
| Glorysong Miyabi | 53 | |
| Mwamba | 53 |  |
| Cammuravi | 53 | |
| Hackt | 53 |
This is a battle that seems far tougher than it actually is, as although you know your foes well, in practice, only two of them are really a threat, Miyabi and Cammuravi. Mwamba and Hackt are little more than just regular grunts and as such, should be where you focus your early attention to.
Yes, this goes against the usual mantra of taking down the Healer first (as Miyabi is) but she has more HP than both Hackt and Mwamba and Hackt will also use Target Lock from time to time. Hackt will use various defensive Arts in general to increase his Physical Defense and his one damaging Art, Aerial Slice, isn’t too much of a bother.
Mwamba is a straight up ranged Attacker, similar to a Full Metal Jaguar but nowhere near as worrisome. The main Art to watch out for is Rising Blast, this is an AoE Art similar to the Full Metal Jaguar’s Demolition and considering the hectic nature at the start of this battle, you’re bound to be grouped up meaning the majority of the party is going to take the hit. Once you Enrage Mwamba, he’ll use Bullet Rush, another AoE that sees him shoot continuously, likewise, this can be worrying if your party is grouped up.
(1 of 3) Hackt is a Tank and will use Target Lock from time-to-time
Make Miyabi your next target, if you’ve been using AoEs yourself or if you haven’t been forcing your party to focus on one target at a time, it’s likely that she won’t have much HP remaining. Miyabi is the healer of the group and as such, will keep them topped up but what makes her even more of an obstacle is her ability to place fields on the ground that will increase the Art Recharge Speed of the other members of her squad. Especially concerning should Cammuravi decide to use them as he’s by far the most damaging of the quartet.
This leaves you with just Cammuravi, the main danger of this battle. Many of his Arts have the ability to inflict the Blaze debuff, so you’ll want to have a way of curing the debuff (from the War Medic Class or Valdi). Heavenly Spear is the Art to watch for, as Cammuravi will launch himself into the air and cause AoE damage in front of him while inflicting Blaze.
Thankfully, you can deal with Cammuravi easy enough with a Chain Attack, which you should have available to you by this stage of the battle so long as you haven’t used it before. If you’re used to these by now, you can easily deal enough damage to finish him off. Don’t get too comfortable though, as this battle is merely the appetizer, and the main course is about to be served soon after your victory!


No Comments