

This is a guide for Chapter 3 of Xenoblade Chronicles 3, covering the exploration of Colony Lambda in the Pentelas Region.

(1 of 2) Colony Lambda is hidden behind the waterfall next to the upside-down Ferronis.
Colony Lambda is hidden behind the waterfall next to the upside-down Ferronis. (left), While controlling Taion, check out Isurd’s quarters at the back of the colony. (right)
Triumph against Consul J and the skies will finally clear once more. You’ll officially arrive in the Great Cotte Falls, with your next destination being Colony Lambda.
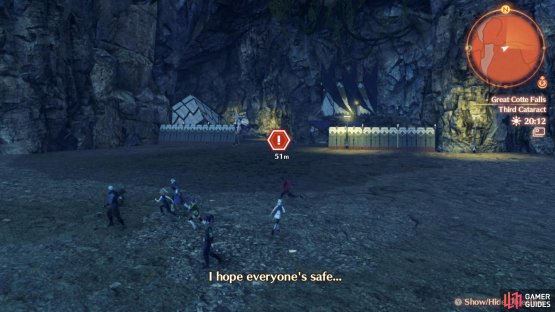
At this point, you can explore a tiny bit of the Great Cotte Falls, but you’ll be unable to proceed along the slope towards the south-west. To advance the story, head into Colony Lambda, just past the collapsed Ferronis, where there’s a gap in the waterfalls. Inside the colony, it seems everyone is safe and sound for the most part.
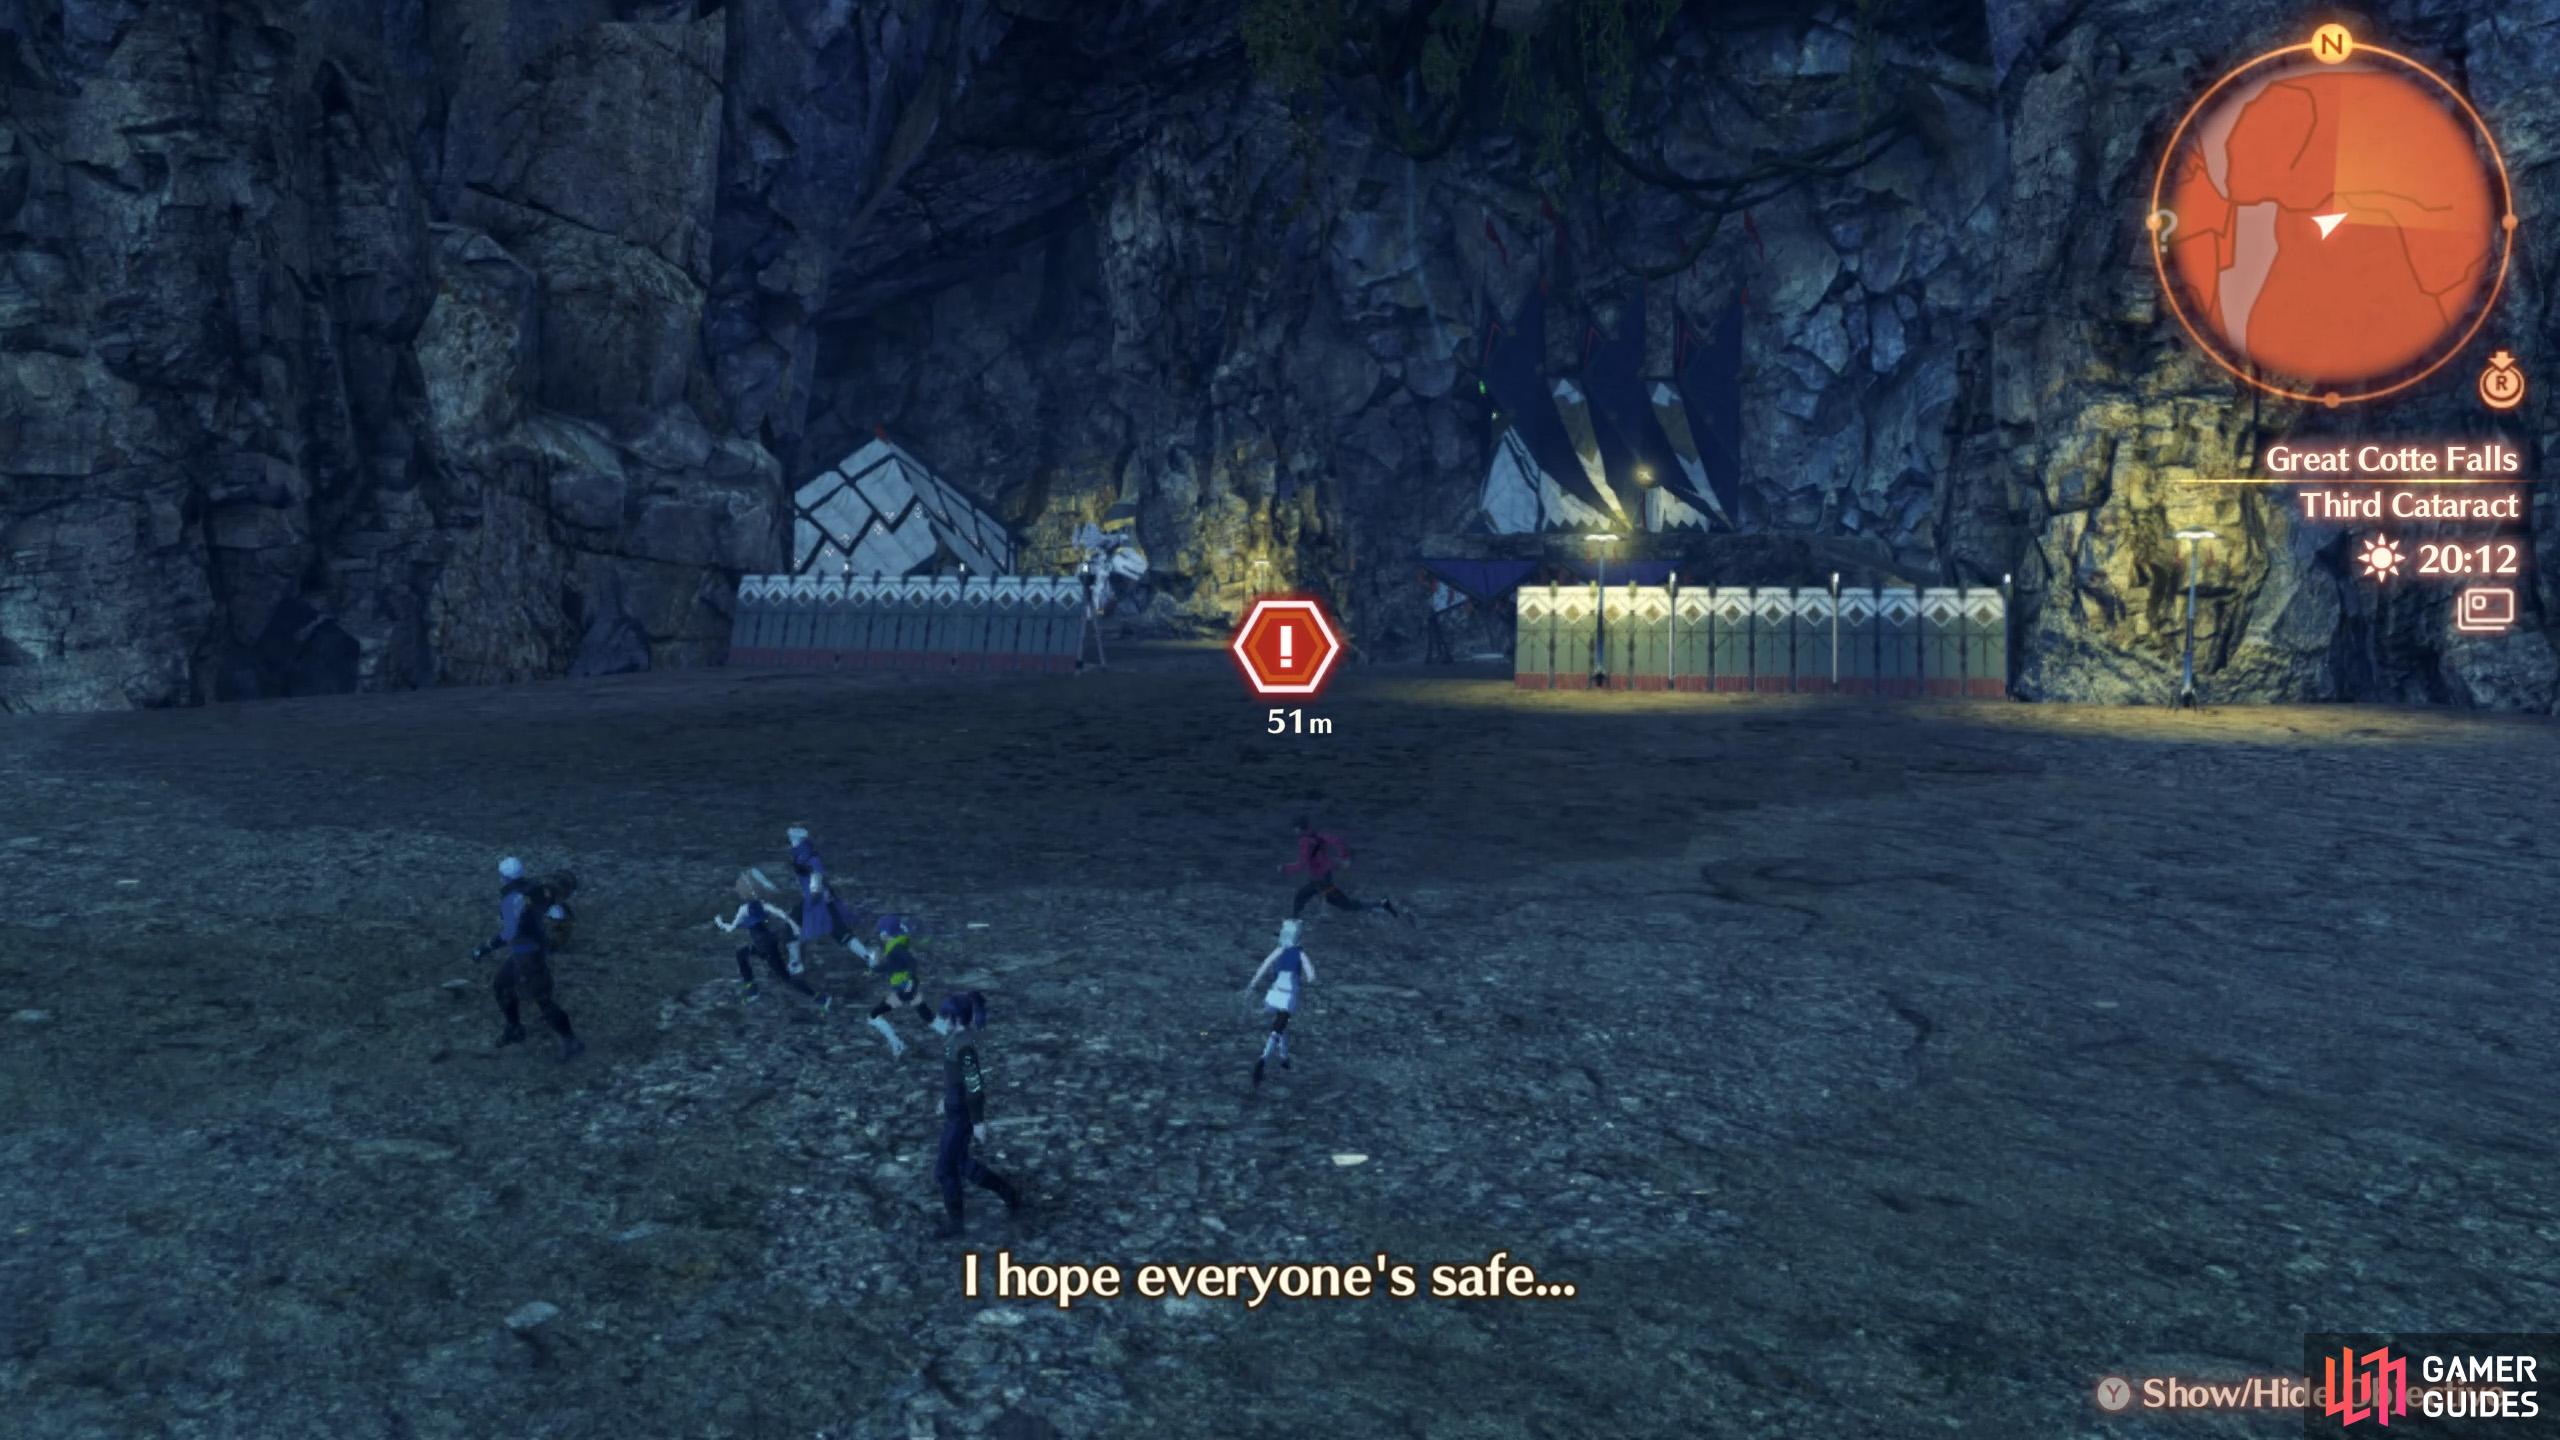
You’ll now control Taion by himself. Head east, then north towards the commander’s quarters at Clearwater Shelf. After the cutscenes, Noah and Mio have one last job for today. Leave the colony and return to the area where you fought Consul J, west from the toppled Ferronis. There will be a whole slew of cutscenes, then this chapter will come to a close.
NPCs in Colony Lambda
| Name | Map Marker |
|---|---|
| Hozumi | Map Marker |
| Isurd | Map Marker |
| Kitty | Map Marker |
| Koji | Map Marker |
| Moraine | Map Marker |
| Rosh | Map Marker |
| Shijima | Map Marker |
| Sif | Map Marker |
| Tonya | Map Marker |
| Tulgrim | Map Marker |
| Whitby | Map Marker |
| Varen | Map Marker |
Containers in Colony Lambda


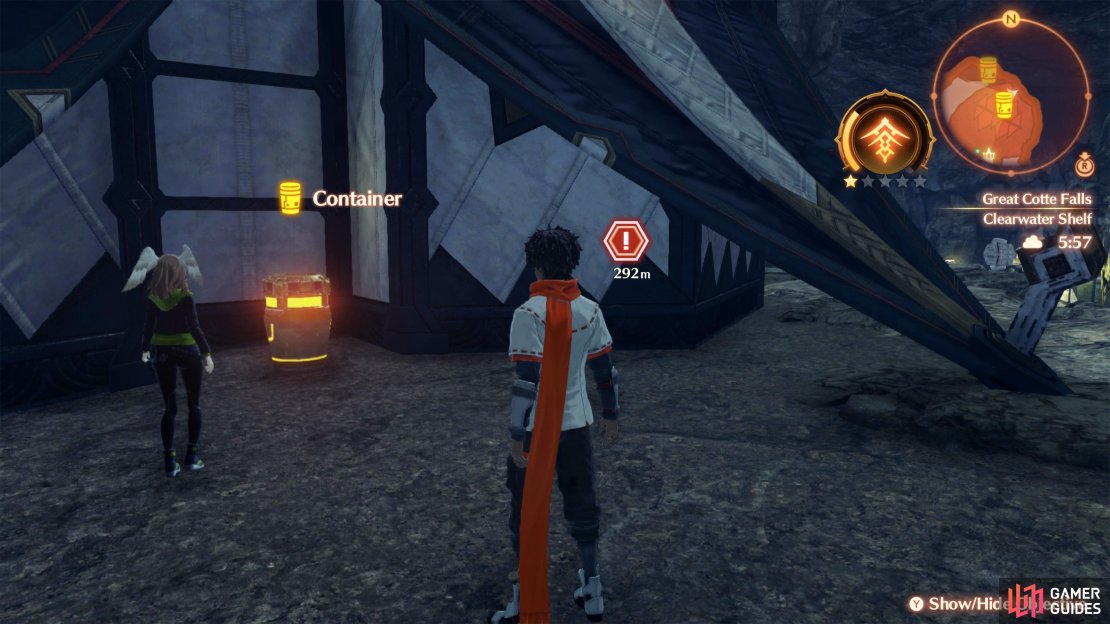
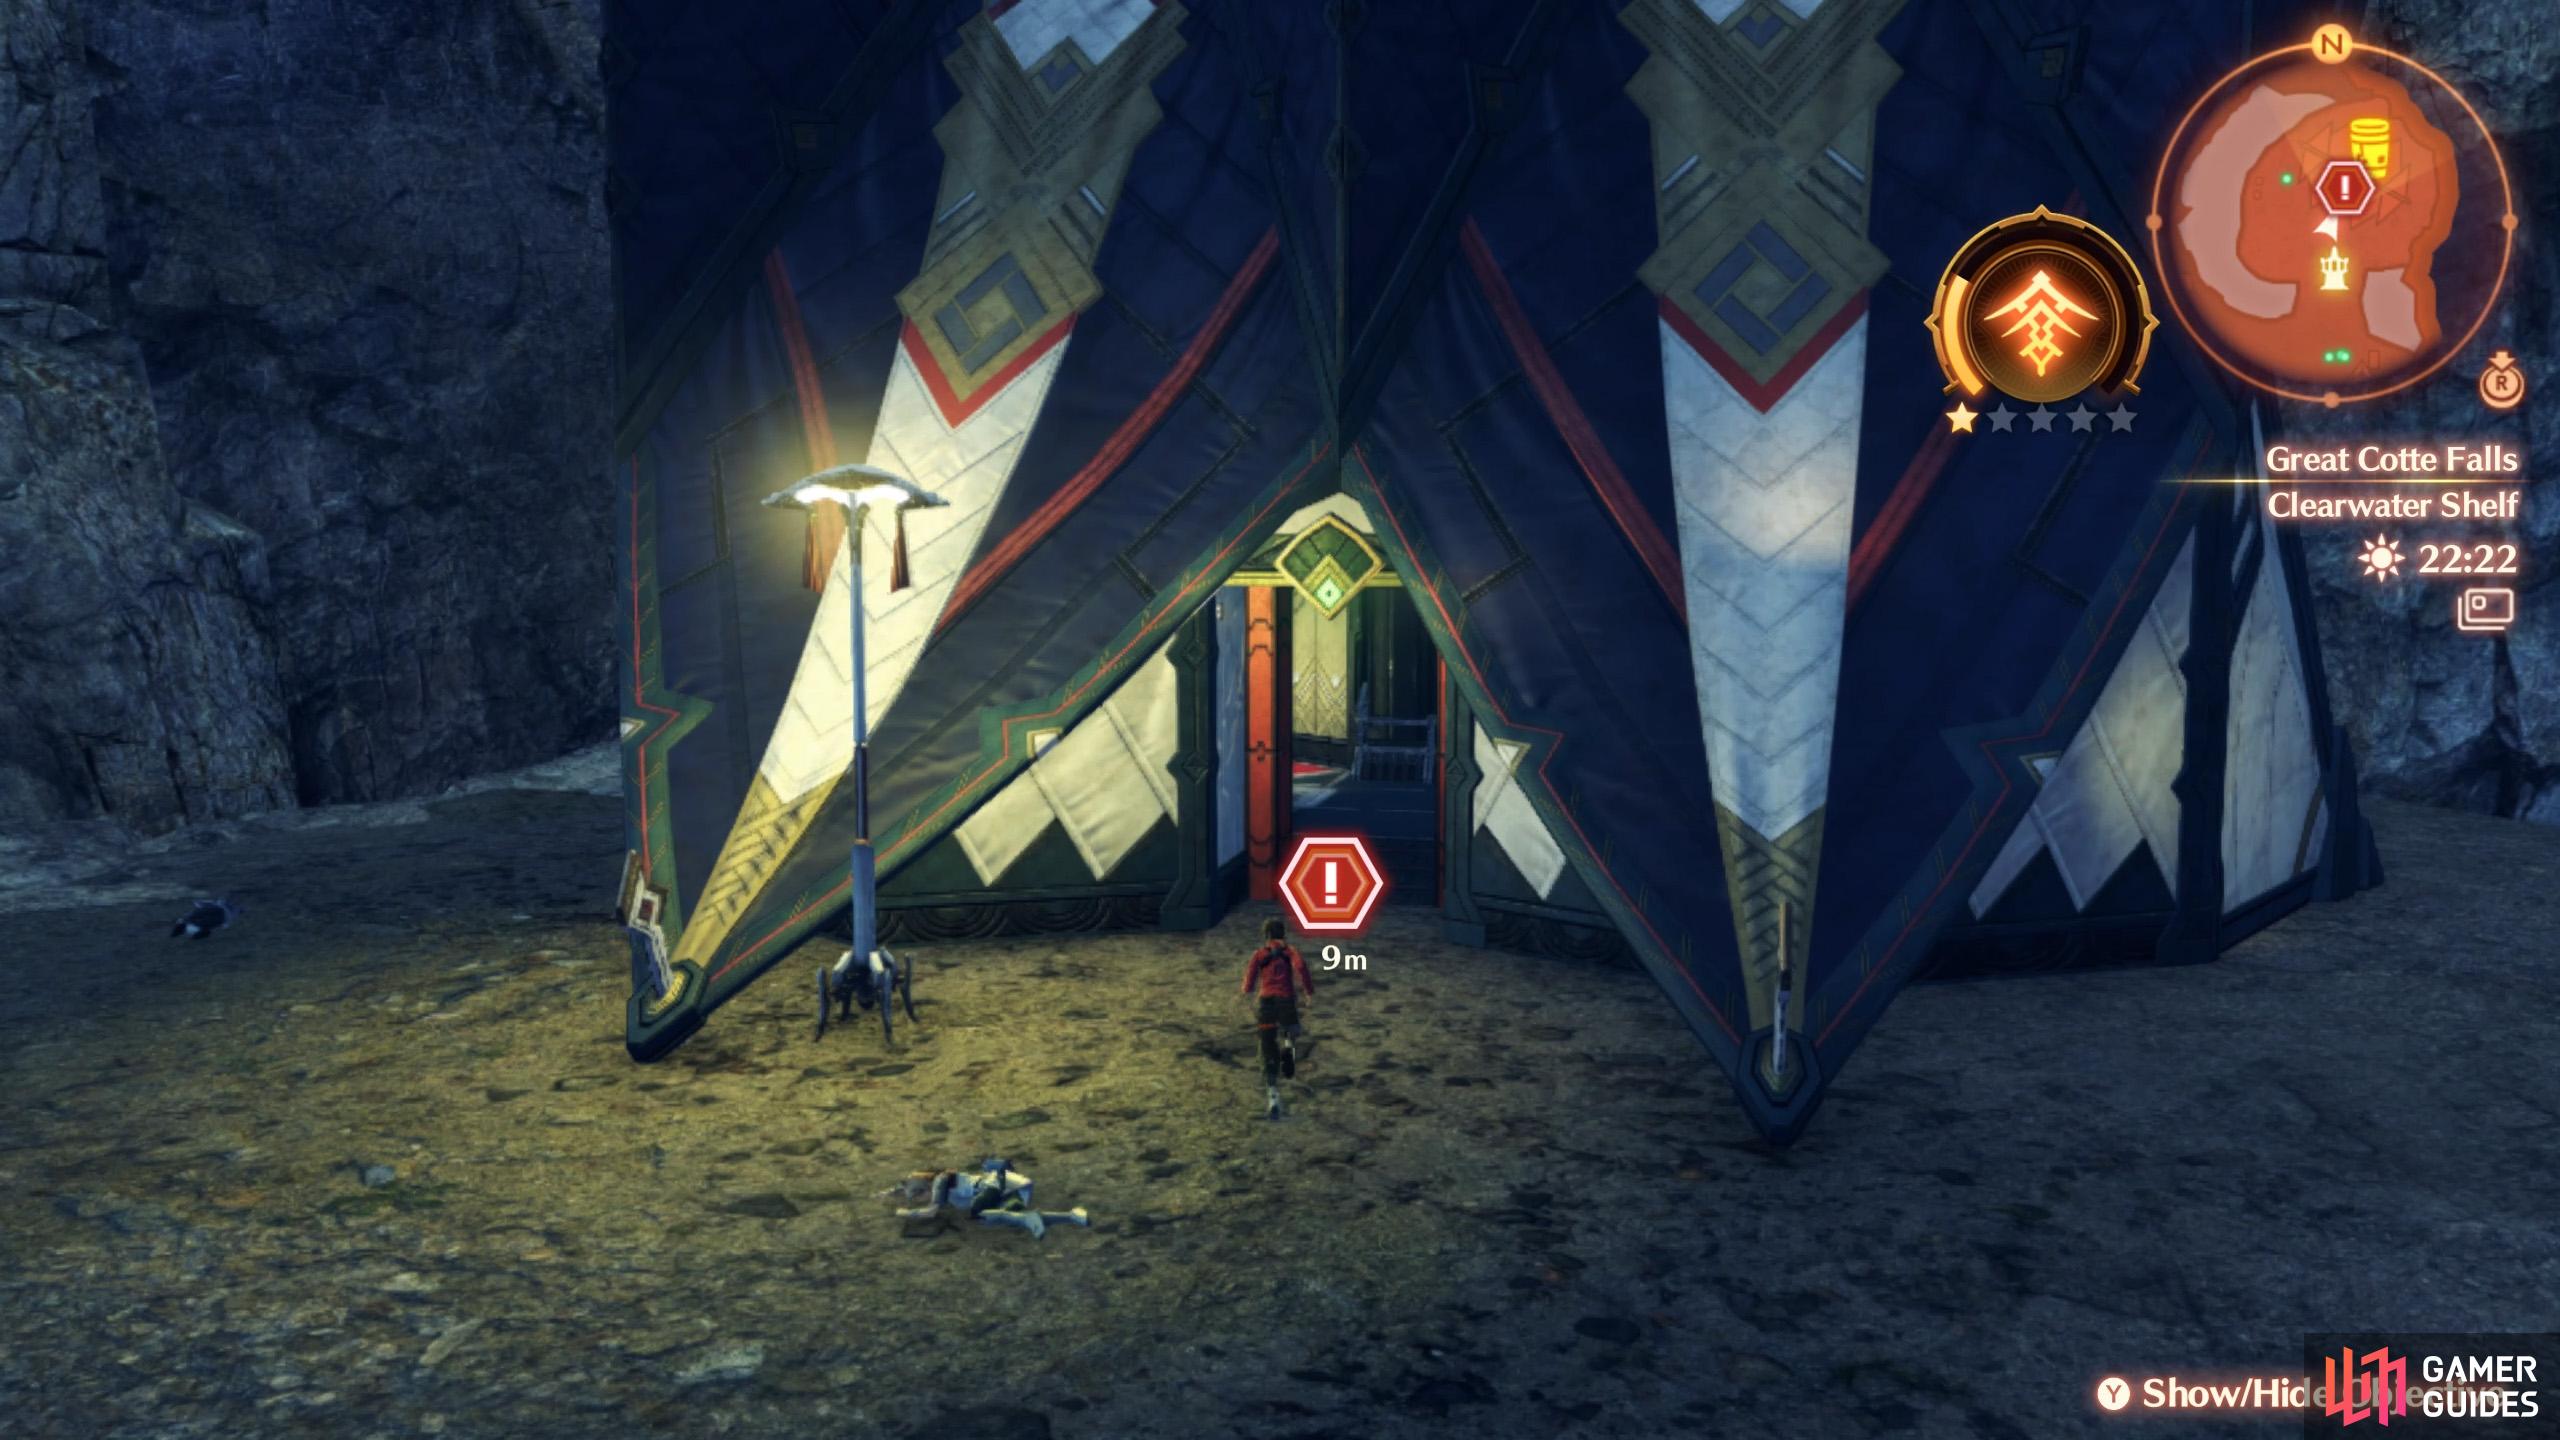
(1 of 4) Container (1) Inside the container at the back of the colony.
| Container # | Map Marker | Location | Items |
|---|---|---|---|
| 1 | Map Marker | Inside the container at the back of the colony. | Nopon Coin (Silver) x2, 1608 G. |
| 2 | Map Marker | Drop into the water, and follow it all the way north. | Nopon Coin (Silver) x 5, 2240 G. |
| 3 | Map Marker | In-between the shipping containers, and the wall in the east side of the colony. | Nopon Coin (Silver) x2, 1820 G |
| 4 | Map Marker | Behind the Commander’s tent at the back of the colony. | Gemstone x3, Trusty Hunter’s Tool, 2040 G |
-
As soon as you enter the Colony, head all the way north until you hit the wall. Turn west and interact with the shipping container to unlock it. Here, you’ll find Container (1).
-
From container 1, head east and drop into the water. Turn to your north to find Container (2).
-
Now head to the east side of the colony by going over the rocky bridge, and continue east until you reach the medical beds, and shipping containers. Go around them while you continue east, and when you get to the wall, turn north to find Container (3) hidden behind the shipping containers.
-
Finally, go back towards the rocky bridge, but don’t go across. Instead, turn to your north, and head behind the Commander’s tent. You’ll find Container (4) hidden behind it.
Colony Lambda Quests
| Level | Quest Type | Quest Name | Reward |
|---|---|---|---|
| 27 | Unwavering Resolve | EXP: 1760 Gold: 1940 SP: 10 Other: Hero Isurd unlocked | |
| 27 | The Lost Off-Seer | EXP: 1760 Gold: 1940 SP: 3 Other: None | |
| 29 | Lambda’s Problem | EXP: 1760 Gold: 1940 SP: 3 Other: Golden Anklets, Canteen Unlocked | |
| 31 | Restart | EXP: 880 Gold: 970 SP: 3 Other: Nopon Coin (Silver) x1 | |
| 42 | Securing Supplies | EXP: 2840 Gold: 2880 SP: 3 Other: None |
-
Unwavering Resolve: Speak to Commander Isurd inside the Commander’s Tent.
-
Lambda’s Problem: Find information around the camp, and discuss it at the Lambda Shelter Rest Stop.
-
The Lost Off-Seer: Find information around the camp, and discuss it at the Rest Stop.
-
Restart: Can only be started after Unwavering Resolve has been completed. You’ll need to find some information out about the Auto-Levs to unlock the quest.
-
Securing Supplies: This quest can be accepted once the quest “Restart” has been completed.
Take a Break
Once you’ve access to the Canteen, take a break, and have a bite to eat. This will unlock the Squishy-Fishy Grillwrap Recipe. This will give you a 15% EXP Boost, and a +5% Collectible Boost.
No Comments