
This is a guide for the “Tactical Eradication” standard quest in Xenoblade Chronicles 3. It’ll help you navigate you through the necessary steps to finding and defeating the three boss monsters.
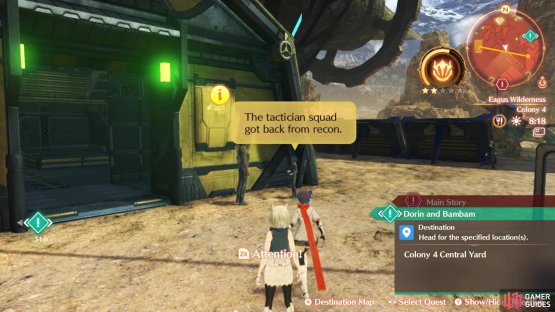

(1 of 2) Go here to listen for the information about this quest

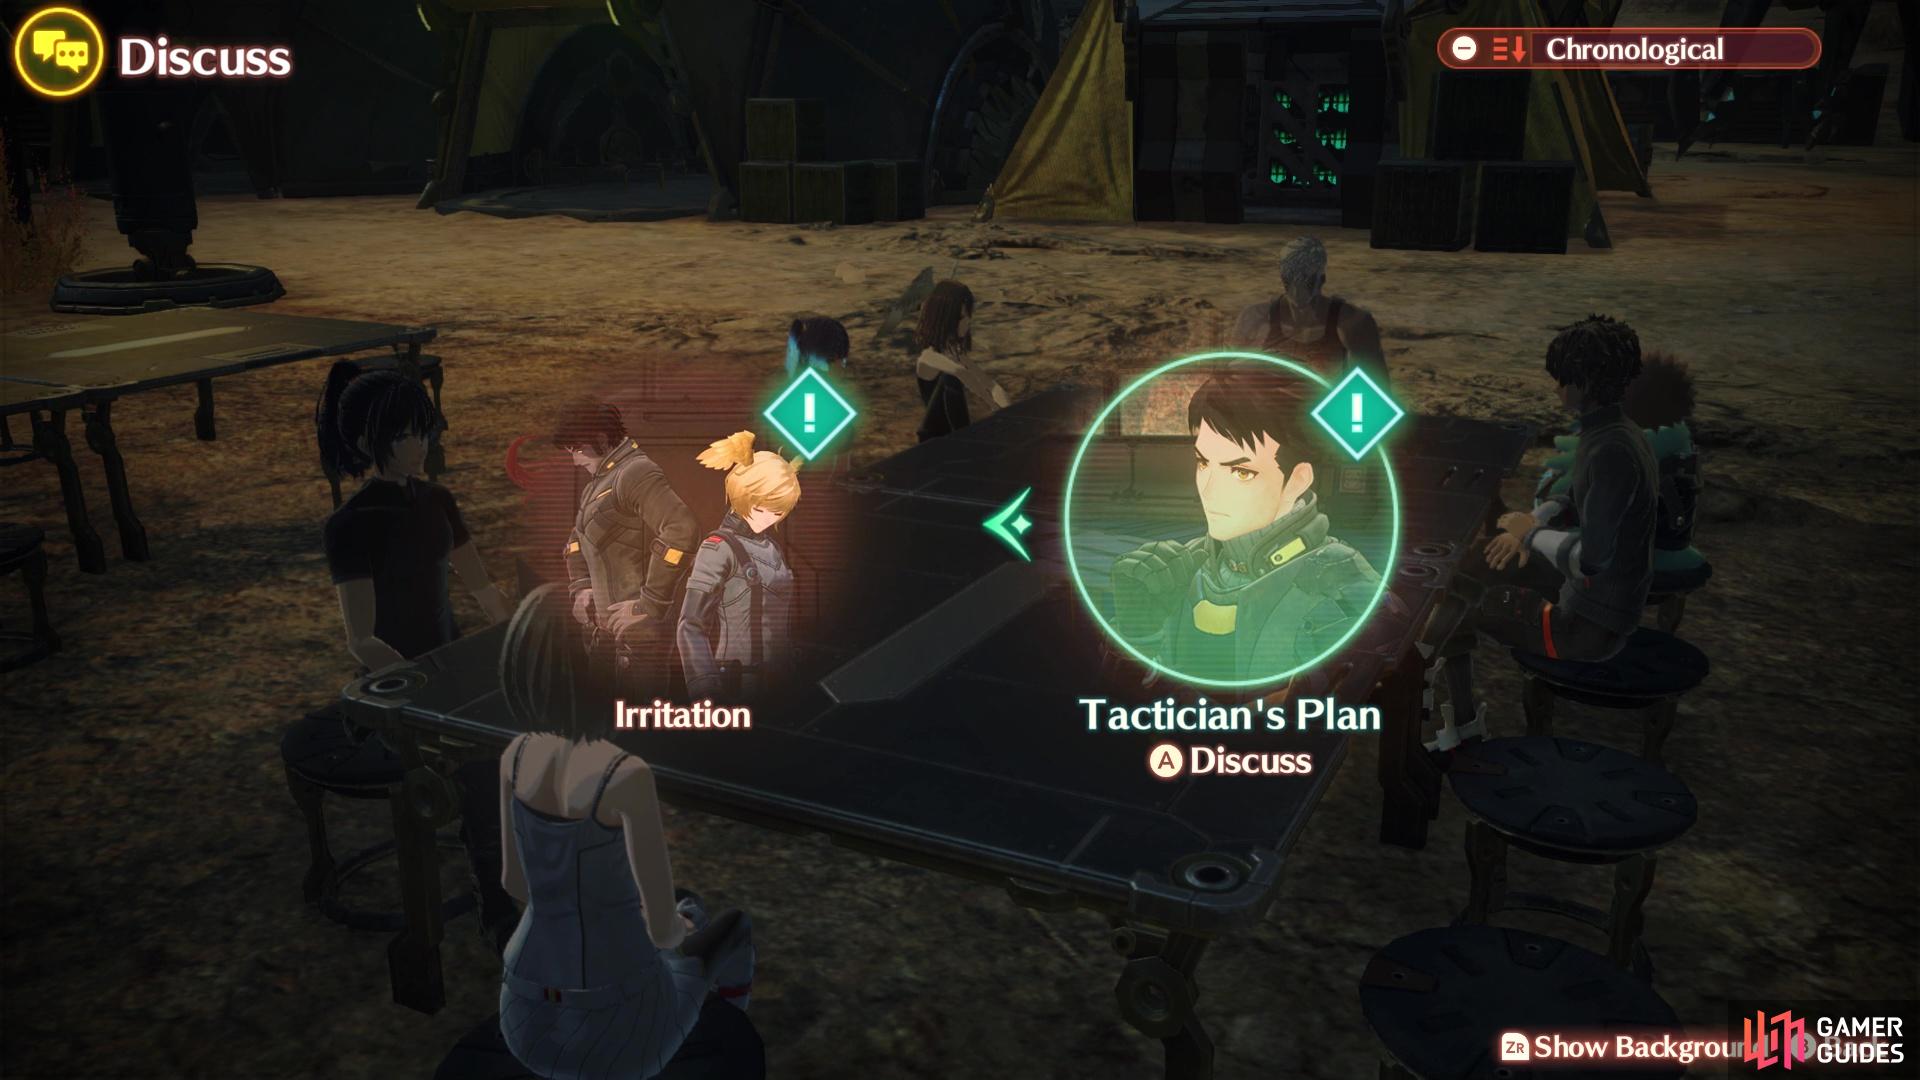
Go here to listen for the information about this quest (left), then make sure you discuss it in order to trigger the start (right)
How to Start the Tactical Eradication Standard Quest
Progress through the game until you reach Chapter 3 and you work your way through the Eagus Wilderness, until you find Colony 4. This will force you to join Ethel in the No Want of Courage Hero Quest to progress the main story, so complete that and do all of the story bits there until you have free reign once more. One of the extra quests you will find is the Charity and Hypocrisy Standard Quest, which you will need to do before you will be able to start this one. Once you have done that, you will find some Colony 4 residents having a conversation in front of a building next to the Ferronis entrance. Listen in on their conversation, then discuss the “Tactician’s Plan” topic to begin the quest.
To start, you will need to speak with Maxie, who mentions that the colony can’t afford to send out any extermination units to get rid of the monsters causing problems. He mentions to go and speak to the scouts to gain more information, which will place three more standard quests in your log. These are all a part of the overall Tactical Eradication quest, so they won’t be getting separate pages.
How to Defeat the Towaris Taos


(1 of 2) Go southeast of this landmark to find the Towaris Taos
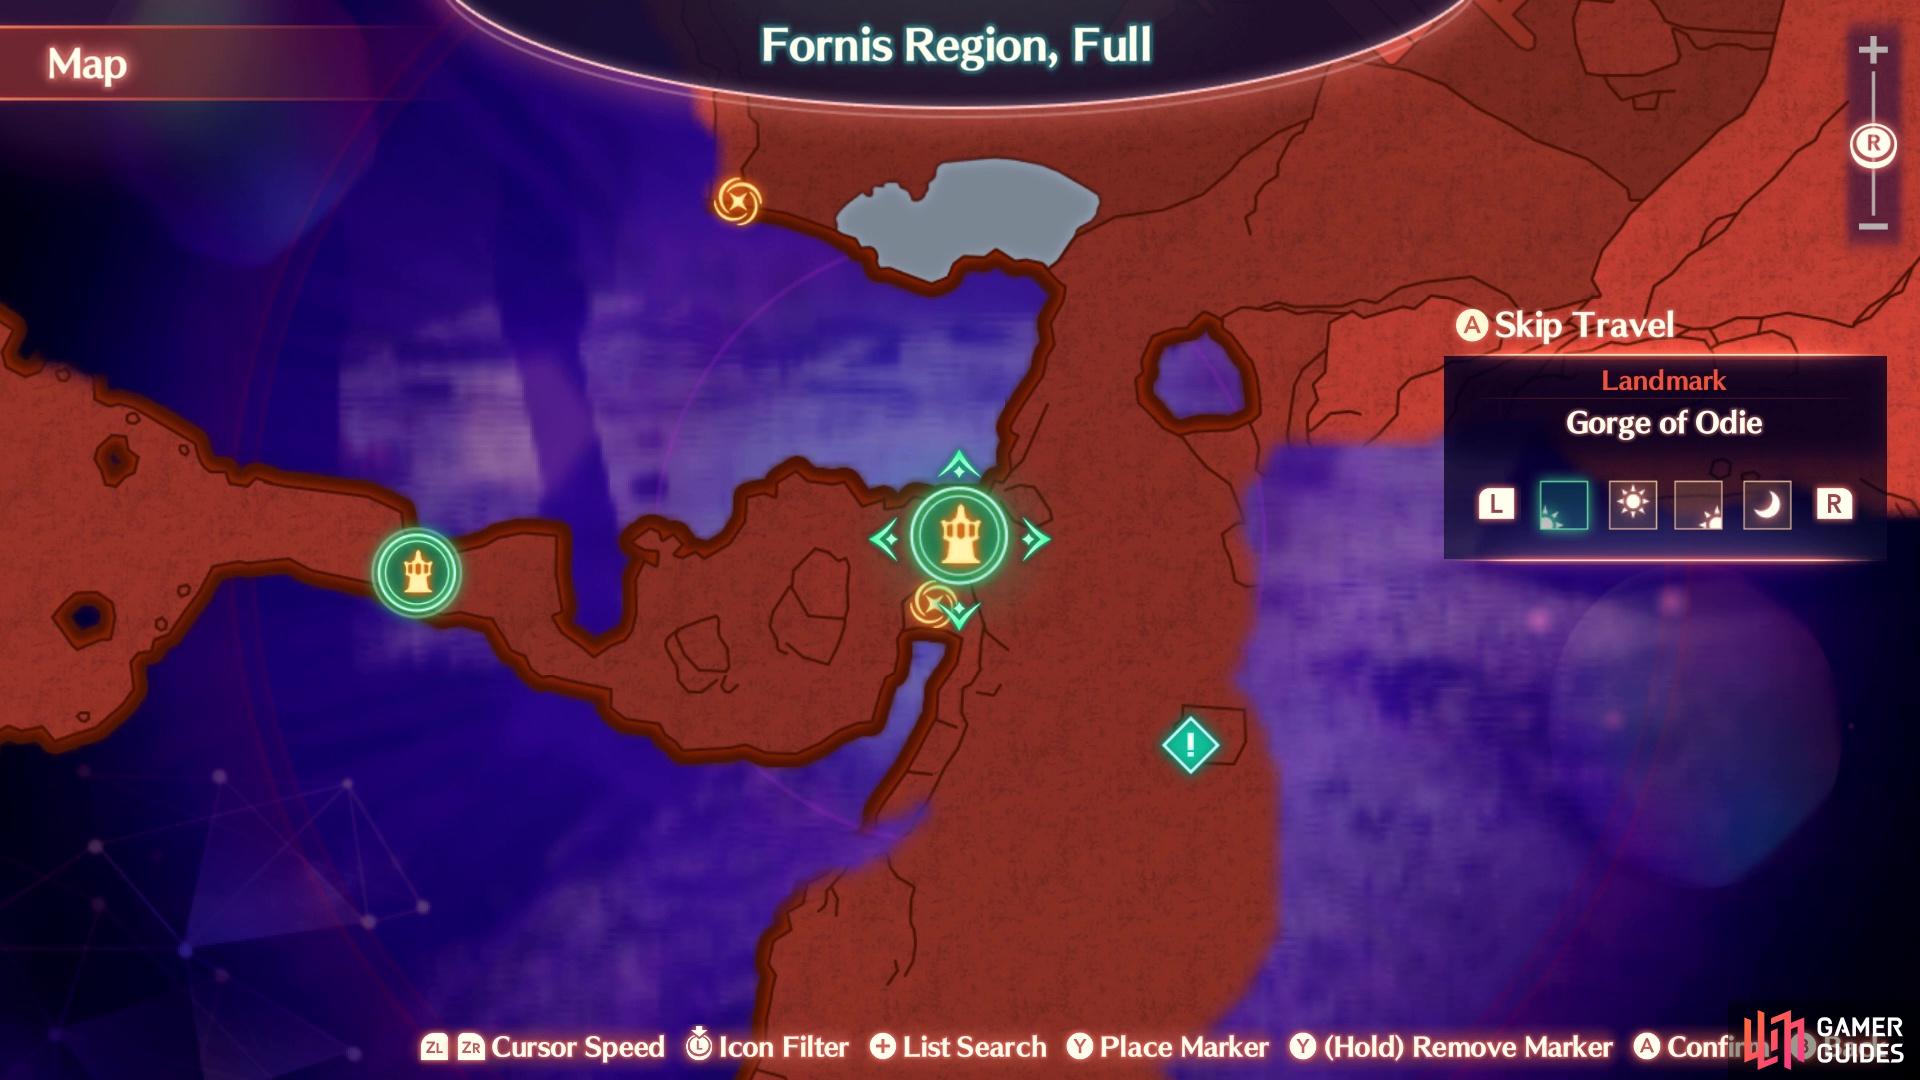

Go southeast of this landmark to find the Towaris Taos (left), It’s hard to miss the giant bird on a rock (right)
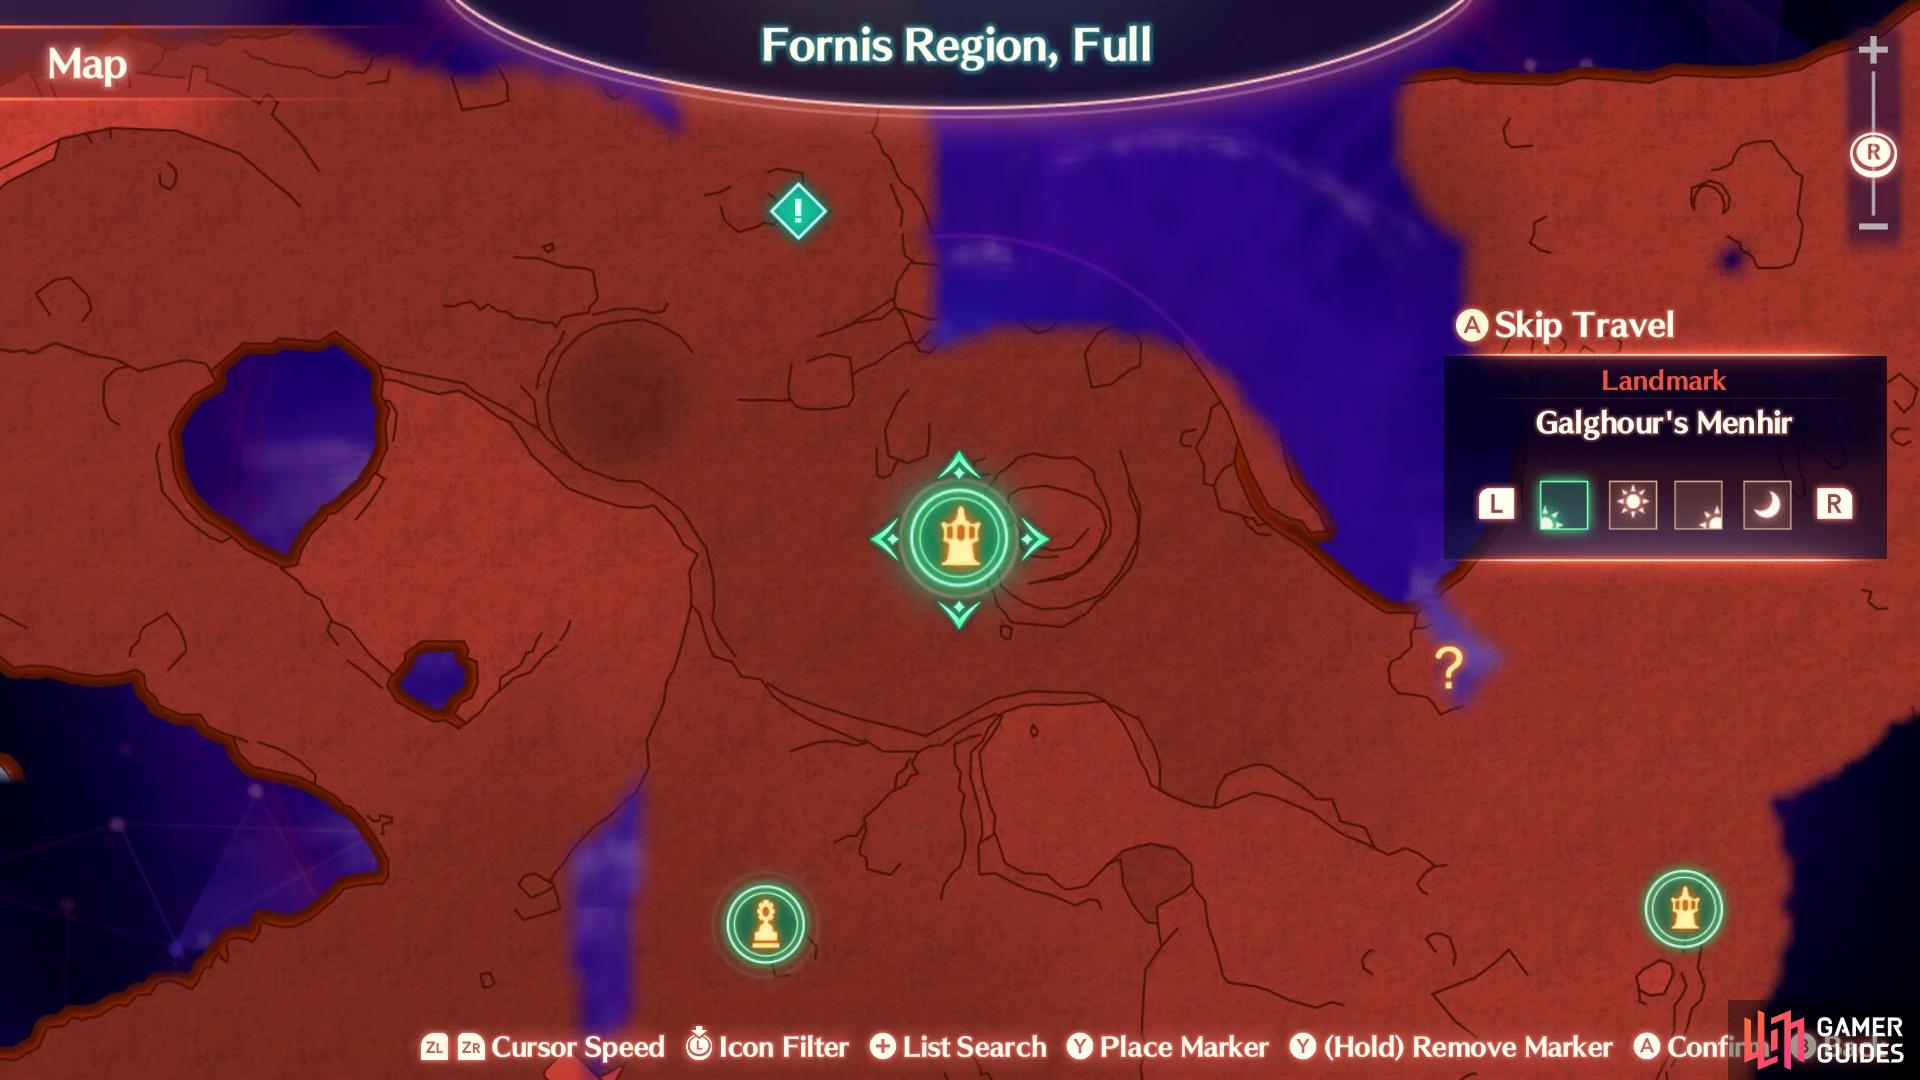
Jeremy, who doesn’t like you at all, mentions that the monster he scouted is southwest of Colony 4, in Nih’l Valley. That’s all of the info he gives you, too, so it’s up to you to find the monster. Luckily, the game has a marker for it, so open your map and look south of the colony (not actually southwest, like Jeremy mentioned). Travel to the Gorge of Odie landmark, then run to the southeast of it to find a giant bird sitting on a rock, which will be the Towaris Taos.
Overall, just treat the Taos like a normal Unique Enemy, with it being level 31, so you should be around the same level. Other than its normal attack, Dino Flare will have the Taos spit out three fireballs that home in on its target; this doesn’t seem to deal that much damage, assuming they connect. The more dangerous move, though, is Dino Storm, which is a large area-of-effect that will likely do a good 600-700 damage to the entire party. It does have an enrage at half health, but it doesn’t introduce any new moves. If you have a Hero, like Zeon or Teach, with you, then this monster should be like any other.
How to Defeat the Debria Volff

(1 of 2) The Debria Volff can be found north-northwest of this landmark
The Debria Volff can be found north-northwest of this landmark (left), It will be sitting on a rock, similar to the Taos (right)
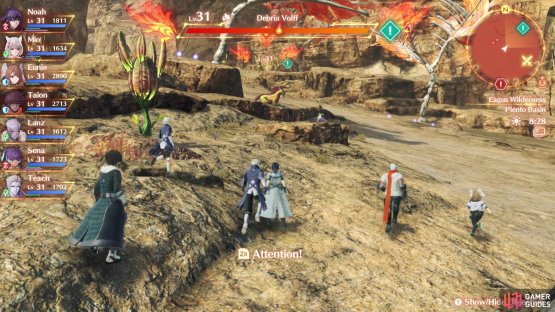
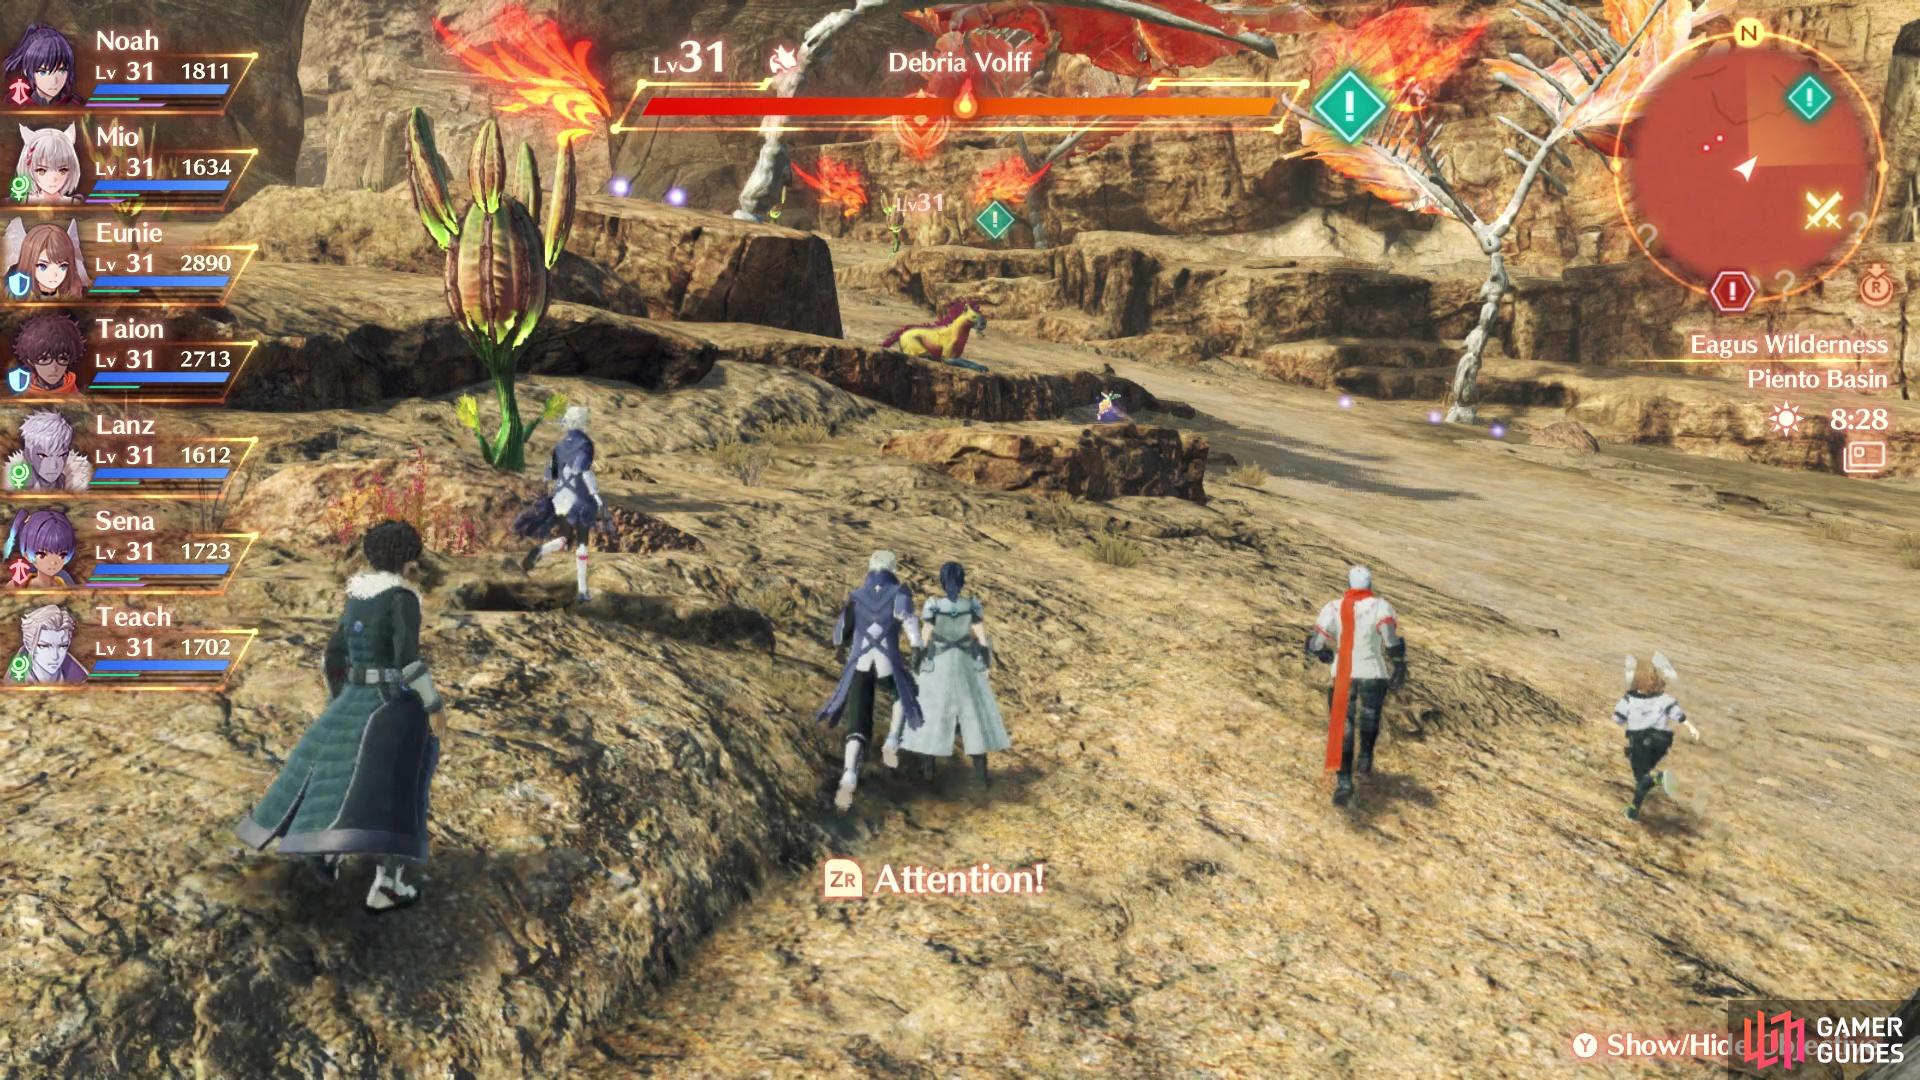
Yorde will be the one with the information on this enemy. She says the enemy is a Volff and that it will be at Piento Basin. Looking at your map, it will be north of Colony 4, with the closest landmark being Menno Arch, since you can just head south from there. It’s easy to spot, as the Debria Volff is a higher level than anything else in the area, plus it is laying down on some rocks.
The fight against the Debria Volff is about the same as with the Towaris Taos, as they functions similarly. Plunging Fang seems to only target a single ally, while Scratch ‘n’ Bark will be an area-of-effect attack. The latter does seem to hit on its sides, so Attackers will be hit if they are in that position. Naturally, this battle shouldn’t be any more difficult than the Taos, so if you managed to win that one, then you will be able to win this one. Don’t forget that coming back with a Hero will help out a lot, such as Zeon or Teach.
How to Find Raptor Perch
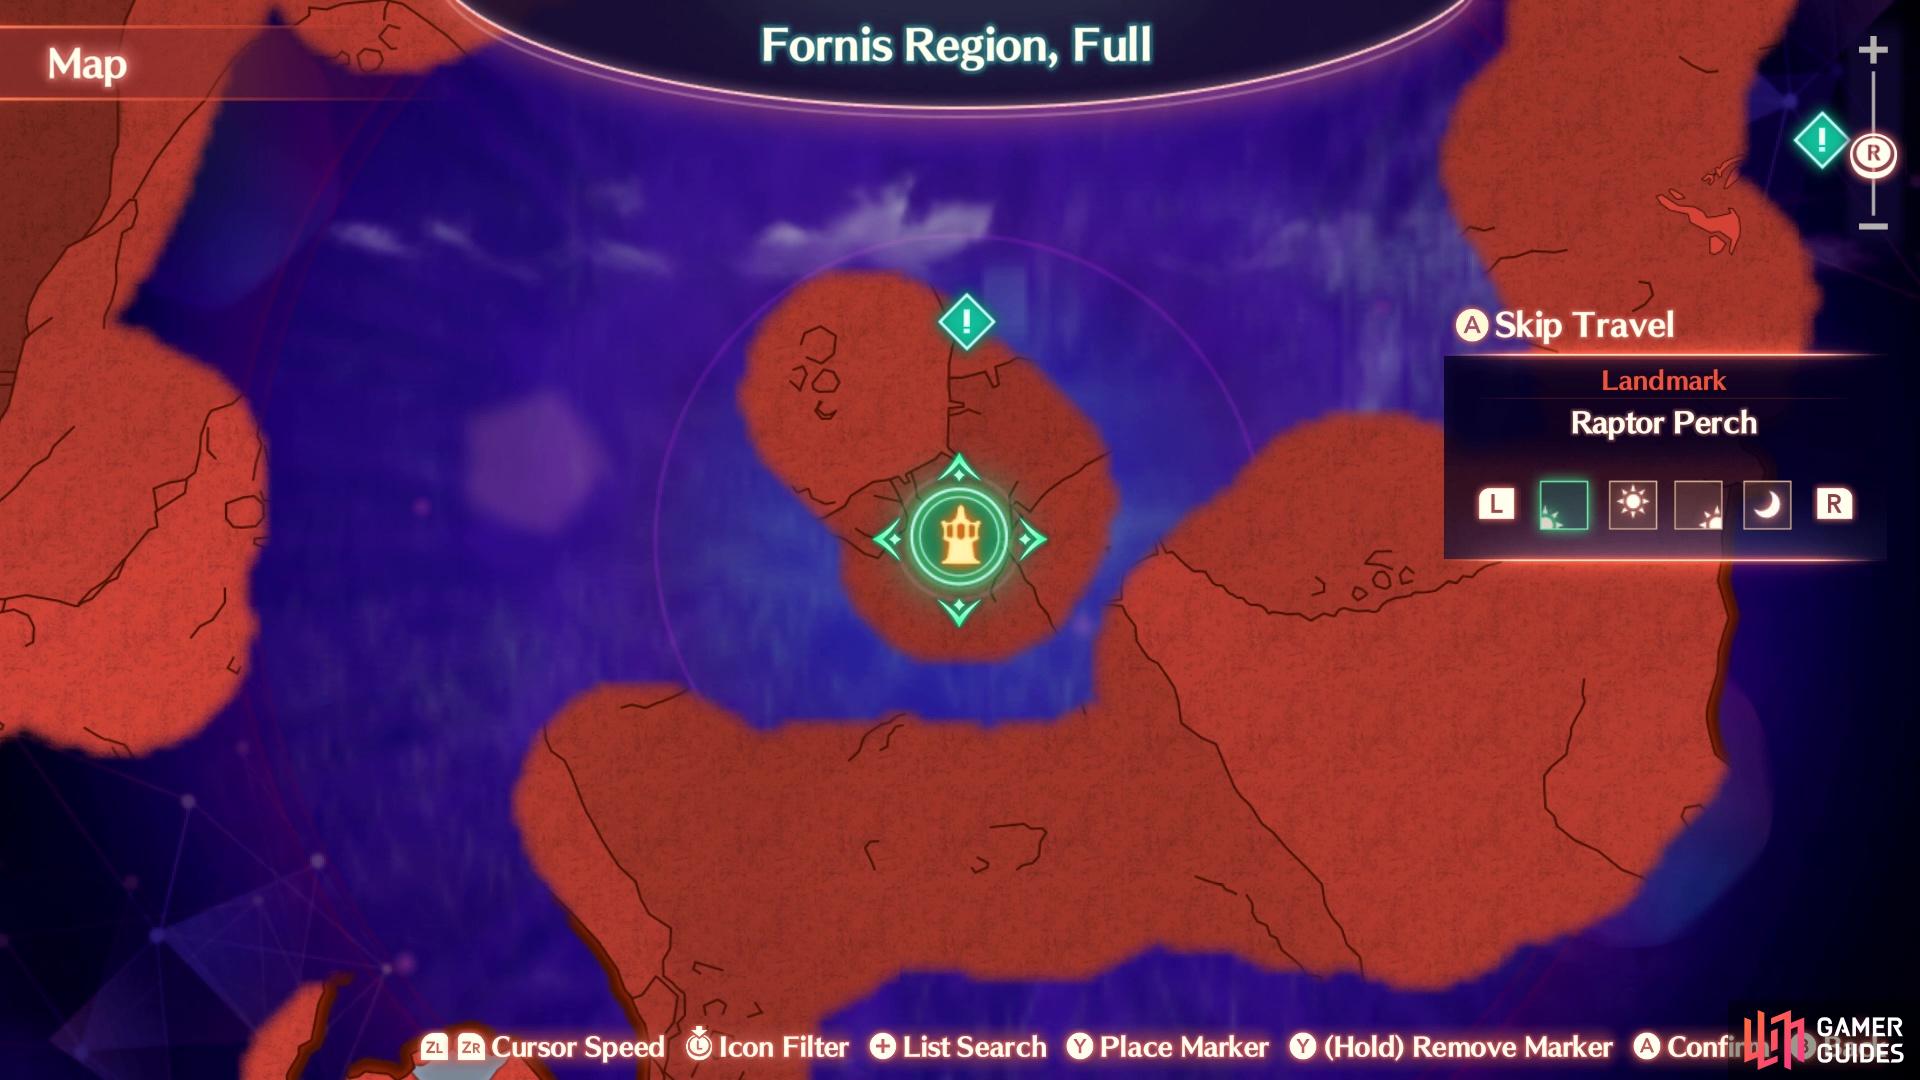
Fla’ran will be your source of info on this monster. You will want to pay attention to what she says, as she mentions the enemy is the boss of the Arachnos, and it will have brought along its minions. This one will be at Raptor Perch, which is in the middle of Dannagh Desert. It should be said that this is the most challenging of the three battles during this quest, as it has four minions with it. If you haven’t gotten to Dannagh Desert yet, go south from Zem’s Crossway, then look for the path that leads east. This should take you to the Great Idalla Ravine, the start of the Dannagh Desert. Then, you just continue east, then start going north when you can, which will bring you to the Namba Mound Camp rest spot. Raptor Perch will be north from there.

(1 of 2) You will be venturing north of this landmark to find the Midona Arachno
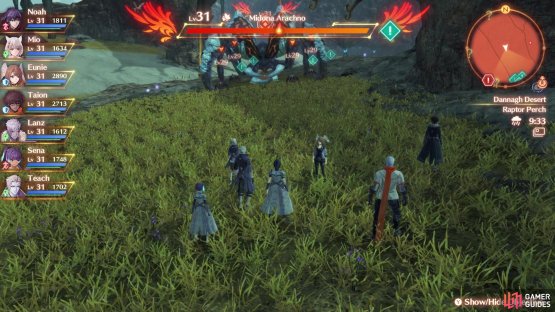
You will be venturing north of this landmark to find the Midona Arachno (left), You will have to continue north and up a small hill to find it and its minions (right)
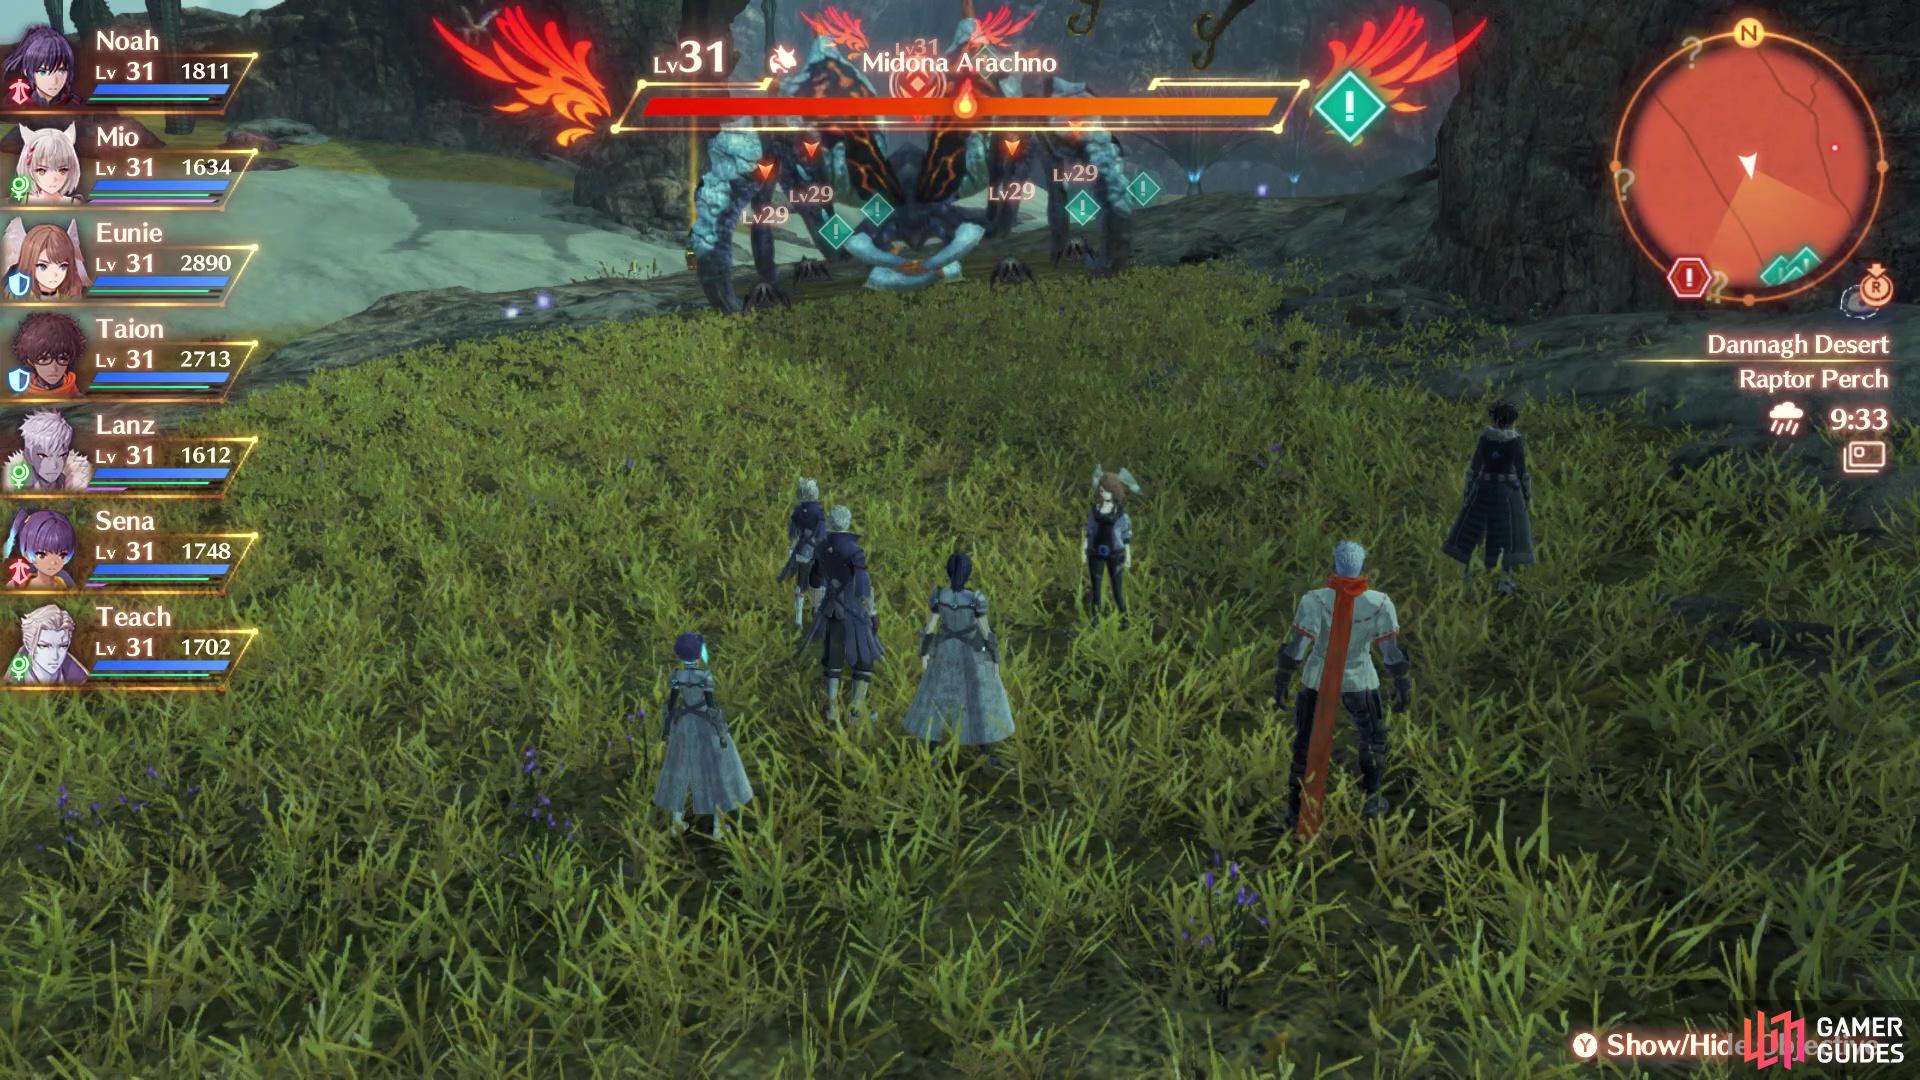
How to Defeat the Midona Arachno
From Raptor Perch, head north and ignore the cave you see on the side of the mountain there. This doesn’t take you to the enemy you need, but it will bring you to the NPCs needed to start The Thrill of the Hunt! standard quest. Back on track, continue north and follow the mountain around, until you find the path that leads up it. You’ll know you’re in the correct spot when you see the Devil’s Skillet location, as the ramp leading up to the enemy will be right there. Take this path south and you will see the Midona Arachno at the end.
As previously mentioned, this is the most challenging of the three bosses you will face, as the Midona Arachno will have four level 29 Drone Arachnos in front of it. You also won’t be able to pull any of them away from the boss, as all of them are linked and will eventually join the fight. Your best bet is to simply tell the AI to focus on one enemy at a time to get rid of them, leaving the Midona Arachno alone. This is where having someone like Teach will be extra handy, as that will be another healer.
When you have the Midona Arachno alone, then it’s going to be a much easier battle. Queen Bite will only target a single ally, but Queen Bomb will be the familiar area-of-effect attack that hits a wide area, for a good amount of damage. There’s not much you can do about it, so hopefully no one gets downed with it. There is one more skill that the Arachno has, called Cocoon. It will assume a defensive position and all of your attacks will bounce off of it (unless they are unblockable, which might go through). It will also heal a little bit while using Cocoon, but this amount isn’t anything to worry about, since you should easily outdamage it once the boss resume its attacks.
Once you have felled all three enemies above, report back to Maxie, who will ask you to bring the monster parts over to the procurement division (Solon). Do that and the quest will be over.
| EXP | Gold | SP | Rewards |
|---|---|---|---|
| 1760 | 3 | Stone Belt (Rare) x1 |
No Comments