
This is a guide for Chapter 7 of Xenoblade Chronicles 3, where we explore the second section of the Origin Interior during the endgame.
Where to go after N
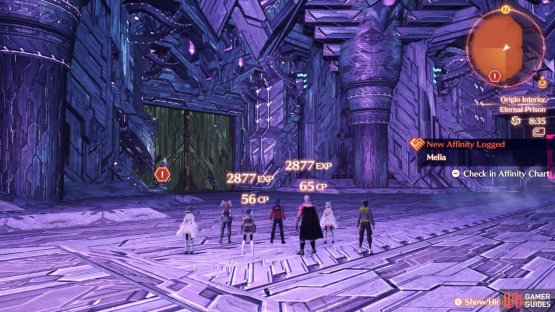
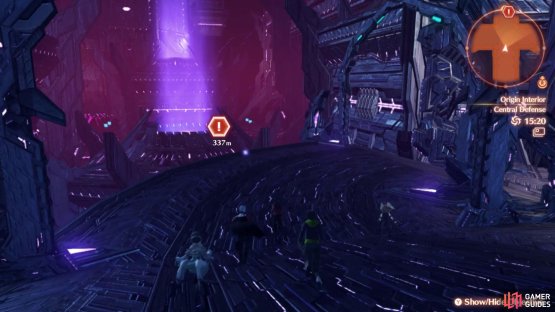
(1 of 2) Onwards to the nucleus of Origin! (You still have a long way to go.)


Onwards to the nucleus of Origin! (You still have a long way to go.) (left), If you need to rest, there’s a chance coming up soon. (right)
After the final showdown of N, you’re just past the halfway mark of Origin.
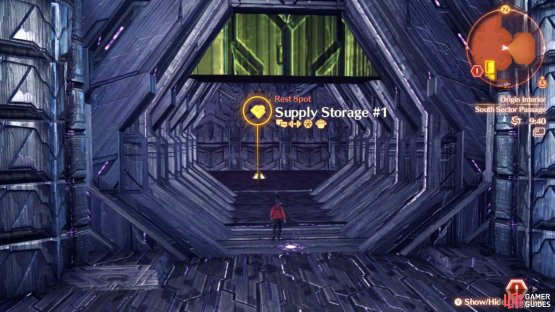
Head south to the terminal and use it to unlock the doors leading to the South Sector Passage. Ride the elevator south, then keep going until you reach the doors further south. On your left is a door that leads to a rest spot: Supply Storage #1. Meanwhile, the door up ahead is the exit to the South Shell Passage.
Towards Central Defense
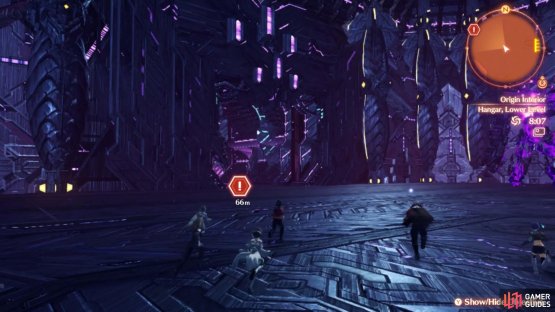
On the other end of the South Shell Passage, you’ll arrive at the upper level of the hangar. Descend the nearby ladder or drop down. If you want, inspect the terminal around here to unlock the southern bulkhead. In any case, make your way anti-clockwise around the upper hangar. When you reach the west side, inspect the terminal to unlock a nearby bulkhead and rotate the ladder to the east.
Climb up the rotated ladder. Past the doors, you’ll emerge in another part of the South Shell Passage. Continue east until you find another set of doors that lead back into the hangar. Back inside, ride the zip-line to the center of the lower level of the hangar. By the south-east corner is a switch that activates the nearby elevator, creating a shortcut.
(1 of 2) After going through the hangar, you’ll be near Central Defense, the last line of defense.


After going through the hangar, you’ll be near Central Defense, the last line of defense. (left), At this point, the enemy will start throwing the kitchen sink at you… (right)
To proceed, inspect the switch towards the north, up the ramps. Head on through the newly opened bulkhead to the west. You’ll arrive in the Hangar Zone. Further west is a door that leads to a convenient landmark: Storage Supply #2. After activating it, head south through the Hangar Zone, then west.
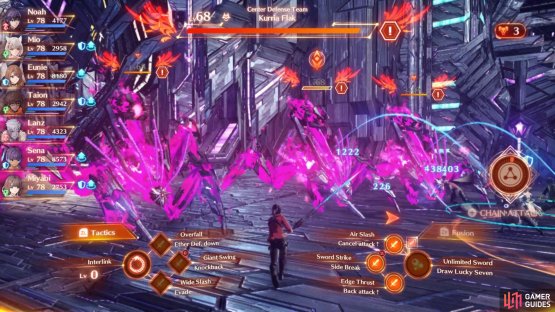
About half along, you’ll encounter the Center Defense Team, containing three Level 68 Kurria Flak foes. Once they’re dust, a second wave containing the same enemies will arrive on the scene. Beat them and a third wave, also featuring the same foes, will attack you. Win against these and it’s cutscene time!
To Defense Tower #2
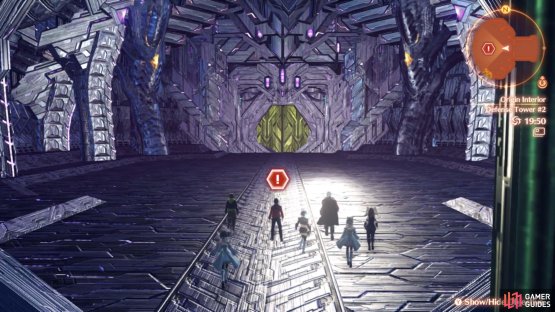
(1 of 2) Around and around we go.


Around and around we go. (left), You may run into another boss fight at Defense Tower #2. (right)
When you regain control, continue west a bit, then head all the way north, sneaking past or cutting through more of the Kurria Flak. Eventually, you’ll reach a more open area, Central Defense. Inside, begin heading east. Nearby, there’s a door that leads to a rest spot: the Arms Storage Tower, Upper.
From the door, make your way anti-clockwise, passing through Defense Tower #1 along the east side. After a while, you’ll come across a door along the north side that leads to Defense Tower #2. If you completed Eunie’s Side Story, a boss from there will return to haunt you.
Locations at Origin Interior (Part 2)
Landmarks
| Name | Description |
|---|---|
| Hangar, Upper: East Gate | South-east entrance to the upper level of the Hangar. |
| Hangar, Lower: Main Gate | South doorway at the lower level of the Hangar. |
| Hangar, Upper: West Gate | South-west doorway at the upper level of the Hangar. |
| Supply Storage #2 | First room at the Hangar Zone, when entering from the lower level of the Hangar. |
| Defense Tower #1 | East side of Central Defense. |
Rest Spots
| Name | Description |
|---|---|
| Supply Storage #1 | Inside eastern room at south end of the South Sector Passage. |
| Arms Storage Tower, Upper | Near south entrance to Central Defense. |
Containers at Origin Interior (Part 2)


(1 of 2) Ride the south-east elevator at the lower level of the hangar.
Ride the south-east elevator at the lower level of the hangar. (left), This one is near Clinging Azreel. (right)
| Container # | Map Marker | Location |
|---|---|---|
| 1 | Map Marker | South from Hangar, Upper: East Gate. Use the nearby switch to open the bulkhead. |
| 2 | Map Marker | Inside the alcove north-west from the Hangar, Upper: West Gate landmark. Near the Hollow Ones. |
| 3 | Map Marker | South from Hangar, Upper: West Gate. Use the nearby switch to open the bulkhead. |
| 4 | Map Marker | West from Hangar, Upper: East Gate. Activate the elevator by the south-east corner of the lower level of the Hangar, then ride it up. |
| 5 | Map Marker | Inside Storage Supply #2. |
| 6 | Map Marker | Near south-west corner of the Hangar Zone, past the Kurria Flak swarm. |
| 7 | Map Marker | East side of Defense Tower #1. |
| 8 | Map Marker | North-west from the previous container; east of Defense Tower #2. Near Clinging Azreel. |
No Comments