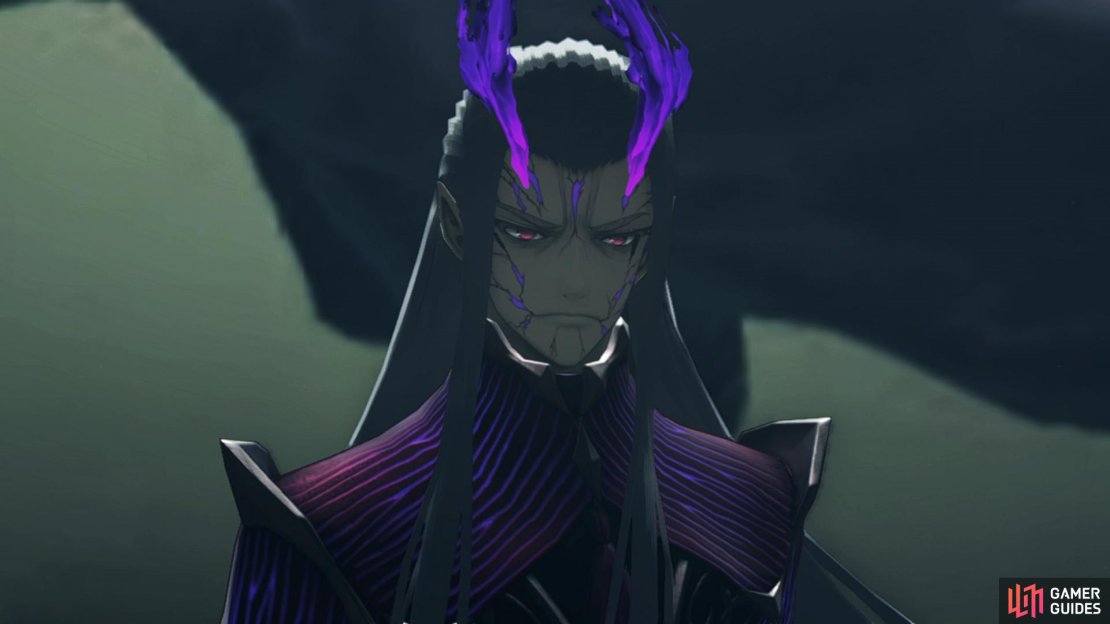
This is a guide for the first part of the final boss fight in Xenoblade Chronicles 3 against Z, taking place in the Origin Interior.
Z is the first part of the final boss in Xenoblade Chronicles 3.
How to Beat Z
| Name | Level | Type |
|---|---|---|
| Z | 72 |  |
Everything has been leading to this moment, and you finally have your chance to throwdown with Z himself. Hopefully you’ve prepared well, as this is a long battle full of scenes that can’t be skipped and you’ll have to deal with two long battles to the boss (detailed across these next two pages). A lot of this first battle is more of a set piece, but if you’re not careful, you’ll still be able to lose here, especially if you’re playing on Hard.
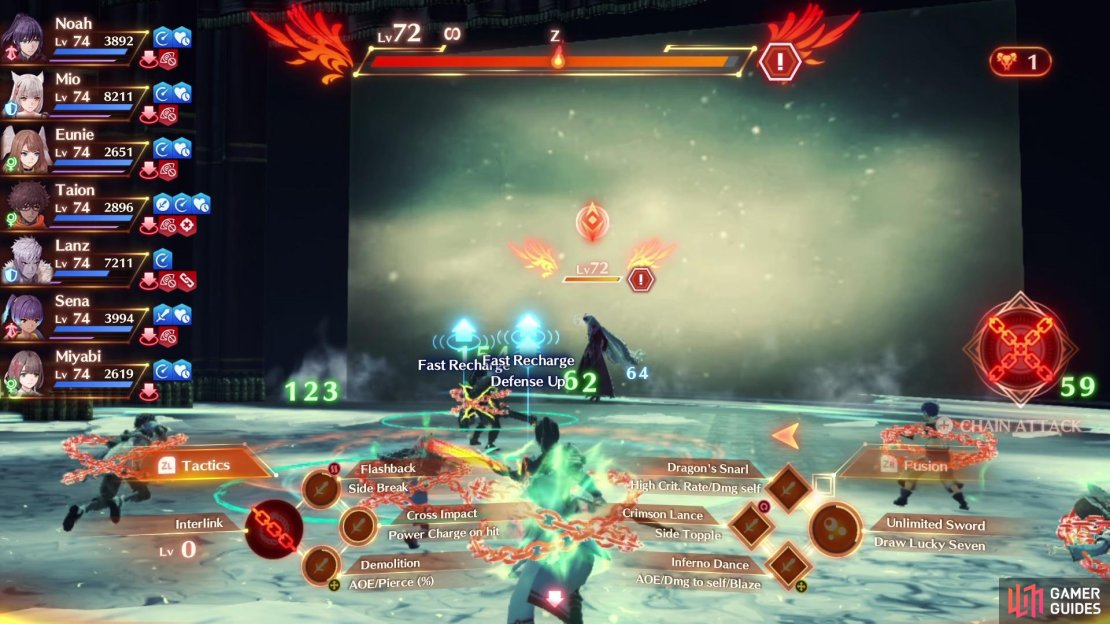
You’ll also have no access to Interlinks for the majority of the battle. Z does have plenty of tricks up his sleeve, and you can learn about them below:
- Dusk: Z will shoot an energy orb at a single target, dealing major damage.
- Dark Ere the Dawn: Z will shoot a barrage of energy missiles at a single target, dealing moderate AoE damage around the impact and inflicting a random debuff.
- Reproach Barbarity: Z will shoot a larger energy orb at a single target, dealing moderate damage and inflicting the Resistance Down debuff.
- Sovereign Purge: Z will release a wave of energy that deals moderate AoE damage around him and inflicts Knockback.
- Grim Inquisition: Z will charge, and then shoot a large beam in a line in front of him, dealing continuous damage to any targets caught in it.
- Frozen Arena: Once you drop his HP to 95%, Z will freeze the arena, slowing your movement speed.
- Burning Arena: Once you drop his HP to 90%, Z will set the arena alight, causing a constant Blaze debuff to all targets.
- Shield: At around 85% of his HP, Z will summon a shield that decreases damage taken. Your party members will use Chain Attacks as you damage him to break it and release their Interlinks.
This battle will go through multiple phases, and although you’ll have to let the scenes play out (which can’t be skipped), you’ll still need to be weary of his Arts as he can pump out some real damage. Dusk is his most common Art, and it will deal major damage even to Tanks, thankfully it’s only limited to a single target.
Reproach Barbarity is similar to Dusk, only it will deal a little less damage at the expense of inflicting the Resistance Down debuff. This makes you much more vulnerable to the other debuffs that Z can use, not least from the Dark Ere the Dawn Art which will deal damage and a random debuffs in a small AoE. This debuff can be anything and is one of the main reasons you want a way to cure debuffs with Cure Bullet in this battle.
His last two main attack Arts are AoE focused. Sovereign Purge is an AoE around him that will cause Knockback and moderate damage, relatively simple to deal with considering his other tools. Grim Inquisition, on the other hand, can deal some serious damage if you get caught up in the laser and take the full brunt of the attack. Ensure at least your controlled character is not standing in front of him.
You’ll notice that you won’t deal much damage to Z, and it seemingly impossible to cause Reactions to him. This is due to the nature of the fight and once you drop him to 95% HP, he’ll alter the arena and coat it in ice. This will massively slow your movement speed, making it harder to get around the boss to perform positionals. Still, once you’ve closed in on him, this is a rather harmless effect.
Once you bring him to 90% HP, however, he’ll set the entire arena alight which will give your party a constant Blaze debuff during this phase of the fight. This part of the battle is a race against time, as you’ll be taking constant damage over time until you can force him to the next threshold. You’ll also notice a large concentration of flames at the center of the arena, this will explode from time-to-time dealing damage to anyone standing inside it.
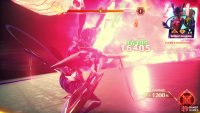
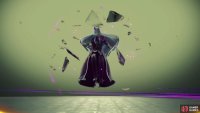
(1 of 4) Z will freeze the arena at 95% HP, decreasing your movement speed
At around 85% HP, you’ll push Z into this final threshold where he’ll summon a shield. This will massively decrease the damage he takes, and you’ll have to slug it out a little until another scene triggers and Lanz and Eunie will initiate a Chain Attack. You’ll get to choose your characters for their Ouroboros order so take this chance to heal if need be and enjoy the free damage that shatters the Shield and unshackles their Interlink. A Chain Attack with Eunie and Taion, then finally Noah and Mio will take place after, ending this phase of the battle.
From this point onward, the rest of the battle will play out without any stoppages. Z will also be far less resistant at this stage, take the full damage from your Arts and it is now much easier to use Reaction combos on him. Still, don’t get carried away as once he Enrages, he’ll start chaining his Arts back-to-back. This is the time to use Chain Attacks, Lv 3 Interlinks and Lucky Seven to quickly finish this first battle.
More scenes will take place and you’ll soon be face-to-face with Z’s true form where the final battle will take place!
No Comments