
This is a guide for Chapter 3 of Xenoblade Chronicles 3, covering the journey to reach Ribbi Flats.


(1 of 2) There are some new Info Fragments in Colony 4.

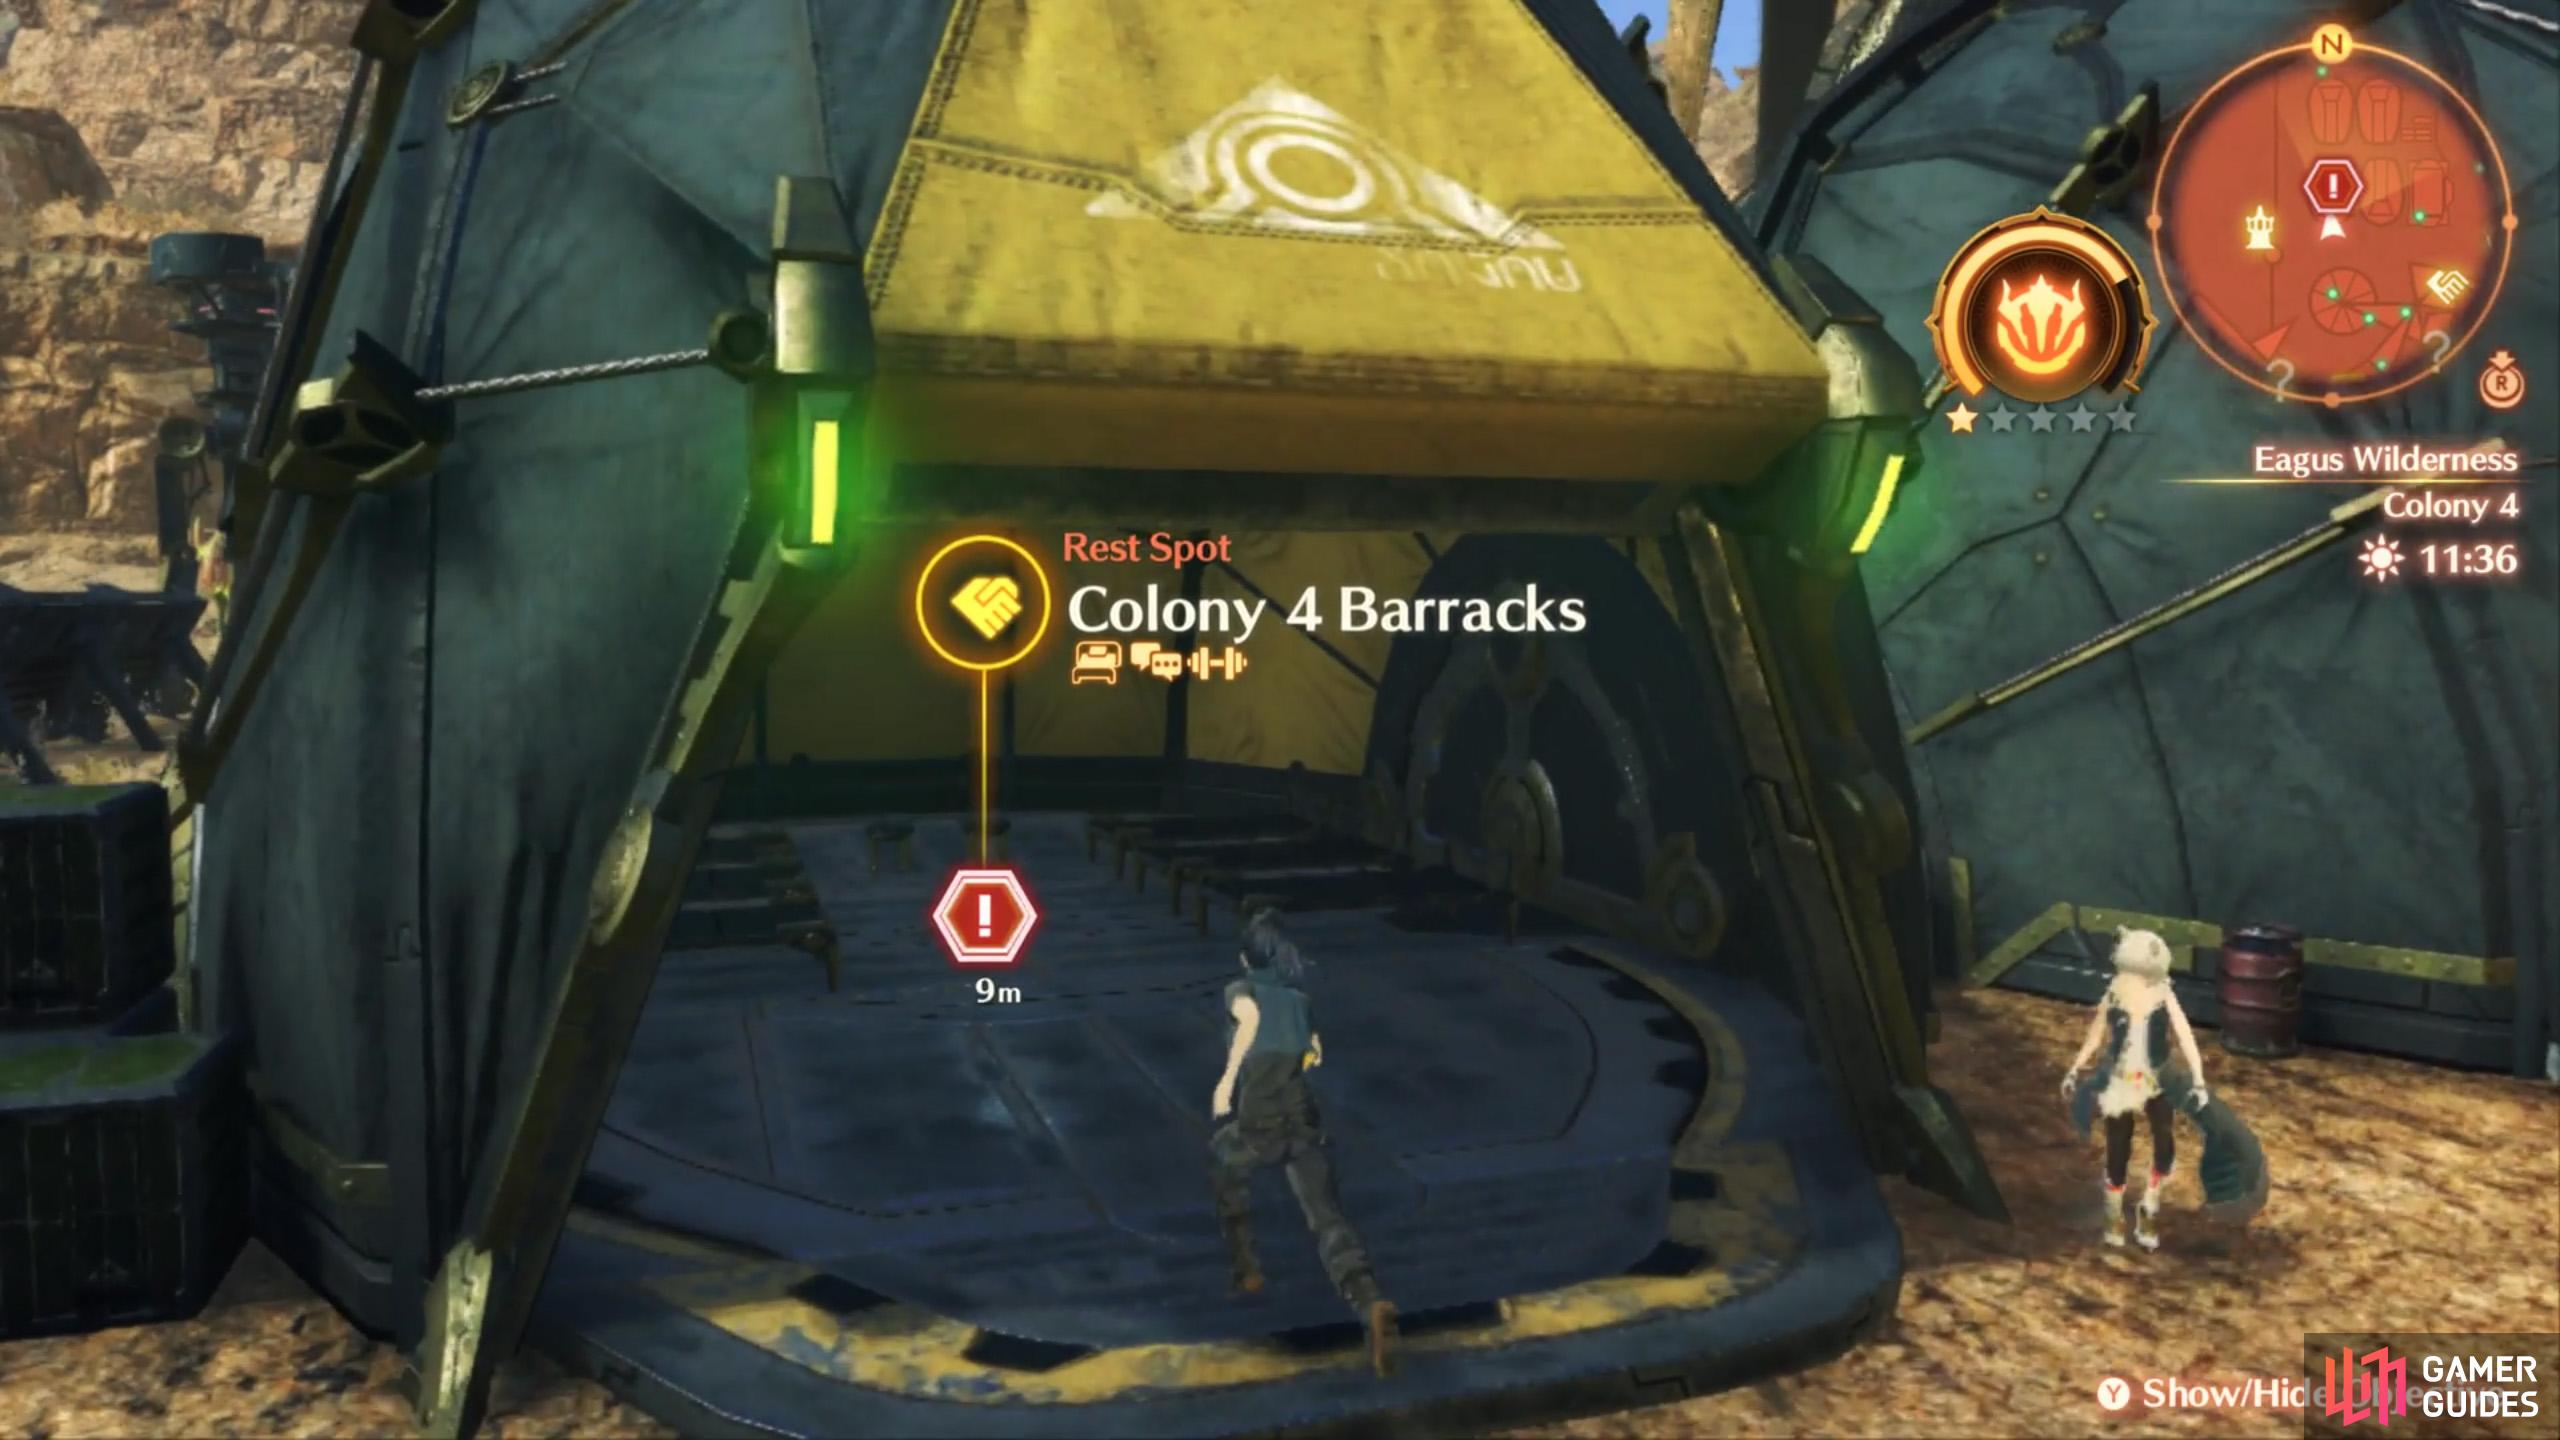
There are some new Info Fragments in Colony 4. (left), To proceed, rest in the Colony 4 Barracks. (right)
After lending Ethel a hand with her Hero Quest, it’s probably time to rest up a little. Before that though, there are some new Info Fragments if you scout around nearby. Once, you’re done, head inside the nearby Colony 4 Barracks and inspect the rest area inside.
If you picked up any new topics, feel free to Discuss them. You could also Level Up using any accrued Bonus Exp, etc. Otherwise, choose the leftmost option to advance the story.
Info Fragment Locations around Colony 4
| Info Fragment | Location |
|---|---|
| Unsent Husks | East gate of Colony 4. |
| Changes | Adjacent to Colony 4 Barracks, near front entrance. |
| Fog and Annihilation | Lake Rezzento Camp. |
| Ferronis Hulks | Colony 4 Council Room. |
New Quests around Colony 4
| Quest | Location |
|---|---|
| Melody of Mourning | Discuss the “Unsent Husks” topic. |
Speak to Ethel in her office

(1 of 2) Re-enter the Colony 4 Ferronis and make for the top level.
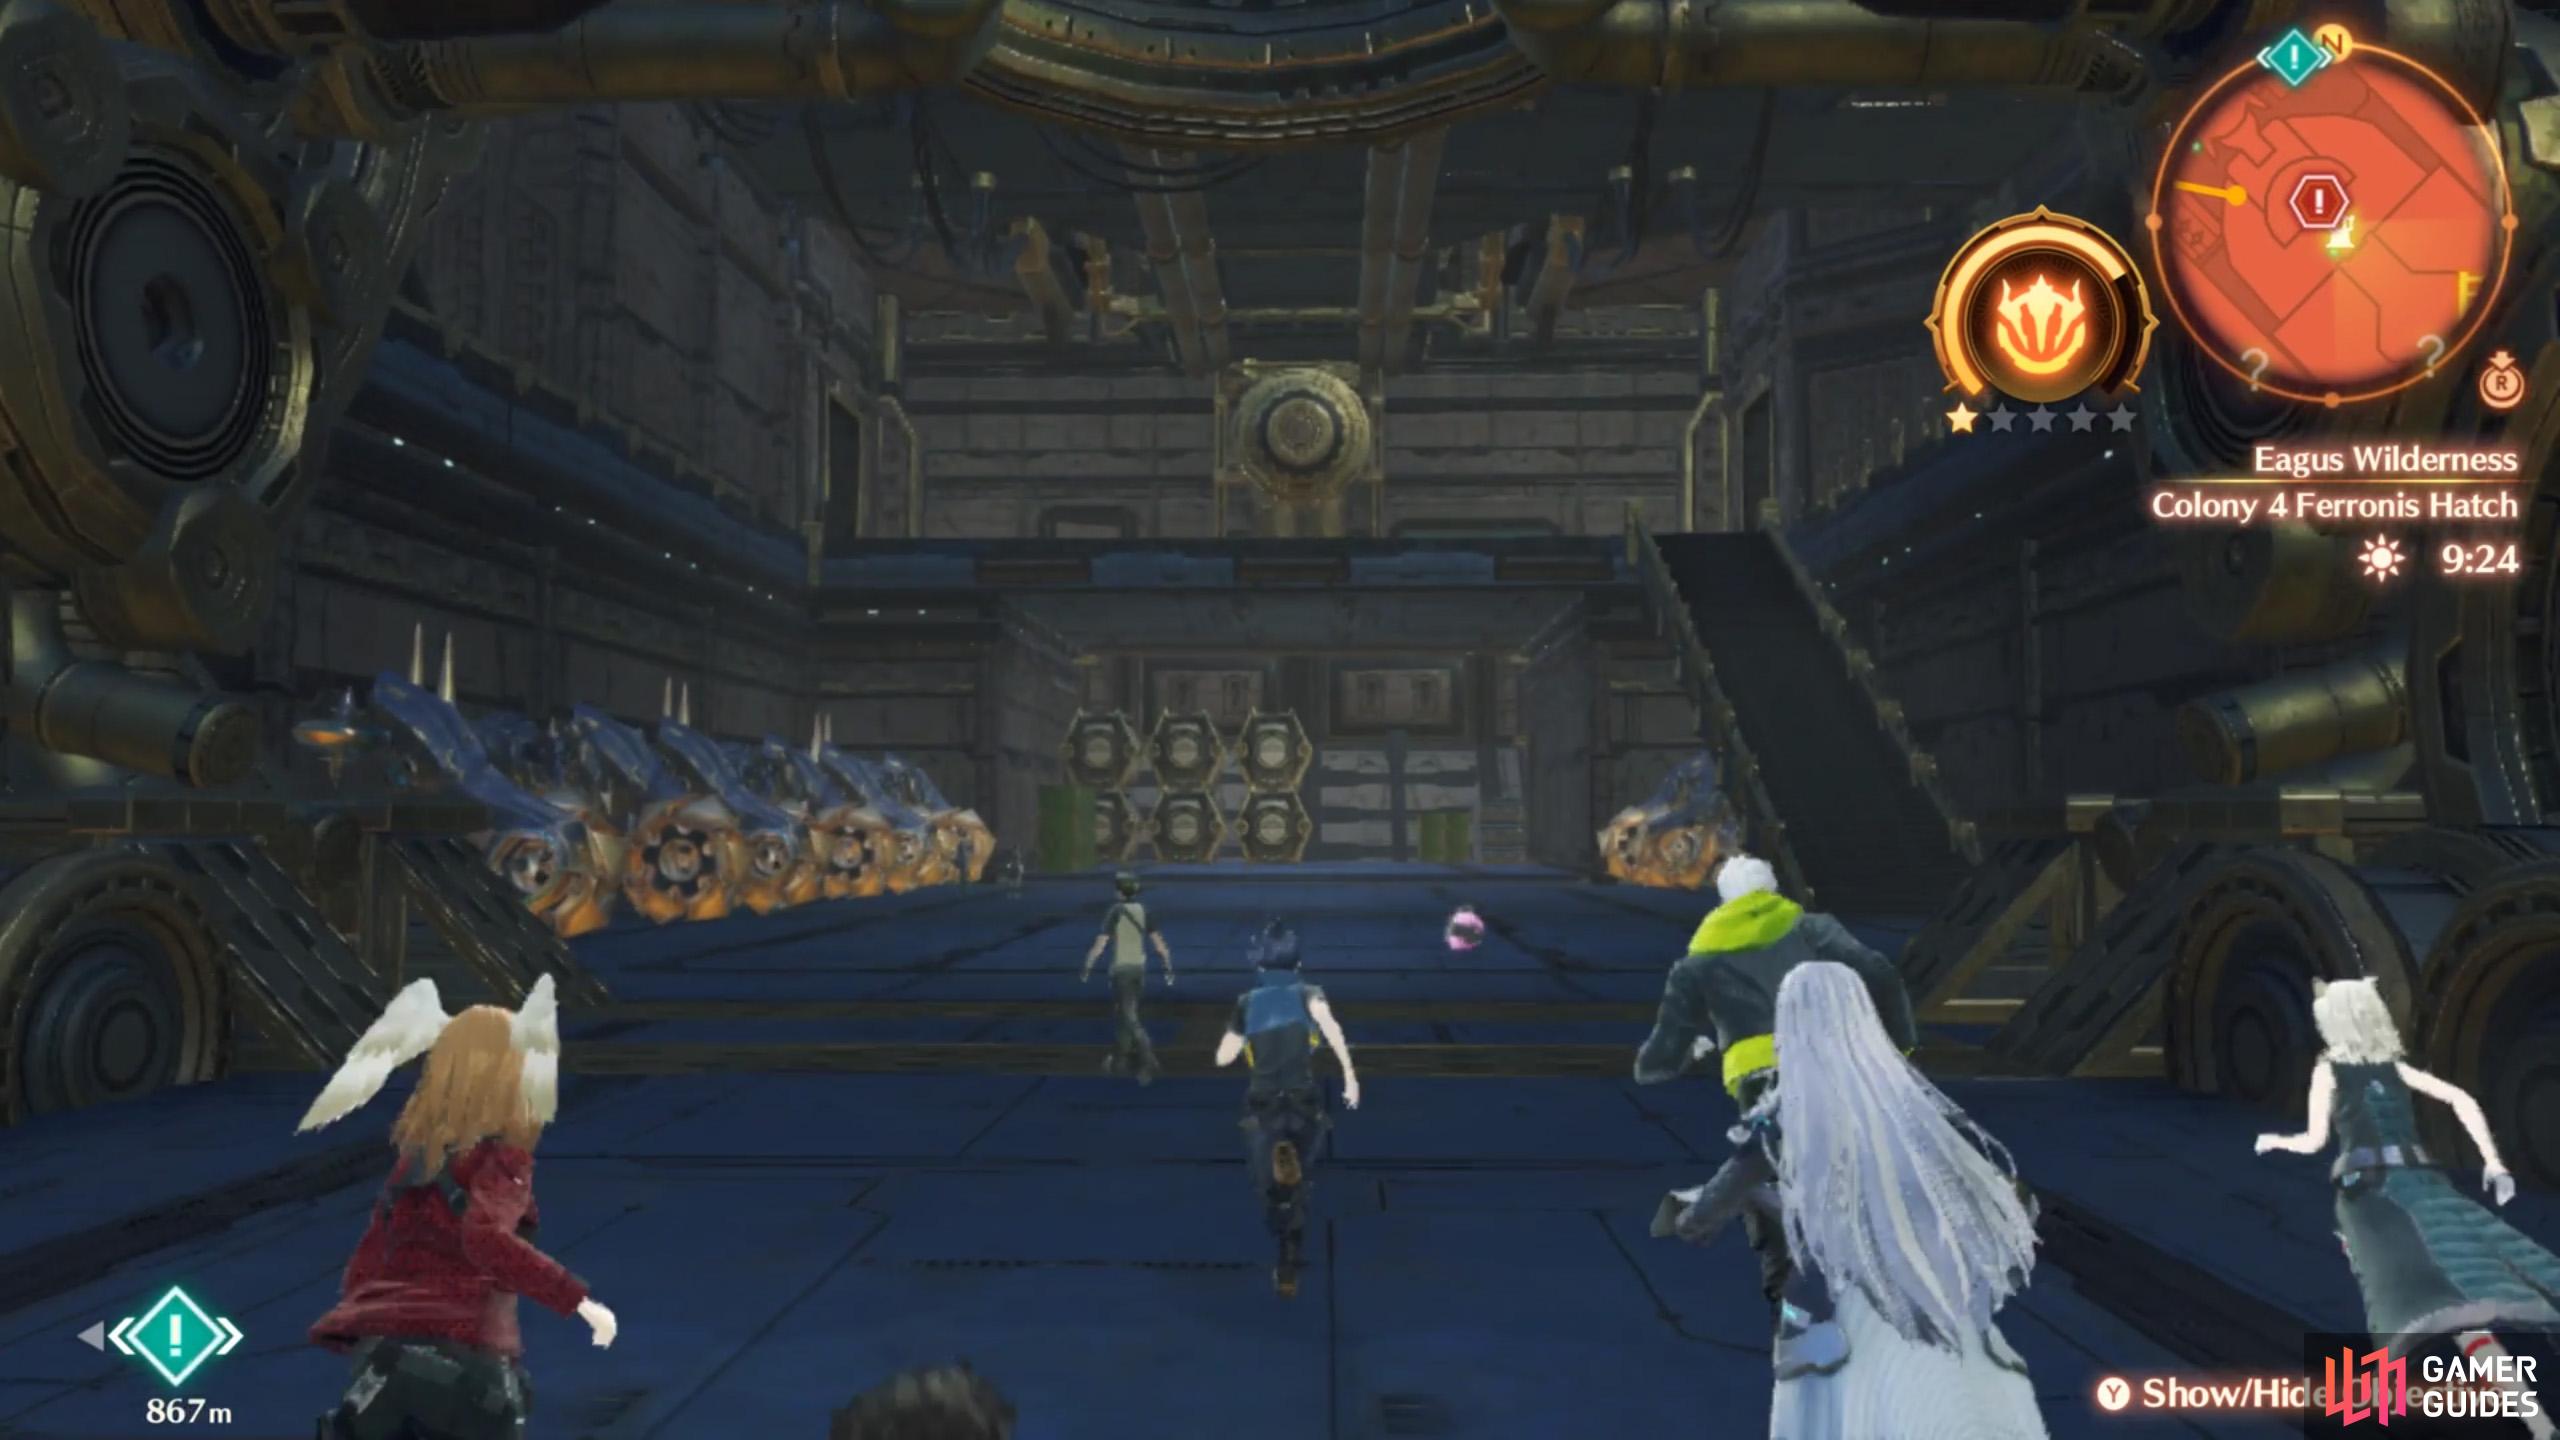

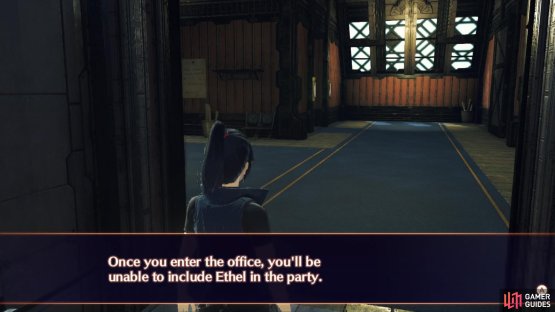
Re-enter the Colony 4 Ferronis and make for the top level. (left), Ethel will leave your party after speaking to her. (right)
The next day, Ethel wants to talk to you before you depart. Go back inside Colony 4’s Ferronis and head all the way to the highest level. After going up the last set of stairs, there’s a new door on the left that leads to Ethel’s office.
How to Liberate Colonies
After freeing Colony 4 from the tyranny of the Flame Clocks, it’s possible to liberate other colonies from both Keves and Agnus. In the course of the main story, there are some colonies that are mandatory to liberate. But for the most part, you’ll liberate them during some of the optional Hero Quests.
Liberating colonies has a minor downside. For each colony liberated, the Warning Level for Keves or Agnus will increase by one level. You can view this in the main menu, next to the character line up. The higher the Warning Level, the more soldiers from the corresponding nation will appear on the field.
It’s not all bad though! When a colony has been liberated, you can build Affinity for that colony. This can be viewed in the Affinity Chart or when you’re visiting that colony.
When your Affinity with a colony is high, you can receive various field benefits, like boosted movement speed, decreased enemy detection, etc. These are also listed in the Affinity Chart.
Exploring Nih’l Valley

(1 of 2) To save time, fast-travel to the Gorge of Odie.
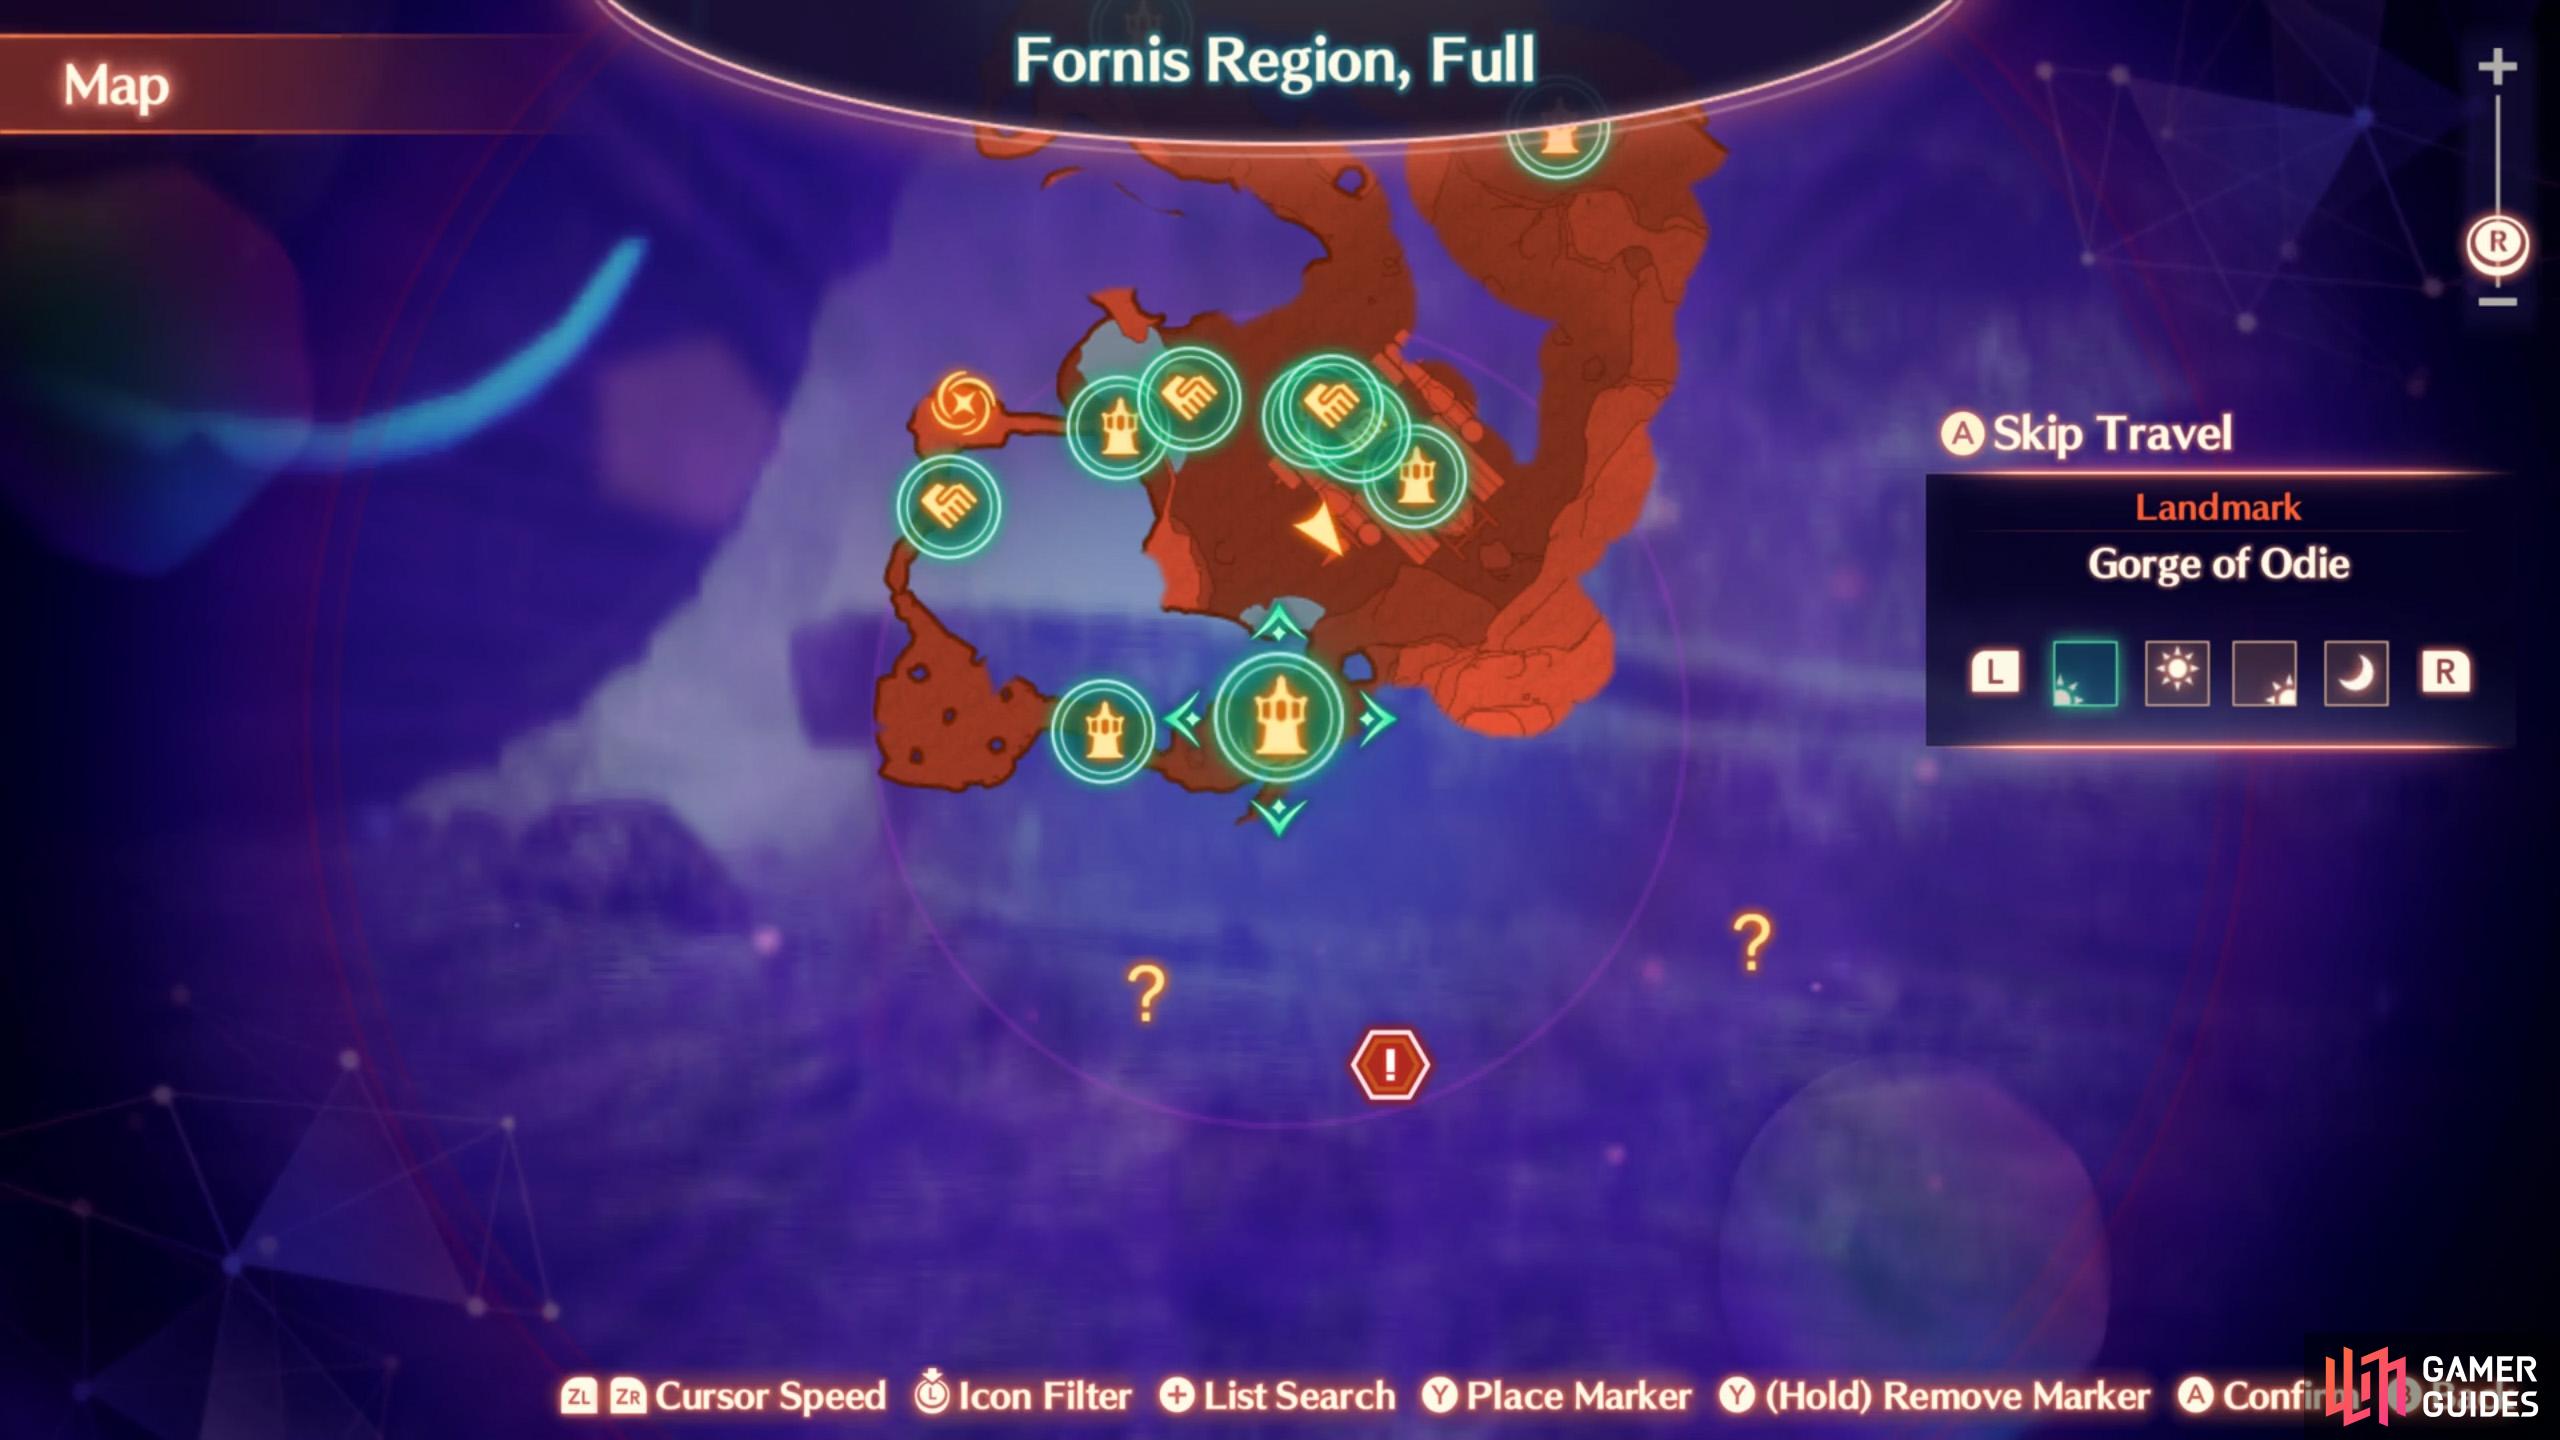
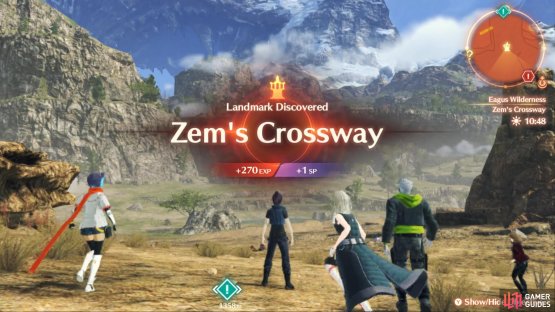
To save time, fast-travel to the Gorge of Odie. (left), Then travel south towards Zem’s Crossway. From there, Ribbi Flats is a stone’s throw away. (right)
After making any necessary preparations, fast-travel to the Gorge of Odie and prepare to pass through Nih’l Valley to reach Ribbi Flats. You want to travel due south, until you reach Zem’s Crossway. From there, continue south a little further to reach your first destination.
Optional Areas
After passing Zem’s Crossway, if you head west, you can reach the south entrance of Elaice Highway, which is a moderately high level area.
This is also where you can trigger Alexandria’s Hero Quest, “Her Reasons”, and reach Colony Iota. However, to complete the quest, you’ll need to be around Level 40.
Furthermore, you can now access the north entrance of Elaice Highway, by heading west at the initial juncture and passing through Singbreeze Funnel. Likewise, the enemies here are all moderately high level and likely far too strong for you.
However, if you’re daring, you can try to sneak past the enemies until you reach the Visura Parkland Camp. At which point you can use that as a base for exploring.
Locations
Landmarks around Nih’l Valley
| Name | Description |
|---|---|
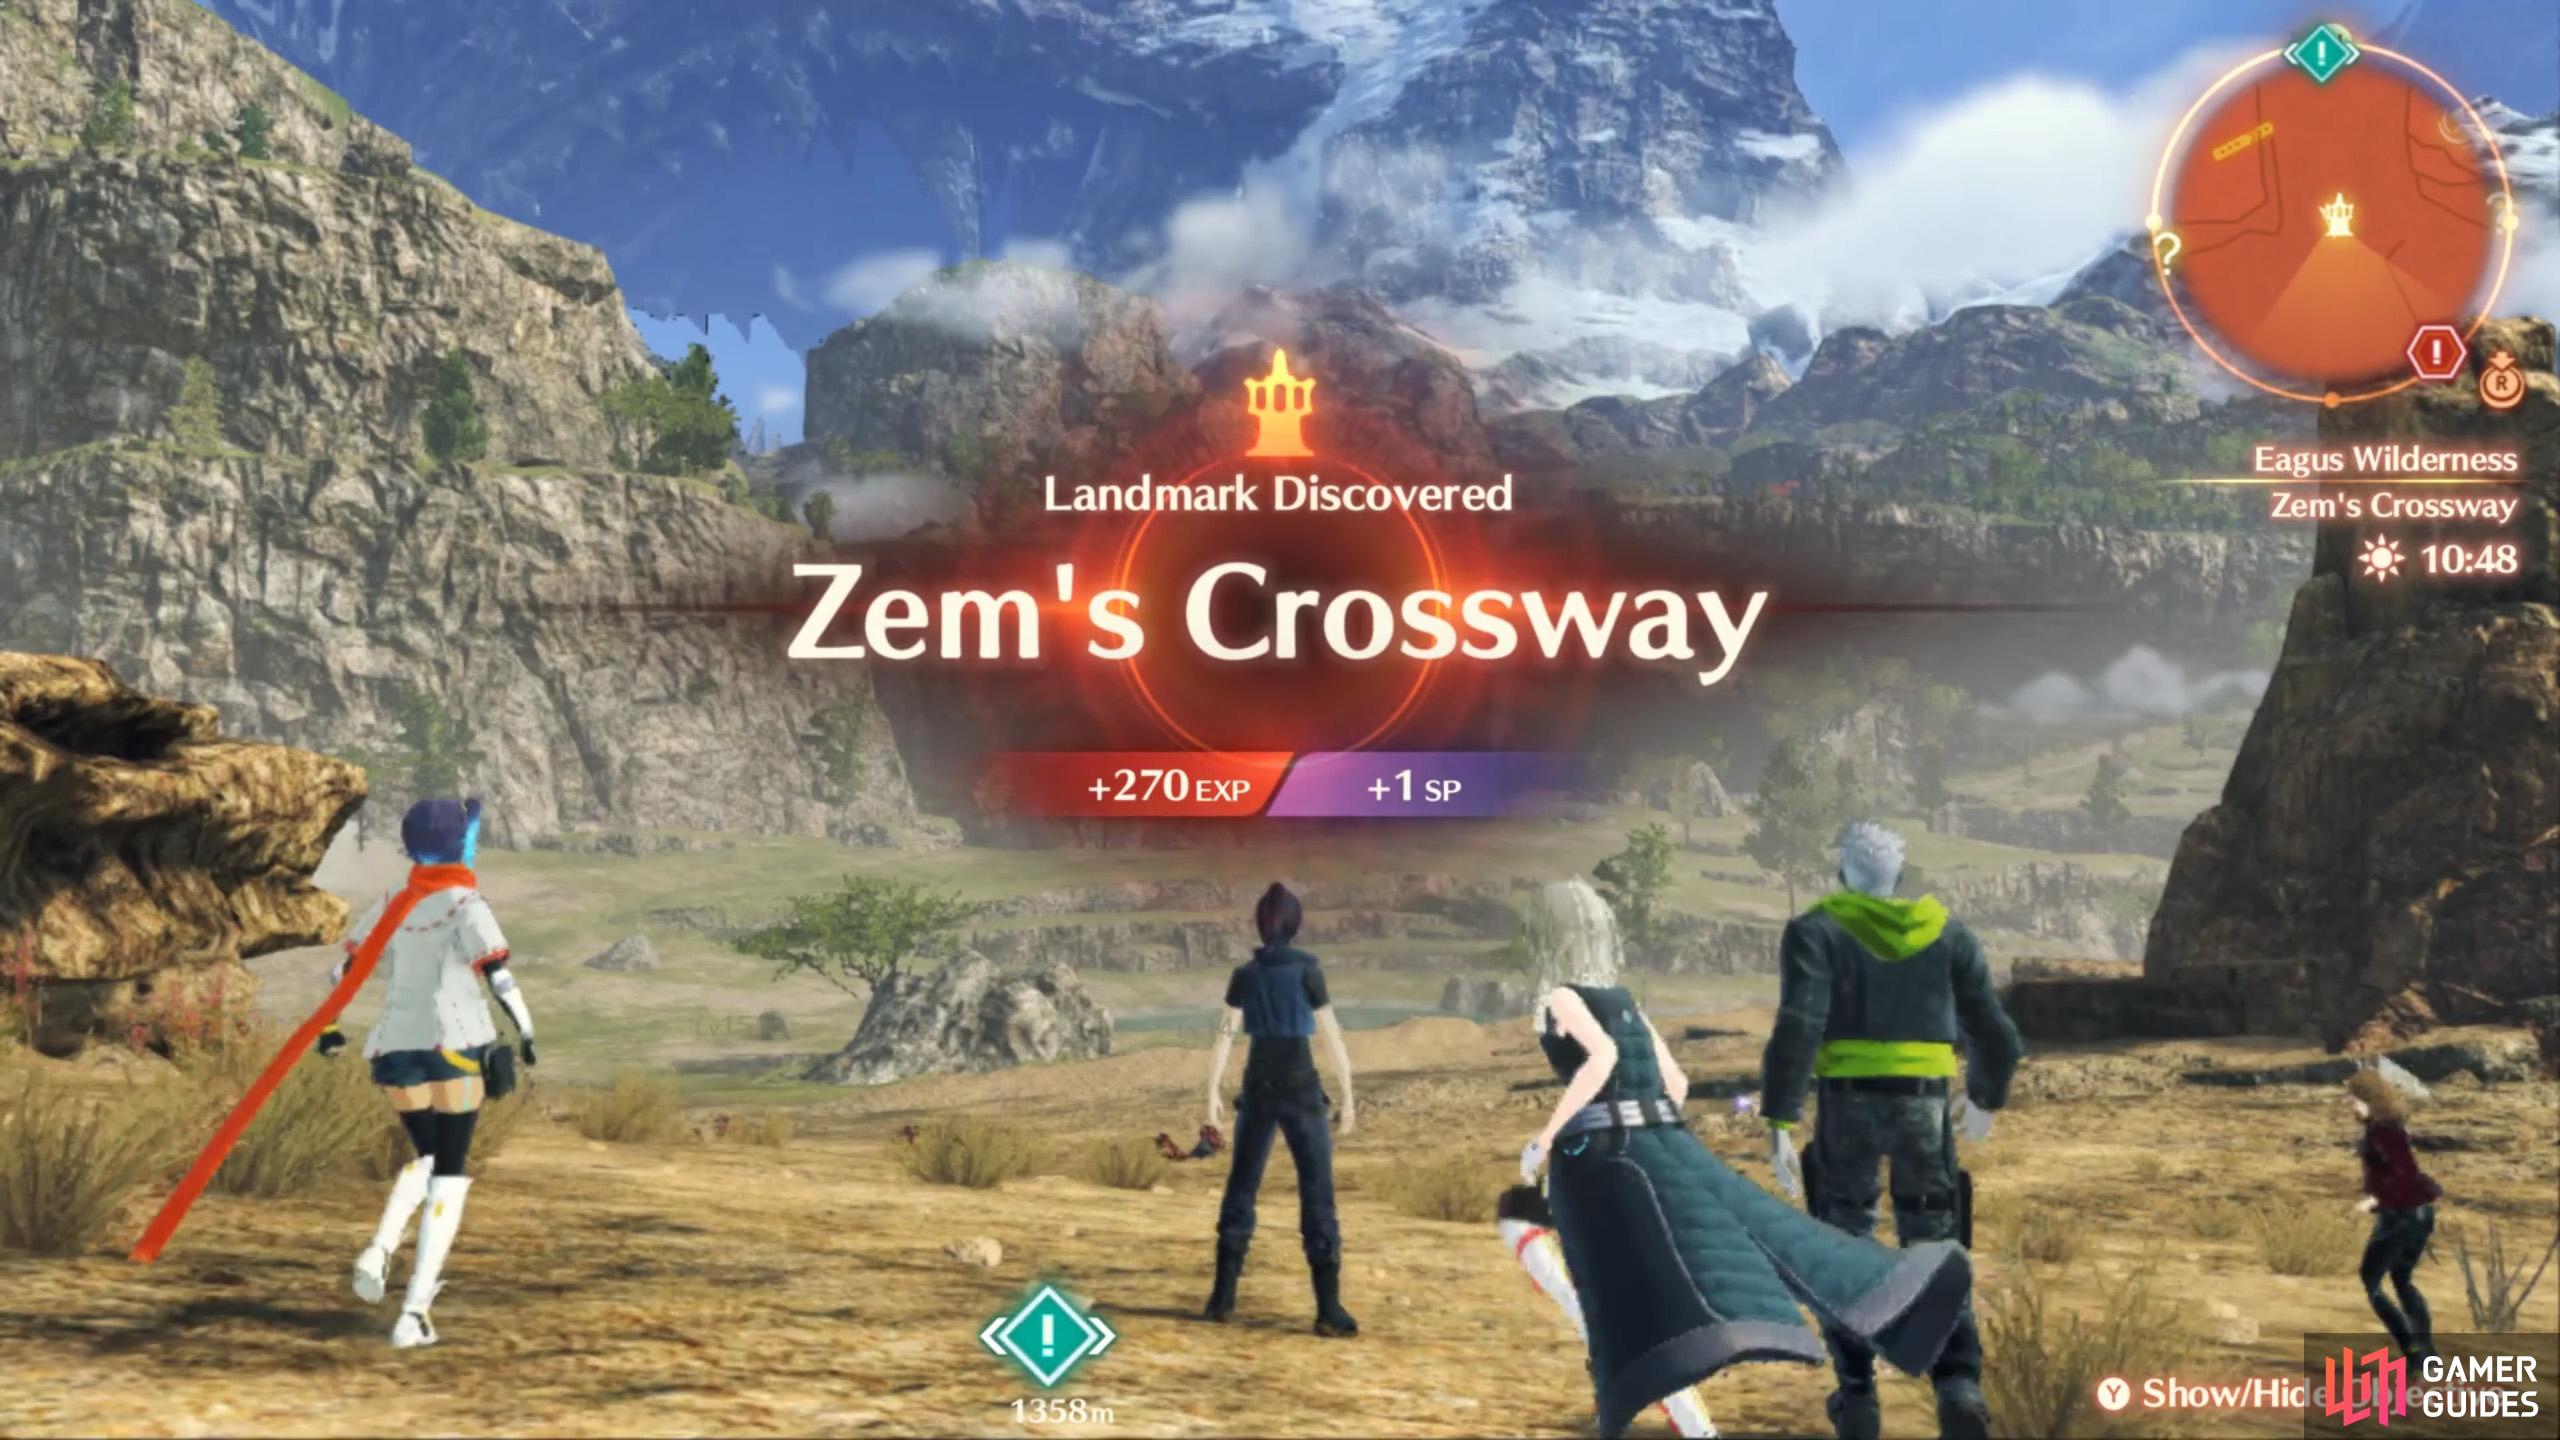
| Zem’s Crossway | South end of Nih’l Valley, overlooking Ribbi Flats. |
| Dies Arch | West from Zem’s Crossway. The south entrance of Elaice Highway. |
Containers around Nih’l Valley

South-east corner of Nih’l Valley, before Zem’s Crossway.
| Container # | Map Marker | Location |
|---|---|---|
| 1 | Map Marker | South-east corner of Nih’l Valley, before Zem’s Crossway. |
Soldier Husks around Nih’l Valley
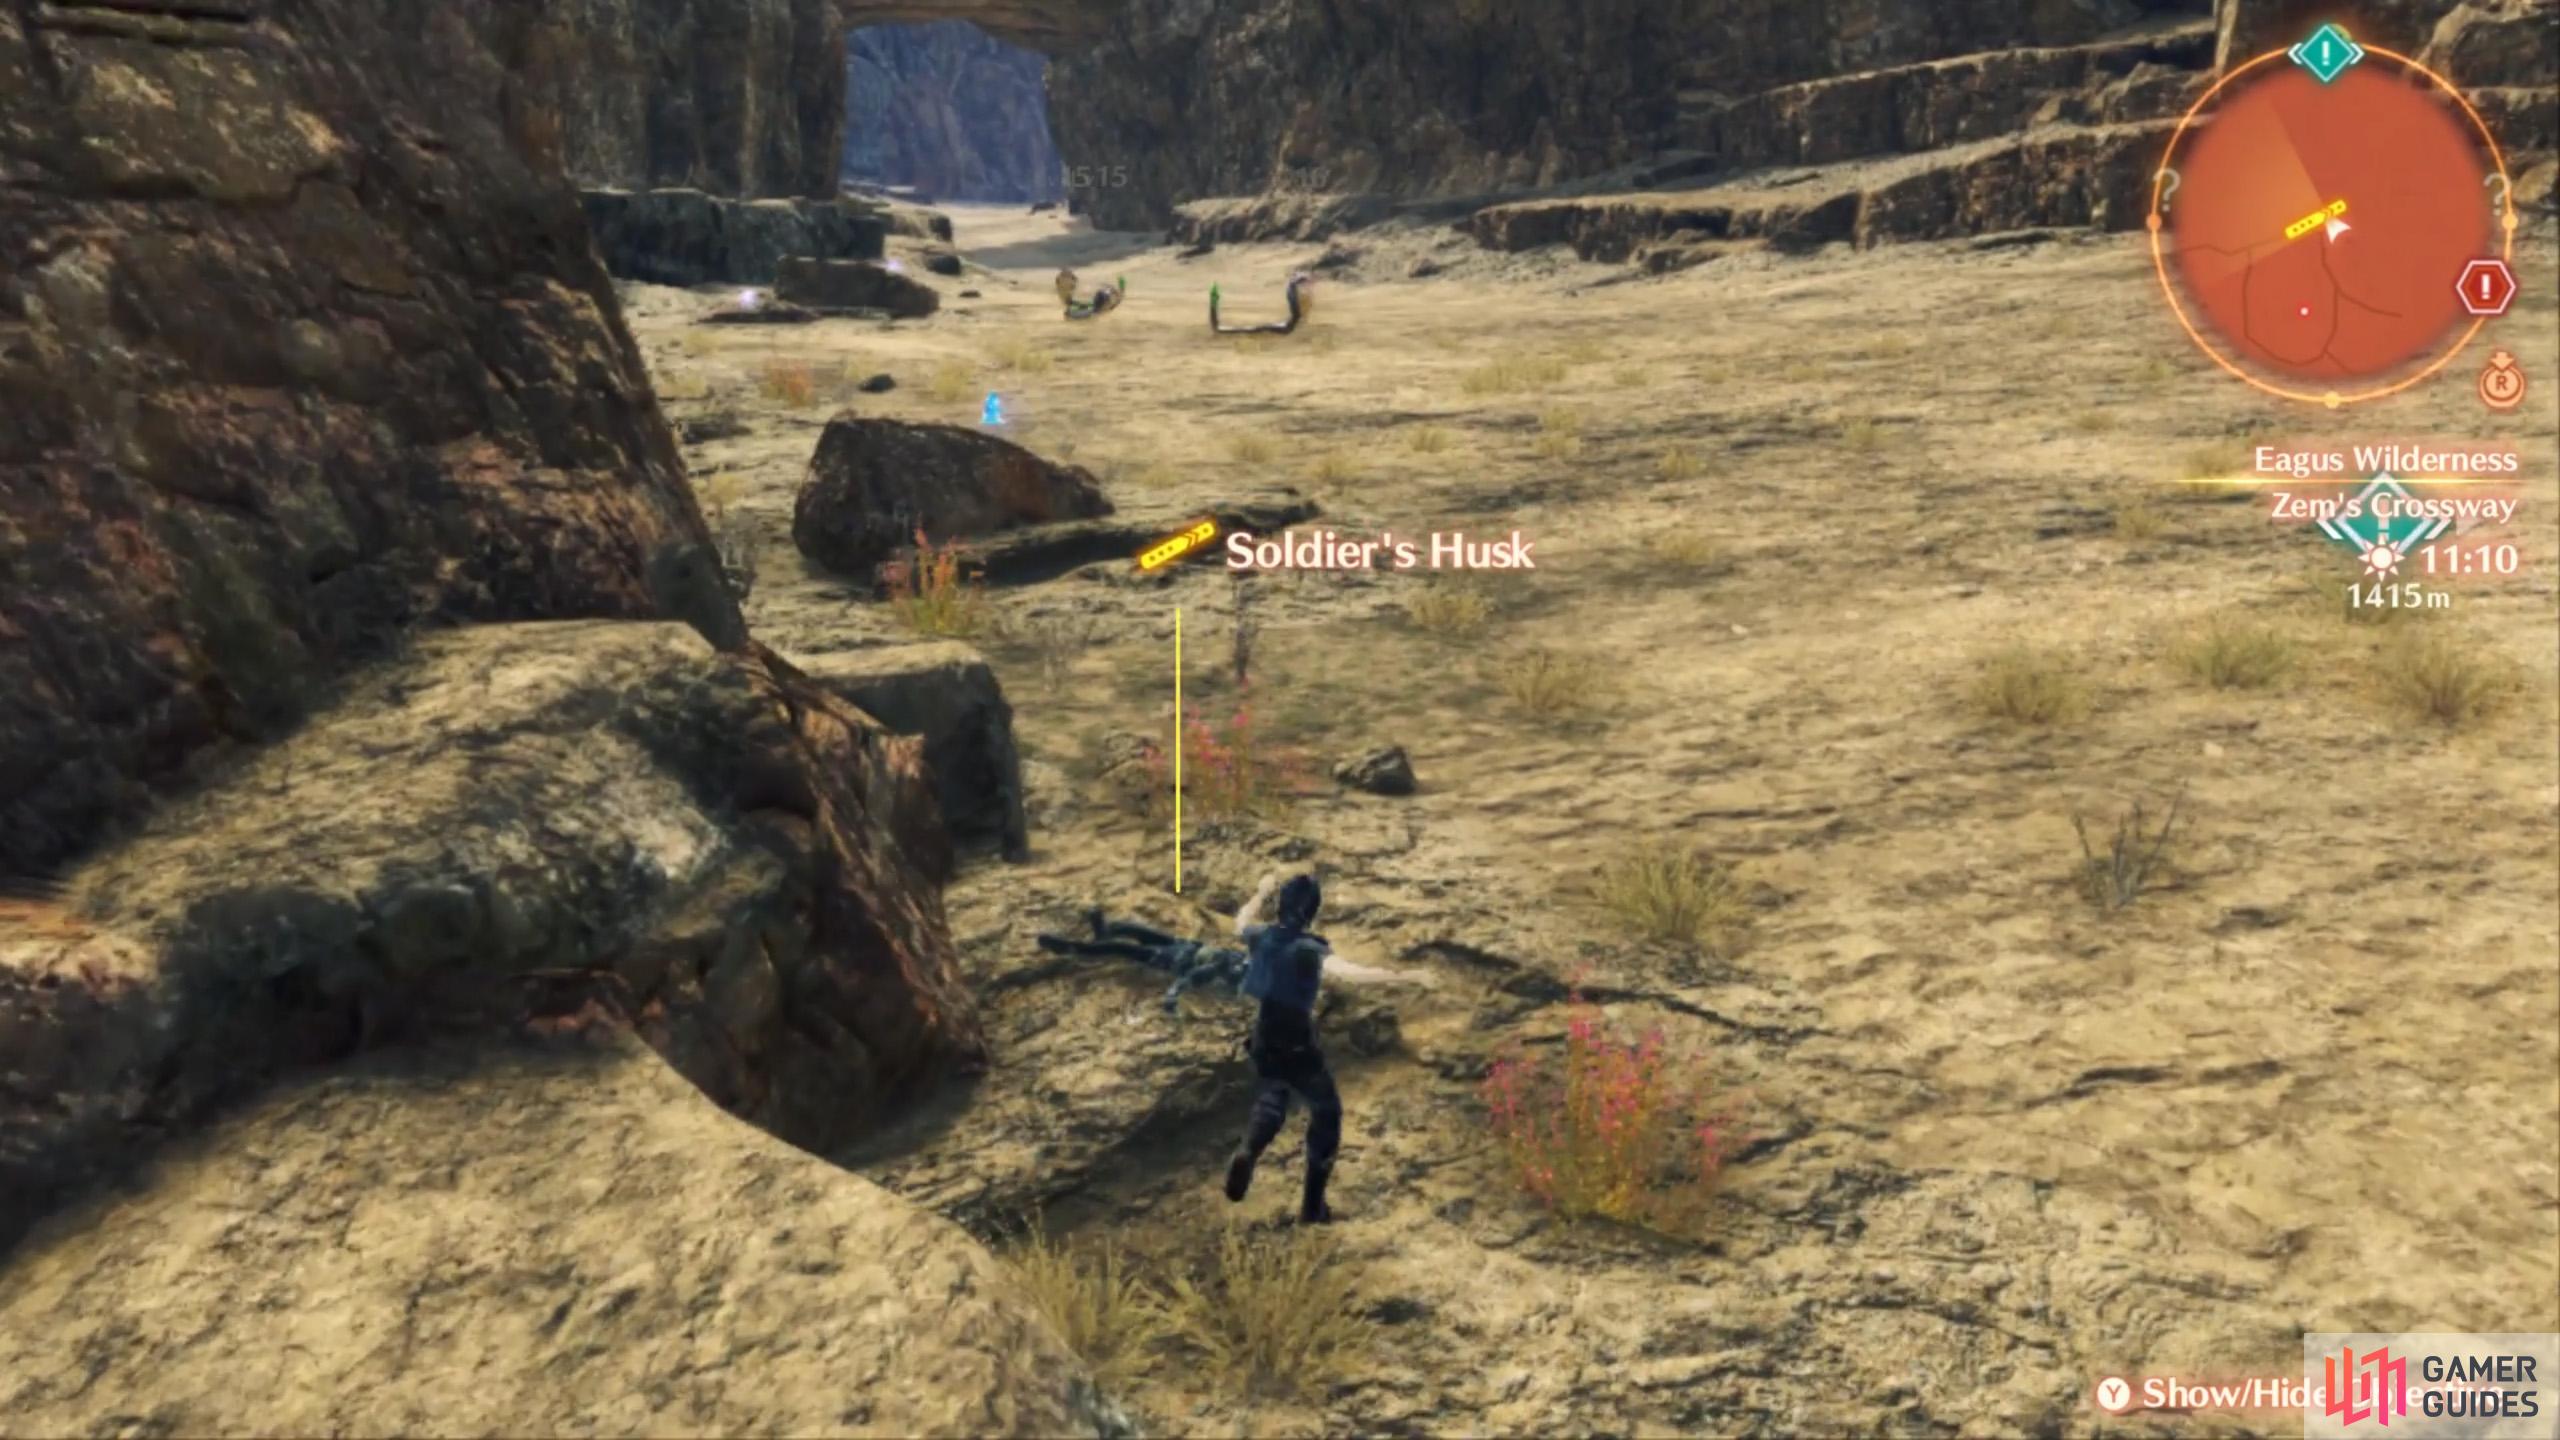
(1 of 2) A short distance south-west from the Zem’s Crossway landmark.
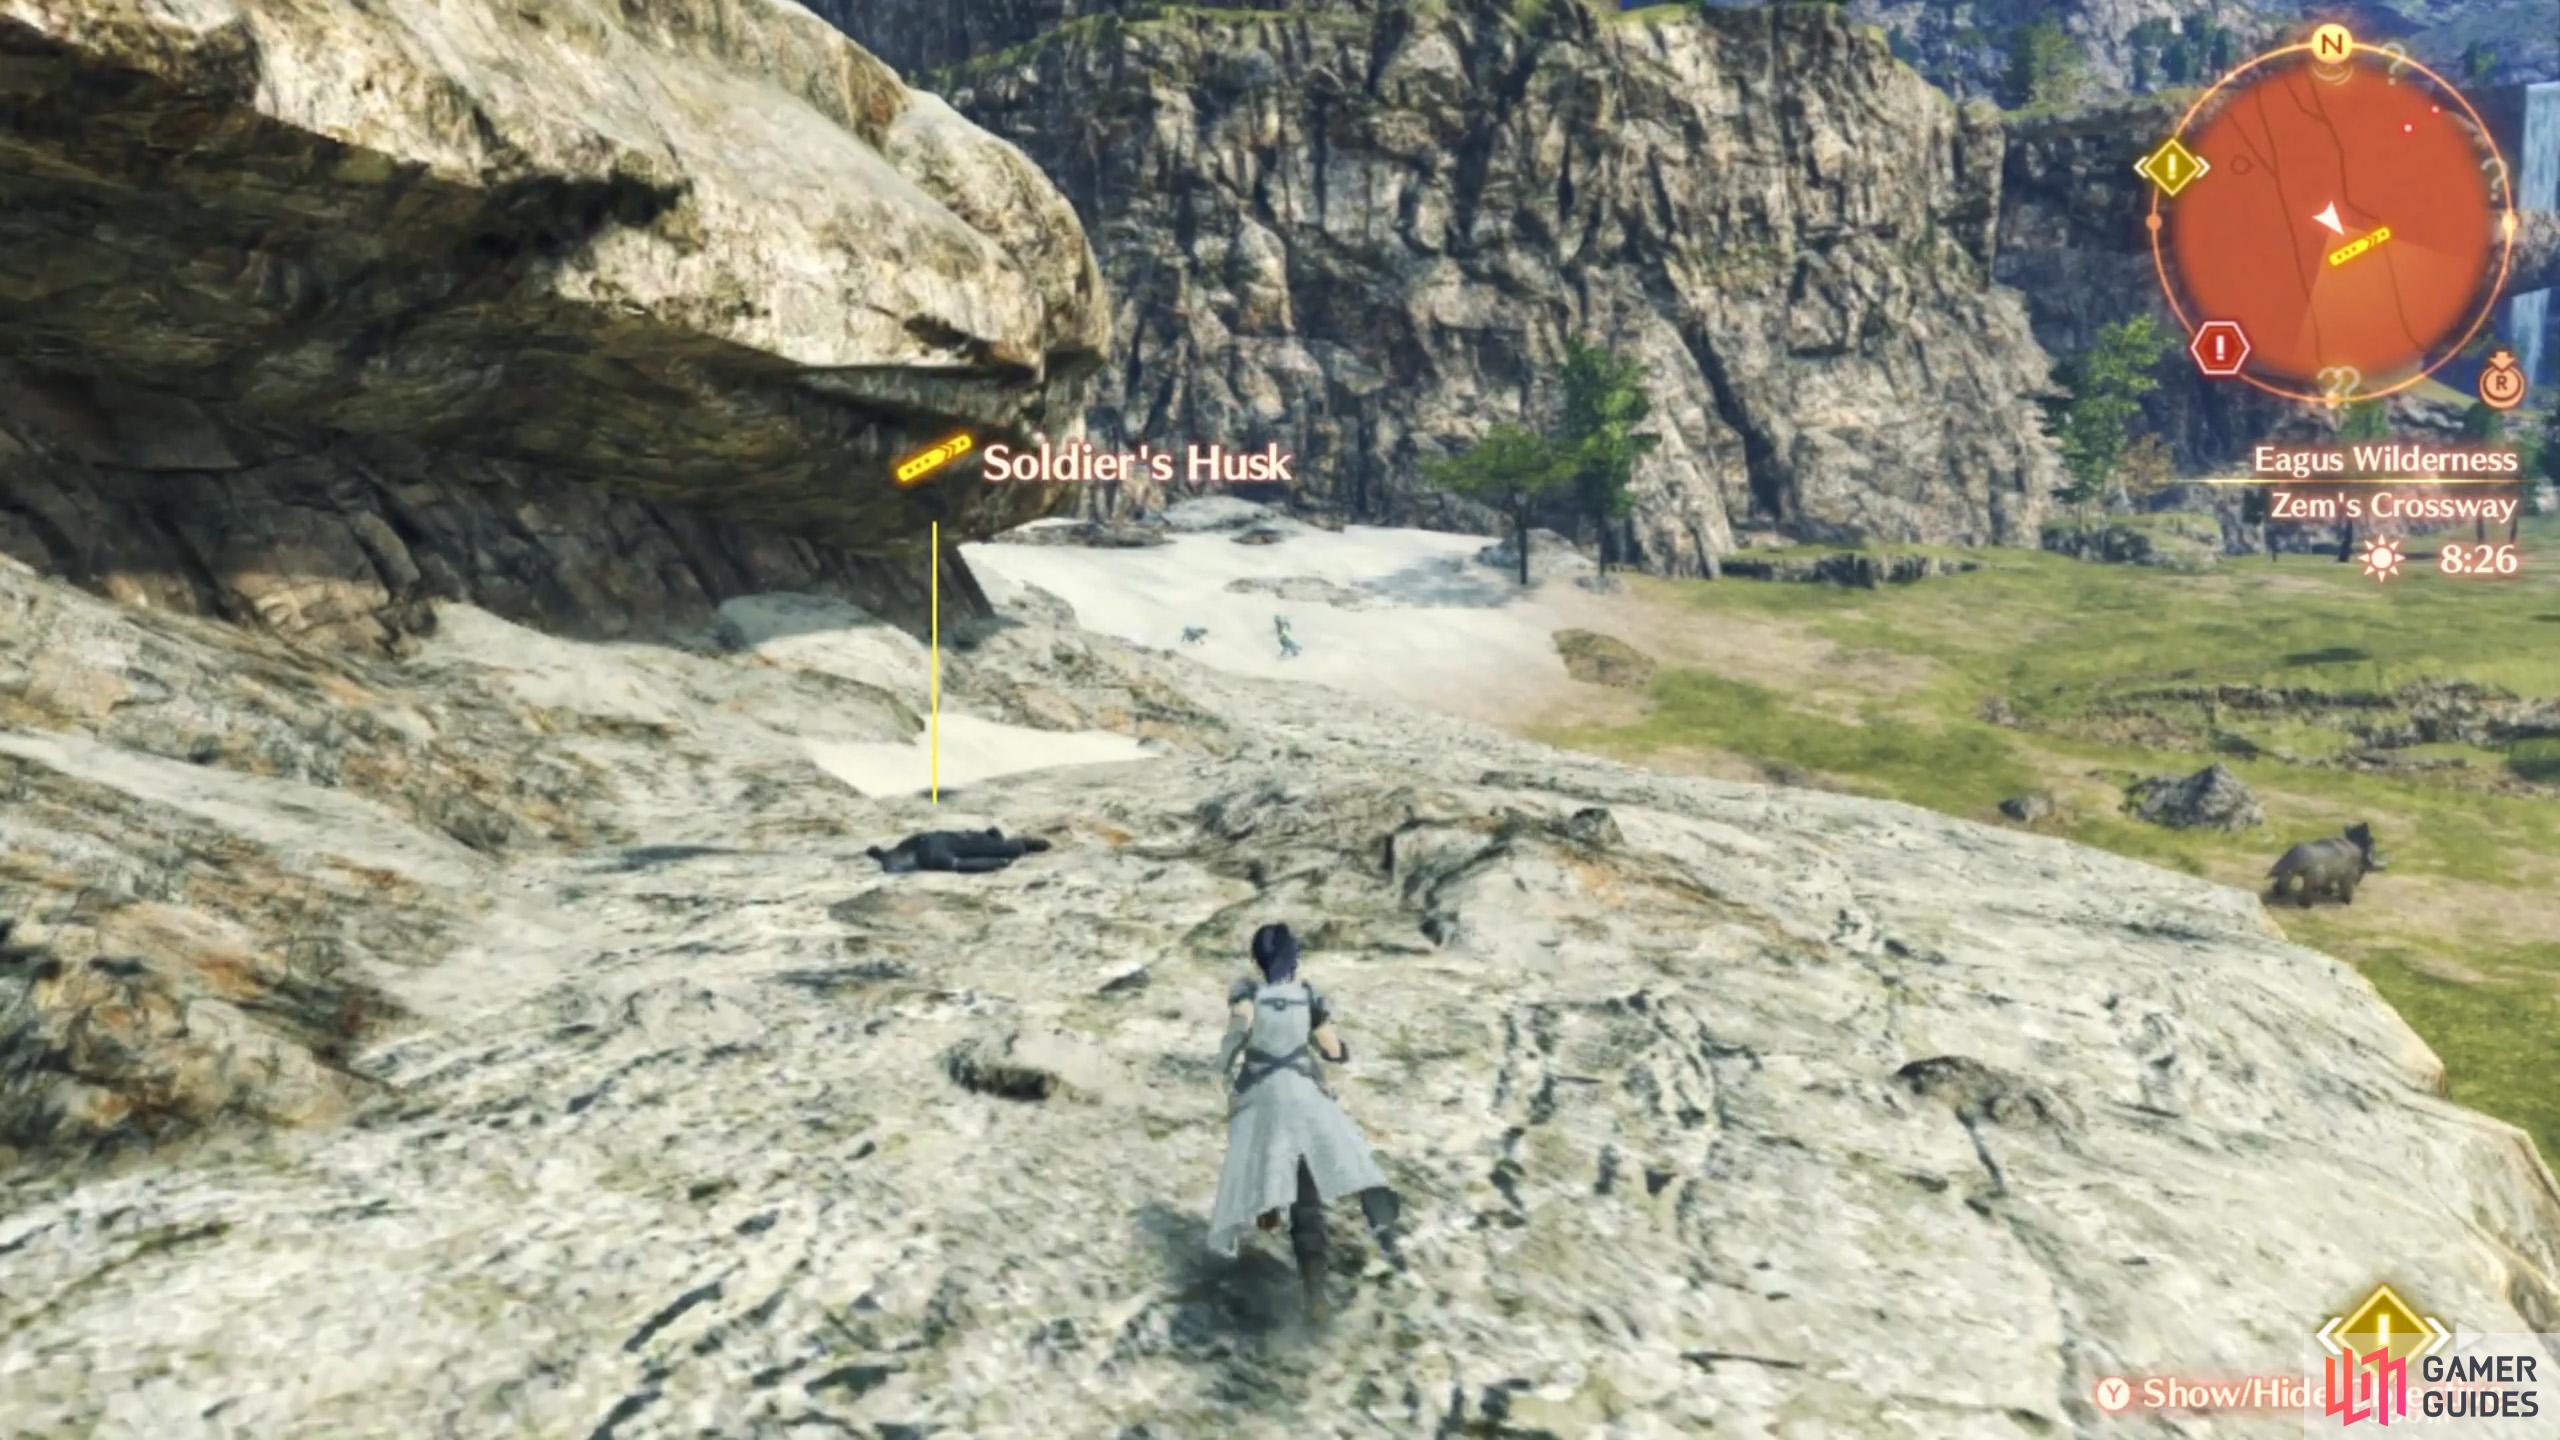
A short distance south-west from the Zem’s Crossway landmark. (left), South-east from Zem’s Crossway. Along the way to Dannagh Desert. (right)
| Soldier Husk # | Map Marker | Location |
|---|---|---|
| 1 | Map Marker | South-west corner of Nih’l Valley, before Zem’s Crossway. |
| 2 | Map Marker | A short distance south-west from the Zem’s Crossway landmark. |
| 3 | Map Marker | South-east from Zem’s Crossway. Along the way to Dannagh Desert. |
No Comments