
This is a guide for Chapter 4 of Xenoblade Chronicles 3, covering the infiltration of Keves Castle. Also, how to reach the deadly Annihilator.
Where to go in Keves Castle


(1 of 2) You’ll begin at the lower level of the hangar.
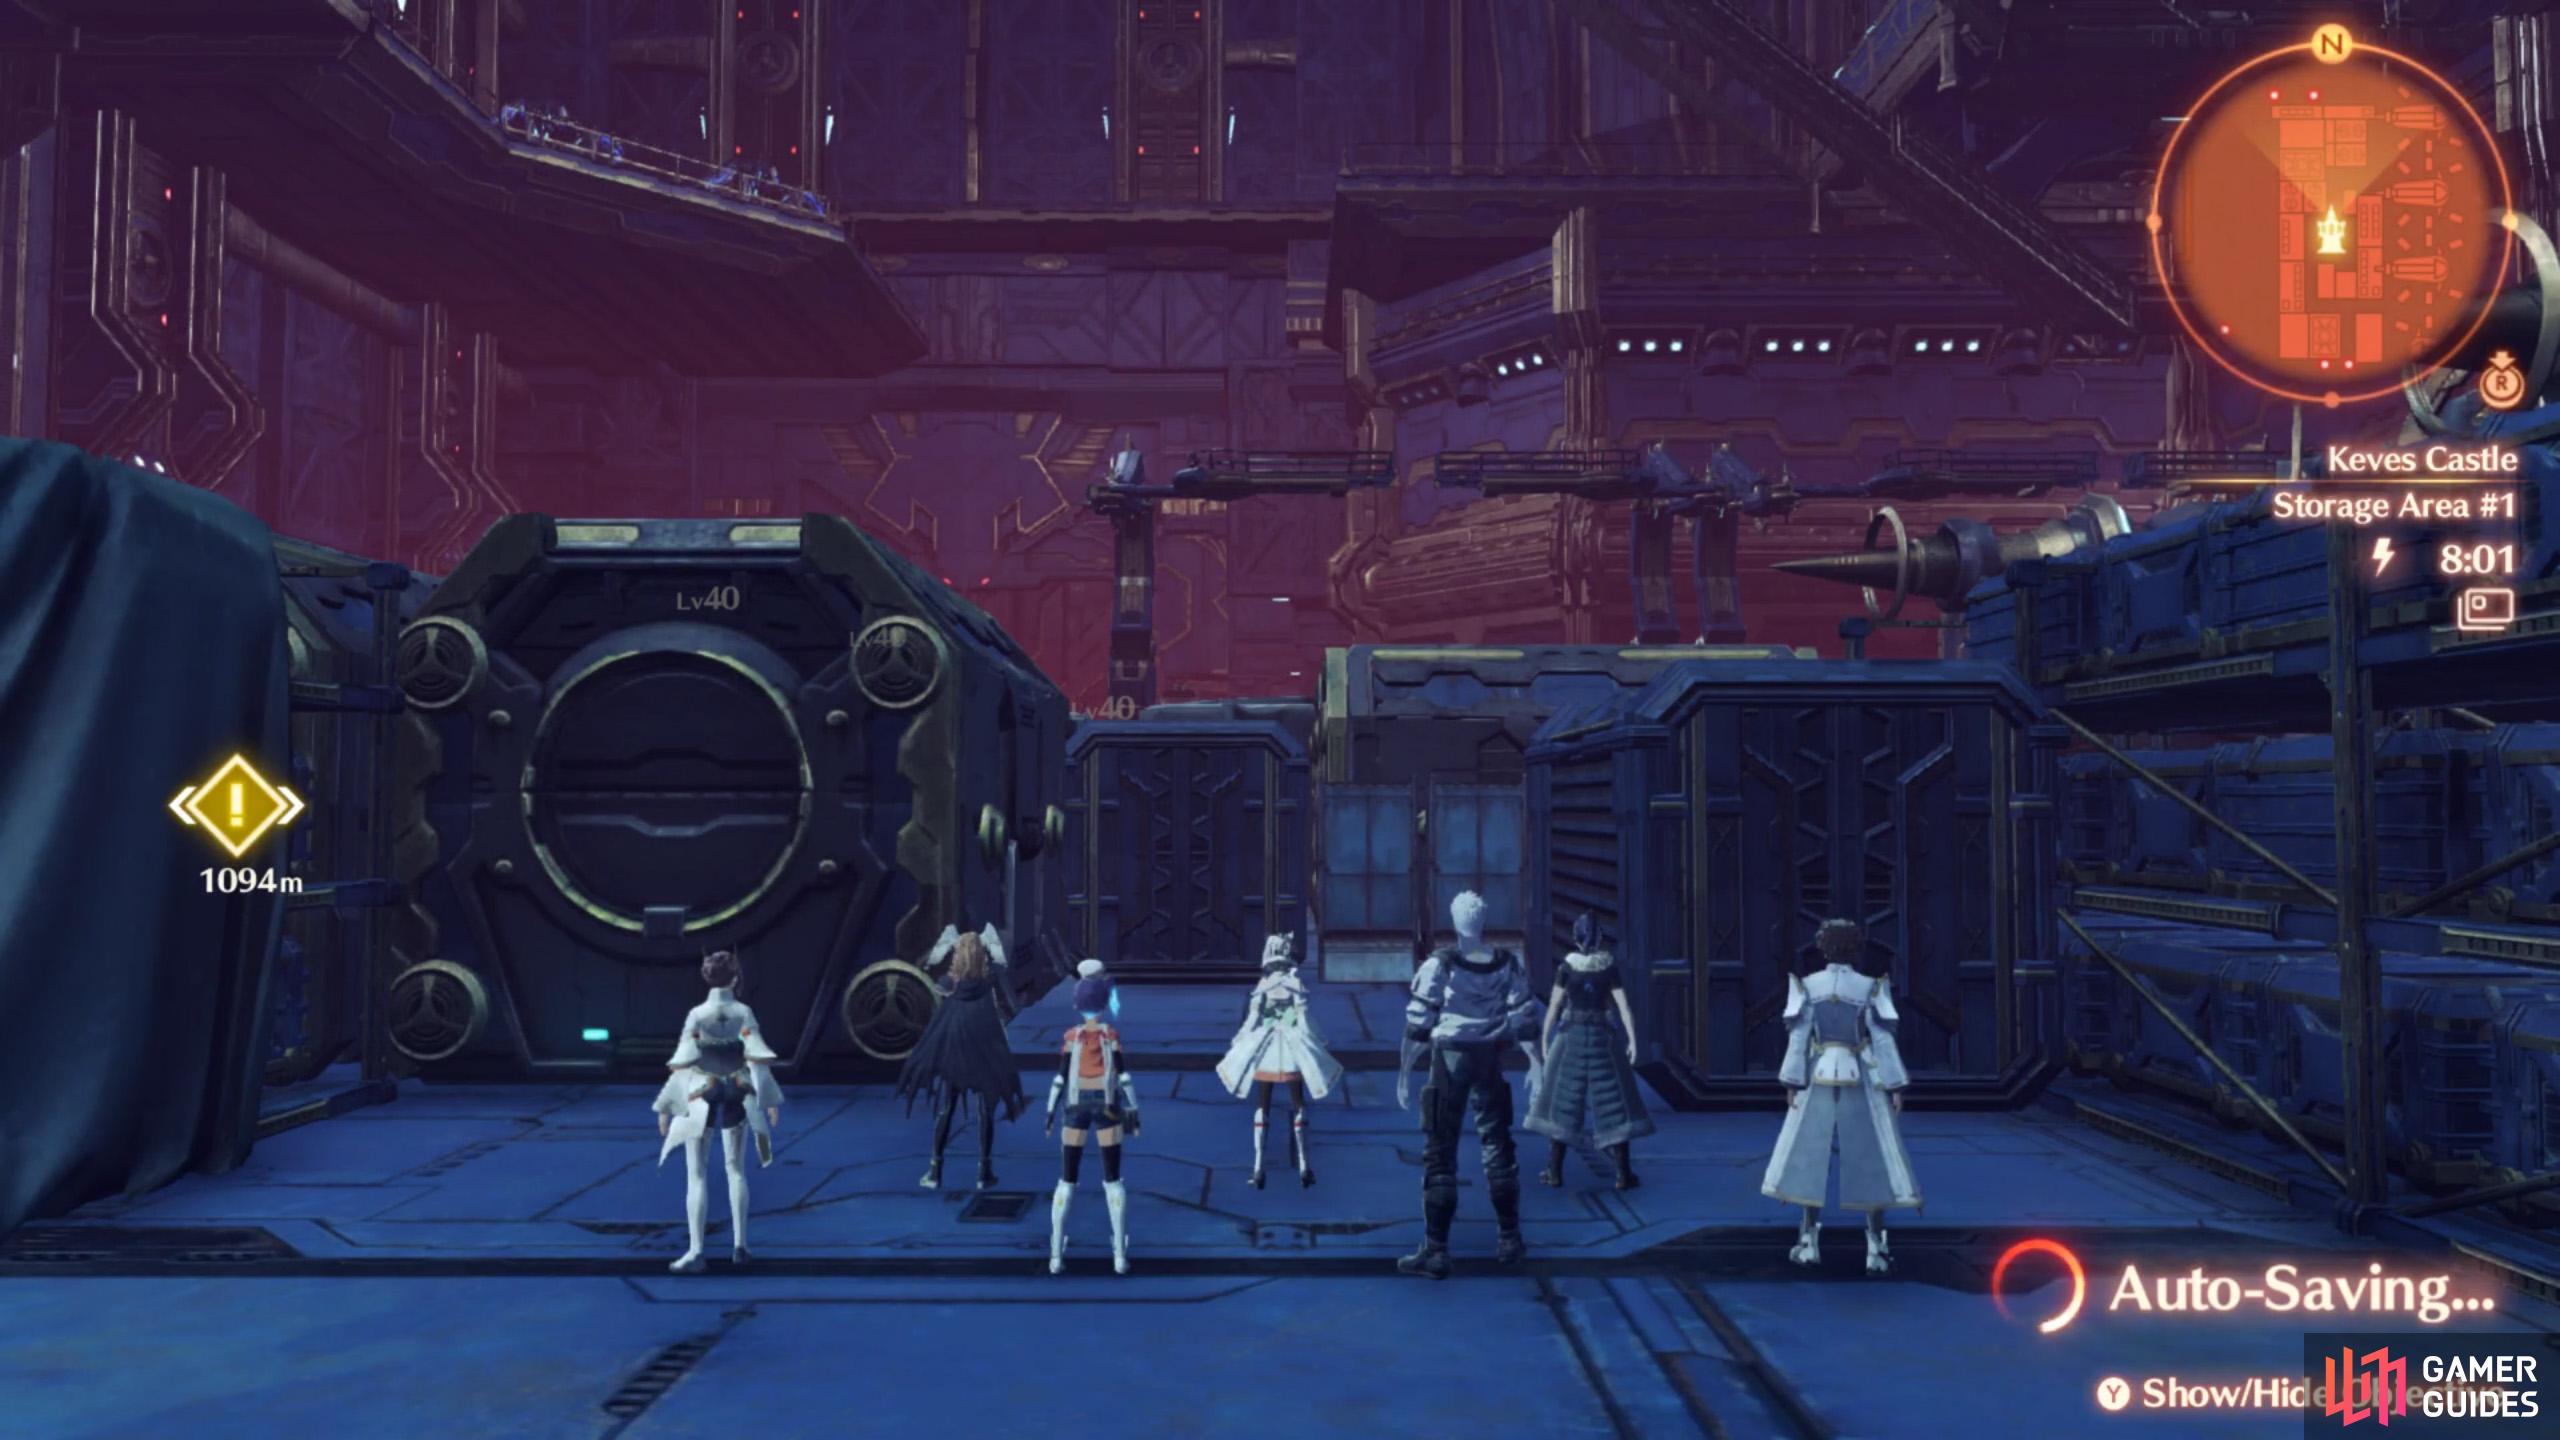
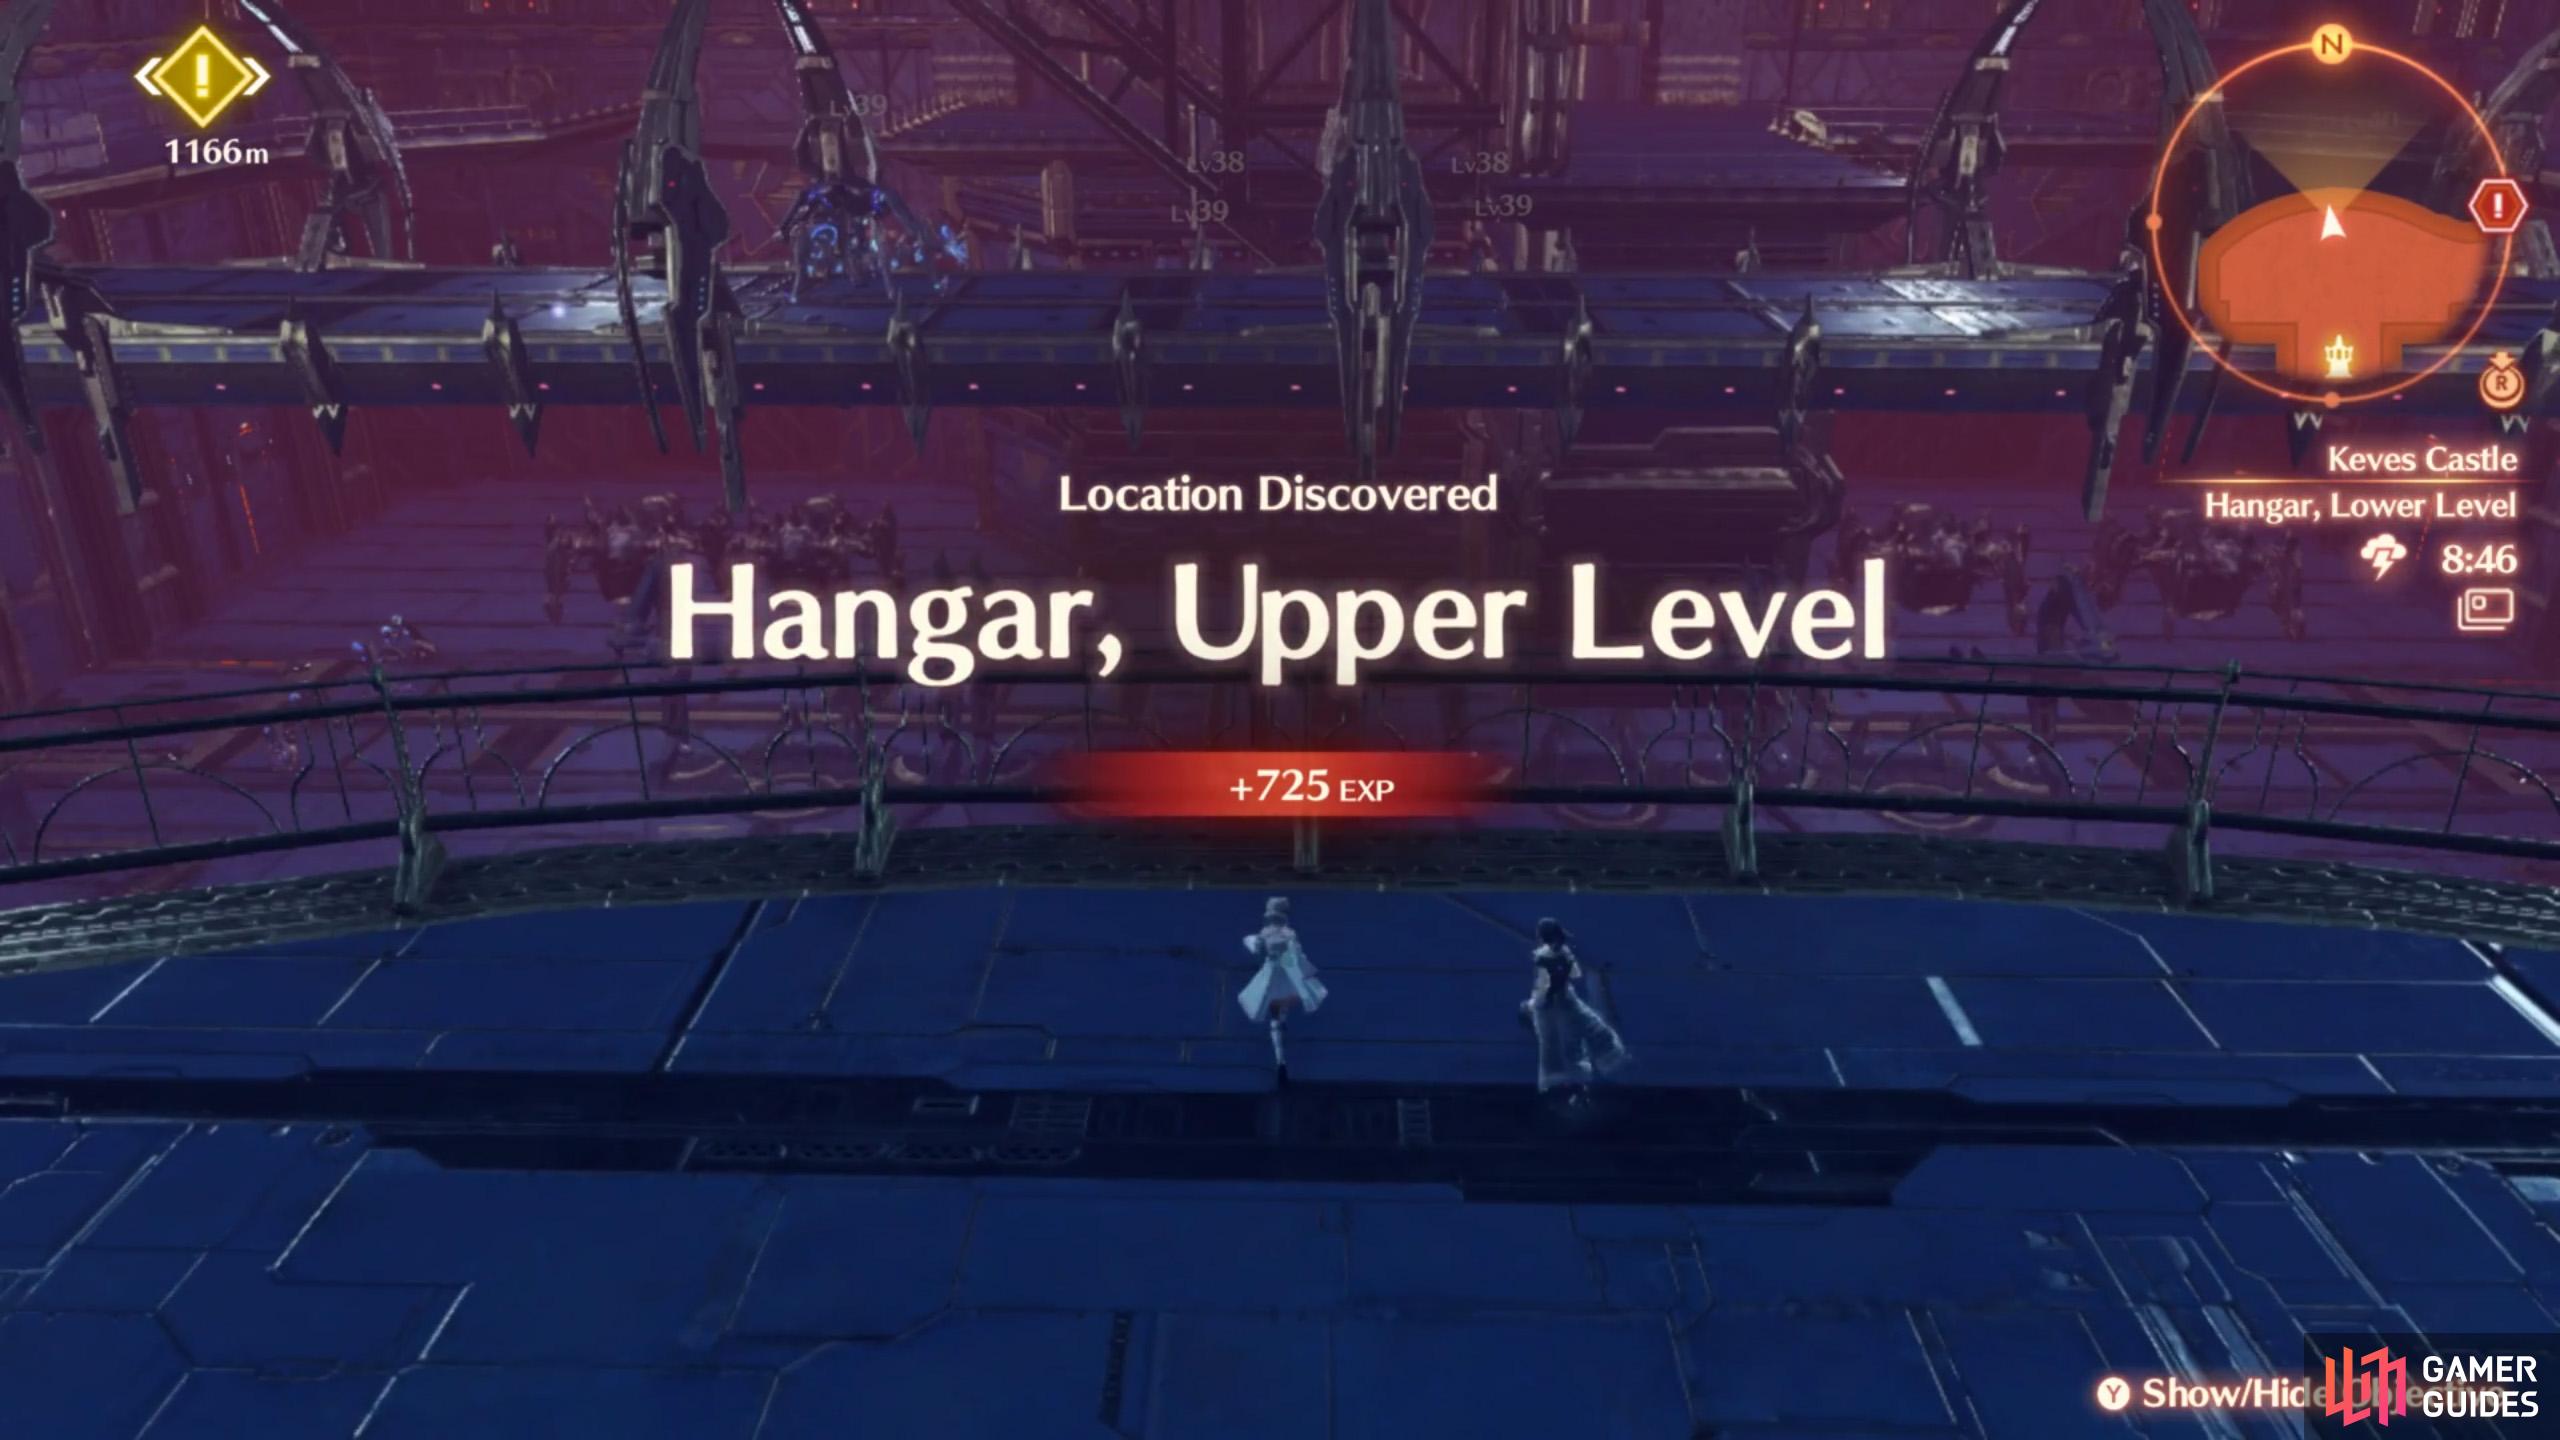
You’ll begin at the lower level of the hangar. (left), Head for the far east or west to reach the castle exterior, then go around to the upper level. (right)
After successfully infiltrating the castle, you’ll begin at Storage Area #1, in the lower level of the hangar. Not too far away to the east is Storage Area #2. First, make your way to the far west or far east side of the hangar–either direction works. You want to exit the interior and go around the outer ring.
Once you’re at the outer ring, having gone past the West Gate or East Gate, make for the center. This will take you to the 2nd floor, where the Main Gate of the hangar is. Re-enter the hangar through here, then take a right. Inspect the device to activate the cargo lift, creating a bridge to get across.
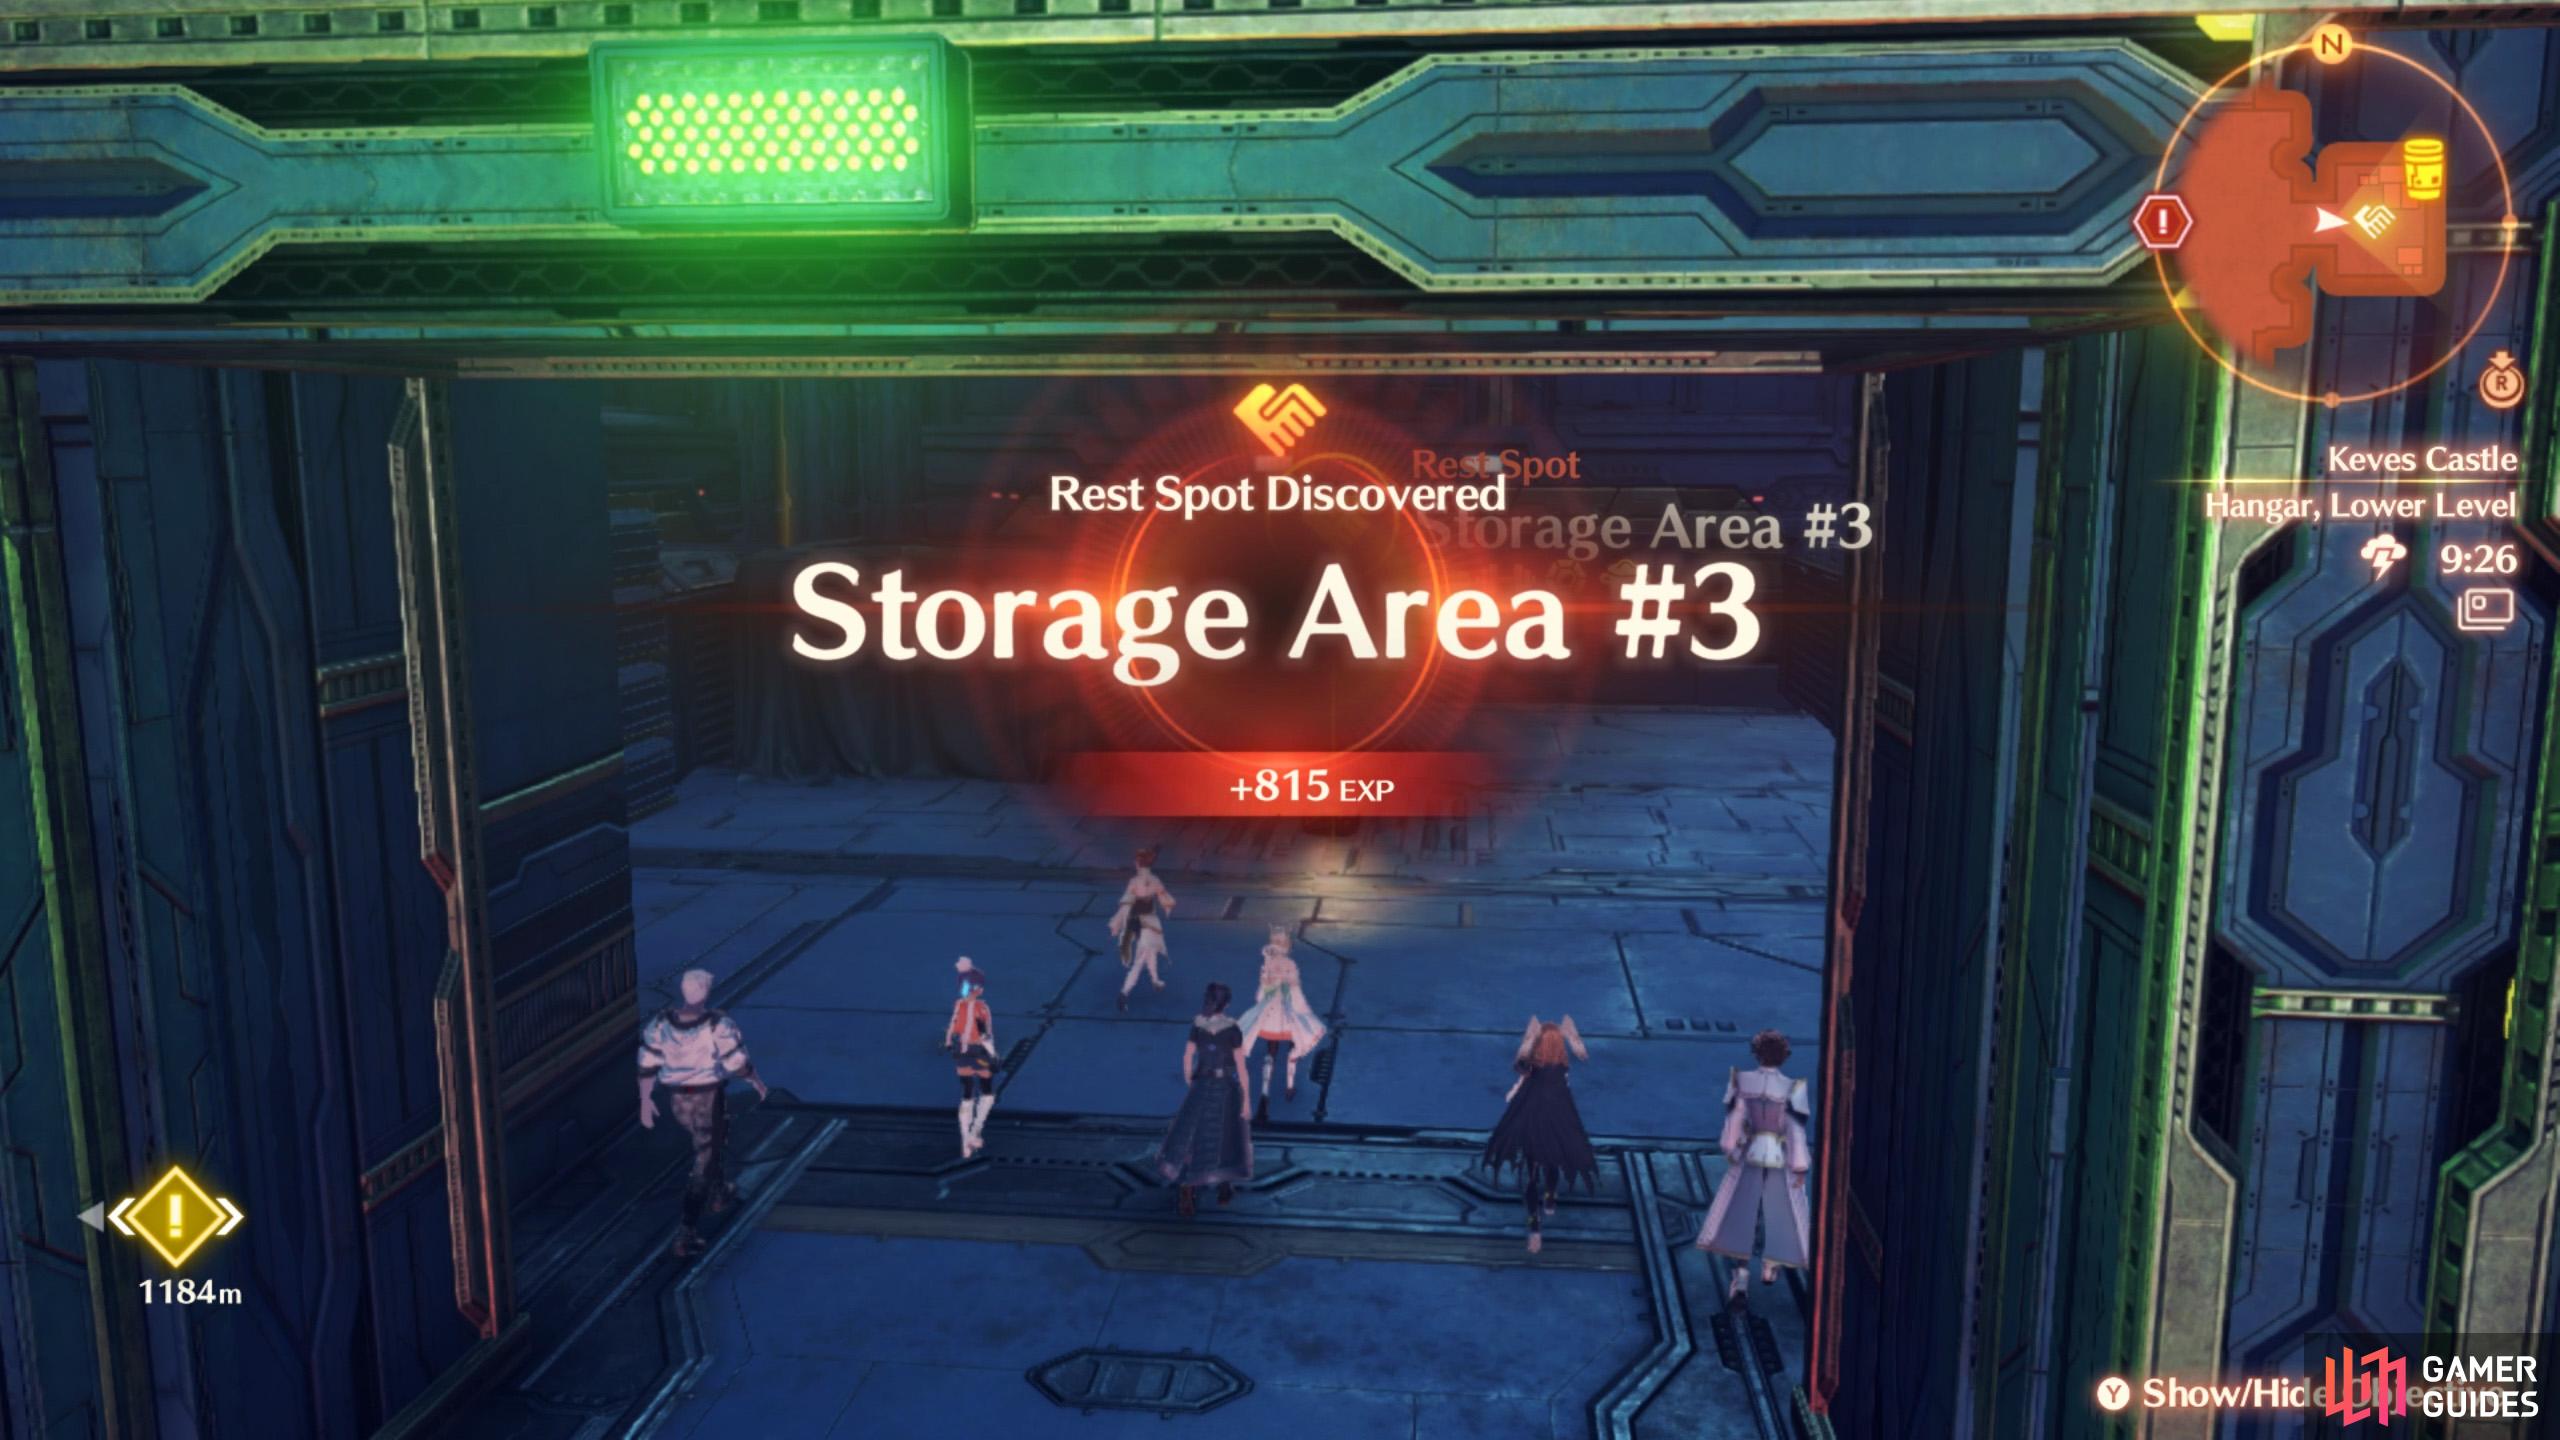
After crossing, on the right, there’s a door that leads to Storage Area #3, where there’s a rest area. Rest up if you want; nobody will disturb you.
Next, go west across the bridge in the center of the area. On the other side, open the door that’s in front. You’ll probably need to bash some enemies before you can open the door in peace. Past the door, follow the corridor south, until you reach another door. Past that door, activate the nearby device, then proceed north and activate the next device.
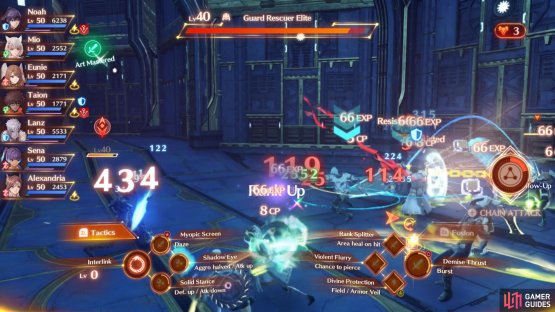
(1 of 2) Fighting is unavoidable.

Fighting is unavoidable. (left), Once you’ve reached here, there isn’t much further to go. (right)
Now head back south towards the last door you came through, then climb up the nearby ladder. Having activated the two devices around here, you can now traverse the walkway north all the way. At the far corner, go down the ladder a short distance east. You’ll now be at the north side. Around here, there’s an elevator that leads to the 3rd floor.
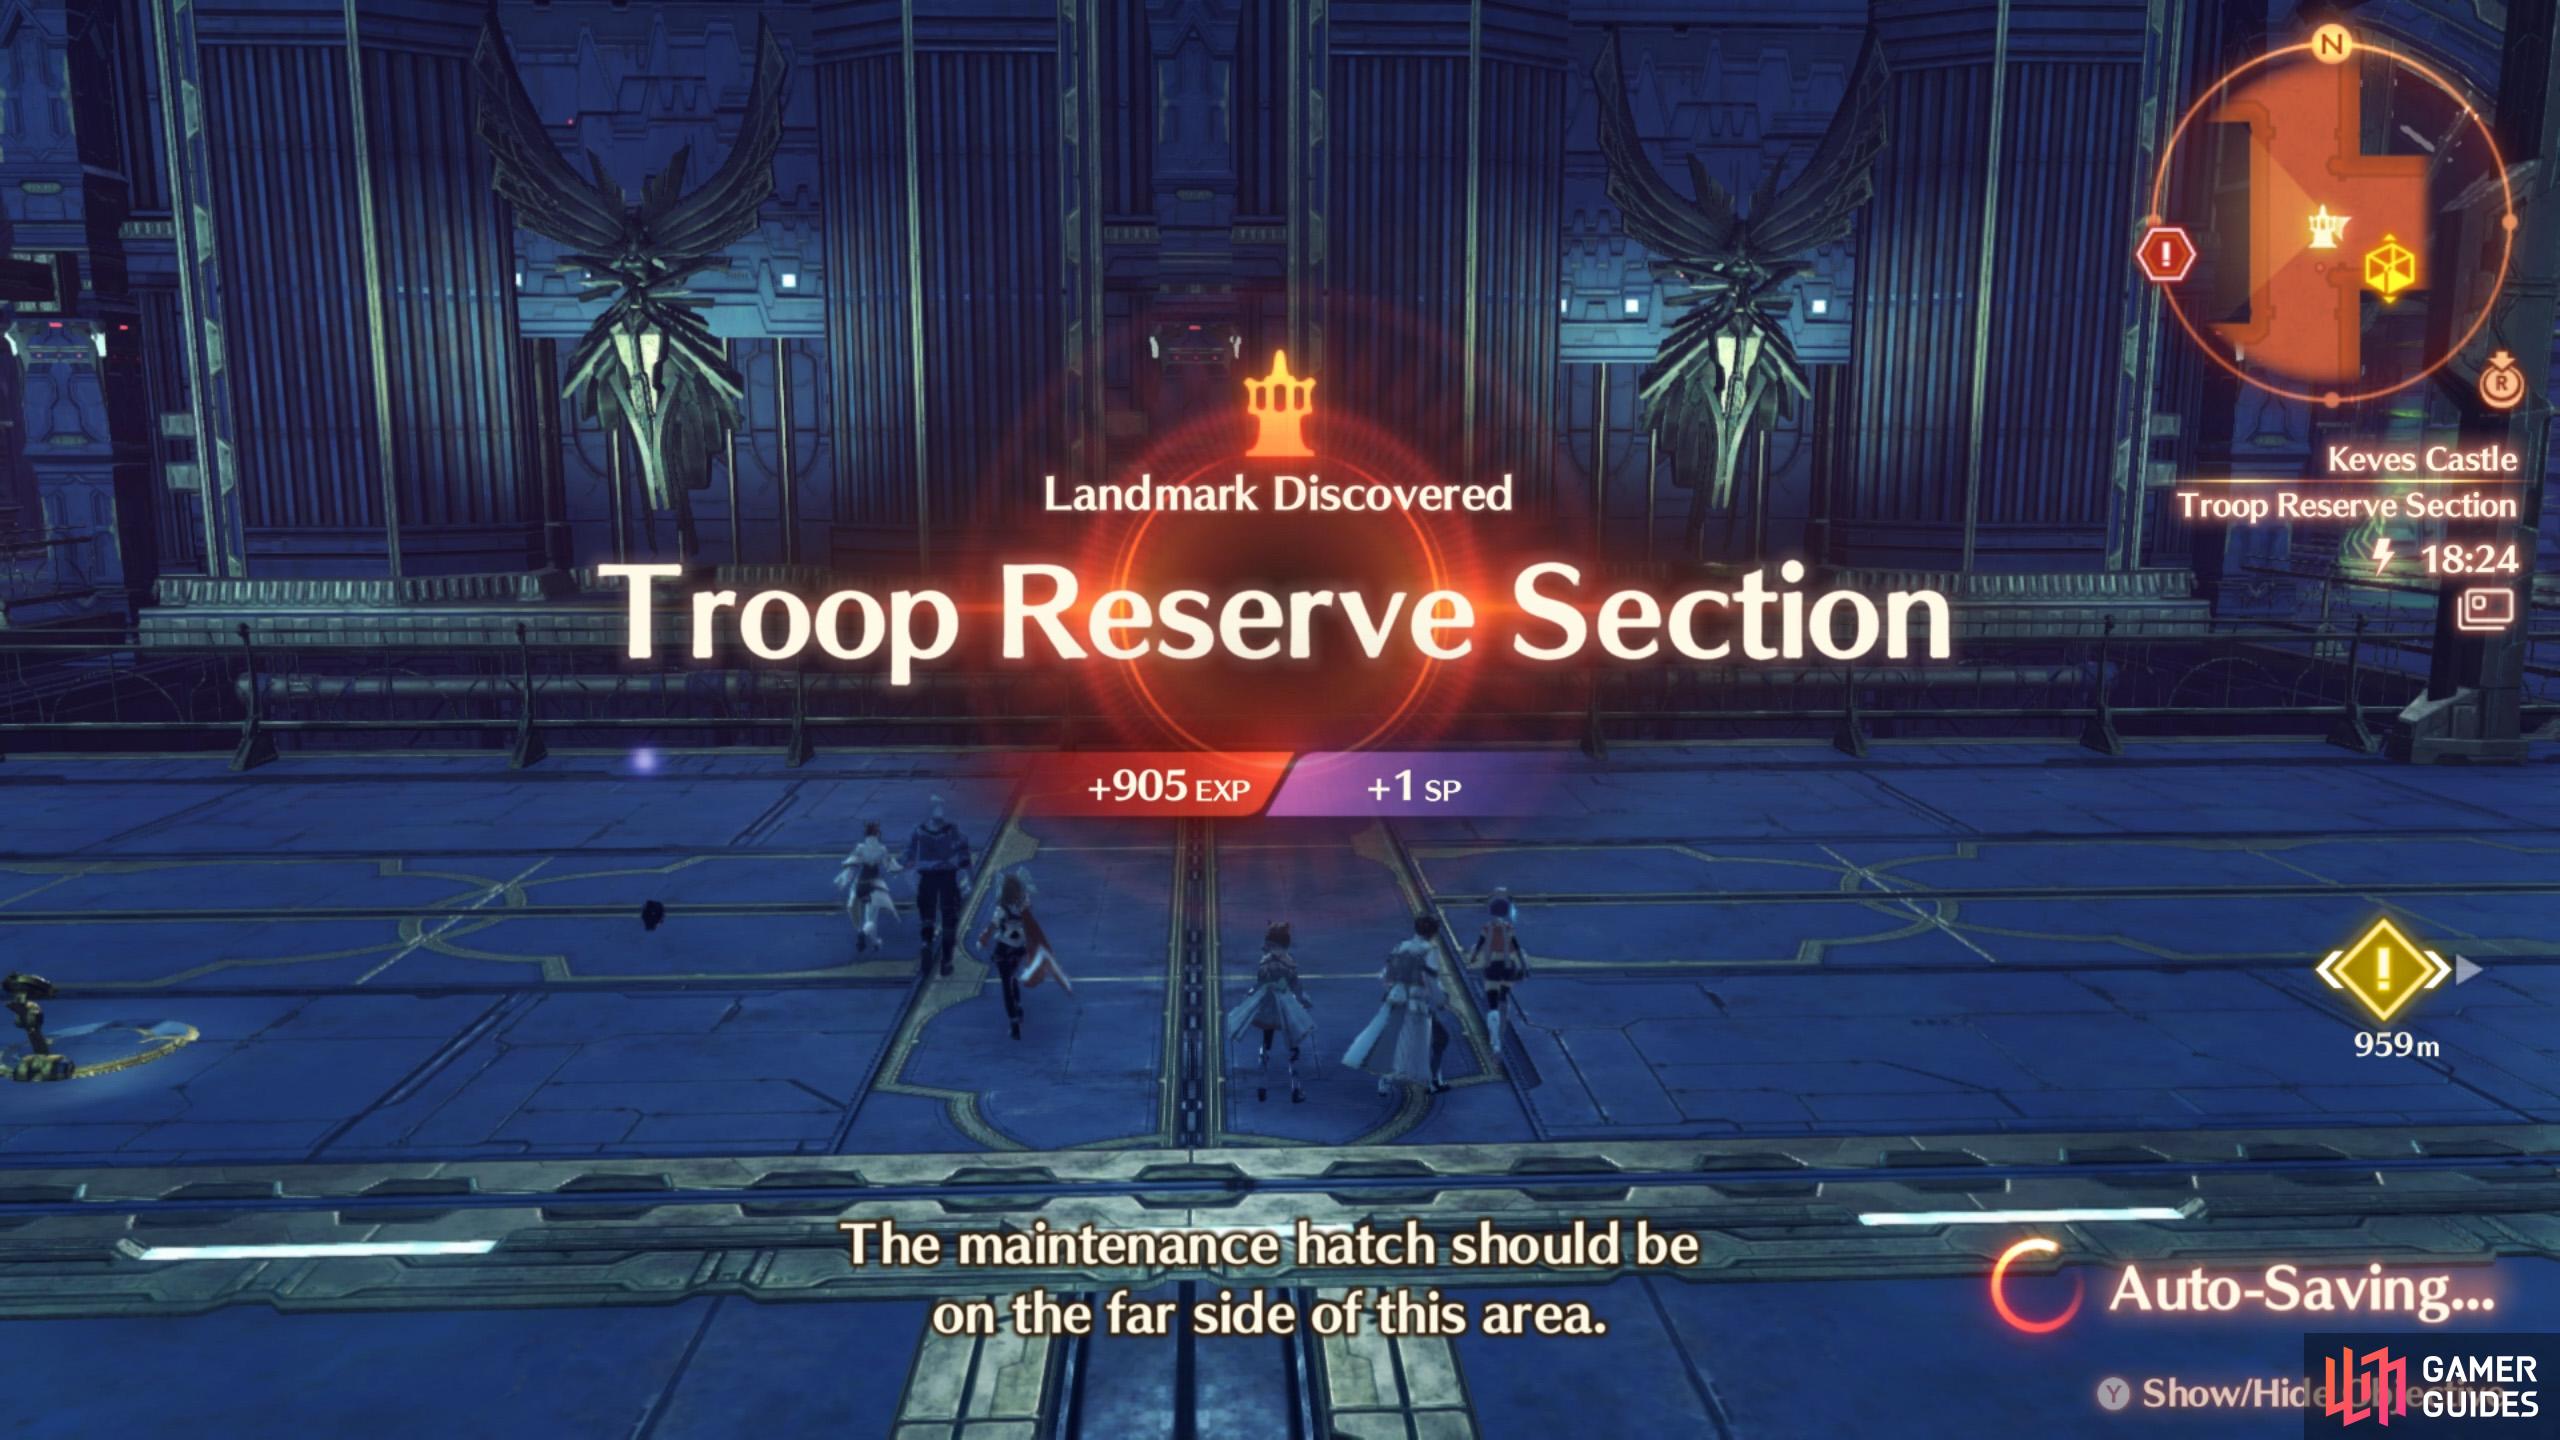
On the 3rd floor, you’ll arrive at the Troop Reserve Section. If you go left, you’ll run into a trio of Unique Monsters. Meanwhile, going right will lead you to less powerful foes. Either way, you want to head towards the far west side of this area. Once you’re there, there’s a locked door. Go up towards the south-west corner of this area, then go up the ramp.
Up here, there’s a door that leads to Equipment Storage, with another rest area. How kind! When you’re ready, go through the door near the north-west corner of the room. Inspect the device at the end of the short pathway to unlock the door from earlier. You can then jump down and go through.
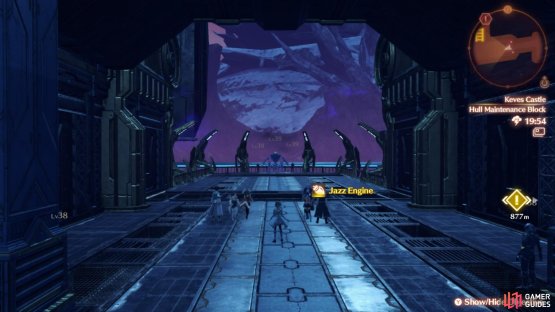
You’ll now be back outside again, at the Hull Maintenance Block. Go forward a little, then turn right and carefully make your way north, by climbing the ladders and navigating the narrow pathways. Further north, you’ll finally arrive at the Annihilator Foundations. Before you can touch the Annihilator, the bad guys will try and stop you.
Locations
(1 of 2) There are plenty of landmarks dotted around.
There are plenty of landmarks dotted around. (left), Plus more rest areas than you probably need. (right)
Landmarks at Keves Castle
| Name | Description |
|---|---|
| Storage Area #1 | 1st floor. Hangar, west from center. |
| Storage Area #2 | 1st floor. Hangar, east from center. |
| Hangar, Lower: West Gate | 1st floor. Hangar, towards the far west. Leads to the castle exterior. |
| Hangar, Lower: East Gate | 1st floor. Hangar, towards the far east. Leads to the castle exterior. |
| Hangar, Upper: Main Gate | 2nd floor. Towards the south. Accessible from the castle exterior. |
| Troop Reserve Section | 3rd floor. Towards the south. |
| Annihilator Foundations | 3rd floor. Towards the far west, at the castle exterior. |
Rest Areas at Keves Castle
| Name | Description |
|---|---|
| Storage Area #3 | 2nd floor. Hangar, Upper Level. Towards the east. |
| Equipment Storage | 3rd floor. West from the Troop Reserve Section entrance. Before the exit to the castle exterior. |
Containers at Keves Castle
(1 of 2) None of the containers should really tax your brains.
None of the containers should really tax your brains. (left), There are a few where you need to bash some skulls in though. (right)
| Container # | Map Marker | Location |
|---|---|---|
| 1 | Map Marker | 1st floor. Right near Storage Area #2 landmark. |
| 2 | Map Marker | 1st floor. South from Storage Area #2 landmark. |
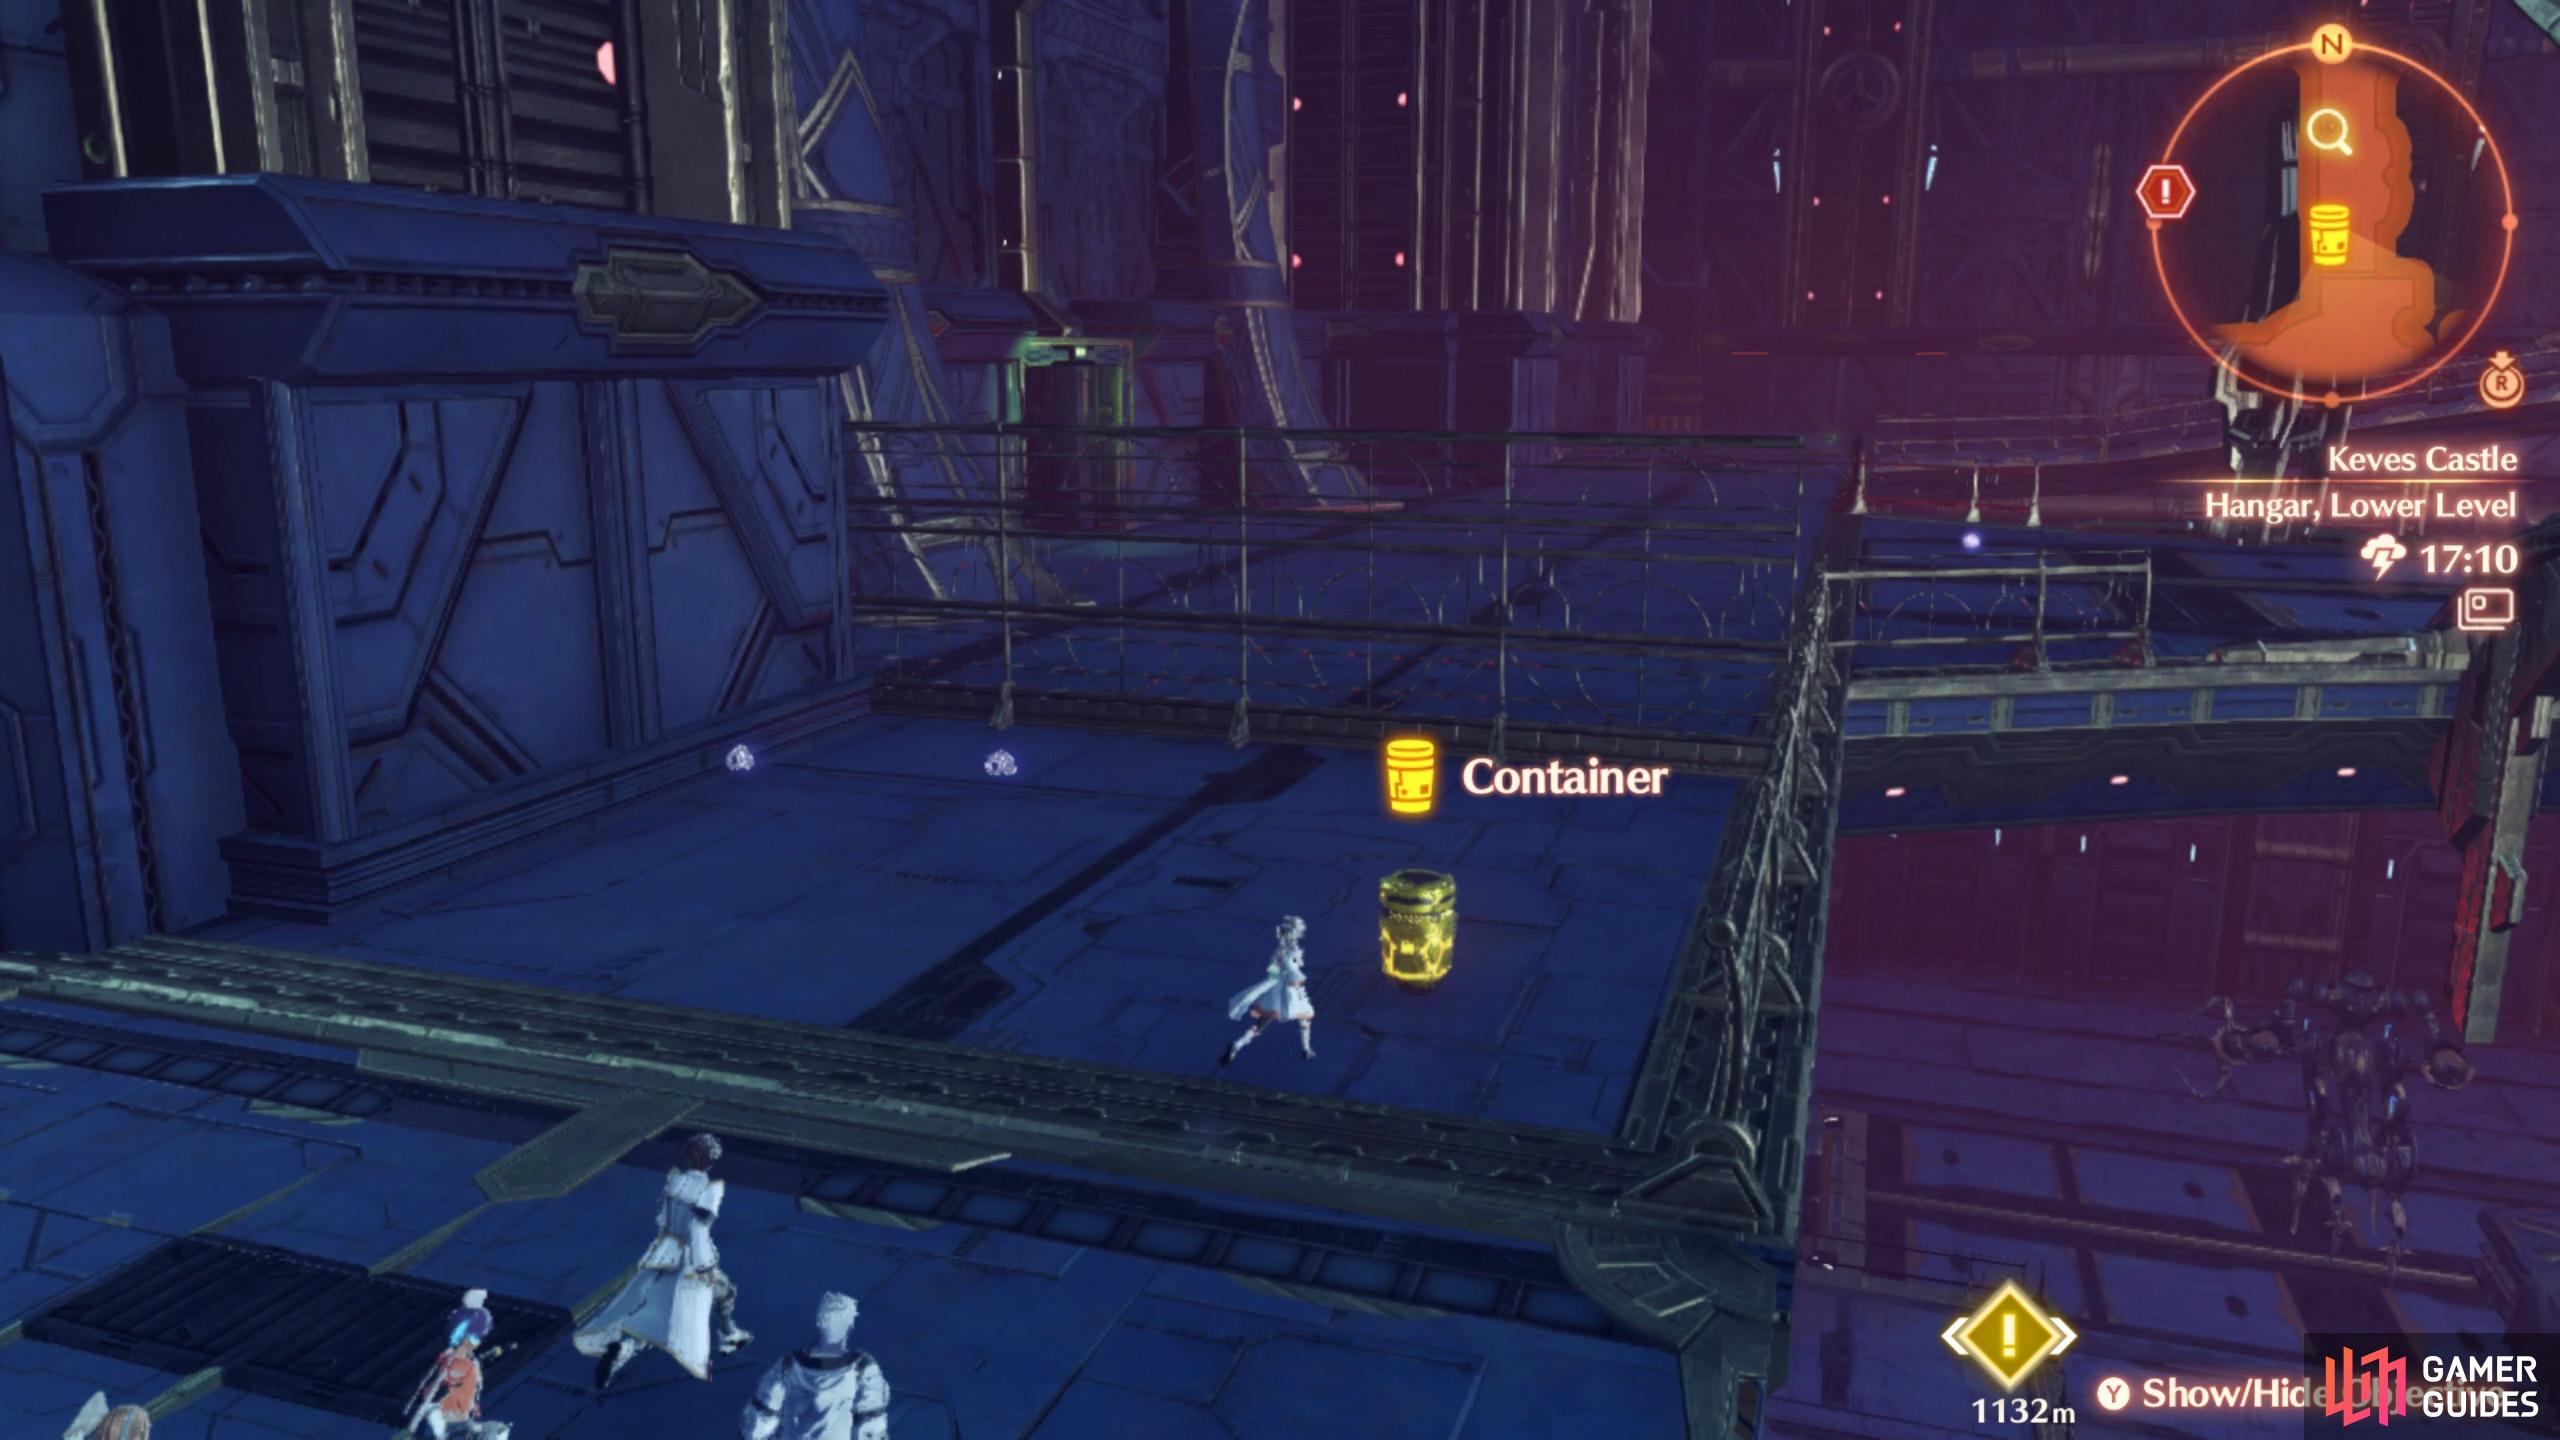
| 3 | Map Marker | 1st floor. South-west from Storage Area #1 landmark. By corner of the hangar. |
| 4 | Map Marker | 2nd floor. Next to Storage Area #3 rest area. |
| 5 | Map Marker | 2nd floor. North-west corner, on the walkway. |
| 6 | Map Marker | 2nd floor. North-west from Storage Area #3. Accessible from the north side. |
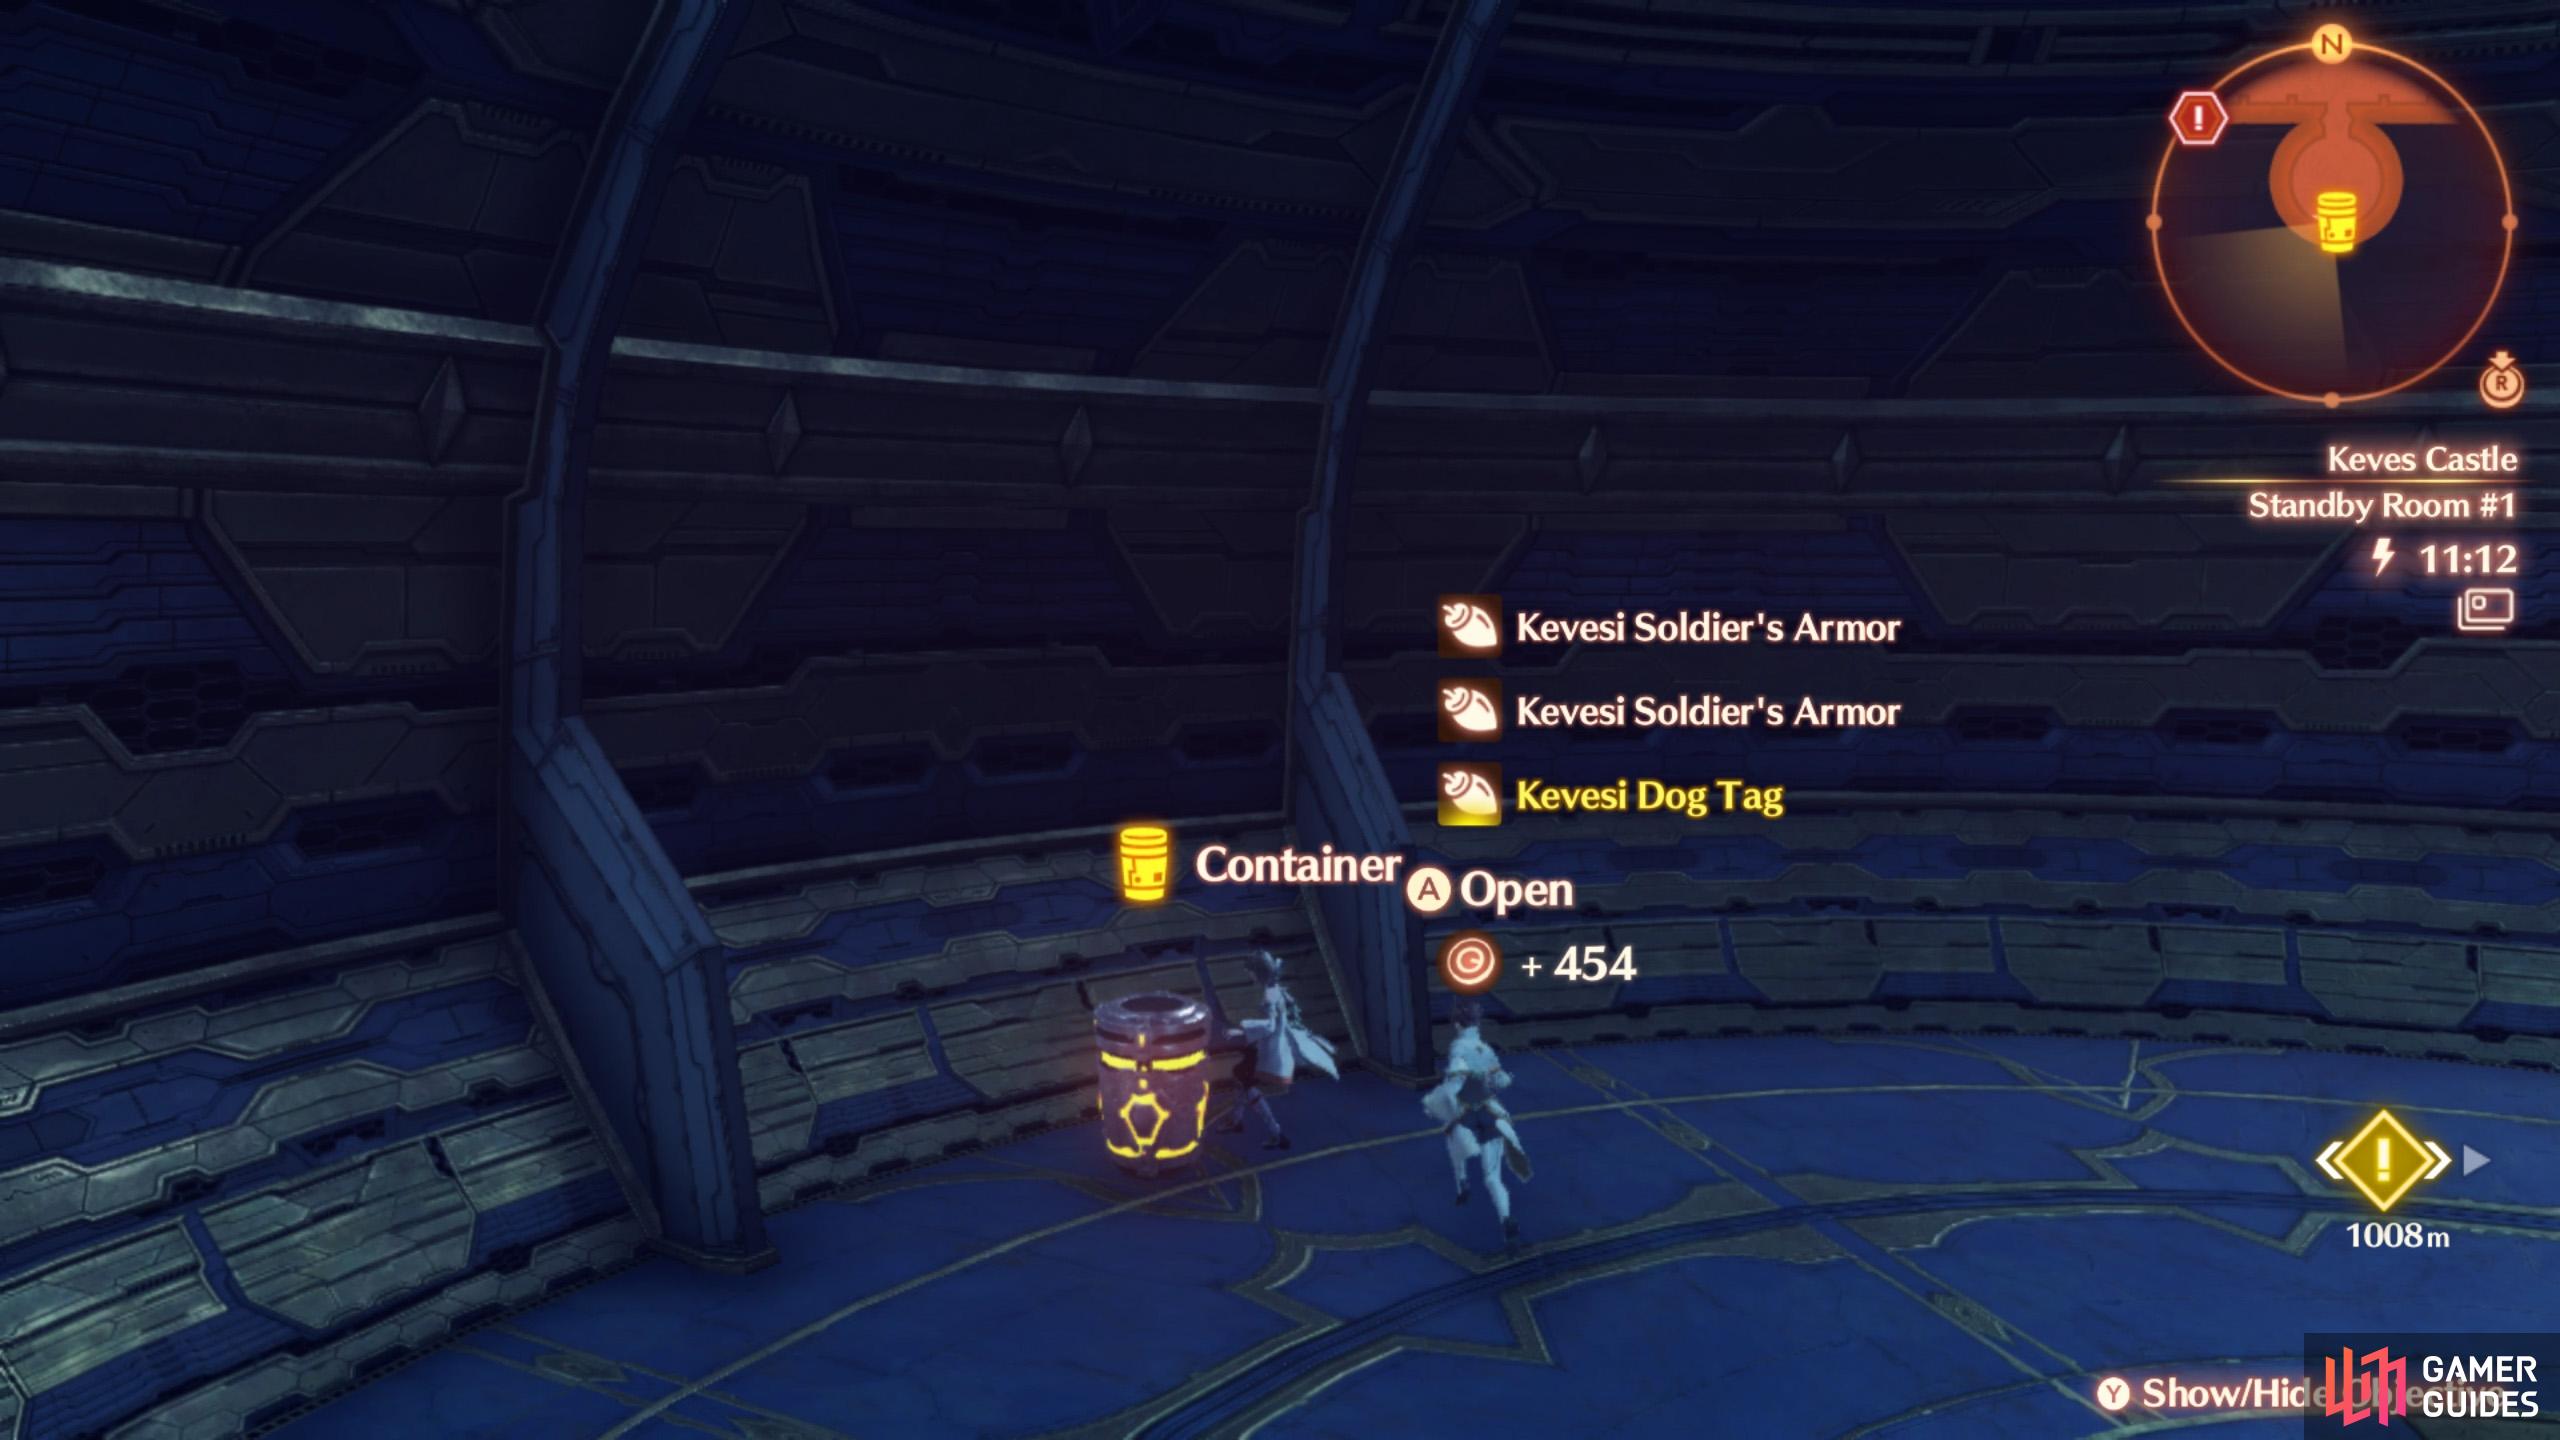
| 7 | Map Marker | 3rd floor. Inside Standby Room #1. Through first door on the left. |
| 8 | Map Marker | 3rd floor. Next to Equipment Storage landmark. |
No Comments