This is a guide for The Tableland Hulk Standard Quest in Xenoblade Chronicles 3.
Where to Find The Tableland Hulk
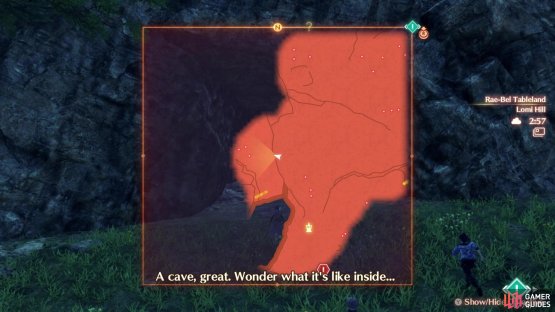
(1 of 2) The location of the cave you have to find on the map
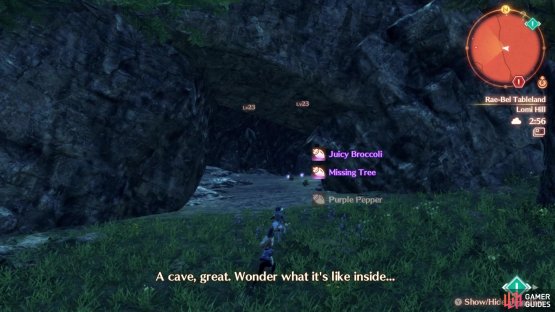
The location of the cave you have to find on the map (left), Look for the remarks by your party to know where to find the cave (right)
The Tableland Hulk is located in the Fornis Region, in the Rutez Barr location of the map. In order to get there, you will need to have progressed in Chapter 3 of the main story, to the point where you have completed the Hero Quest, The Kind Right Hand. This is actually part of the main story, so you won’t be able to miss it. Once you have completed that Hero Quest, you will gain the ability to climb the purple-colored walls. With that traversal technique, head to the Elsie’s Spout landmark to climb the walls there, which will allow you to reach the Rae-Bel Tableland area of the map.
Upon reaching Rae-Bel Tableland, you will need to venture to the Old Kana Battlefield landmark. The story will eventually take you there, so it’s best to just do that until you discover it. Once you get there, head northwest a little bit to find a cave in the side of the mountain, which will have some bats in it. Go through that cave and on the other side, you will discover the Tableland Hulk a little to the north-northwest.
How to Complete The Tableland Hulk
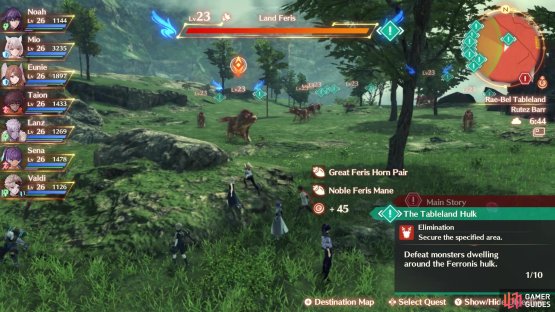
Whenever you first reach The Tableland Hulk and get the quest in your log, you will notice that it is surrounded by a bunch of enemies. Specifically, the place is overrun by Level 23 Land Feris enemies. If you haven’t fought any of these, think of them as overgrown Volffs, in terms of what they can do. In order to finish this quest, you will need to defeat all 10 Land Feris enemies. You will want to be careful here, as the enemies are in close proximity to one another. Use the lure technique (up button) to get them away from one another. Note that there will be two Elites mixed in with the pack, so those will be a little tougher.
(1 of 2) There will be two Elites mixed in with the pack
There will be two Elites mixed in with the pack (left), but your level should be high enough to not have to worry too much (right)
Once you have defeated all 10 Land Feris enemies, climb the ladder to the top of the Ferronis Hulk, open the shutter and place an Ether Container inside. It will cost 10 Ether Containers to start the Ferronis Hulk again. After getting the Ferronis back online, you will be finished with the quest. Don’t forget to open the two Containers for the abundance of loot, as well as try your chance at the Fabricator (this one costs 600 G each time to use it).
Quest Rewards
| EXP | Gold | SP | Rewards |
|---|---|---|---|
| 2,320 | 0 | 10 | – |


No Comments