
This is a guide for Chapter 2 of Xenoblade Chronicles 3, explaining how to cook, perform Chain Attacks and craft gems.
These lil’ Nopon fellas have been leeching off you for a while, so it’s about time to make them work for you. Although you also need to pitch in.
Standard Quest: Riku and Manana

(1 of 2) Another mandatory sidequest.

Another mandatory sidequest. (left), Somebody looks pleased with herself. (right)
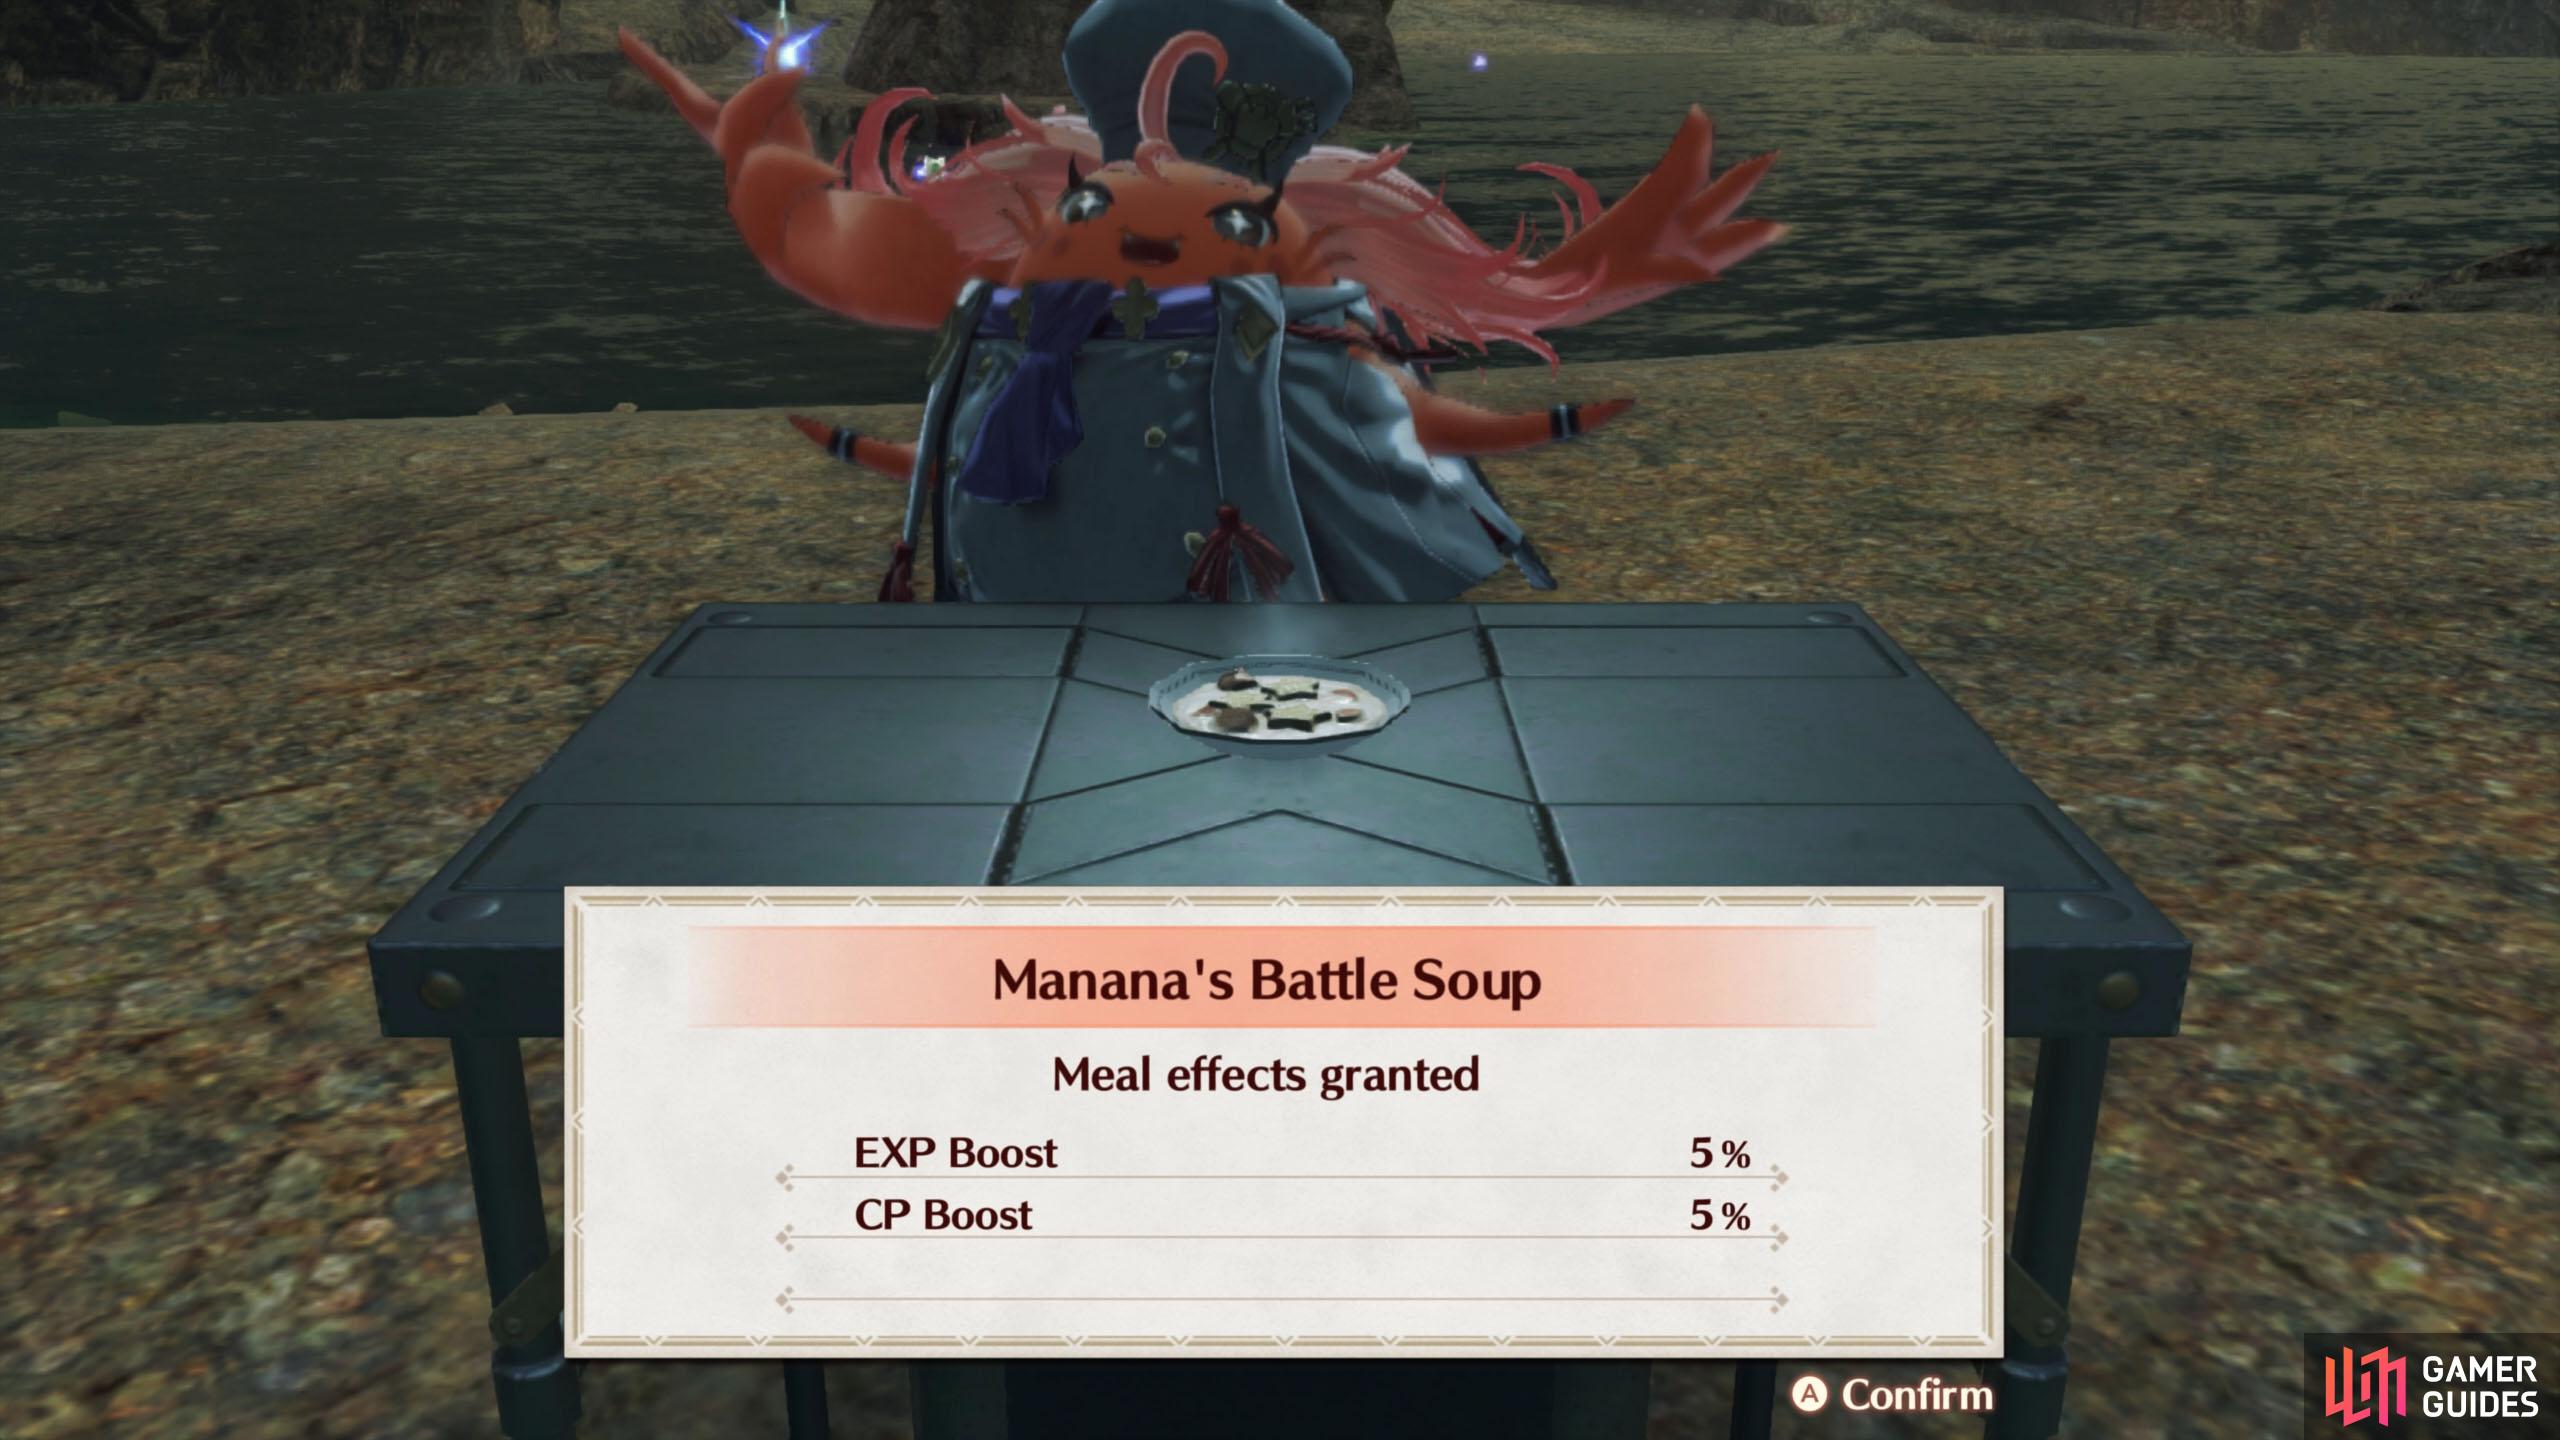
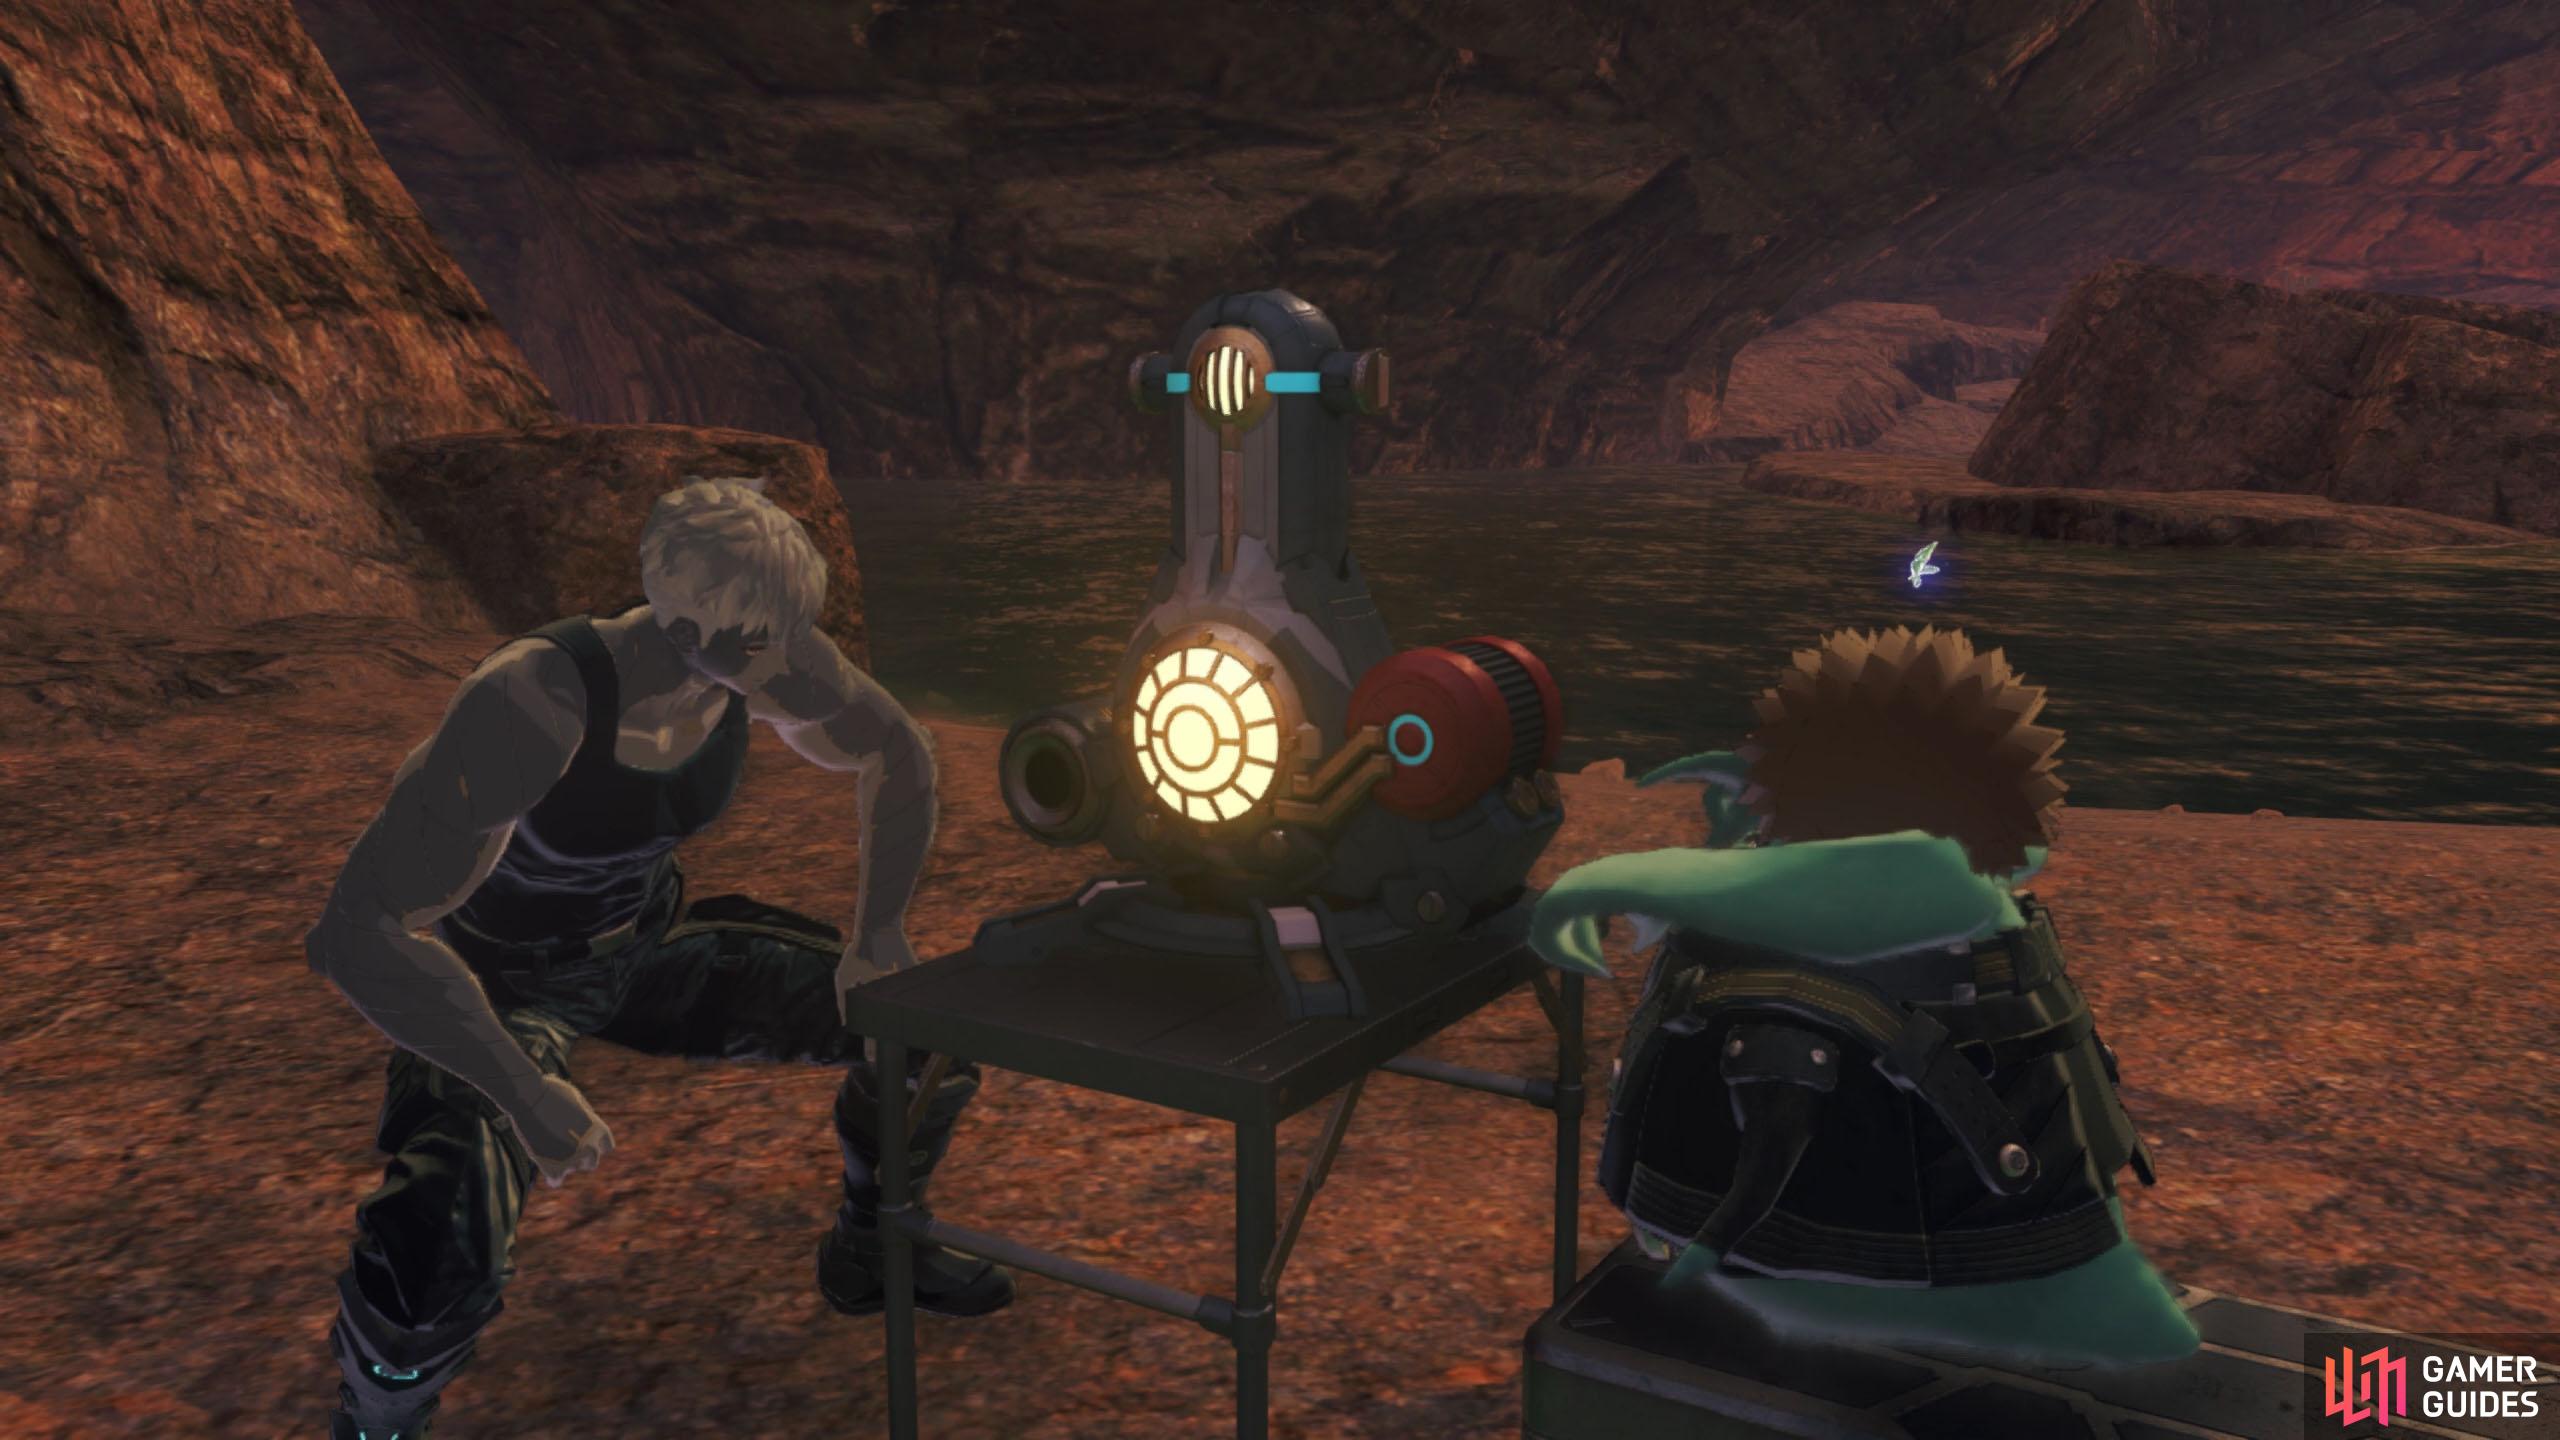
How to Cook
First up, Manana will cook a nice meal for you. Approach the rest area, then choose the Cook option. Pick Manana’s Battle Soup and hold A to make it, using the ingredients you were given.
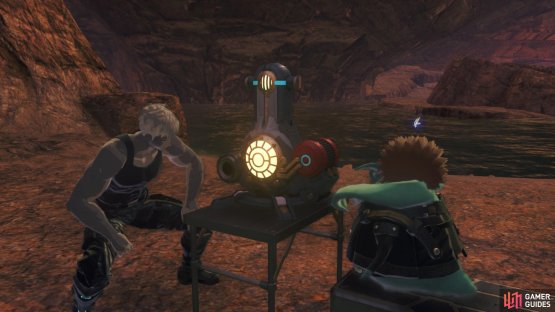
That’s Manana; now it’s time for Riku to shine. Except he needs some prep work first. Head directly south to find another water spot, where a foe awaits: a Level 16 Gyanna Aspar.
Bash the big snake around for a while, then it’ll use Serpentine Blow and topple everyone, while reducing their HP to 1. Riku will give everyone a pep talk and round 2 will begin. Everyone will have full health again, so don’t worry.
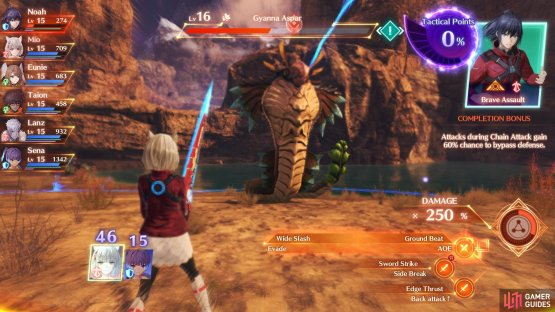
How to Perform Chain Attacks
These have returned from previous Xenoblade games, although they work a little differently. As usual, you can build up the Chain Attack gauge as you fight. By performing combos, canceling into Arts and achieving Role Actions. Once it’s full, hit + to trigger the Chain Attack.


(1 of 2) First, begin by choosing one of the three Chain Orders.
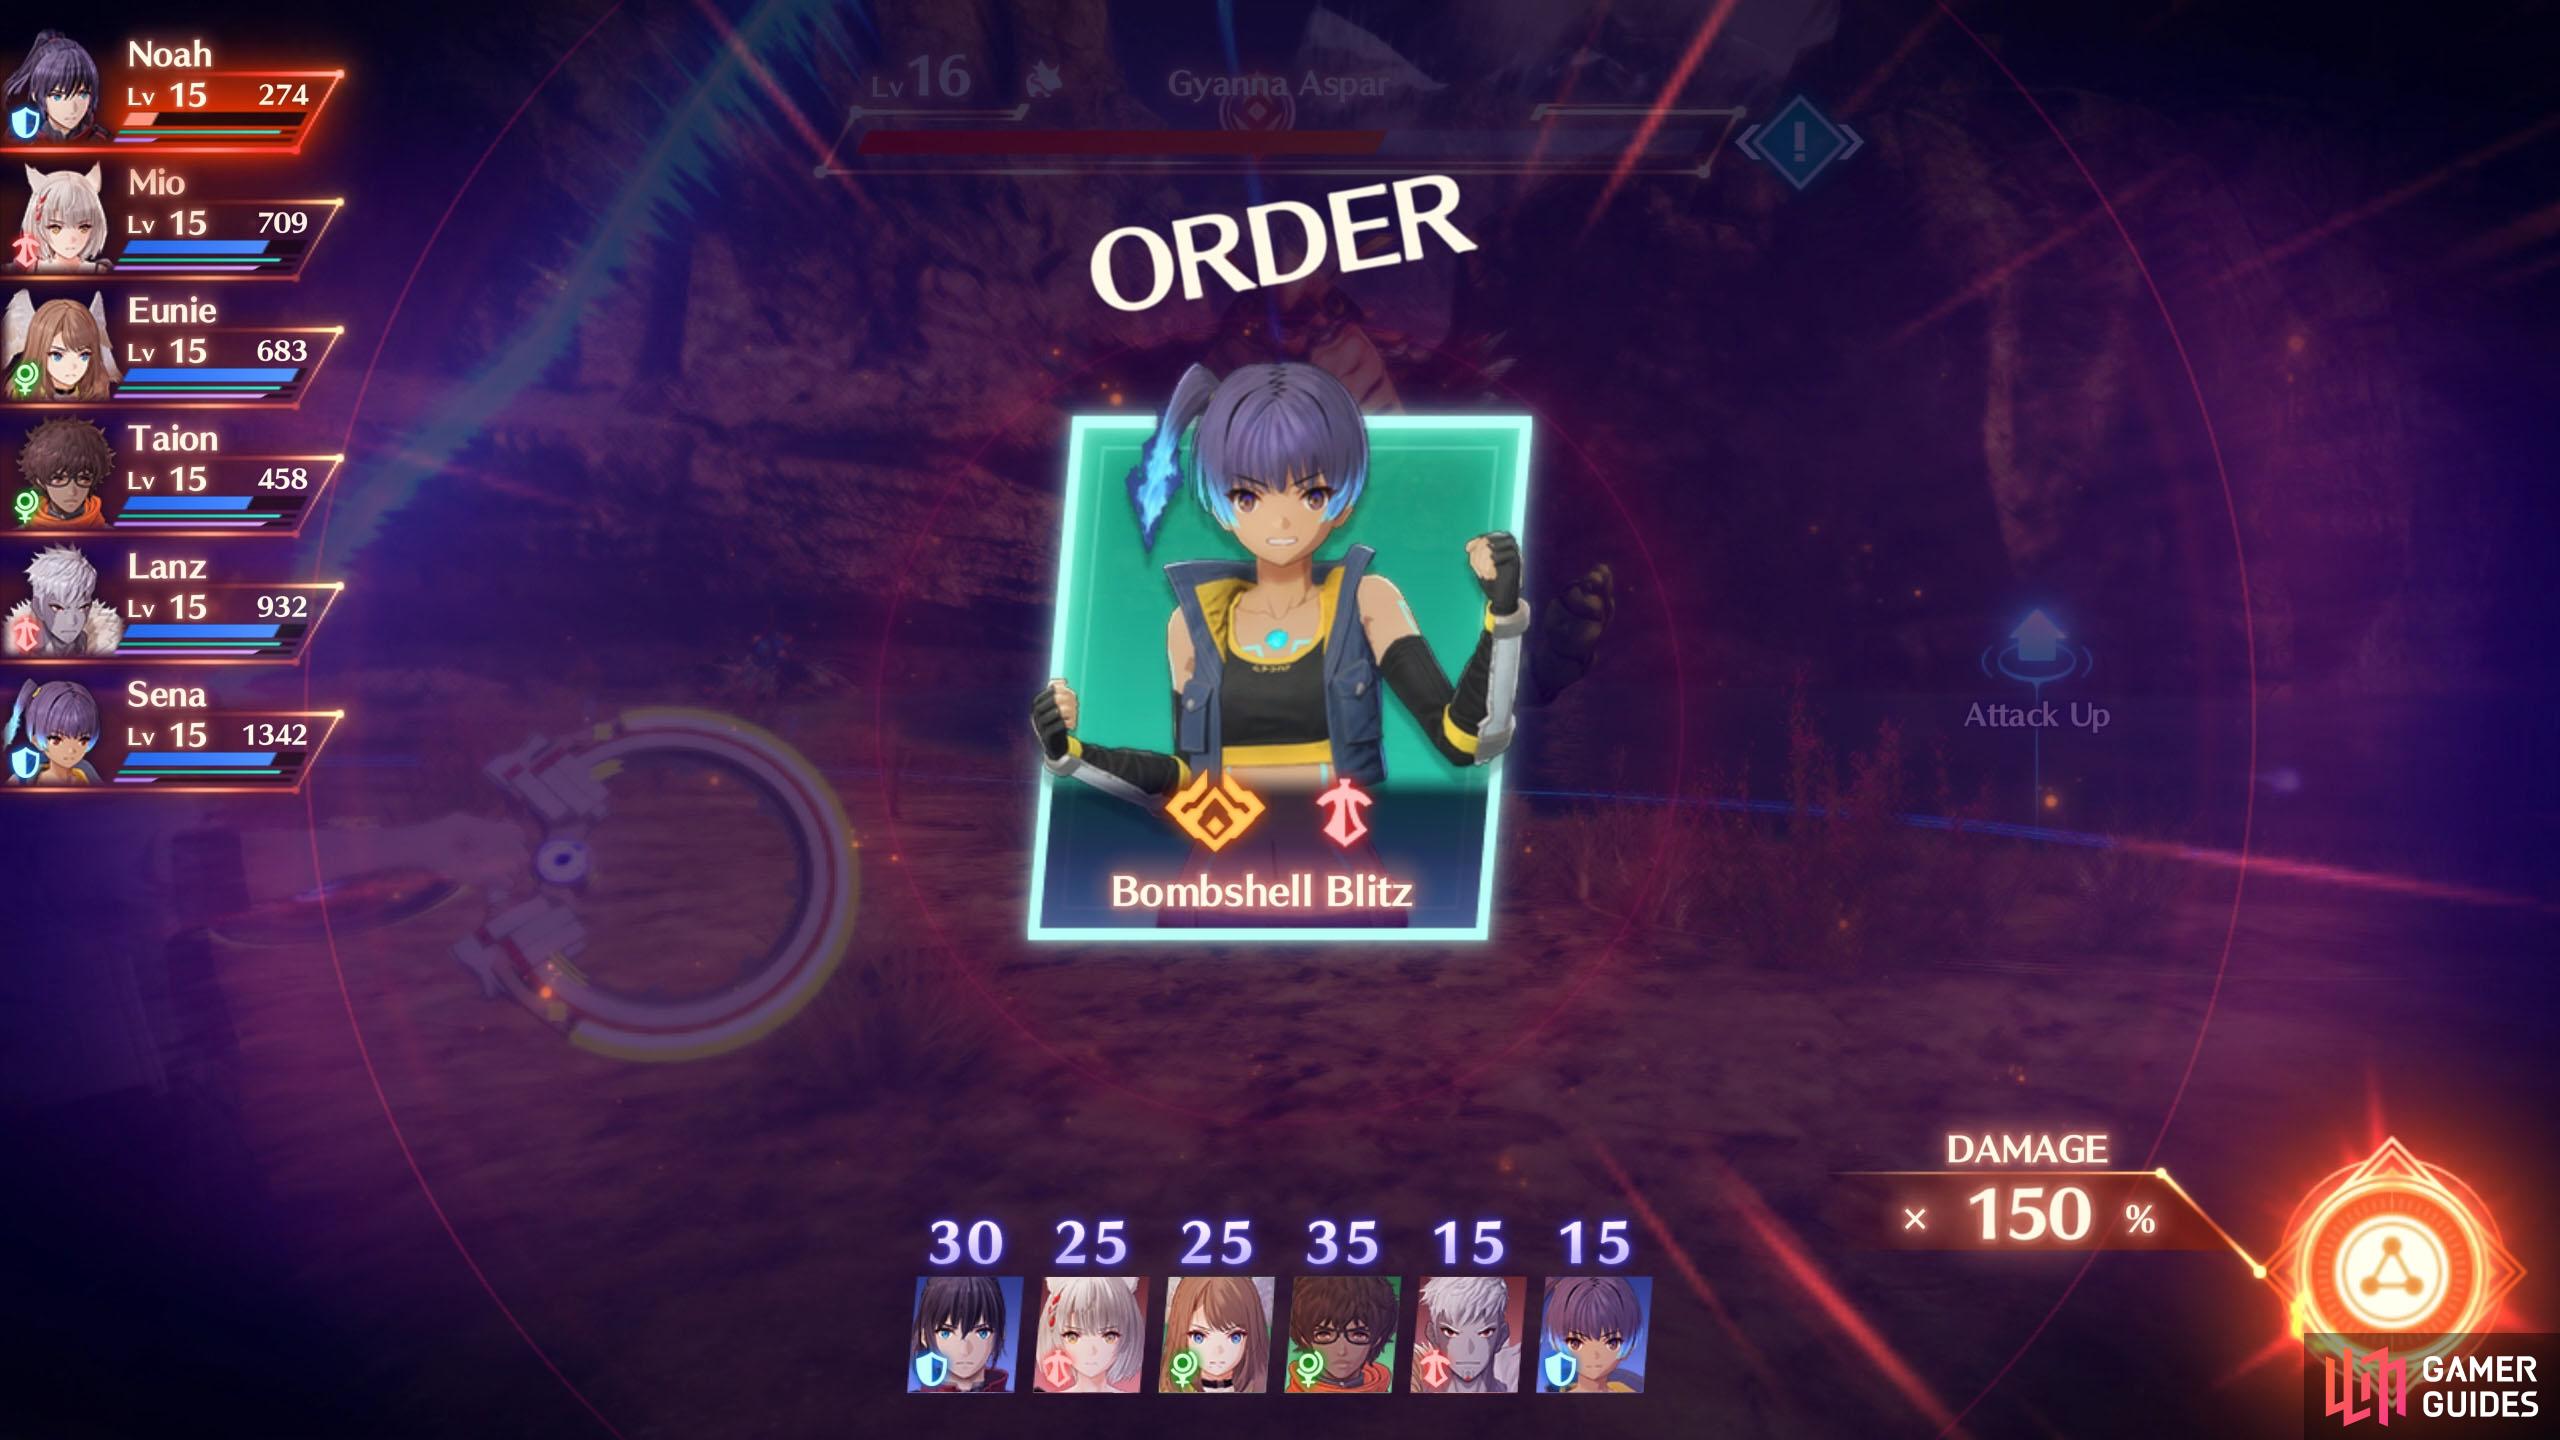
First, begin by choosing one of the three Chain Orders. (left), Next, hover over a character, then press X, Y or B to use a Class/Fusion Art. (right)
The first difference is Chain Orders. During each round of a Chain Attack, you can choose from three randomly selected Chain Orders–one for each character. Each Chain Order has its own completion bonus, which triggers if you activate the Chain Order during that round.
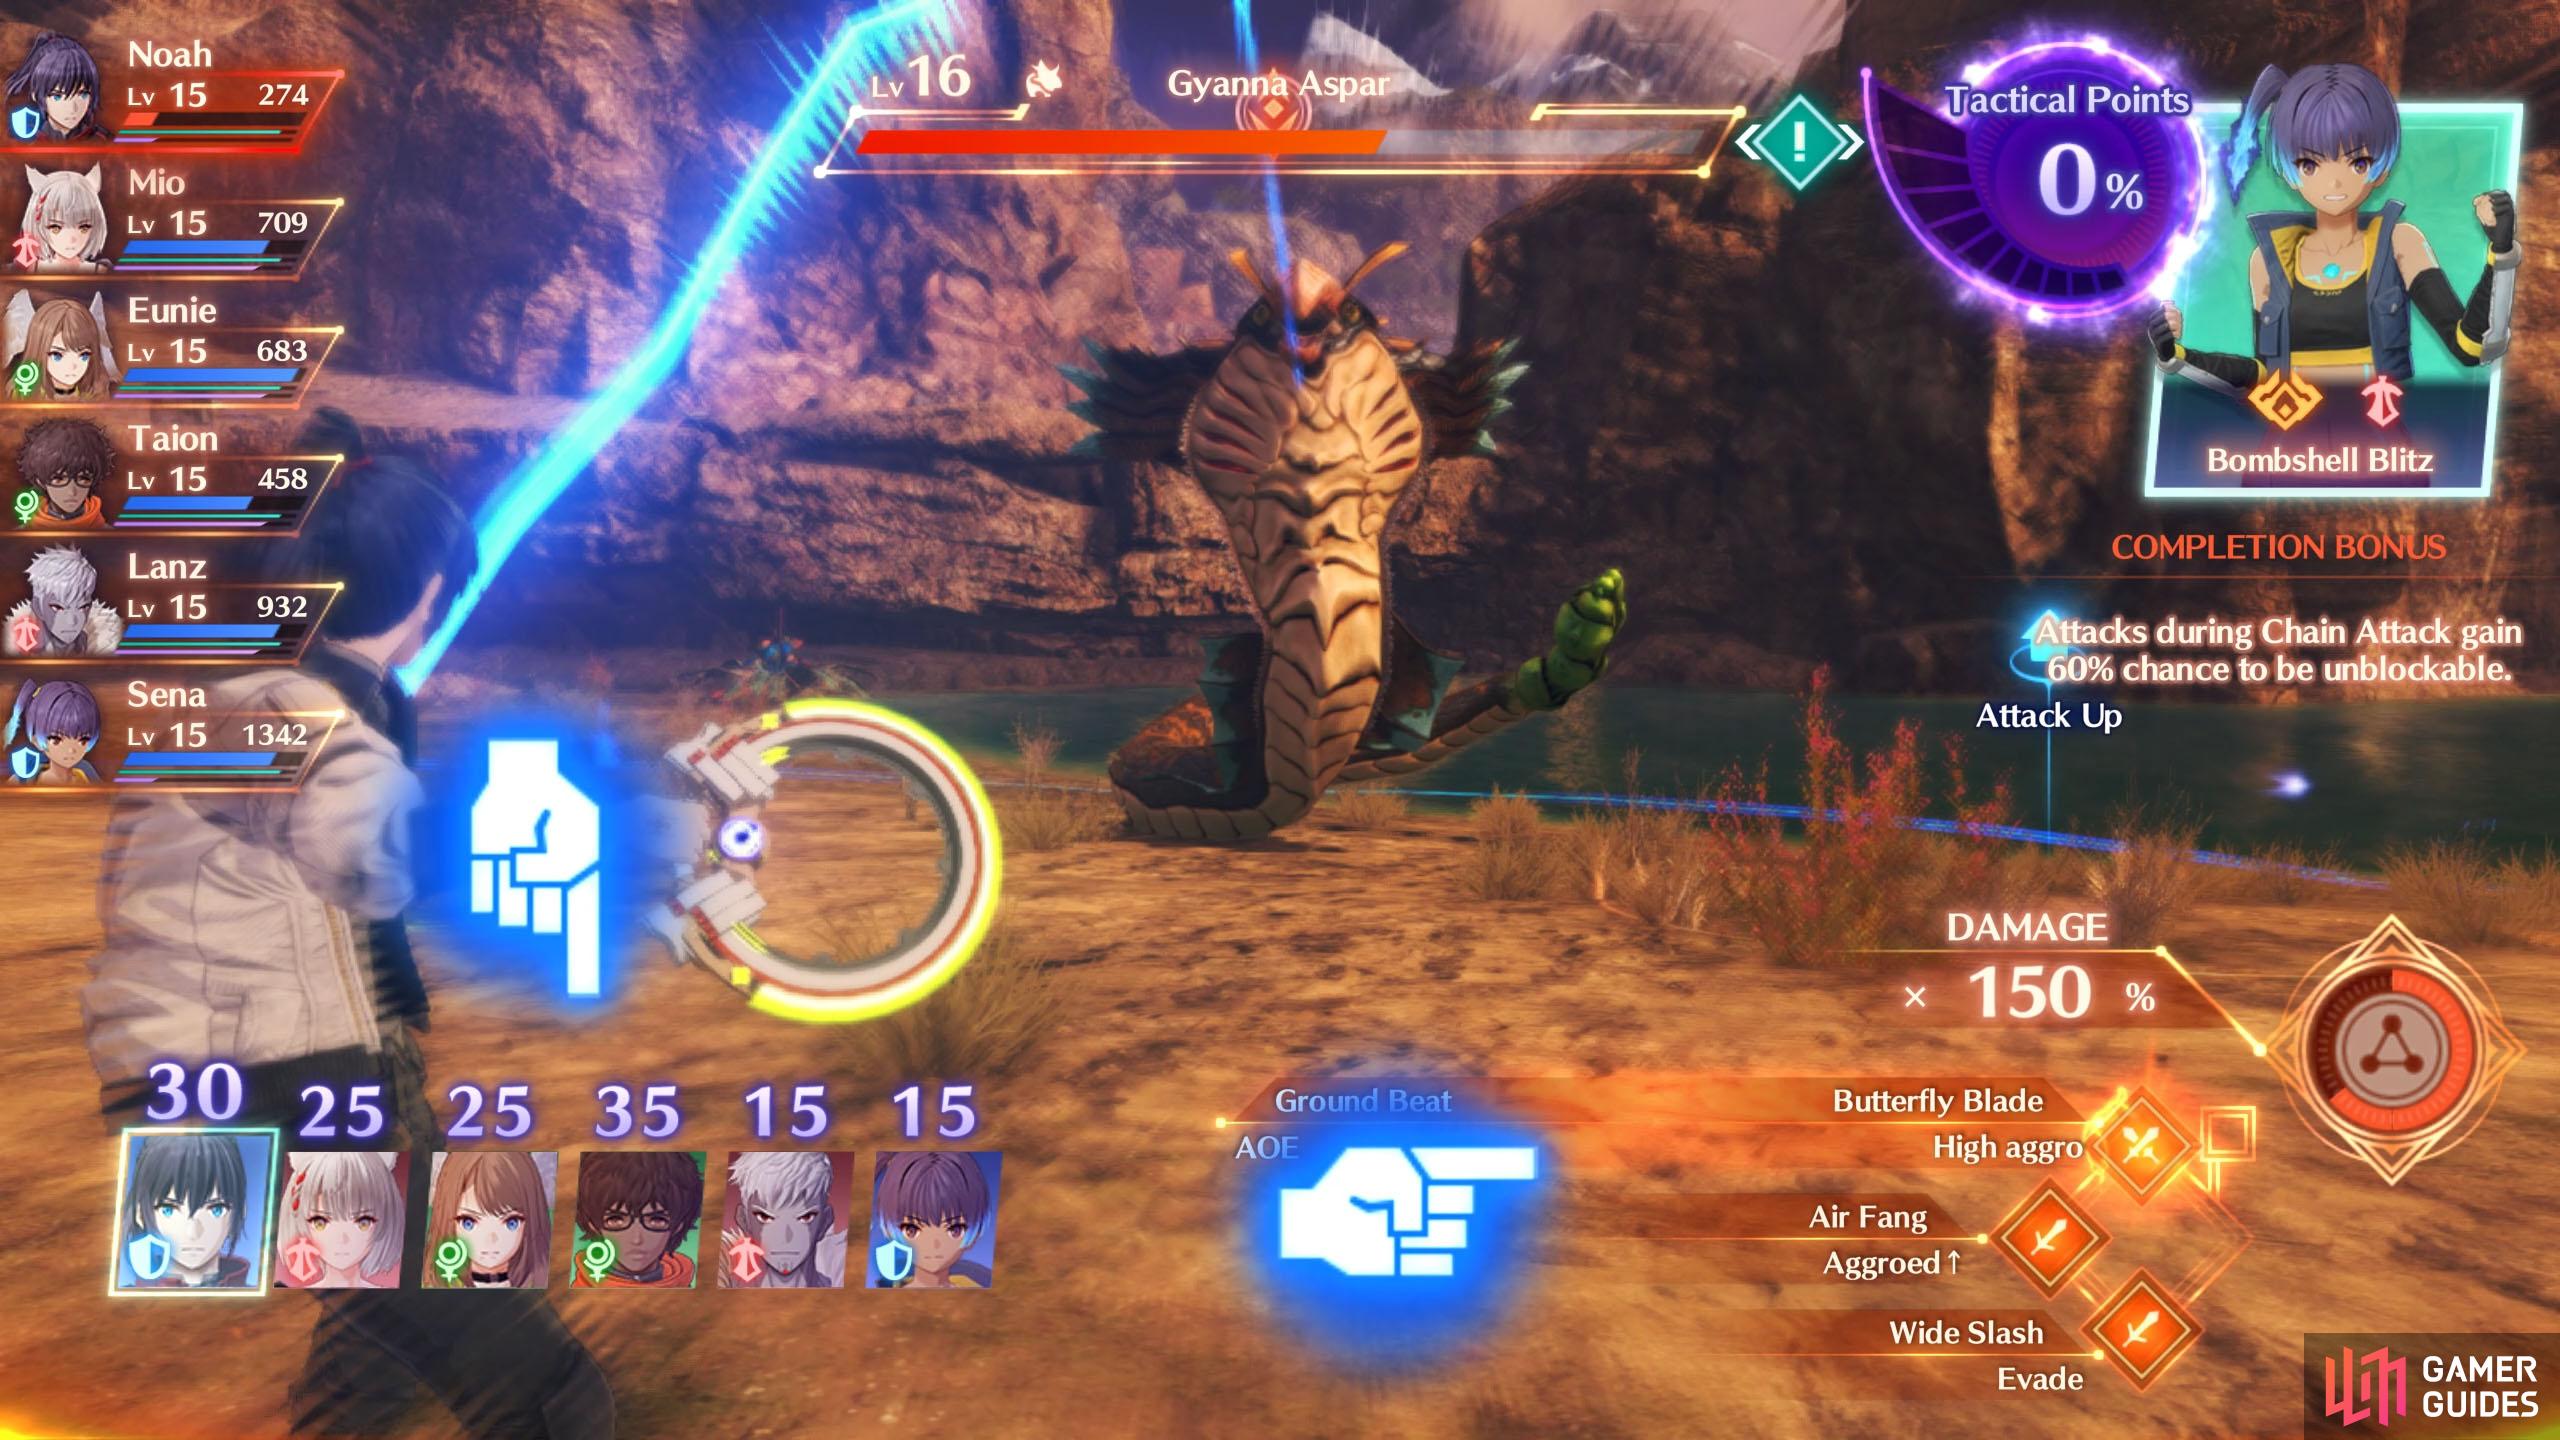
Next, you can select a character using Left/Right, then use one of their Class/Fusion Arts by pressing the same buttons as during combat. There will be a number above the character, which is the base amount of Tactical Points (TP) that you’ll gain from that character.
You will gain more TP for things such as if the character’s role matches the character who you selected for the Chain Order, if they’re both from Keves/Agnus etc.
Reach 100% Tactical Points and the Chain Order will trigger, dealing damage to the foe and ending the round.
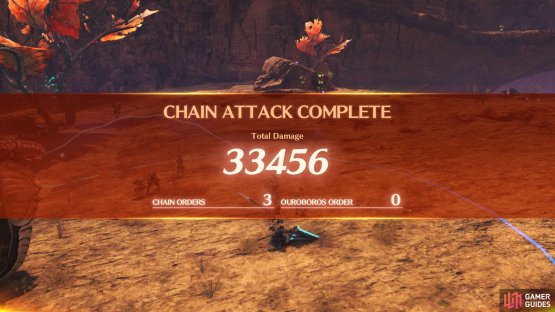
(1 of 2) You can continue for as long as the gauge exists, but you’ll have less characters as you go on.

You can continue for as long as the gauge exists, but you’ll have less characters as you go on. (left), Eventually the chain attack will end. (right)
When the round ends, if the chain attack gauge hasn’t been depleted, another round will start. However, any characters you used in the prior round will be unavailable. But if you did well in the previous round and/or finished with a Defender, some characters may be reactivated, ready to go again. Then the cycle continues until the chain attack gauge runs out.
The longer the chain attack, the higher the damage multiplier. Also, if you KO a foe during a chain attack, you can keep going and Overkill them to boost the EXP multiplier.
On this occasion, you’ll build up the Chain Attack very fast. You can either choose to use it early on to deplete a big chunk of the foe’s enemy. Or wait around the halfway mark to KO them with the chain attack. Overkilling them is also an option.
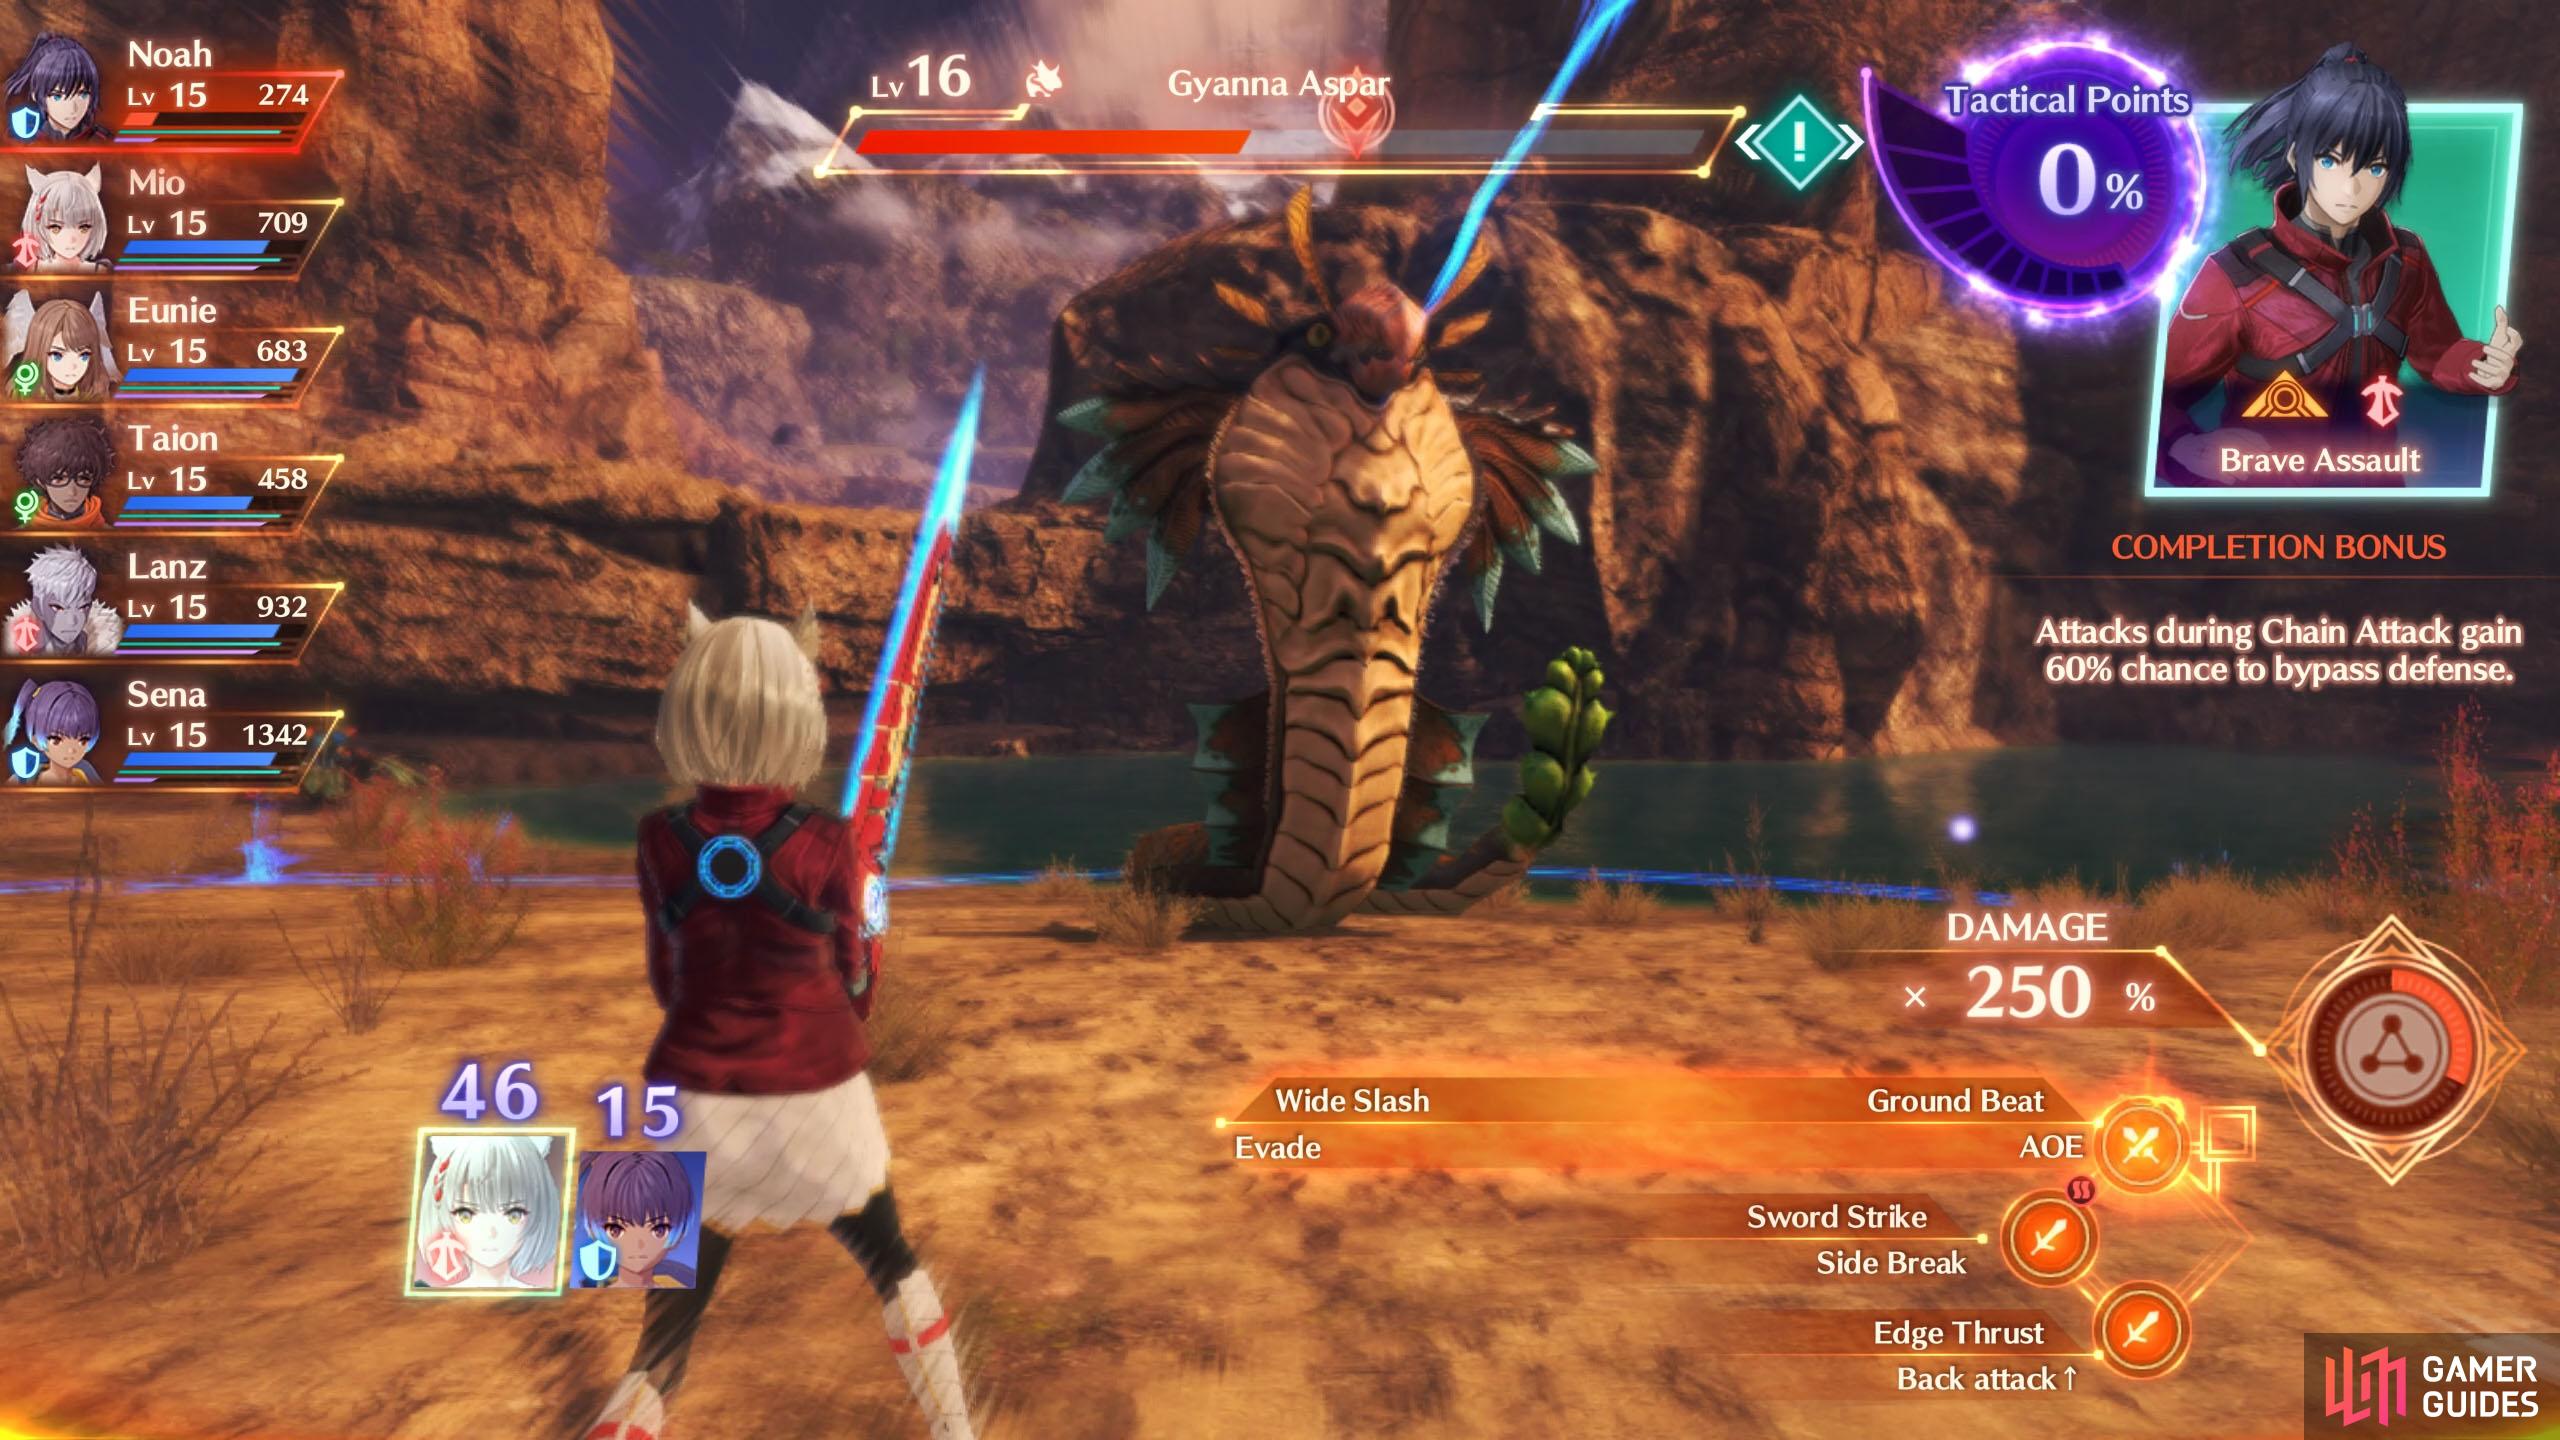
How to Craft Gems

(1 of 2) Gems may look complex at first, but they’ve been greatly simplified.
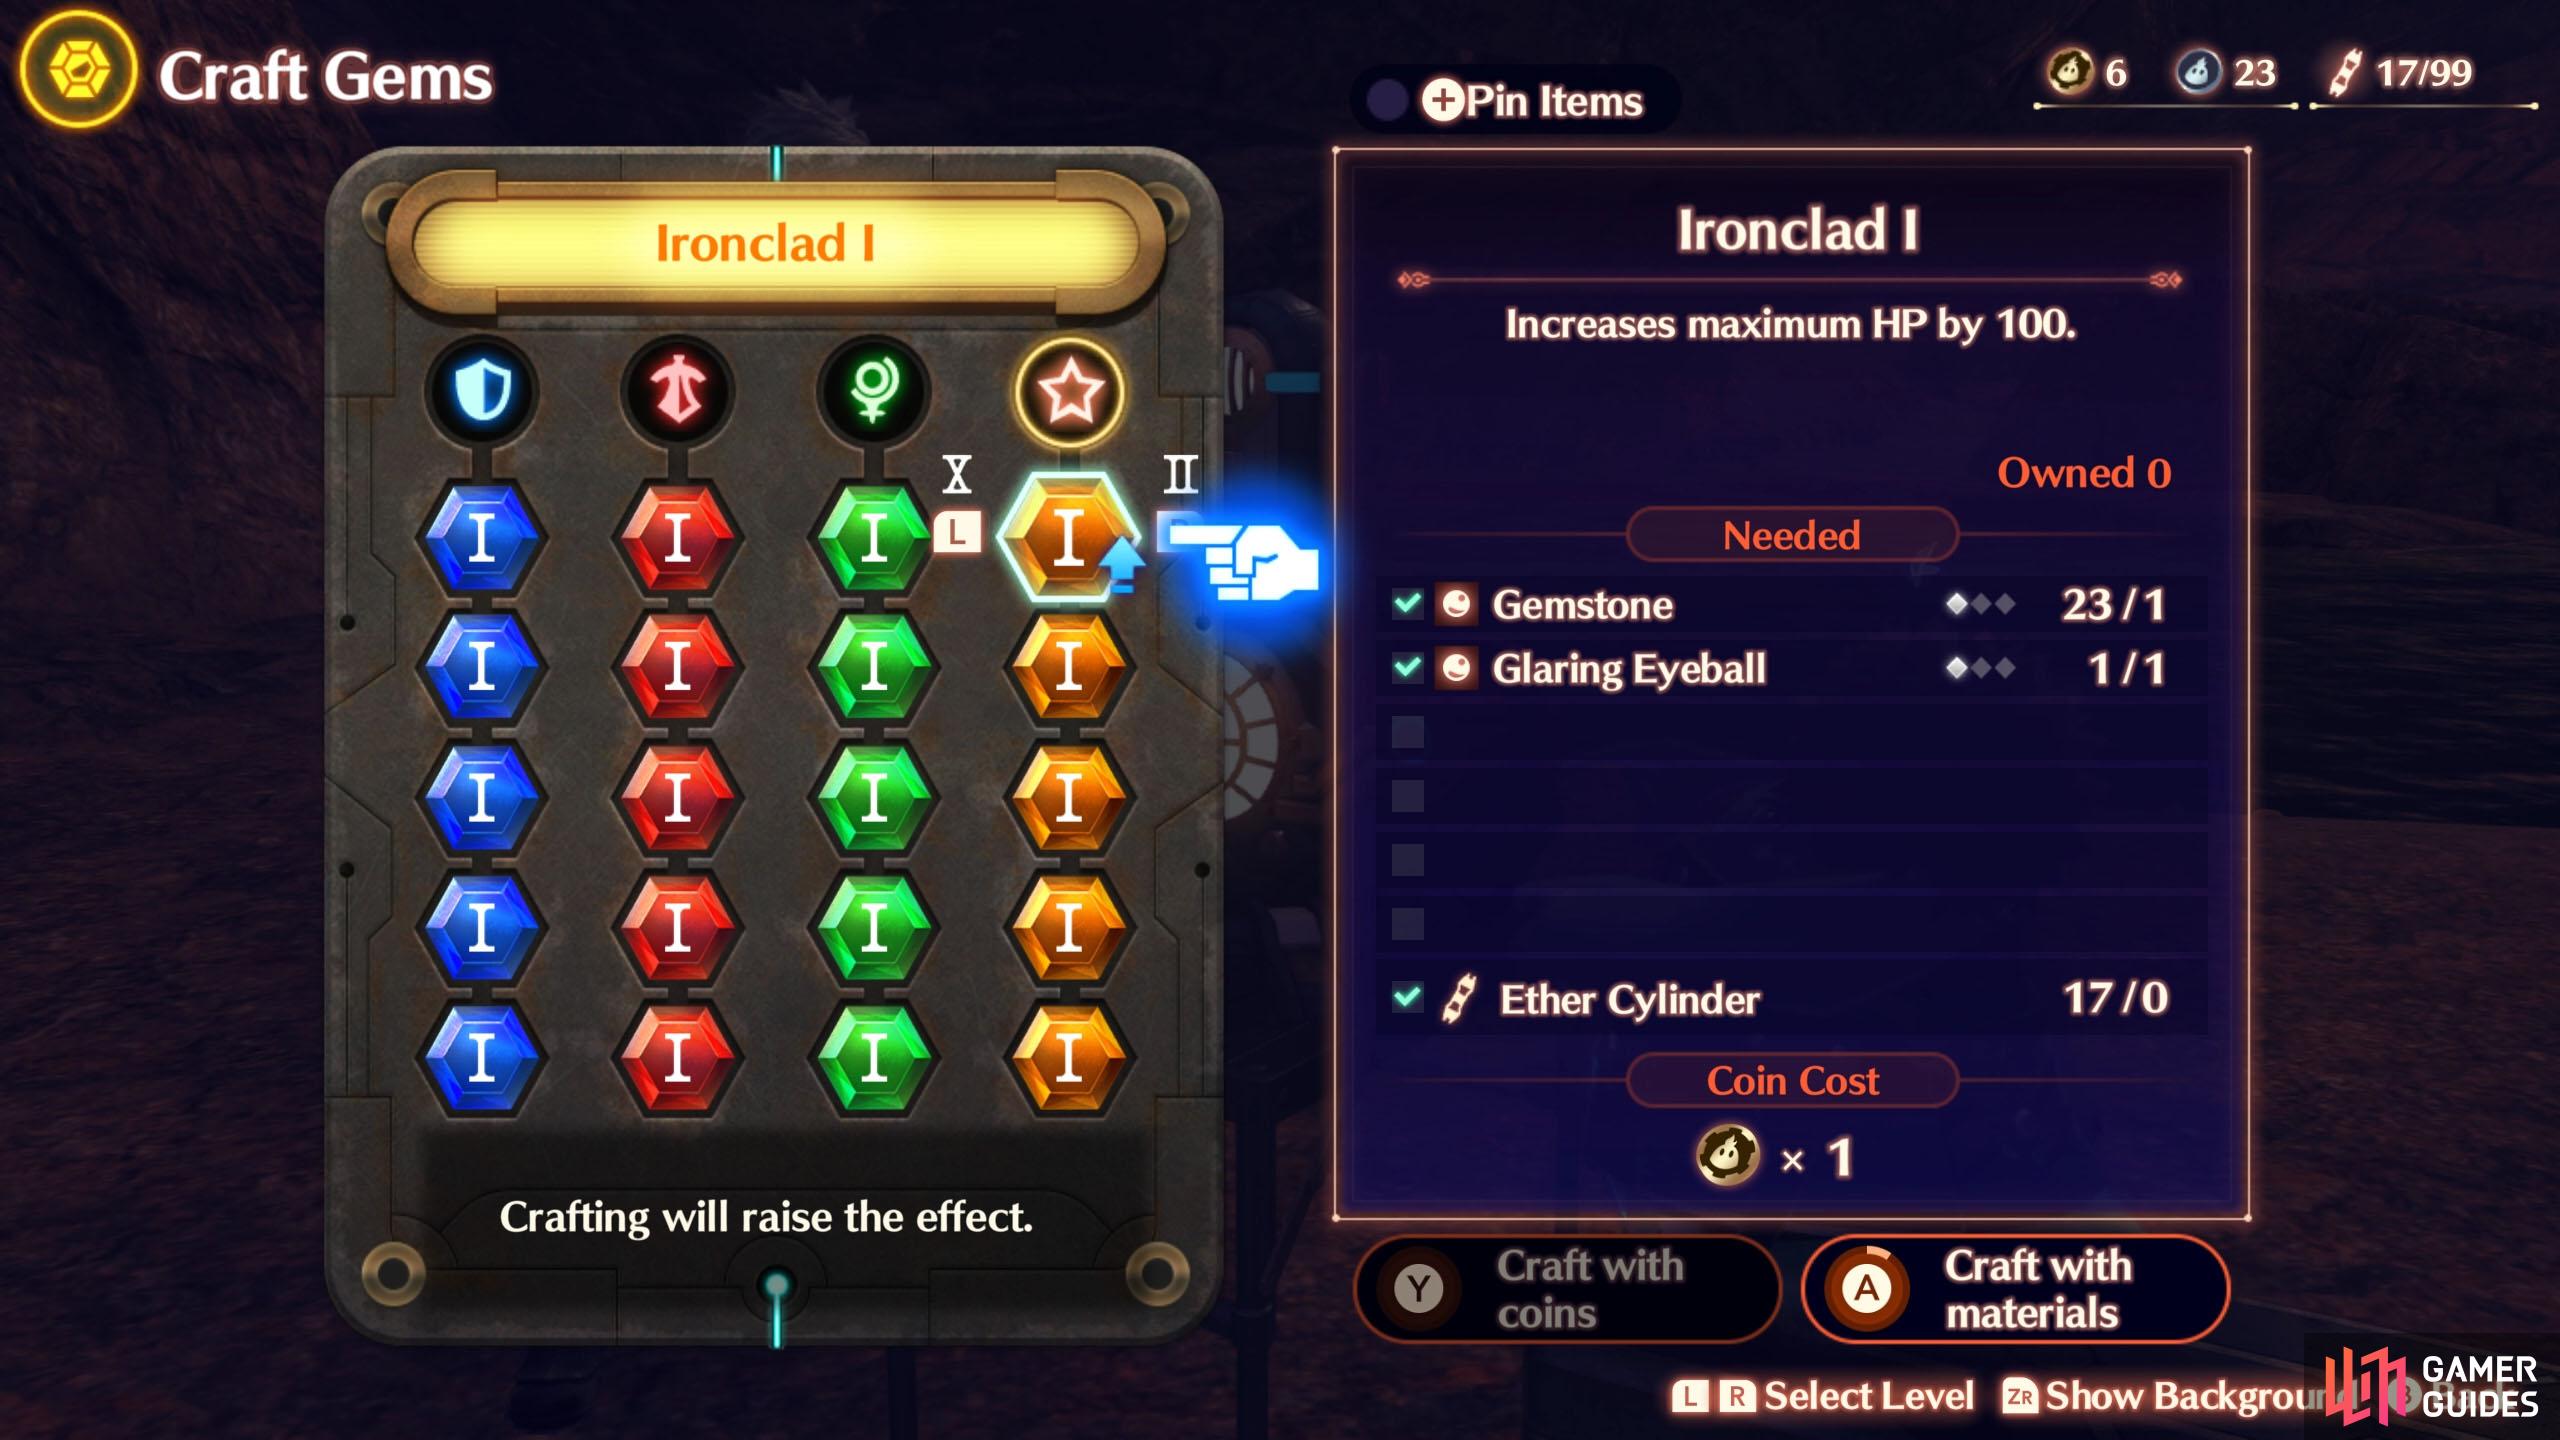
Gems may look complex at first, but they’ve been greatly simplified. (left), Does anyone miss the gem crafting minigame? (right)
After beating down the Aspar, take the Aspar Eyeball you plucked out and return to the Lake Rezzento Camp. After some words from Riku, inspect the rest area and choose the new option, Craft Gems.
Compared to the first Xenoblade, gem crafting is very straightforward. Sorry, there’s no more “To me”, “To you”, “Let’s do this!” etc.
There will be a grid of gems in front of you. They are laid out in columns, primarily for each role: Defender, Attack and Healer. Plus a fourth column for what we’re guessing is All roles.
When you hover over a gem, the required materials will be displayed. If you have them all, hold A to instantly craft the gem. You can also hold Y instead to spend Nopon Coins in place of the required materials.
How to Equip Gems
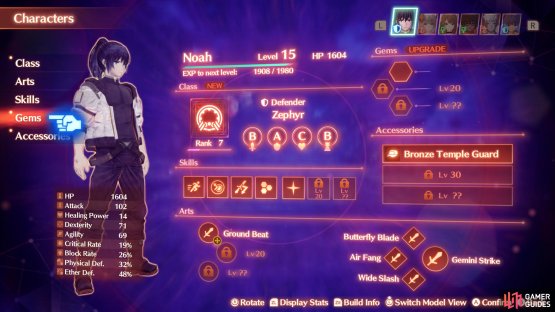

(1 of 2) Go here to equip your gems.

Go here to equip your gems. (left), You only get limited gem slots, so hard decisions must be made. (right)
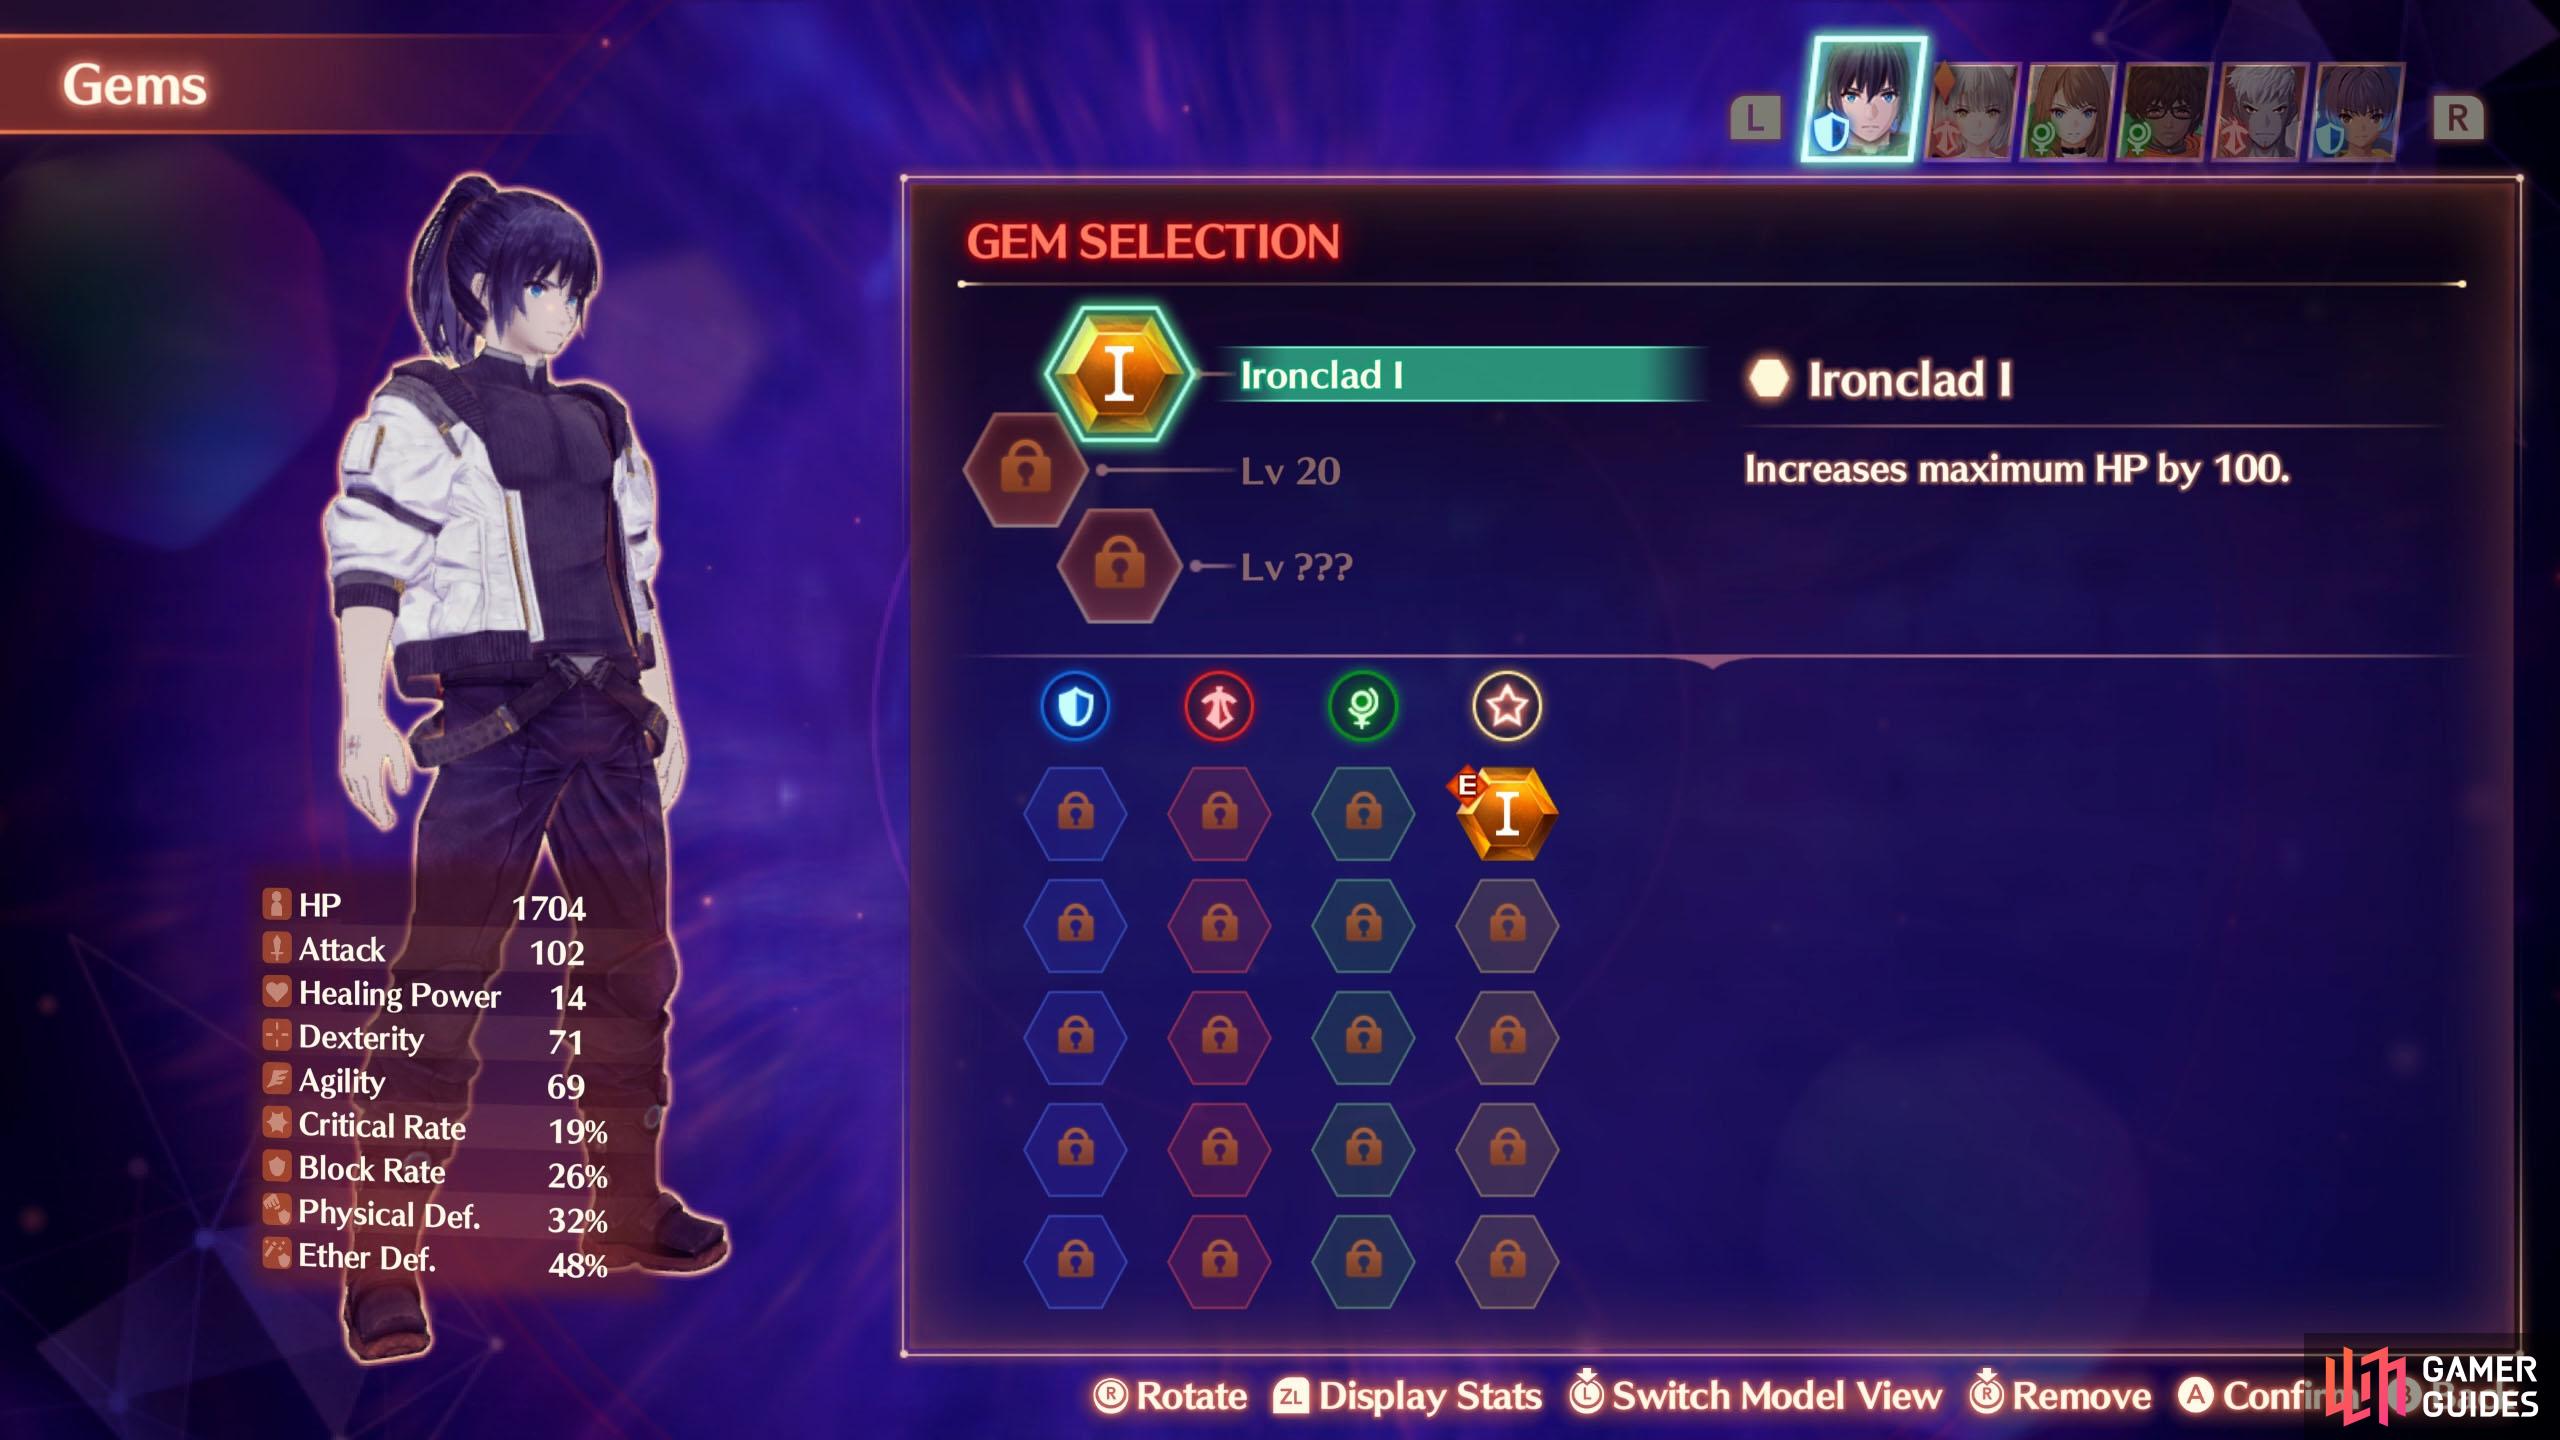
Once you’ve got a gem, you can equip them by going to Characters, then Gems in the menu. Each character has 3 gem slots, although it’s likely only one is accessible right now. Additional slots open at Level 20 and a currently unlisted Level. Select the gem slot, then choose the gem you wish to equip.
In general, you should equip the gems that benefit your role. For example, Attackers should equip red gems, with the Attacker icon. The yellow gems with a star icon seem to benefit all roles.
That wraps up this little sidequest.
Quest Rewards
| EXP | Gold | SP | Rewards |
|---|---|---|---|
| 830 | 0 | 0 | Nothing |
No Comments