
Divergence
Starting from this floor, things will start getting tougher, you’ll need to have two capable teams because for each chamber, there are two paths and for each path you’ll have to use two completely different teams which is what makes this tough as most people won’t have multiple characters leveled to a high enough level, what makes this even tougher is, that you can’t change the party between each Chamber, so you’ll have to plan ahead.
Ley Line Disorder:
- CRIT hits will generate Elemental Particles and Orbs. Can only occur once every 15s.
- CRIT DMG dealt by all party members increased by 120%.
Challenges
Completing each challenge awards you with an Abyssal Star and for every three stars you’ll be rewarded with 100 Primogems and some Mora, these are a one-time only reward for Floors 1-8.
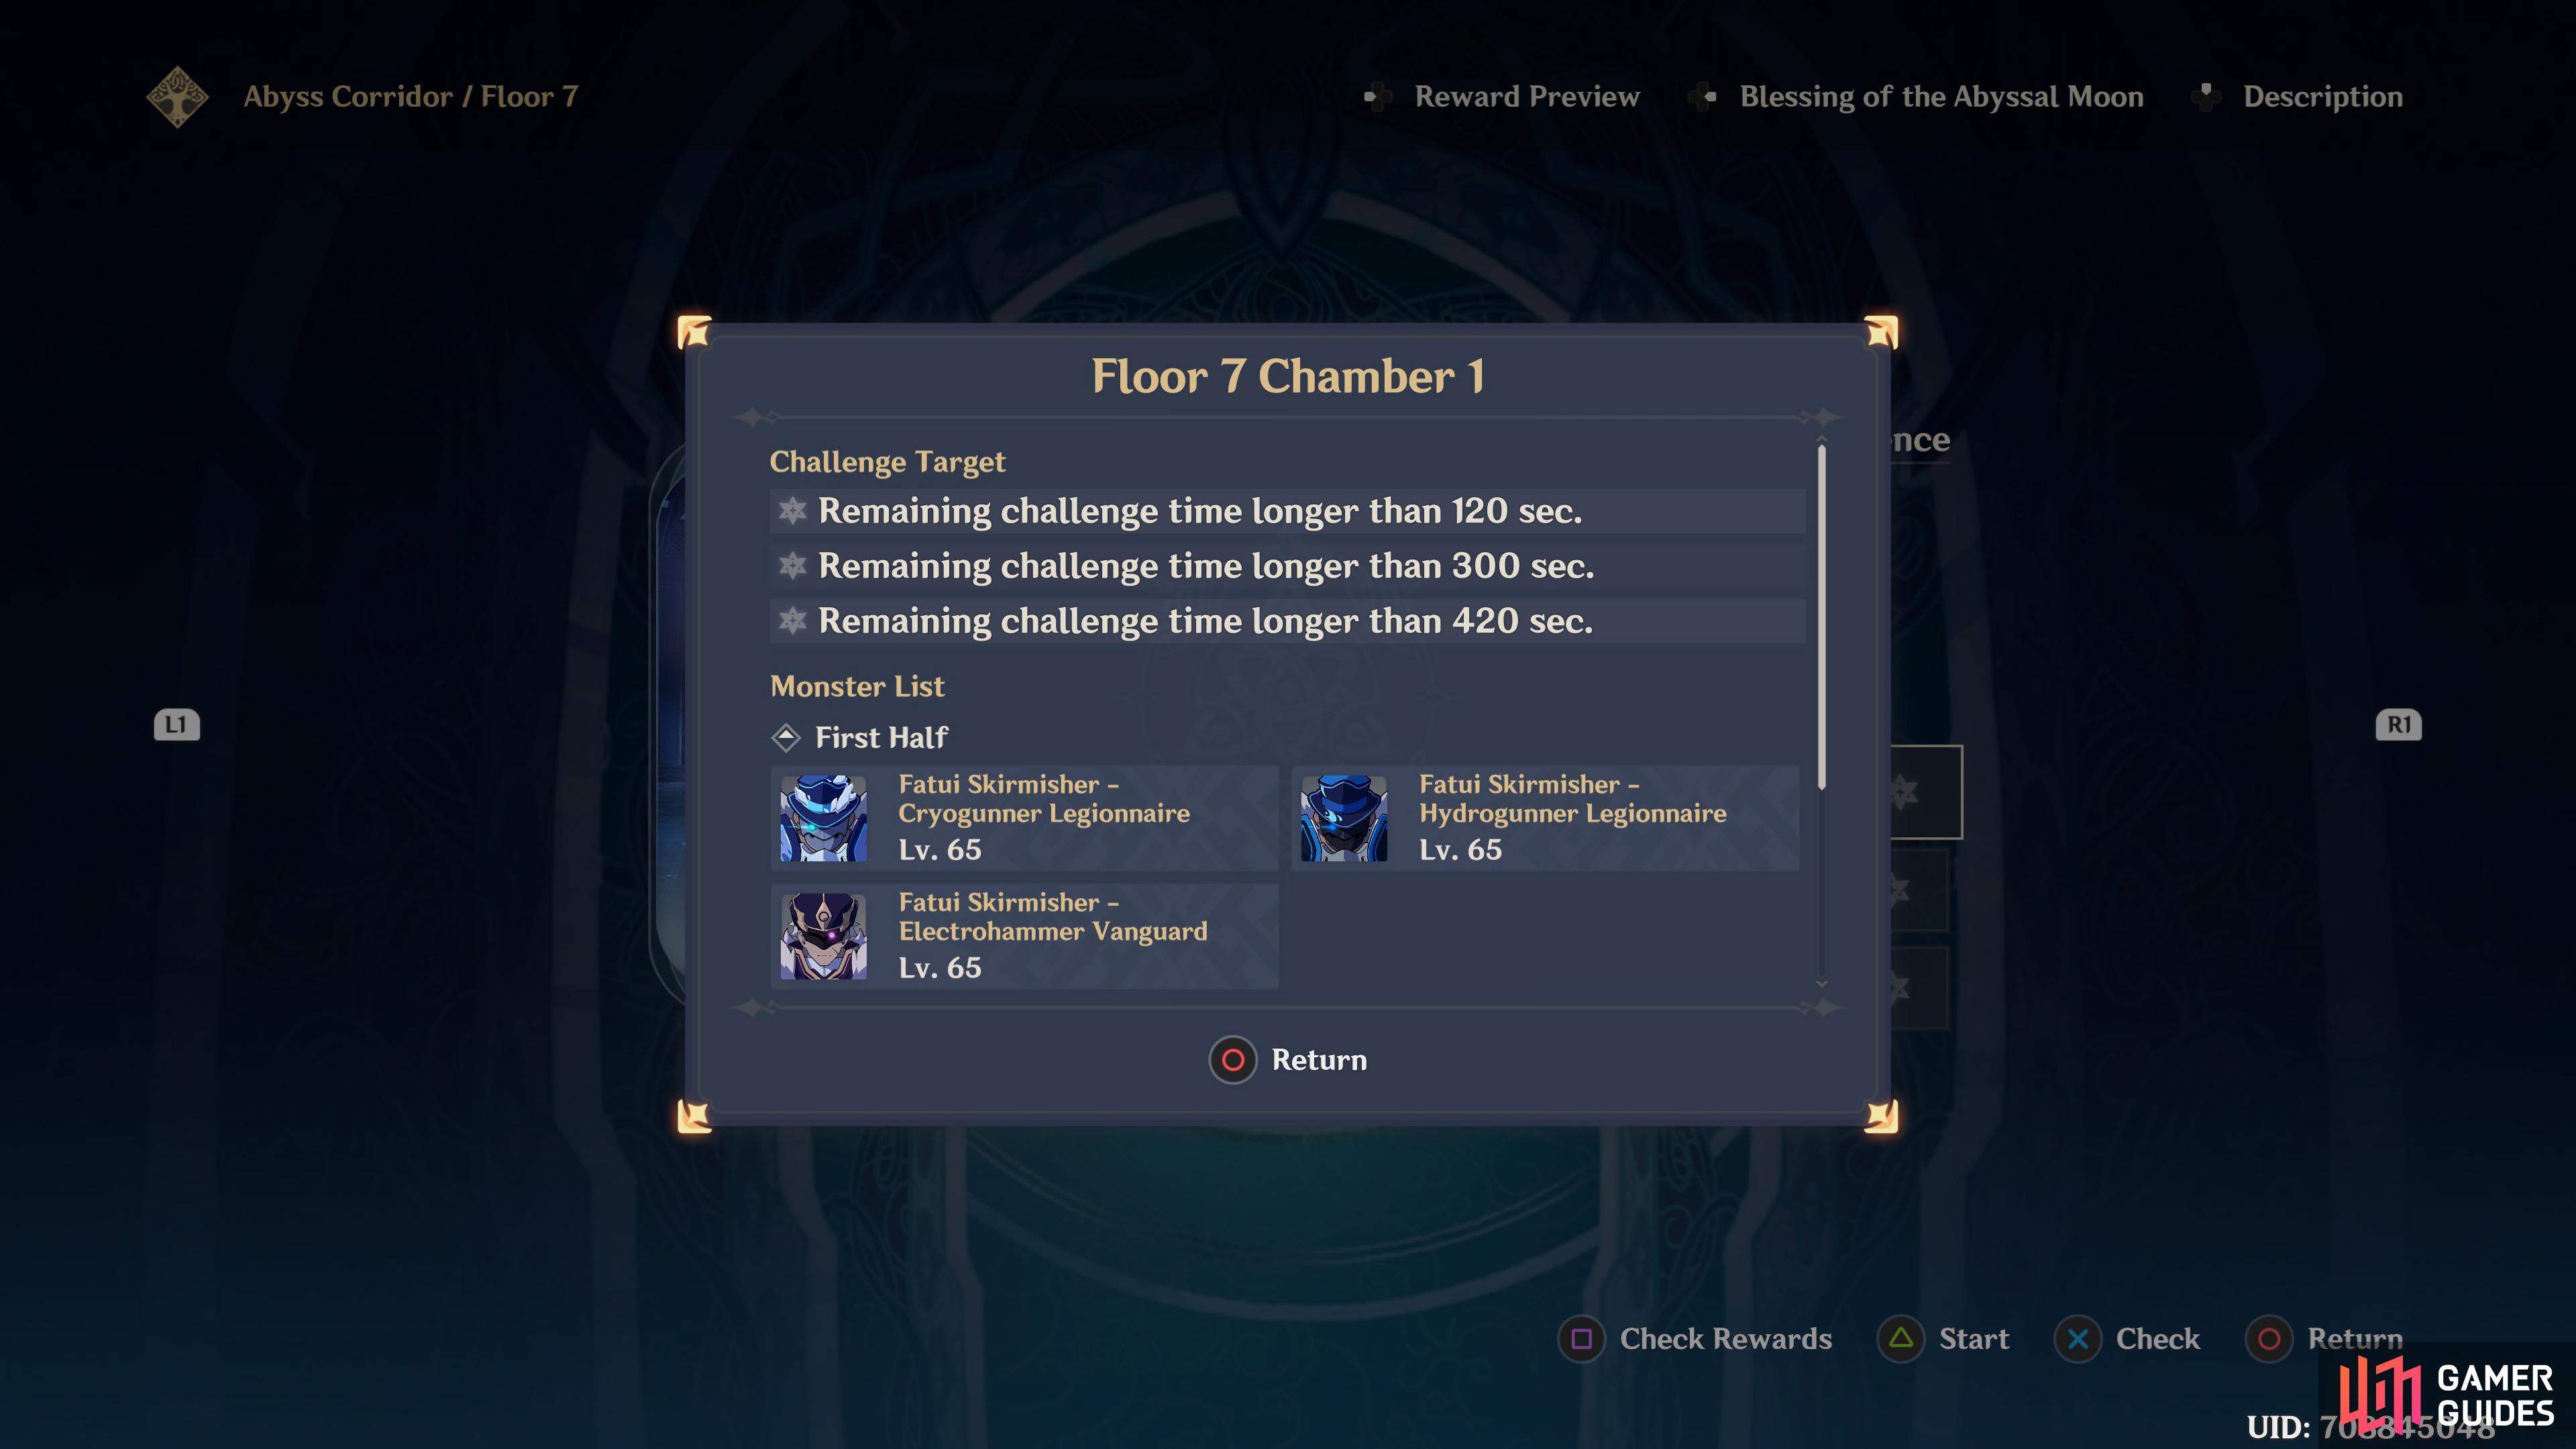
- Remaining challenge time longer than 420 seconds.
- Remaining challenge time longer than 300 seconds.
- Remaining challenge time longer than 120 seconds.
Chamber Challenge
-
Path 1 - Defeat 3 enemies within 600 seconds.
-
Path 2 - Defeat 3 enemies within 419 seconds.
Enemies - Path 1
| Icon | Name | Level | Quantity |
|---|---|---|---|
 |
Fatui Cryogunner Legionnaire | 65 | 1 |
 |
Fatui Hydrogunner Legionnaire | 65 | 1 |
 |
Fatui Electrohammer Vanguard | 65 | 1 |
Enemies - Path 2
| Icon | Name | Level | Quantity |
|---|---|---|---|
|
Fatui Cryogunner Legionnaire | 65 | 1 |
 |
Fatui Pyroslinger Bracer | 65 | 1 |
 |
Fatui Anemoboxer Vanguard | 65 | 1 |
Best Teams - Path 1
Premium Team (5-star)
Free to Play Team ( 4-Star)
| Main DPS | Sub DPS | Sub DPS | Support |
|---|---|---|---|
Best Teams - Path 2
Premium Team (5-star)
Free to Play Team ( 4-Star)
| Main DPS | Sub DPS | Sub DPS | Support |
|---|---|---|---|
 Kaeya Kaeya |
Strategy
First Path
The Ley Line conditions here favour CRIT and increase the damage of it by 20% and will also generater Elemental Particles and Orbs meaning you can cast your skills more quickly, Ganyu and Xiao are great for this as they are like CRIT machines.
This Floor is a step up in the difficulty curve scale because the Skirmishers have a lot of health, tough to break shields and they hit hard. Because of this, look to do this Floor when you’re nearer to Level 80 as it will make it a whole lot easier. The strategy for this floor will be done differently to the other floors because what characters and skills you use, depends on what enemy you are fighting.
For the first path you will be fighting:
-
Fatui Cryogunner Legionnaire
-
Fatui Hydrogunner Legionnaire
-
Fatui Electrohammer Vanguard
The Hydrogunner should be your priority due to it being able to heal its allies, to defeat it, is by using Qiqi to freeze it to interupt its healing and put her Elemental Skill on it, this’ll give health every time you attack it. Now switch to Xiao and go to town on it with his Elemental Burst if available, if not, use his Elemental Skills and then use his normal attacks until its defeated. They are actually weak to Electro but Xiao offers more to all enemies instead of just this one.
Next up should be the Cryogunner because it can be a hindrance, constantly spraying you with Cryo, these are weak to Pyro damage and Diluc happens to be one of the best Pyro DPS so switch over to him and use all of his skills and attack away and it should be down in no time.
Finally, time to take down the Electrohammer. These are relatively easy to dodge because they’re on the slower side but they hit hard if they connect with you. Use Qiqi to strip away its shield and then use the combination of her and Childe to freeze it, this will take it down pretty quickly.
For the free to play team, you’ll want to take them out in the same order but exchange Fischl for Xiao on the Hydrogunner as she will take its shield down quicker, use Chongyun on the Electrohammer and Bennett for the Cryogunner whilst keeping a shield up from Noelle who can also heal through that skill.
Second Path
On this path, you’ll be fighting:
-
Fatui Cryogunner Legionnaire
-
Fatui Pyroslinger Bracer
-
Fatui Anemoboxer Vanguard
The Anemoboxer should be the priority here as once again it can heal its allies, these can be tricky because they are quick, they don’t have any weaknesses and they can absorb any element that you’re using on them and then create a shield of that respective element for themselves. Using a combination of Mona and Ganyu to get him to attack that and absorbing one of those elements, then switch to Klee and use her Elemental Burst and Jumpy Dumpty’s to take it out quickly.
Next take out the Cryogunner with Klee as it’s weak to Pyro and and then take down the Pyroslinger with Mona because it is weak to it, mix in some Ganyu to defeat it quicker. Use Zhongli’s Shield whenever it’s available to reduce the damage your taking.
For the Free to Play team, do it exactly the same way as the Premium strat, using the same element as the premium counterpart, for example: Mona - Xingqui.
Rewards
| Adventure Exp | Mora | Other Rewards |
|---|---|---|
 200 200 |
 20,000 20,000 |
 7 7  10 10  5 5  1 1 |
No Comments