Unlock Criteria
| Location | Requirements |
|---|---|
| Liyue Harbor, Liyue | Adventure Rank 40, 1 Story Key, Complete “Farewell, Archaic Lord” |
| Adventure EXP | Mora | Other Rewards | Next Quests |
|---|---|---|---|
 600 600 |
 5 5  5 5  9 9 |
– |
Description
It turns out that Big G’s spirit was attracted by the exorcism. Upon learning that Big G has not become a malevolent spirit and simply wanted to check on Meng and other childhood friends, Hu Tao decides to fulfill his wish and organize a farewell ceremony for him. To give him peace of mind, you collected keepsakes and well-wishes that Big G’s childhood friends prepared for him. The only thing left now is to send him off.
Steps
- Take the keepsakes to Wuwang Hill and give them to Hu Tao
- Go the
- Continue forward to witness the farewell ceremony
- Go back to Wuwang Hill to send Big G off
Take the keepsakes to Wuwang Hill and give them to Hu Tao
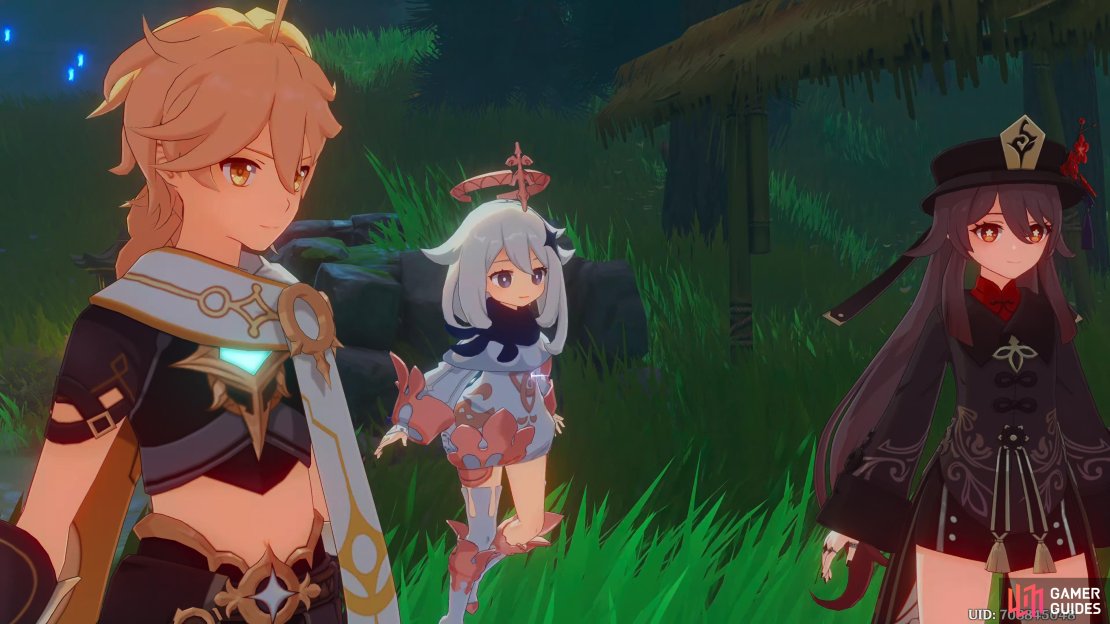
Teleport to the Wuwang Hill waypoint which is north of Liyue Harbor and head south through the narrow cave and then at the cave exit, turn northwest and climb the mountain where you’ll find Hu tao, Meng and Big G waiting for you. Walk up to them to trigger a cut scene.
Go the “ordinary place” mentioned by Hu Tao
Head west towards the cave and interact with it to find it’s a One-Time Domain called Enter the “Border”. The only recommended element is Pyro and that will be covered by Hu tao who is playable for this Domain. Bring a Healer just in case and someone who can give you shields as well as another Pyro user for the 25% damage bonus for having two of them in the party.
| Domain Name | Recommended Party Level | Recommended Elements | Possible Rewards |
|---|---|---|---|
| Enter the “border” | 35 |  2 2  2 2  10,000 10,000 |
Continue forward to witness the farewell ceremony
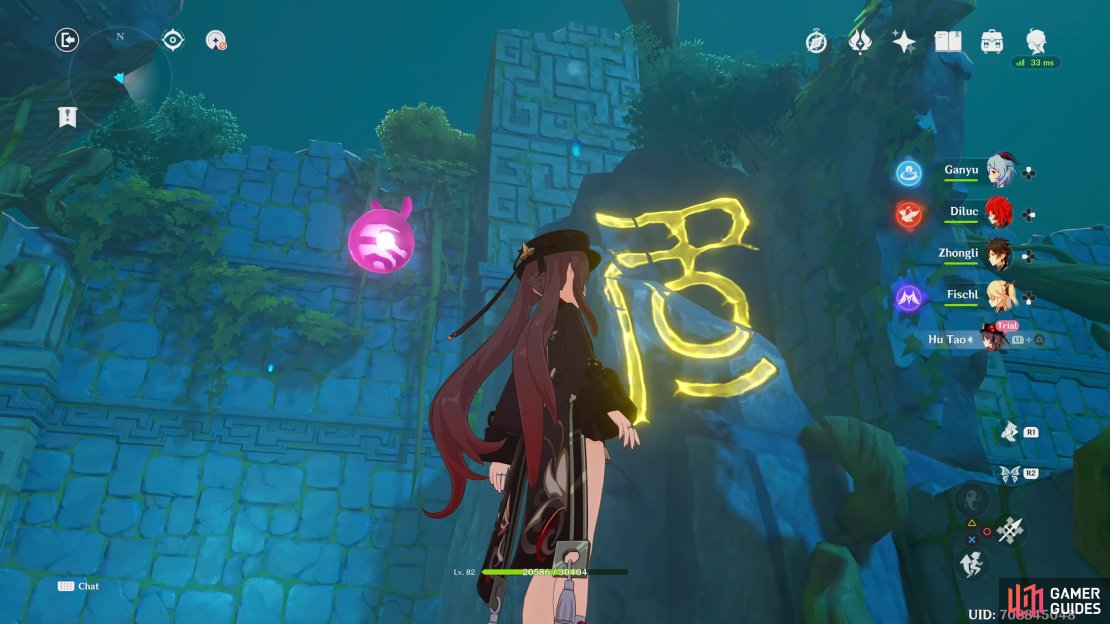
Once you’ve entered the Domain, go south towards the bramble and attack it with Pyro to destroy it, once it has been destroyed, continue south towards the glowing object on the floor, what you need to do here is, stand on the golden glow and then rotate your camera to the east whilst focusing on the rocks to your left, and line it up to create a sign, this’ll open the door to the next room.
With these puzzles, stand on the glowing spot and then rotate the camera until they align.
Go into the room and you’ll have to face some Cryo Slimes, perfect chance to test out Hu tao’s fighting capabilities. When you use her Elemental Skill:Guide to Afterlife, it’ll put you into a Paramita Papilio state at the cost of a portion of your health, this will increase your attack as well as make all your normal and charged attacks, Pyro based. If you use a charged attack in this state, it’ll put a Blood Blossom on an enemy, this will put a Pyro damage over time on it.
Her Elemental Burst:Spirit Soother will deal Pyro damage in a large area of effect as well as regenerate your health per normal attack, it’ll heal more if you’re lower than 50% health. Once the enemies have been defeated, continue east through the now opened door and into the next room.
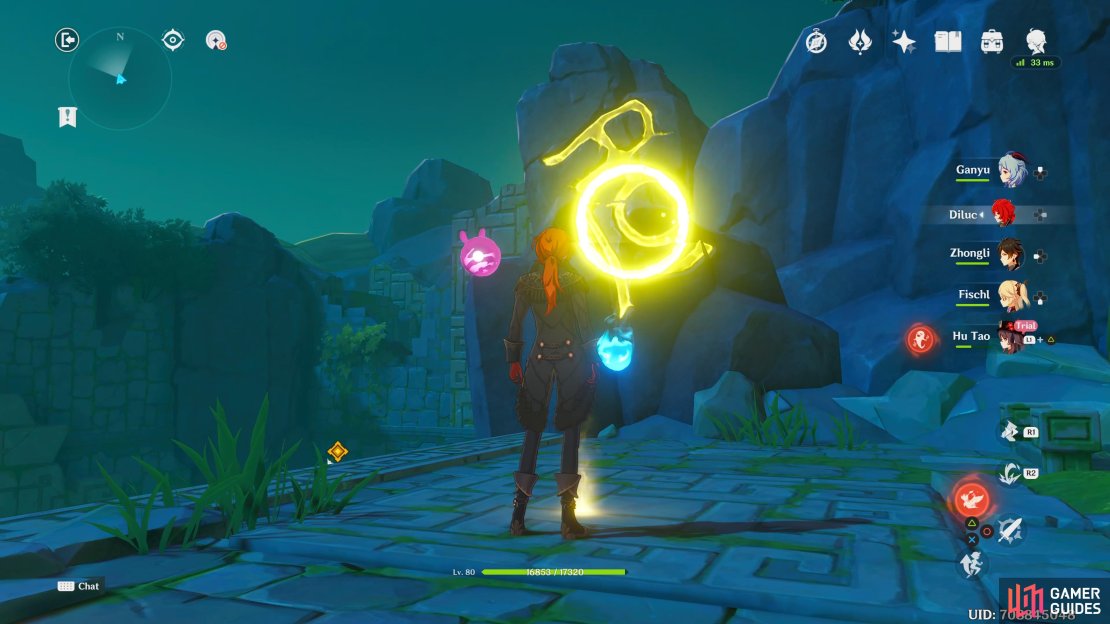
You’ll now have some more enemies to defeat, mainly some Hilichurls and a Cryo Abyss Mage, take them out and then light up the Pyro torch with a Pyro attack, this will create a gust of wind. Jump and glide on the wind to take you up to another floor and you’ll notice some bramble, attack it with Pyro to destroy it and then pick up the floating blue orb, now stand on the golden glow, rotate your camera to the northwest a little and focus on the rocks with the sigil on it.
If the sigil has been aligned properly, you’ll get a golden circle appear to let you know.
This will open a hidden door in the wall on the floor below, jump down and place the blue orb in one of the torches by the closed door, now turn north and you’ll notice the hidden door you opened, go inside and pick up another blue orb and open the Exquisite Chest, now take the orb back to the unlit torch, and this will open the door.
Continue south and through another door and you’ll notice a device in the middle of the room, approach it and some enemies will spawn, nothing particularly tough other than the Dendro Samachurl and they’re more annoying than tough, and a few Mitachurls, take them out with Pyro and open the Common Chest in the southwest corner and then use the device to open the door to the next room.
Go south, down the stairs and around the west to a seemingly dead end, as you approach the wall, it’ll open up to another room with a Door of Resurrection, continue west and down the stairs to another room and you should notice another blue orb waiting for you to pick up.
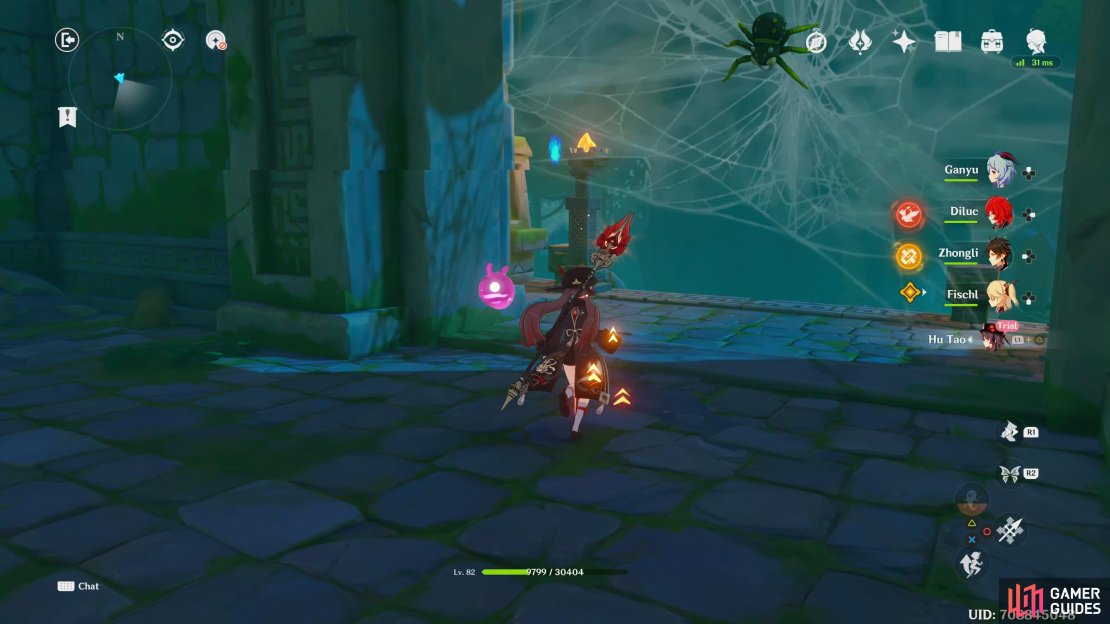
This room is a puzzle because there is only one orb and two torches to light up. Place the orb in the left torch and then go through the door which is blocked by a spider on a web, attack it to clear the doorway and then continue south, go through the cave and jump into the water, swim southwest and follow the path until you reach some land, climb up and go east and attack the bramble.
Go north and through the door and you’ll find yourself back at the room with the Door of Resurrection. This is the puzzle, you will keep looping back around until you open the door with the two torches, to do this, pick up the orb again but this time do not place it on the torch, instead, go through the spider door again and loop back around and you’ll still have your orb on you, pick up the orb in the torch room and you’ll now have two of them, place them both in each torch and go through the door.
(1 of 3) This web is blocking the way for you to proceed
As you walk through it, you get a cut scene, and Hu tao will tell you to jump down to the bottom, do this and you’ll land in a pool of water, swim west and get onto land. Continue west and open up the Exquisite Chest at the end of the corridor, follow the stairs south and then west until you reach the open area.
Walk on the clouds over to the circular area and open the Common Chest next to the large rock in the middle. You’ll notice some spirits waiting around there, talk to them for some lore if you want and then head up the stairs to the south, as you get to the top, you’ll get a cut scene involving Big G and all of his friends when they were young. Once the scene ends, open up the Precious Chest and then talk to Hu tao to finish the domain.
Go back to Wuwang Hill to send Big G off
Teleport back to the Wuwang Hill waypoint which is north of Liyue Harbor and go back to where all this started, you’ll get one final cut scene and then the quest will end.

No Comments