Updated Title Publisher
Updated Title
Published Title Score Editor's Choice
Published Title Score

Genshin Impact

Jadeplume Terrorshroom

By
Jessica Dillon

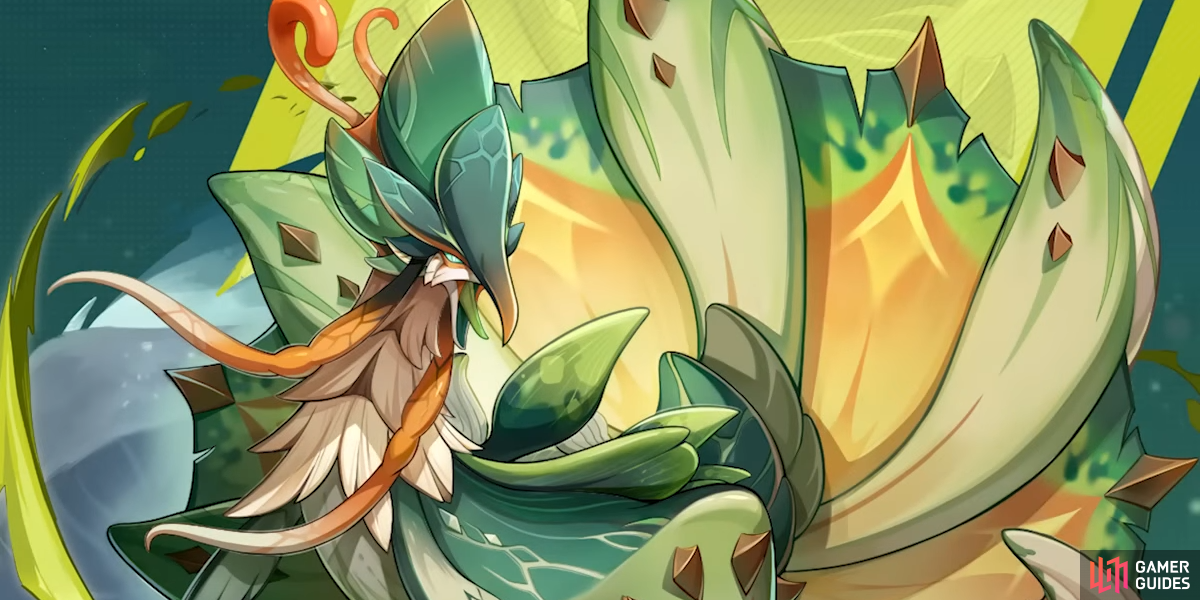
The Jadeplume Terrorshroom was introduced in version 3.0 of Genshin Impact. It was the game’s first Dendro boss, and it drops the ascension materials needed to level Collei and Tighnari. The boss plays on the game’s Dendro reaction mechanic and can be tricky at times to deal with. Below, we go over how to defeat the Jadeplume Terrorshroom with ease and the rewards it can drop.

Jadeplume Terrorshroom boss card.

Location Respawn Time Element
Vissudha Field, Sumeru 5 minutes Dendro

Description

Over many long years, this large fungal beast has morphed into a unique form.
Its intelligence has already reached and perhaps has even surpassed real animals, and it will actively hunt prey to obtain sustenance. Its tail has a lovely jade plumage that seems very similar to that of the ancient sacred beast that the Spantamad school reveres. As far as the logic of mimesis is concerned, it seems quite likely that the two beings once walked the earth together.

Rewards

World Level Boss Level Experience Mora Common Ascension Material Artifacts
1 37 138 3,450 Majestic_Hooked_Beak.png Item_Nagadus_Emerald_Sliver.png Genshin Impact ScreenshotGenshin Impact ScreenshotGenshin Impact Screenshot
2 41 144 3,650 Majestic_Hooked_Beak.pngItem_Nagadus_Emerald_Sliver.png Item_Nagadus_Emerald_Fragment.png Genshin Impact ScreenshotGenshin Impact ScreenshotGenshin Impact Screenshot
3 50 155 3,850 Majestic_Hooked_Beak.pngItem_Nagadus_Emerald_Sliver.png Item_Nagadus_Emerald_Fragment.png Genshin Impact ScreenshotGenshin Impact ScreenshotGenshin Impact Screenshot Genshin Impact ScreenshotGenshin Impact Screenshot
4 62 166 4,125 Majestic_Hooked_Beak.png Item_Nagadus_Emerald_Sliver.png Item_Nagadus_Emerald_Fragment.png Item_Nagadus_Emerald_Chunk.png Genshin Impact ScreenshotGenshin Impact ScreenshotGenshin Impact Screenshot Genshin Impact ScreenshotGenshin Impact Screenshot
5 72 178 4,450 Majestic_Hooked_Beak.png Item_Nagadus_Emerald_Sliver.png Item_Nagadus_Emerald_Fragment.png Item_Nagadus_Emerald_Chunk.png Genshin Impact ScreenshotGenshin Impact ScreenshotGenshin Impact Screenshot Genshin Impact ScreenshotGenshin Impact Screenshot
6 83 189 4,725 Majestic_Hooked_Beak.png Item_Nagadus_Emerald_Sliver.png Item_Nagadus_Emerald_Fragment.png Item_Nagadus_Emerald_Chunk.pngItem_Nagadus_Emerald_Gemstone.png Genshin Impact ScreenshotGenshin Impact ScreenshotGenshin Impact Screenshot Genshin Impact ScreenshotGenshin Impact Screenshot
7 91 200 5,200 Majestic_Hooked_Beak.png Item_Nagadus_Emerald_Sliver.png Item_Nagadus_Emerald_Fragment.png Item_Nagadus_Emerald_Chunk.pngItem_Nagadus_Emerald_Gemstone.png Genshin Impact ScreenshotGenshin Impact ScreenshotGenshin Impact Screenshot Genshin Impact ScreenshotGenshin Impact Screenshot
8 93 200 6,000 Majestic_Hooked_Beak.png Item_Nagadus_Emerald_Sliver.png Item_Nagadus_Emerald_Fragment.png Item_Nagadus_Emerald_Chunk.pngItem_Nagadus_Emerald_Gemstone.png Genshin Impact ScreenshotGenshin Impact ScreenshotGenshin Impact Screenshot Genshin Impact ScreenshotGenshin Impact Screenshot

Attacks & Abilities Unactivated

Jadeplume Terrorshroom using Barrage on Yanfei.

Melee Combo

Does a three-part close-range attack that deals 80%, then 80%, and finally 100% Dendro damage.

Barrage

Swings its tail, unleashing Dendro projectiles that deal 30% Dendro damage per hit, the Jadeplum Terrorshroom can perform this move three times in a row.

Volatile Spore Cloud

Covers the area around itself in a Dendro cloud before causing a Dendro explosion dealing 50% AoE Dendro damage.

Elemental Bar

The Jadeplume Terrorshroom will switch forms when its elemental bar is filled. Using too much Pyro or too much Electro will cause it to feel. Depending on what element you filed it with, the Jadeplume Terrorshroom can transition into one of two stages. By swapping between Electro and Pyro attacks, you can constantly increase and then decrease this bar.

Attacks & Abilities Activated (Electro)

Spore Rain

Sends honing spores out to follow the player, each spore deals 45% Dendro damage.

Furious Charge

Charges towards you dealing 120% Dendro damage.

Rapid Pecks

Swings it’s beak in a close-range attack four times, with each hit dealing 120% Dendro damage.

Attacks & Abilities Scorched (Pyro)

Summon Fungi

Summons Fungi Enemies onto the battlefield by shooting out three spores that deal 50% Dendro damage upon hit. These will turn into Fungi enemies when they explode.

Strategy

The Jadeplume Terrorshroom is a generally easy boss to beat. You will want to use a shield or keep far enough a way to easily dodge its attacks. Watch its elemental bar when using Pyro or Electro to keep it from switching states. You could choose to fight this boss with a Cryo, Hydro, or Geo based team if you want to avoid this problem altogether.

Victory

Once the boss is defeated, a Trounce Blossom will bloom in the arena. You will need to interact with the blossom to claim your reward, and this will cost you 40 Resin.

No Comments
Guide Information
  • Publisher
    miHoYo
  • Platforms,
    Android, iOS, PC, PS4, PS5, Switch
  • Genre
    Action RPG, Adventure
  • Guide Release
    31 October 2020
  • Last Updated
    31 July 2023
    Version History
  • Guide Author

Share this free guide:

This guide for Genshin Impact includes the following:

  • Based on version 3.0.
  • An interactive Map of Teyvat showing the location of all; Anemoculus, Geoculus, Statues of the Seven, World Quests, Shrines, Plants, Monsters, Enemies, Chests and Minerals.
  • Knowledge on all of the current known regions of Teyvat.
  • Detailed Character pages of all playable characters showing talent trees, skill builds and Ascension tables.
  • Character Tier Lists.
  • Combat Information and Elemental Effects & Combinations.
  • Weapons - Showing the current best and highest rated weapons in the game.
  • All Archon Quests including the new Sumeru Archon Quests.
  • All World Quests that are unlocked by speaking to NPCs through Teyvat. They give insight into the various locations and stories of the world.
  • All Story Quests consisting of chapters related to the background and personalities of each playable character.
  • All Domains laid bare with expert strategies including the new Sumeru Domains.
  • How to conquer the Spiral Abyss.
  • All Weekly Bosses covered with expert strategies.
  • How to get all the optimal outcomes on Hangout Events
  • Housing guide using the Serenitea Pot including a full blueprint and furnishings list.
  • All details on Gardening and Fishing.
  • Bonus Content, including Interviews from voice actors.

Get a Gamer Guides Premium account: