
Description
Katheryne of the Mondstadt Adventurers’ Guild seems to have something to tell you.
| Adventure EXP | Mora | Rewards |
|---|---|---|
 800 800 |
 60 60  7 7  4 4 |
This quest is started by talking to Katheryne at Mondstadt’s Adventurers Guild.
Steps
- Ask Lawrence about the stranger
- Ask Wagner about the stranger
- Ask Charles about the stranger
- Go to the second floor of the tavern and wait on the seat by the railing
- Go to the first floor of the tavern and find the stranger
- Go to the Temple of the Falcon
- Enter the Temple of the Falcon
- Continue exploring
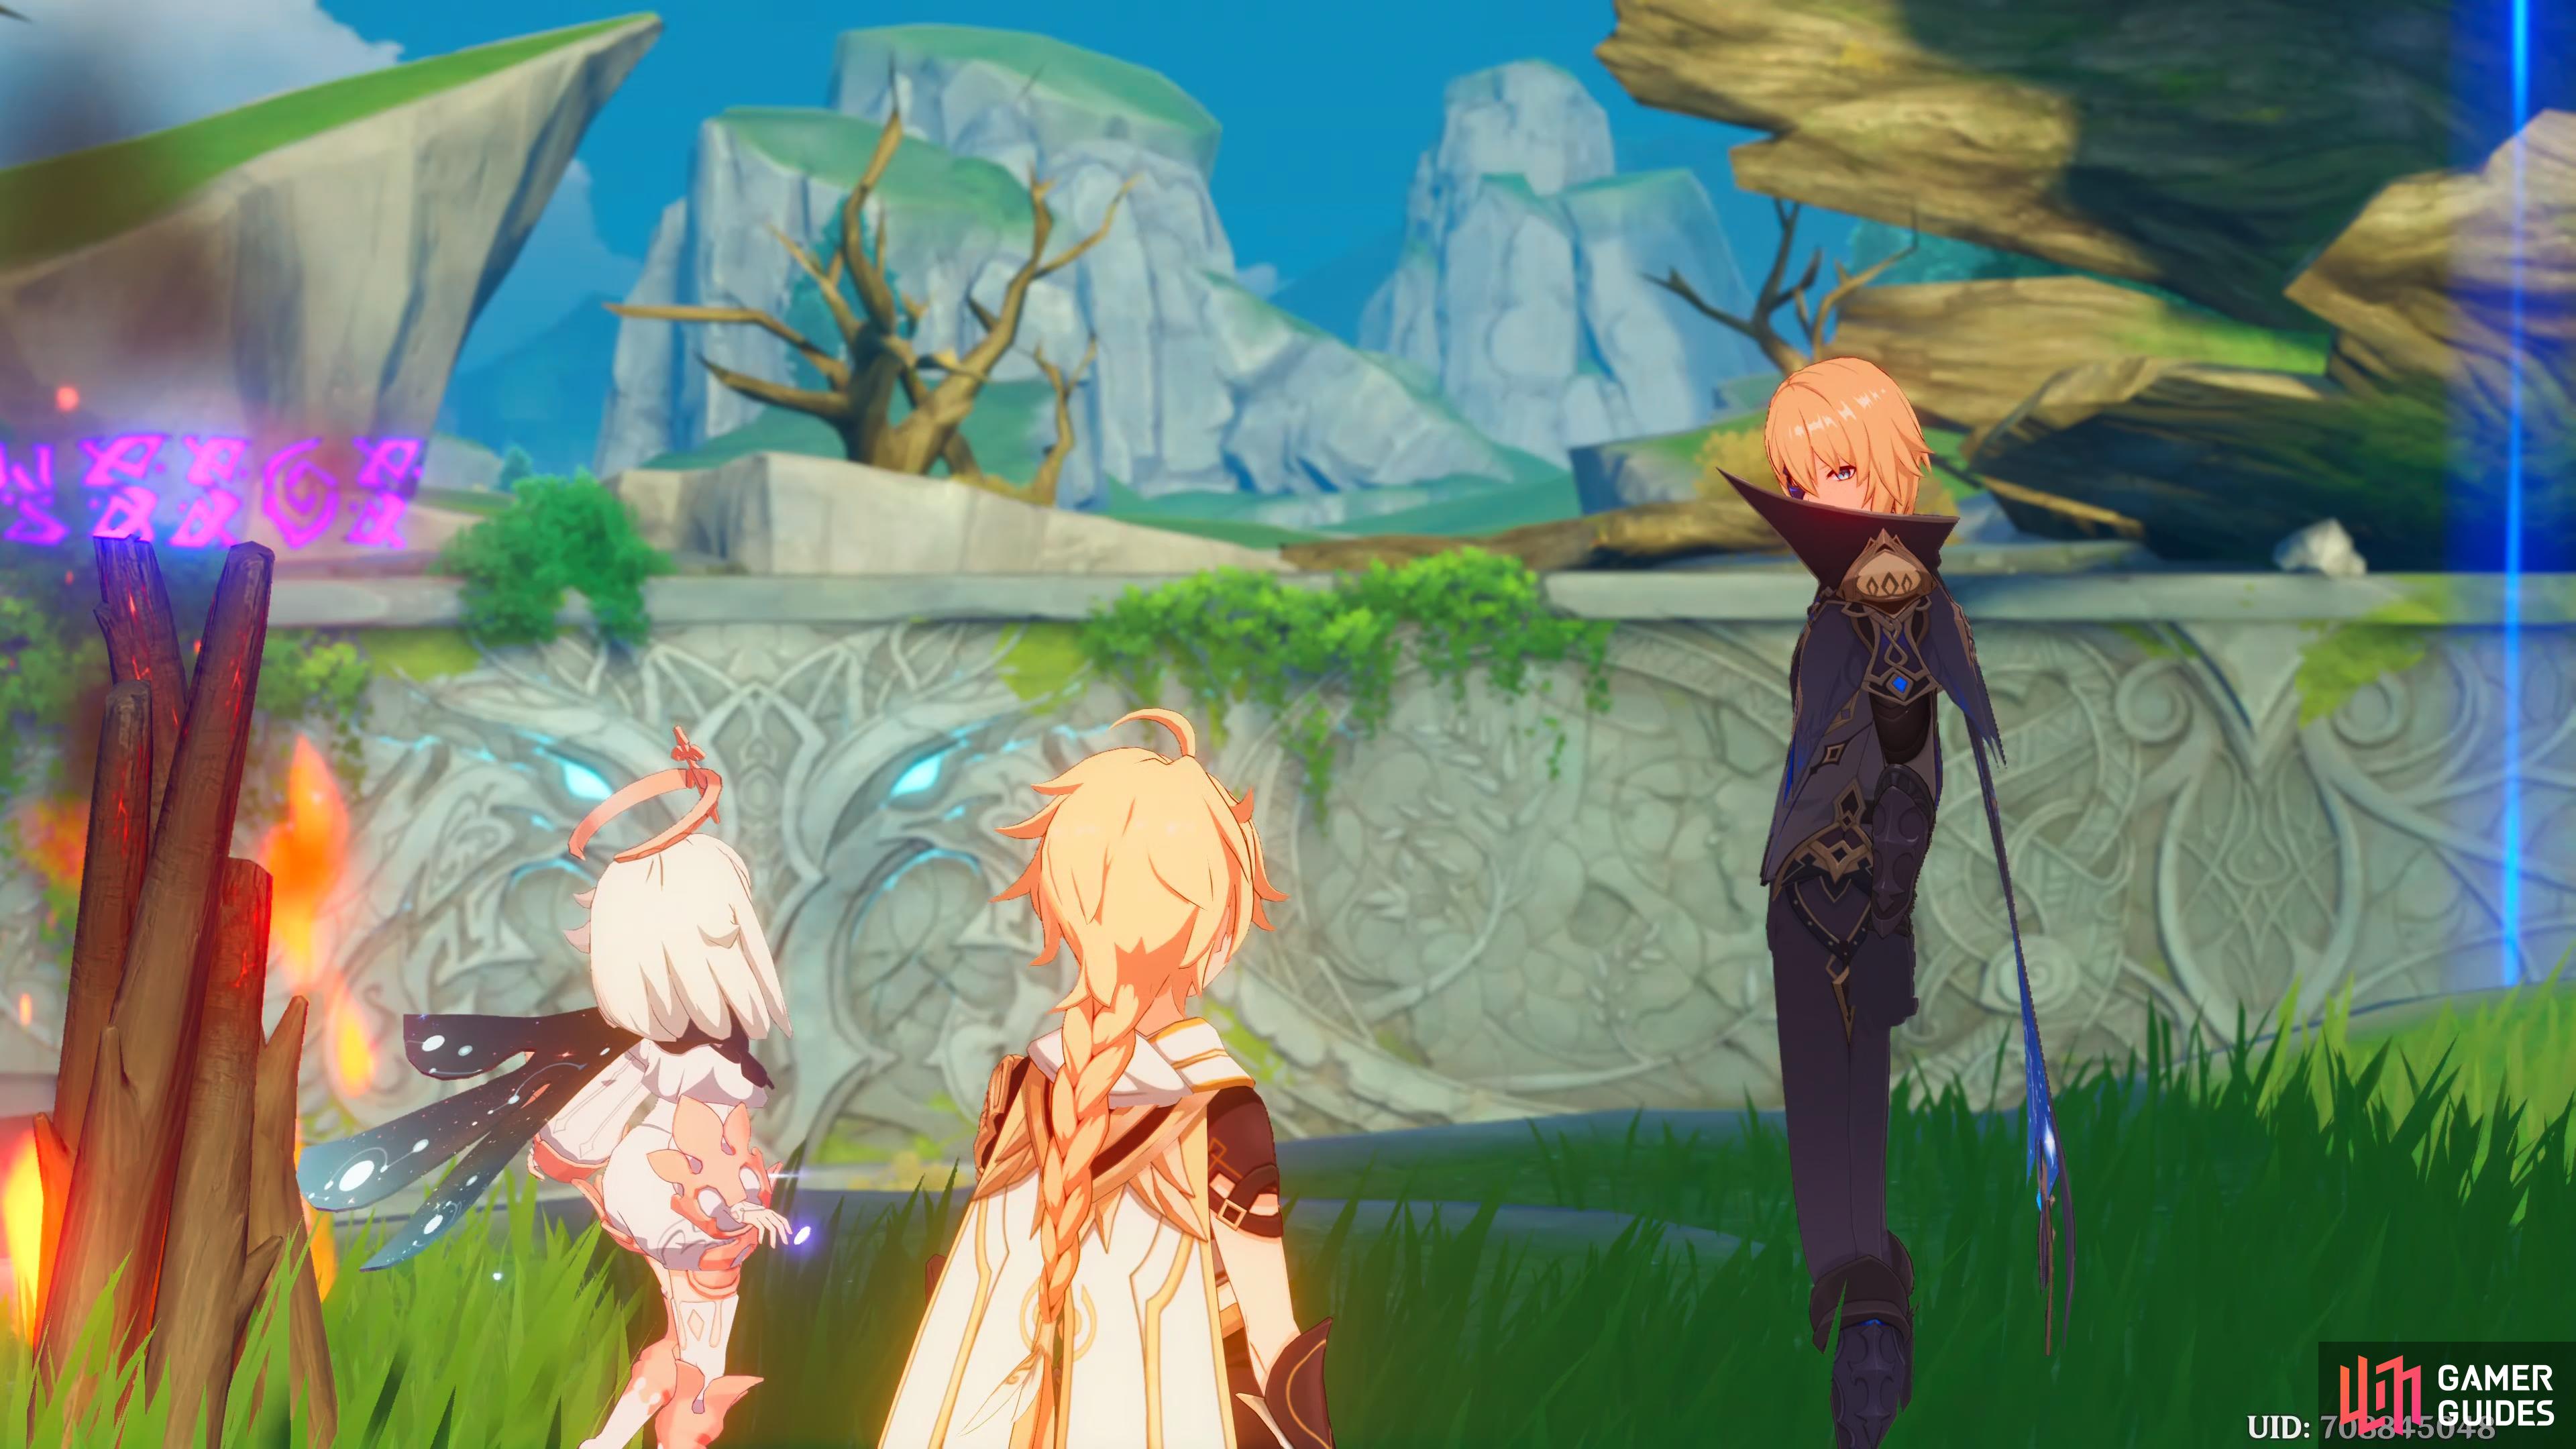
- Talk to Dainsleif
- Go to Wolvendom
- Look for clues related to the Abyss Order in Wolvendom
- Go to Stormterror’s Lair
- Defeat all the opponents
- Catch up to Dainsleif
- Go and examine the dandelion
Ask Lawrence about the stranger
After speaking to Katheryne, head to the front gates and talk to Lawrence, the guard standing there, he’ll mention he saw him speaking to the Smithy in town, Wagner.
Ask Wagner about the stranger
Wagner is just around the corner, to the northwest, speak to him and after some dialogue, he’ll tell you that he can be found drinking in the Angel’s Share Tavern
Ask Charles about the stranger
Follow the path northeast and the tavern will be on your right, enter it and speak to the bartender, Charles. Apparently he comes here every night and he’ll suggest you wait on the second floor for him to arrive.
Go to the second floor of the tavern and wait on the seat by the railing
Head up to the second floor and you’ll see a table and some chairs right by the bannister, sit on the chair and you’ll get a short scene.
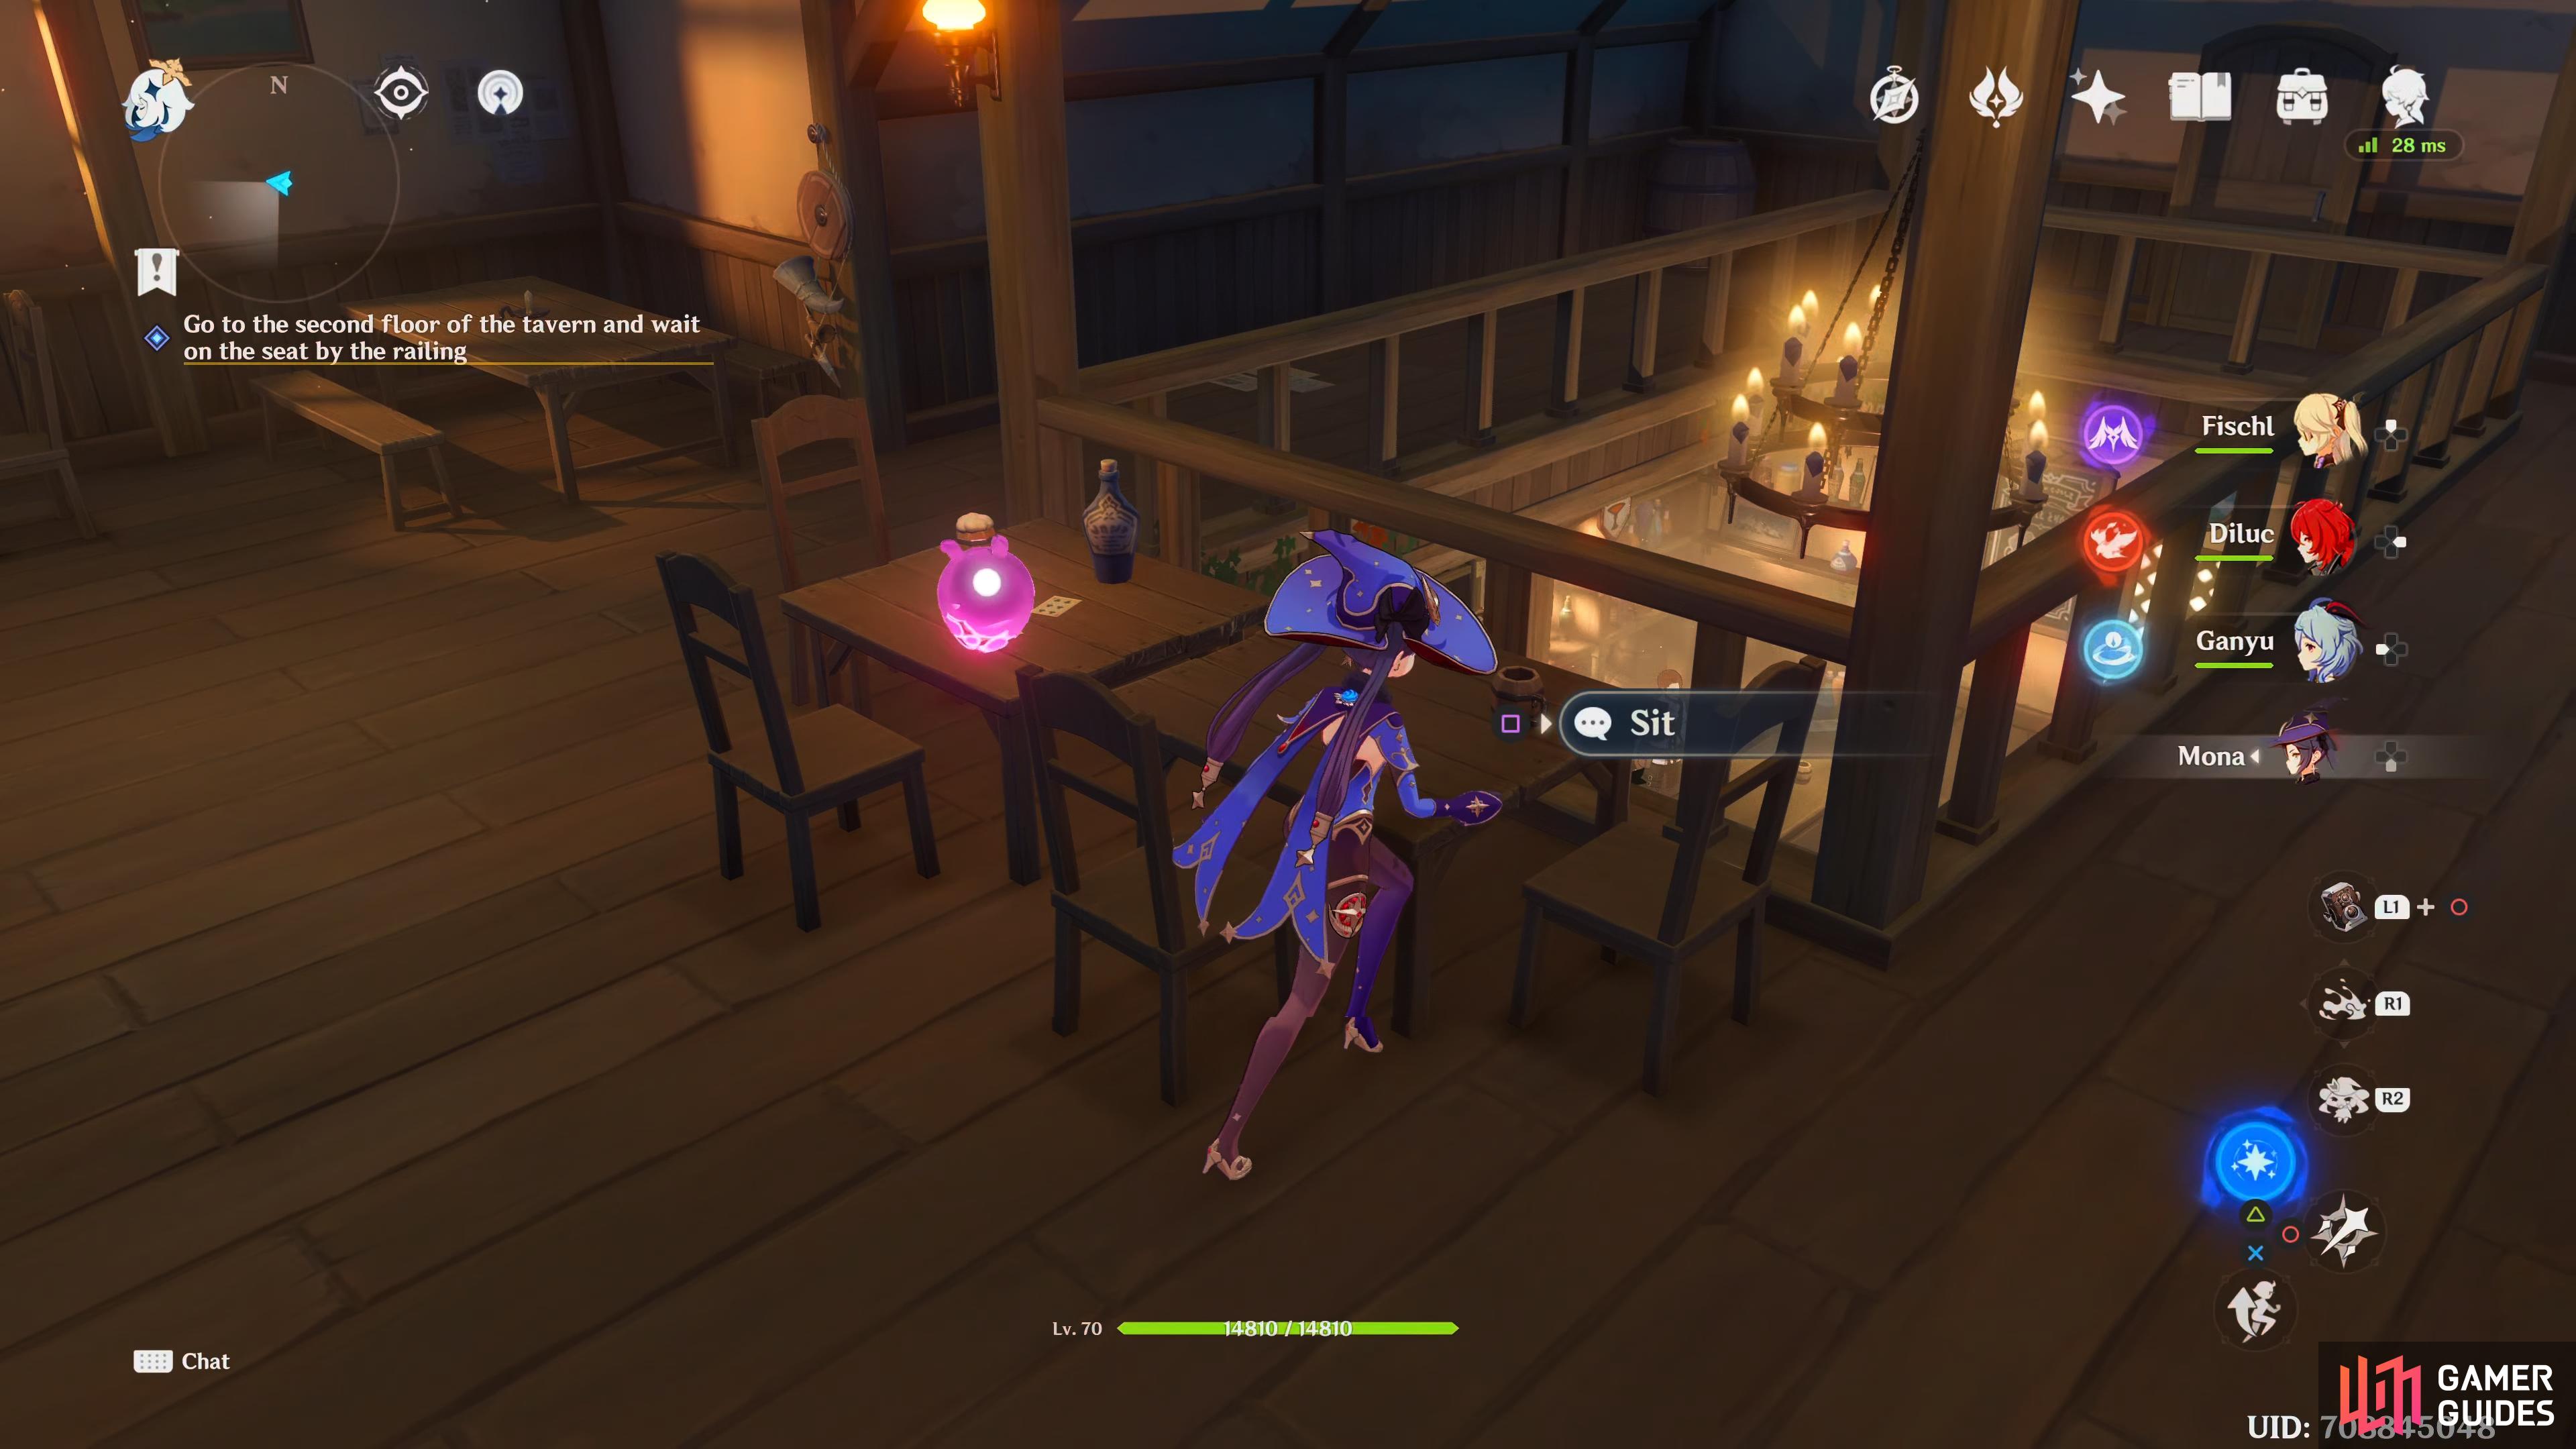
Sit down on the chair by the railing on the second floor to wait for Dainsleif.
Go to the first floor of the tavern and find the stranger
After the scene ends, jump over the bannister and you’ll find Dainsleif sitting alone at the back in the southeast corner, head on over to him and talk to him for another scene.
Go to the Temple of the Falcon
Teleport to the Temple of the Falcon and Dainsleif will be waiting there at the bottom of the stairs, speak to him and he’ll explain that there is some marks of the Abyss here and he tells you to head inside.
Enter the Temple of the Falcon
Interact with the door and you’ll notice that a temporary Domain has been added, Abyssal Traces. Enter it and make sure to bring along a Cryo user.
Continue exploring
As soon as your inside, interact with the contraption in front of the door to open it and go into the next room, the first thing you’ll notice, is a Hilichurl burrowing by a wall, defeat it and then destroy the wall in front of it where you’ll find an Exquisite Chest, open it and then proceed onwards.
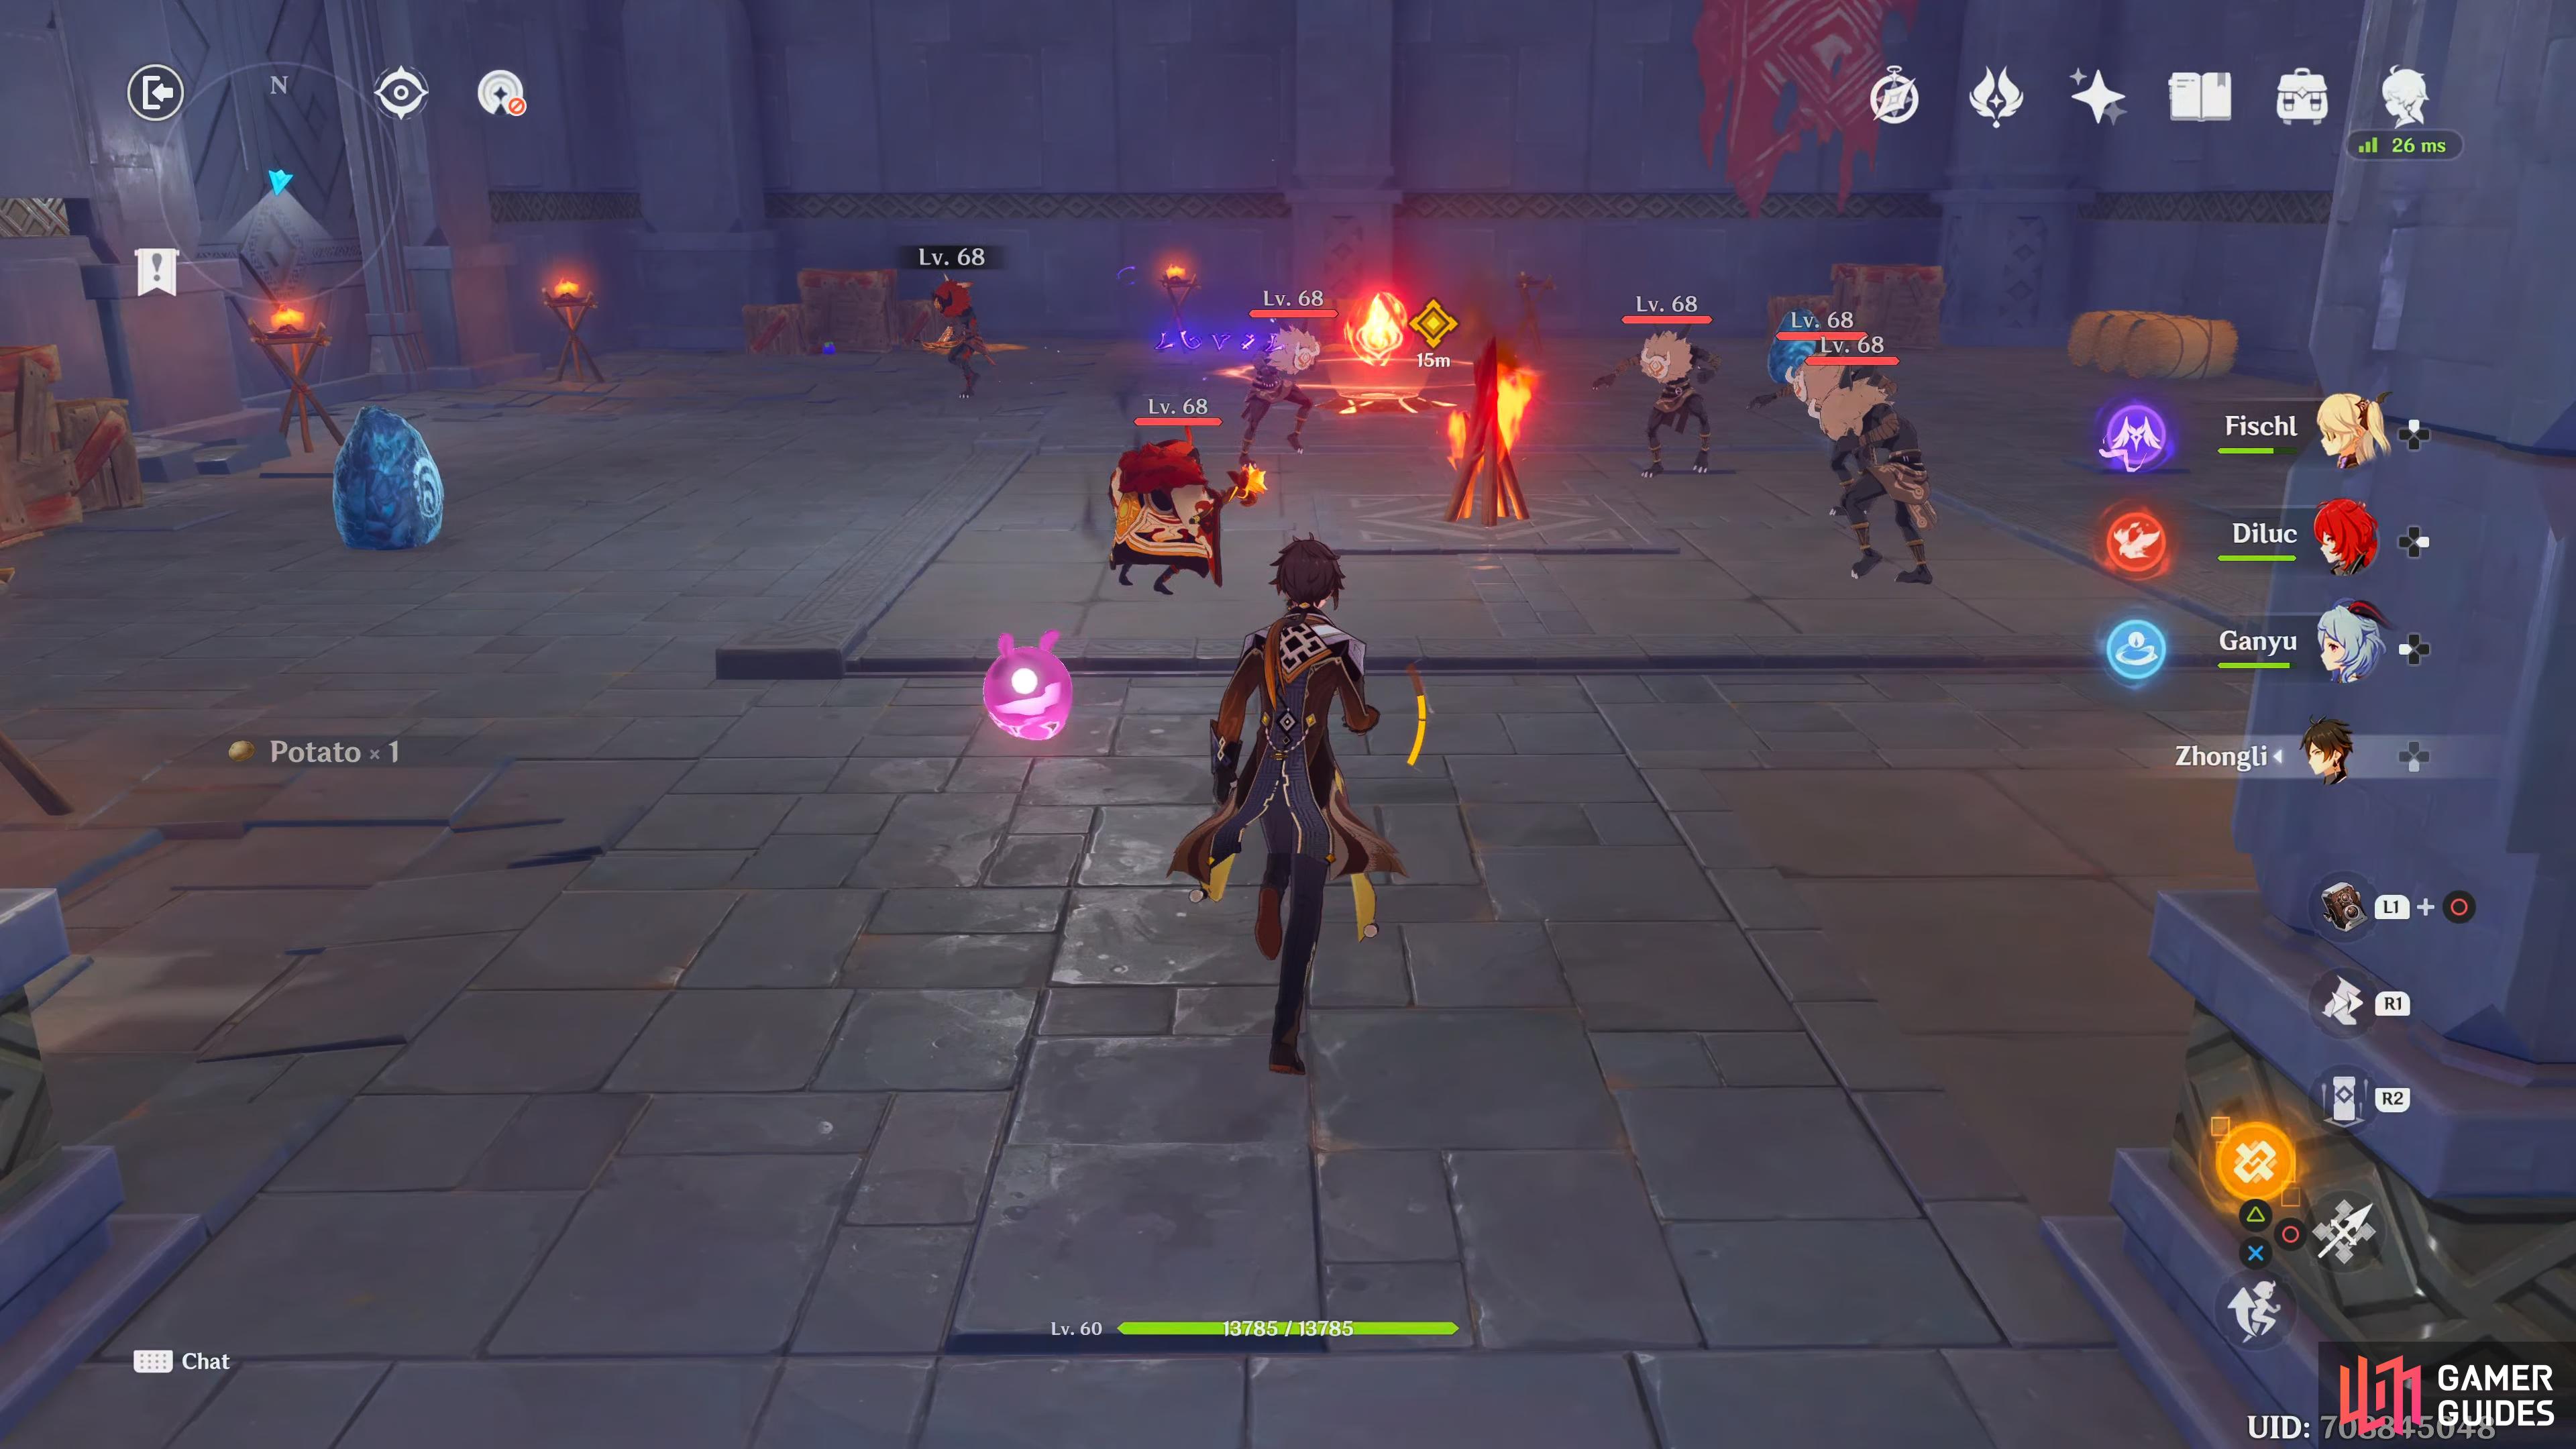
Once you get to the door of resurrection, jump down into the room below it, here you’ll find a contraption in the middle as well as three Hilichurl Shooters, one Cryo, one Electro and one Pyro, defeat them in any order and some more will spawn, this time you’ll be facing one Blazing Axe Mitachurl and two Hilichurls Fighters, once they are all defeated, interact with the contraption to open the door to the next room, make sure to open the Common Chest on your way out.
This next room is a little bit more difficult as you’ll be fighting one Pyro Abyss Mage, one Pyro Hilichurl Shooter and four Hilichurl Fighters, you’ll also notice that there are a couple of Hydro stones and a Pyro node in center. The Pyro node will make the Fighters clubs set ablaze as well as making the enemies stronger to Pyro. What you want to do here is, attack the Hydro stones, this will provide a rain type effect on the area and then switch to Cryo or Electro to trigger their various Elemental effects like Superconduct and Electro Charged.


(1 of 2) Attack the Hydro orbs around the arena to make the enemies wet.
Attack the Hydro orbs around the arena to make the enemies wet. (left), Use Cryo on the Hydro Abyss Mage and Hydro on the Pyro Abyss Mage. (right)
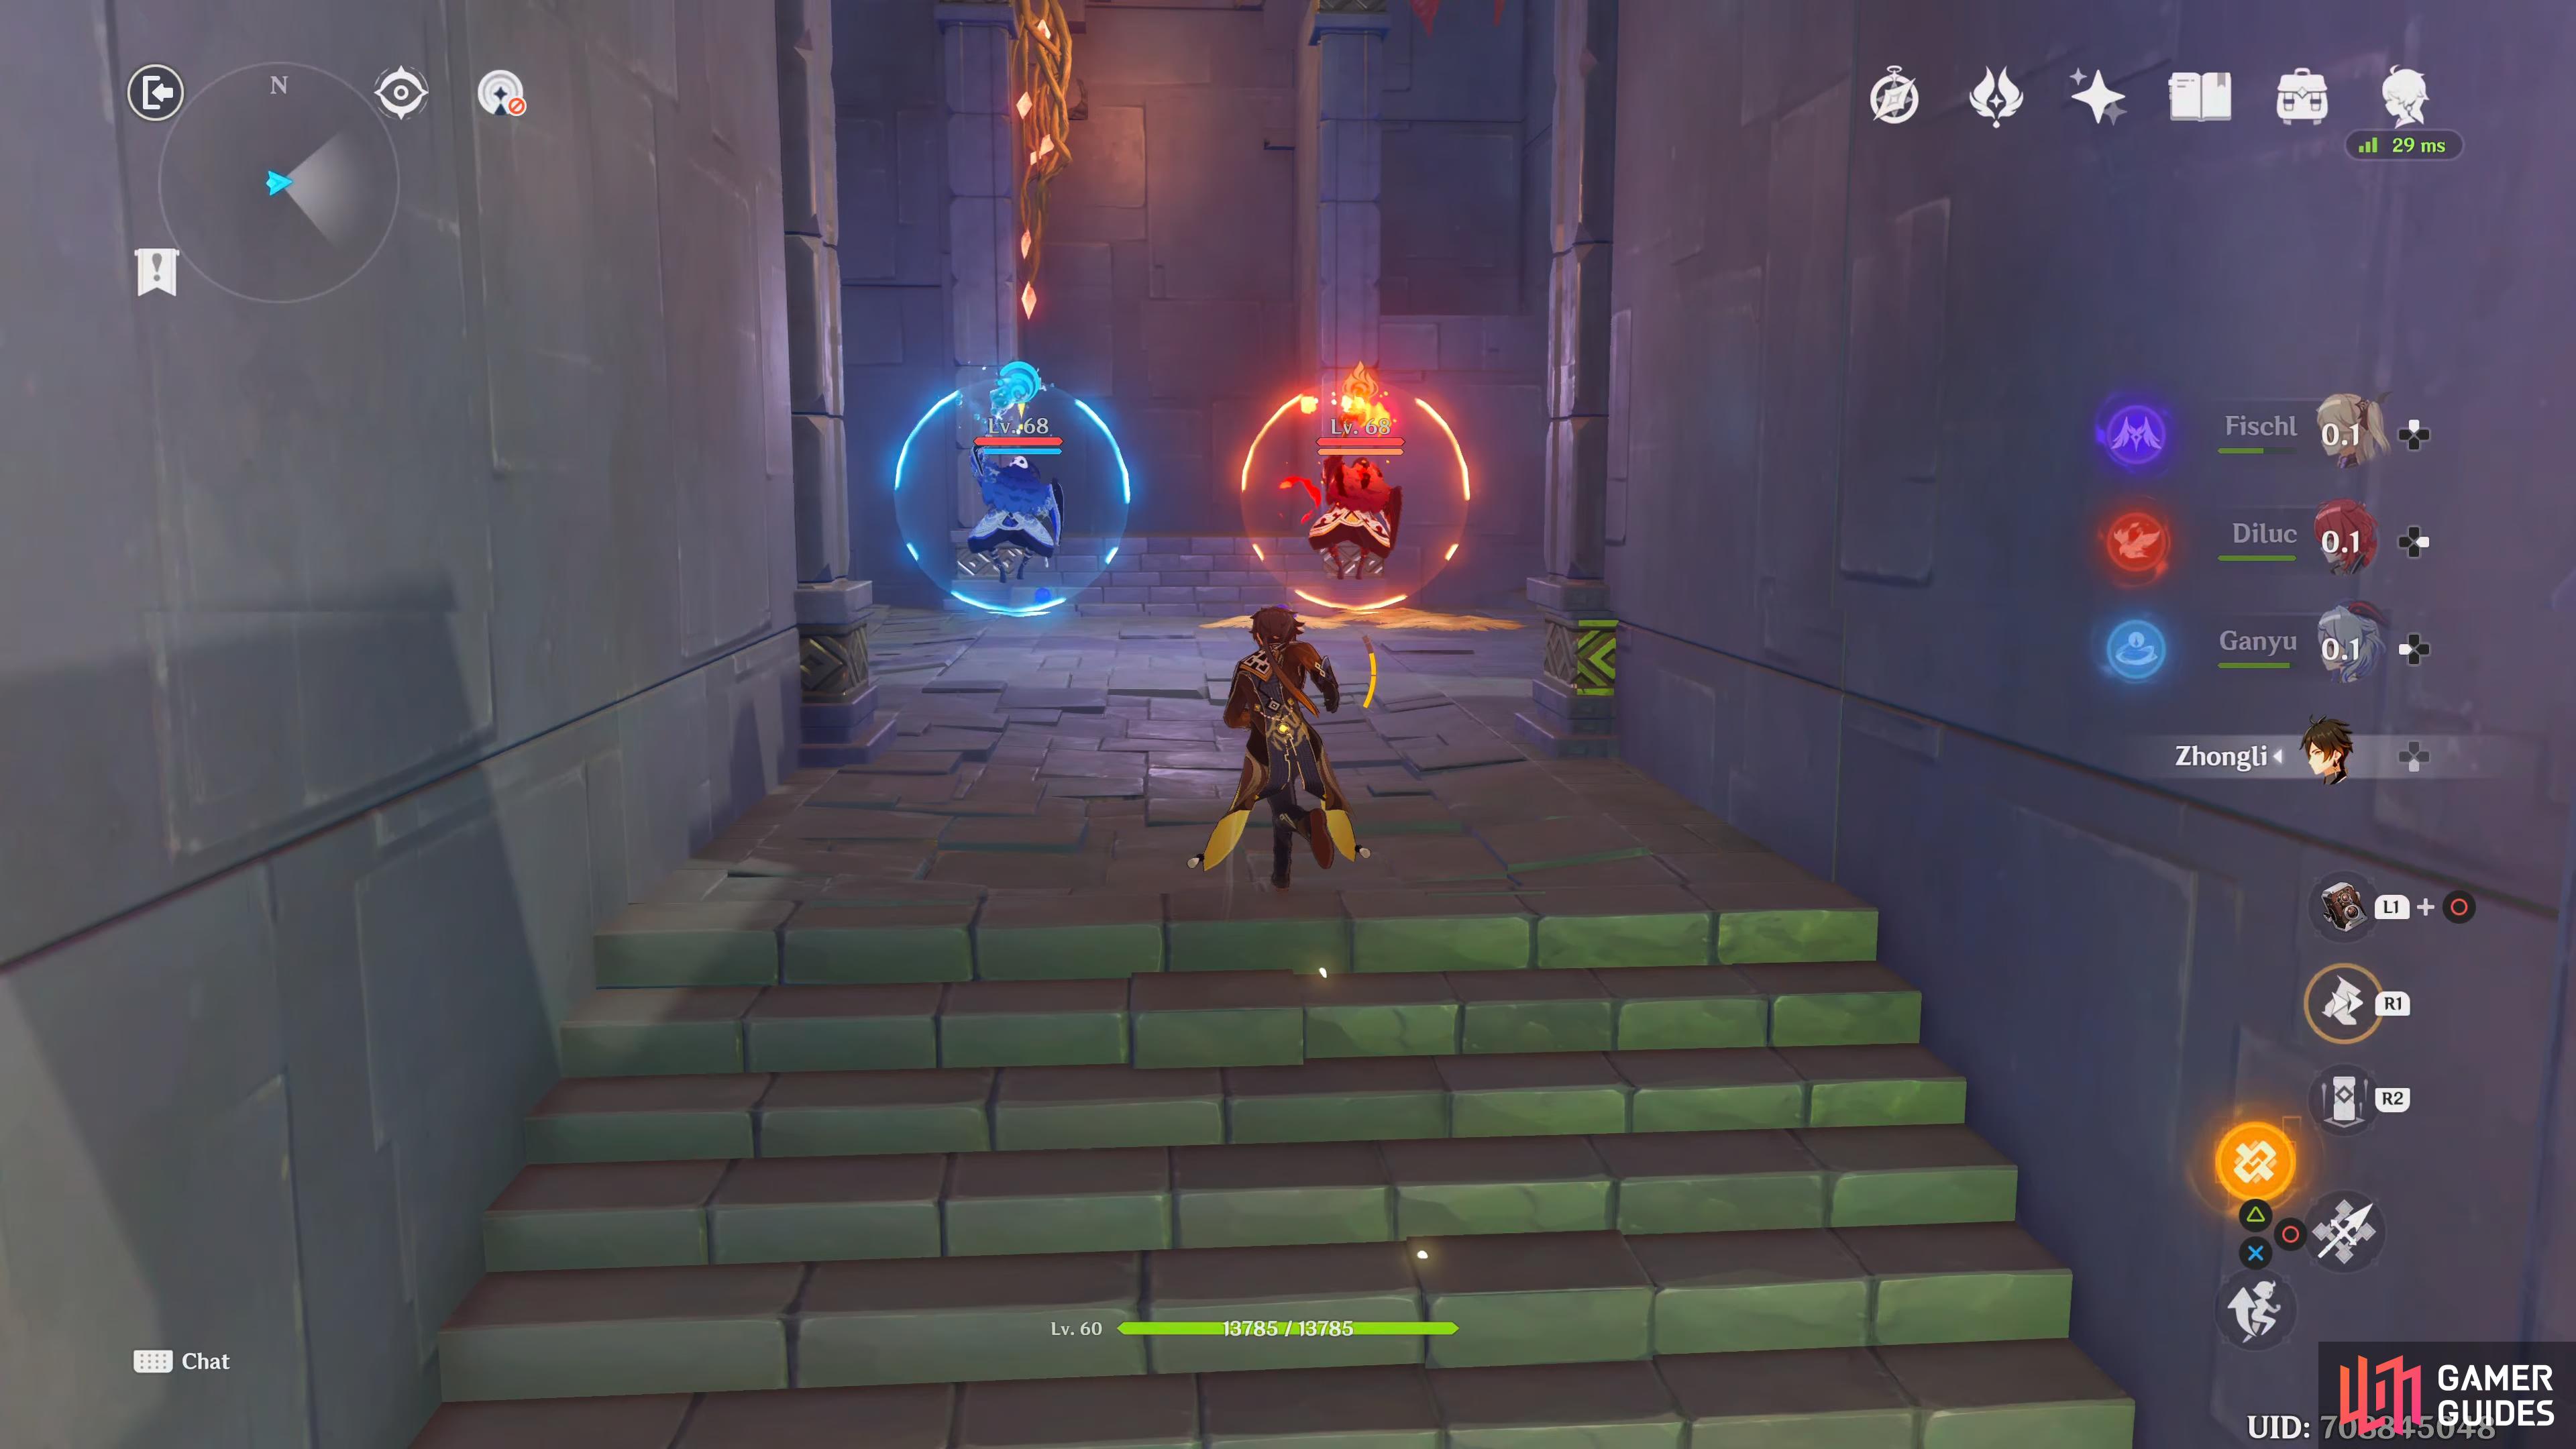
Once they have been defeated, open the Common Chest to the west of the room and then head over to the open area southeast and jump onto the updraft of Anemo and head east to the platform with another door of resurrection. Continue on east and you’ll notice two Abyss Mages, one Hydro and one Pyro. The Hydro Abyss Mage’s shield is weak to Cryo and the Pyro Abyss Mage’s shield is weak to Hydro although Cryo will work against it, alternate between Hydro, Cryo and Electro and you’ll soon take them down.
Talk to Dainsleif
After they have been defeated, you’ll get a short scene with Dainsleif, after speaking to him you realize that the “Herald” has already left and that you should head to Wolvendom. Open the Precious Chest before leaving the Domain.
Go to Wolvendom
Teleport to the Dawn Winery waypoint and then head over the cliffs to the north/northeast to where the Andrius boss fight is and speak to Dainsleif who is standing by a lit torch for a short scene.
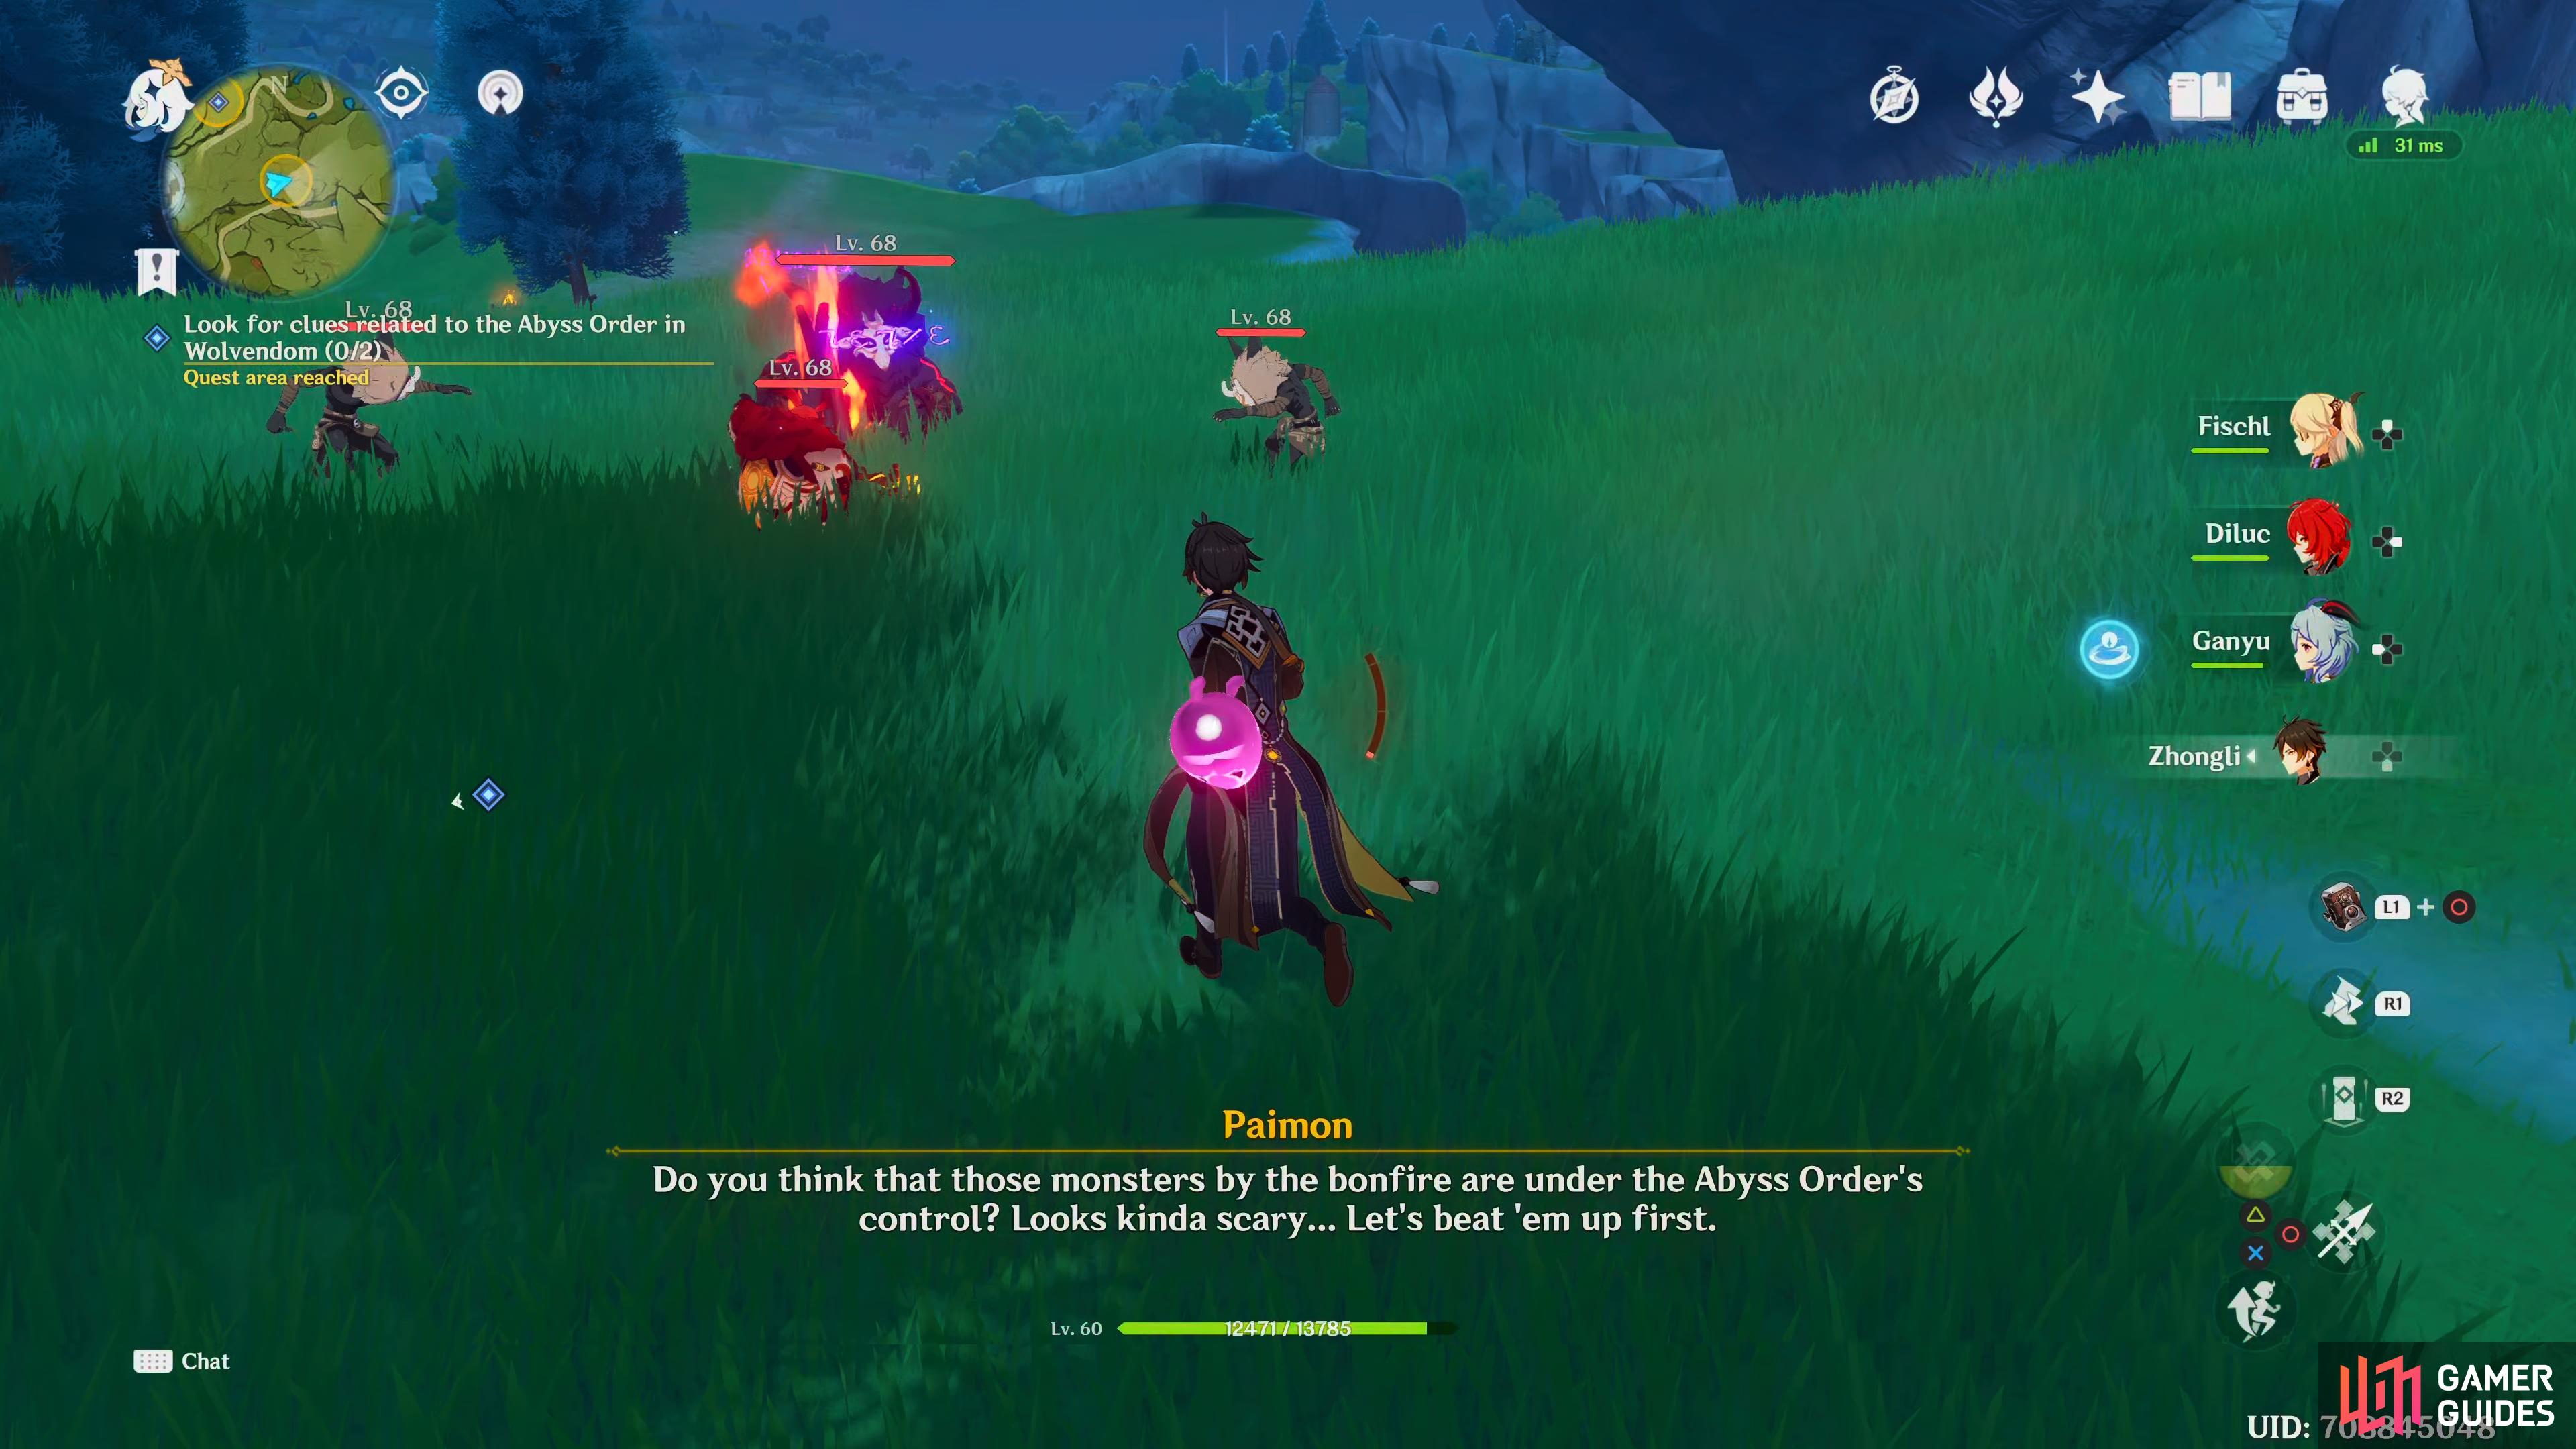
Look for clues related to the Abyss Order in Wolvendom (0/2)
He’ll mention that the torches have an Abyssal spell on them which can be seen by the purple writing above them and then he asks you to find more clues of the Abyss Herald’s whereabouts.
There are two areas to go to, one in the north and one in the east, head to the east area first and as you approach the torch, a group of enemies will spawn, this group consists of a Pyro Abyss Mage, a Blazing Axe Mitachurl and two Wooden Shield Hilichurl Guards, use Hydro and either Cryo or Electro to make defeating them much easier and then interact with the torch.


(1 of 2) A group of Hilichurls will appear as you approch the eastern torch

A group of Hilichurls will appear as you approch the eastern torch (left), but the enemies at the north torch only appear after you’ve interacted with the torch. (right)
Now head to the northern torch and once again, as you interact with it you’ll be greeted by some more enemies, this time you’ll be facing, a Cryo Abyss Mage, one Hilichurl Berserker and two Hilichurl Fighters, attack theses using, Pyro and Electro to make quick work of them and then head back to Dainsleif. He mentions that there is still one more place to go, Stormterror’s Lair.
Go to Stormterror’s Lair
Teleport to the entrance of the Lair and proceed north across the bridge to Dainsleif where you’ll get a short scene and then he’ll tell you to head deeper.
Go deeper into Stormterror’s Lair
Now teleport to the waypoint on the northern outskirt of the lair and then head south a little, you’ll see a short scene of Hilichurls worshipping the pedestal.
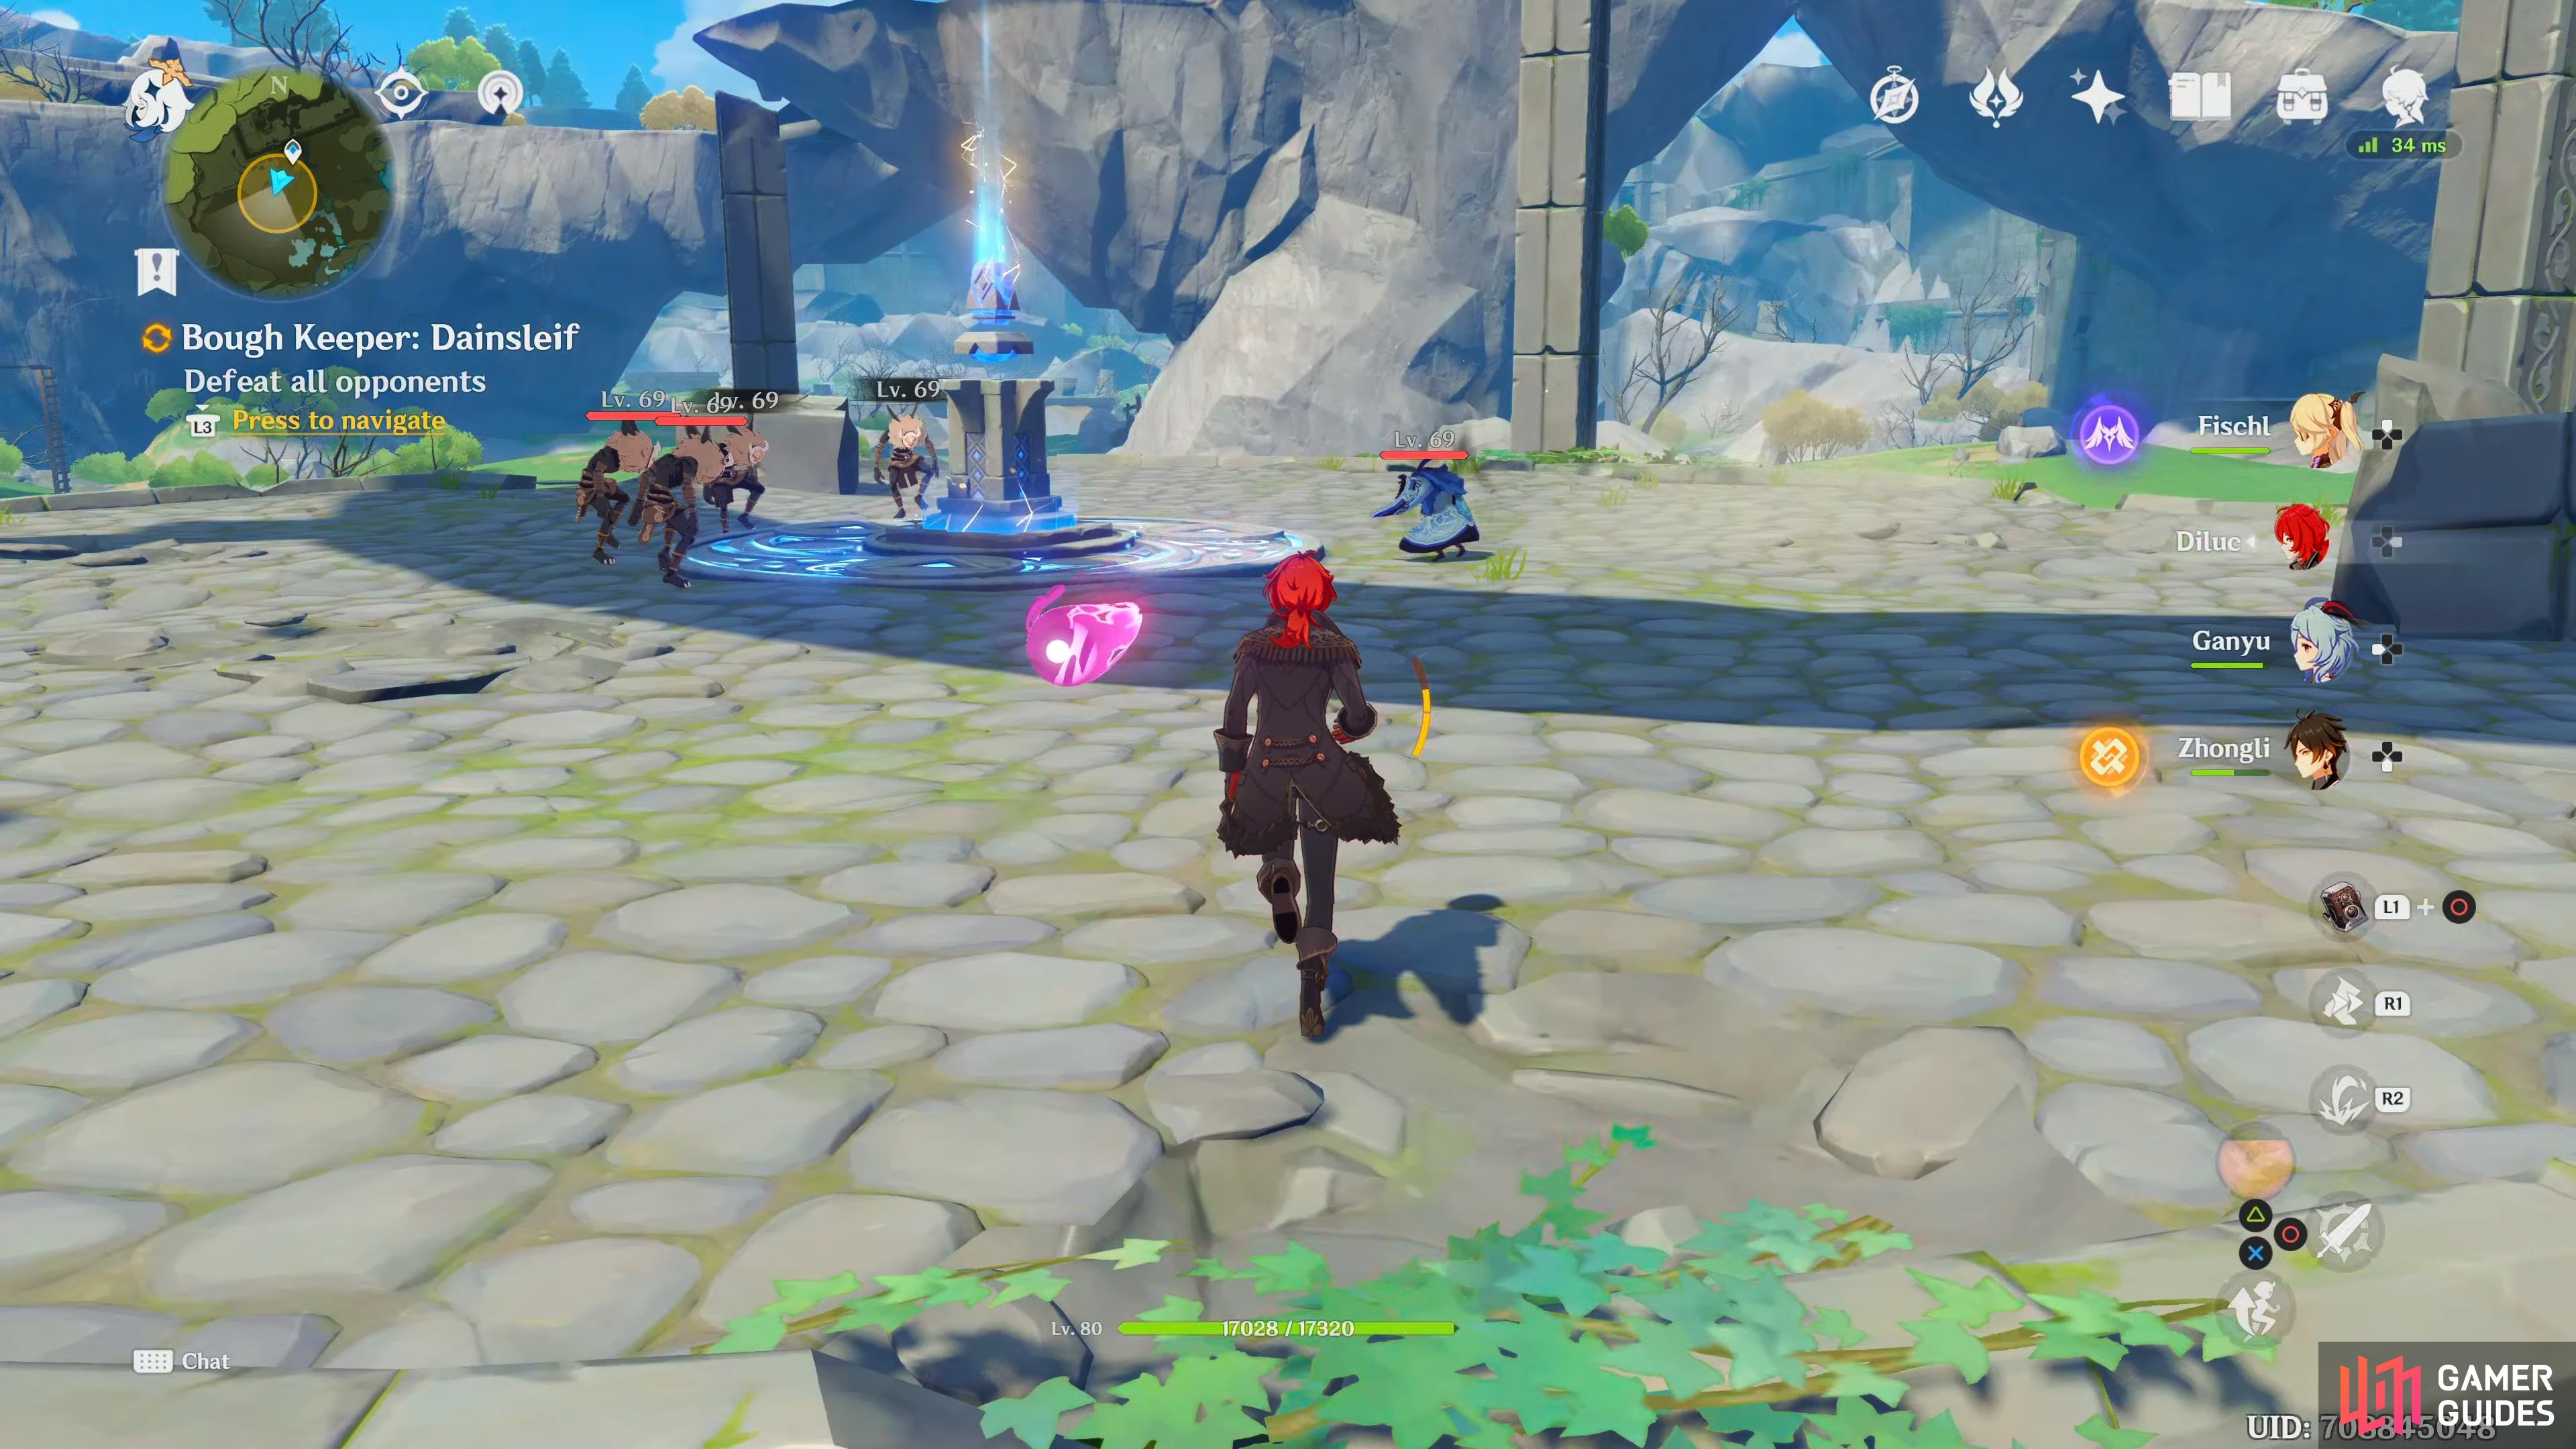
Defeat all the opponents
This group will consist of one Hydro Abyss Mage and four Hilichurls, defeat them with Cryo and Electro and then another group will spawn, this group is a little tougher consisting of one Hydro Abyss Mage and two Wooden Shield Mitachurls and one Hydro Samachurl, take out the Samachurl first as it can heal its allies then use a combination of Cryo, Pyro and Electro to take out the rest. Once they’ve been defeated, you’ll receive another scene.


(1 of 2) The first group only has the Cryo Abyss Mage to worry about
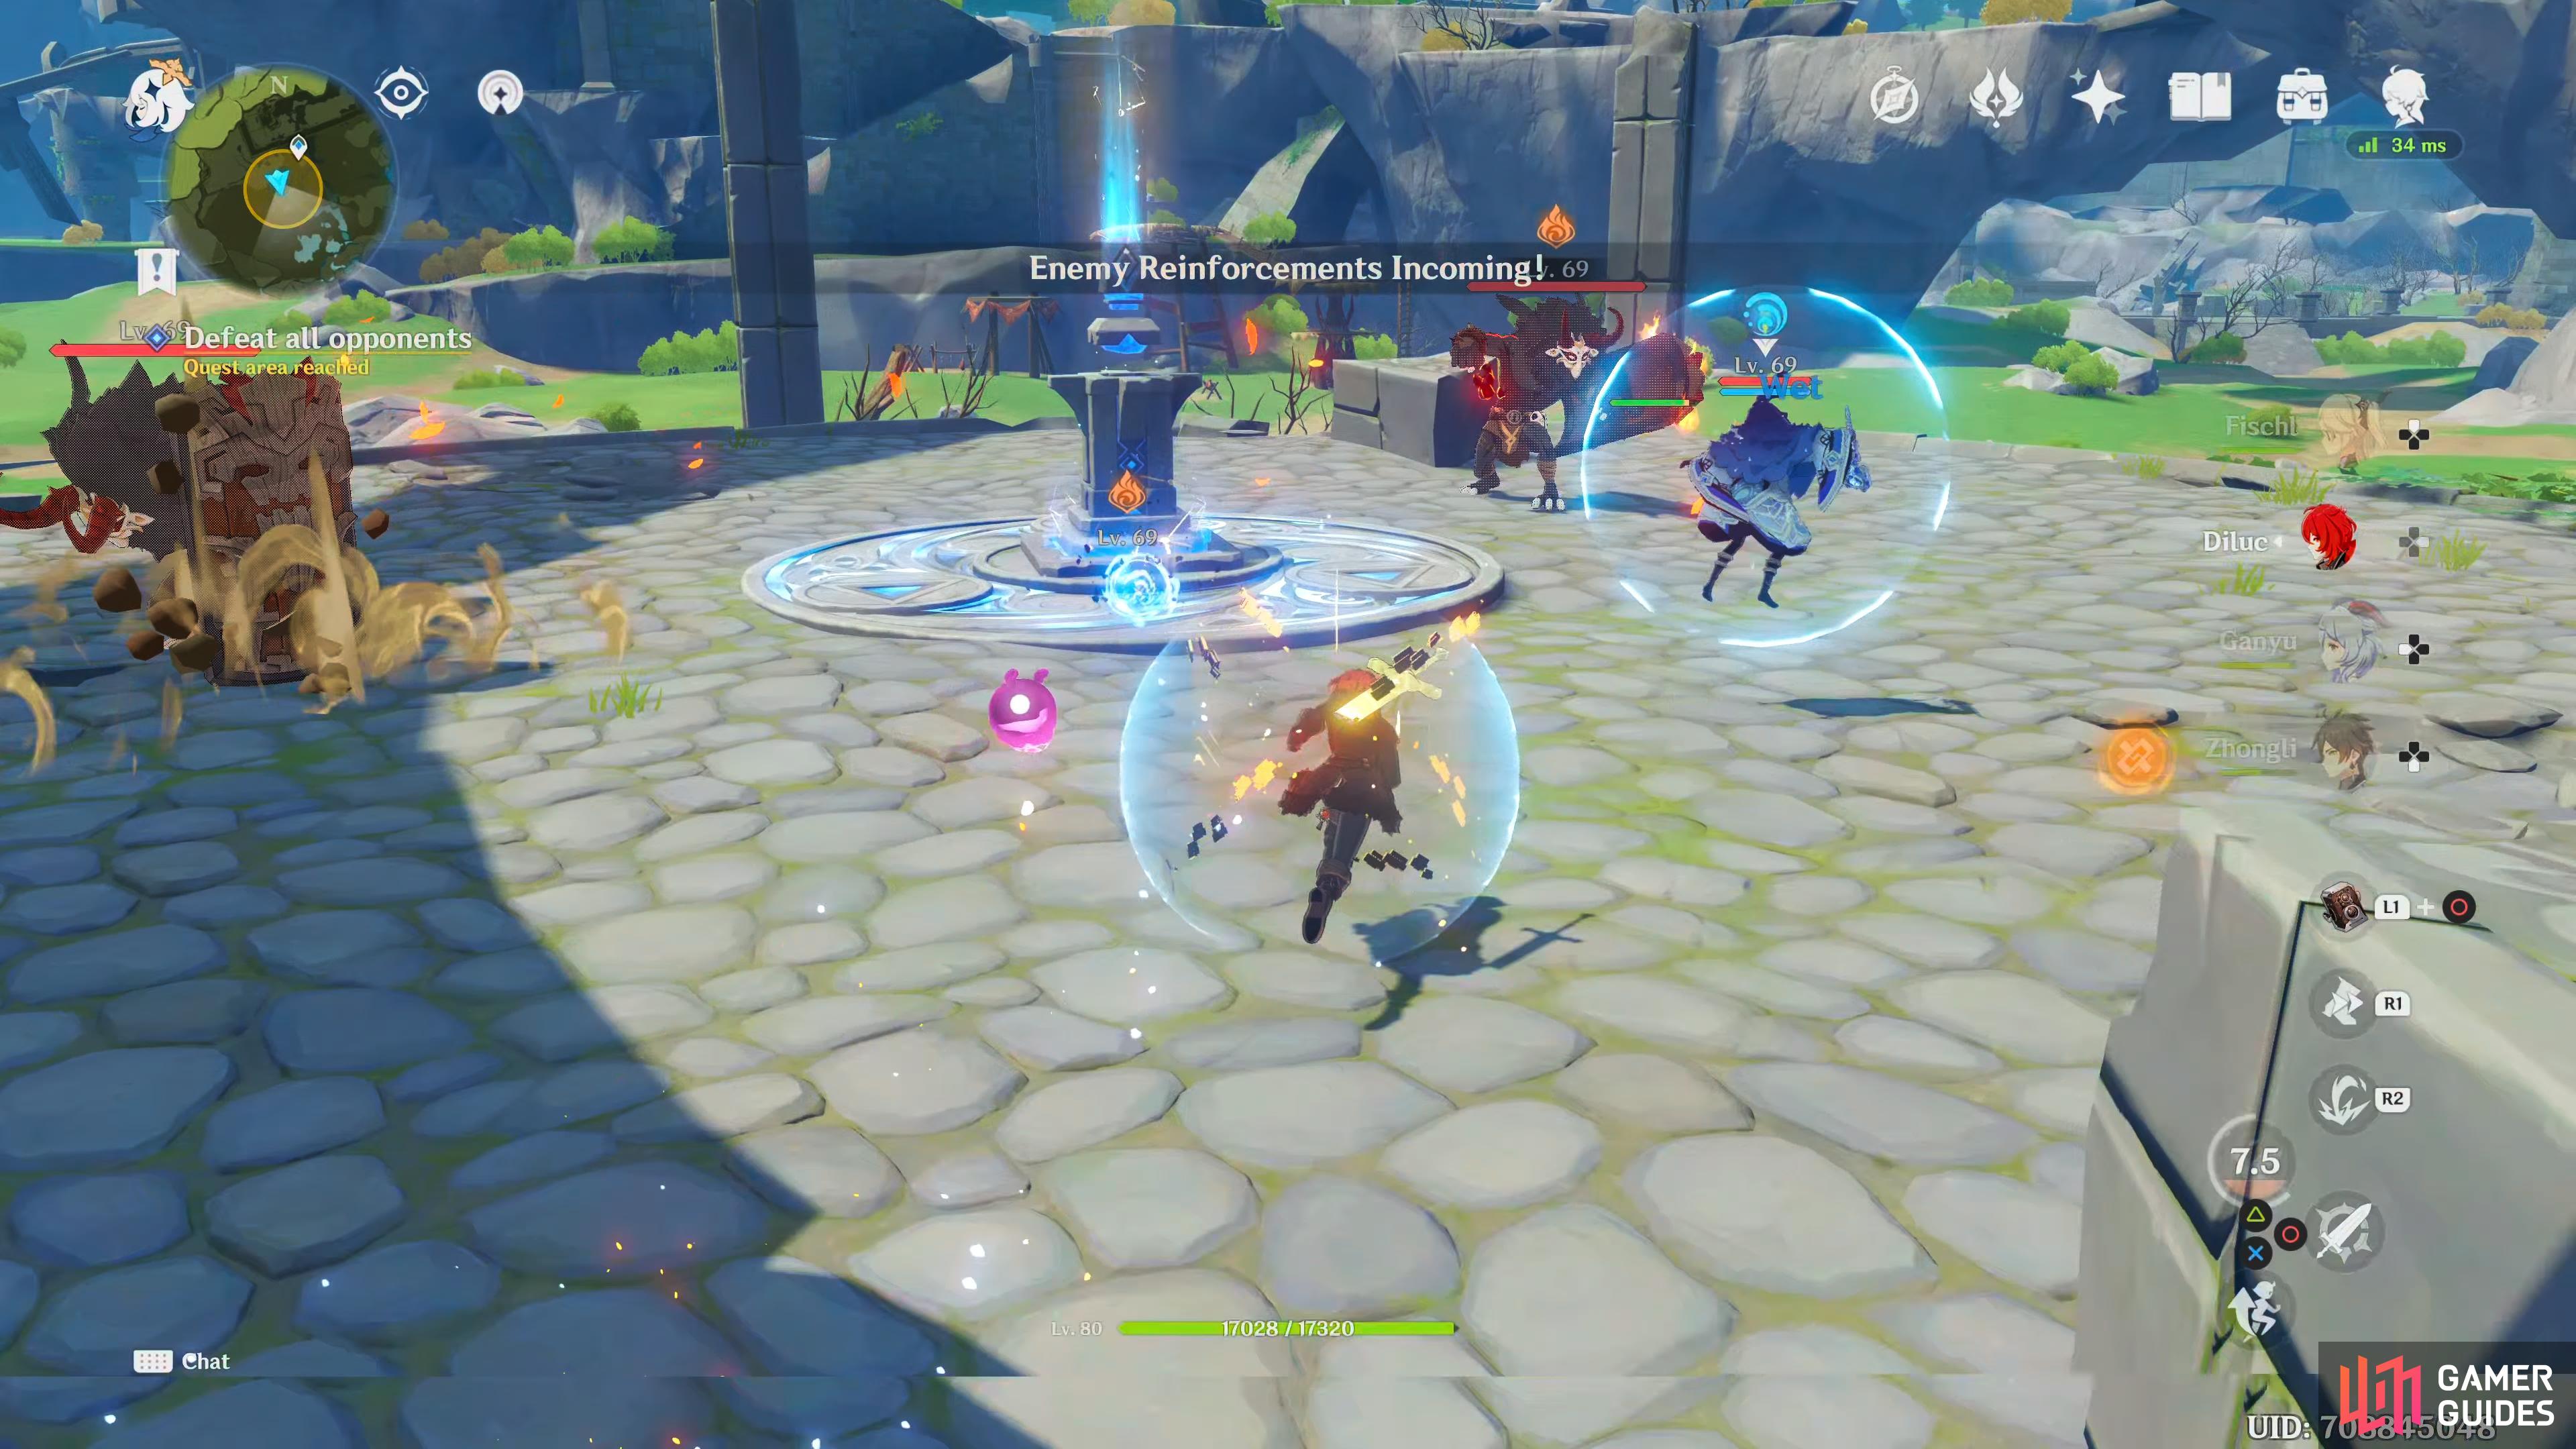
The first group only has the Cryo Abyss Mage to worry about (left), but the second group will have a Hydro Samachurl that can heal its allies, take it out first! (right)
Catch up to Dainsleif
Head northwest and use the Anemo updraft to take you on top of the cliff where Dainsleif is standing and talk to him for a short scene.
Go and examine the dandelion
After the scene ends, examine the dandelion by Dainsleif’s feet and you’ll get one final scene, after this ends, you’ll get an in-game achievement “Gates of Destiny” and the quest will end.
No Comments