
This is a walkthrough for the Archon Quest “A Flower Blooms in a Prison” which is the eighth and final quest in Chapter 2 - Act I: The Immovable God and the Eternal Euthymia. Here, you’ll find a complete walkthrough for the entire quest.
The Traveler standing in awe after meeting Kamisato Ayako for the first time.
| Adventure EXP | Mora | Other Rewards | Requirements | Next Quests |
|---|---|---|---|---|
 1,025 1,025 |
 30 30  5 5  9 9 |
Complete: A Swordmaster’s Path Is Paved With Broken Blades | Amidst Stormy Judgment |
Description
After fulfilling Kamisato Ayaka’s three wishes, you successfully win her trust. And now the next step is…
Steps
- Return to the Kamisato Estate to see Kamisato Ayaka
- Go to Naganohara Fireworks
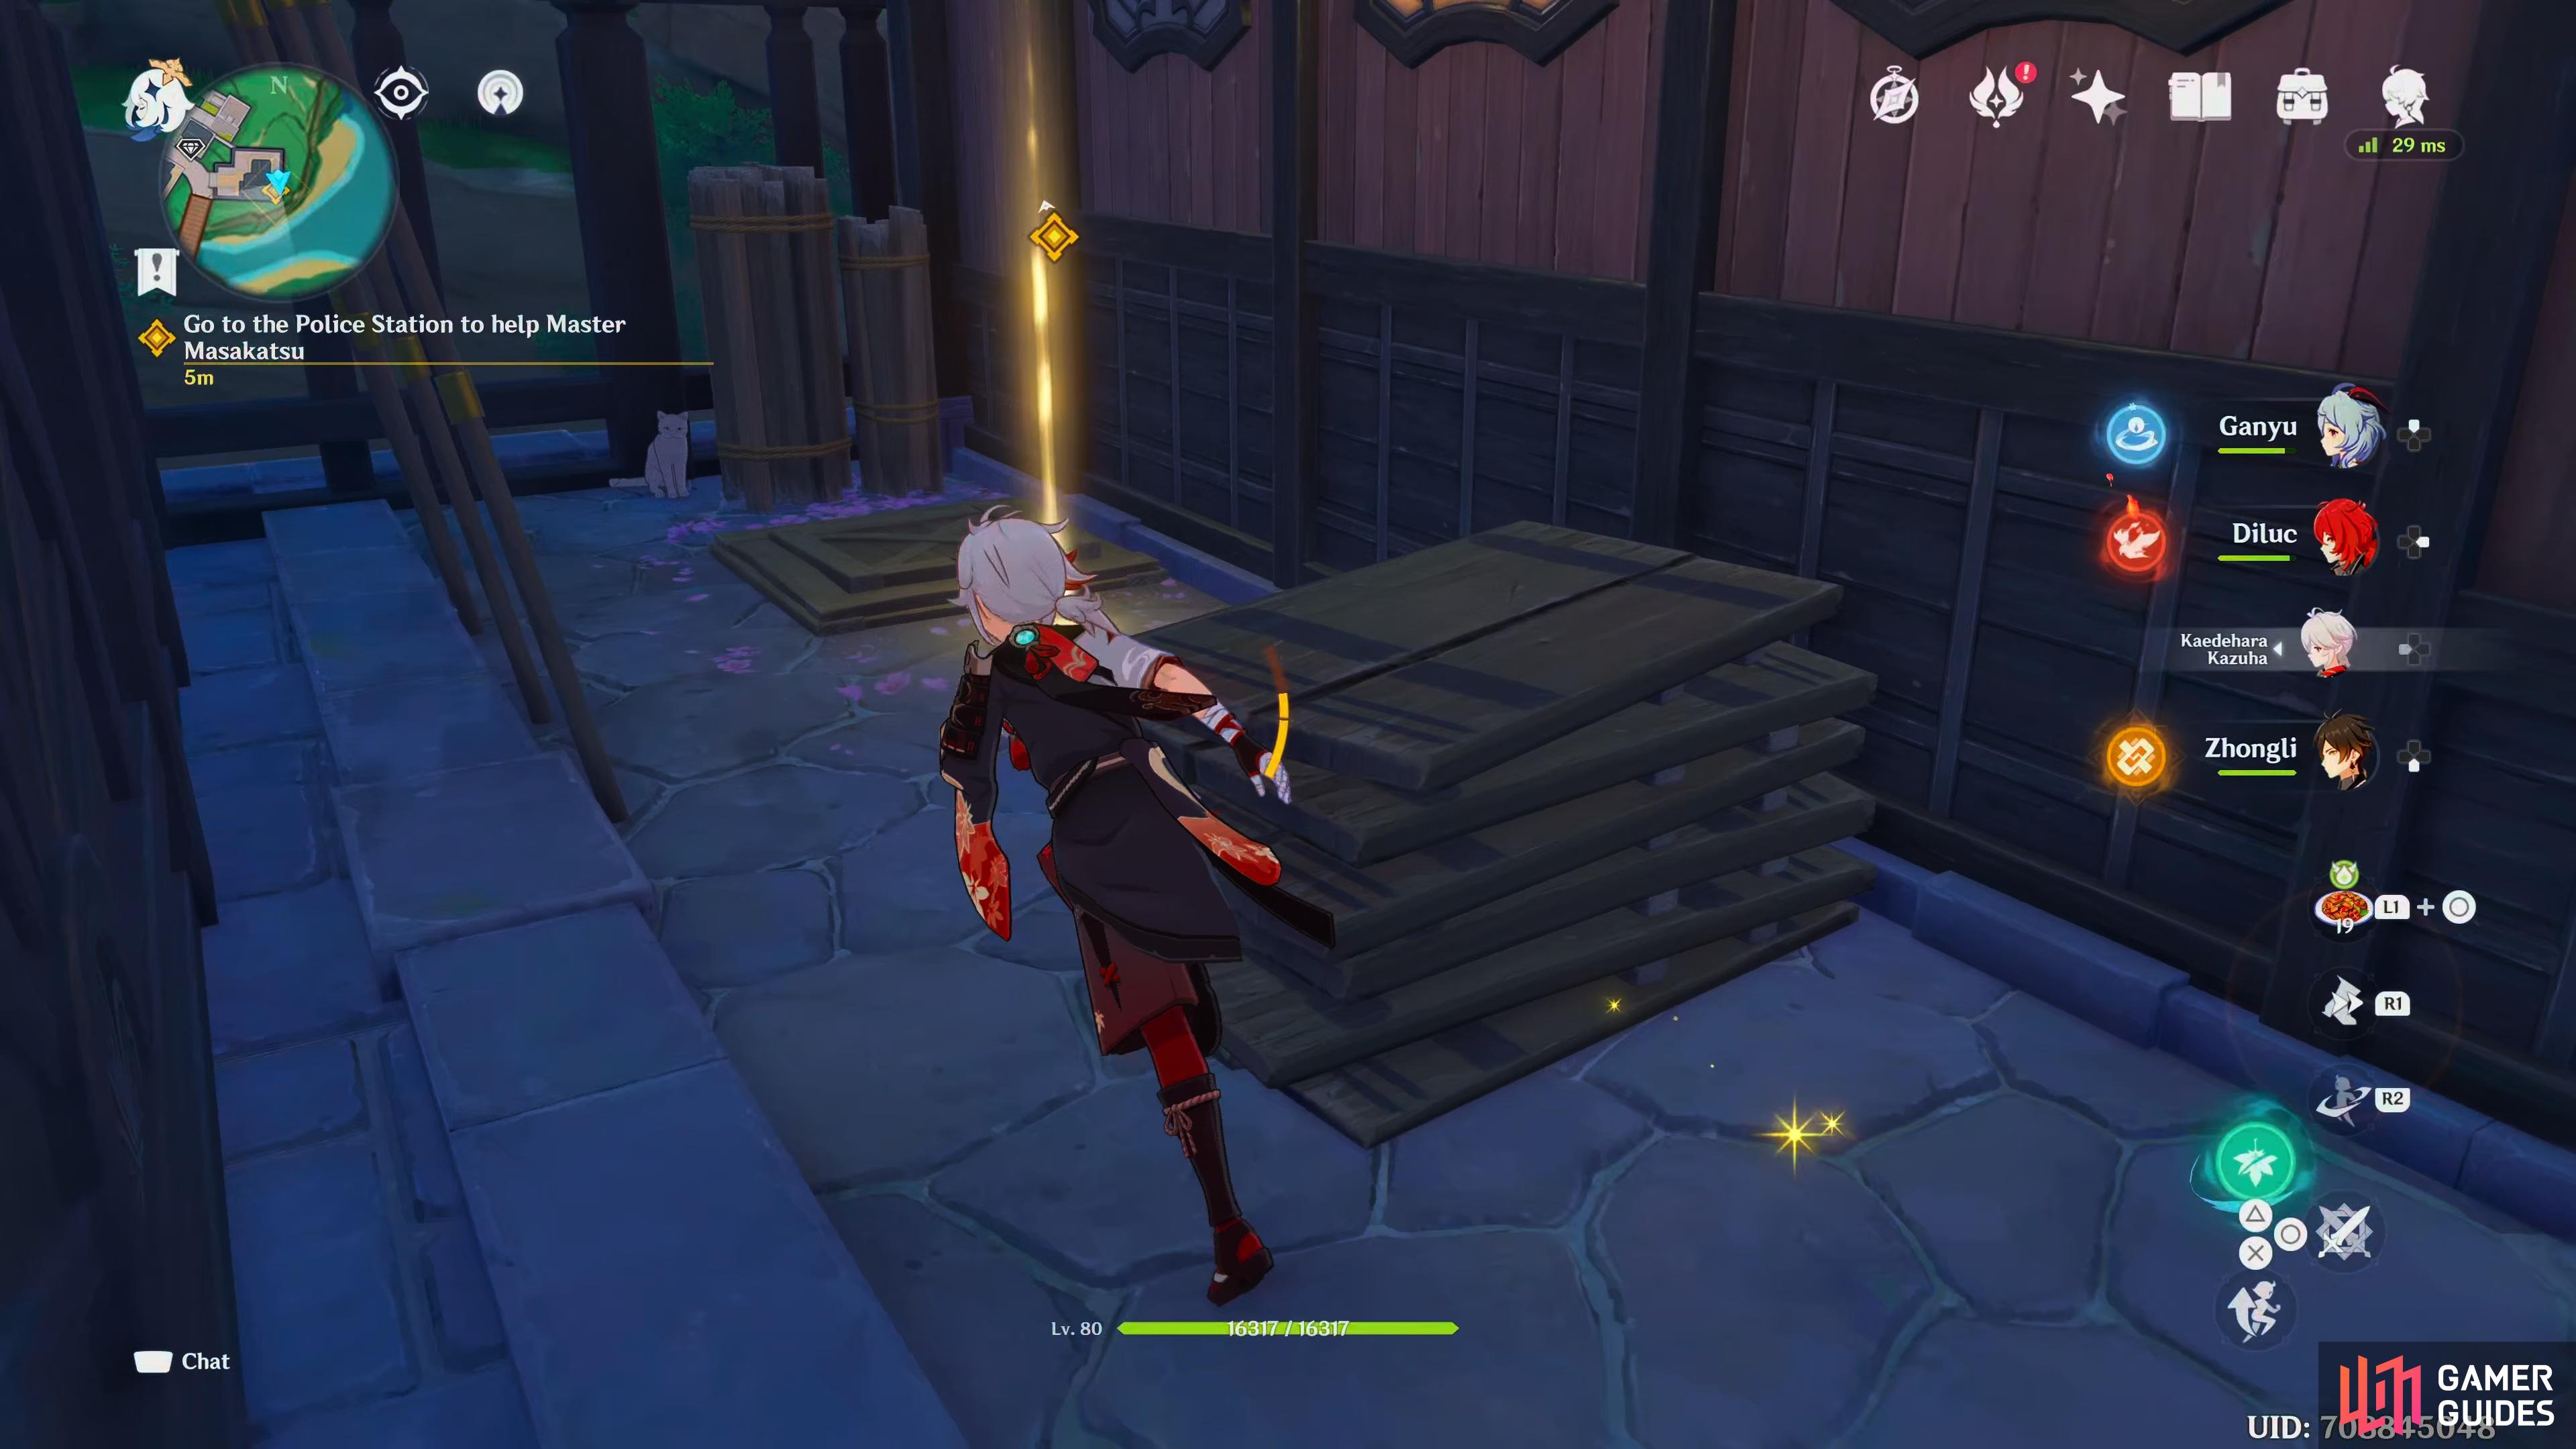
- Go to the Police Station to help Master Masakatsu
- Find Master Masakatsu
- Rescue Master Masakatsu
- Return to Komore Teahouse
Return to the Kamisato Estate to see Kamisato Ayaka
For this quest, you’ll need to report back to Ayaka so teleport to the Kamisato Estate waypoint, and head into the building to your north for a scene. You’ll finally get to see Ayaka in person, and she’ll thank you for helping out her friends. It’s clear that the reason she wanted you to help them was because it showed you how important losing your Vision can be, and that’s why she needs your help.
You’ll agree to help her fight the Vision Hunt Decree, but you want her to keep the promise she made to you, which is to see the Raiden Shogun. She’ll tell you that for matters of more confidential matters, it’s best to speak about them in the Komore Teahouse. You won’t have to head there yourself, as the game will take you there in the scene. Ayaka will tell you all about the Raiden Shogun, and she’ll also tell you how she had someone who could counterfeit Visions for her, who goes by the name Master Masakatsu. He’s being detained in the Tenryou Commission prison, and she wants you to help break him out of there. She doesn’t intend to send you in there alone, though, and tells you to head to the Naganohara Fireworks store. Another important thing to note is that there is a resistance fighting the Raiden Shogun’s army situated on Watatsumi Island.
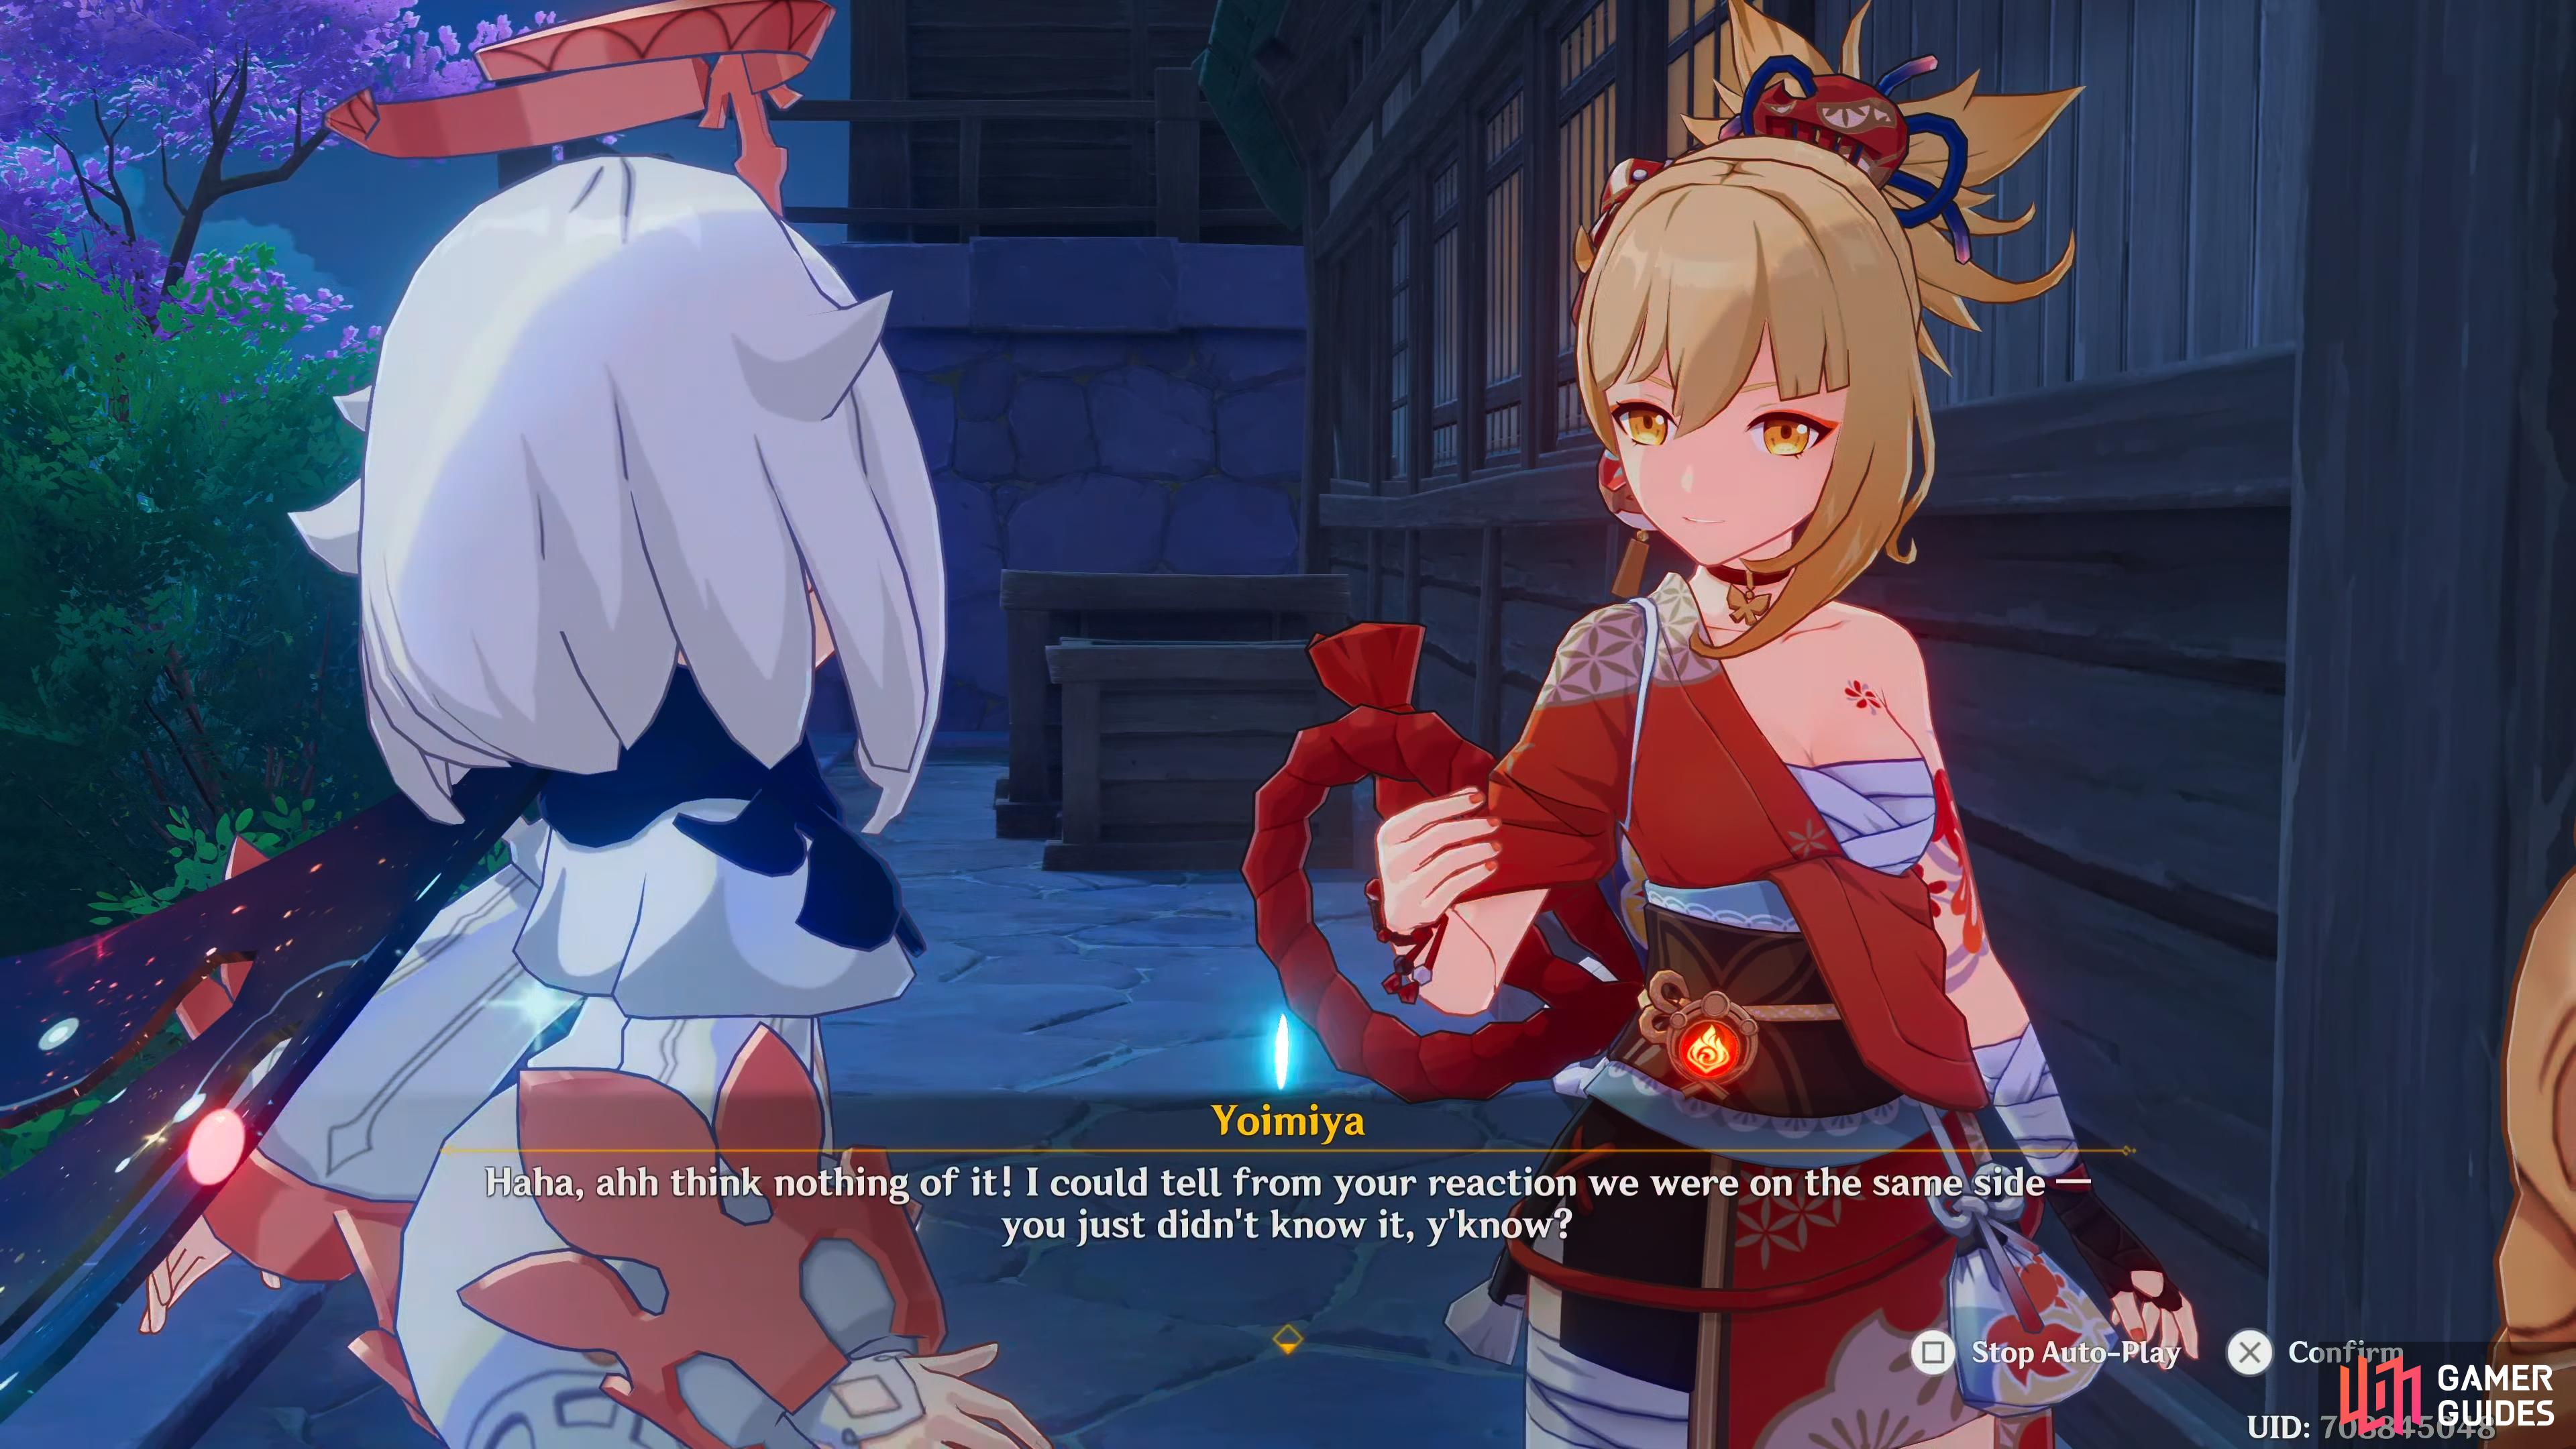
Yoimiya is the owner of Naganohara Fireworks, and a friend to Ayaka.
Go to Naganohara Fireworks
After the scene, you’ll need to head to Naganohara Fireworks, which can be found north of the Teahouse, west of the blacksmith. Head there for another scene. You’ll find a member of the Vision Hunt Decree confiscating a Vision from one of the citizens. As you begin to interrupt, someone quietly calls you over. This’ll be your first introduction to another future playable character Yoimiya who happens to be the current owner of Naganohara Fireworks, and is also known as the “Queen of the Summer Festival!”. It appears that the whole losing your Vision incident that happened a minute ago was one of the counterfeit Visions that Ayaka told you about, which is why she didn’t want you to interrupt them.
Apparently Master Masakatsu helped her keep hold of her vision, and she’s repaying that by helping others do the same, which is also one of the reasons she wants to help you break him out of prison. She’ll join you, and tell you that she has already surveyed the area, and found a way in.
(1 of 2) The Trapdoor can be found behind the Tenryou Prison.

The Trapdoor can be found behind the Tenryou Prison. (left), Interacting with it will enter the “Police Detention Center” one-time Domain. (right)
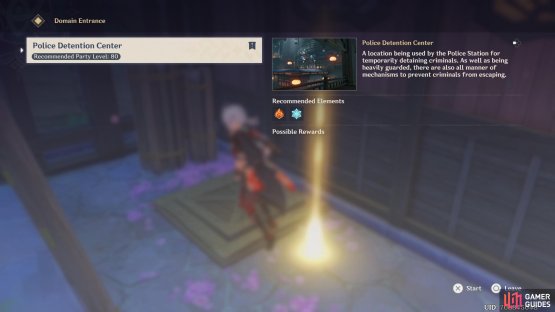
Go to the Police Station to help Master Masakatsu
When the scene ends, head southeast, go up the wooden ramp, and follow the path southeast until you reach your destination. Walk into the compound, and go behind the prison, don’t worry about the guards, they don’t seem to care, and go into the trap door. This will start a one-time Domain called “Police Detention Center”.
Domain: Police Detention Center
The recommend elements for this Domain are Pyro and Cryo, so bring along at least one of each although Yoimiya can be played as a trial character later on, and she has the Pyro Vision. A shield user like Zhongli is always good to bring, and a healer of some sort to make things go smoothly as you’ll be fighting Nobushi’s in there, and they can hit quite hard.
Find Master Masakatsu
When you enter, you’ll get a short scene, and Yoimiya will suggest you split up as she has a “little present” to prepare. When you regain control, head north up the wooden stairs, and follow the balcony to the east. You’ll come up against the first fight here, and you’ll be facing two Shogunate Infantries. These guys wield spears and can perform a three-hit combo, they’re rather weak, and shouldn’t pose much of a problem, especially if you combine Pyro and Cryo as this will take them out in no time.
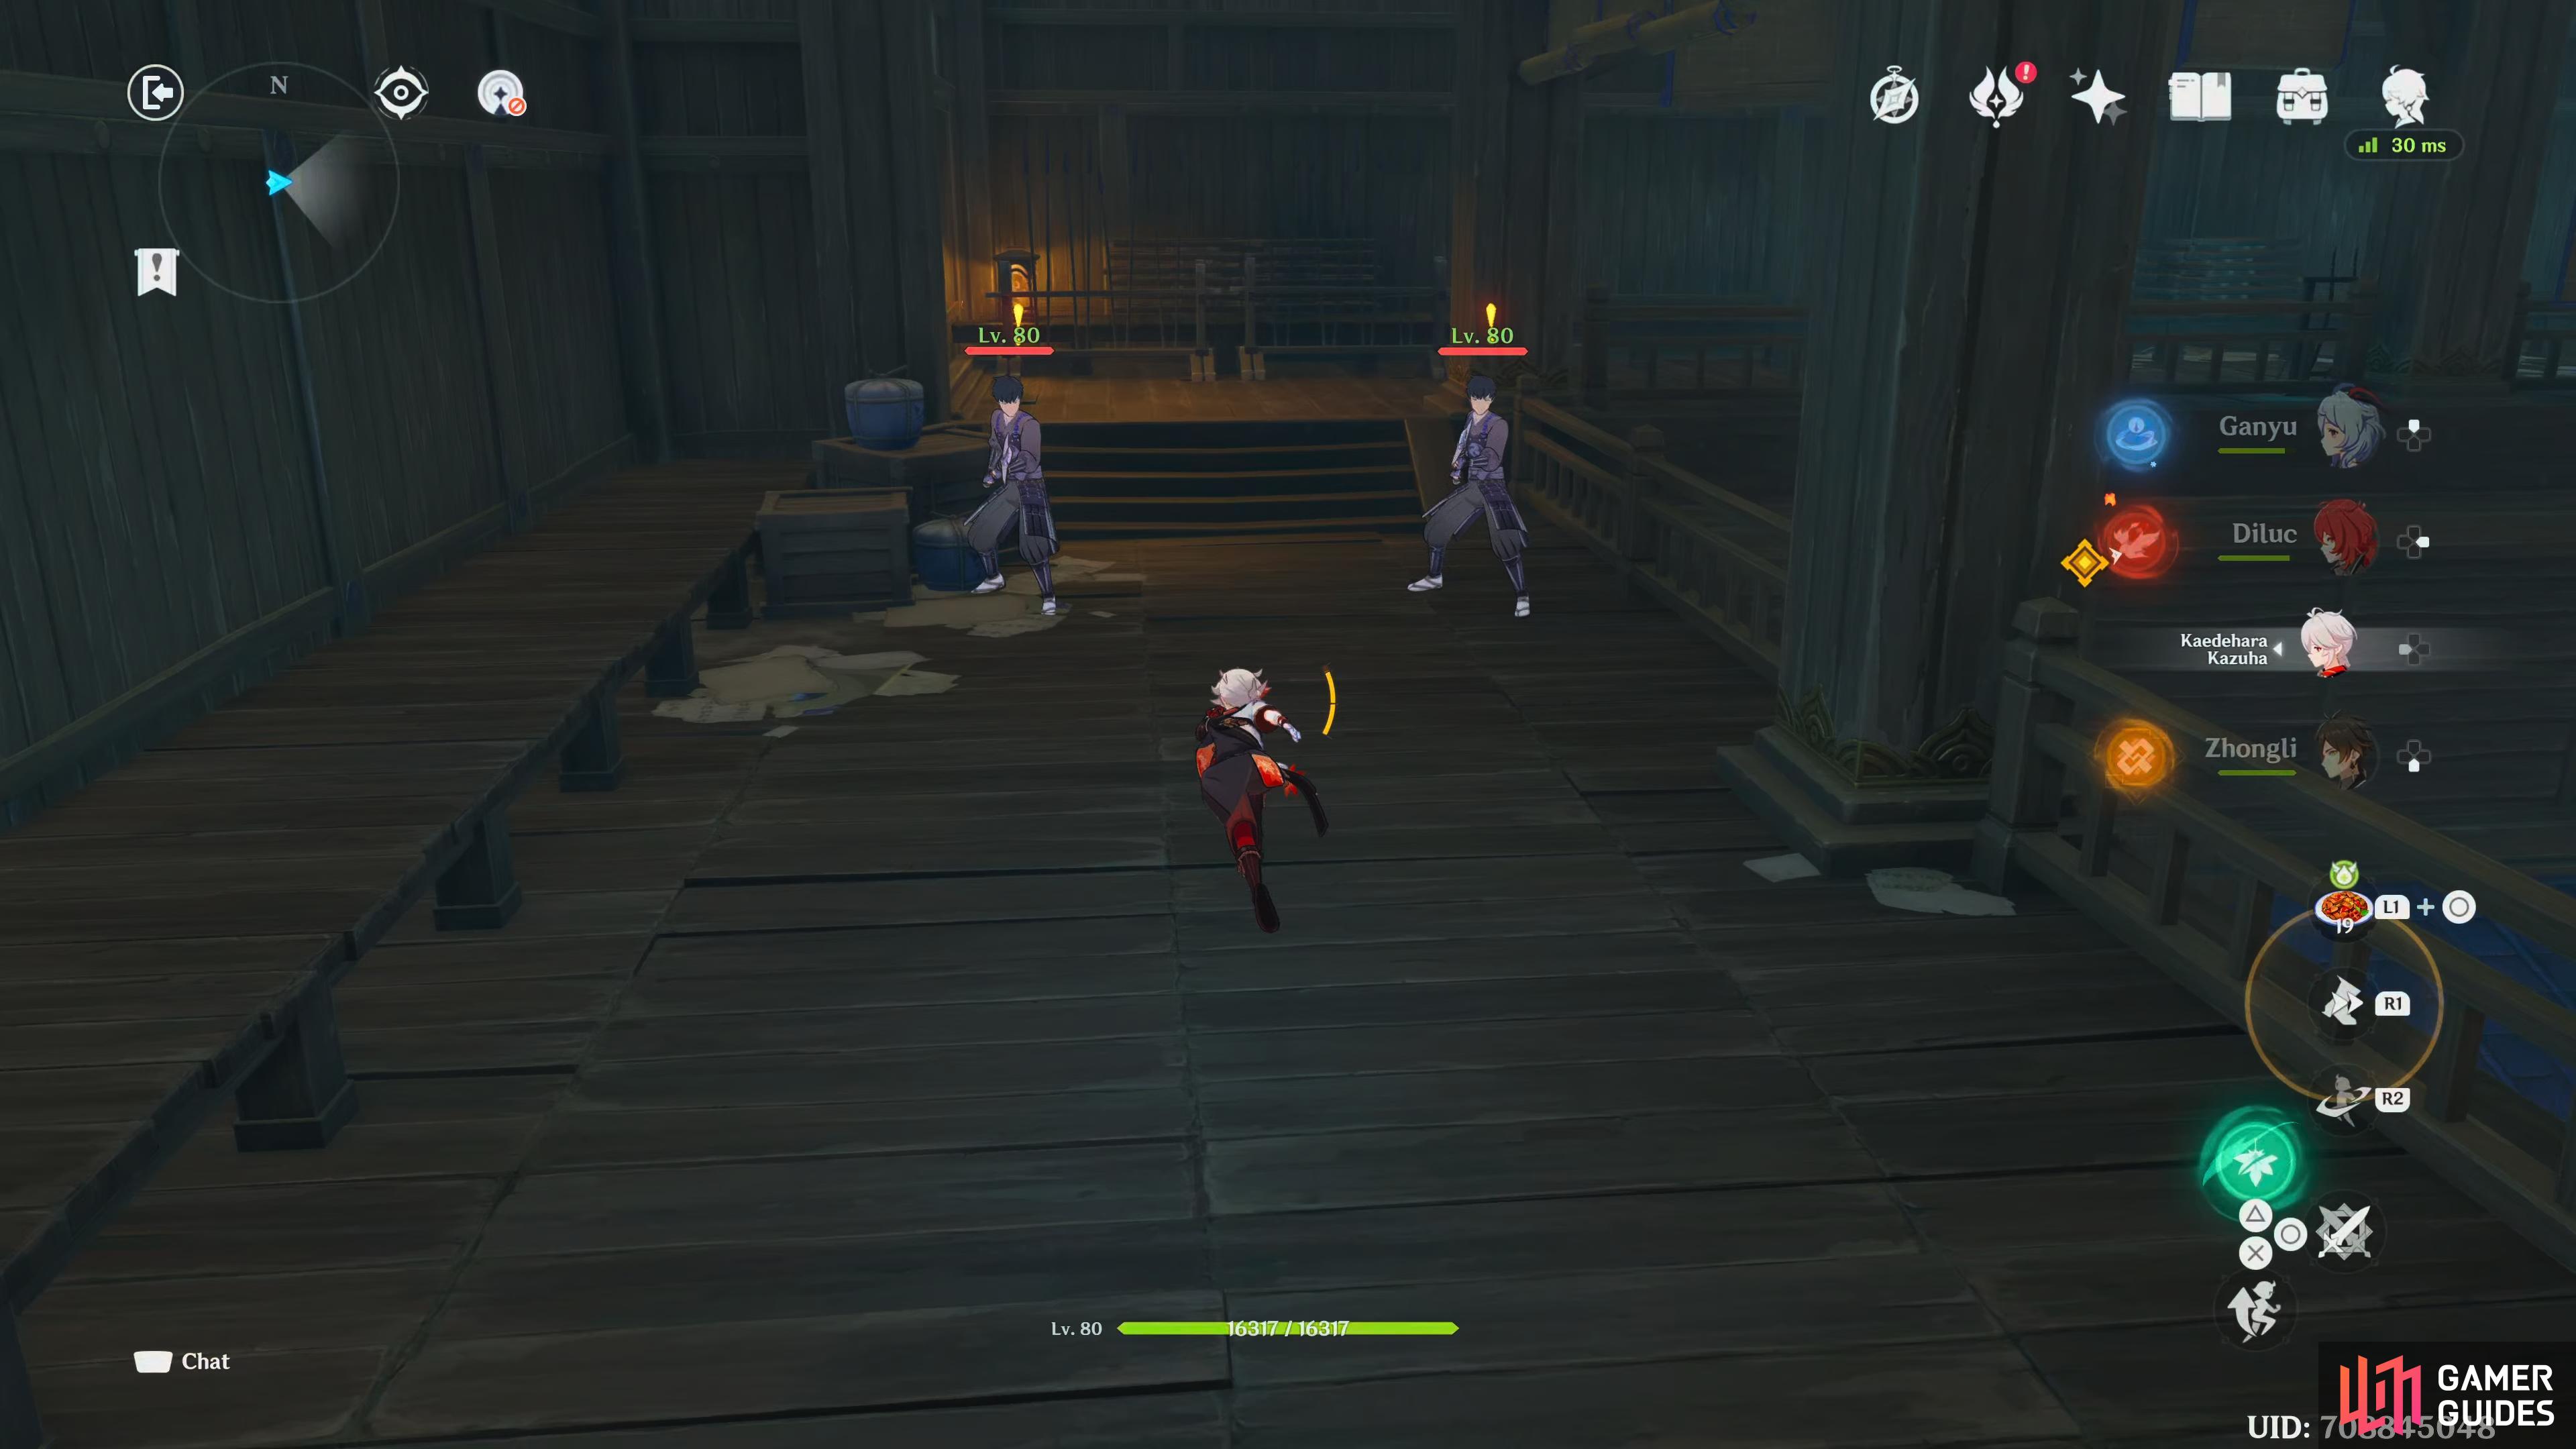
The Shogun Infantries should be a pushover, make sure to use the combination of Cryo and Pyro to defeat them quicker.
After they’ve been dealt with, proceed to the south, and the camera will pan to a giant door, continue south, and go into the room to your east. Here will be another battle, this time you’ll be facing four Shogunate Infantries, and one Yoriki Samurai. The Samurai can be quite a tough foe, as they have a fair few attacks, the most important ones are:
Slash
This is a generic close-range slash attack.
Double Slash
This is a two-hit sweep attack.
Slash Combo
This attack deals the most damage, they will unsheathe their katana and unleash a flurry of attacks, this leaves an opening whilst they’re performing this, so take advantage, and dodge behind them for some free hits.
Lunge
They will lunge at you, closing the distance. Nothing a sidestep can’t avoid.
Parry
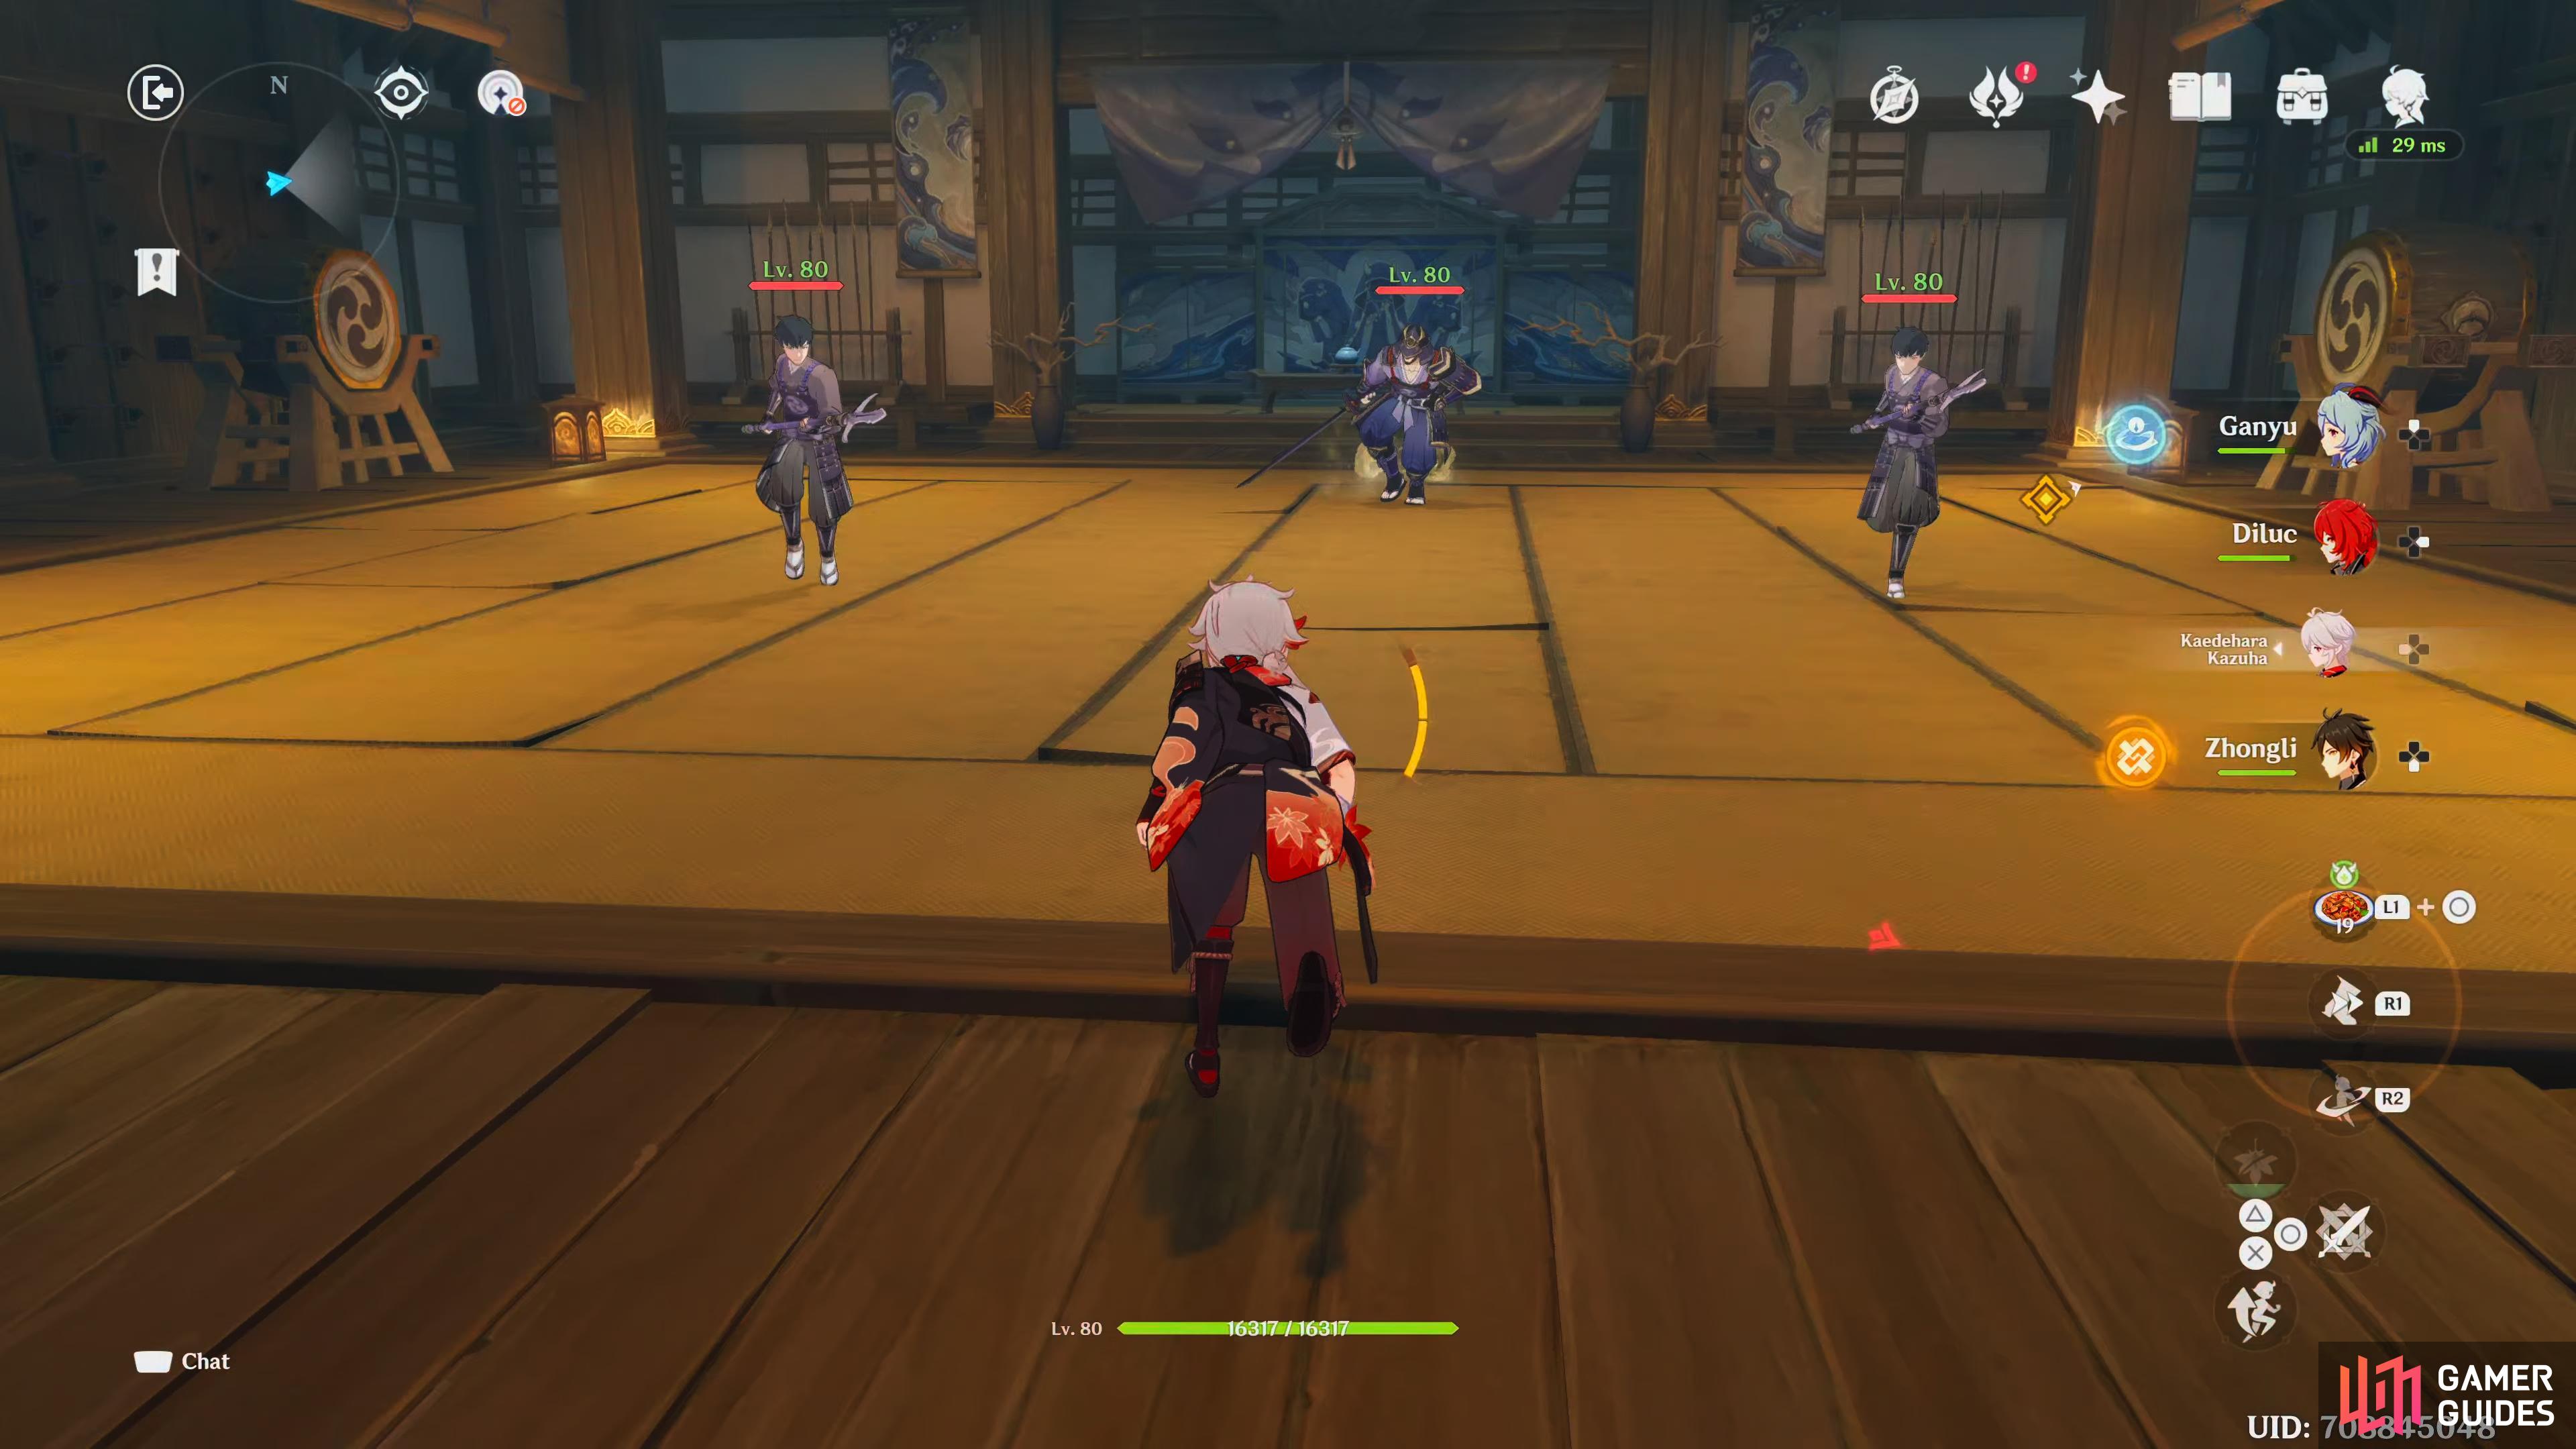
The Yoriki Samurais are the hardest enemies you’ll face in this domain. Try to take them out with the combination of Pyro and Cryo. This’ll result in high Melt damage.
They will take a defensive stance, and will block any attack which is coming in that direction. Either wait the attack out, or get behind them and get some attack on them.
Once they’ve been dealt with, go into the small room to the south, and take the elevator up to the next floor. Head west through the corridor, but be aware of the Shogunate Infantry hiding behind the folding screen, take him out, and be careful of being shot with Electro arrows across the balcony, then head up the stairs to what seems like a dead end. Walk up and interact with it, and the wall will slide open. Just around the corner, you’ll have another encounter, but this is slightly different. They will be infused with an Electro aura, which empowers them, and makes their attacks Electro. Dash past them, and interact with the Samurai statue to remove their buffs, then take them out. You could also leave them infused and take advantage of their Electro status, and use Cryo on them for the Superconduct effect, and Pyro for the Overloaded effect.

These Shogun Infantries are infused with Electro from the Samurai statue, interact with it to turn it off.
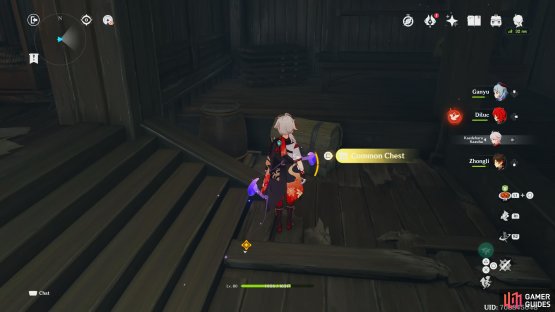
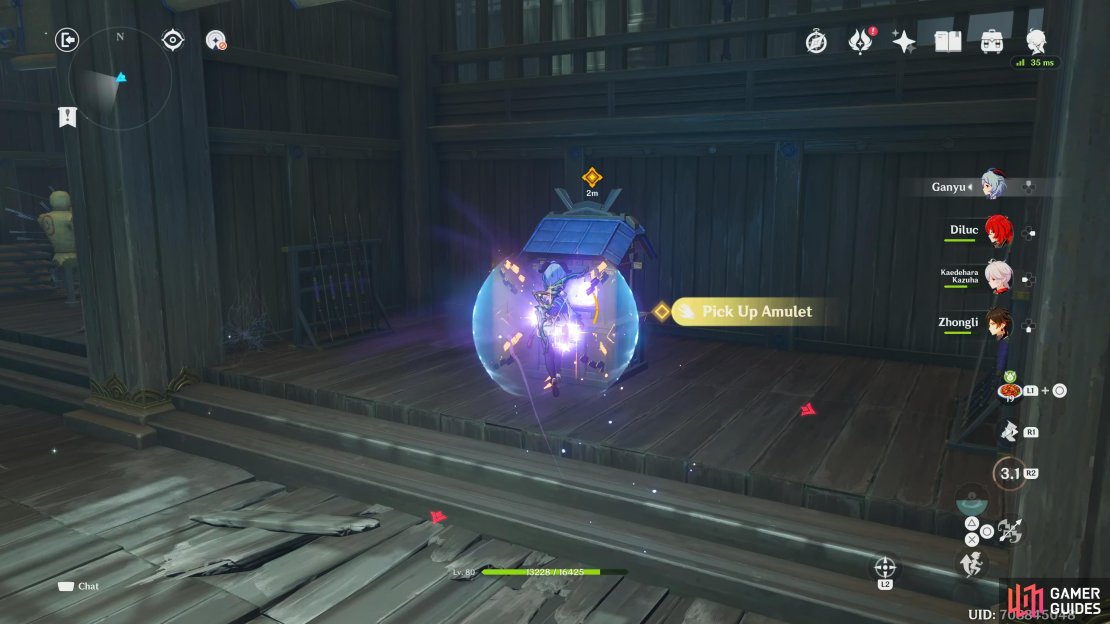
Once they’re dealt with, head into the next room to the north for another encounter. You’ll be facing off against, two Shogunate Infantries, two Yoriki Samurais, and one Shogunate Infantry Captain. Big Area of Effect attacks are important here, as are your elemental bursts. Once again, utilize the combination of Cryo and Pyro to take them out, then open the Exquisite Chest in the center of the room. Head into the corridor to your north, and climb the ladder to your west. Navigate yourself across the broken floorboards by walking along the plank to your right, and open the Common Chest at the end, to your left. Drop, and pick up the purple amulet, which you’ll need three off to open the giant door you saw earlier.
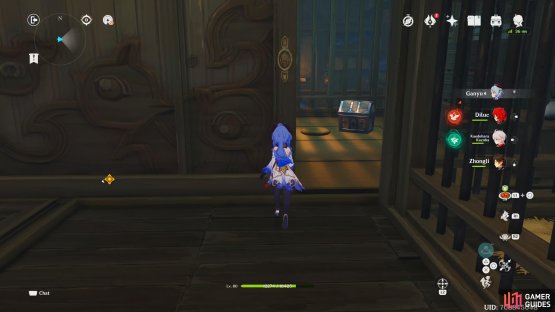
(1 of 2) The first Common Chest can be found to your left at the bottom of the stairs.

The first Common Chest can be found to your left at the bottom of the stairs. (left), To get the Exquisite Chest, you’ll need to close the hidden wall you just came through, and you’ll find it sitting in the corner. (right)
Now it’s time to get past the Electro-infused floor. The tiles will glow on and off, so wait until they’re off, and slowly make your way across. Climb the ladder at the end, and head around to the south into another room of enemies. This encounter will have you face two Shogunate Infantries, and two Yoriki Samurai, and they will be infused with Electro from the statue to your west. Once again, Area of Effect attacks are important here to deal with them efficiently. When they’ve been defeated, pick up the second amulet to your east, then head south into the next room.
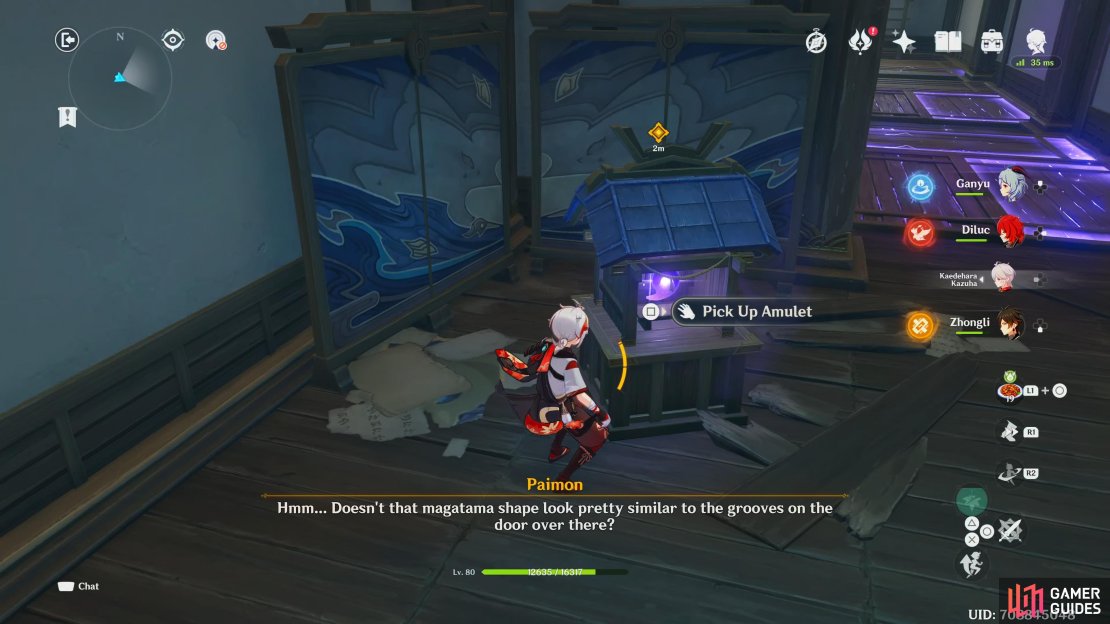
(1 of 3) The first Amulet can be found in front of the folding screen near the Electro Infused Floor.
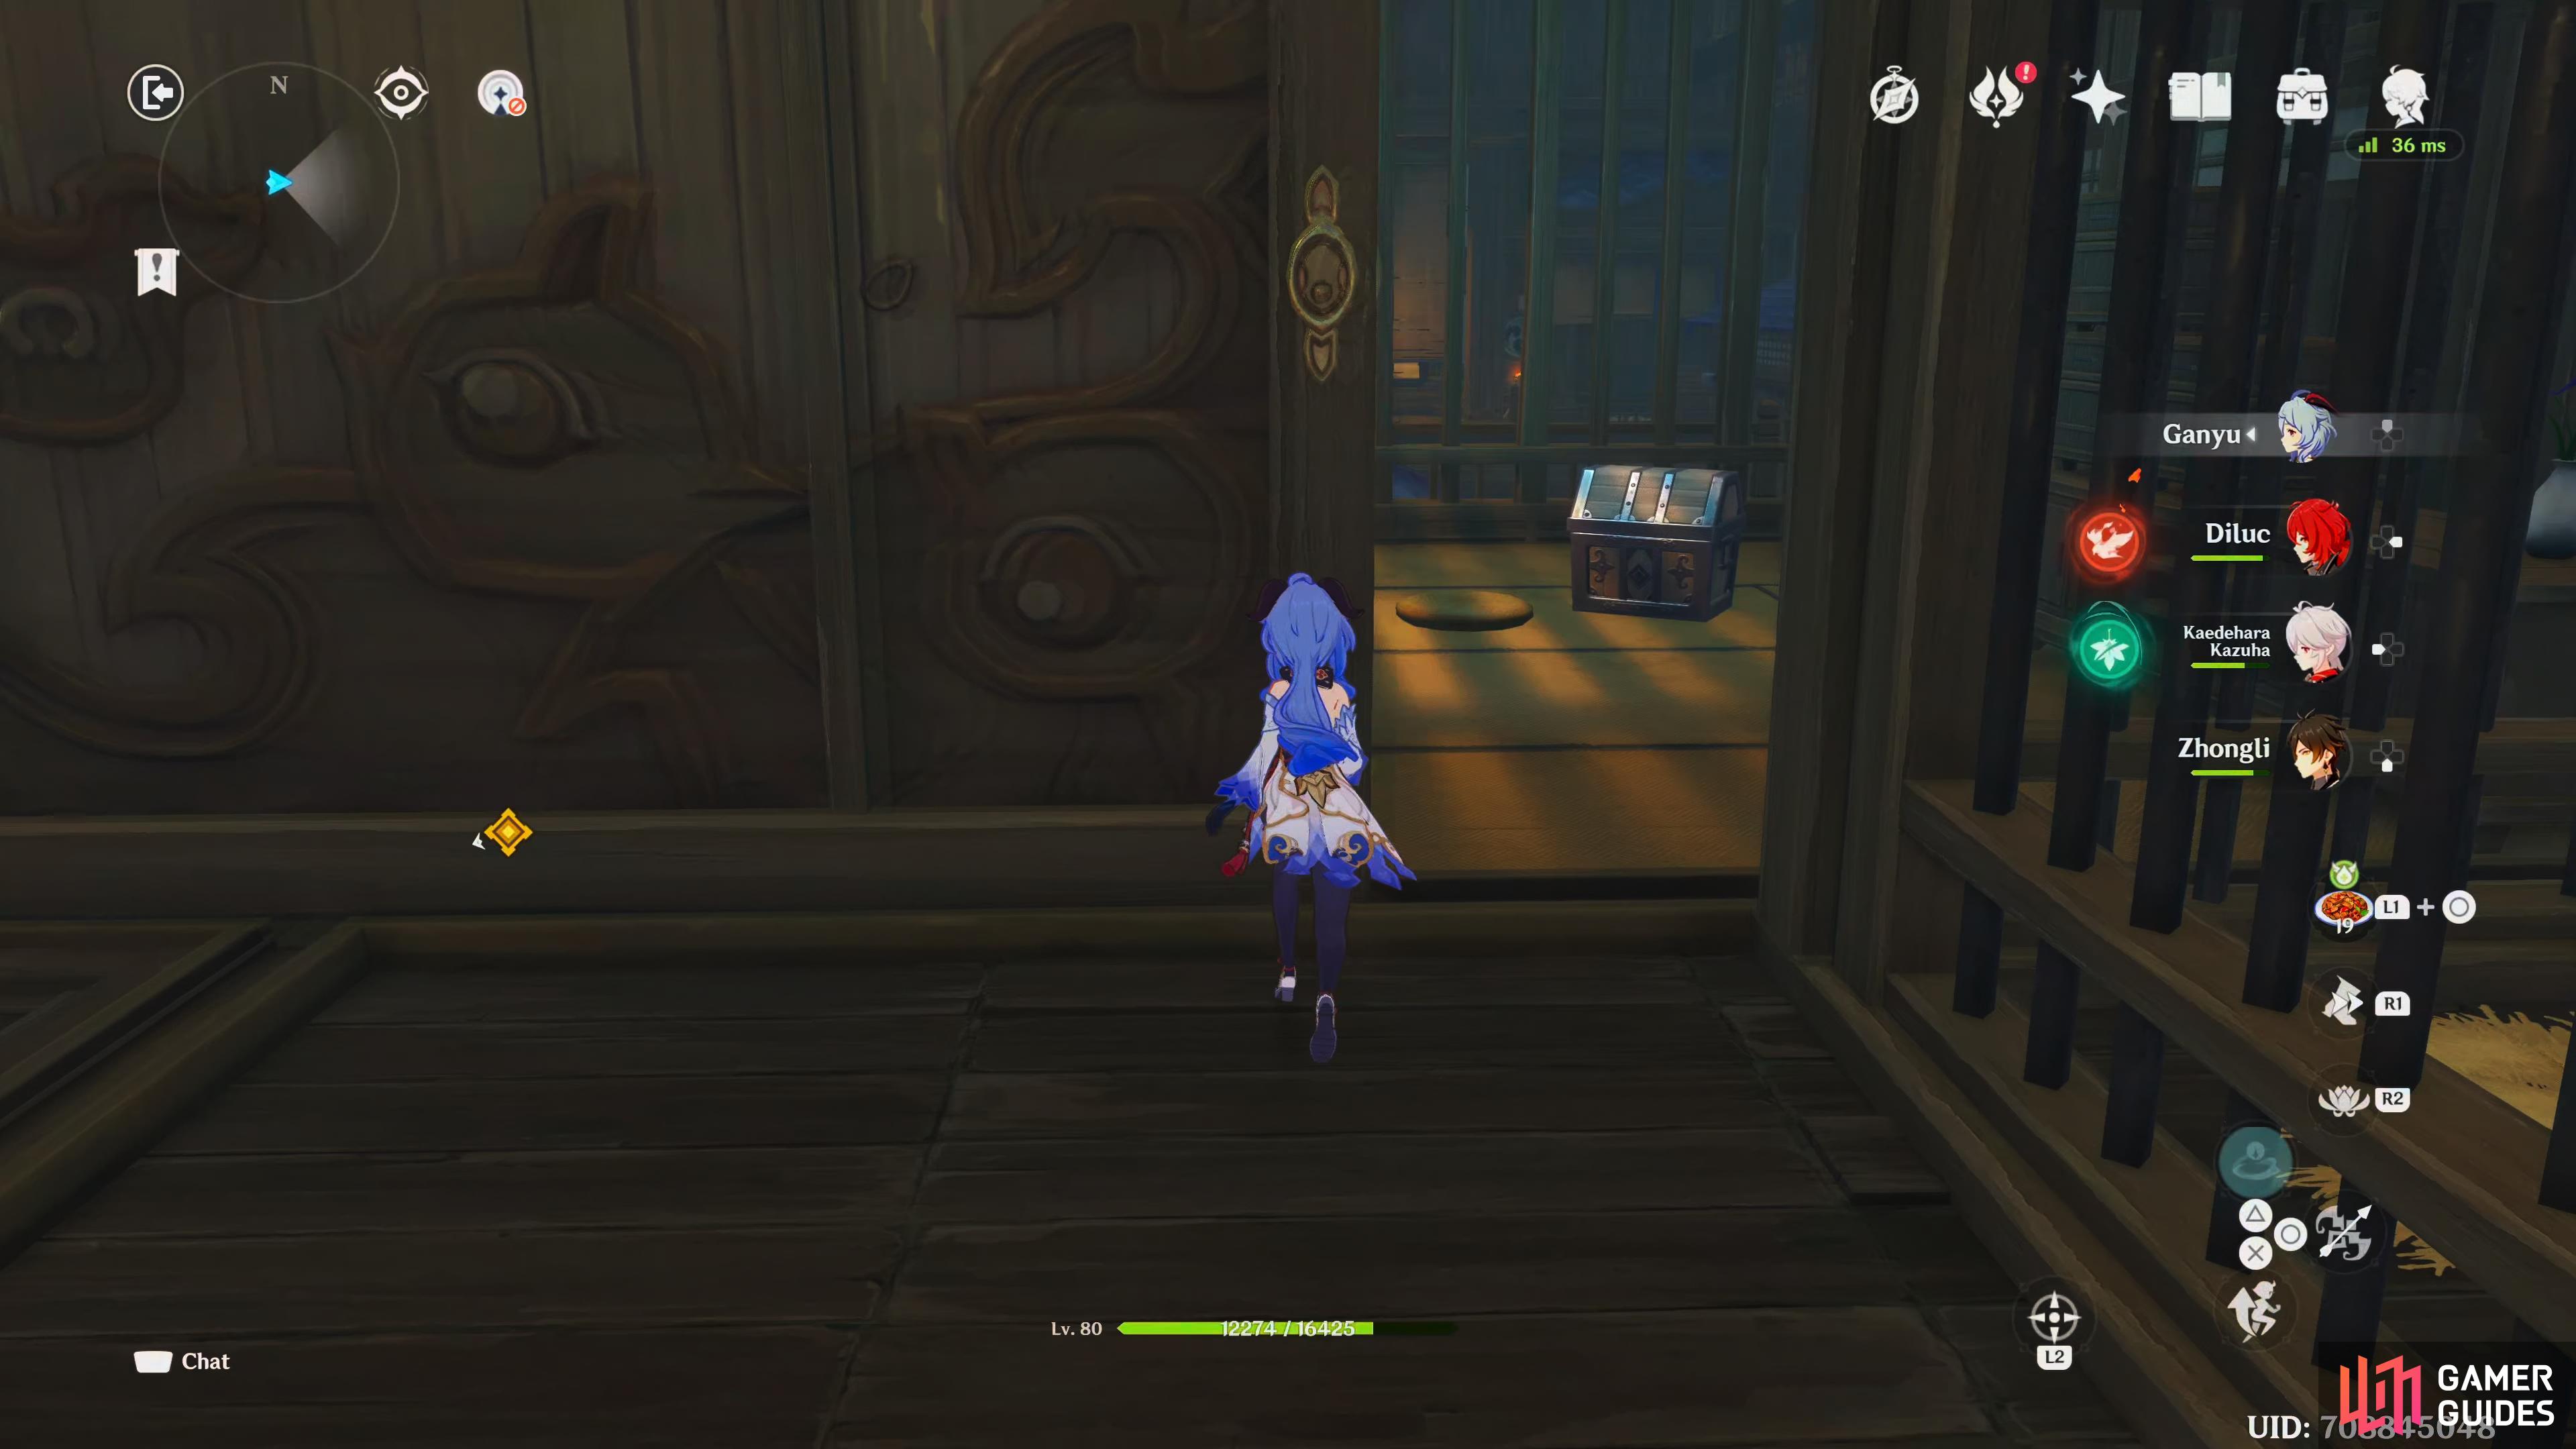
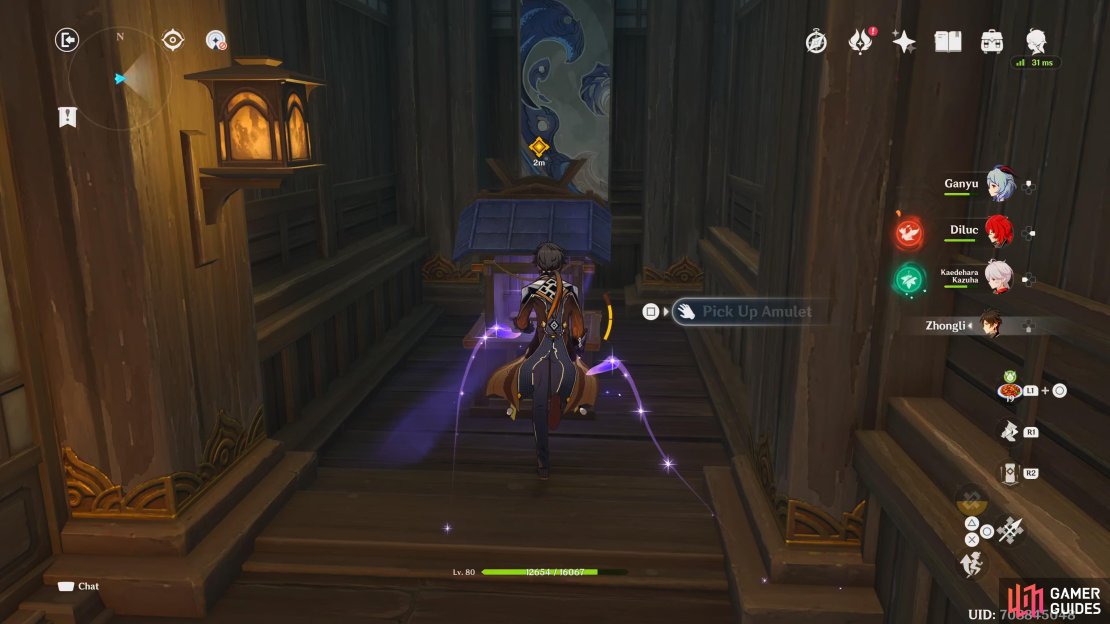
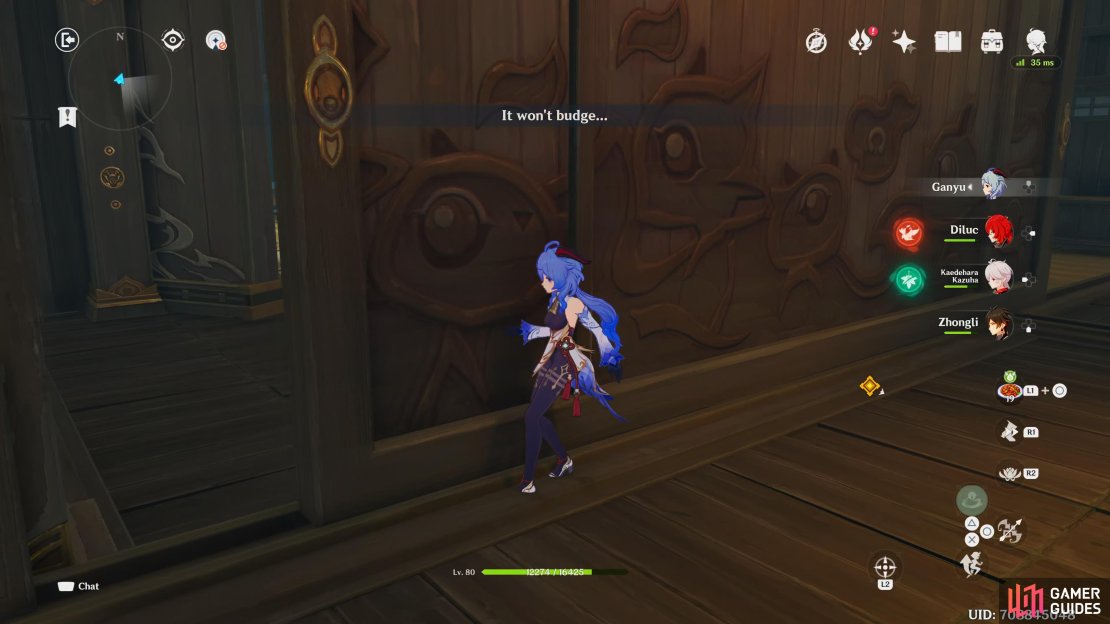
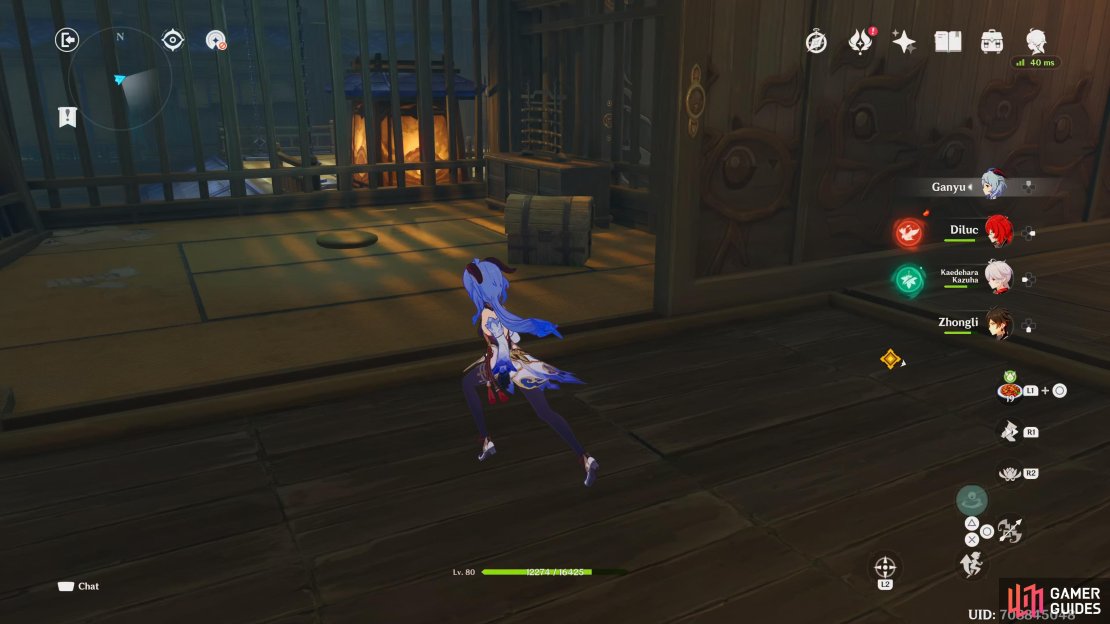
At the bottom of the stairs, there’ll be a Common Chest to your east, then proceed west along the corridor. Take out the Shogunate Infantry at the end, and then drop the hole at the end of the corridor. Follow the corridor to the east for the last amulet, then head into the large open room to the north. Take out the Shogunate Infantry standing on the roof, and head up the stairs to the west. Place the three amulets into the large door, and proceed into the next room, interact with the “hidden wall” in front of you, then close it again from the other side, to reveal a hidden Exquisite Chest. Now interact with the hidden wall to the north to get into the next room, then interact with the furthest east hidden wall, and the other hidden wall to the left of it to reveal a Common Chest. Close the hidden wall which originally led you into the room, and go down the stairs.

(1 of 3) Interact with the wall to your right first, then interact with the wall to the left of it
As you head down, you’ll get a scene. It appears to be some guards mistreating a prisoner, then Yoimiya will return to the party, as the guards are harassing the prisoner, someone shouts out to them, and you’ll be introduced to Kujou Sara, the adopted daughter of the Kujou Clan of the Tenryou Commission, and a Shogun Army General. She doesn’t take too kindly to the guards torturing the prisoner, and reprimands them for their actions. Yoimiya tells you that this is your chance to rescue Master Masakatsu whilst their not looking, and her “little present” of fireworks explodes, giving you time to save the day.

Matakatsu is in a fair bit of pain after being tortured by the guards.
Rescue Master Masakatsu
When the scene ends, run over to Master Masakatsu for another scene. Just as you’re saving Master Masakatsu, the camera will pan, and Kujou Sara will be watching you, she’ll tell you to take him, and get him some help as he’s in serious condition, but once he’s recovered, she will bring him back. Once the scene ends, open the Precious Chest, and leave the Domain.
Return to Komore Teahouse
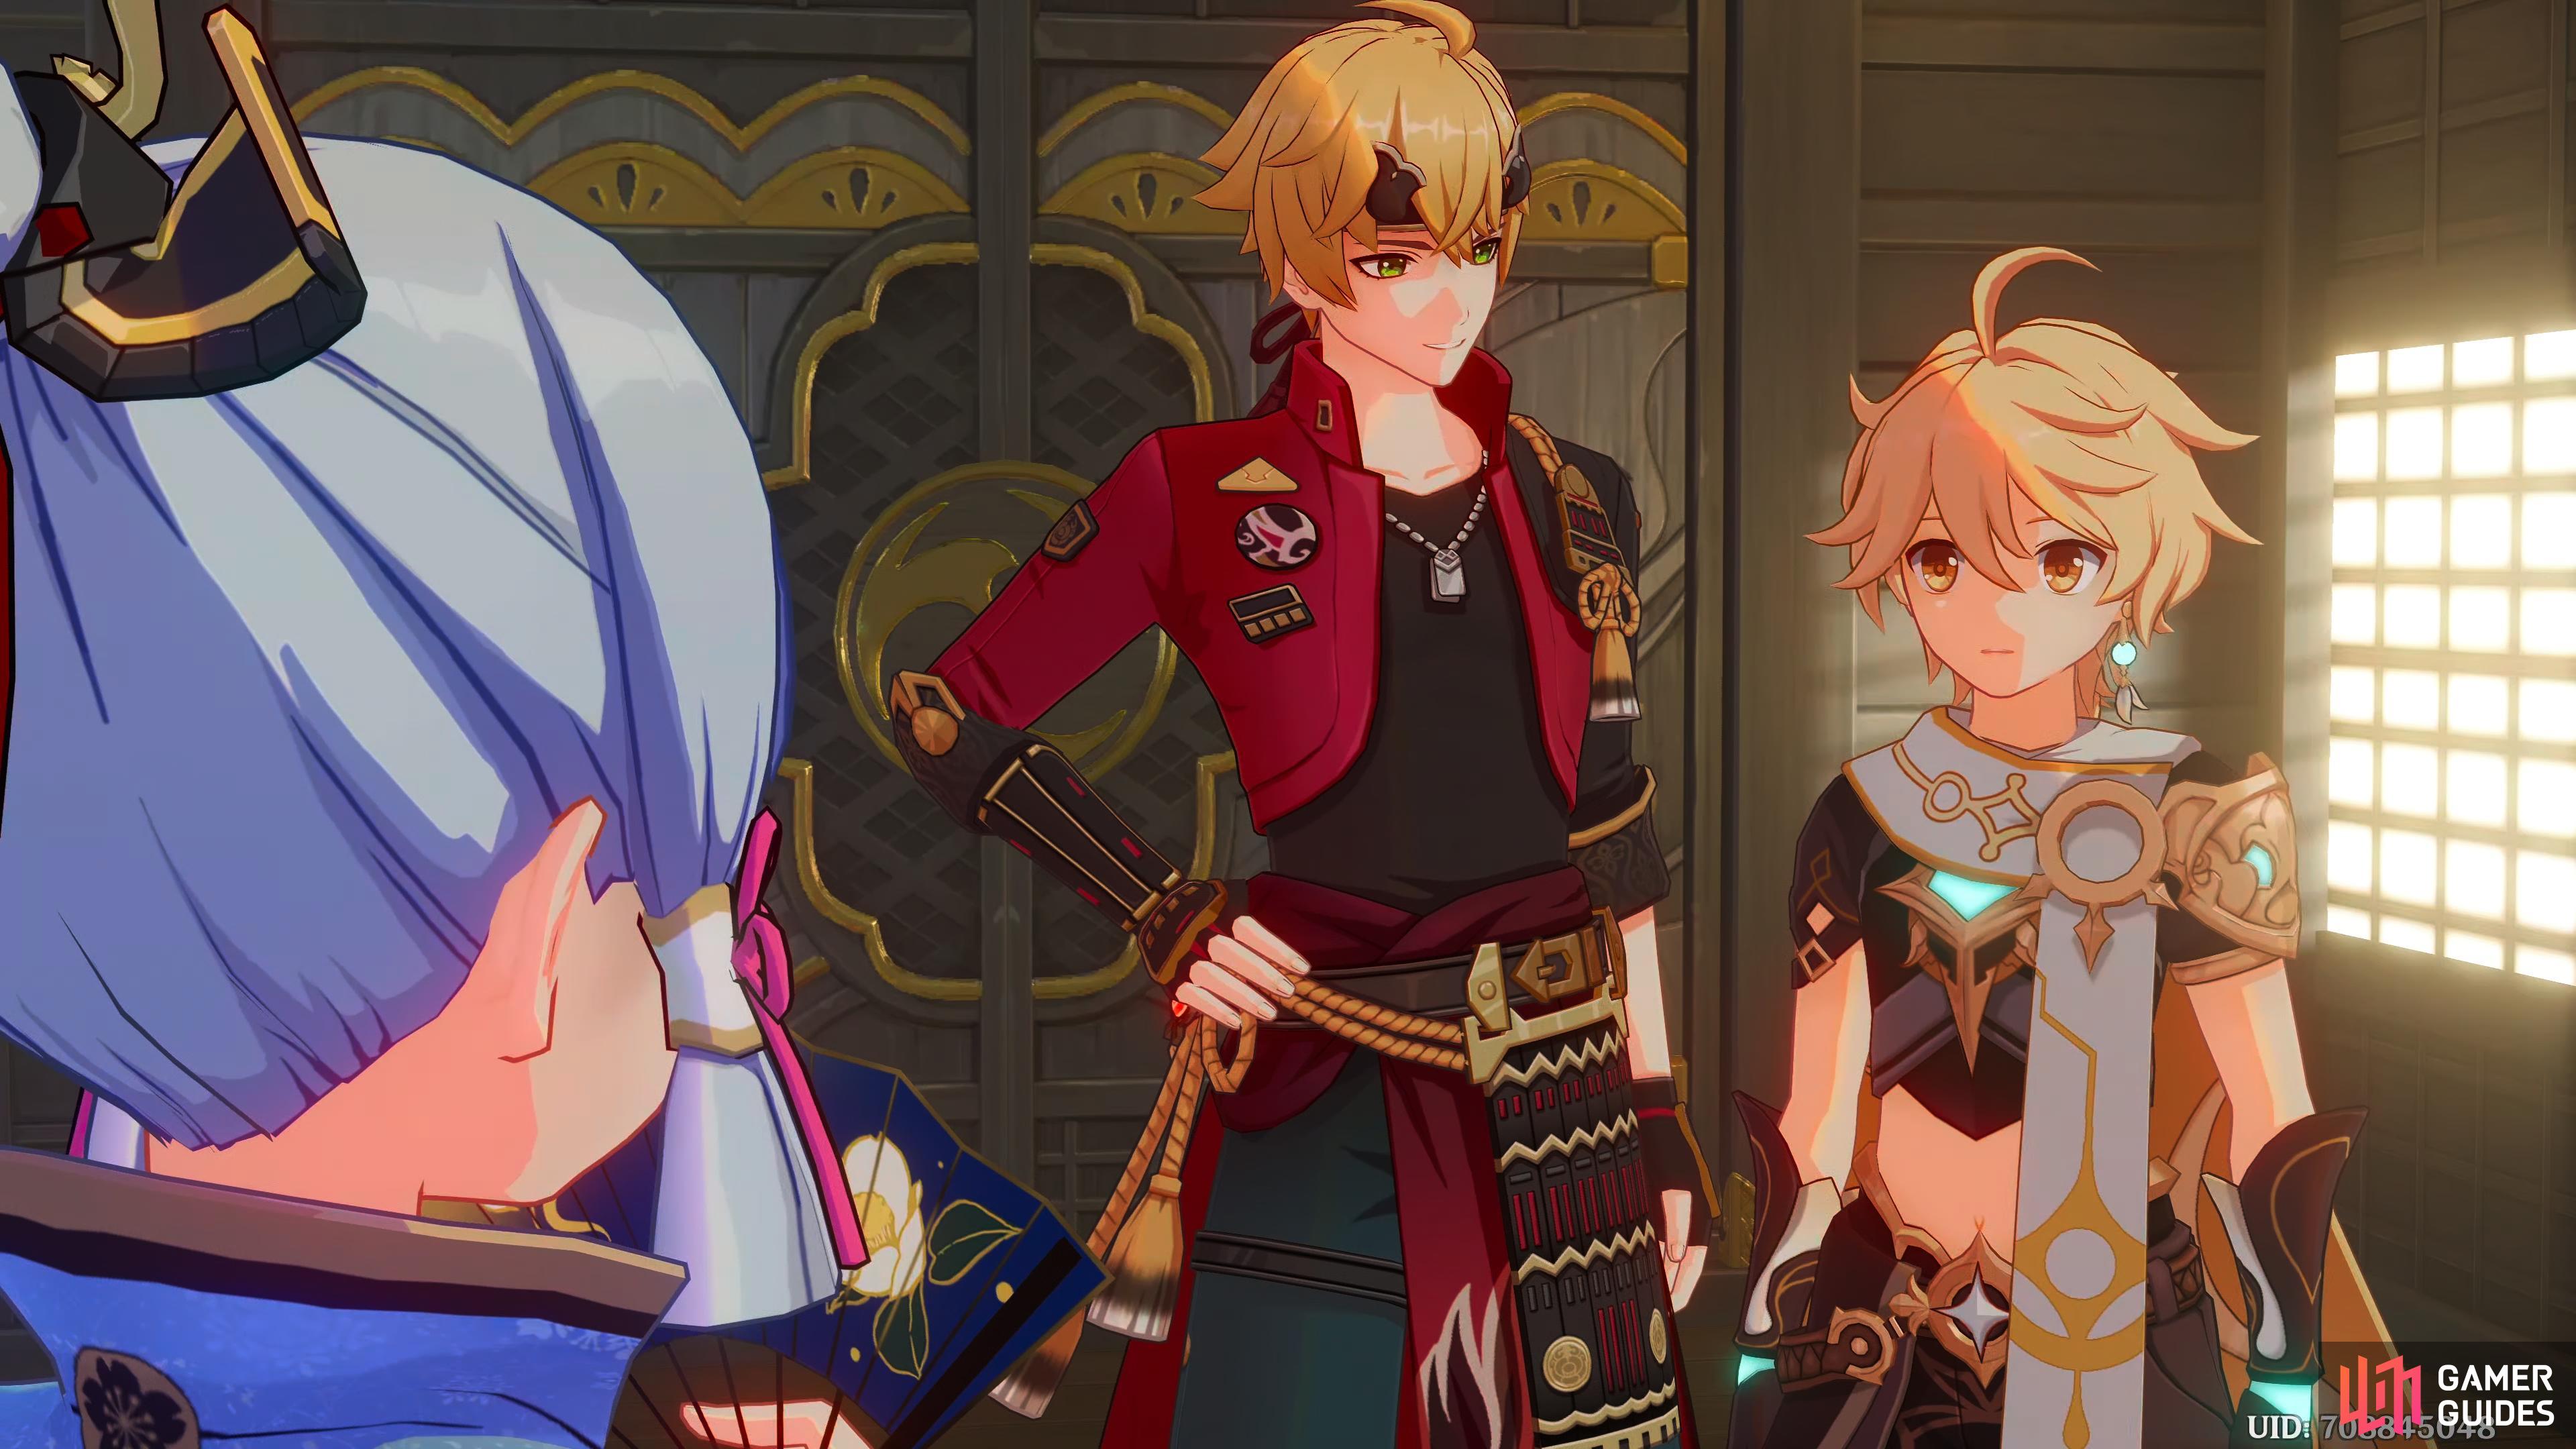
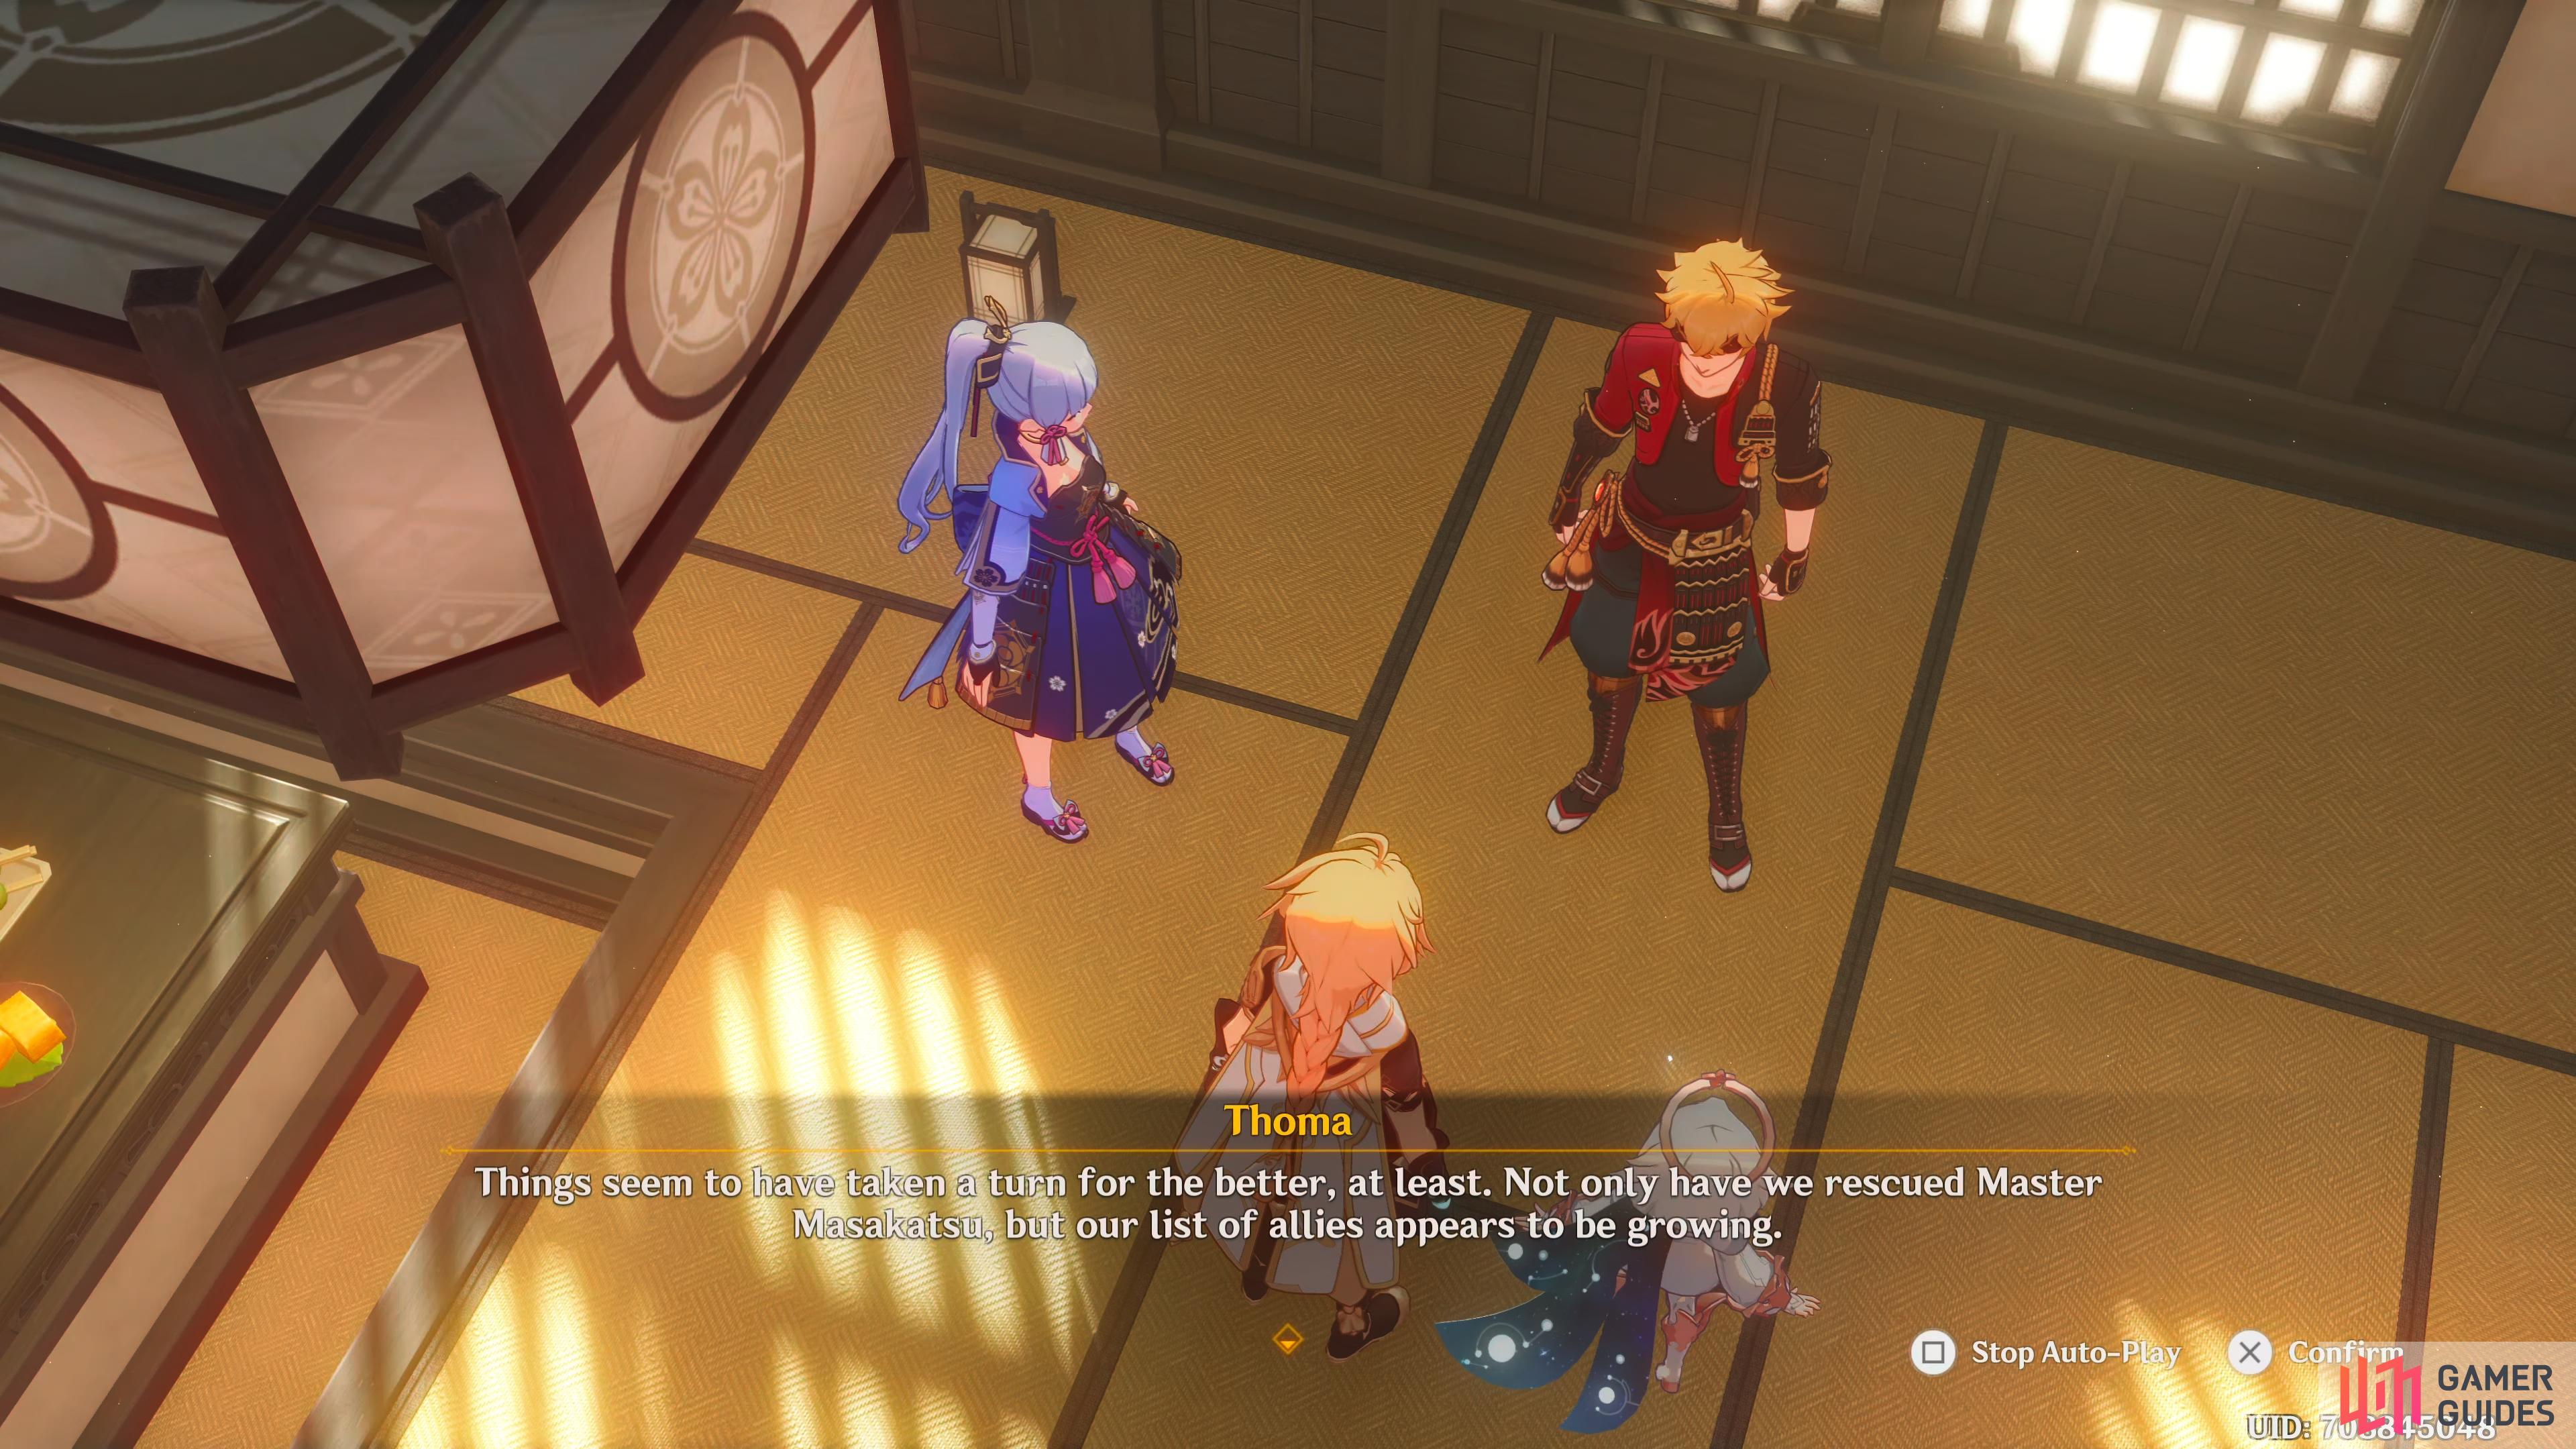
When you leave the Domain, you’ll get a short scene, and Yoimiya will tell you that she’ll take Masakatsu to get treated whilst Paimon suggests you tell Ayaka the good news. Teleport back to the Inazuma City waypoint, and head to the Komore Teahouse for another scene. You’ll tell them about Kujou Sara, and Thoma will be relieved that she still has some honor left in her. Ayaka will tell you that you should ready your next set of plans, but Thoma tells her to not rush into it, and enjoy the victory.
Ayaka, Thoma, and the Traveler going over their next plans.
Thoma will then suggest having dinner, and he has a game he wants to play, which is a hot pot game, where they all take turns whilst closing their eyes, and pick an ingredient out of the pot, taste it, and guess whose ingredient it was. For now, after agreeing with Thoma, Ayaka suggests you take a rest for a little while. When the scene ends, so will the quest, and Chapter 2: Act 1. Before you can start the next Archon Quest, you’ll have to complete both Ayaka, and Yoimiya’s story quests. These can be done in any order, and once they’re both complete, the next Archon Quest will unlock.
No Comments