
This is a walkthrough for the second World Quest in the series, Through the Mists. The second quest is called “Octave of the Maushiro”, and can only be accepted after finishing “A Particularly Particular Author”.
Paimon and the Traveler heading into the Autake Plains.
| Adventure Exp | Mora | Other Rewards |
|---|---|---|
 450 450 |
 50 50  5 5  4 4 |
Description
It has been a while since you last contacted Sumida. She said earlier that she would look for some of the other people who took up her commission and conduct an information exchange. Go back to Inazuma and look for her to see how her attempt proceeds.
Steps
- Talk to Sumida
- Travel to Tsurumi Island
- Talk to Ruu
- Follow Ruu and use the feather
- Talk to the illusions
- Try looking for buried objects
- Go to the ceremonial site
- Listen in on the locals’ conversations (0/3)
- Wakukau Shoal Puzzle
- Use the feather to search for clues
- Solve the mystery of the stones
- Talk to the illusions
- Oina Beach Puzzle
- Use the feather to search for clues
- Restore the stones and solve the puzzle
- Talk to the illusions
- Autake Plains Puzzle
- Talk to the illusions
- Continue looking for clues
- Use the feather to search for clues
- Solve the mystery of the stones
- Return to the ceremonial site
- Talk to Sumida
Talk to Sumida
Head to Sumida, which can be found in Ritou, Inazuma, behind the souvenir shop, and you’ll get a scene. You’ll see Sumida having a conversation with Sango, and Ryuuji. As you approach them, Sumida will greet you, and introduce you to them. It appears Sango, and Ryuuji are a couple of detectives, and there’ll also be an old adventurer who goes by Roald. All of them recently took the same commission you took, and they also had similar experiences with the Maushiro disappearing, which is why Sumida gathered everybody here. They each tell you their story, and then Paimon will tell Sumida that you’ll go back and get it.
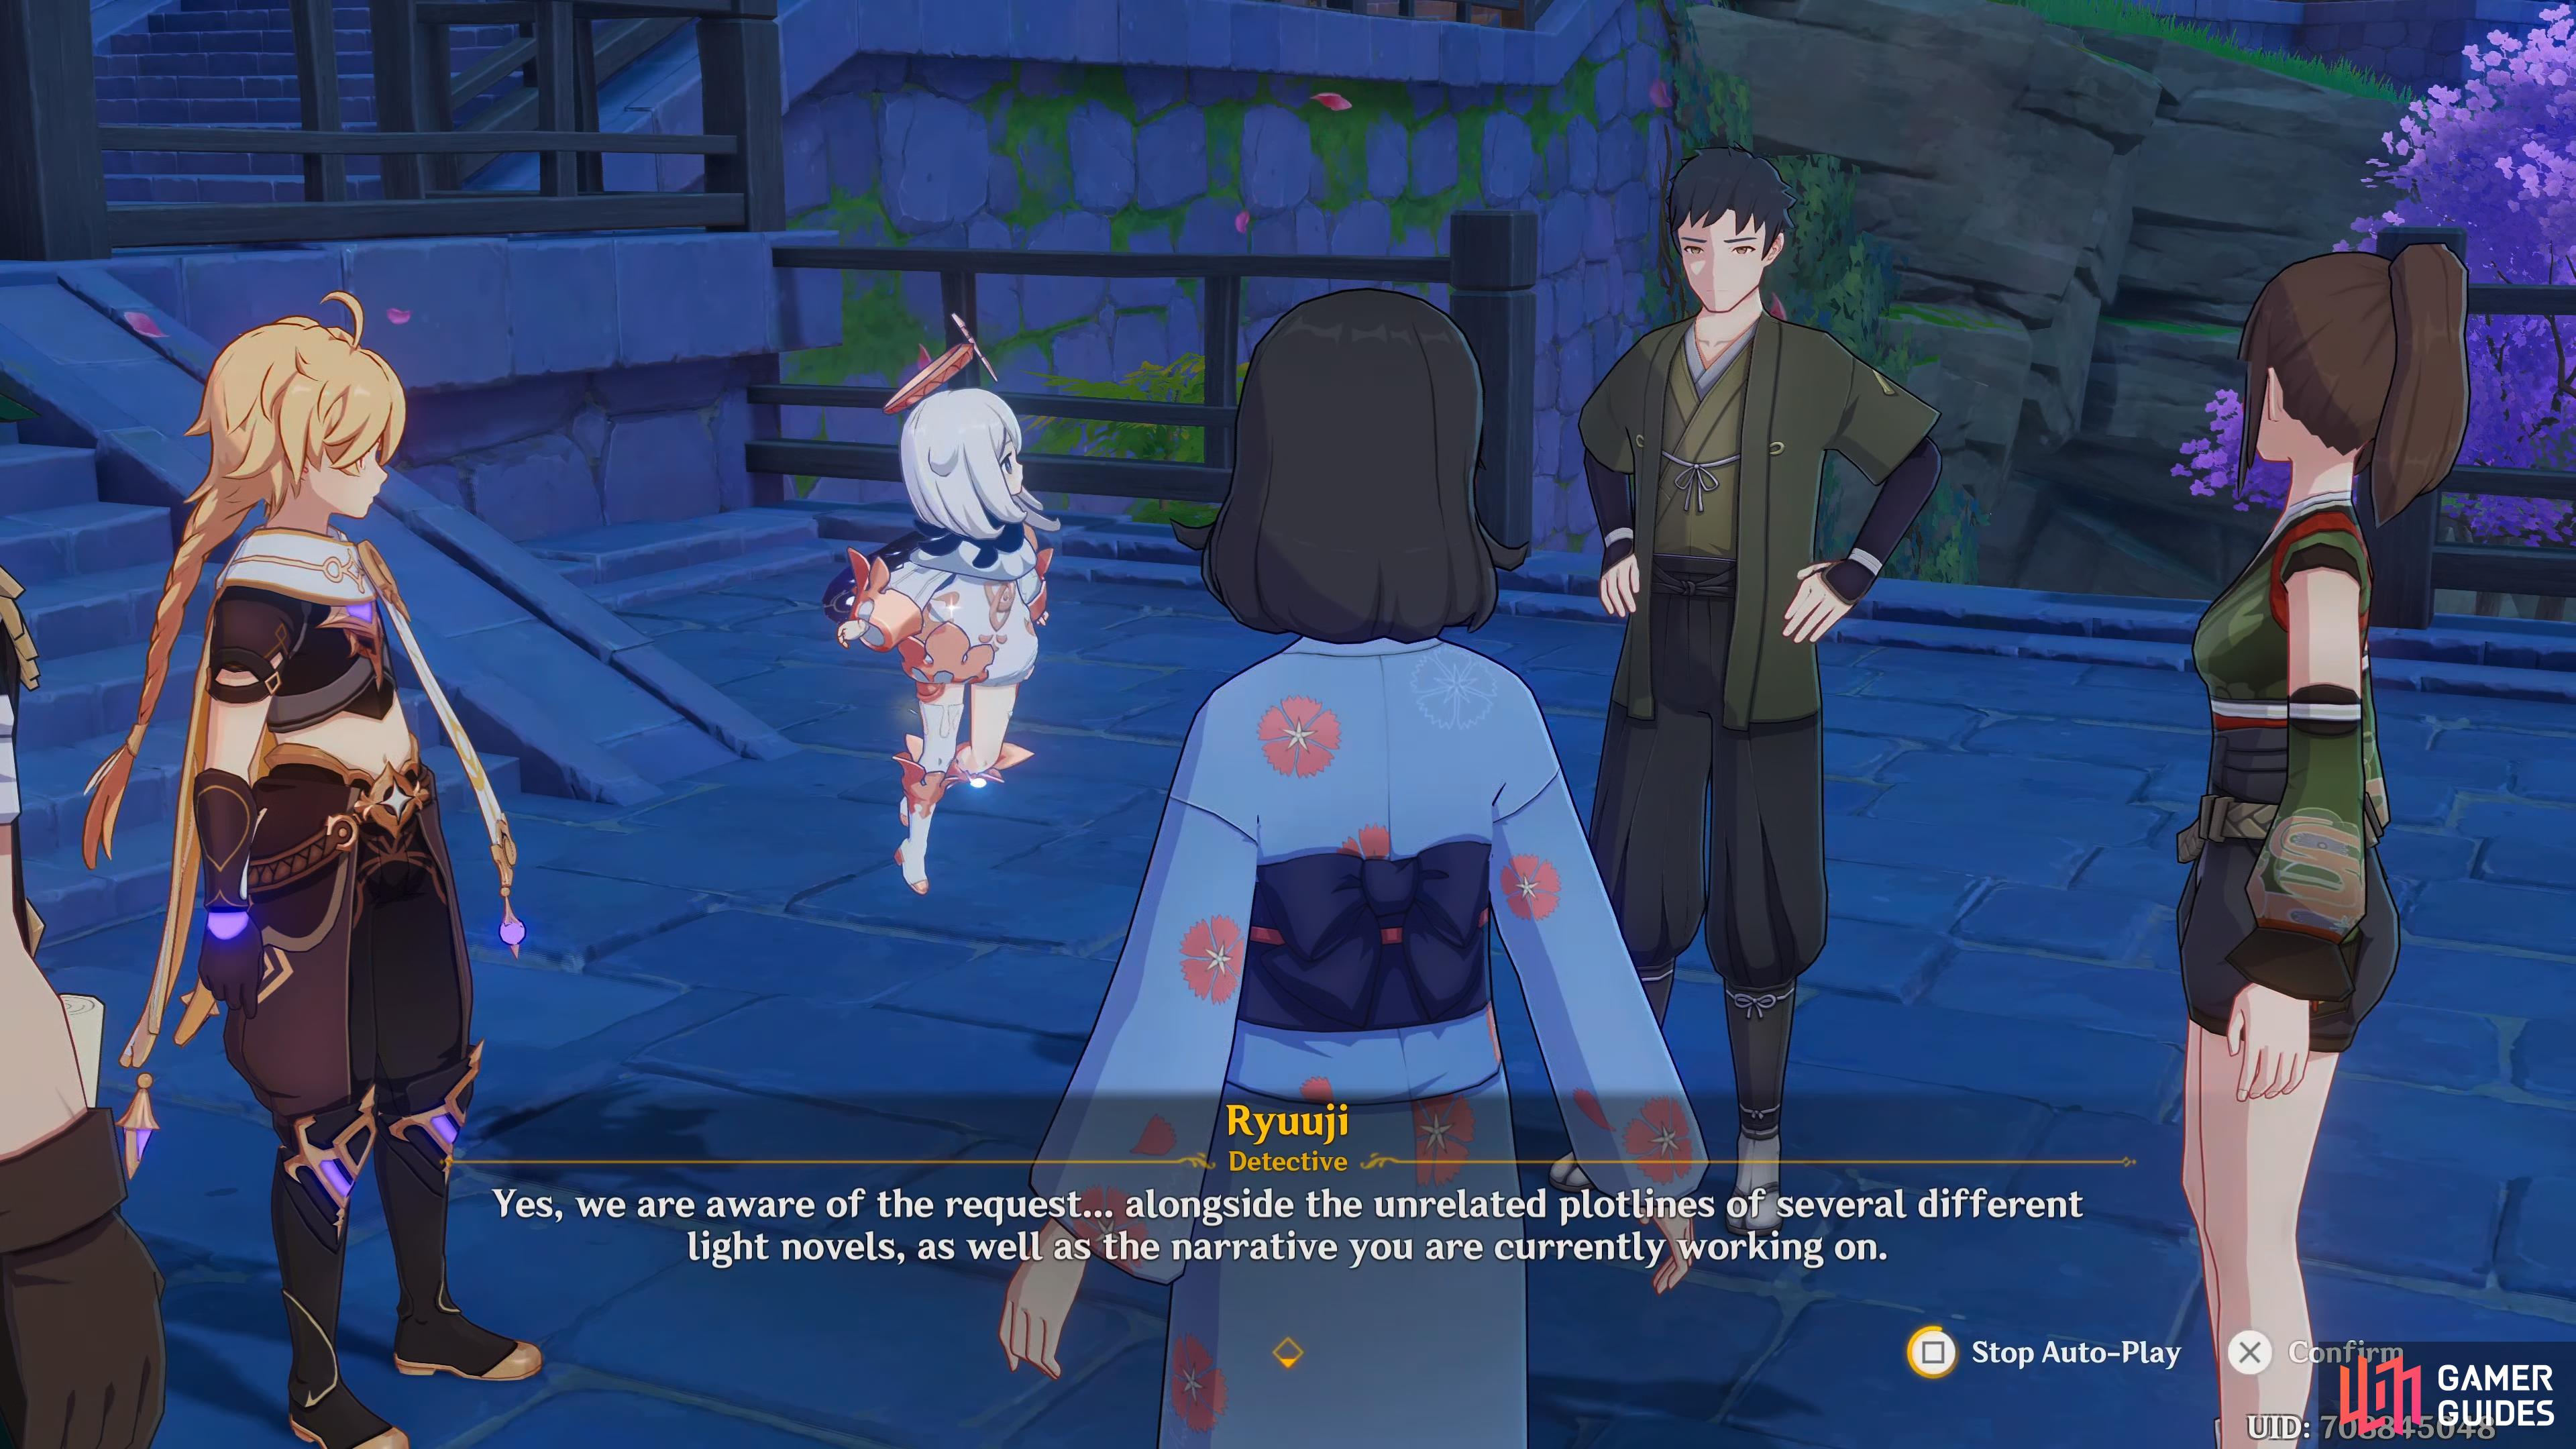
Sumida and the group discussing their trip to Tsurimi Island.
Travel to Tsurumi Island
Now that you have the waypoints, you don’t need to take the boat back to the island, so teleport to the Statue of the Seven. When you arrive at the island, follow the path southwest. On your way, you may notice some new treasure chests. These are called Remarkable Chests, and when you open them, you’ll receive a furnishing blueprint. When you get near to the objective, Paimon will mention that Kama said to pass through the big gate, so do just that. As you go past the gate, the mist will disappear from your map, continue west a little, and you’ll find Ruu.
Talk to Ruu
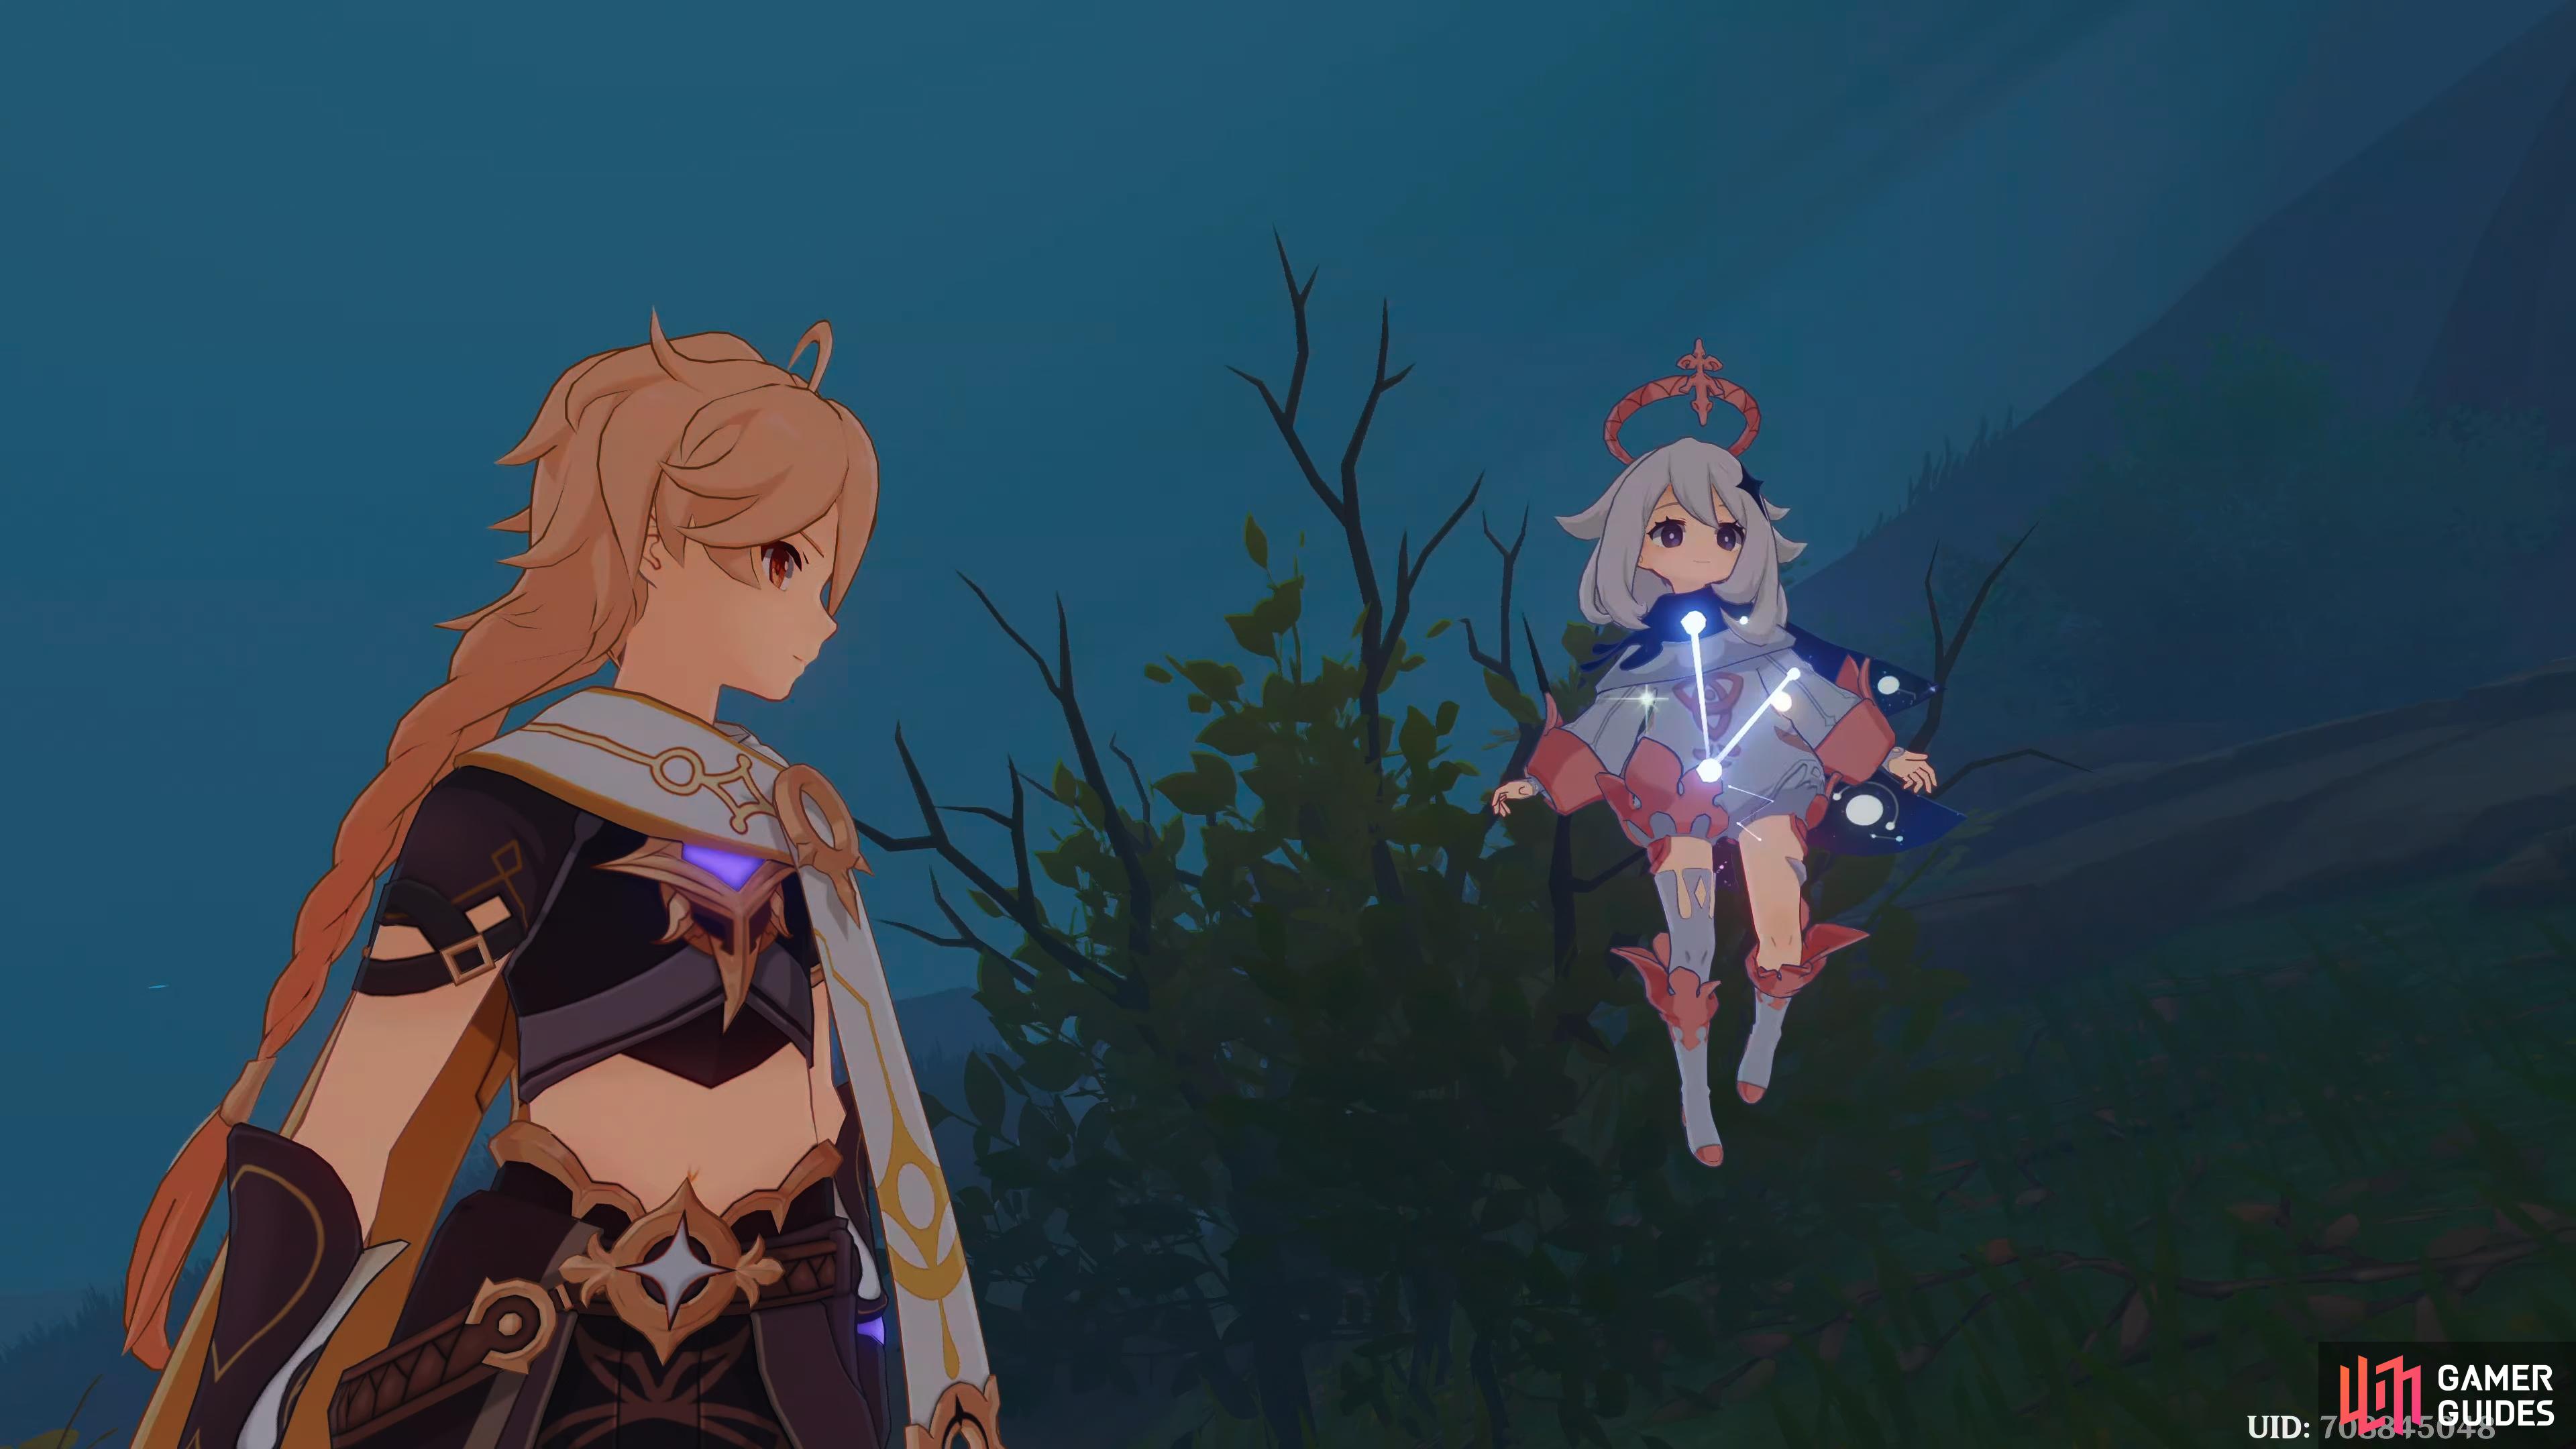
You’ll find Ruu to your right, head over, and talk to him. He immediately recognizes you, telling you that he thought you disappeared like the other outlanders. Tell him that they’re fine, and that’ll ease his mind. Paimon will tell him about the Maushiro, and how it disappeared, and Ruu will tell you that he still feels the power of it on you before he recites something his Grandpa, Mata once said. He’ll also tell you that the feathers are the original Maushiro, and he gives you one. This will give you the gadget, Peculiar Pinion.
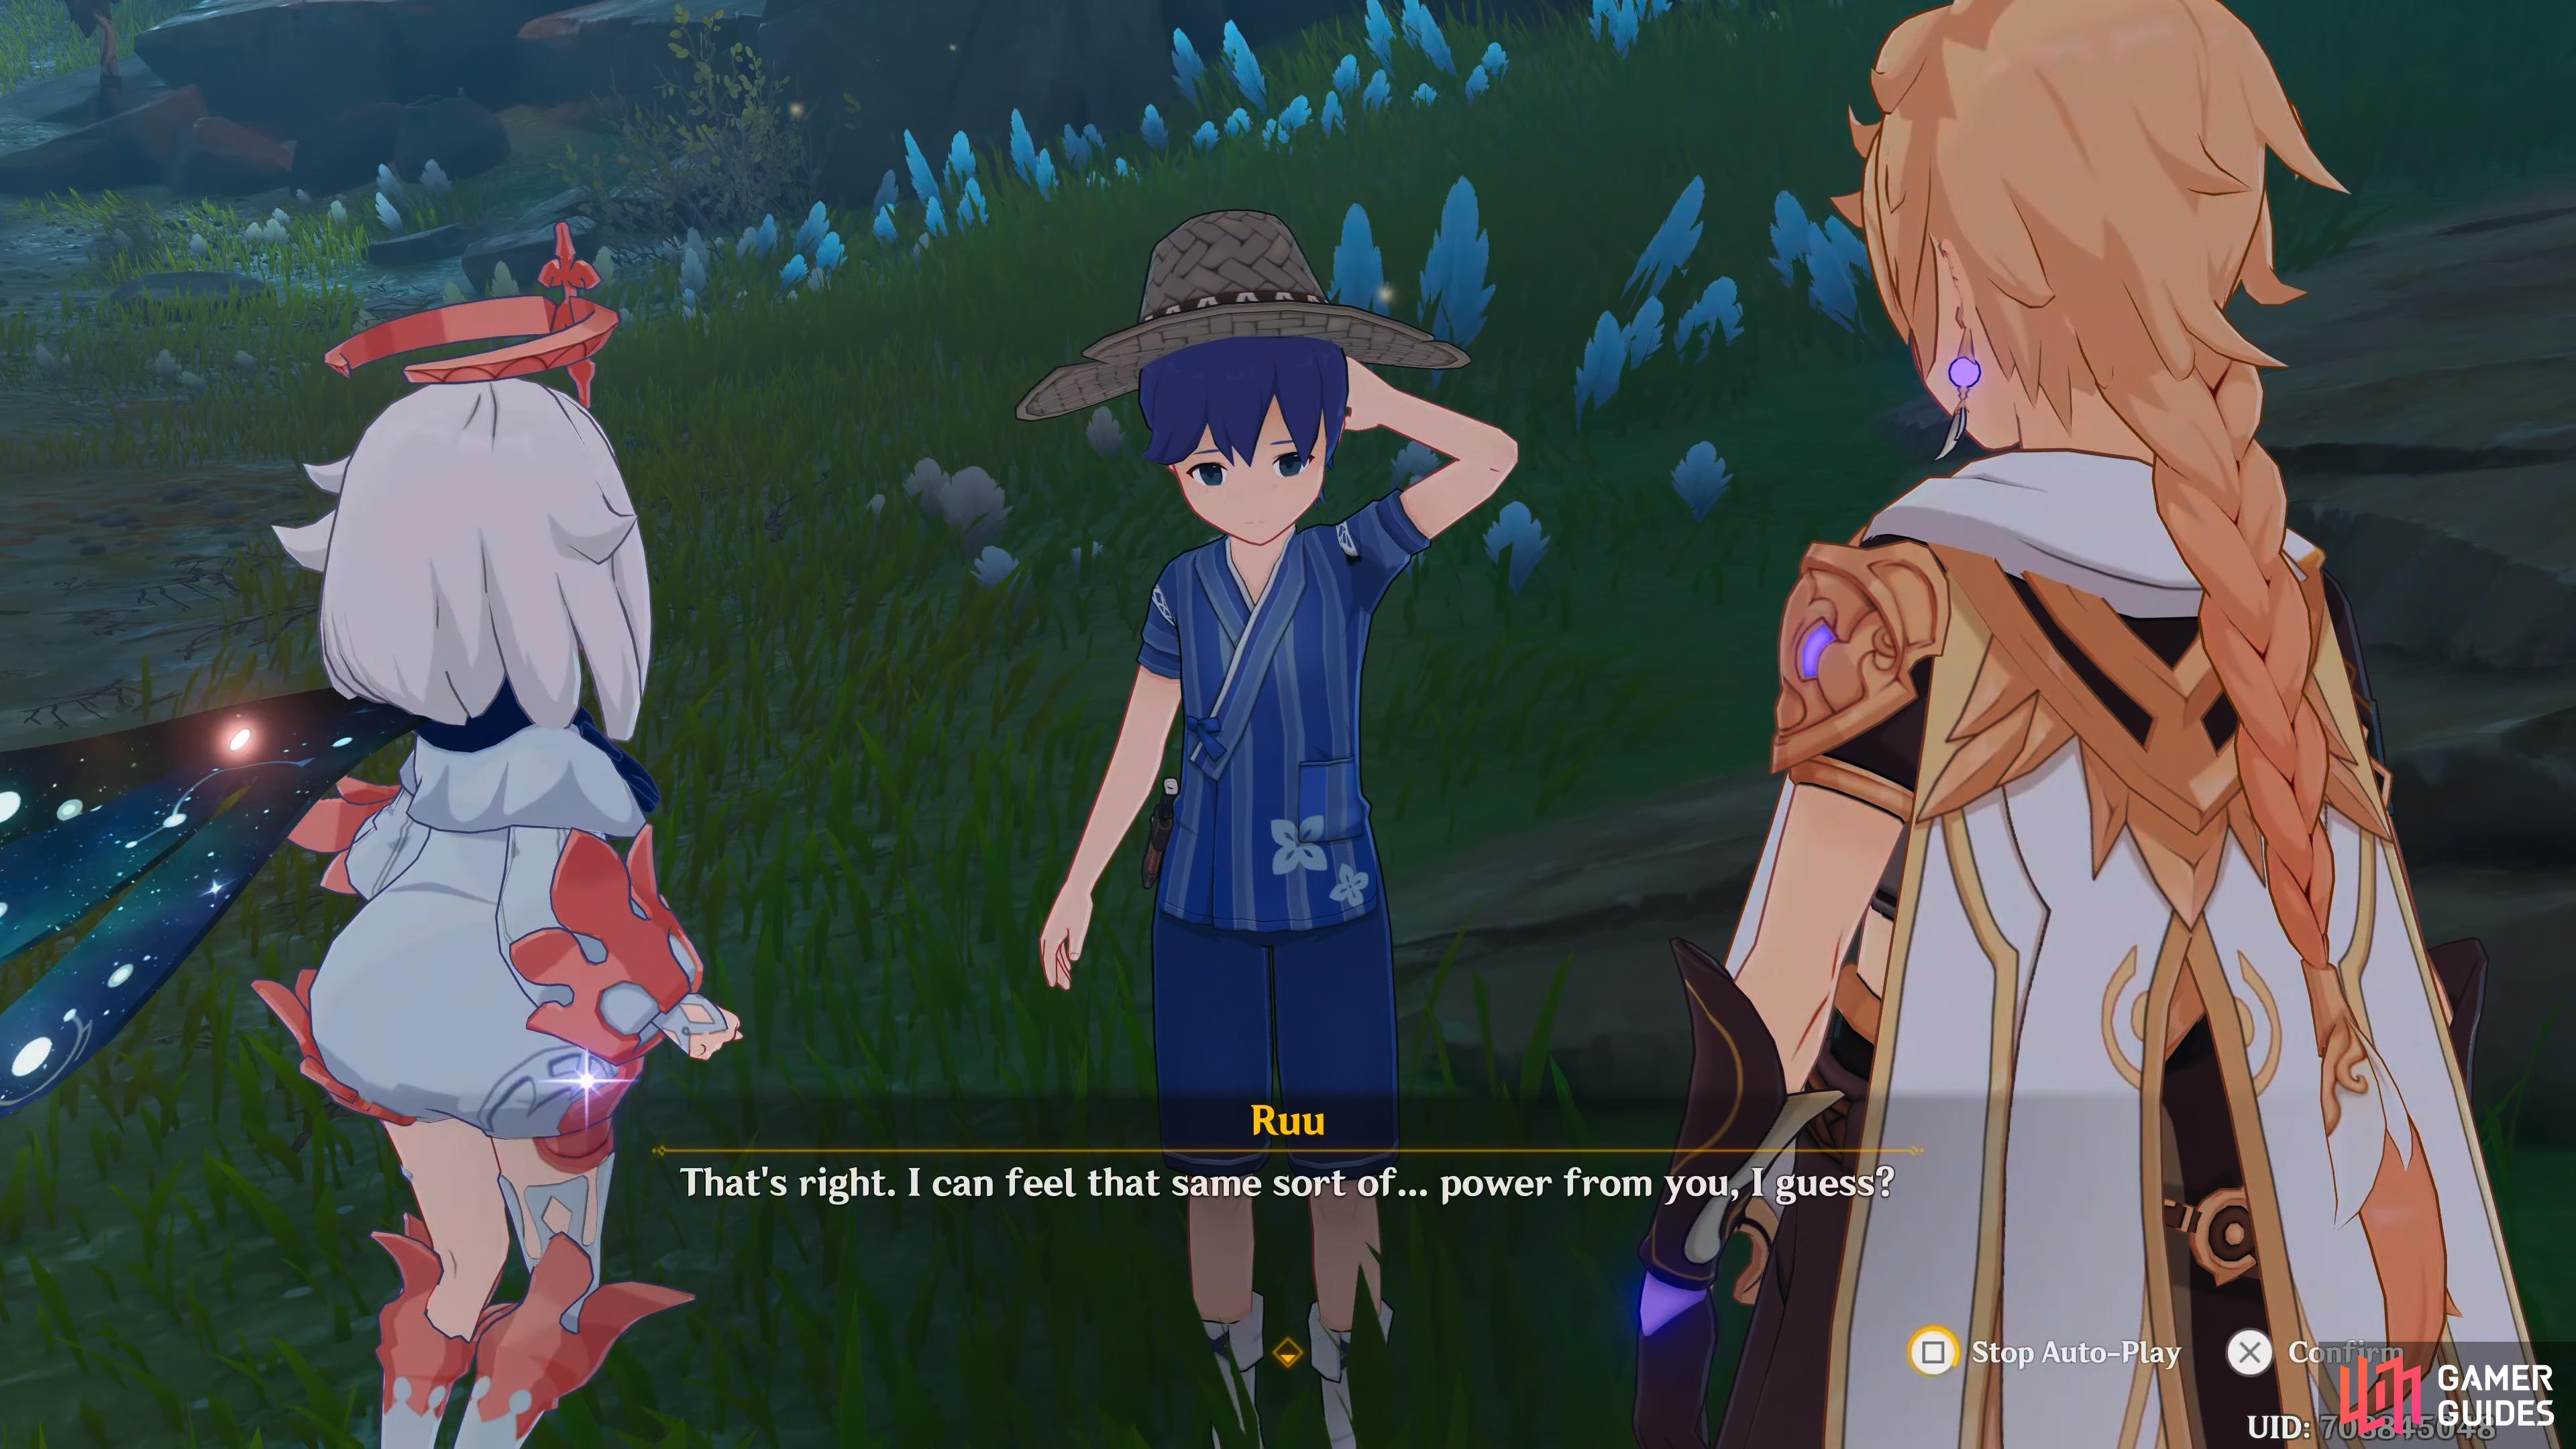
Ruu’s talking to the Traveler and Paimon about the Peculiar Pinion.
Follow Ruu and use the feather
As the scene ends, Ruu will tell you to follow him, as he runs towards a mysterious carving. Equip your new gadget, and then head over to him. Use the feather, and you’ll see a person kneeling by a tree, and Ruu will mention that it’s Kama.
Talk to the illusions
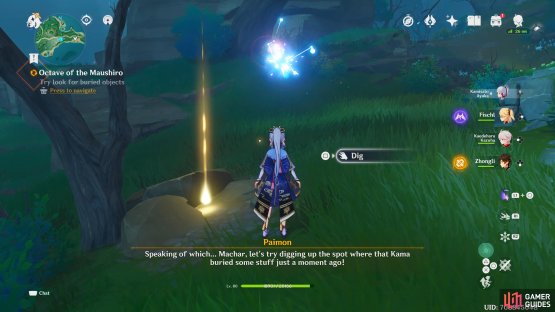
Head over to Kama, and it appears he’s talking to himself. He says that he’ll “bury this here”, meaning the Maushiro, and he also mentions that he was told if he wants to leave the island, he can’t bring anything with him. Ruu, with a heavy sigh, comes to the conclusion that Kama’s left the island already, then he’ll thank you for your help with the perches the other day. He’ll also tell you that although the perches was one part of the ceremony, there are still many more preparations left to do, as he asks if you can check on Grandpa Mata at the ceremonial site. Paimon tells Ruu, that when you went back there last time, he wasn’t there, which puzzles Ruu, as that is unlike him. Either way, Ruu will ask if you can help him out again. As the conversation ends, Paimon will suggest digging near the tree where you saw Kama.
Try looking for buried objects
When the scene ends, head over to the tree to your west, and interact with it to start digging. You’ll get a short scene, and then you’ll receive the Maushiro…..again.

(1 of 2) Interact with the tree to begin digging.

Interact with the tree to begin digging. (left), You’ll need to talk to all three groups at the ceremonial site. (right)
Go to the ceremonial site
Teleport to the nearest waypoint to the west, or follow the western path, and head to the ceremonial site.
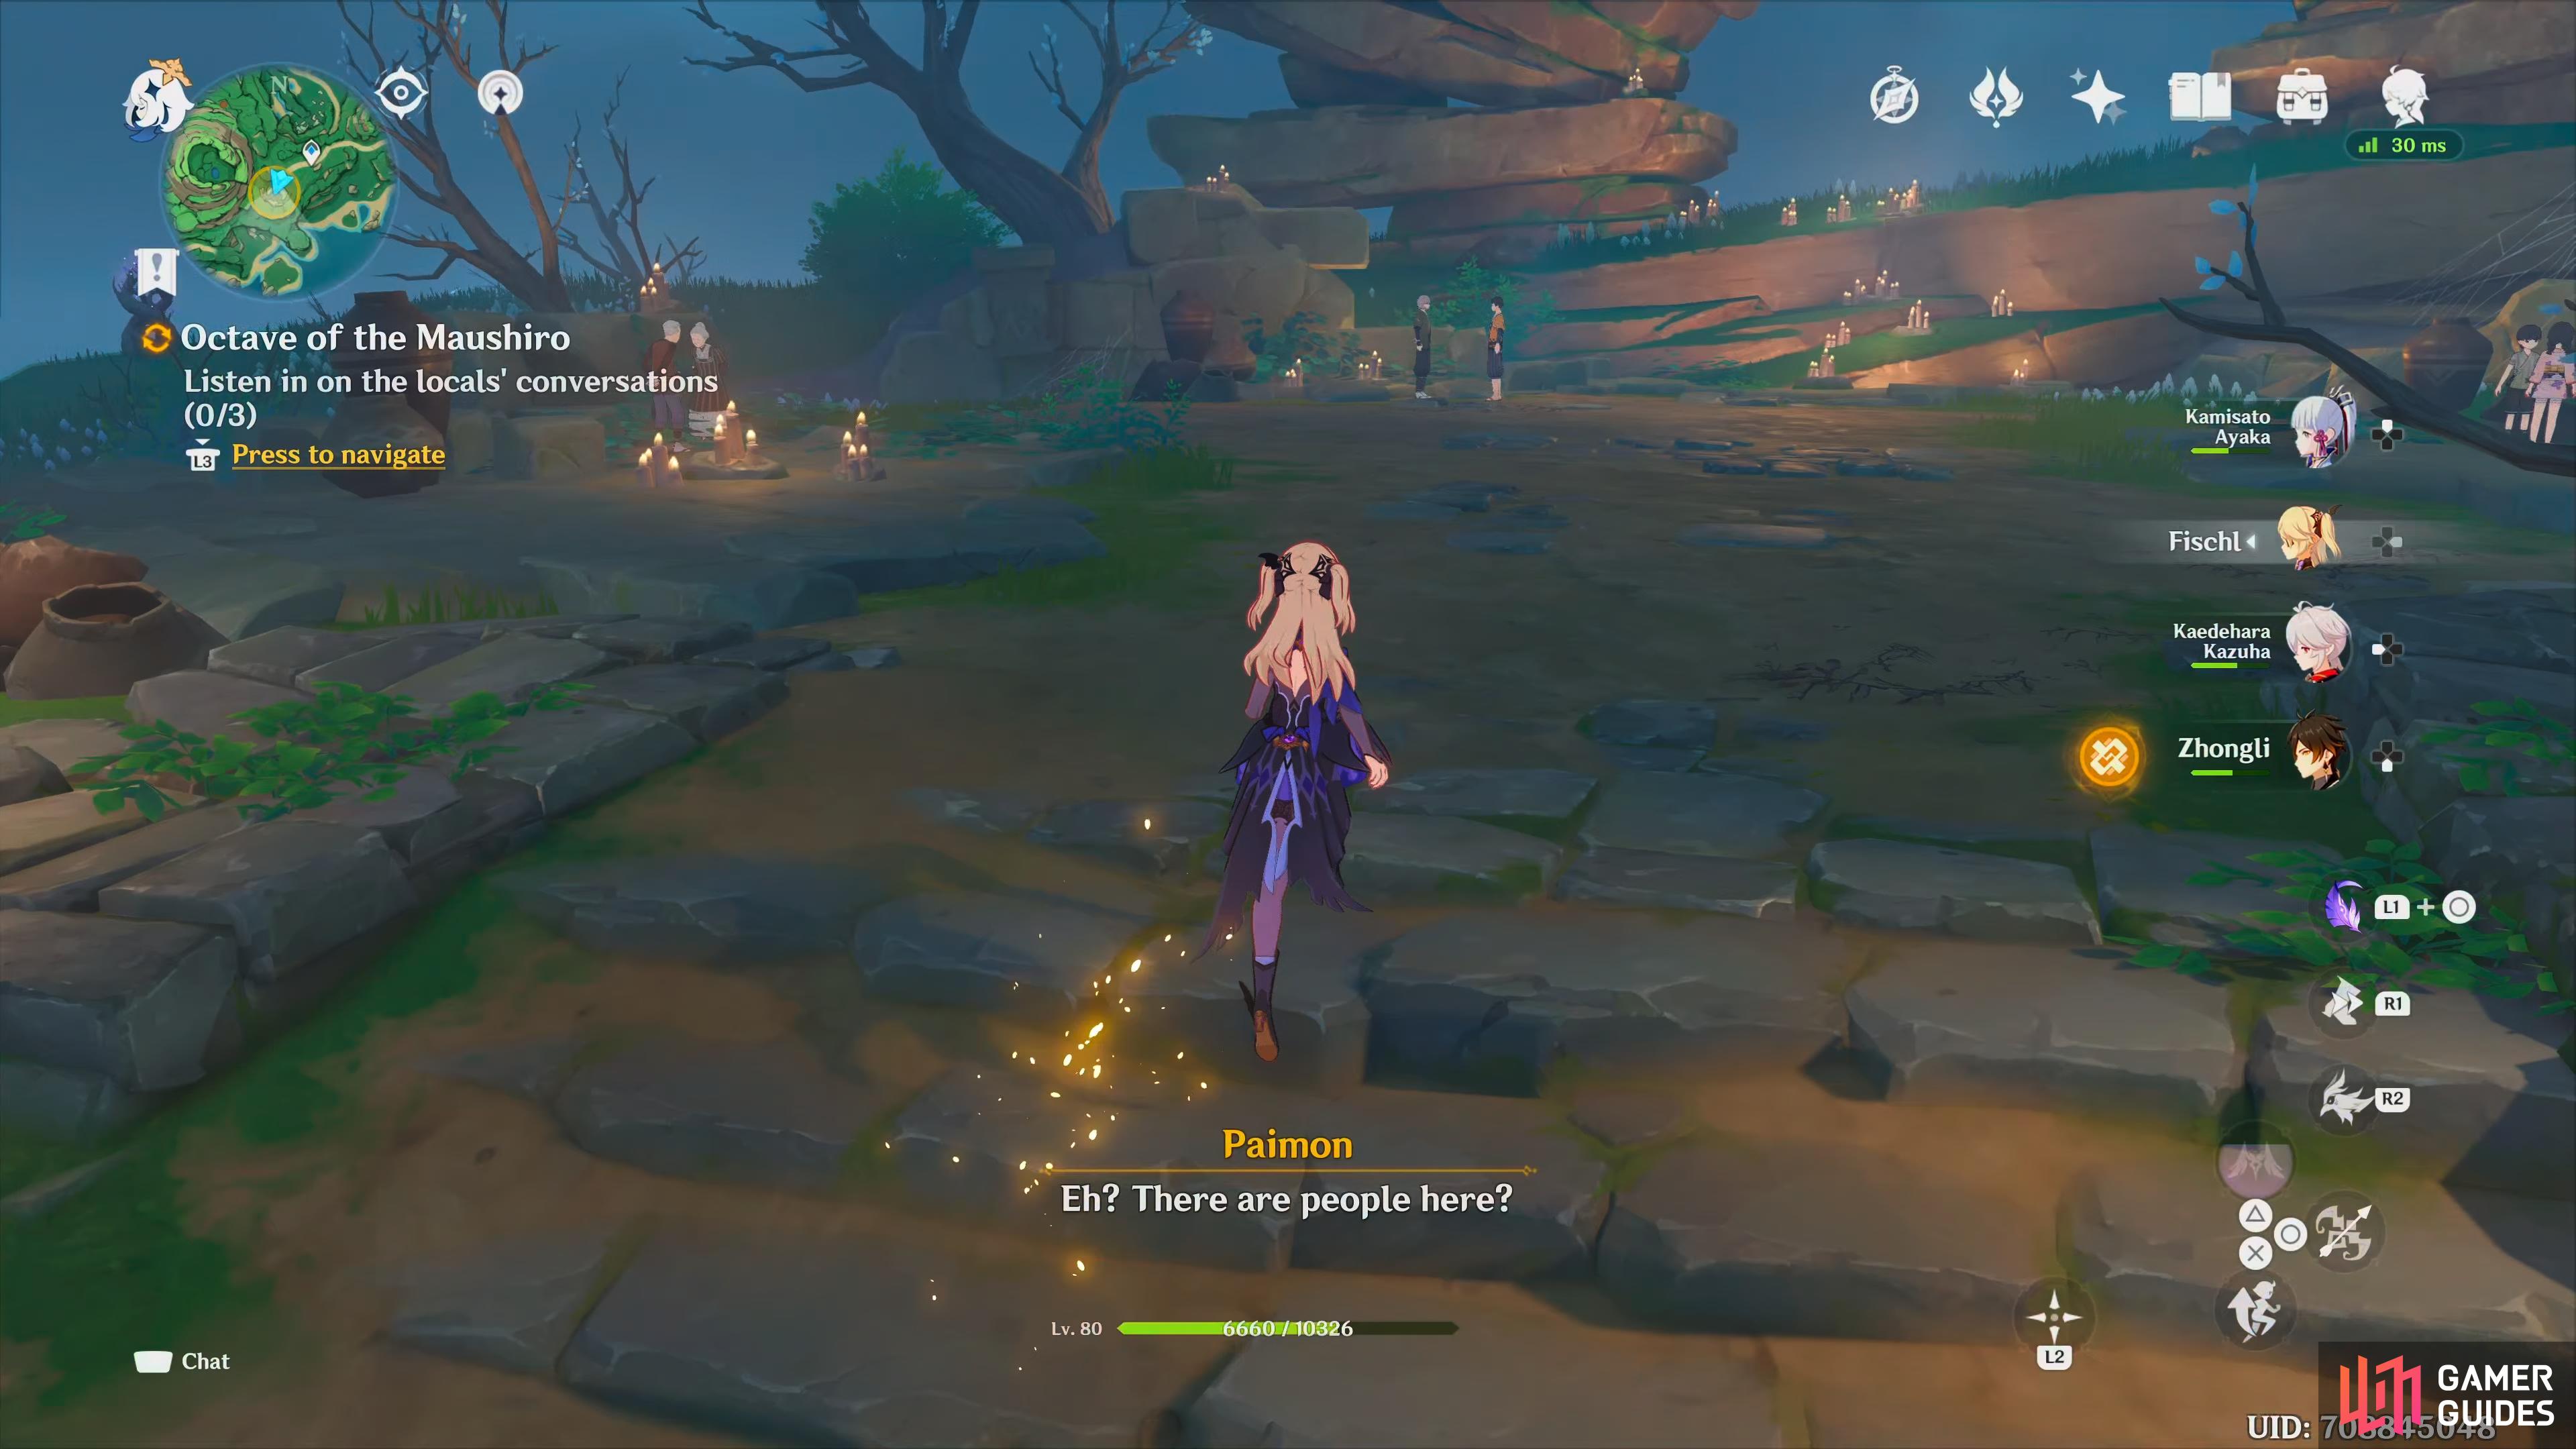
Listen in on the locals’ conversations (0/3)
As you enter the ceremonial site, you’ll notice three groups of people, head over to each group, and listen to what they have to say. One of the groups (the one on the left) won’t have anything interesting to say, but the other group, Kito and Kina to your right, will. After speaking with those two groups, speak to the last group at the back. This will be Mata, and Chise. After listening to the groups, Paimon will tell you that you’ll need to find Ruu again. From Mata and Chise’s conversation, he’ll either be at Wakukau Shoal, Oina Beach, or the Autake Plains, and as Wakukau Shoal is nearer, she suggests starting there.
Wakukau Shoal Puzzle
Here you’ll find how to complete the Wakukau Shoal puzzle. When you’re ready, head south from the ceremonial site, and take out the group of enemies there for a Remarkable Chest, and go towards the Electro Seelie which will spawn another mysterious statue at the bottom, then follow it, and drop off the cliff, to the coast. As you land near the objective marker, Paimon will point out the mysterious statue.
Use the feather to search for clues
Use your Peculiar Pinion near the carving, and you’ll get a scene with Ipe. It appears he’s speaking to someone, but you can’t see them. He mentions the Ishine Script, and how it’s connected to the words (symbols) on the small rocks, and then he’ll disappear.
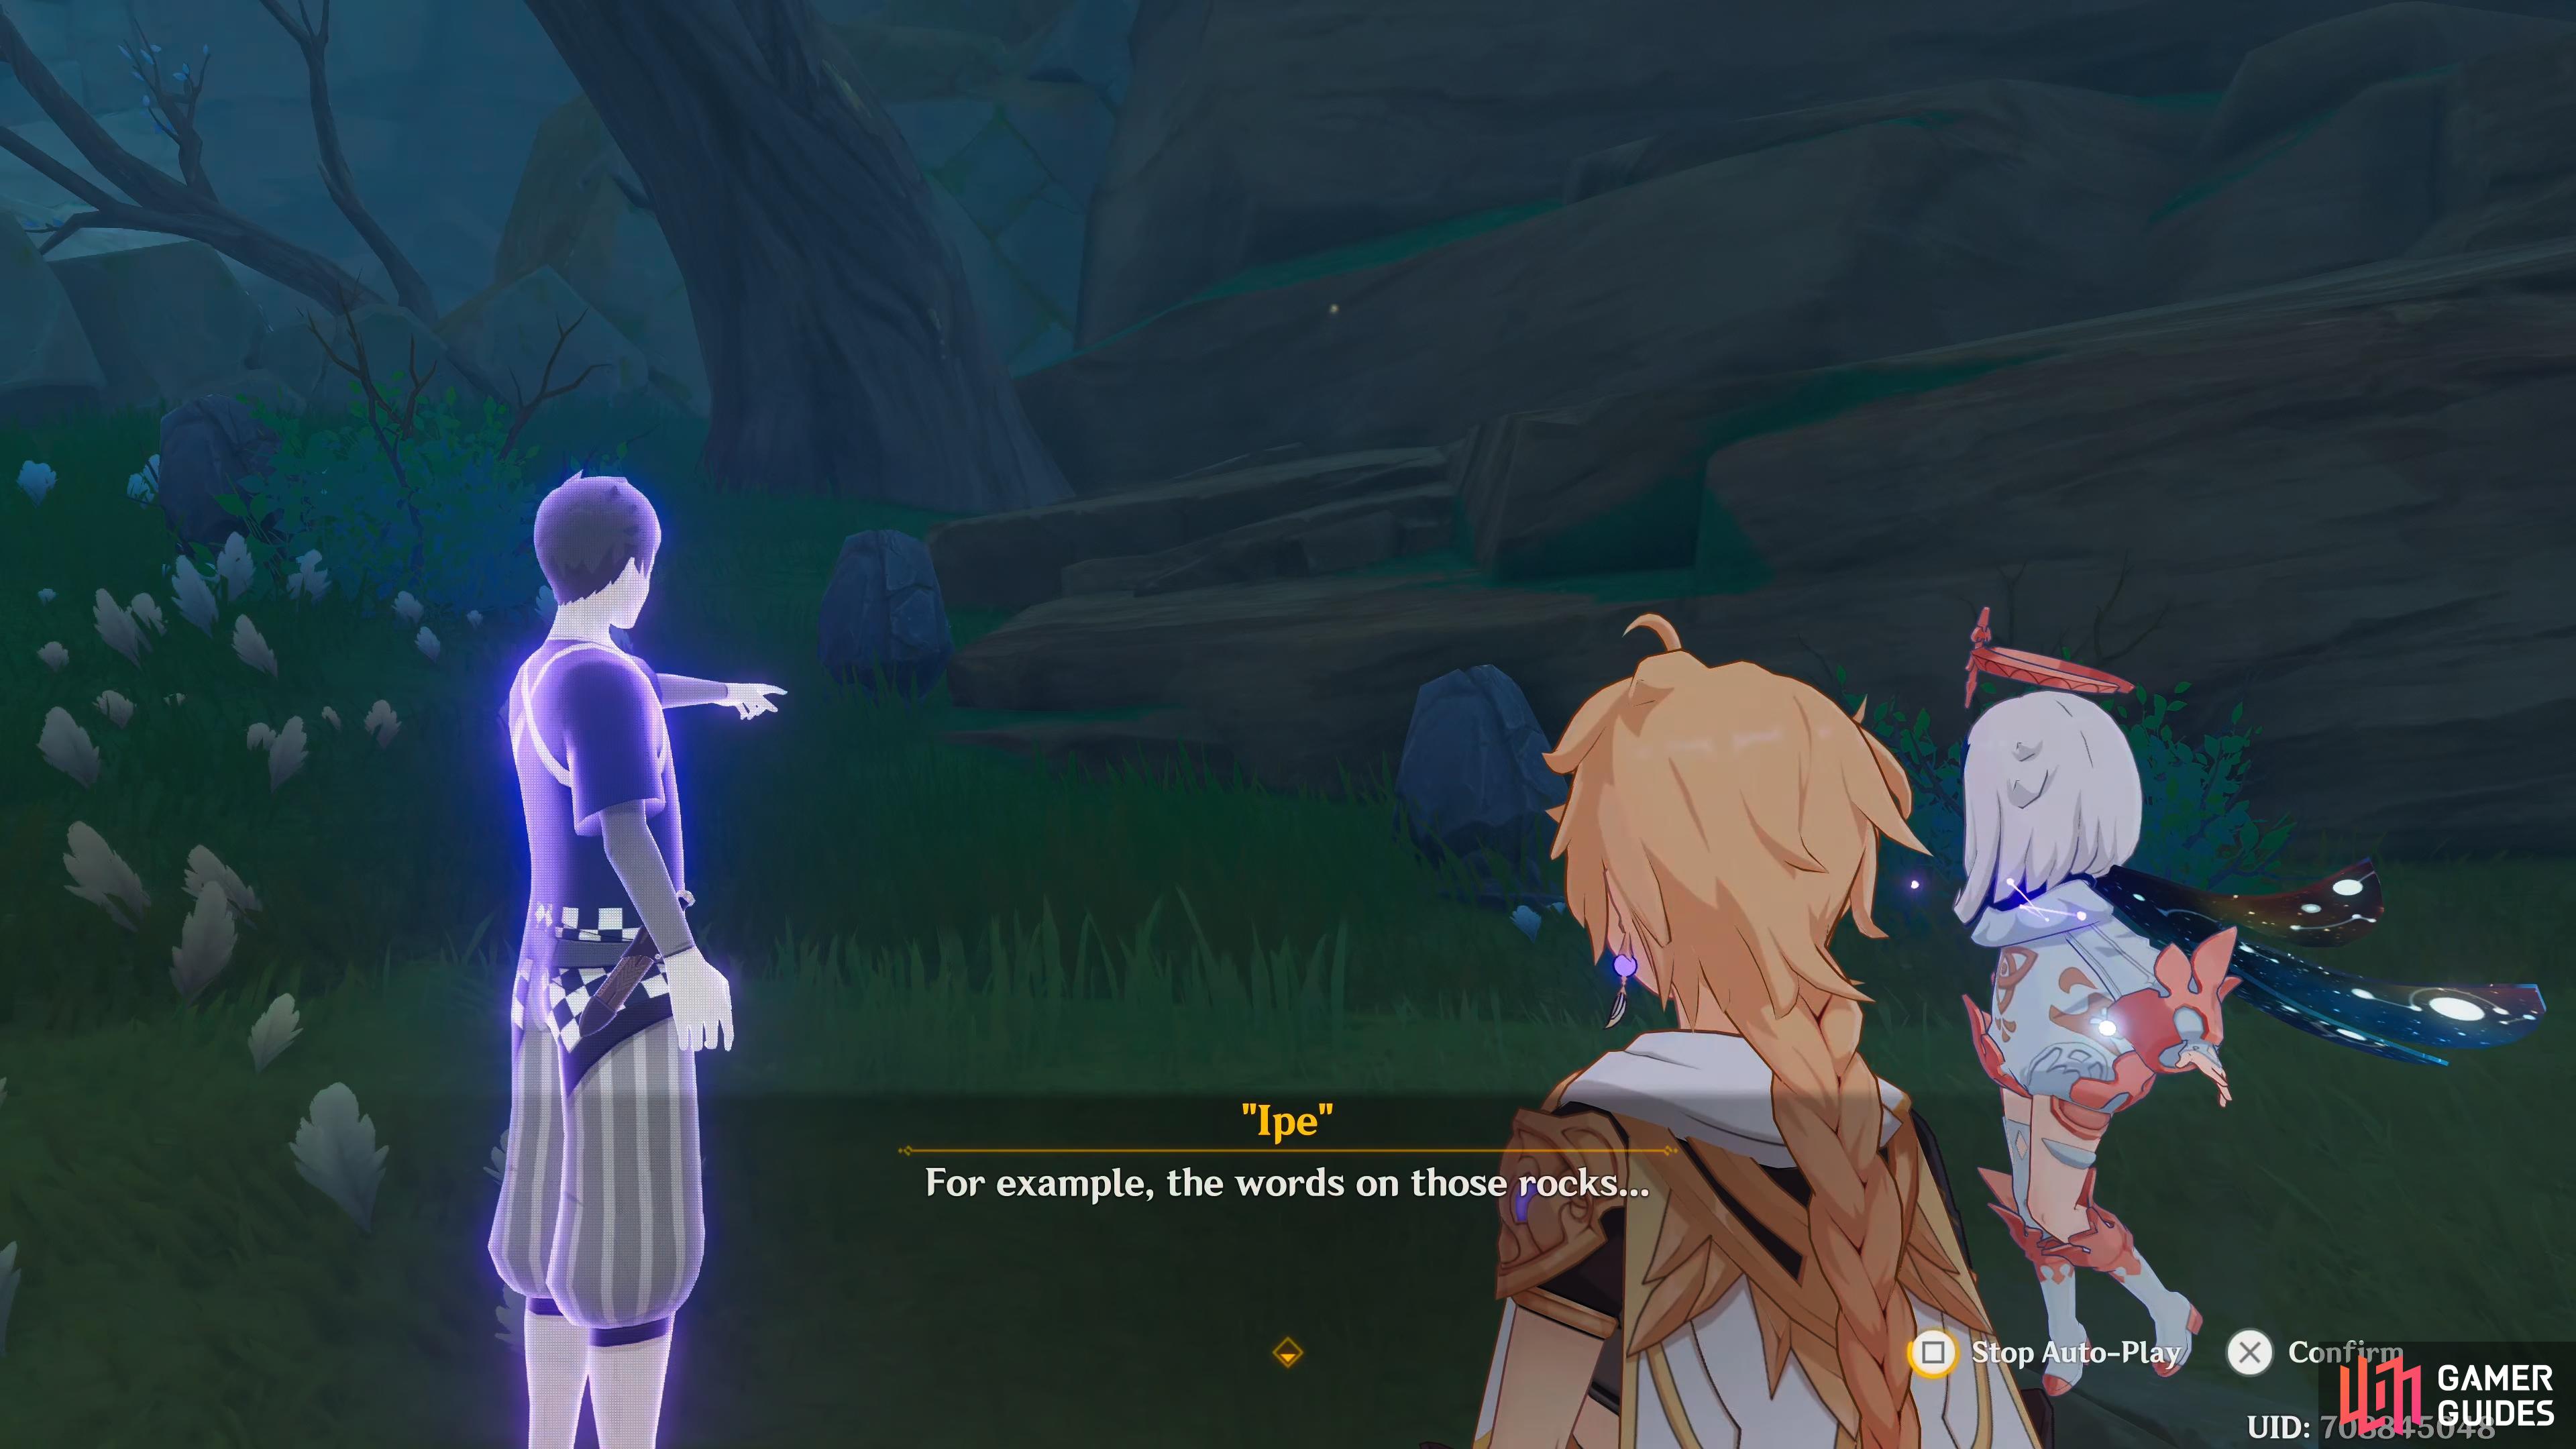
Ipe will point to the stones whilst talking about the Ishine Script.
Solve the mystery of the stones
After the scene, attack the small stone until you Paimon says “All the lights went out… Did we do it in the wrong order?” Do it again, and she’ll say, “Looks like this isn’t the place… But since there’s a statue here too, let’s see if using the feather will lead us to any clues.” This’ll make an Electro Seelie appear on the nearby statue. Pursue it until it spawns another statue, then use your peculiar pinion on it. This will make the symbols appear on the side of the mountain, which can be seen in the image below. Input these symbols from left to right by attacking the small stones back at the other statue.
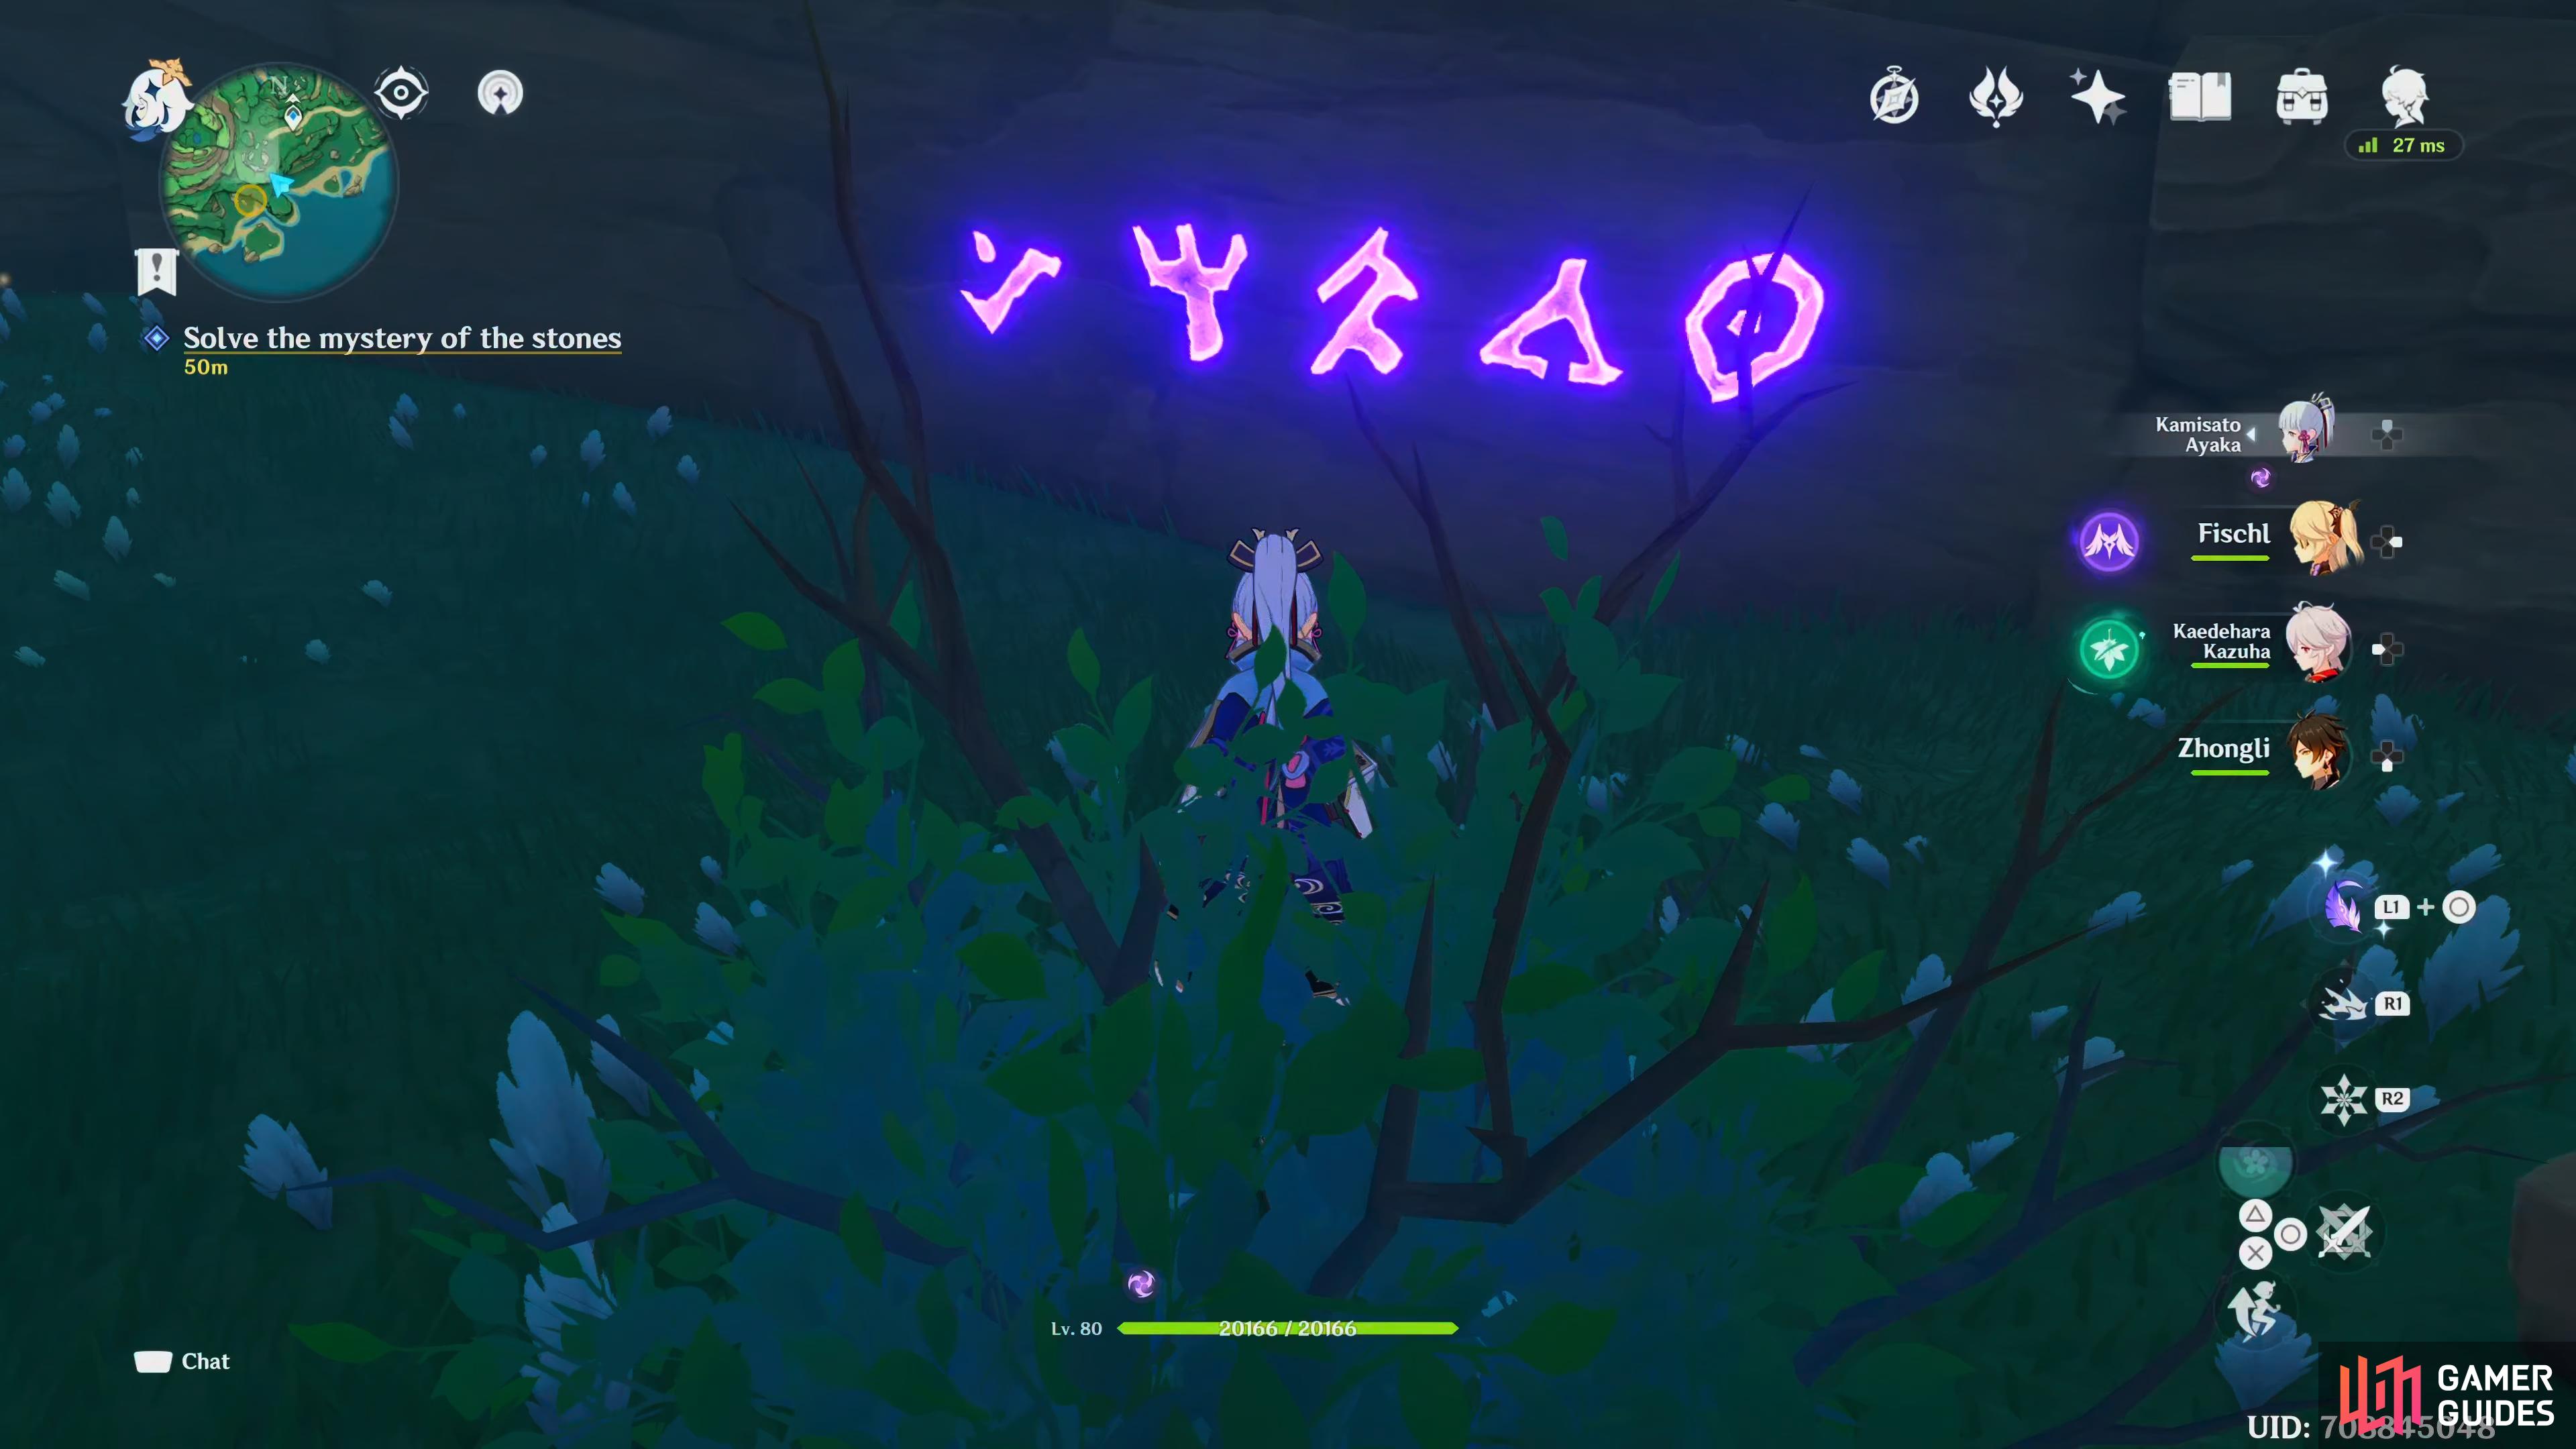
Attack the stones following the Ishine Script left to right.
Talk to the illusions
When it’s done correctly, you’ll get another scene with Ipe. As it’s obvious that Ruu isn’t here, Paimon suggests heading to Oina Beach.
Oina Beach Puzzle
Teleport to the waypoint north of Autake Plains, and follow the path north. Here you’ll find how to complete the Oina Beach puzzle.
Use the feather to search for clues
You’ll know you’re in the right place because you’ll see lots of stones in the area. Use your peculiar pinion on the nearby statue for another scene. This time, you’ll get a scene between Kama and Sayo. They’ll talk about the rocks with the Ishine Script, and how the order of them is important, so they shouldn’t mess with them because Ruu wouldn’t be happy about it due to being the priest’s son.
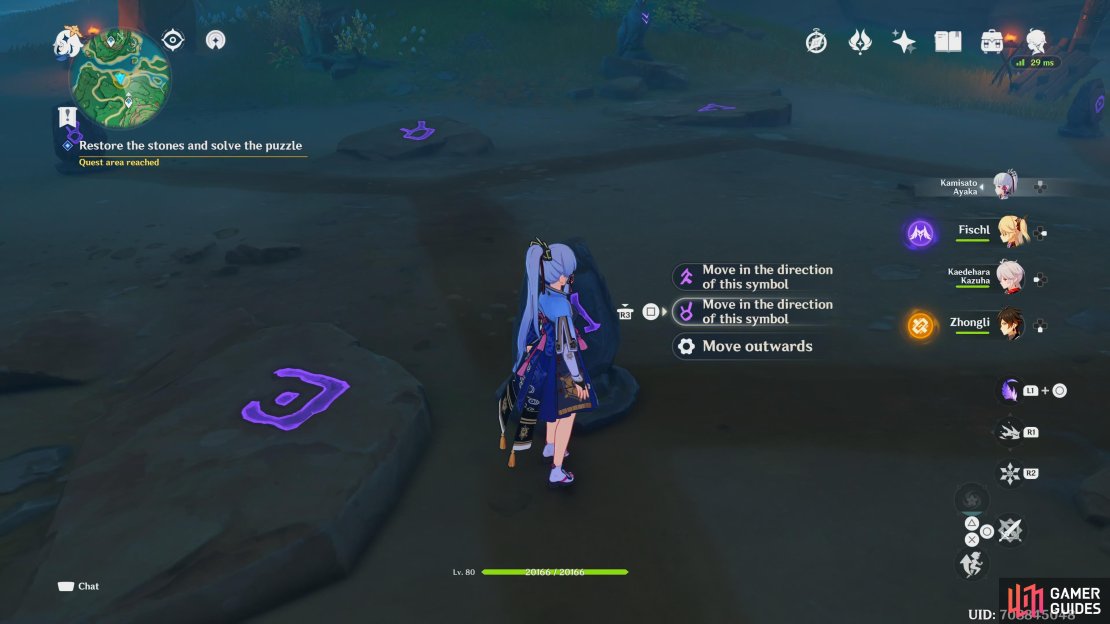
Restore the stones and solve the puzzle
For this puzzle, you’ll need to move the stones in front of the stationary stones with the same symbol of the Ishine Script. Start with the triangle looking symbol, and move it in the direction of the second symbol (second choice), then choose the second option again to position it in front of the correct stone. Now head over to the F looking symbol (in front of the circular symbol), and choose the second option again to send it to its correct position. Now head over to the spiral looking symbol to the right of it, and “move inwards”. Then move the upside down R inwards too. Finally, head over to the circular bullseye looking symbol, and move that inwards too, this will complete the puzzle.


Talk to the illusions
With the puzzle complete, you’ll get another scene with Sayo. She appears to be talking to Ruu, but you won’t be able to see him. She talks to him about leaving the island someday with her, amongst other stuff. As the scene ends, Pamion will mention that Ruu isn’t here either, and that you should head to Autake Plains.
Autake Plains Puzzle
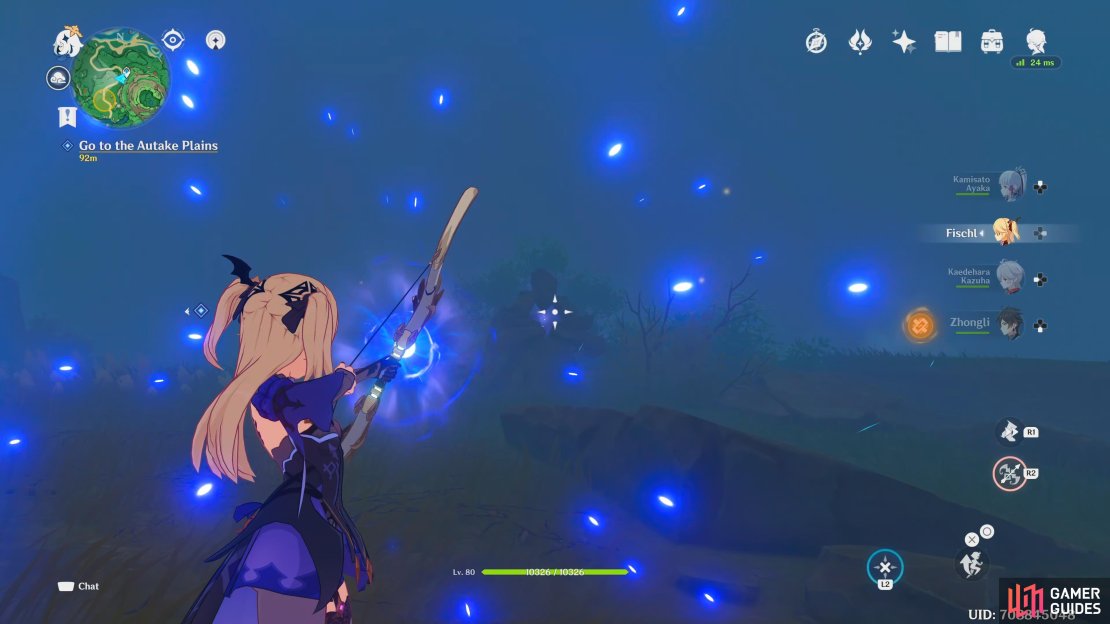
Here you’ll find how to complete the Autake Plains puzzle. Teleport back to the northern Autake Plains waypoint, and follow the path southwest. When you get near the objective, you’ll notice that the area is dark, and completely filled with fog. If you get too far away from the storm stones, your screen will start turning white, then you’ll get lost in the fog, and have to restart from the beginning. You’ll get a tutorial about the storm stones, and how they need to be activated by using Electro on them. Fishl, and Kujou Sara are great for this as they can charge up their attack and shoot Electro Arrows, this makes it easier to hit them from a distance.
From the start, turn west, and shoot the stormstone with Electro, then turn south, and shoot that one also. Follow the path south a bit, and you’ll find a couple more storm stones to shoot, one to the west and one to the south, behind a group of enemies. Defeat them, and open the Remarkable Chest, then continue following the path south. To your east is another storm stone to hit, then continue south a bit more, until your objective updates, and you see the mysterious statue. Activate the storm stone to your left, then use your peculiar pinion on the statue.


Talk to the illusions
Once you activate the pinion, you’ll get another scene, this time you’ll see Ruu. He mentions that if he starts singing here, no one will discover him, then he heads deeper in.
Continue looking for clues
This can be quite tough to find due to the fog, but it is right in the south center of the objective marker, and you’ll get a scene when you find it. It can be found on the west side of the path, and you’ll see a storm stone, statue, and a tree trunk, and some stones.
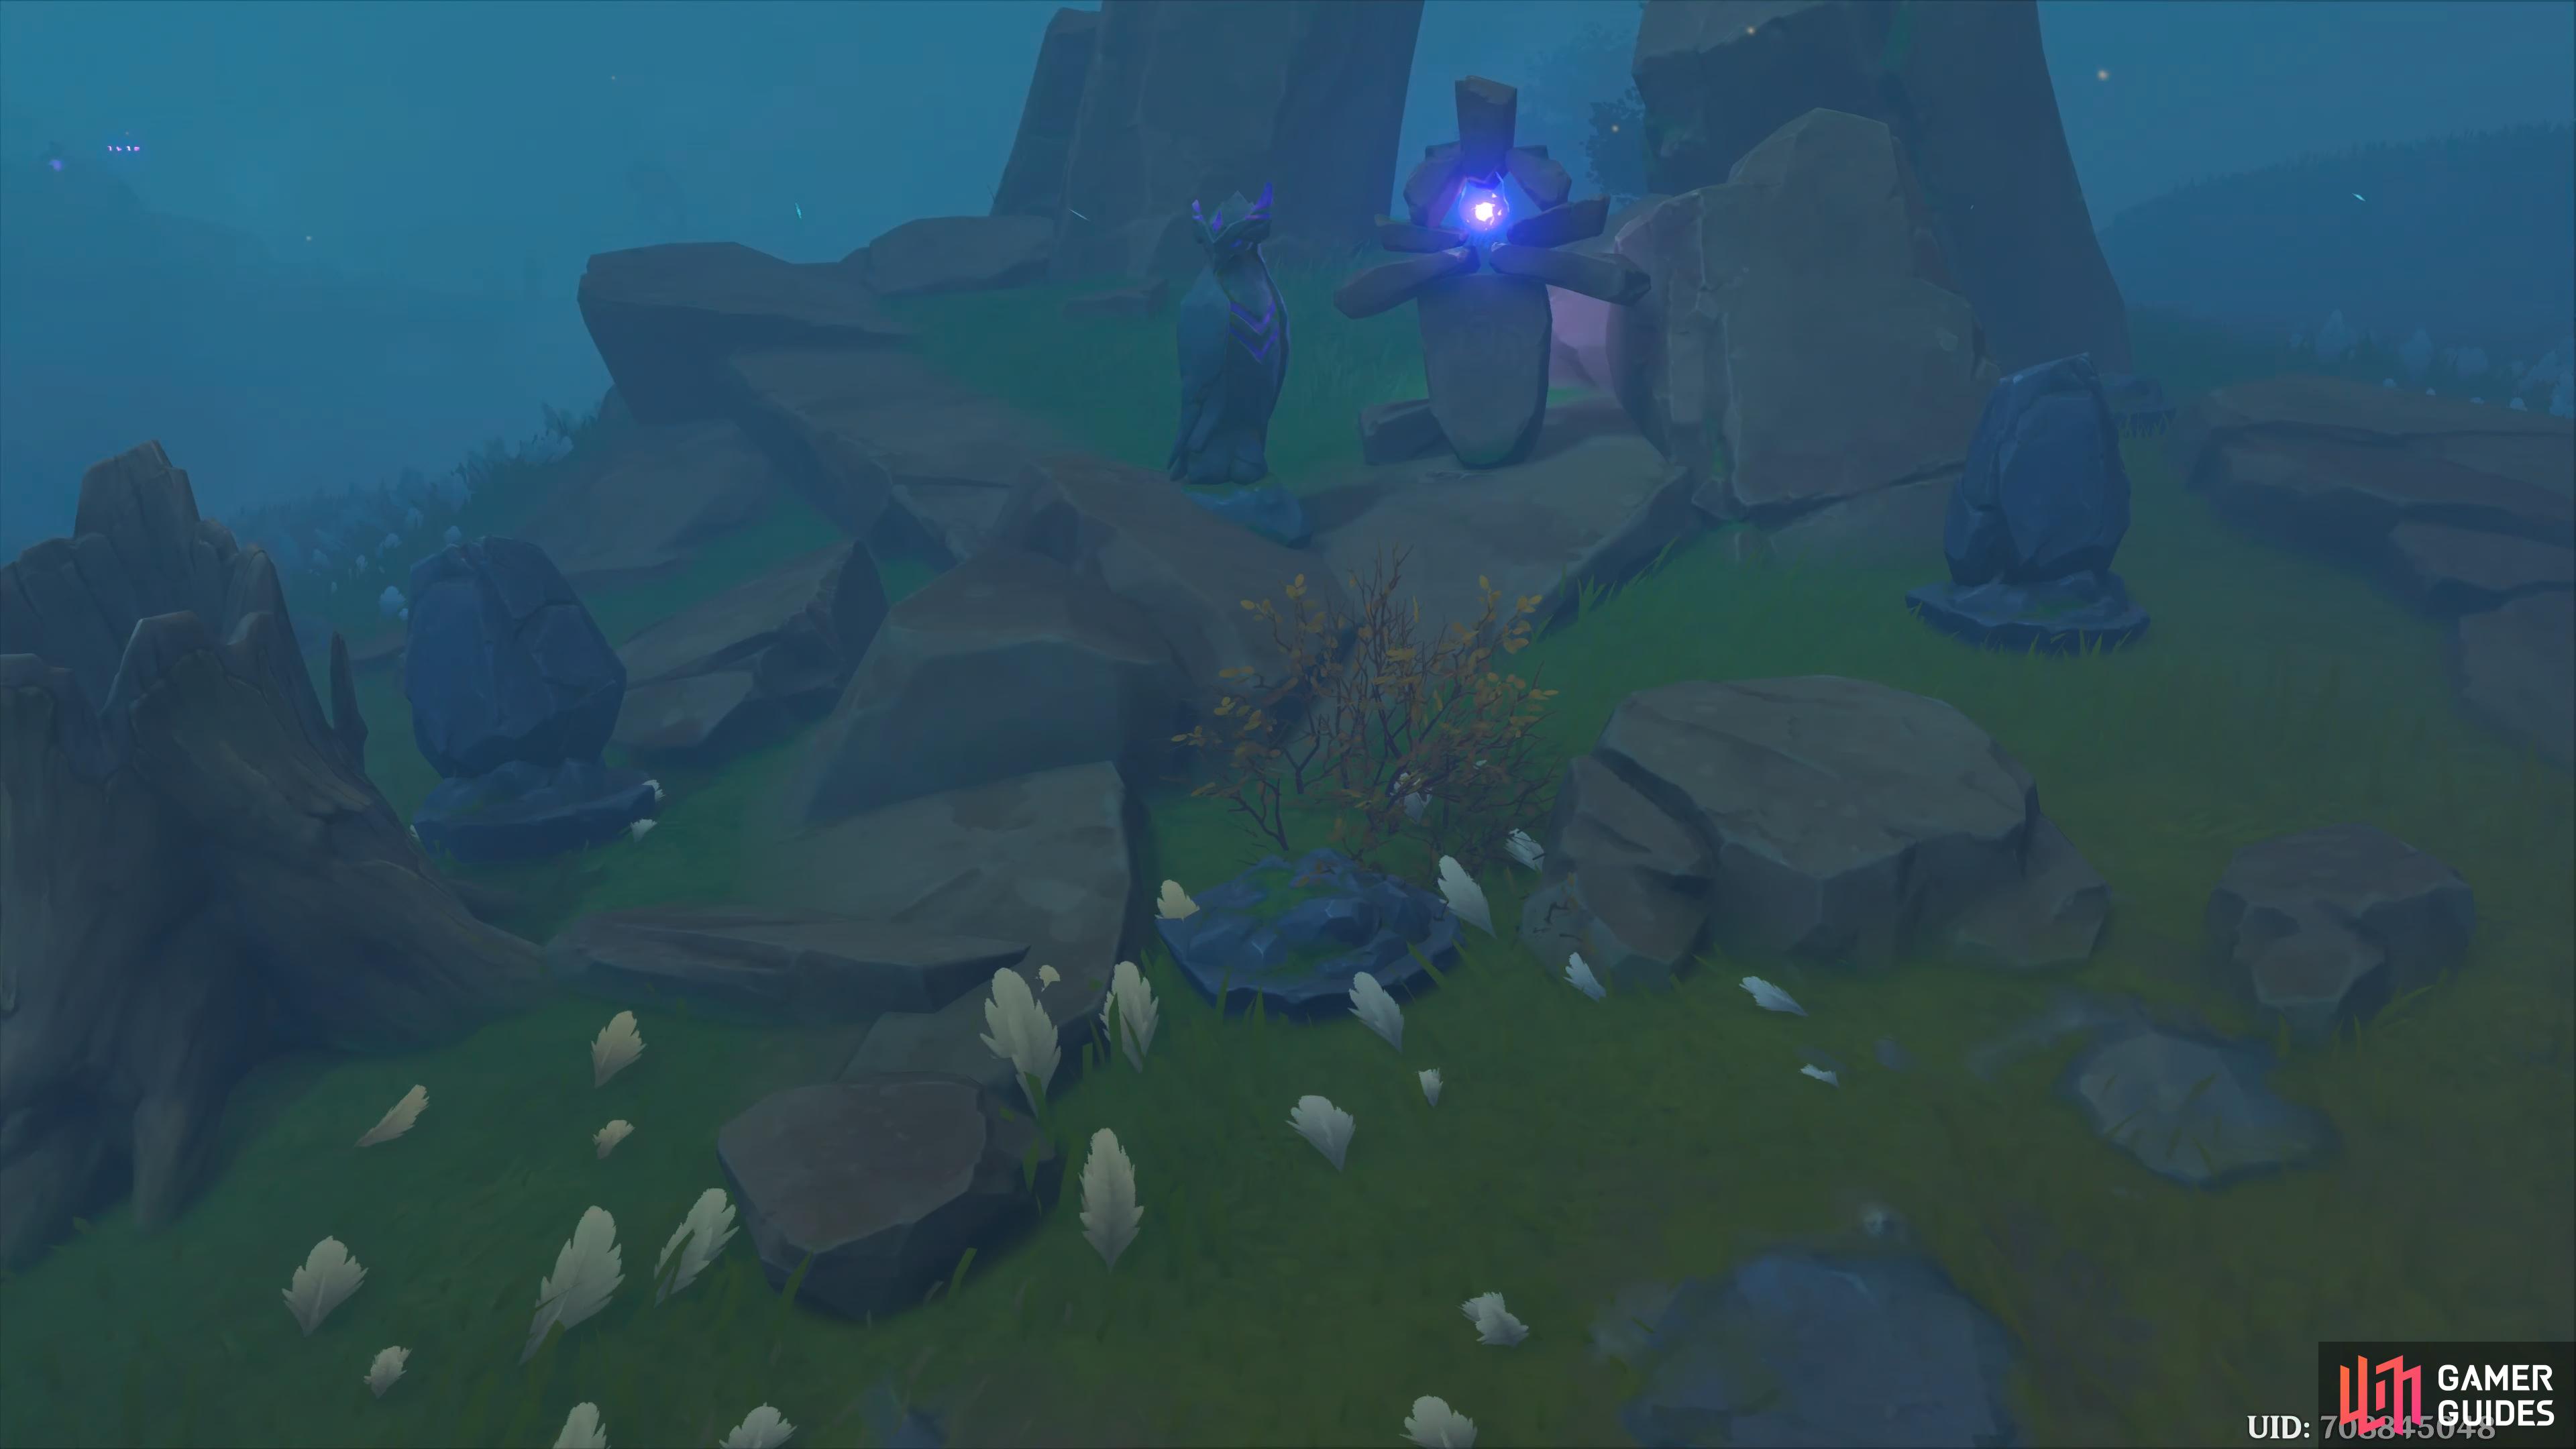
You can find this area on the west side of the path, at the south of the objective area.
Use the feather to search for clues
It appears some stones are missing. Use your pinion on the nearby statue. This will make three Seelies appear. Follow them, whilst shooting storm stones along the way, so you don’t get lost in the fog, and they’ll take you to the missing stones, known as the Autake Slate. They’ll be enemies at some of these locations, one of them having a Ruin Guard, you can ignore fighting it if you want. When you’ve collected all three Autake Slates, head back to the statue.
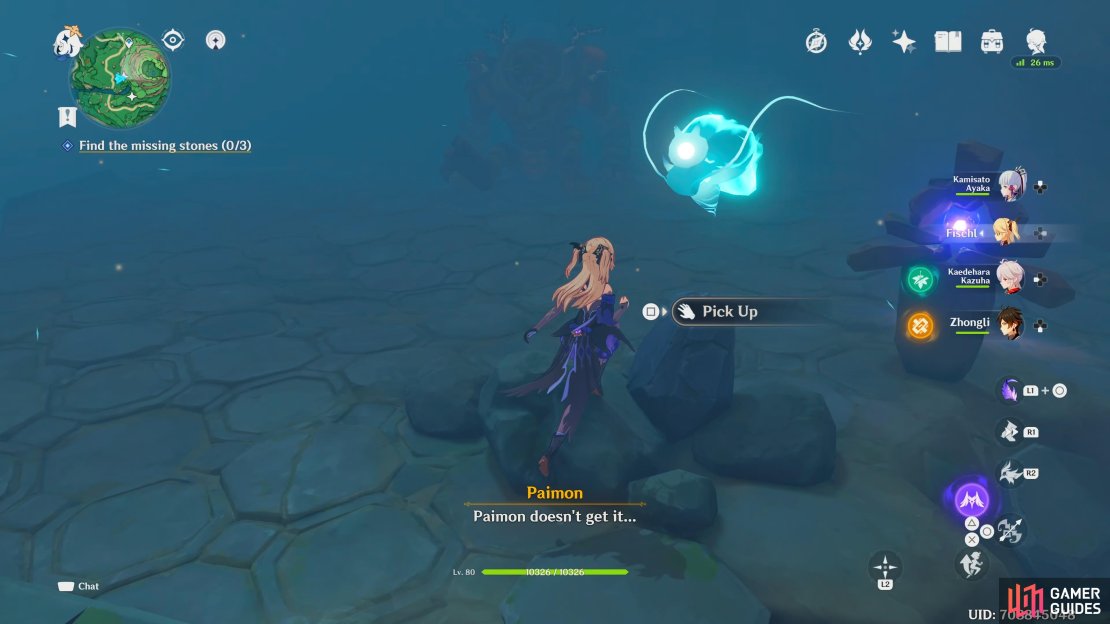


(1 of 3) By following the Seelies
Solve the mystery of the stones
When you are back at the statue, interact with the empty stone area, where the Seelies are floating above, and each time you put a Slate down, they will float towards the stone at the back. All three of them will create the symbols you need so you can attack the stones in the right order. Looking at the large stone, you’ll want to attack the stones in the order starting from the top, and heading down, one by one. When you’re done with that, you’ll get a scene. You hear Ruu talking to someone, then he disappears again.

Attack the stones in the order from top to bottom of the symbols highlighted in the rock.
Return to the ceremonial site
Teleport back to the Moshiri Ceremonial Site waypoint, and head over to the site for another scene. Once again, the site is barren, and no one is around. You and Paimon take stock of the situation. You have the Maushiro, there’s a person who looks like Kama, and time passes strangely on the island. Anyway, there’s not much else left to do here, so Paimon suggests heading back to Miss Sumida.
Talk to Sumida
Teleport back to the northern Ritou waypoint, and head over to Sumida for a scene. You decide to check that you still have the Maushiro, which you most certainly do. Then head over, and talk to Sumida. You’ll talk to Sumida about your adventures from the past two days, and she’ll tell you that her commission isn’t over just yet, and the quest will end. Once again, you’ll need to wait a real life day before you can accept the next quest.
No Comments