
This is a walkthrough for Yoimiya’s Story Quest “Expectations Not to Be Betrayed” which is the second quest in the Carassius Auratus Chapter: Act 1, Dreamlike Timelessness. Here, you’ll find a complete walkthrough for the entire quest.
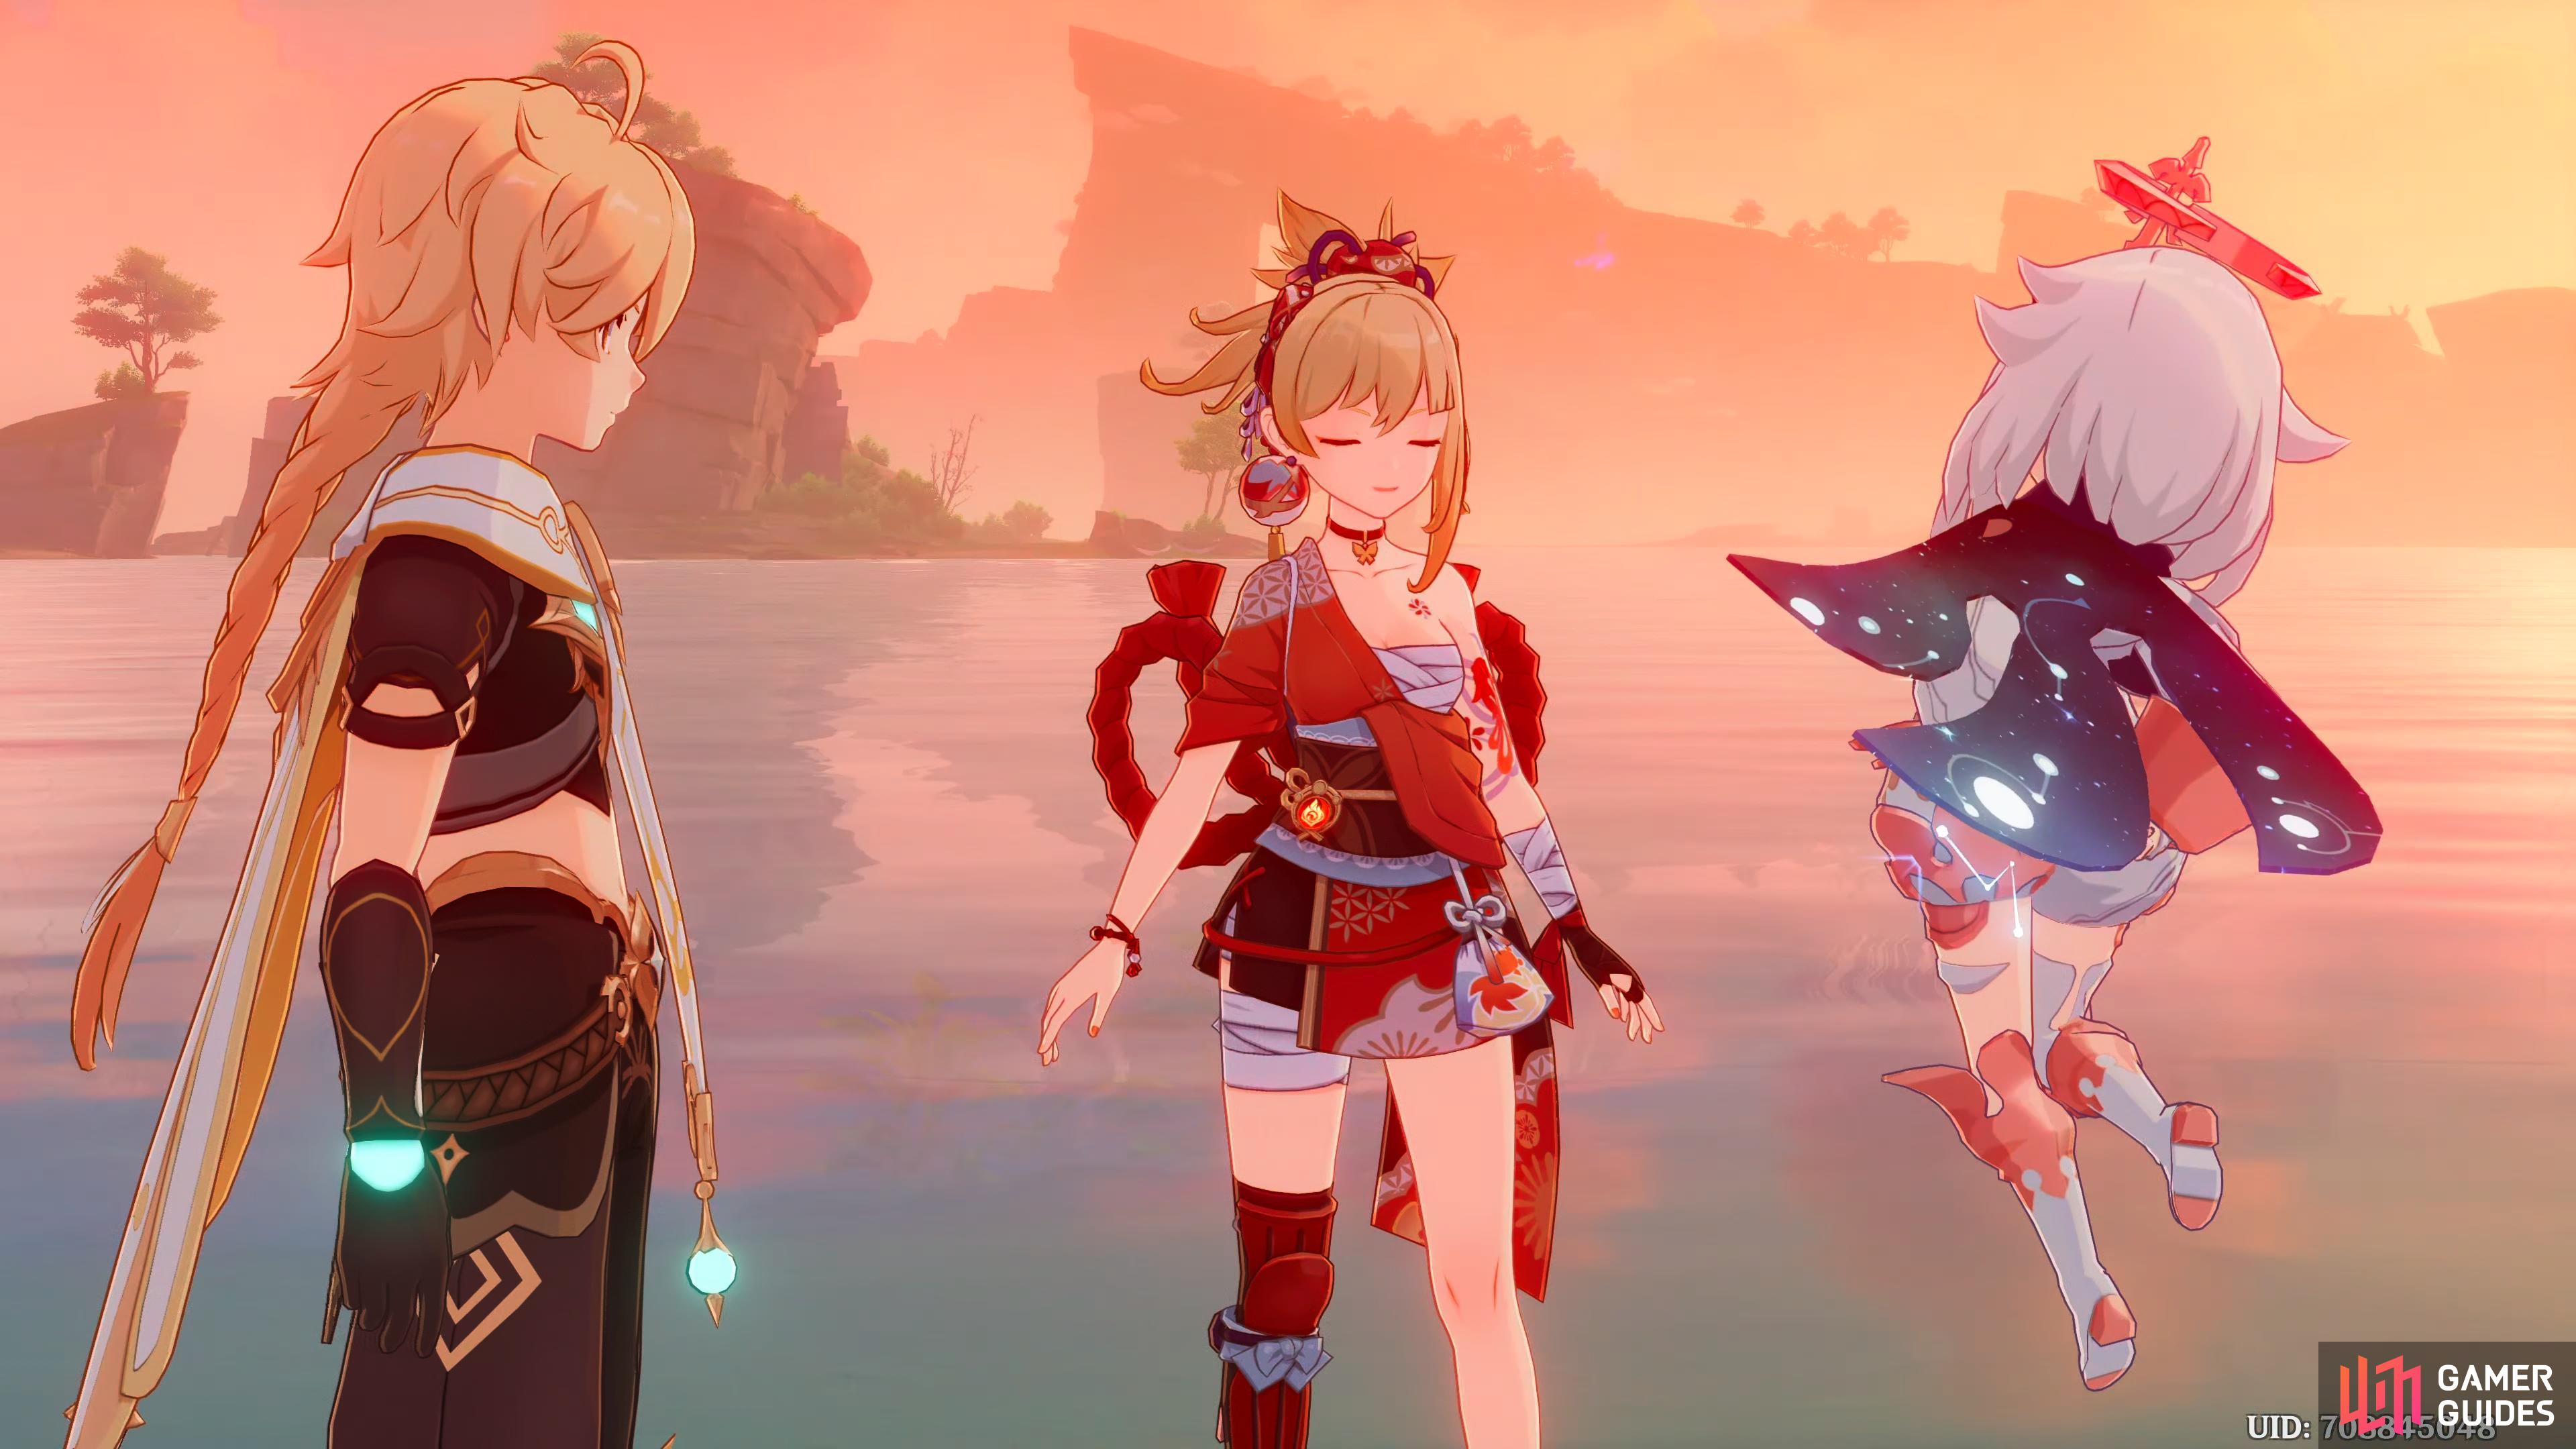
Yoimiya having a nice long chat with Paimon and the Traveler.
| Adventure EXP | Mora | Other Rewards | Requirements | Next Quests |
|---|---|---|---|---|
 500 500 |
 4 4  7 7 |
The Firework Girl’s Strange Stories | A Sliver of Hope |
Description
You return with Yoimiya to Naganohara Fireworks, but discover a stowaway hiding inside the shop named Sakujirou. To prevent his capture at the hands of the Tenryou Commission, you must find a way for him to leave Inazuma while preparing for a fireworks show.
Steps
- Prepare a boat for Sakujirou alongside Yoimiya
- Look for firework materials in the city
- Go to Amenoma Smithy
- Head to the designated location to meet Kouichi
- Go and confirm the ships’ condition
- Tell Sakujirou the ship’s location
Prepare a boat for Sakujirou alongside Yoimiya
This quest continues immediately after The Firework Girl’s Strange Stories. Head south, over the river, and you’ll find Kouichi the boatmaker by the large Yumemiru tree. Head over to him for a scene, and Yoimiya will ask him how the boat is coming along, he’s a bit skeptical talking about it infront of you, but Yoimiya reassures him that it’s fine as you are her friends. Kouichi will tell you it’s coming done, but he’ll have trouble moving it due to the Sakoku Decree.
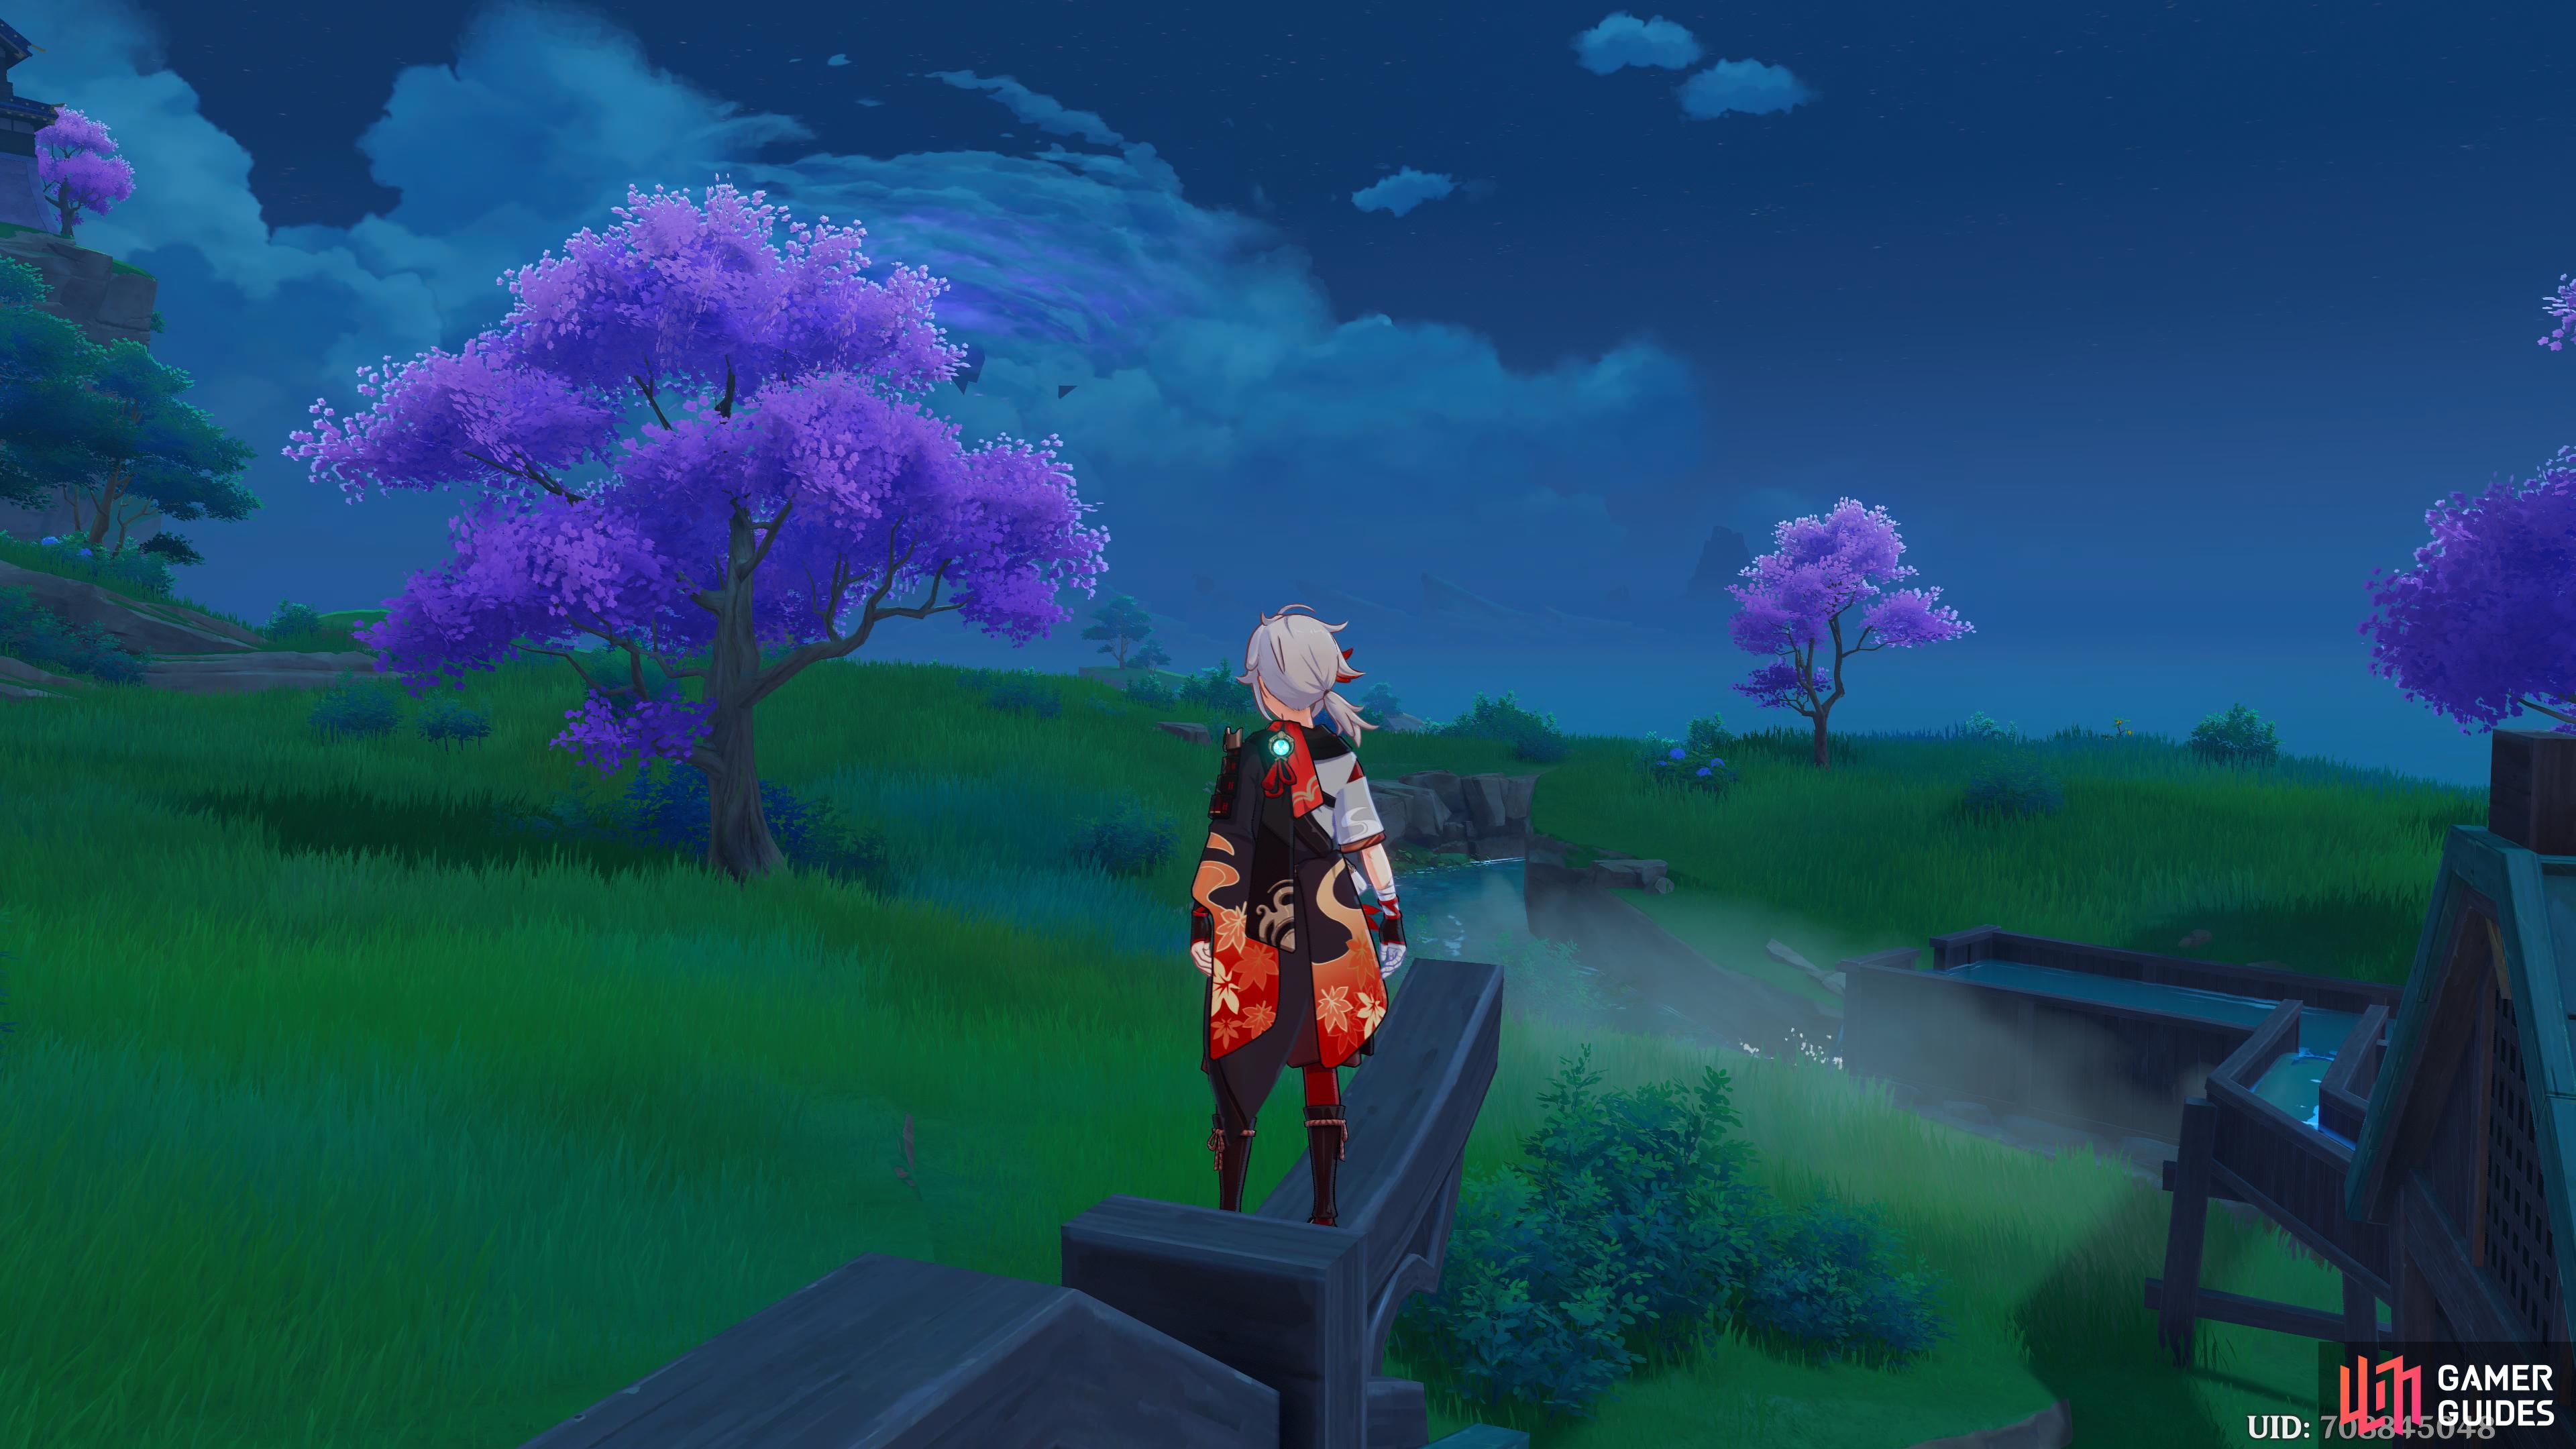
Kouichi can be found underneath the large Yumemiru tree.
Apparently the Tenryou Commision are really suspicous of any seaborne vessel, regardless of size, and they’ll interrogate anyone in possession of one. Yoimiya tells him she’ll pick up the boat shortly, and she also tells him that he can pick the fireworks he ordered. Kouichi will talk about the first time he ordered fireworks with the Naganohara’s, and they start talking for a while when Kouichi tells her that he should probably get a boat, Yoimiya apologizes to you for getting caught up chatting, which leads her to non-stop chatter with you, which she apologizes for again. When she catches her breath, she’ll suggest getting some materials for the fireworks in the City whilst you wait for Kouichi.
Look for firework materials in the city

Morhiko can often be found at the bottom of the stairs next to the Yae Publishing House.
Head back northeast, back into Inazuma City, and head up the stairs to find Morihiko, head over to him for a scene. Yoimiya will start the conversation with some small talk, and Morihiko politely tells her not to beat around the bush, he knows she’s after the firework materials, and he’s just this moment put a batch to the side for her, he also offers a bunch of ore, on the house. You’ll find out about Morihiko’s first order of fireworks with the Naganohara’s, and it’s starting to become a theme, that everyone is happy with the service that they got with them, and that the Naganohara’s are great people in general. After the conversation with Morihiko ends, Yoimiya suggests heading over to the Amenoma Smithy, so they can process the materials she just received.
Go to Amenoma Smithy
Amenoma Smith can be found down the stairs to the west, next to Yoimiya’s fireworks store. Hajime, the son of the owner, greets her and assumes she must be here for some materials, but he asks if she can wait awhile as he has a backlog of weapon orders to get through, she starts to agree before telling him she can’t wait as it’s urgent. He’ll only agree to them now if his master, Mr Amenoma agrees to it…which he don’t, instead he offers to do it himself, but gives a few words of wisdom to Yoimiya. After he finishes processing the ore, Yoimiya is impressed with his craftmanship, and you’ll find out that Naganohawa and Amenoma have been working together for a long time, thanks to Paimon’s question. After saying her goodbyes, Yoimiya suggests heading back to Kouichi, and waiting the remainder of the time for him.
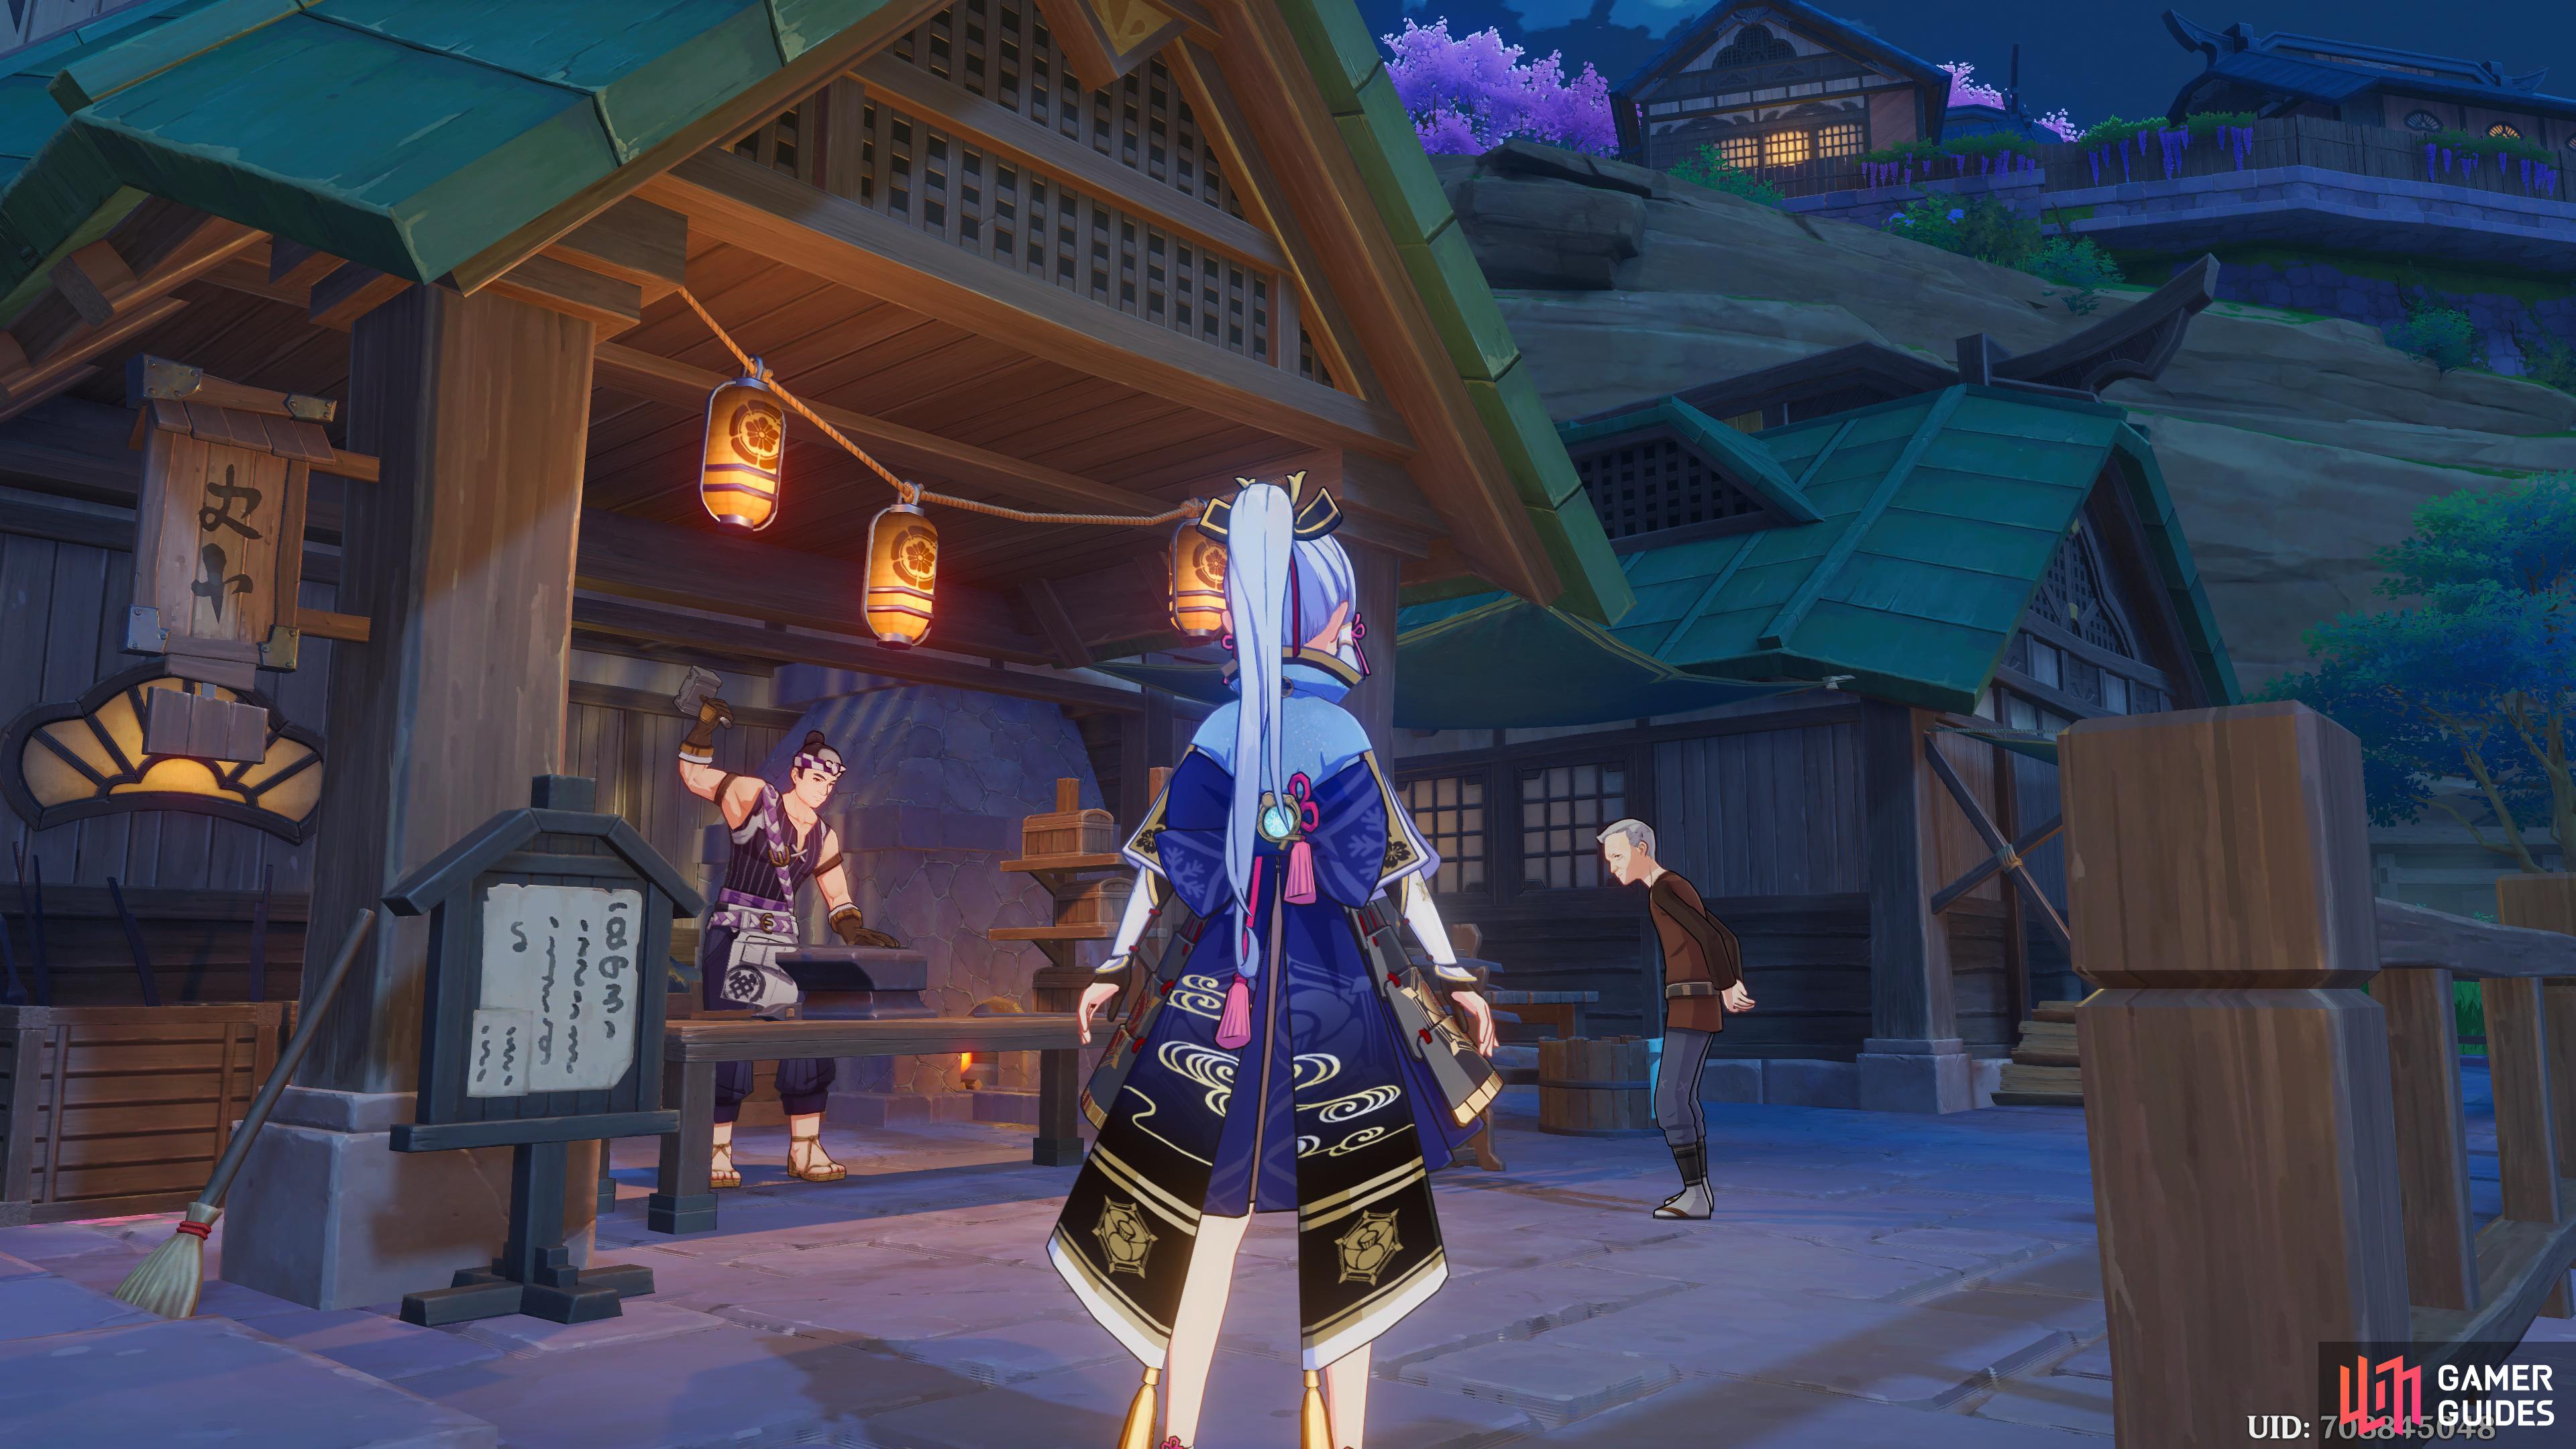
Hajime, and Mr Amenoma working hard at the Amenoma Smithy.
Head to the designated location to meet Kouichi
Head back to the same location you spoke to him before, under the large Yumemiru tree, and you’ll get a scene. It seems Kouichi still hasn’t returned, but Yoimiya doesn’t seem too upset as it gives her a chance to have a chat with you. She asks where you were before Inazuma, and you’ll tell her about your travels, and then you’ll tell her about you being separated from your sibling. She’ll talk a bit about Inazuma then Kouichi will show up, and tell you the boat is ready.
Go and confirm the ships’ condition
When the scene ends, head south across the grassy plain, and drop on to the beach below for another scene. Paimon being as rude as ever exclaims that the boat is too small, whilst you think it looks sturdy despite its size. Kouchi tells you that although he agrees, it’s the biggest and sturdiest boat he can provide at this moment in time, and that if Sakujirou plans on riding into the storm with it, it’ll be extremely dangerous. Yoimiya will tell him that it’s a last resort and hopefully Sakujirou won’t have to use it.
She tells Kouichi to store the boat here, and cover it up, and she’ll let Sakujirou know that it’s ready, should he need it. She’ll tell her goodbyes to Kouichi, and let him know that his fireworks are ready to be picked up. Kouichi will mention Third Sis, and Yoimiya will tell you a story about a once prosperous merchants guild, and how Third Sis got his name. After the scene ends, head back to Sakujirou.
Tell Sakujirou the ship’s location
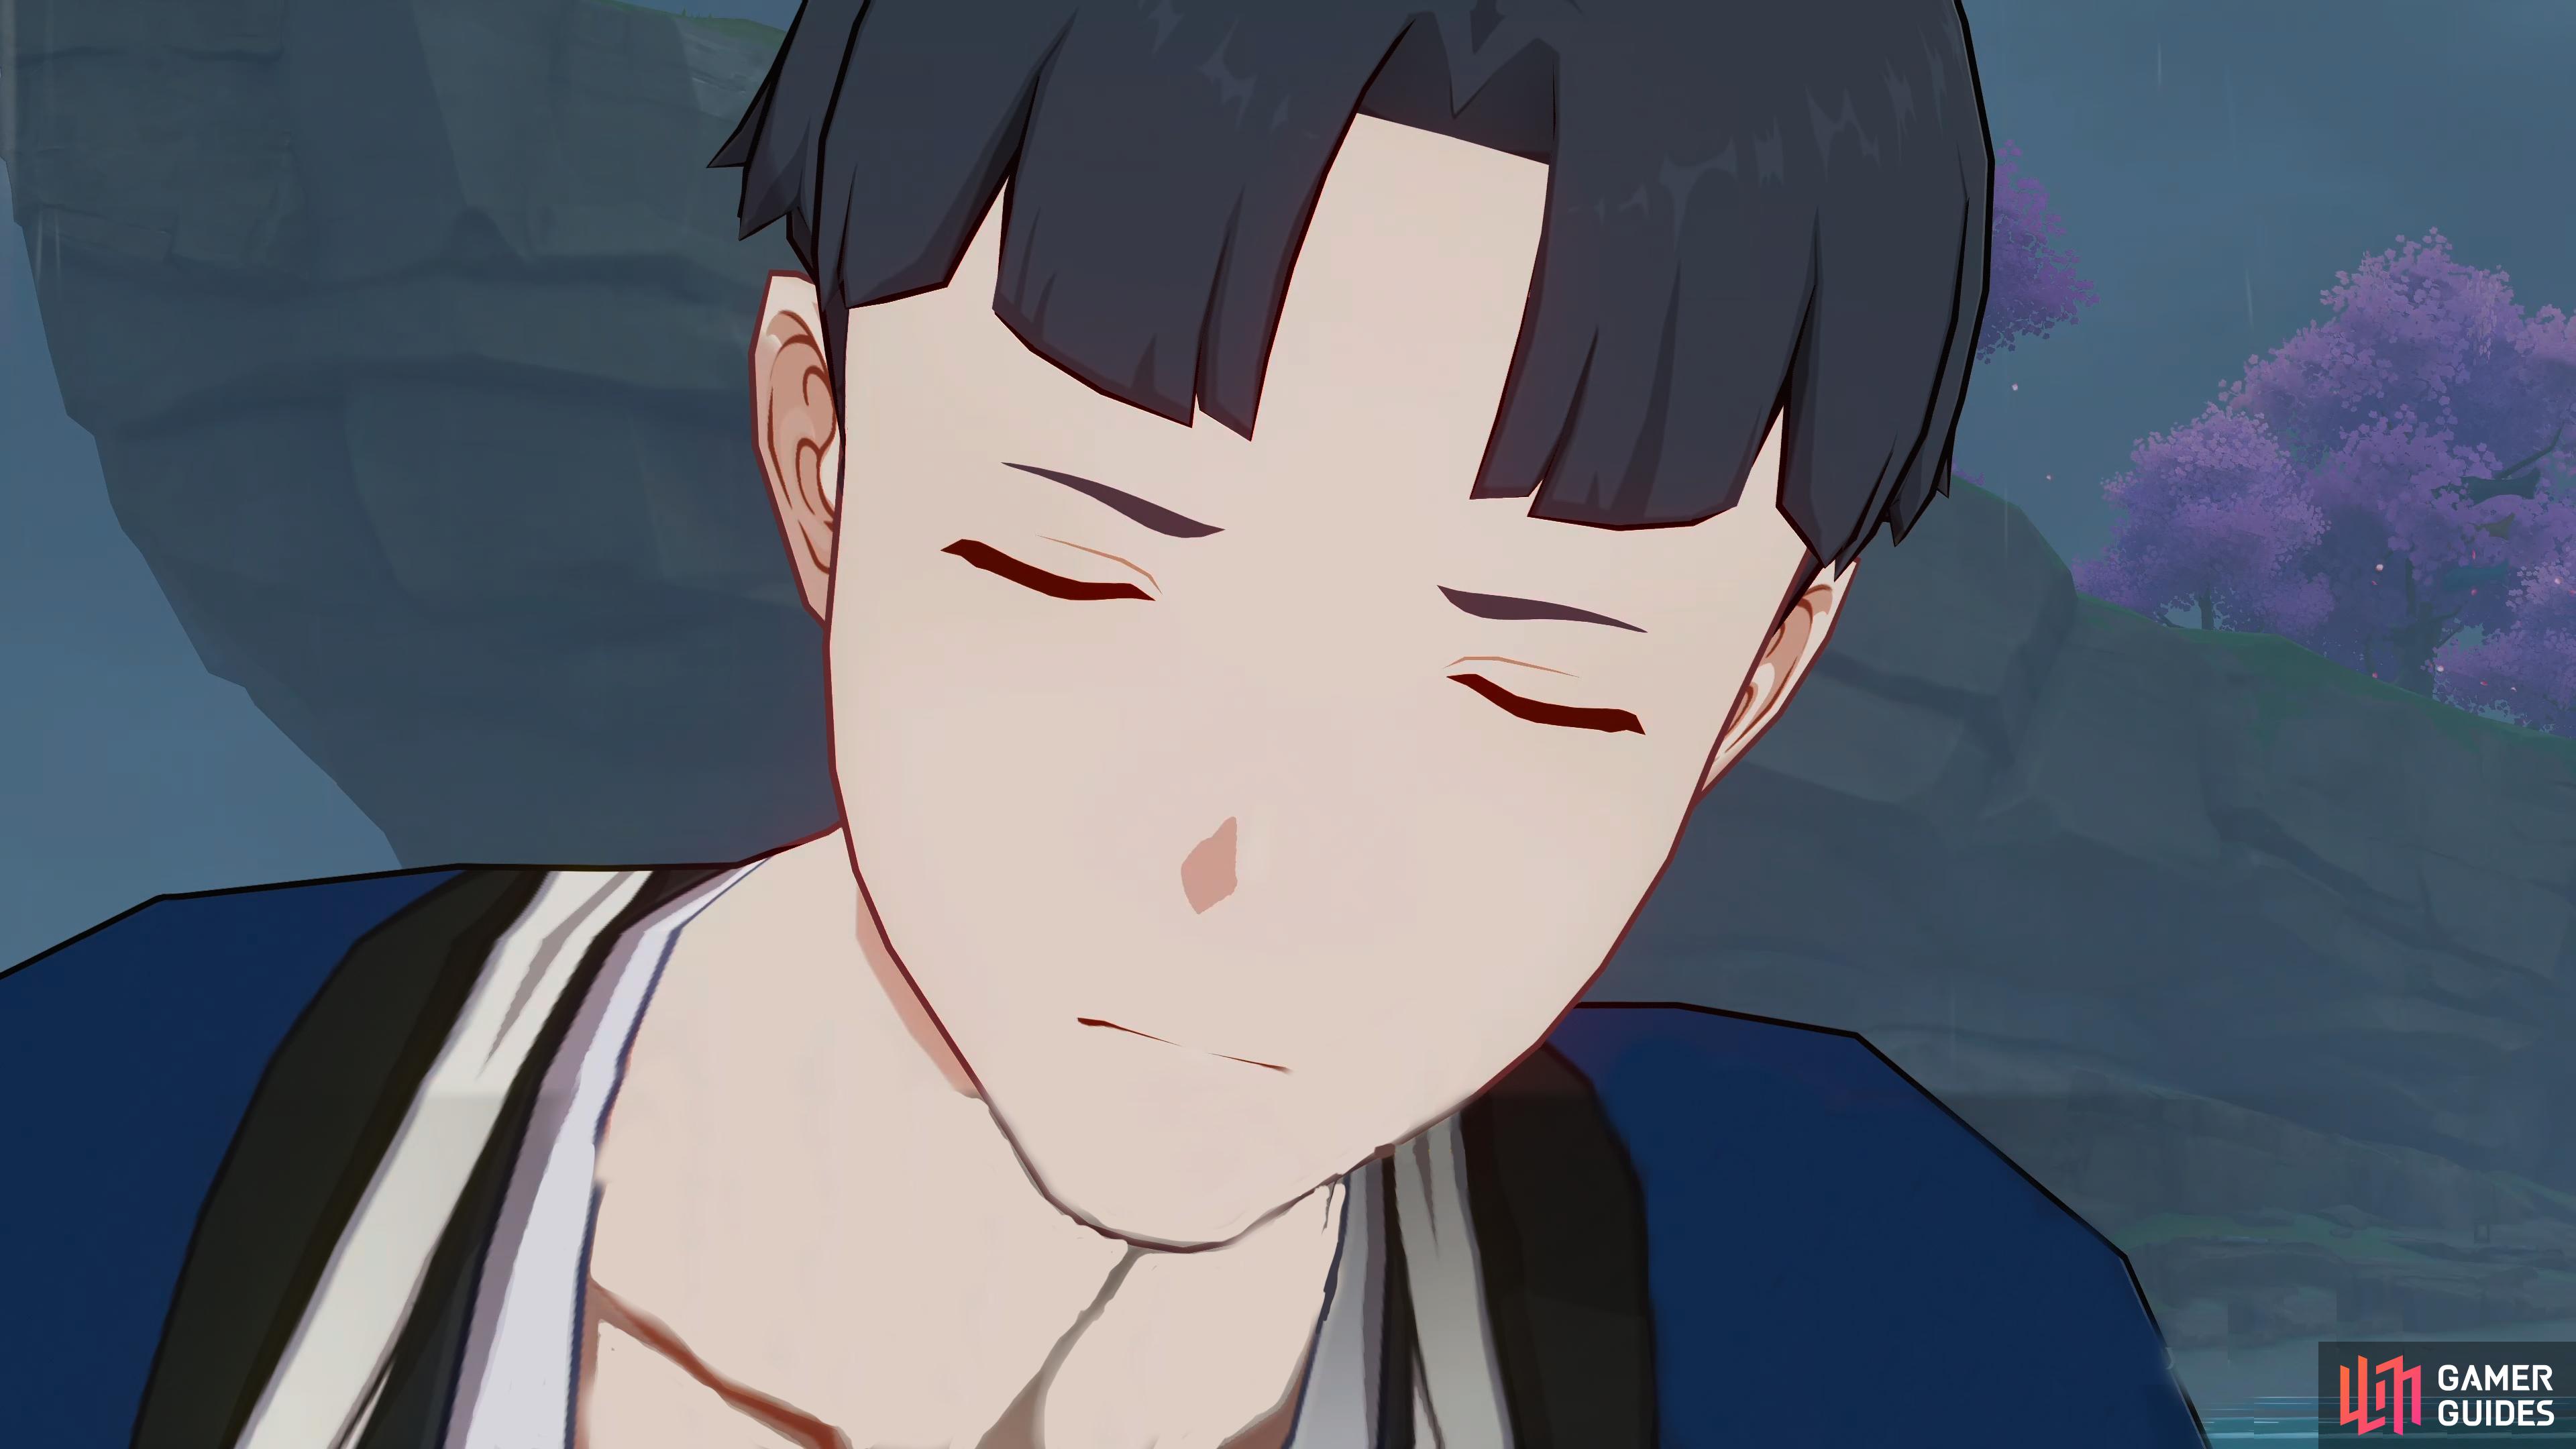
Sakujirou isn’t happy at the thought of leaving Inazuma again.
Head back to Naganohawa’s Fireworks, and head to the north side of the building again, and interact with the window. Yoimiya will tell Sakujirou the good news, but he doesn’t seem to happy about it, because he realizes his time in Inazuma is coming to an end, and Paimon asks why he came back in the first place. He’ll tell you that he hated Inazuma growing up, and couldn’t wait to leave, but as time passed, he realized he was just running from his responsibilities, once he realized this, he got restless thinking about the people and things he left behind.
The reason he came back, was to make it up to the people he left behind, but now it’s too late. After some thinking, Yoimiya remembers that one of her customers, the elderly couple, had a son fairly high up in the Tenryou Commission, and that maybe she could talk to them, and ask if they could talk to their son on her behalf. When the scene ends, so will the quest.
No Comments