
This is a walkthrough for the World Quest, Seirai Stormchasers: Part I which is the first part in the Seirai Stormchasers Questline. Completing this series of quests will unlock the boss: Thunder Manifestation which drops the materials needed to ascend Raiden Shogun.
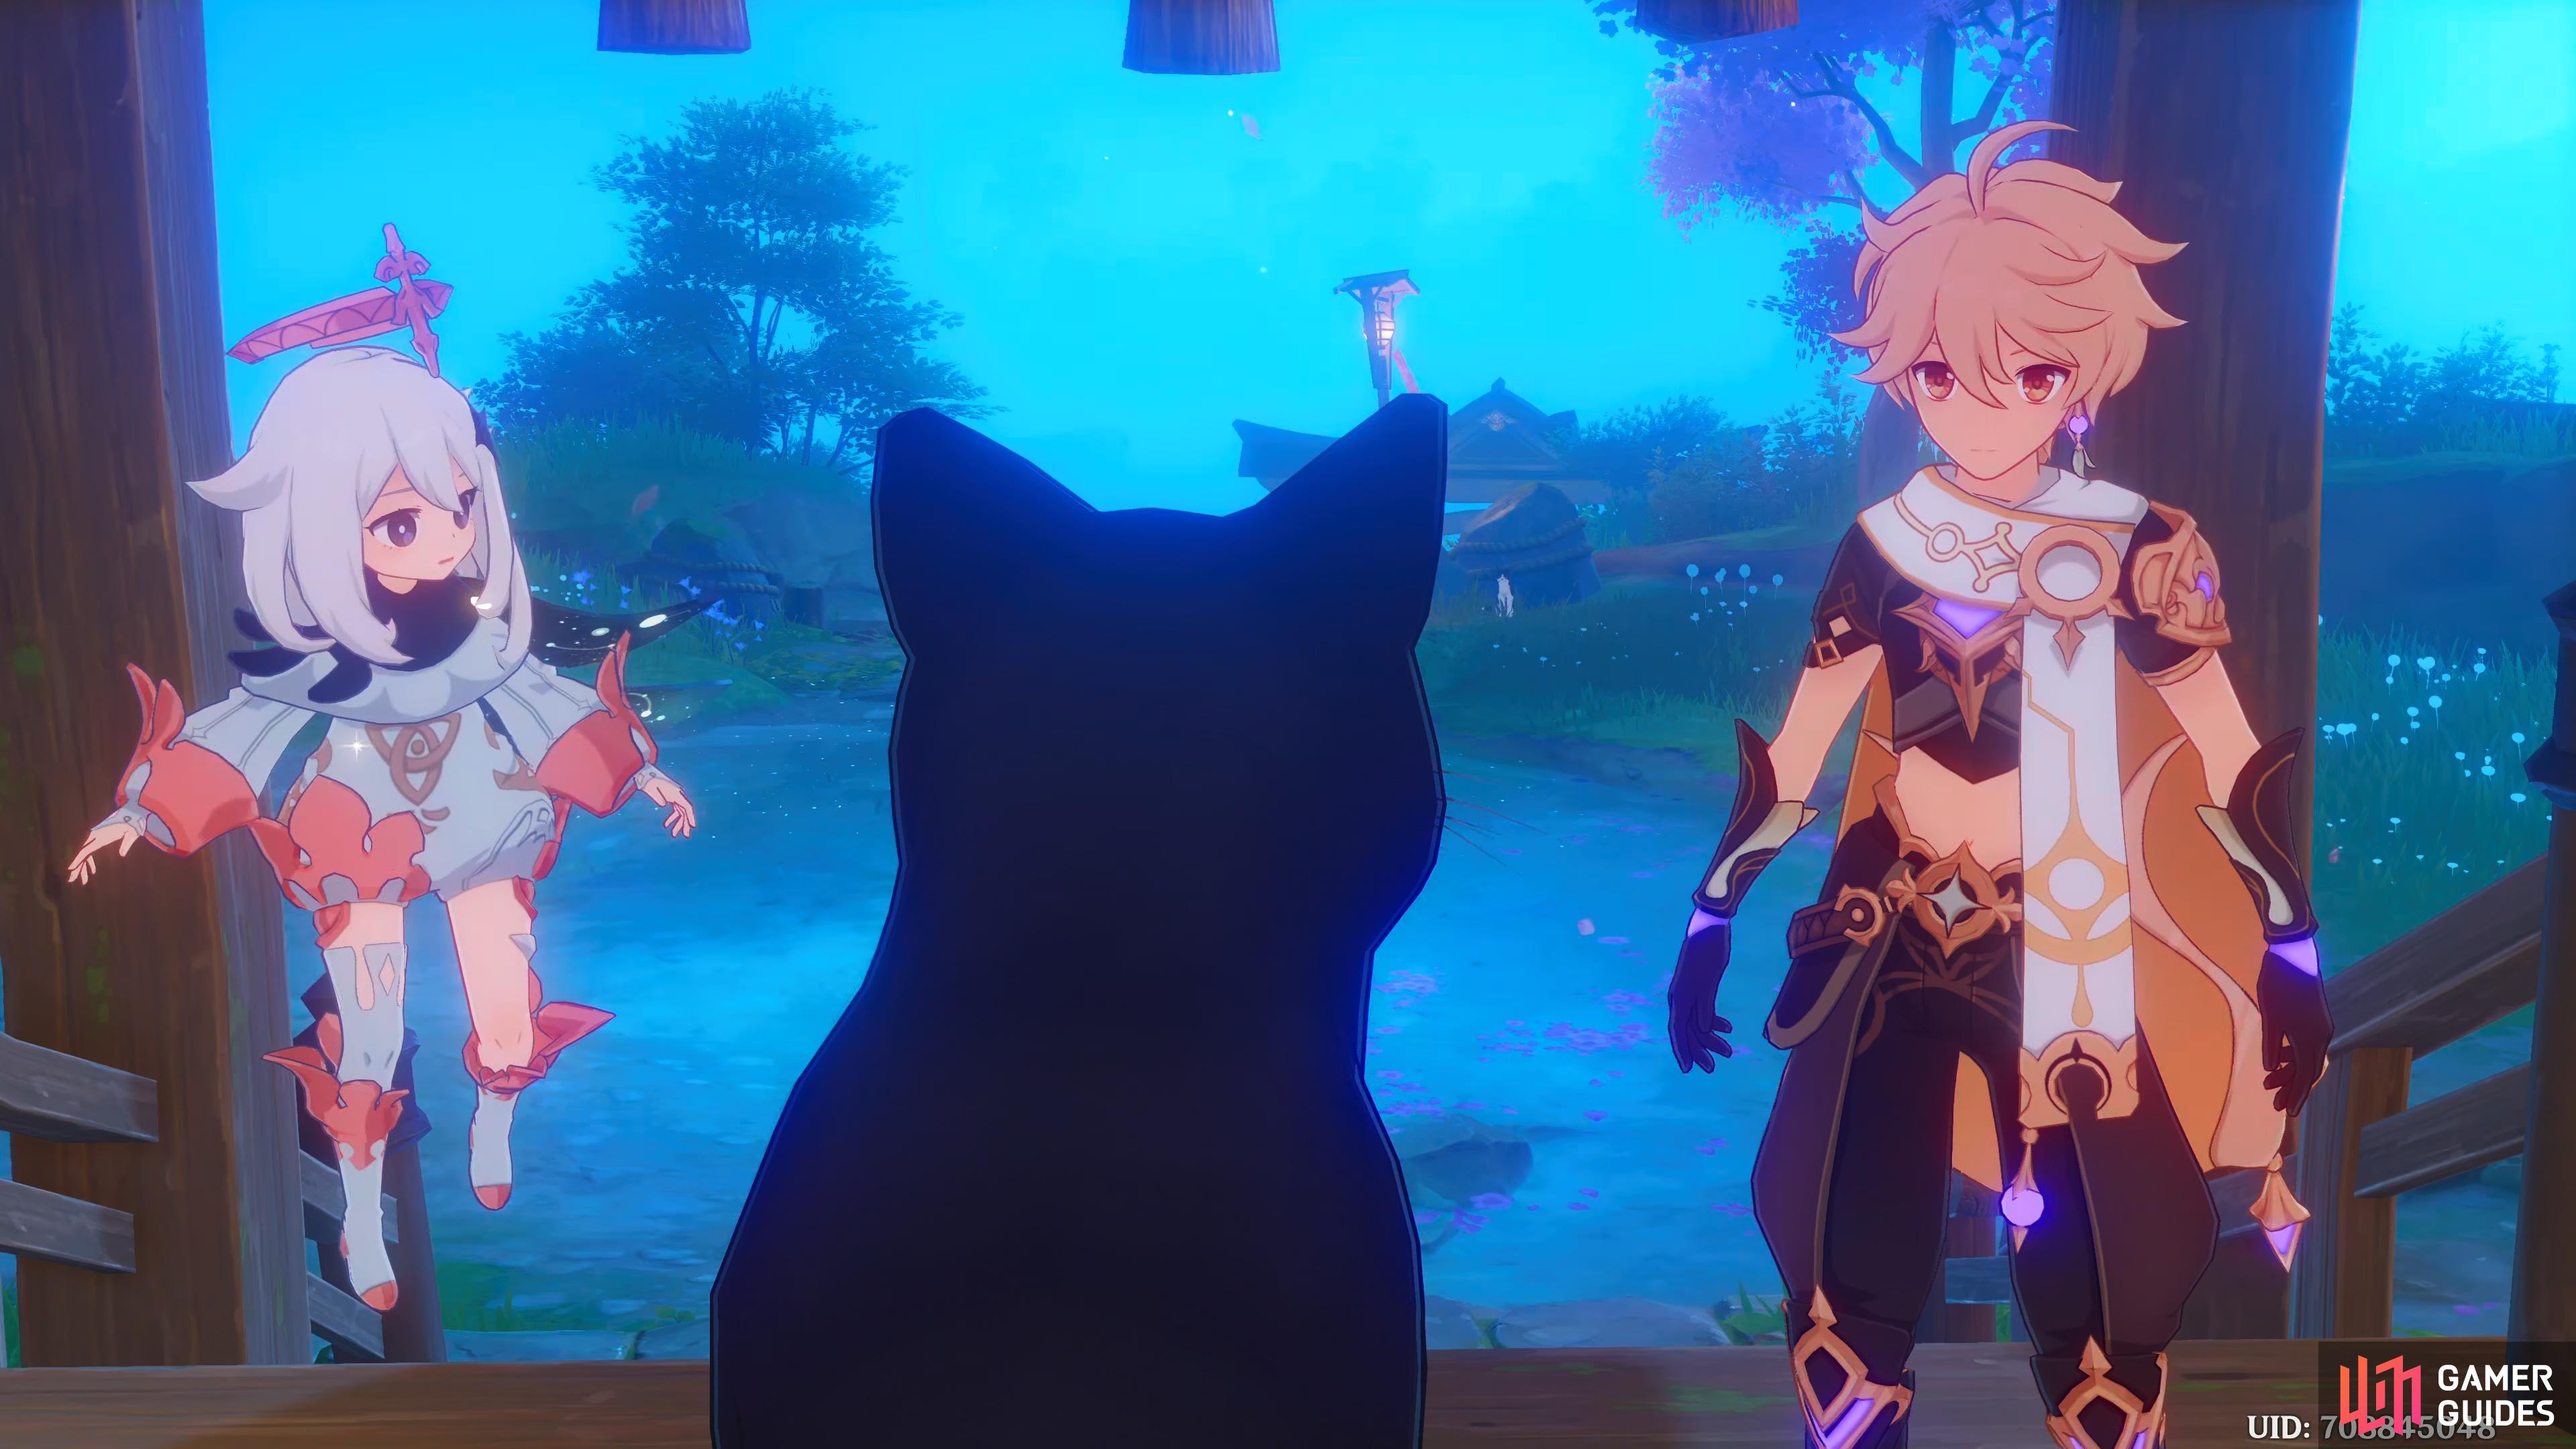
Paimon and the Traveler confused at the talking cat, Neko.
| Adventure Exp | Mora | Other Rewards |
|---|---|---|
 300 300 |
 40 40  4 4 |
Description
You learn from Inazuma’s Katheryne that the Inazuma Adventurers’ Guild has been gathering adventurers to explore Seirai Island recently… After arriving on Seirai Island, you meet two adventurers who are currently investigating something known as a Warding Stone. But following the footprints of a cat, you arrive at a dilapidated shrine, in which sits a cat named “Neko,” who proclaims itself to be the “provisional head priestess of the Asase Shrine.” It says that so long as you are willing to help it out, it will tell you the method to seal the Warding Stones.
Steps
- Go to the Adventurers’ Guild
- Look for the adventurers on Seirai Island
- Go to investigate the Warding Stone
- Follow the cat footprints
- Explore the shrine
- Check on the Offering Box
- Go to the village and look for materials with which to initiate repairs / Defeat all the Treasure Hoarders
- Search for repair materials in the camp (0/3)
- Return to the Asase Shrine and fix the Offering Box / Report back to Neko
- Repair the Warding Stone
Go to the Adventurers’ Guild
To start the quest, head over to Katheryne at the Inazuma Adventurer’s Guild in Inazuma City. She’ll tell you that the guild is looking for adventurer’s to explore Seirai Island. Apparently it can be found south of Narukami Island. Furthermore, two more adventurers have already been sent there, and they go by the names, Miss Eiko, and Mr. Taisuke. Finally, she’ll tell you that if you’re interested in exploring the island, be warned that it’s subject to wild thunderstorms.
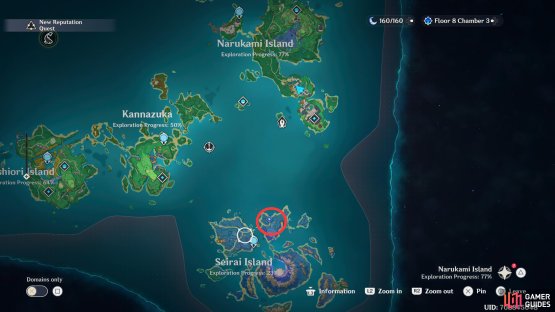

(1 of 2) Teleport to the Statue of the Seven, and head north to find the adventurer.
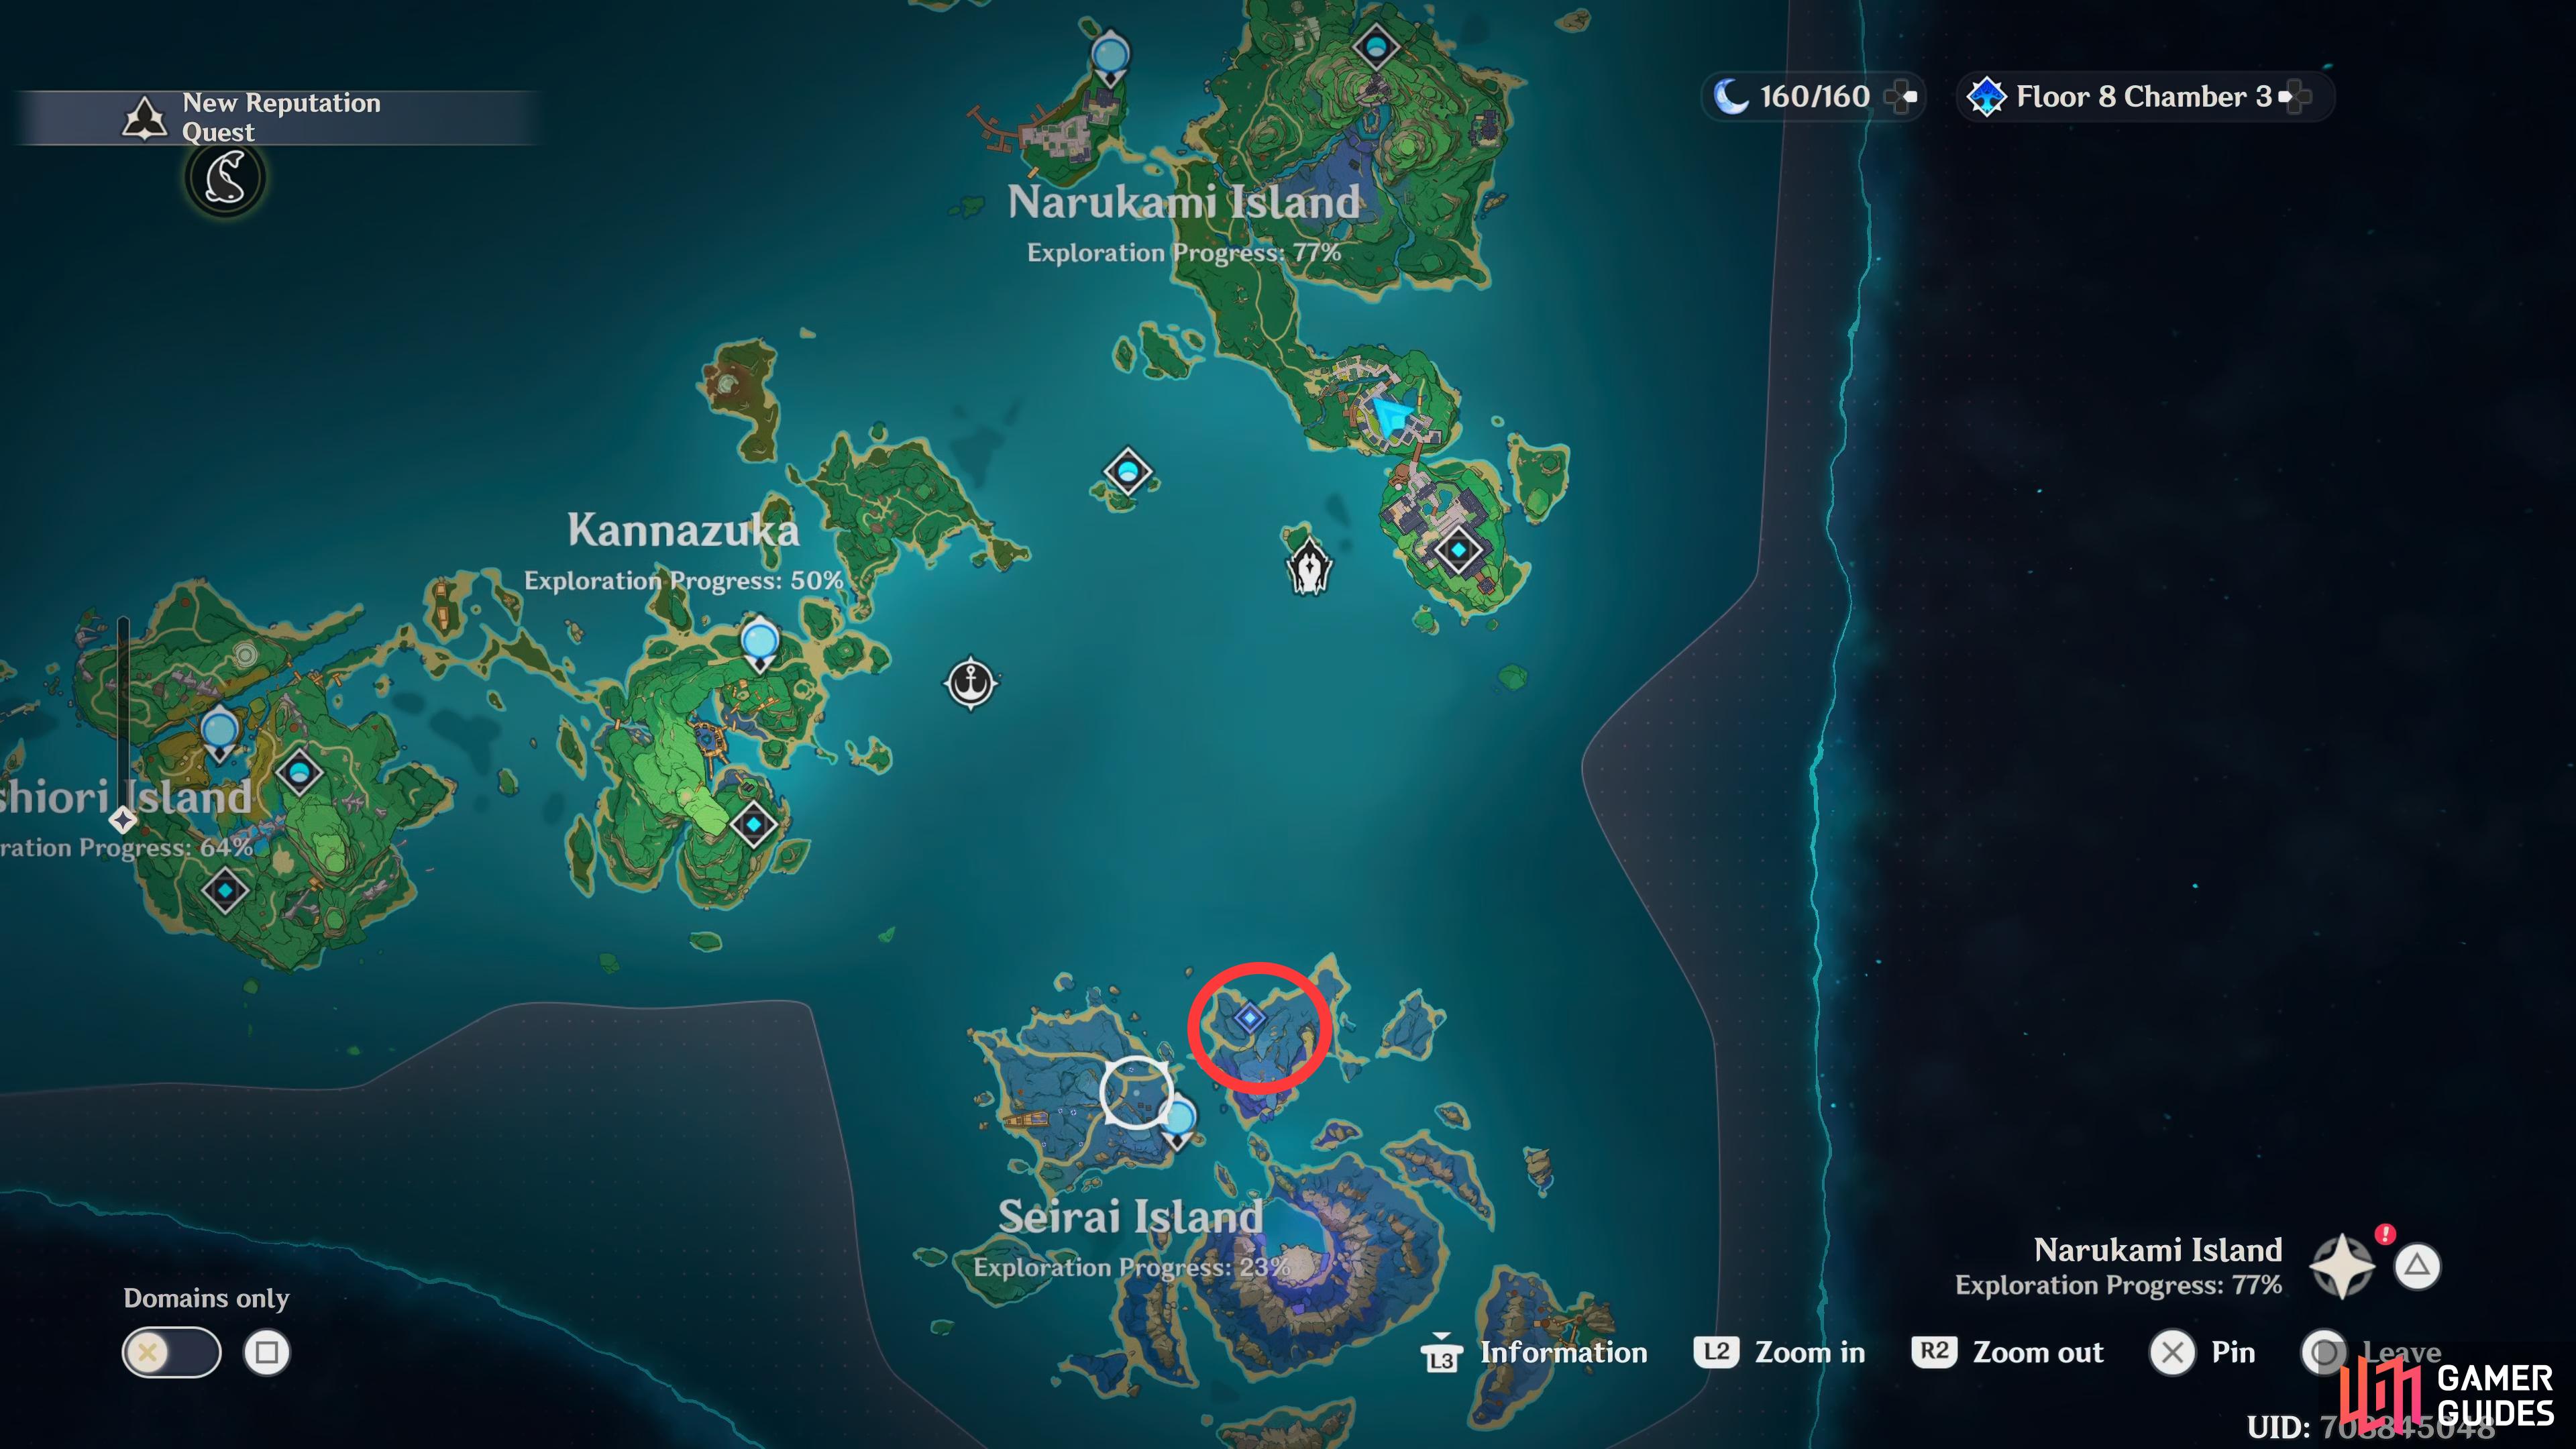
Teleport to the Statue of the Seven, and head north to find the adventurer. (left), Eiko the adventurer can be found on the smaller northern islands in Seirai Island. (right)
Look for the adventurers on Seirai Island
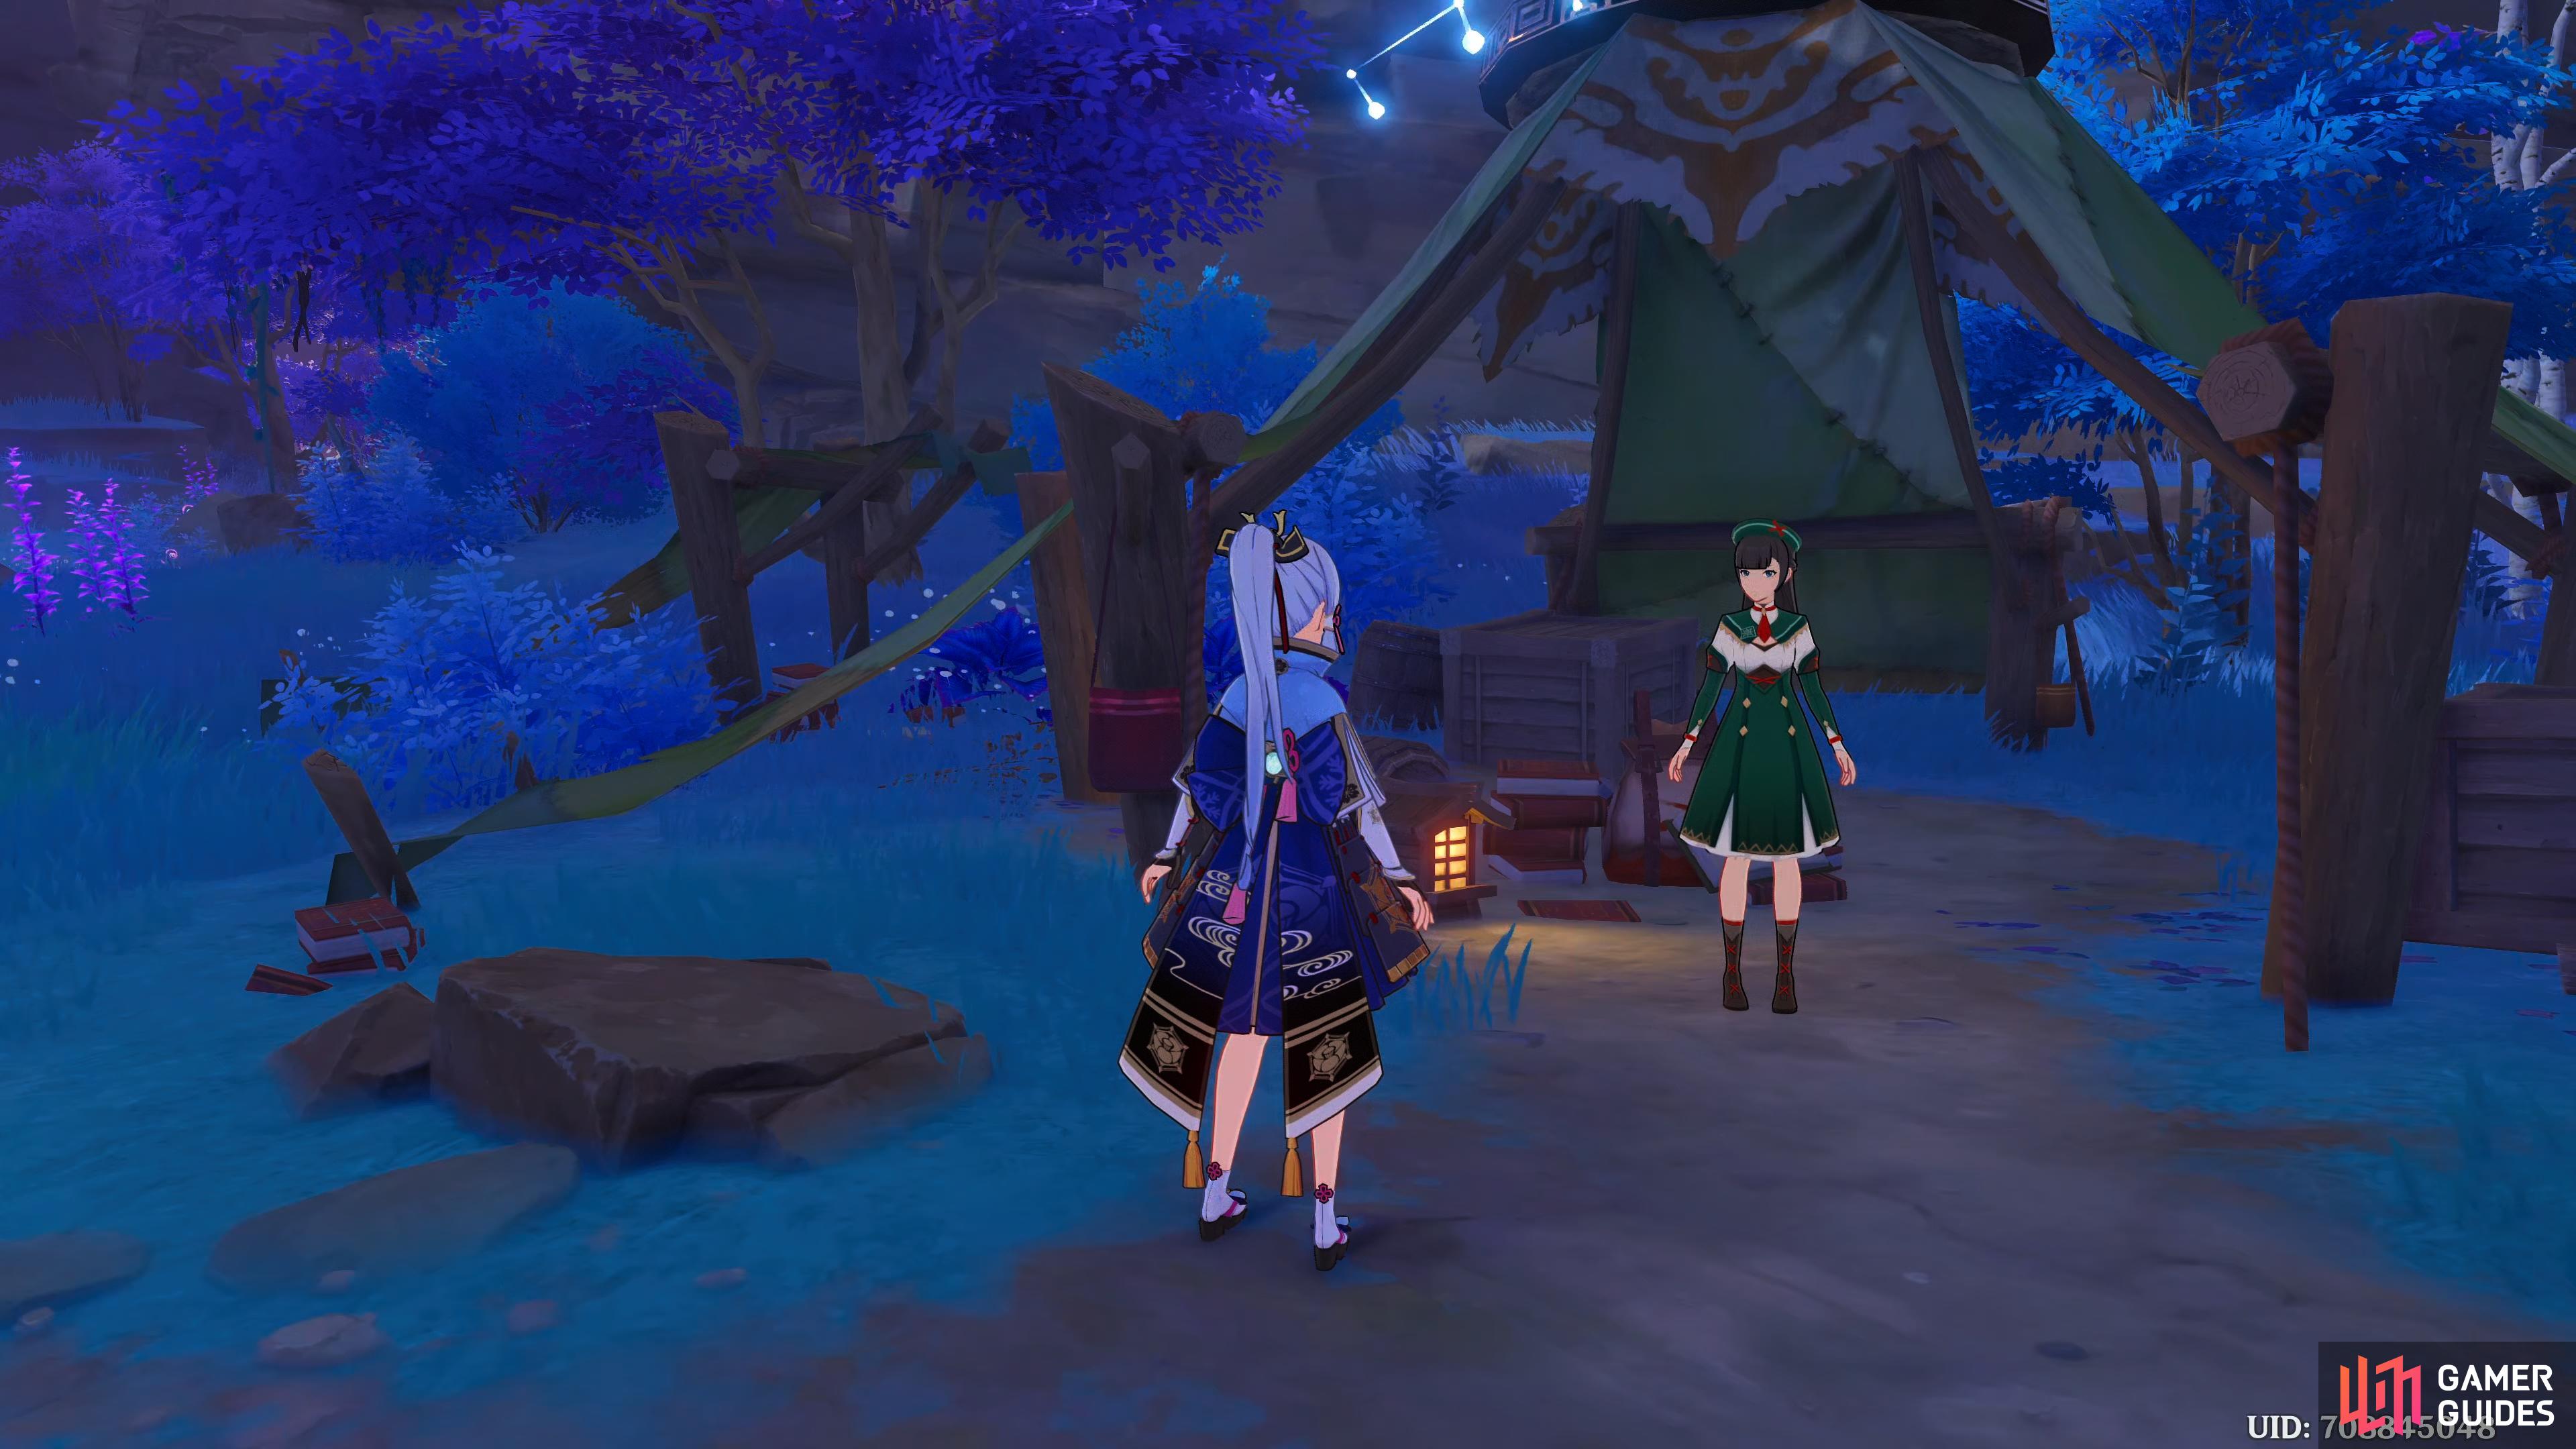
If you’ve been there already, then teleport to the Statue of the Seven in Koseki Village, if not, then use the Waverider waypoint on the small island east of Tatarasuna, and use the boat to go south/southeast to reach Seirai Island. Either way, once you’re at the Statue of the Seven, drop off the ledge, and go across the water, and head northeast. When you get to land, take the path to the east, and follow it to find the adventurer, Eiko.
Talk to her, and she’ll tell you not to wander too close to the center of the island, as that’s where the worst of the storm is. You ask her if there’s any way to solve the issue of the constant storms, and she’ll flat out tell you, no, but her colleague Taisuke read a text about stone structures known as warding stones that can seal certain things, but the only stone structures they’ve found are busted up. You’ll ask her where she found it, and she’ll tell you it’s not far away, and Taisuke is there right now investigating it. She’ll tell you to hold on a moment whilst she gathers her things, and she’ll take you to it.
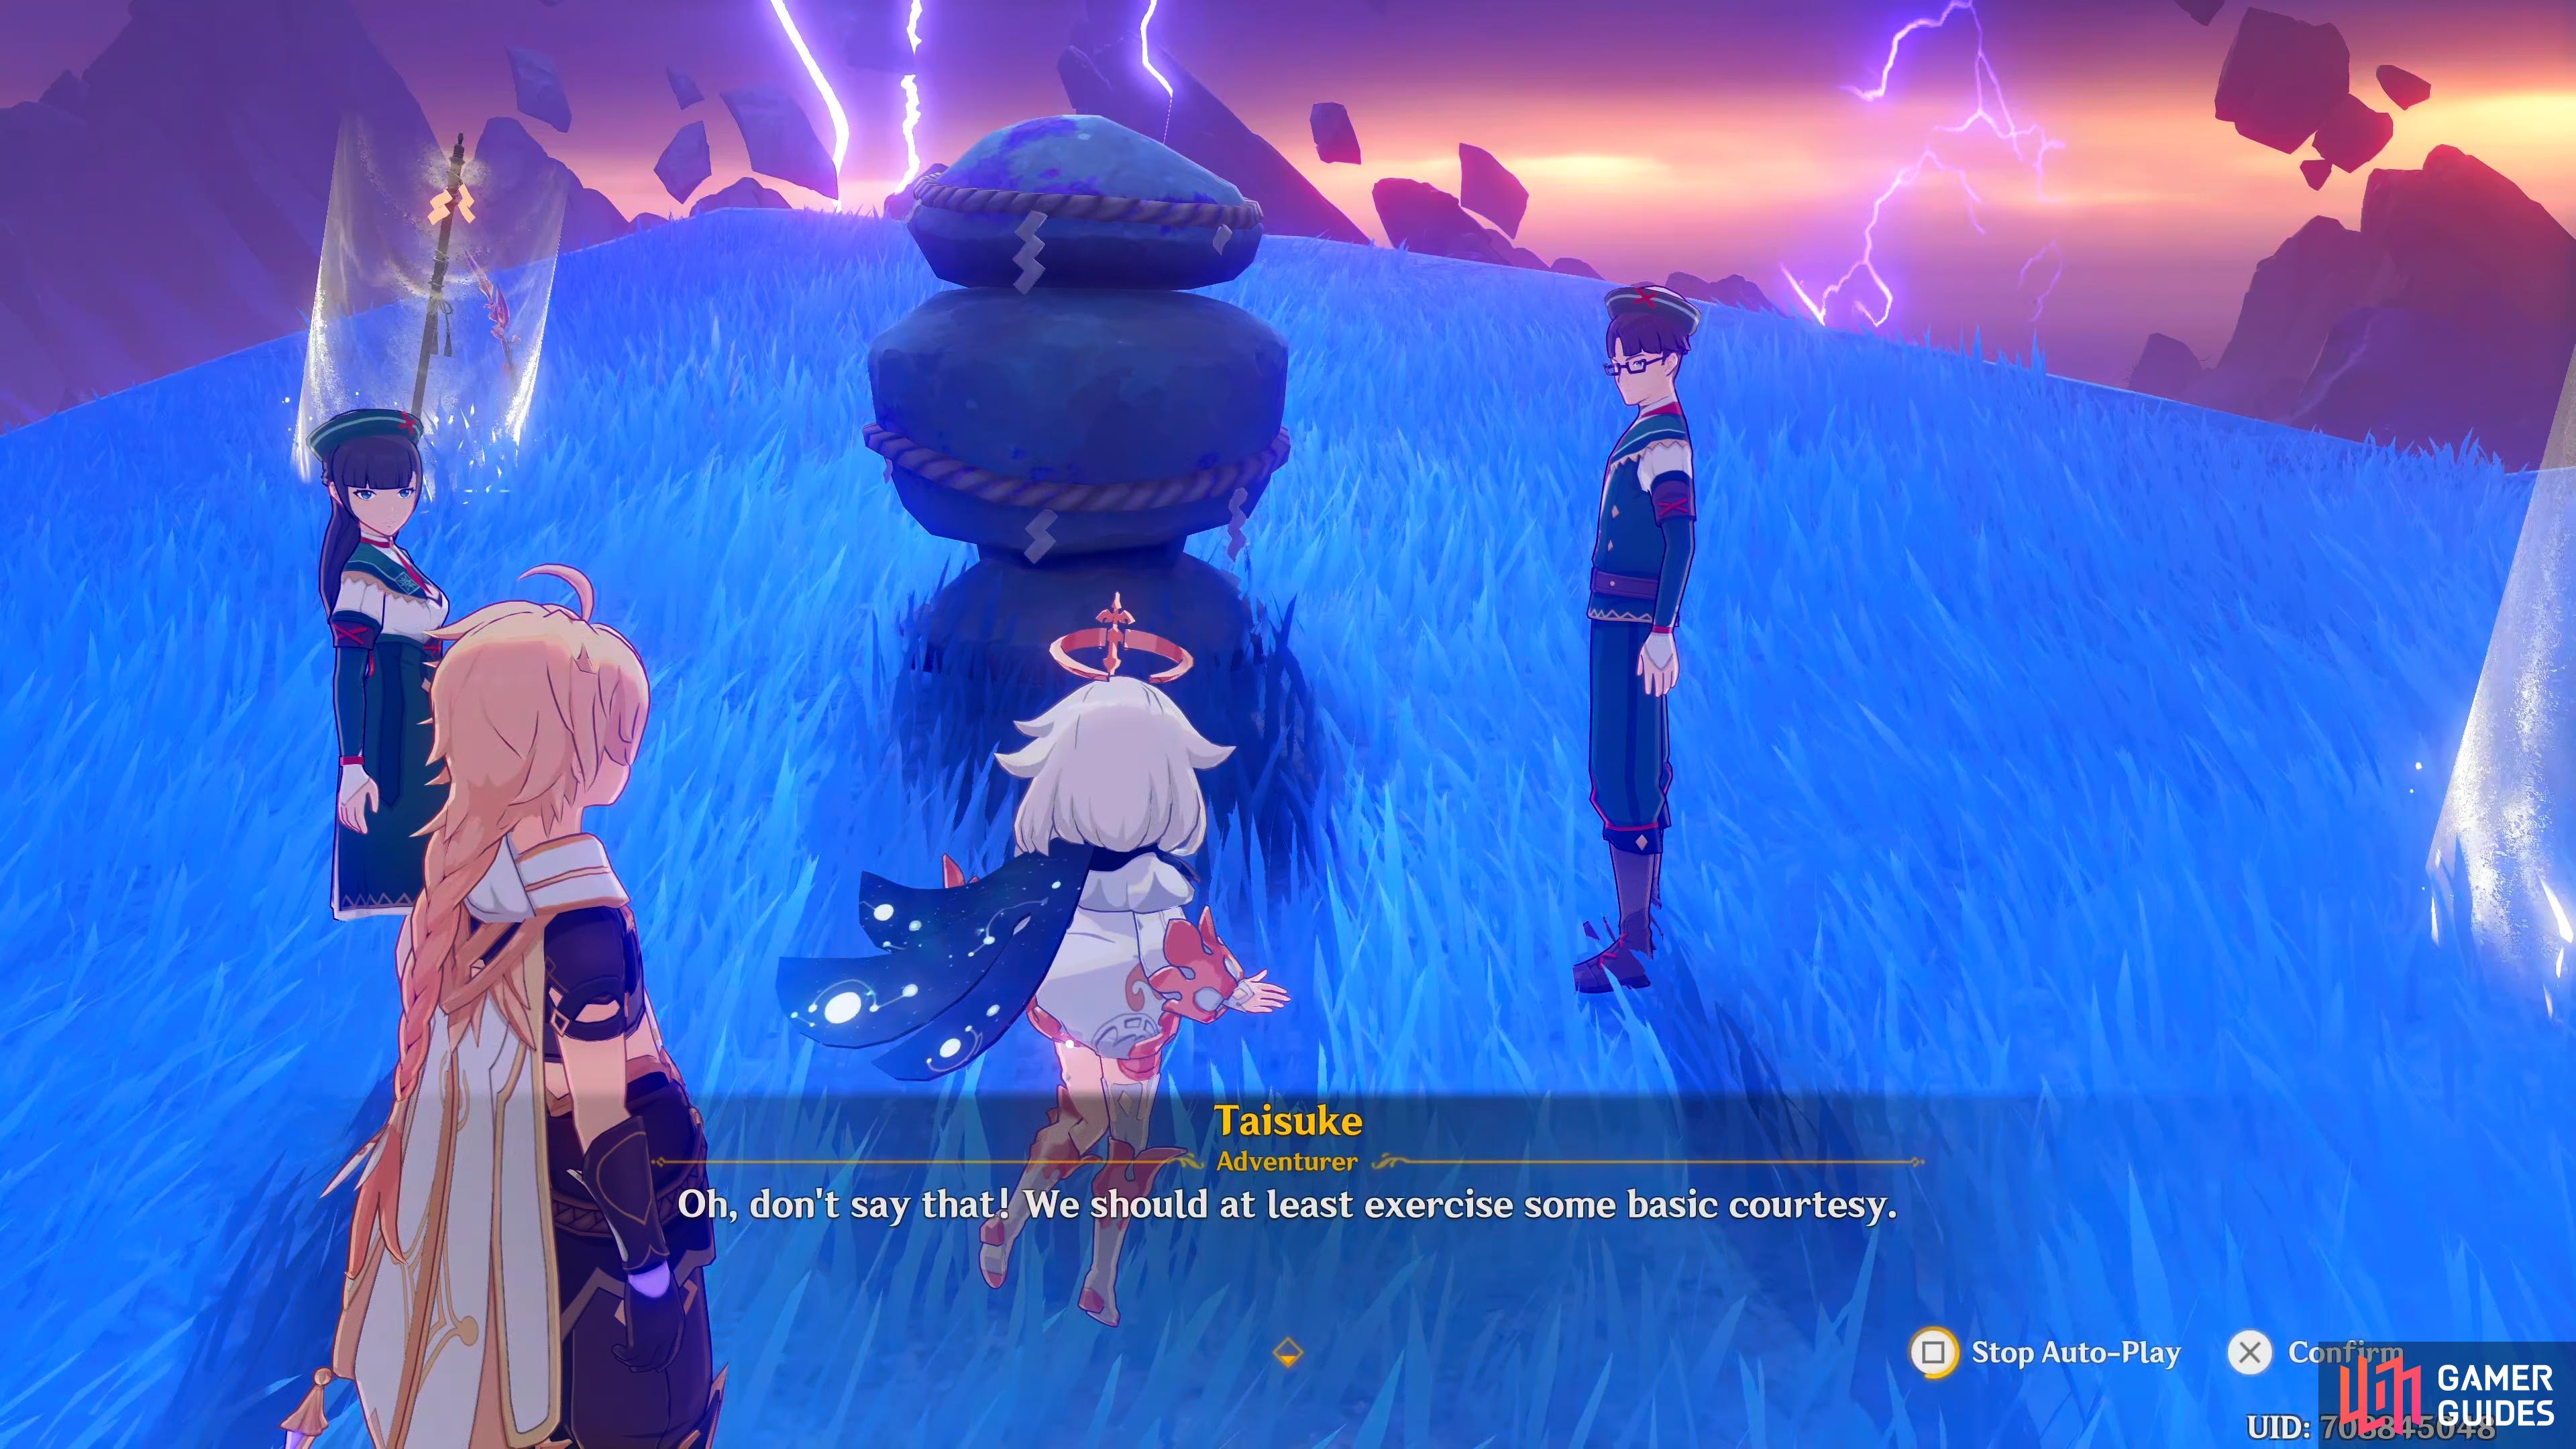
Eiko doesn’t like that Taisuke is wasting time with pointless greetings, which Taisuke disagrees with.
Go to investigate the Warding Stone
When the scene ends, teleport back to the Statue of the Seven in Koseki Village, then drop to the southwest, and follow the path until you reach Taisuke standing next to the warding stone. After a bit of banter between Eiko and Taisuke, she’ll ask him how his studies are going with the warding stone. He’ll tell you that he’s made zero progress other than some tracks leading away from it. Apparently, they are cat tracks according to Taisuke, and Paimon suggests following them to see where they lead.
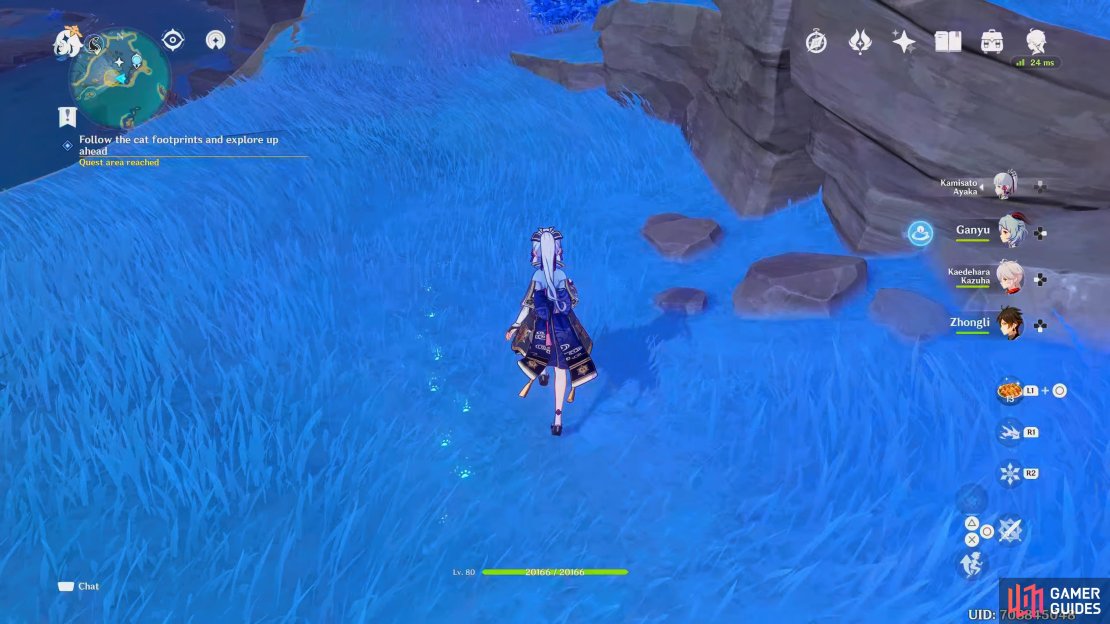
Follow the cat footprints
With the scene ending, you’ll have to follow the paw prints. They can be quite tough to see, so it helps if you have your camera zoomed in a little. Head west towards the dilapidated bridge, go over it, and you’ll notice a couple of cats, head west a bit more, and your objective will move. On the muddy crossroads just behind the cats, you’ll see the paw prints heading towards the west. Follow the path west, then southwest, until you reach an opening with two ginger cats either side. Go through the opening and follow the path southwest until you find another cat, a gray tabby. Go south, across the stream of water, then go up the stairs, this will lead to Asase Shrine.


Explore the shrine
Head forward towards the pool of water, and you’ll get a scene. You’ll walk towards the shrine, and get greeted…by a talking cat called Neko, which will surprise you and Paimon. Apparently, it’s not a talking cat, but the head priestess of the shrine. She tells you that she’ll help you operate the “rocks”, in exchange for you fixing the donation box which is now in tatters. Paimon tells you that you’ll need some materials to fix it, and Neko will mark on your map where you can find some.
Check on the Offering Box
When the scene ends, head west towards the Offering Box, and interact with it, and Paimon will mention the state of it, and suggest heading to the village for materials to fix it.


(1 of 2) As you approach the village, a group of Treasure Hoarders will appear
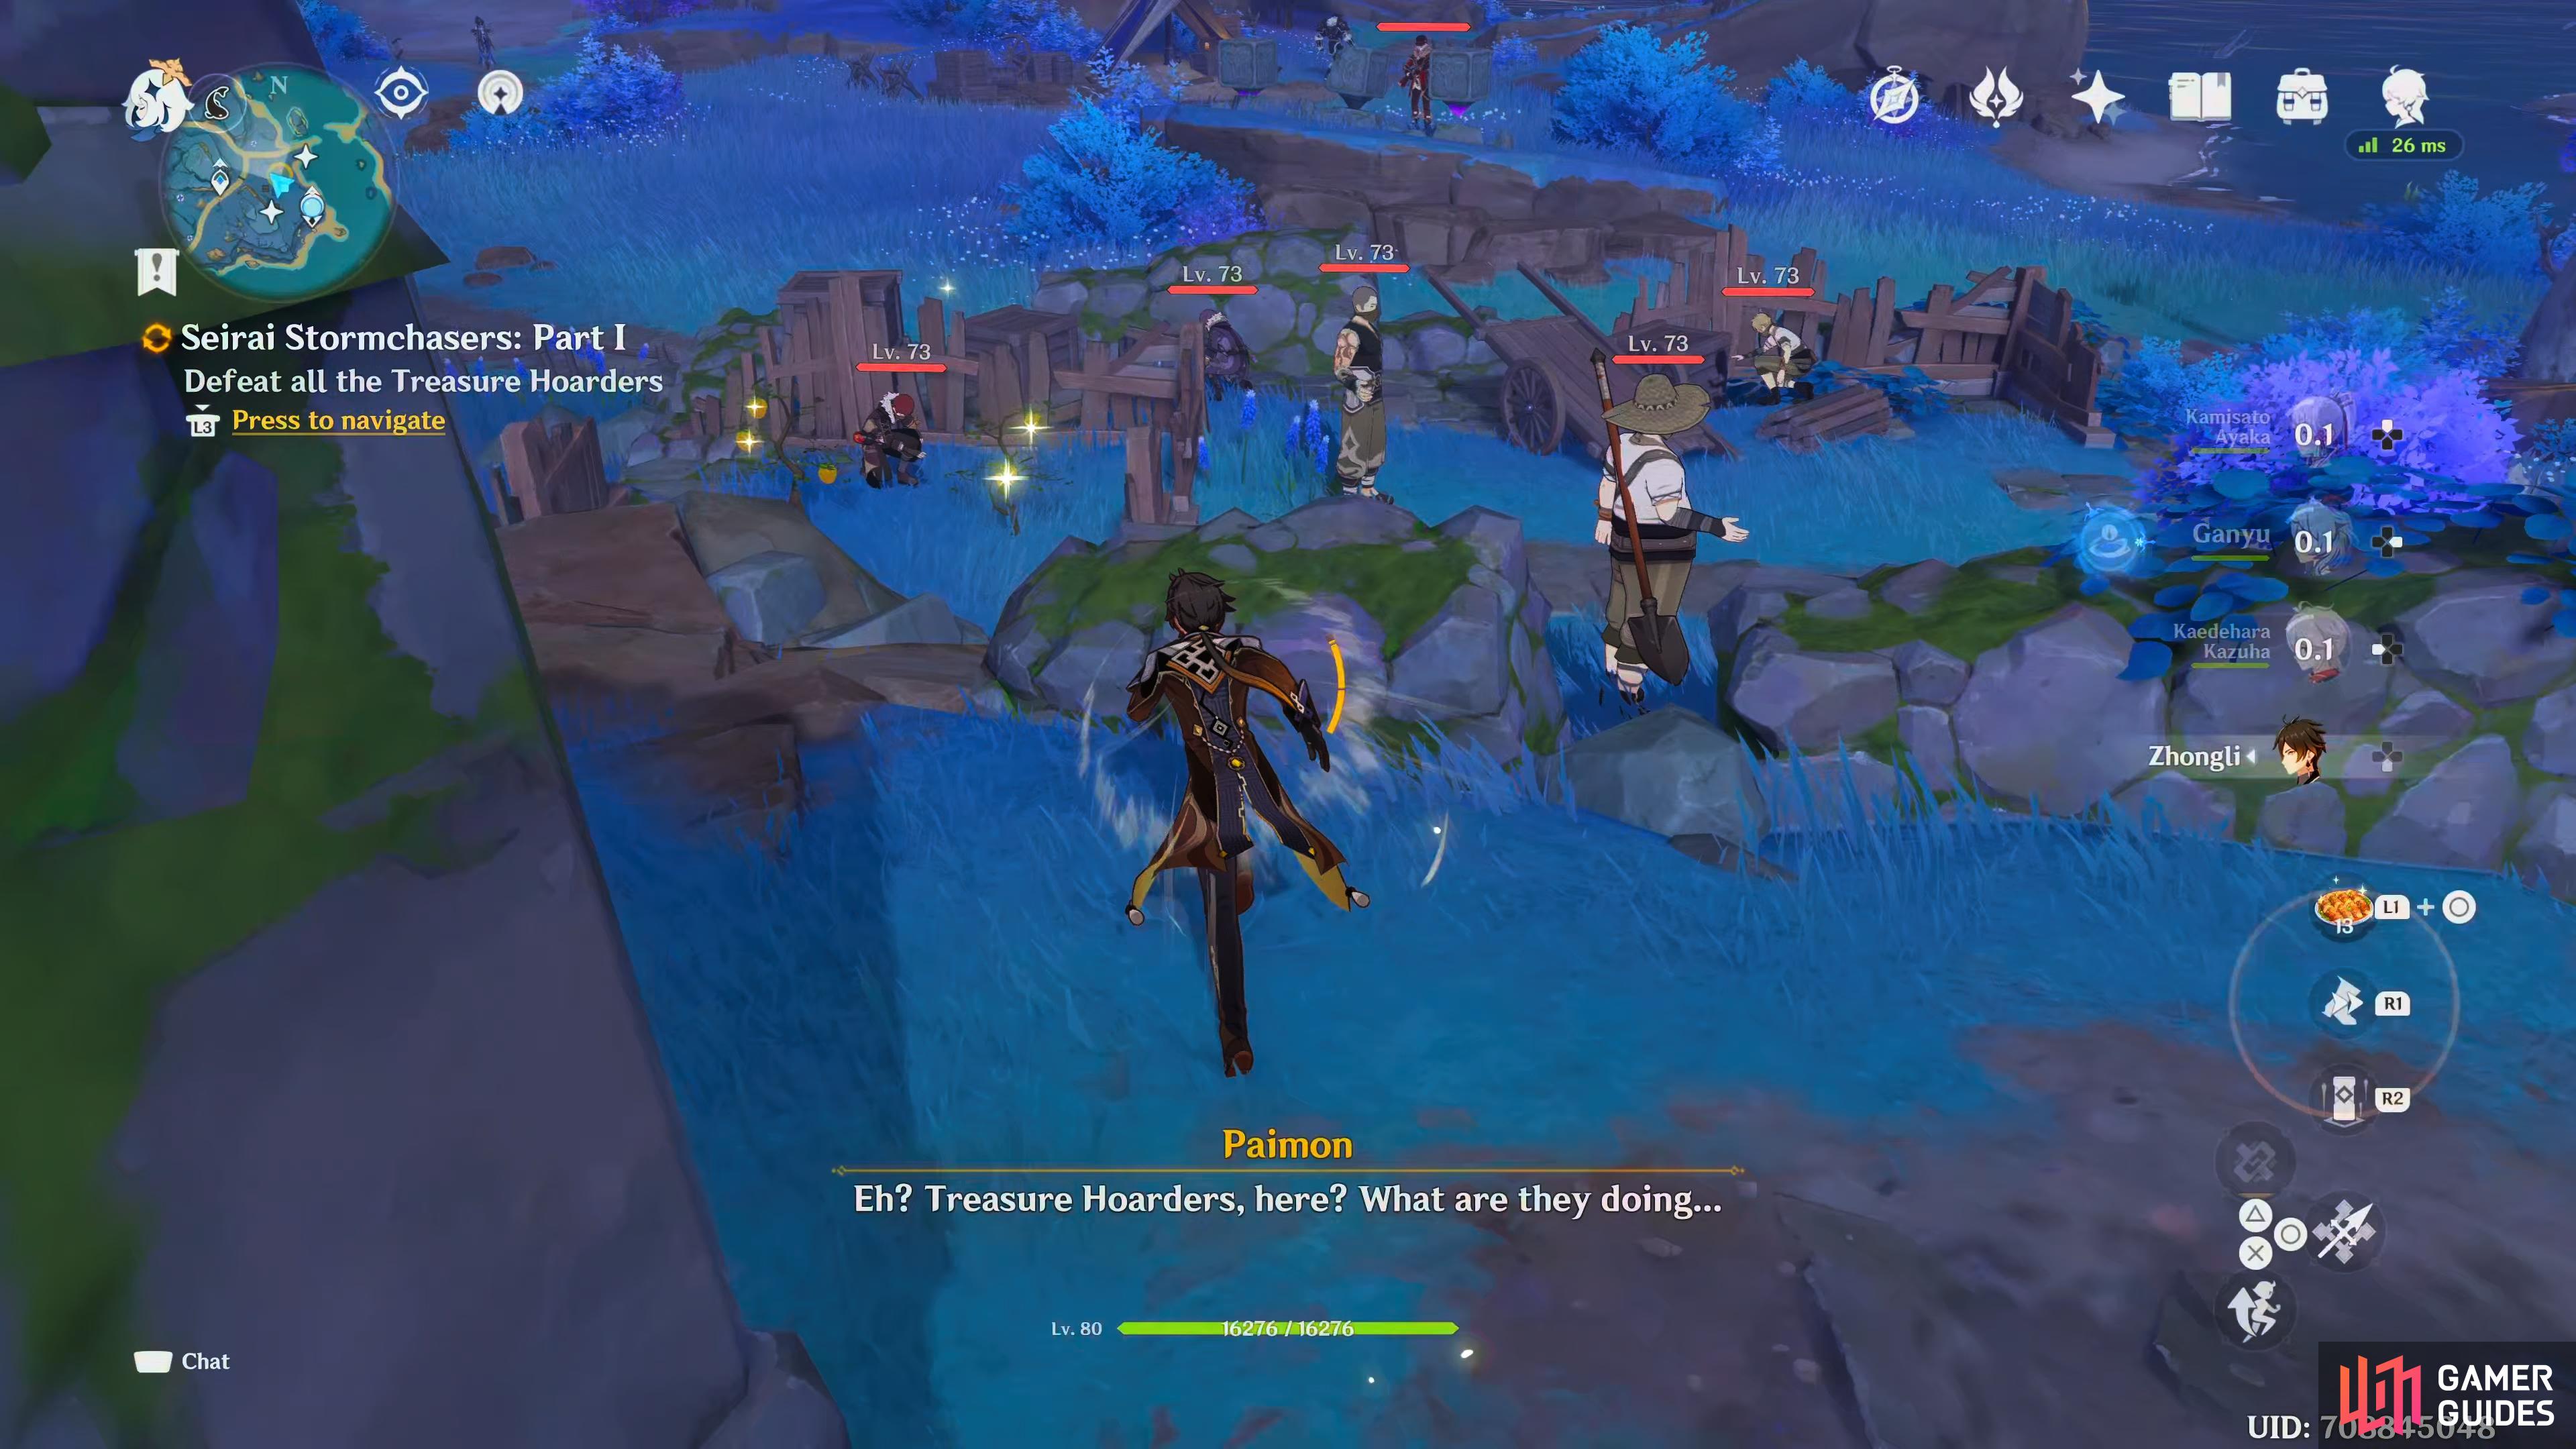

As you approach the village, a group of Treasure Hoarders will appear (left), take them out with area of effect abilities for efficiency. (right)
Go to the village and look for materials with which to initiate repairs / Defeat all the Treasure Hoarders
Once again, teleport back to the Statue of the Seven in Koseki Village, but this time, head northwest. As you approach the objective, a group of Treasure Hoarders will spawn. There’s about five of them, but by now, you should have no problems dispatching them, just use some area of effect skills, and they’ll go down in no time. After they’re defeated, the Treasure Hoarders will yield, and they’ll tell you that they were told of riches on Seirai Island which is what they were looking for, but everything is ruined. You’ll ask them if they found any wood, and nails, and they tell you that they have, and it’s back at their camp.
Search for repair materials in the camp (0/3)
The camp can be found on the far east of the island, near Fort Hiraumi. Make your way there by following the dusty paths east, or by teleporting to the nearest waypoint, and going east. When you arrive, naturally there’ll be Treasure Hoarders guarding the place. Take them out the same way you took out the last group, then pick up the Box of Nails, Planks, and Rope, which can be found in the crates around the hut.
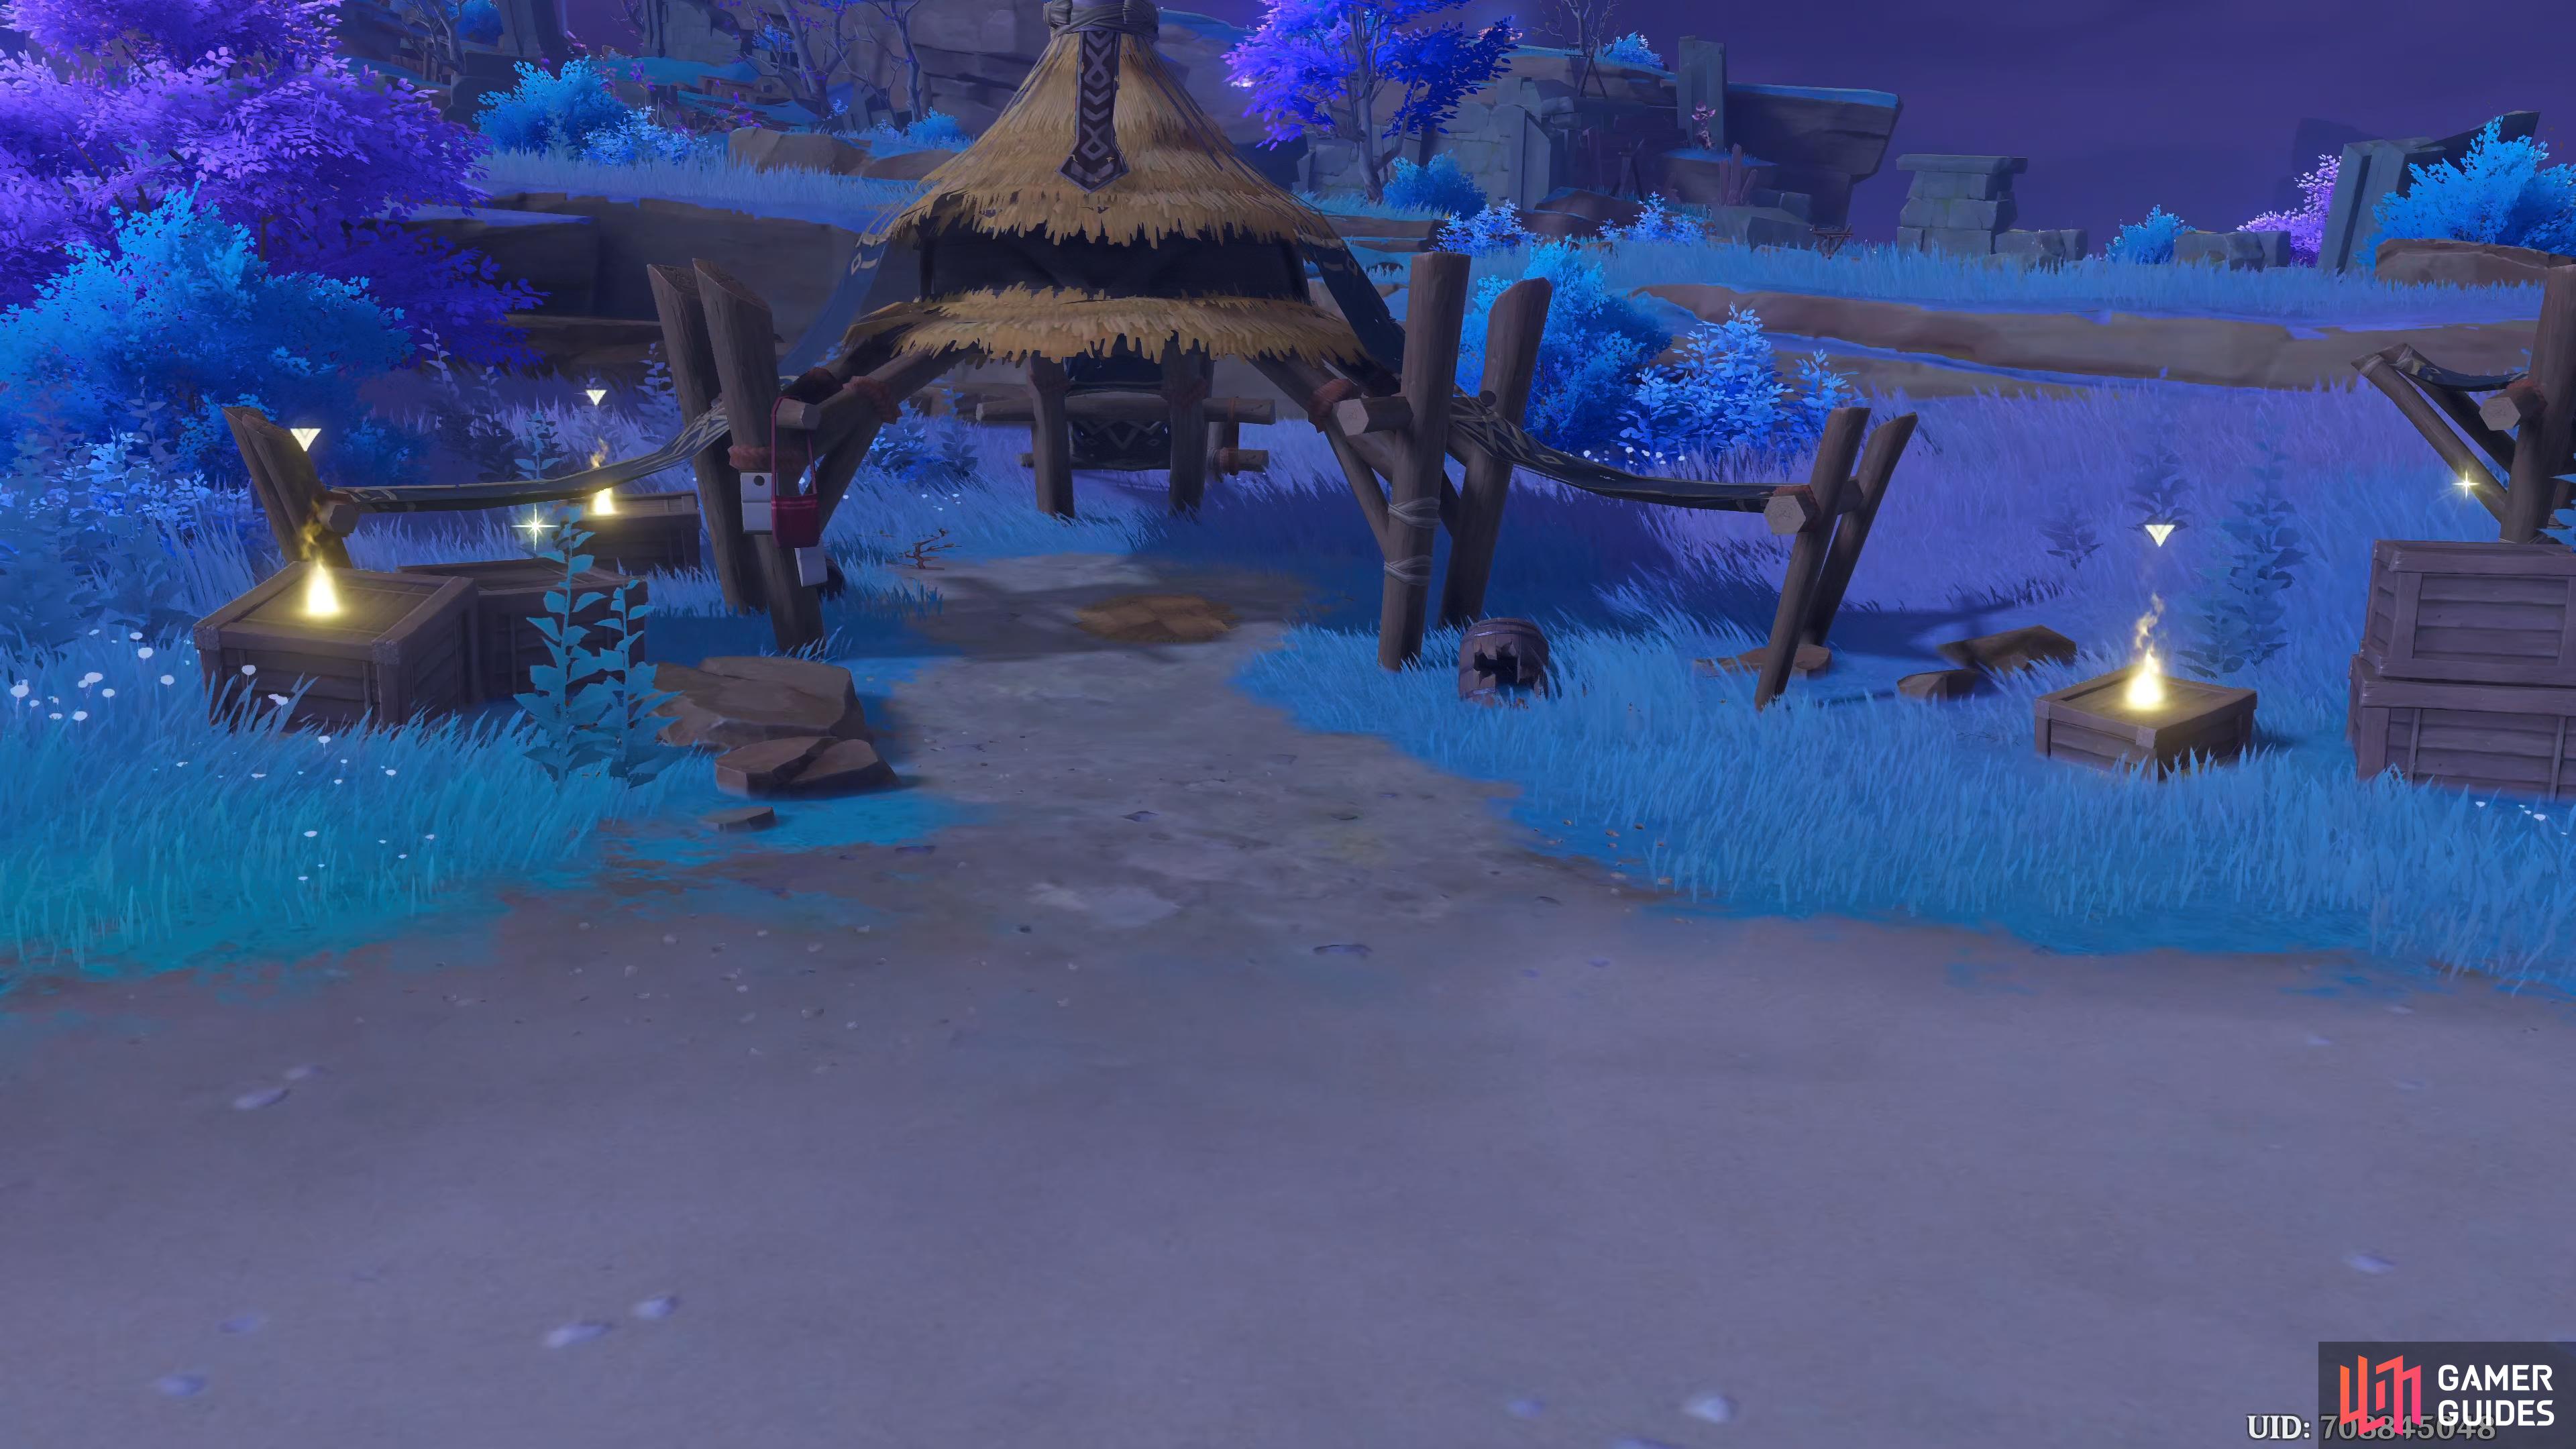
All three of the materials you need are hidden in the crates around the hut.
Return to the Asase Shrine and fix the Offering Box / Report back to Neko
Teleport back to the Asase Shrine, then head over to the Offering Box to repair it. With the Offering Box back in good condition, head back to your feline friend, and tell her the good news. She’ll thank you for your efforts, and explain what the warding stones were for. Apparently there are four warding stones, and they were to seal away a bird of most prodigious size. She’ll then go on to tell you how to operate the stones. Basically, the paper on the sticks need to align with the paper on the rock.
Repair the Warding Stone
For the last time, teleport back to the Statue of the Seven in Koseki Village, and head back to the warding stone. As you approach it, you’ll get a short scene with Eiko, and Taisuke. You tell them of your experiences, and how to operate the stones. Eiko questions the fact that if you’re operating the stones to “seal”, someone must’ve unsealed them in the first place.
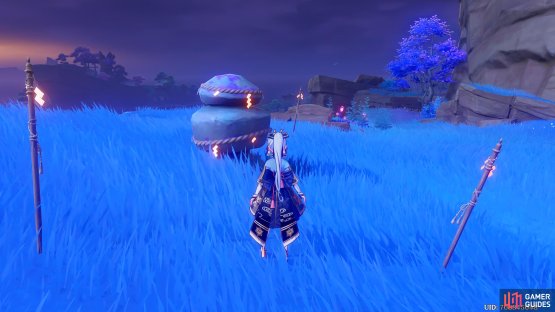

(1 of 2) Rotate the top part of the stone once
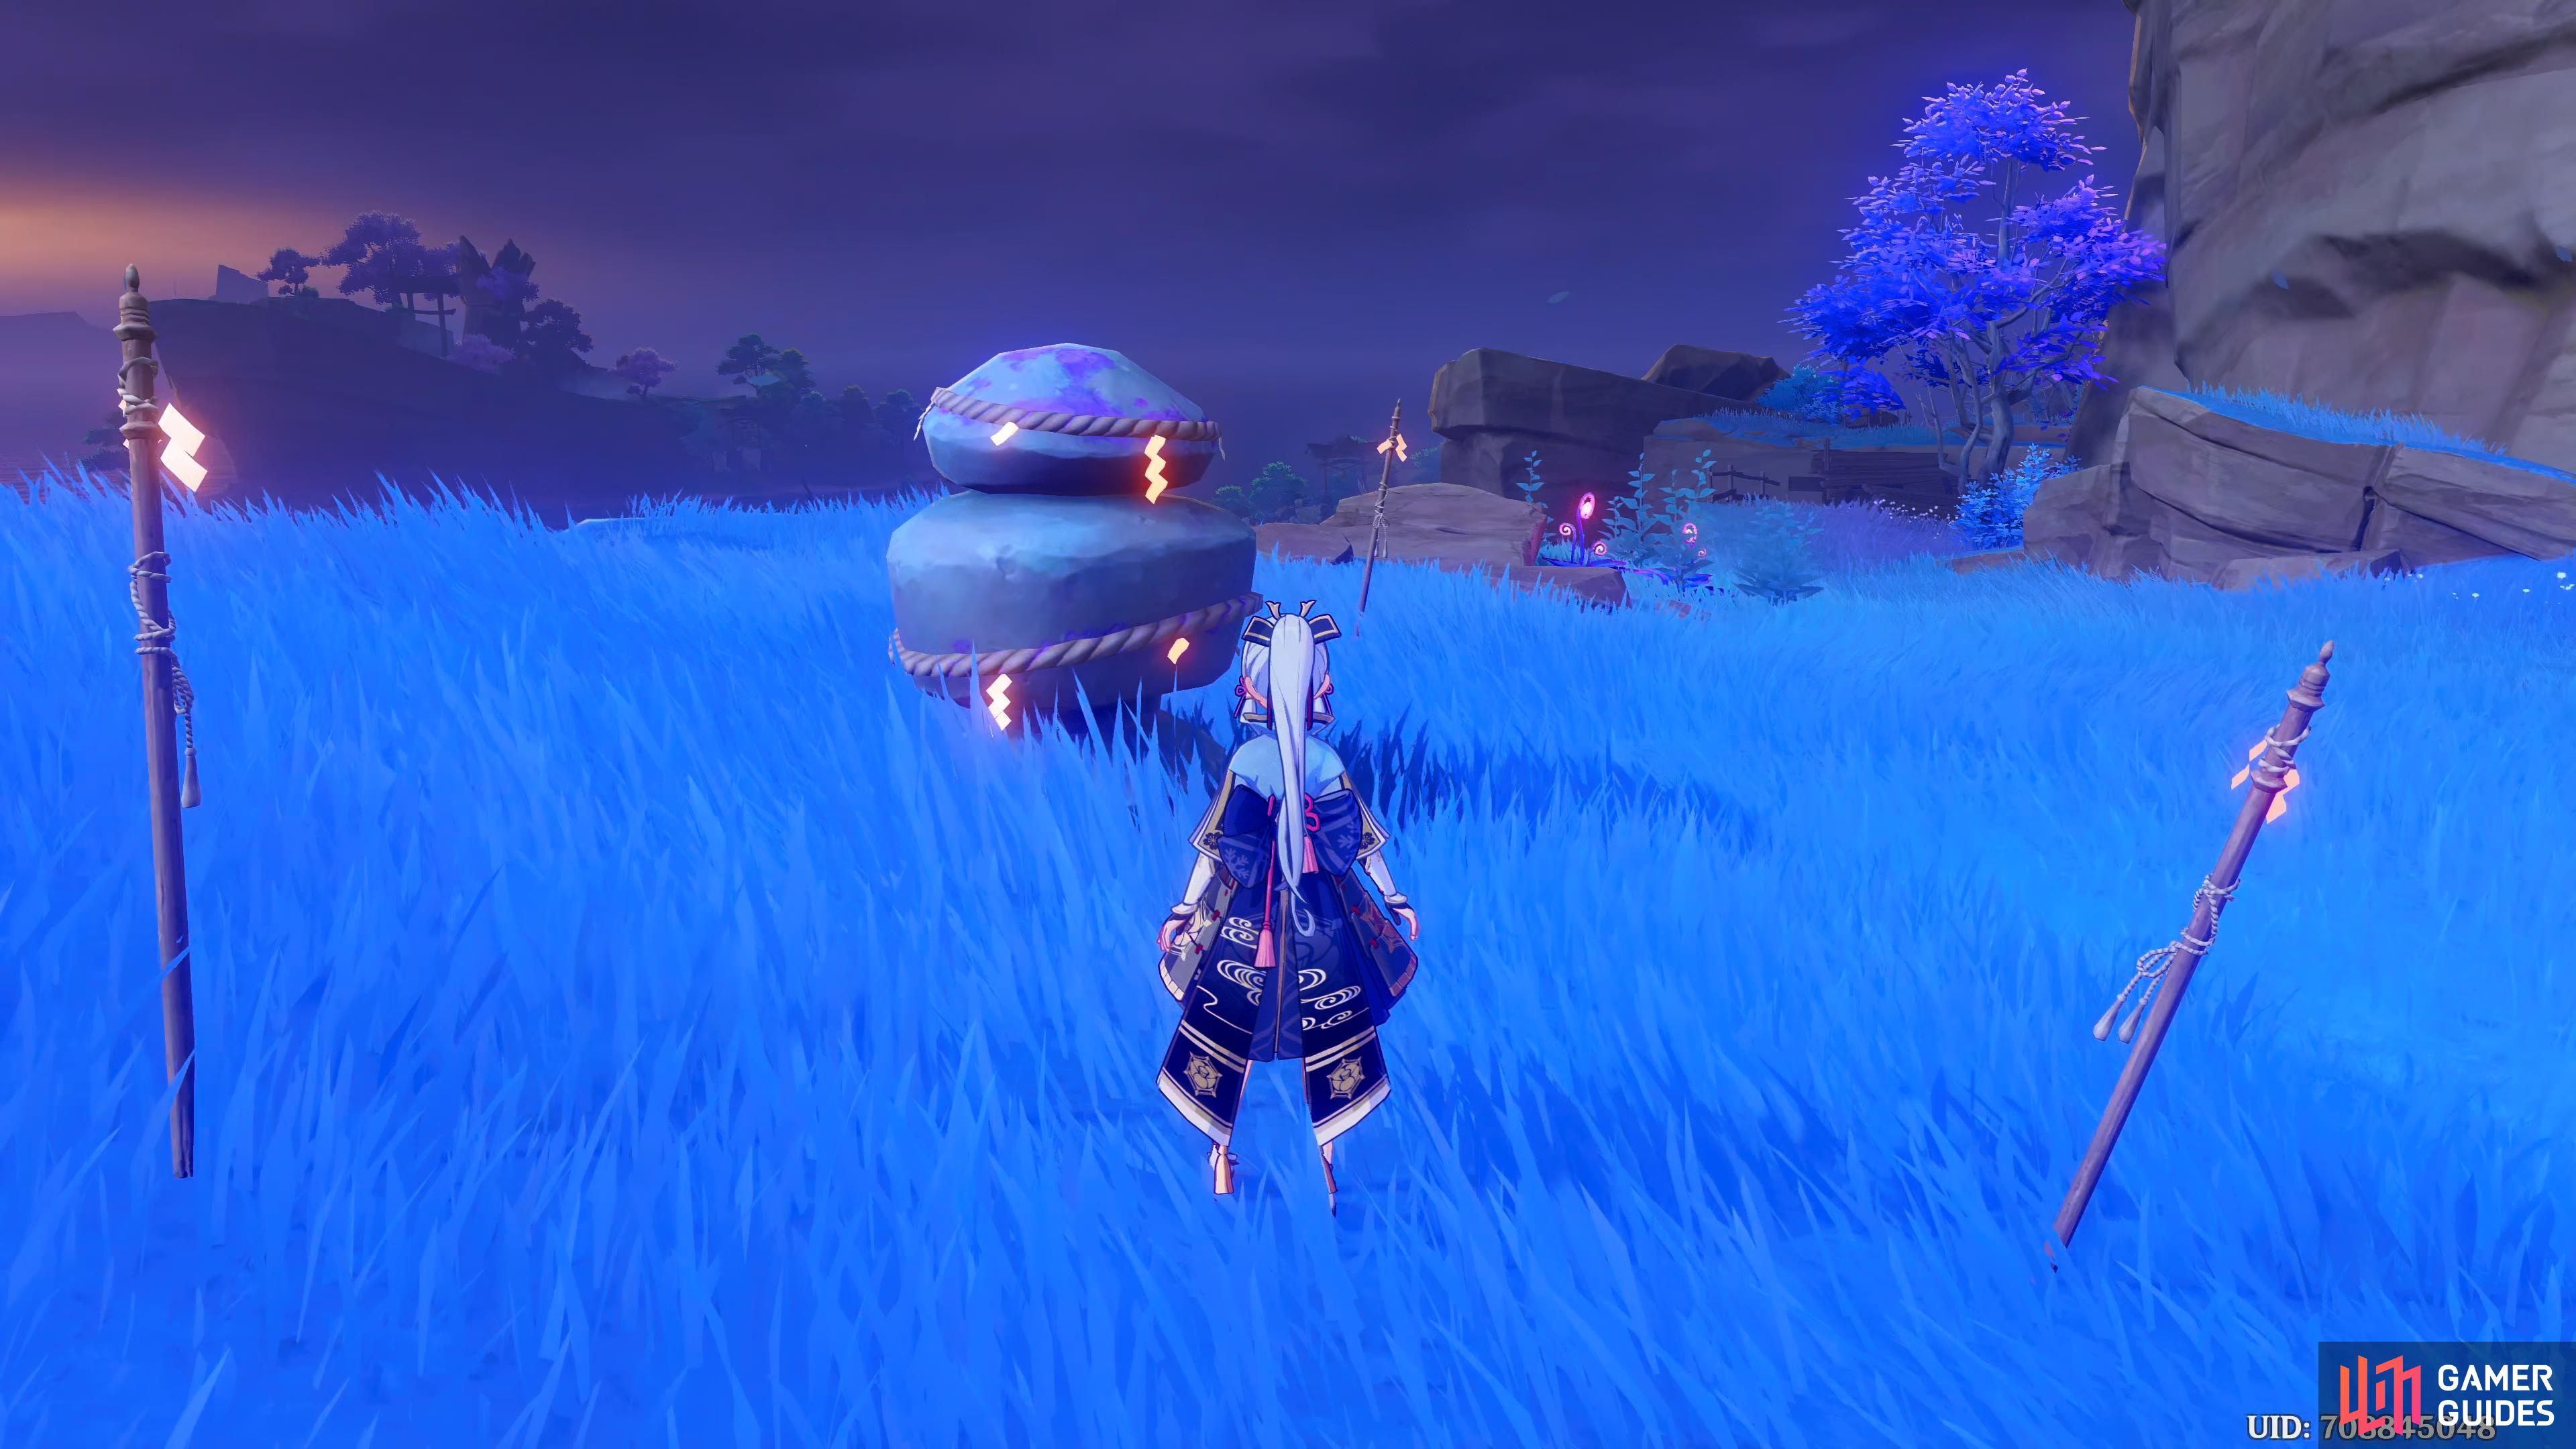
Rotate the top part of the stone once (left), and the bottom twice to align them up with the sticks, and complete the puzzle. (right)
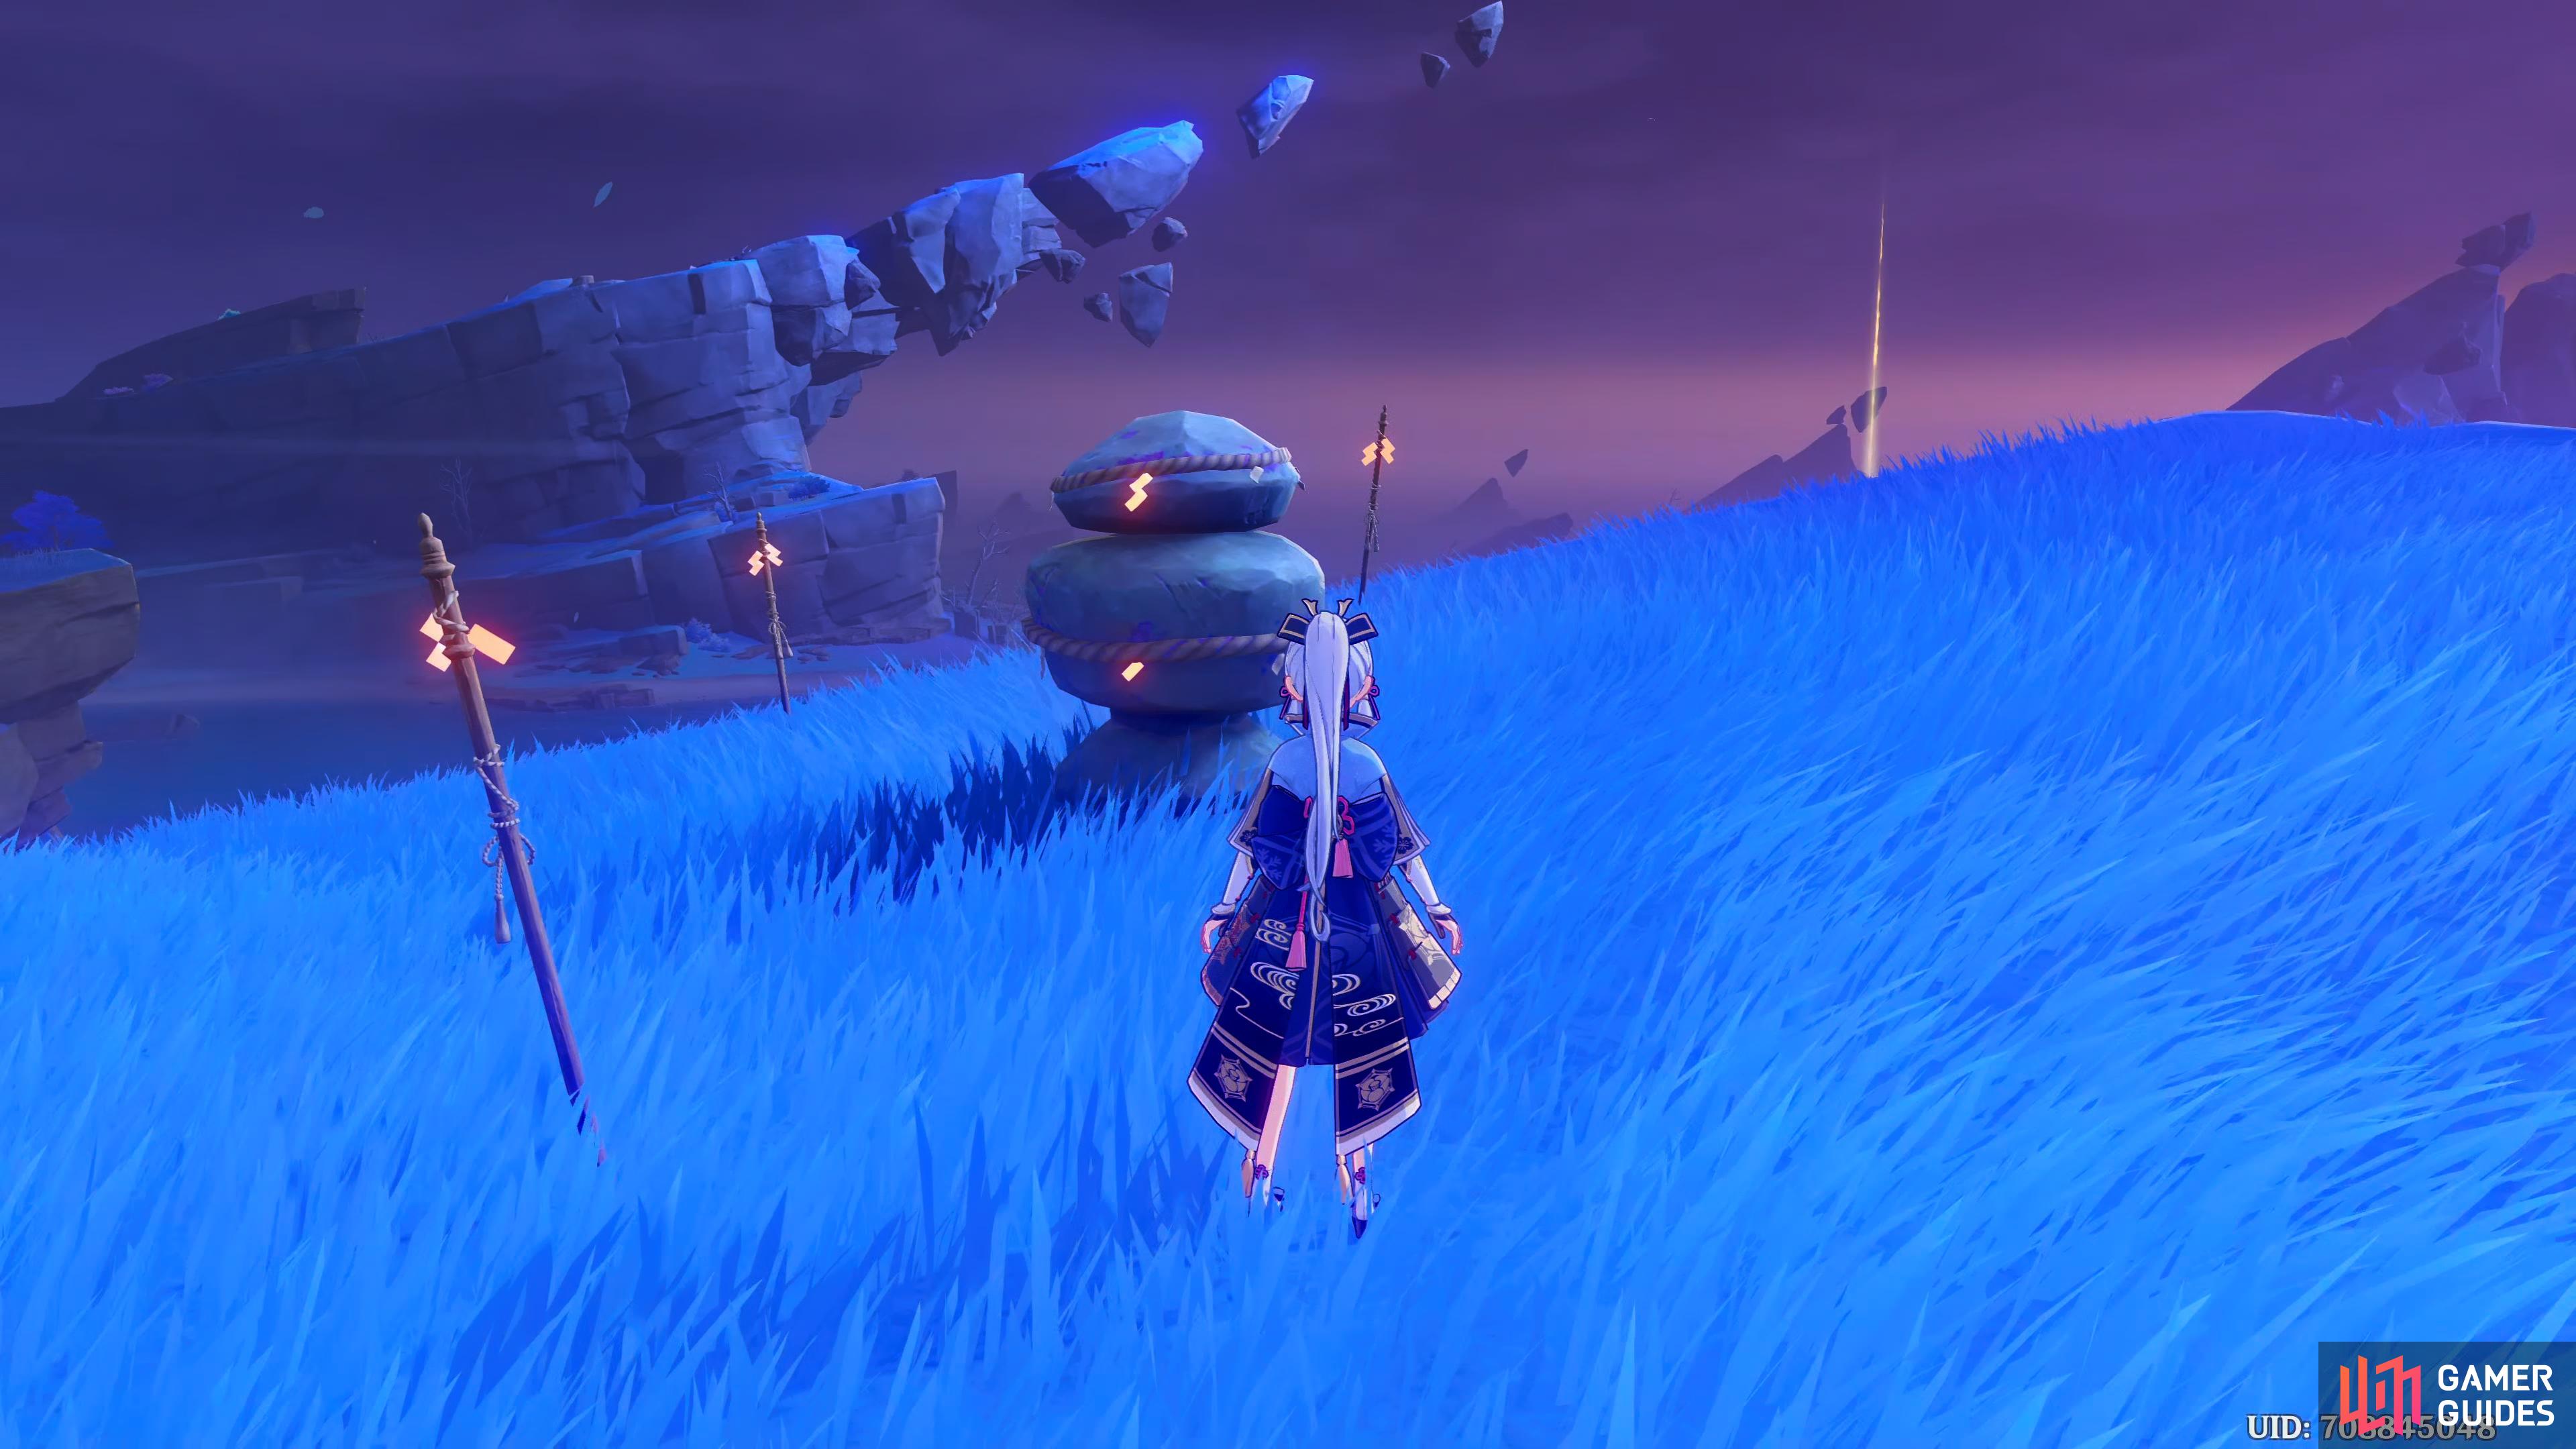
To seal the warding stone, you want to rotate either the top or bottom of the stone so the amount of paper on them aligns with the surrounding sticks. Rotate the top part of the stone once, then the bottom part twice, and you’ll complete the sealing of it, and get a short scene. Although you have sealed that one, the storm is still as strong as ever, which Taisuke will mention. You’ll tell him that was the first stone out of four in total, then Eiko and Taisuke will leave to see Neko at the shrine. When the scene ends, so will the quest.
No Comments