
Divergence
Starting from this floor, things will start getting tougher, you’ll need to have two capable teams because for each chamber, there are two paths and for each path you’ll have to use two completely different teams which is what makes this tough as most people won’t have multiple characters leveled to a high enough level, what makes this even tougher is, that you can’t change the party between each Chamber, so you’ll have to plan ahead.
Ley Line Disorder:
- Using an Elemental Burst increases all party members’ ATK and DEF by 6%. Max 10 stacks. At 5 stacks and above, increases character Normal Attack SPD and Movement SPD by an additional 30%.
Challenges
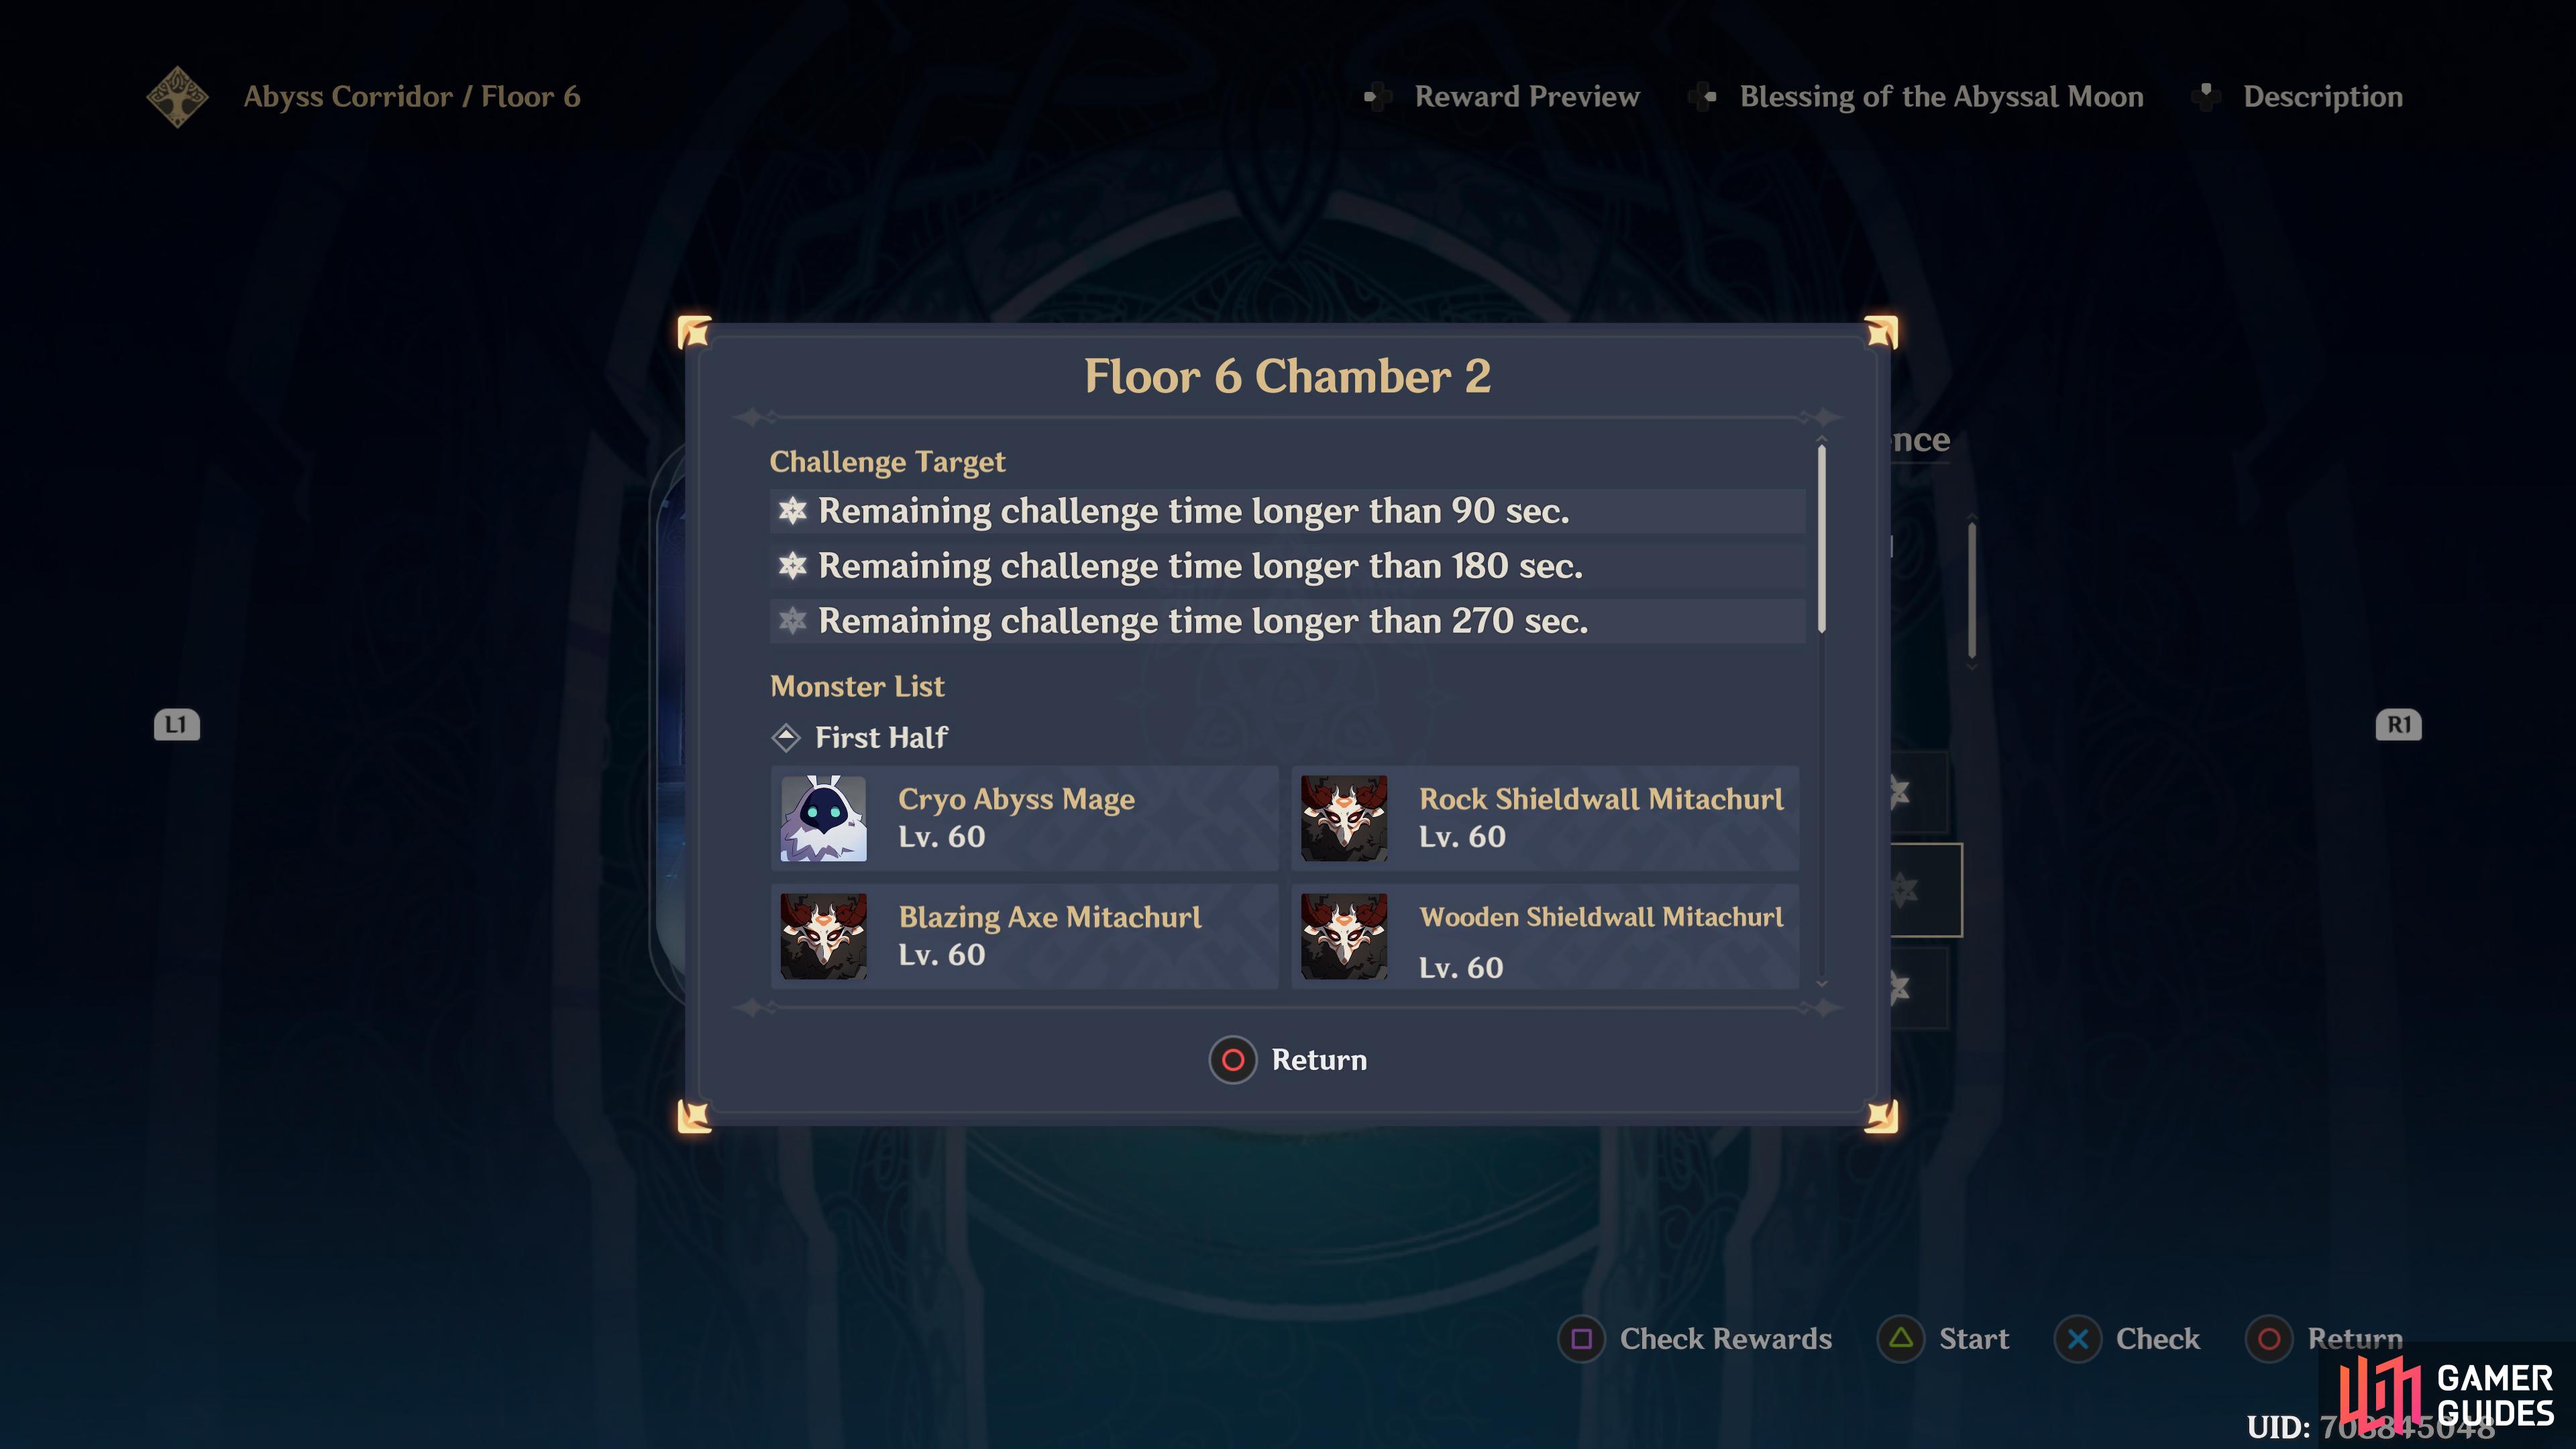
Completing each challenge awards you with an Abyssal Star and for every three stars you’ll be rewarded with 100 Primogems and some Mora, these are a one-time only reward for Floors 1-8.
- Remaining challenge time longer than 270 seconds.
- Remaining challenge time longer than 180 seconds.
- Remaining challenge time longer than 90 seconds.
Chamber Challenge
-
Path 1 - Defeat 26 enemies within 600 seconds.
-
Path 2 - Defeat 27 enemies within 425 seconds.
Enemies - Path 1
| Icon | Name | Level | Quantity |
|---|---|---|---|
 |
Rock Shield Hilichurl Guard | 60 | 1 |
|
Wooden Shield Hilichurl Guard | 60 | 2 |
 |
Pyro Hilichurl Grenadier | 60 | 4 |
|
Hilichurl Berserker | 60 | 2 |
 |
Electro Hilichurl Shooter | 60 | 3 |
 |
Hydro Samachurl | 60 | 2 |
 |
Wooden Shield Mitachurl | 60 | 2 |
|
Blazing Axe Mitachurl | 60 | 3 |
|
Rock Shieldwall Mitachurl | 60 | 1 |
 |
Cryo Abyss Mage | 60 | 1 |
Enemies - Path 2
| Icon | Name | Level | Quantity |
|---|---|---|---|
 |
Pyro Slime | 60 | 10 |
 |
Large Pyro Slime | 60 | 5 |
|
Pyro Hilichurl Shooter | 60 | 1 |
 |
Cryo Hilichurl Shooter | 60 | 1 |
|
Electro Hilichurl Shooter | 60 | 5 |
 |
Dendro Samachurl | 60 | 2 |
 |
Anemo Samachurl | 60 | 3 |
Best Teams - Path 1
Premium Team (5-star)
Free to Play Team ( 4-Star)
| Main DPS | Sub DPS | Sub DPS | Support |
|---|---|---|---|
Best Teams - Path 2
Premium Team (5-star)
Free to Play Team ( 4-Star)
| Main DPS | Sub DPS | Sub DPS | Support |
|---|---|---|---|
 Kaeya Kaeya |
Strategy
First Path
The Ley Line conditions here grant you various buffs when you cast an Elemental Burst. Favonius weapons are great for this floor as they generate a lot of Elemental orbs that regenerate your Burst gauge quicker which allows you to do Elemental Bursts more often, which in turn, gives you more buffs, making this floor easier.
The hardest part of this path is the sheer amount of enemies in the arena, area of effect is king here and thankfully with this party setup, you have it. Only other slight problem could be the Hydro Samachurls as they can heal their allies and must be your priority to defeat first whenever they are up.
Starting with the Premium Team, begin the first path as Zhongli and use his Elemental Skill: Dominus Lapidis, to give your party a shield, keep this up at all times by switching over to him when it disappears, this will help keep your Health at max or as near to it as possible, then switch over to Klee and use both of her Jumpy Dumptys via her Elemental Skill. Switch over to Keqing and use her Elemental Skill: Stellar Restoration to get some Electro on the field so you can trigger Overload reactions which will cause area of effect explosions making it easier to defeat them. Now switch over to Diluc and use all of his abilities off cooldown and then DPS as him whilst swapping in Klee to user her Elemental Skill and Elemental Burst whenever they’re off cooldown and Keqing if you need more Electro on the field. Make sure to use your Elemental Bursts off cooldown to maximize the upkeep of the Ley Line buffs.
For the Free to Play Team, start the path as Xiangling and use her Elemental Skill: Guoba Attack then immediatley change over to Bennett and DPS as him whilst using his skills off cooldown, although if you’re taking a lot of damage, you may want to save his Burst for healing. Use Sucrose to spread the Pyro damage around via her skills which will also boost your teams Elemental Mastery (Magic Attack) from one of her talents, use Noelle for her shield which is granted from her Elemental Skill: Breastplate. Once again take out the Hydro Samachurls out first and then focus down the Ranged Hilichurl asap and the rest should be easy.
Second Path
The second path is a lot easier as there are no annoying Hydro Samachurls to deal with, so with the Premium Team, start this path as Mona and use her Elemental Skill: Mirror Reflection of Doom, this will taunt the enemies to attack it and bring them closer together whilst periodically dealing out Hydro damage, switch over to Ganyu and proceed to use her Elemental Skill Trial of The Qilin which will initially hit for Cryo damage and then taunt the enemies much like Mona’s skill and then it’ll explode for more Cryo damage after a set period of time, changeover to Xiao and use both charges from his Elemental Skill whilst the enemies are grouped up for some big, quick damage.
Use your Elemental Bursts off cooldown to maximise the upkeep of the Ley Line buffs and switch over to Qiqi if you need any healing or some extra Cryo damage. When using Xiao’s Elemental Burst, be careful as it drains his health whilst he’s in this state, to counter this, use Qiqi’s Elemental Skill first to mark the enemies so they give health back when they are attacked, this’ll make keeping Xiao alive easier. The Samachurls followed by the Ranged Hilichurl should be the priority.
For the Free to Play Team, start the path as Diona and cast her Elemental Skill: Icy Paws which will shield the party negating a set amount of damage as well as cleansing any debuff you may have, switch over to Fischl and use her Elemental Skill: Nightrider which will summon her raven Oz who will continuously shoot Electro projectiles at the enemies, finally, alternate between Kaeya and Xingqui whilst predominantly DPSing with Kaeya and using Xingqui to help trigger the Vaporise reaction.
Rewards
| Adventure Exp | Mora | Other Rewards |
|---|---|---|
 200 200 |
 15,000 15,000 |
 6 6  8 8  5 5  1 1 |
No Comments