
Golden Slumber is the major questline introduced in version 3.1 of Genshin Impact. You will need to complete these quests to unlock the various ruins located throughout Sumeru’s desert area. Below we go over all four parts of Golden Slumber to help you unlock the last few areas of the desert.

Speaking with Jeht and Jebrael together for the first time.
Desciption
In Aaru Village, there is a merchant from Mondstadt who needs help from adventurers.
Lost in the Sands
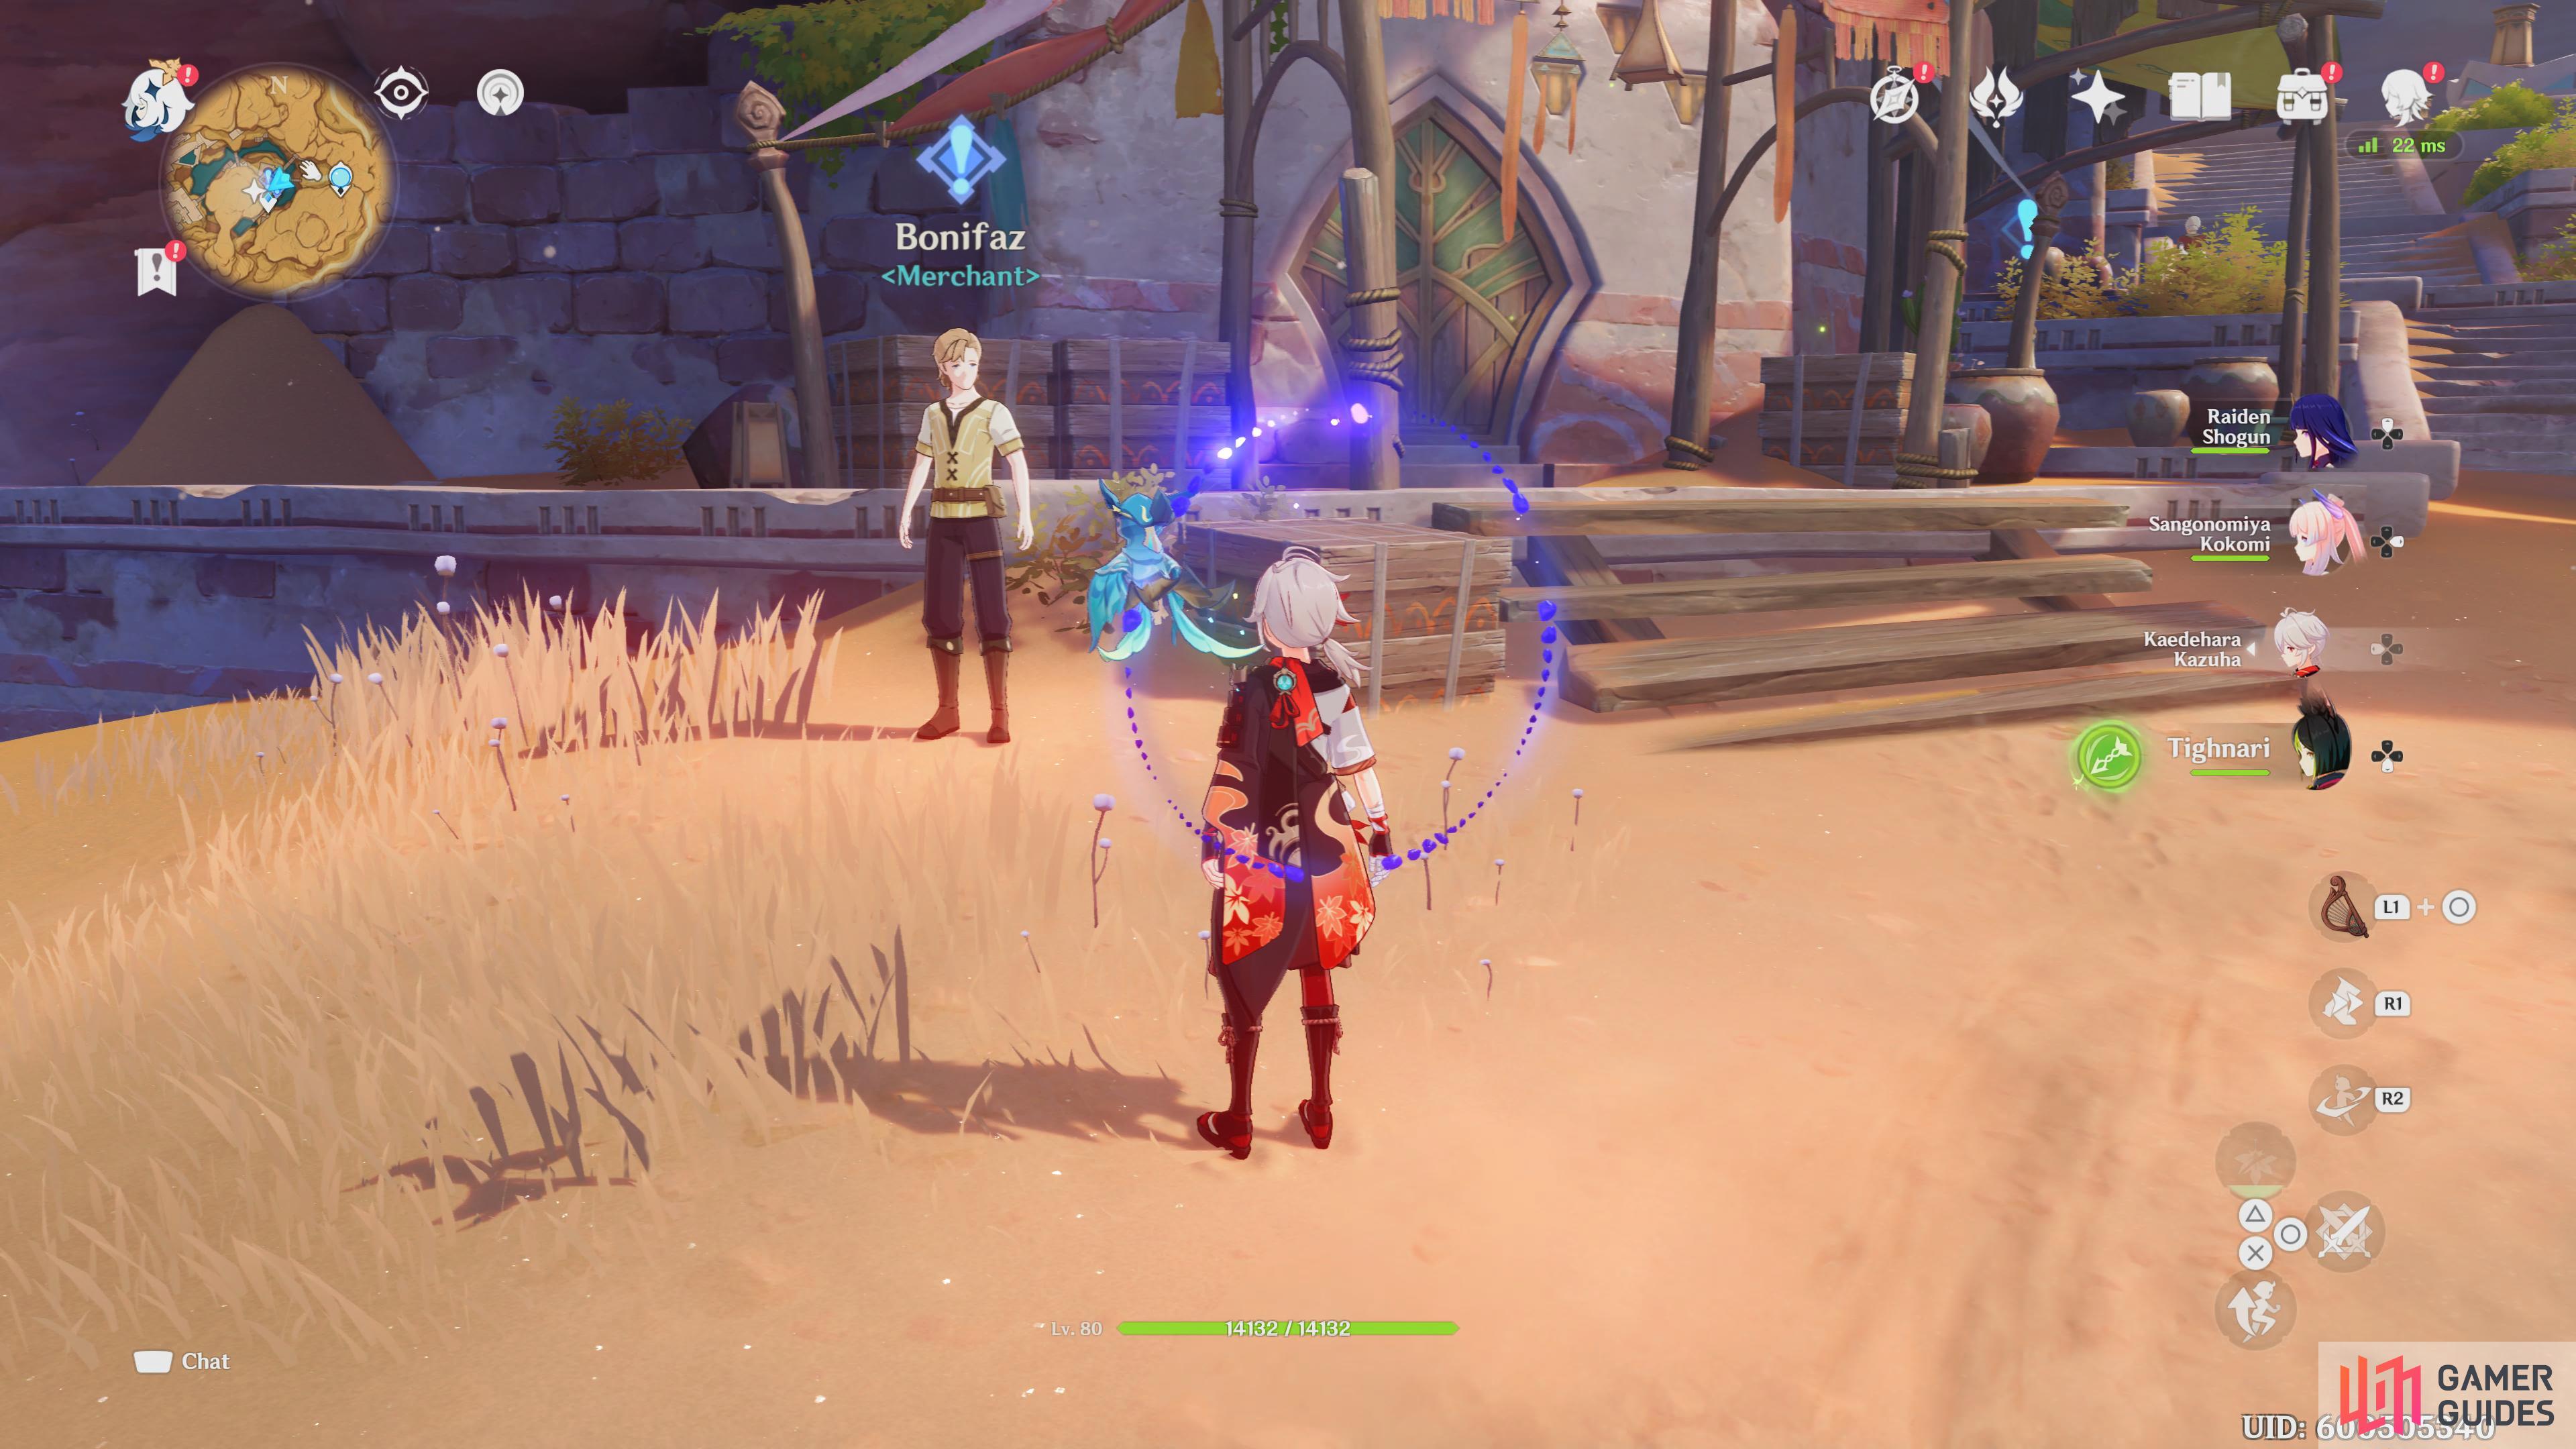
Bonifaz’s location in Aaru Village.
To start this quest line you will want to head into Aaru Village and speak with Bonifaz or speak with Katheryne at the Adventurer’s Guild. Once the quest is started, you simply need to head to the marked locations on your map. After following footprints for a short way you will find a pit, jump into it and fly down to the camp.
Once you reach the camp, you will need to run back and forth, speaking with the NPCs. You will eventually begin exploring the area and have to defeat a few Primal Construct enemies. After this is done, the door to the pit’s ruins will open. This is a short trek with minimal puzzles. You will need to make your way through them and then emerge a bit further into the desert.
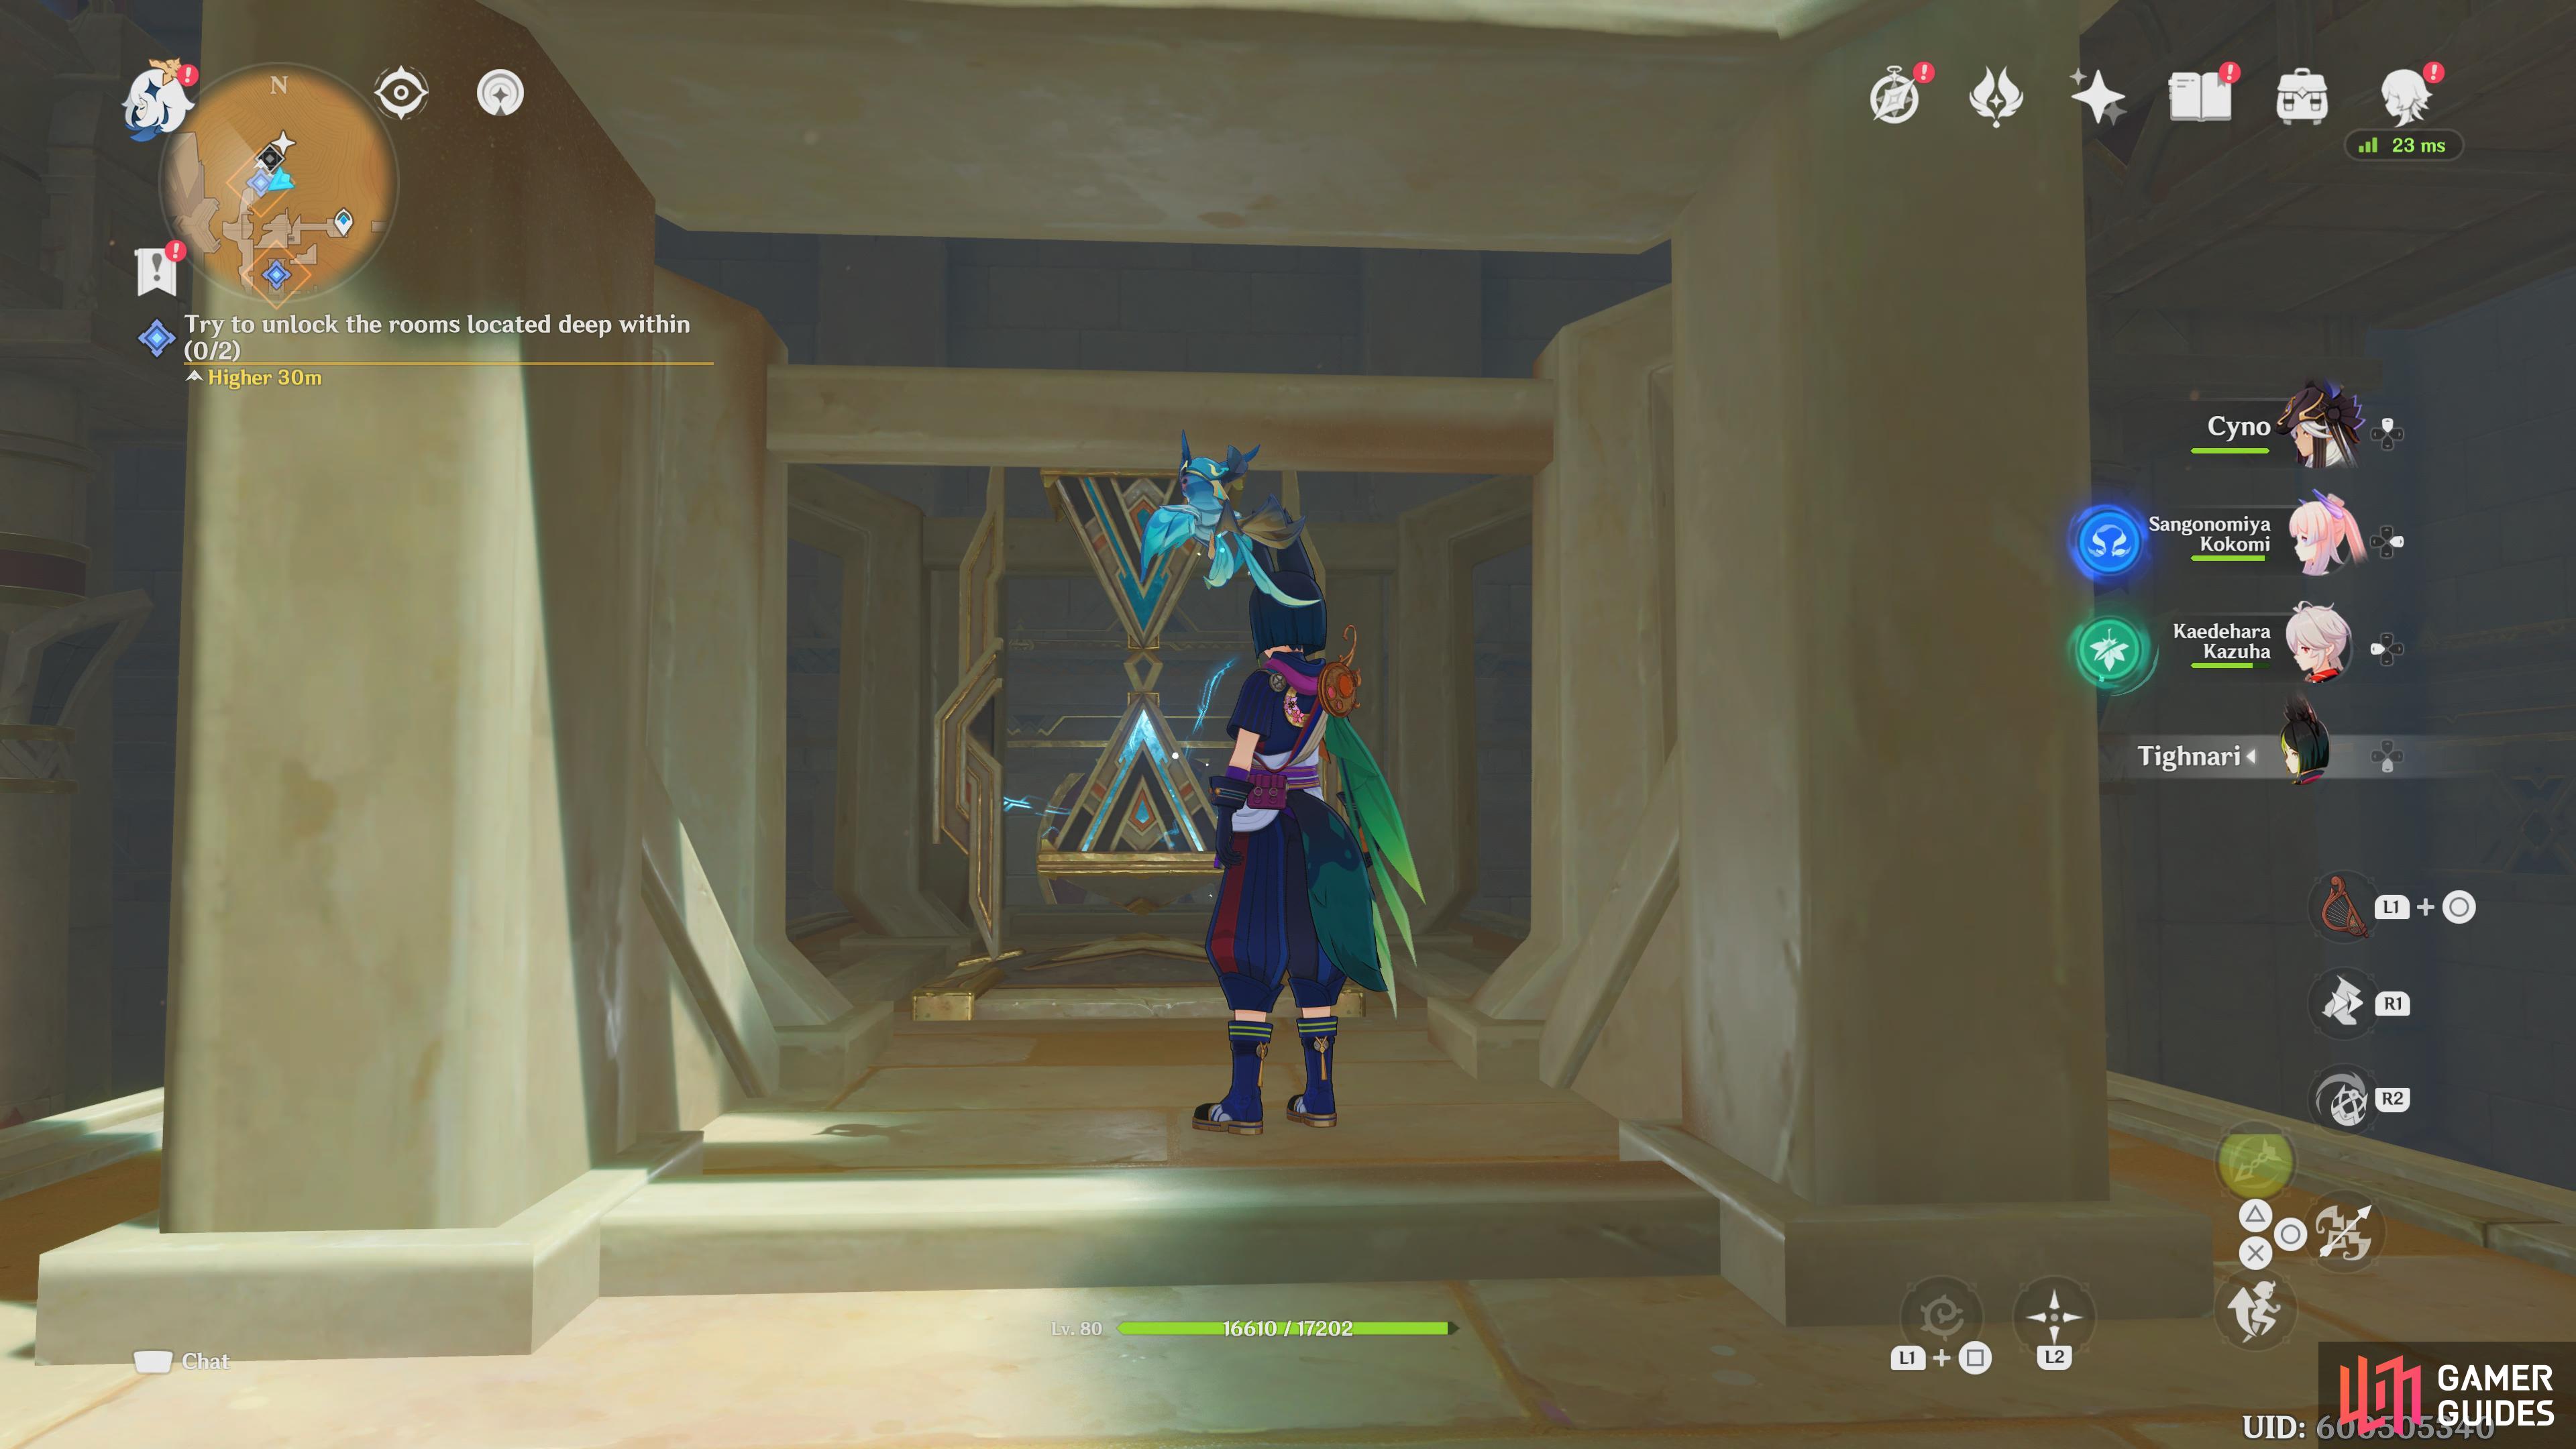
An Introduction to Indoor Archaeology
Hourglass mechanism inside of Khemnu Temple.
Once you have emerged from the ruins, you will need to go to the nearby Oasis to set up camp. After speaking with Jebrael who is located on the cliff above the camp, you will return to it for a short meeting. Afterward, you will start making your way further into the desert to Khemenu Temple.
Once inside the temple, you will need to follow a simple process to proceed to the next quest. This involves following Primal Embers throughout the temple, these are to be followed like the games Seelie. Here is how to easily move each ember.
- Go to the door nearest to Tirzad, to get the Primal Ember, and kill the Ruin enemy.
- Use the door next to Jebrael and grab the Forged Primal Light. Taking it to the glowing blue square will cause the Primal Ember to appear.
You will now go to the temple’s lower floor. The process is the same. You will be moving Primal Embers.
- Go through the door near Jeht. Here you will interact with a Primal Sandglass and then use the Four-leaf Sigils to reach the Primal Ember.
- Go to the room with Jebrael, once you reach the boat, use four-leaf sigils to get on top of it, and then take the Forged Primal Light to the blue box below the ship’s roof. This will give you the Primal Ember, follow it to the room below and wait until the fan isn’t spinning to move it forward.
All you need to do now is use the elevator to go to the lower floor and examine the mural in the room.
The Secret of Al-Ahmar
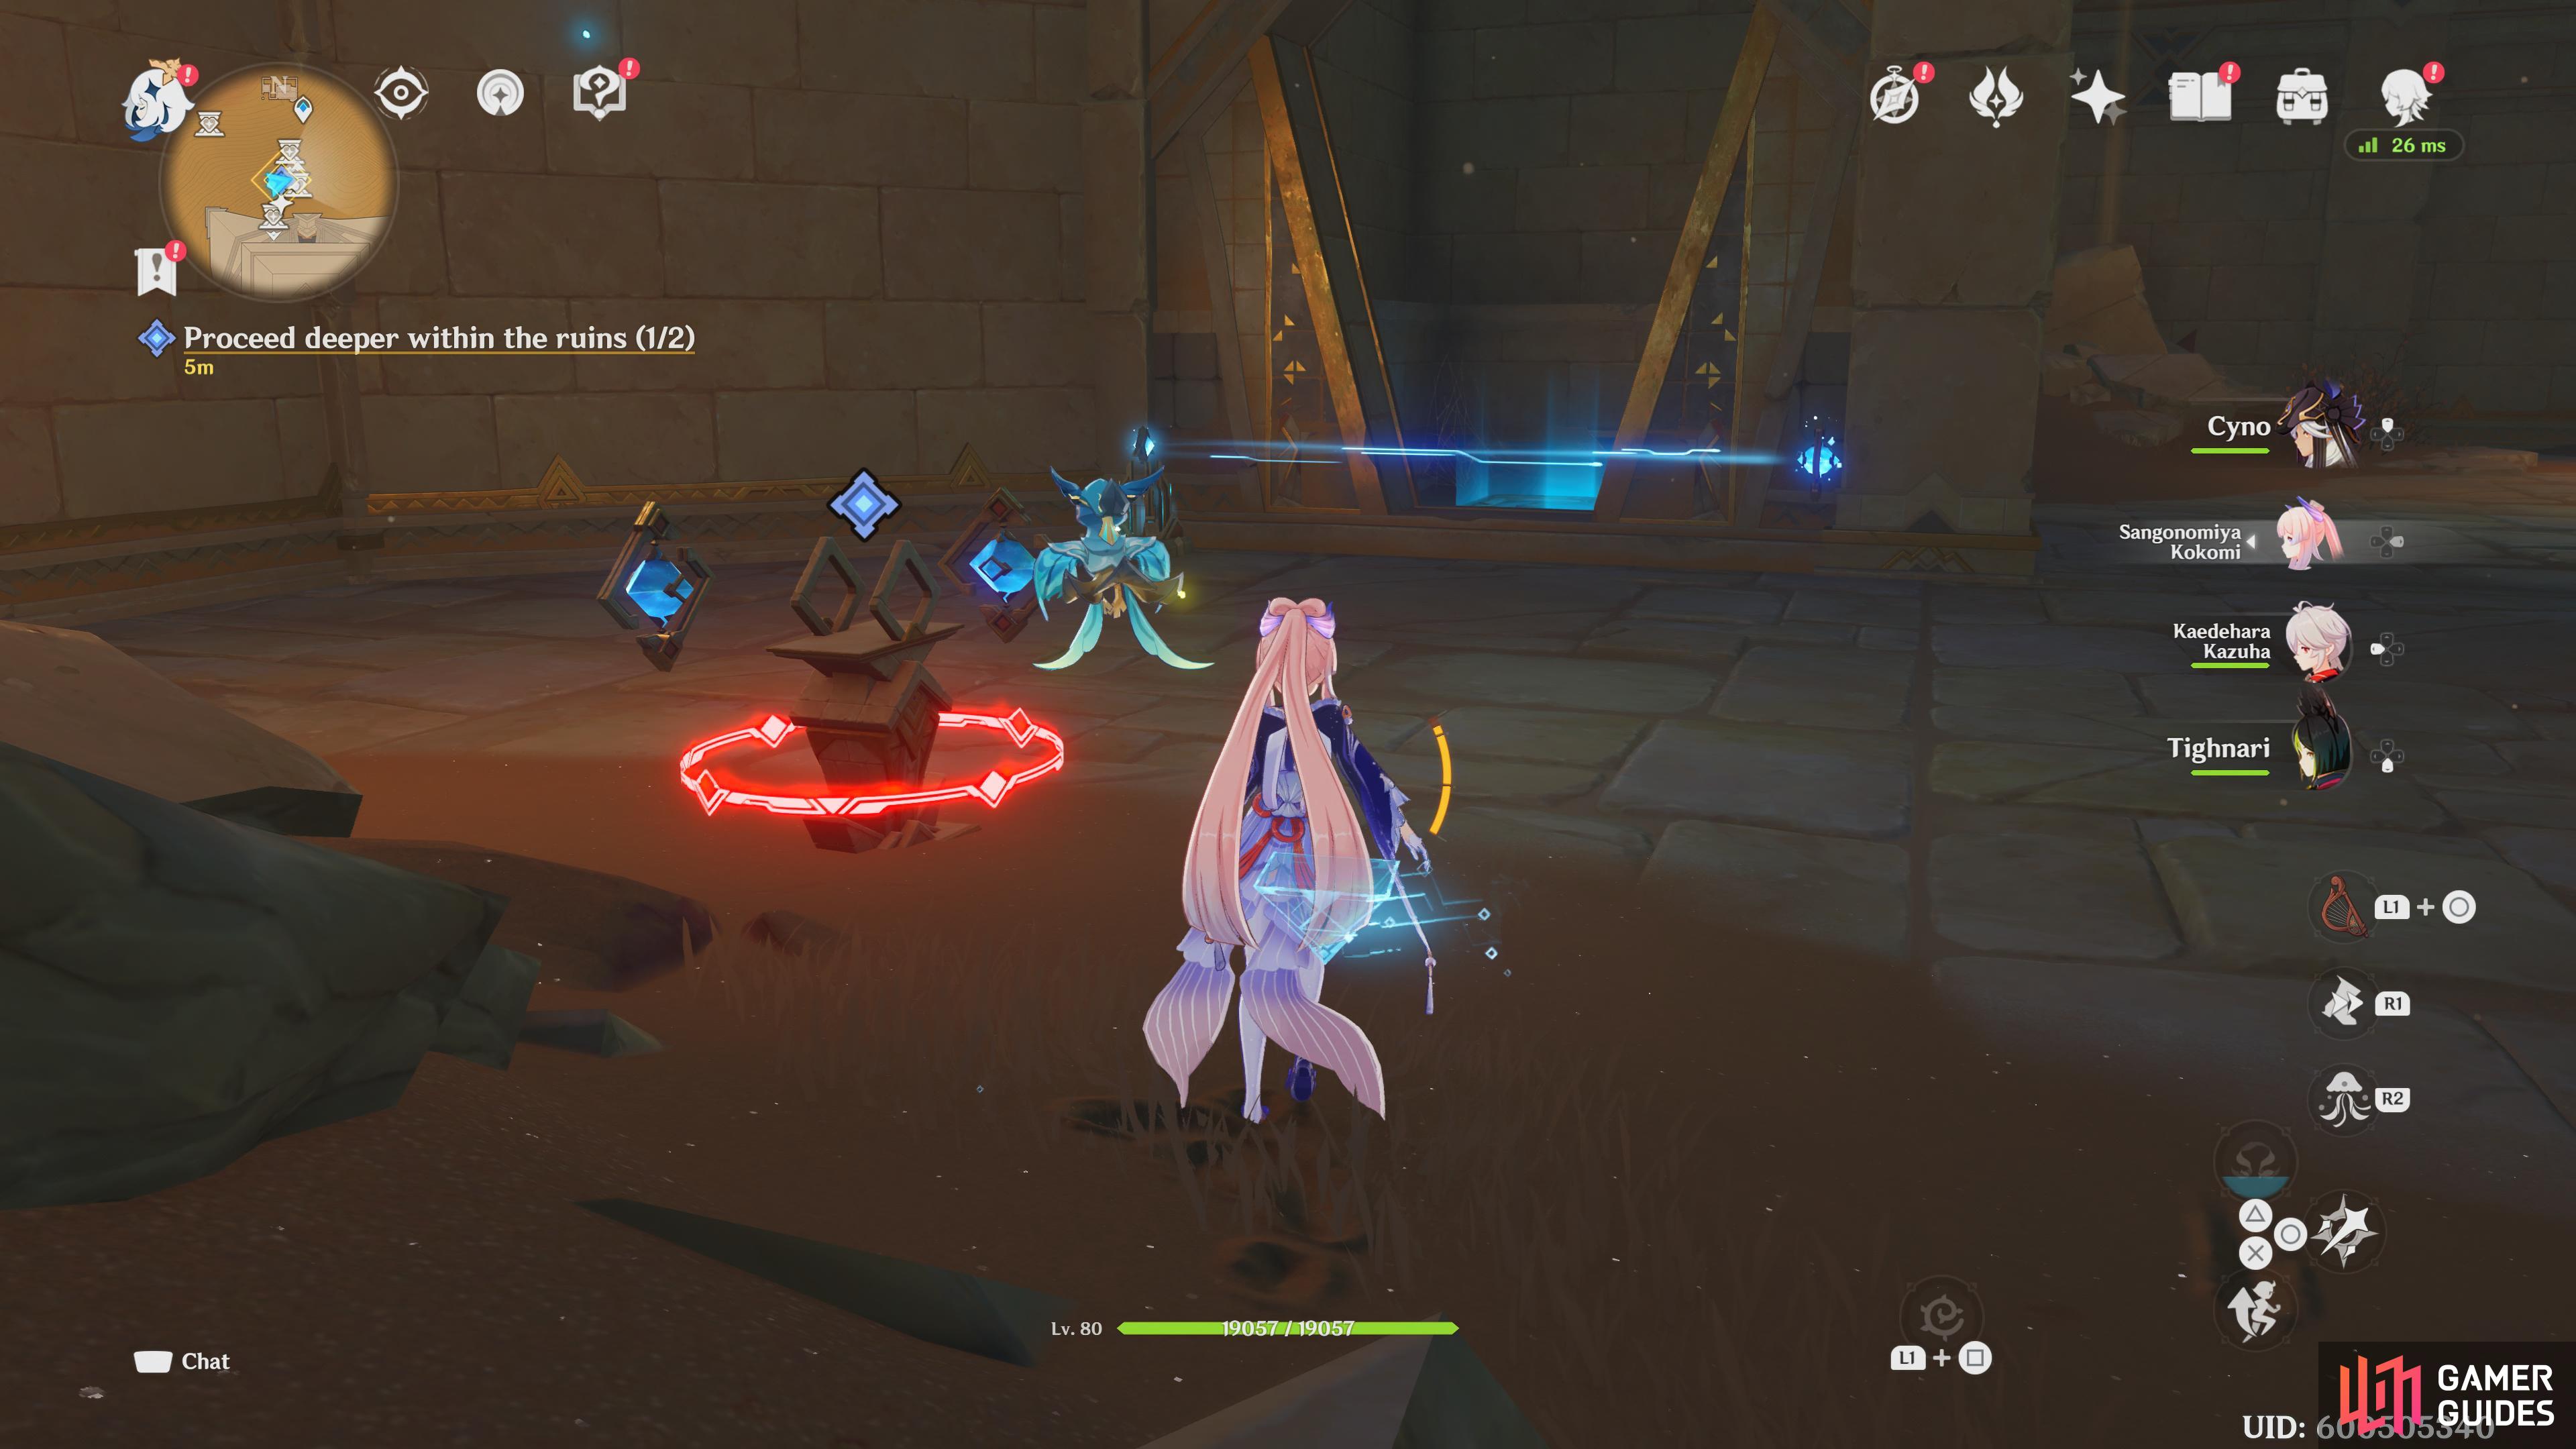
A cell puzzle in Sumeru Desert.
You will want to enter the passage that was hidden by the mural and take the elevator up. You will now be gaining entrance to King Deshret’s Mausoleum. Once Benben opens the door you will head inside and fight some Primal ConstructsJeht and Jebrael will help you fight at multiple parts throughout the rest of this quest.
Once you are further inside, you will find a coffin and need to activate it using four Primal Embers. There are two doors in the room with the coffin, and each has a path that goes right and left. You will need to follow both of these to find the Primal Embers.
- The left path for both doors just requires you to climb up a short wall and then follow the Primal Embers down.
- Simply follow the right path for the second two Primal Embers. These are both short with minimal obstacles to overcome.
Once you have released all four Primal Embers, the coffin will pop open. Use the elevator to head higher into the Mausoleum. Follow the path, and you will unlock Clearance level one for Everlight Cell puzzles. Afterward, you will find yourself in an underground area. This time though, you will need to fight off Eremites and the Fatui. Here you will encounter Samail, and learn more about Jeht and Jebrael. Follow the path and retrieve Benben to head deeper into the ruins.
Once again, you will be moving two Primal Embers to unlock your path forward. This time you will be exploring an area called Opet Hall. Follow the markers until you reach a puzzle room with a chest in the center. You will need to turn all the rotating cells on each side of the room to face the nearby door.
You will need to defeat another Primal Construct and then continue onward. You will find a Forged Primal Light. Take it to the nearby glowing square to reveal the first Primal Ember. You will now go to the cell in the same room and use it to unlock the nearby door. Once inside, grab the Forged Primal Light and use it on the glowing blue block to reveal another cell.
You will now move the cell you used to open the door to the room back to its original position. This will unlock the second Primal Ember and escort them both to the locked door outside of the room. Go inside the room. Here, you will find a map that marks the next place to check out on your adventure.
Dreams Beneath the Searing Sand

Khaj_Nisut appearing for the first time in Sumeru Desert.
You will need to head back to the Oasis and check in with your team. It will be decided that you will relocate to another Oasis on the other side of the desert. From there, you will head to Khaj-Nisut. Here you will find an Eremite camp, go ahead and defeat them so that you can investigate their camp. After reading the letter in a nearby tent, it will be revealed that you must complete three different trials in order to reveal the temple.
Each trial focuses on a different trick. Here is how to complete them all.
- The trail nearest to the Eremite camp requires you to navigate an invisible puzzle. Simply keep walking along the walls to find your way down.
- The trial nearest to the waypoint requires you to use Forged Primal Lights and cells to solve a short puzzle. This is straightforward, and it introduces an Obscuring Cell that will allow light to pass through the walls of the ruins.
- The last trial simply needs you to complete a combat trial that has you facing Primal Constructs.
Throughout all of these trials, Primal Constructs will be wandering around. Just defeat them as you usually do. Once all three have been completed, use the waypoint to teleport back to the starting point and use the Plinth of the Secret Rites to reveal Khaj-Nisut.
You will now use the Four-leaf Sigils to make your way over to the temple. Once you get there simply use the nearby Plinth of the Secret Rites to open the door. Once inside, you will need to bring three Primal Embers to the main room. Each Primal Ember can be found in the main room, following all three using the tricks learned from the rest of the quest to their destinations.
The next room you enter will be a puzzle room. You simply use the switch to move the blocks of the same color away from the beams of light. The pattern to do this goes as follows.
- Operate
- Switch
- Operate
- Operate
Once this is done, defeat the Primal Constructs and head to the upper level, where you will take on a few waves of Eremites.
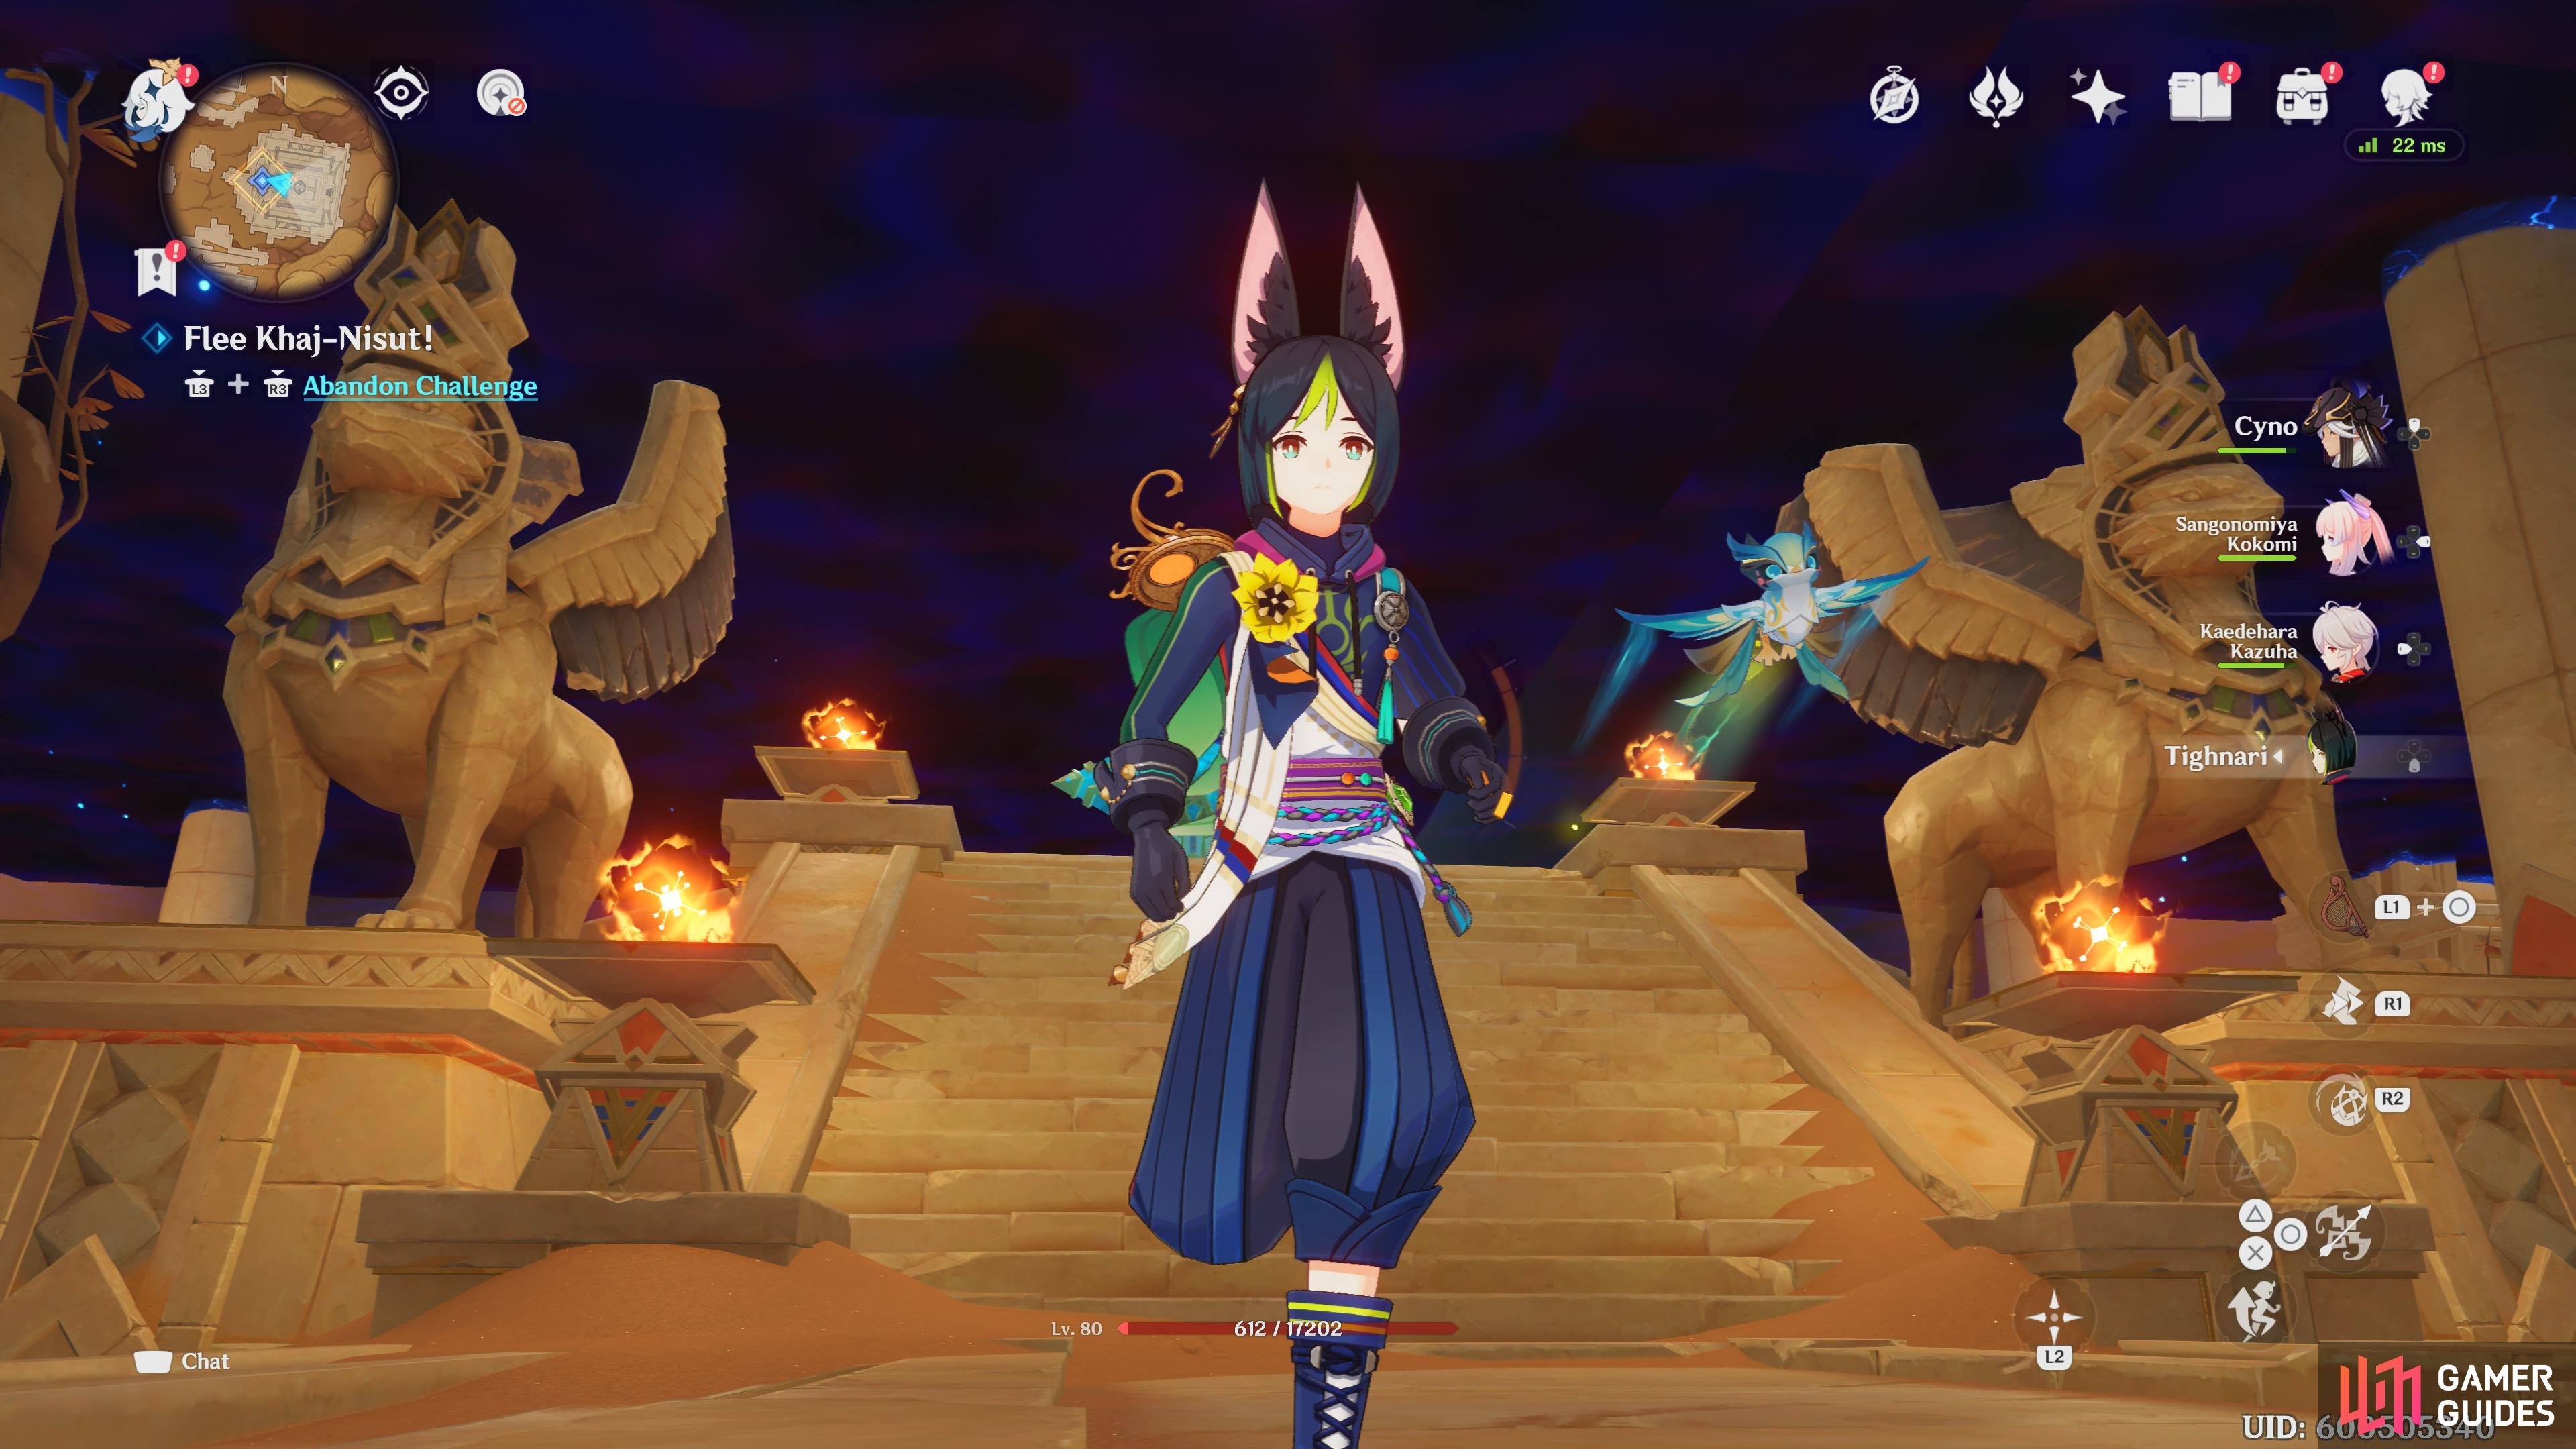
Fleeing challenge during the Golden Slumber.
Once these are defeated, a short cutscene will play, and then you will need to evacuate the temple as soon as possible. This is generally easy to do as the black wall moves slowly enough for you to make a few slip-ups.
Once you have escaped, simply watch the final story of Golden Slumber play out on your screen. If you have a PlayStation 5, then completing this quest will unlock the Journey: Slumber, the Brother Of… trophy.
No Comments