
This is a walkthrough for the third World Quest in the series, Through the Mists. The third quest is called “The Sea of Fog and the Rite of the Trees”, and can only be accepted after finishing “Octave of the Maushiro”.
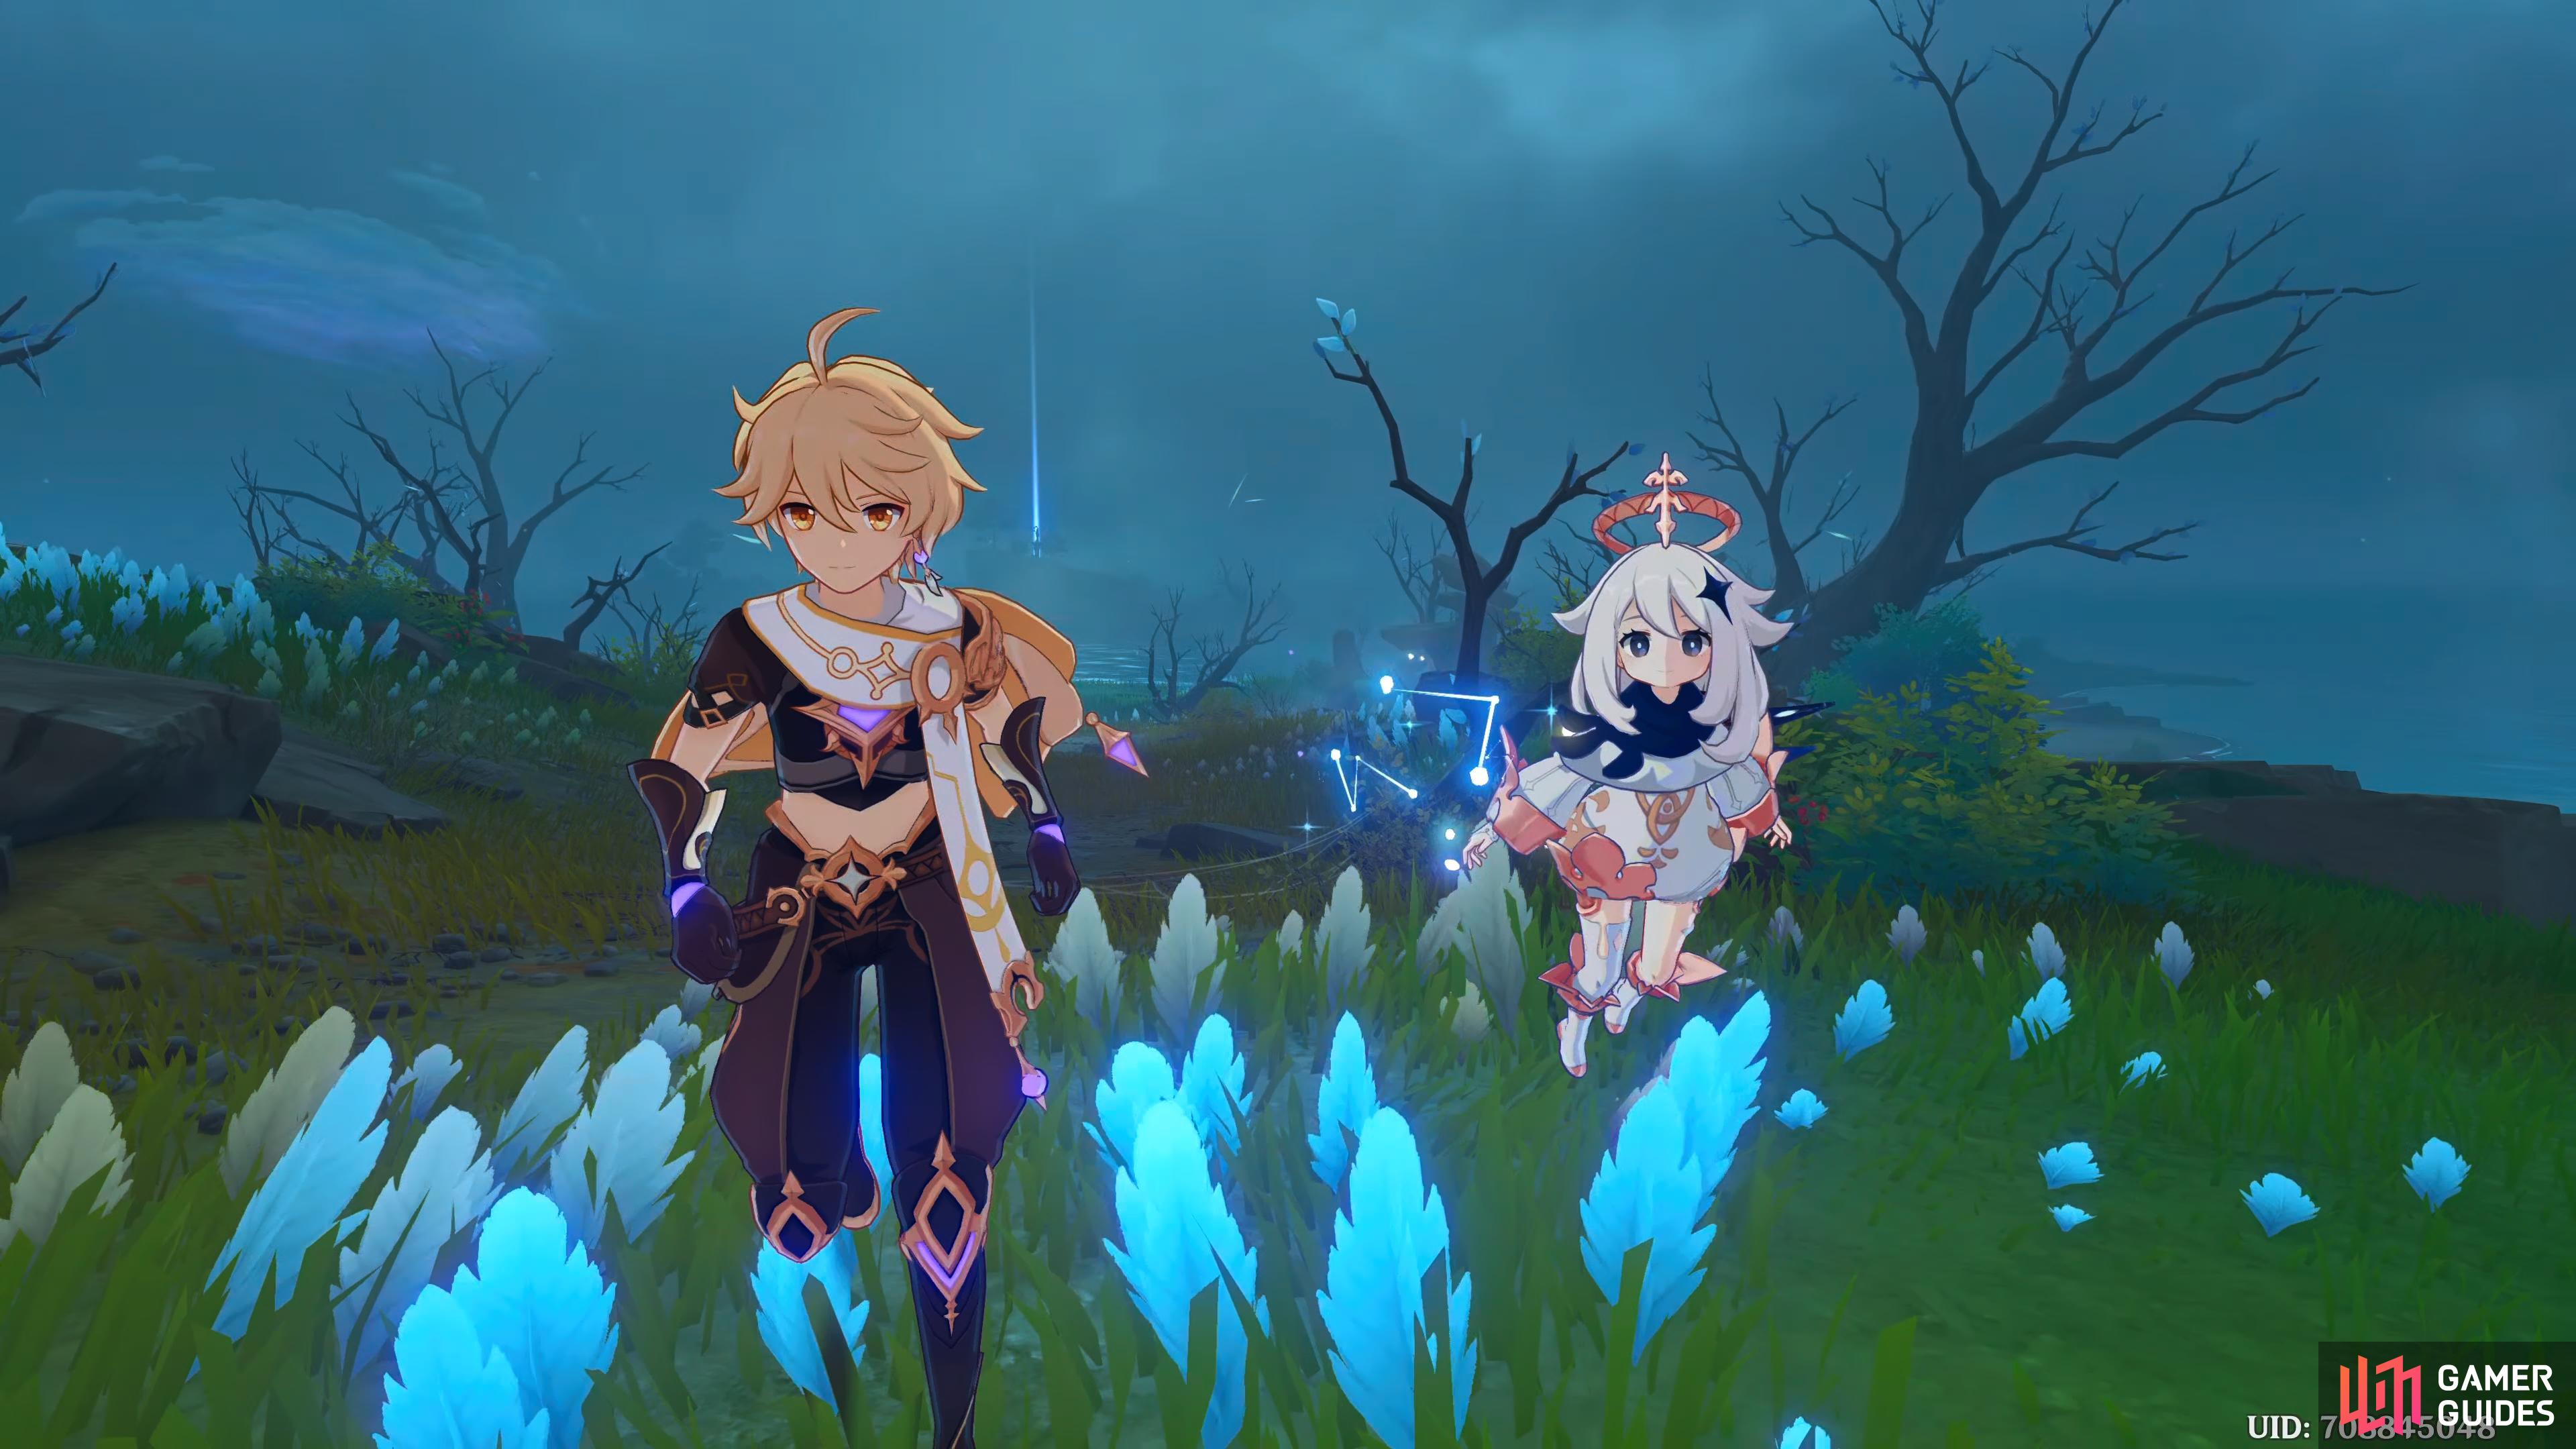
Paimon and the Traveler rushing to the ceremonial site on Tsurimi Island.
| Adventure Exp | Mora | Other Rewards |
|---|---|---|
 350 350 |
 40 40  3 3  6 6 |
Description
After passing the Maushiro to Sumida, the nature of your commission changes to exploring and investigating Tsurumi Island further. Considering that illusion of Kama you saw, you might need to ask the real one about a few things. With any luck, you might still find him in Ritou.
Steps
- Talk to Kama
- Go to Tsurumi Island and look for Ruu
- Go deeper into Tsurumi Island
- Talk to the people of Tsurumi Island
- Destroy the perches
- Search for the perch’s scattered power
- Destroy the perches
- Destroy the perches (0/3)
- Go to the ceremonial site
- Go to Tsurumi Island and look for Ruu once again
- Talk to Ruu
- Talk to Sumida
Talk to Kama
This quest starts with you needing to speak with Kama, who can be found at the Ritou docks. Head over, and speak to him, and you’ll ask him about his connection to Tsurimi Island. At first, he is reluctant to give you the information, but when Paimon tells him it’s for Sumida’s Commission, he changes his tune. Kama will tell you that “Kama” is their family name, sort of like a clan name, and that his ancestors were from Tsurimi Island.
He goes on to tell you that his ancestors couldn’t stomach what was going on at Tsurimi Island, and left. They spent many years at Seirai Island, and then the Thunderbird destroyed Tsurimi Island, and a bit later, on Seirai Island, the Thunderbird was killed, so his family migrated to Kannazuka.
He’ll talk a bit more about his family, and he’ll also explain that the people you’ve been seeing are illusions, apparitions of the past, created by the ley-line disorders, which makes sense how they never acknowledged you. Apparently the outlier of that is Ruu, as he is the sacrifice to the Thunderbird. Paimon exclaims that you have to save him, and that you should head to Tsurimi Island.
Go to Tsurumi Island and look for Ruu
Teleport to the Statue of the Seven waypoint on Tsurimi Island, and follow the path west. When you get to the middle of the objective, Paimon will tell you that Ruu is nowhere to be found, and you’ll suggest he may be deeper in.
Go deeper into Tsurimi Island
Continue following the path west, and defeat the group of hilichurls who spawn near the chest, then open it up for a blueprint. When you get in the middle of the objective circle, head north up the slope, and you’ll see Ipe, and Makiri.
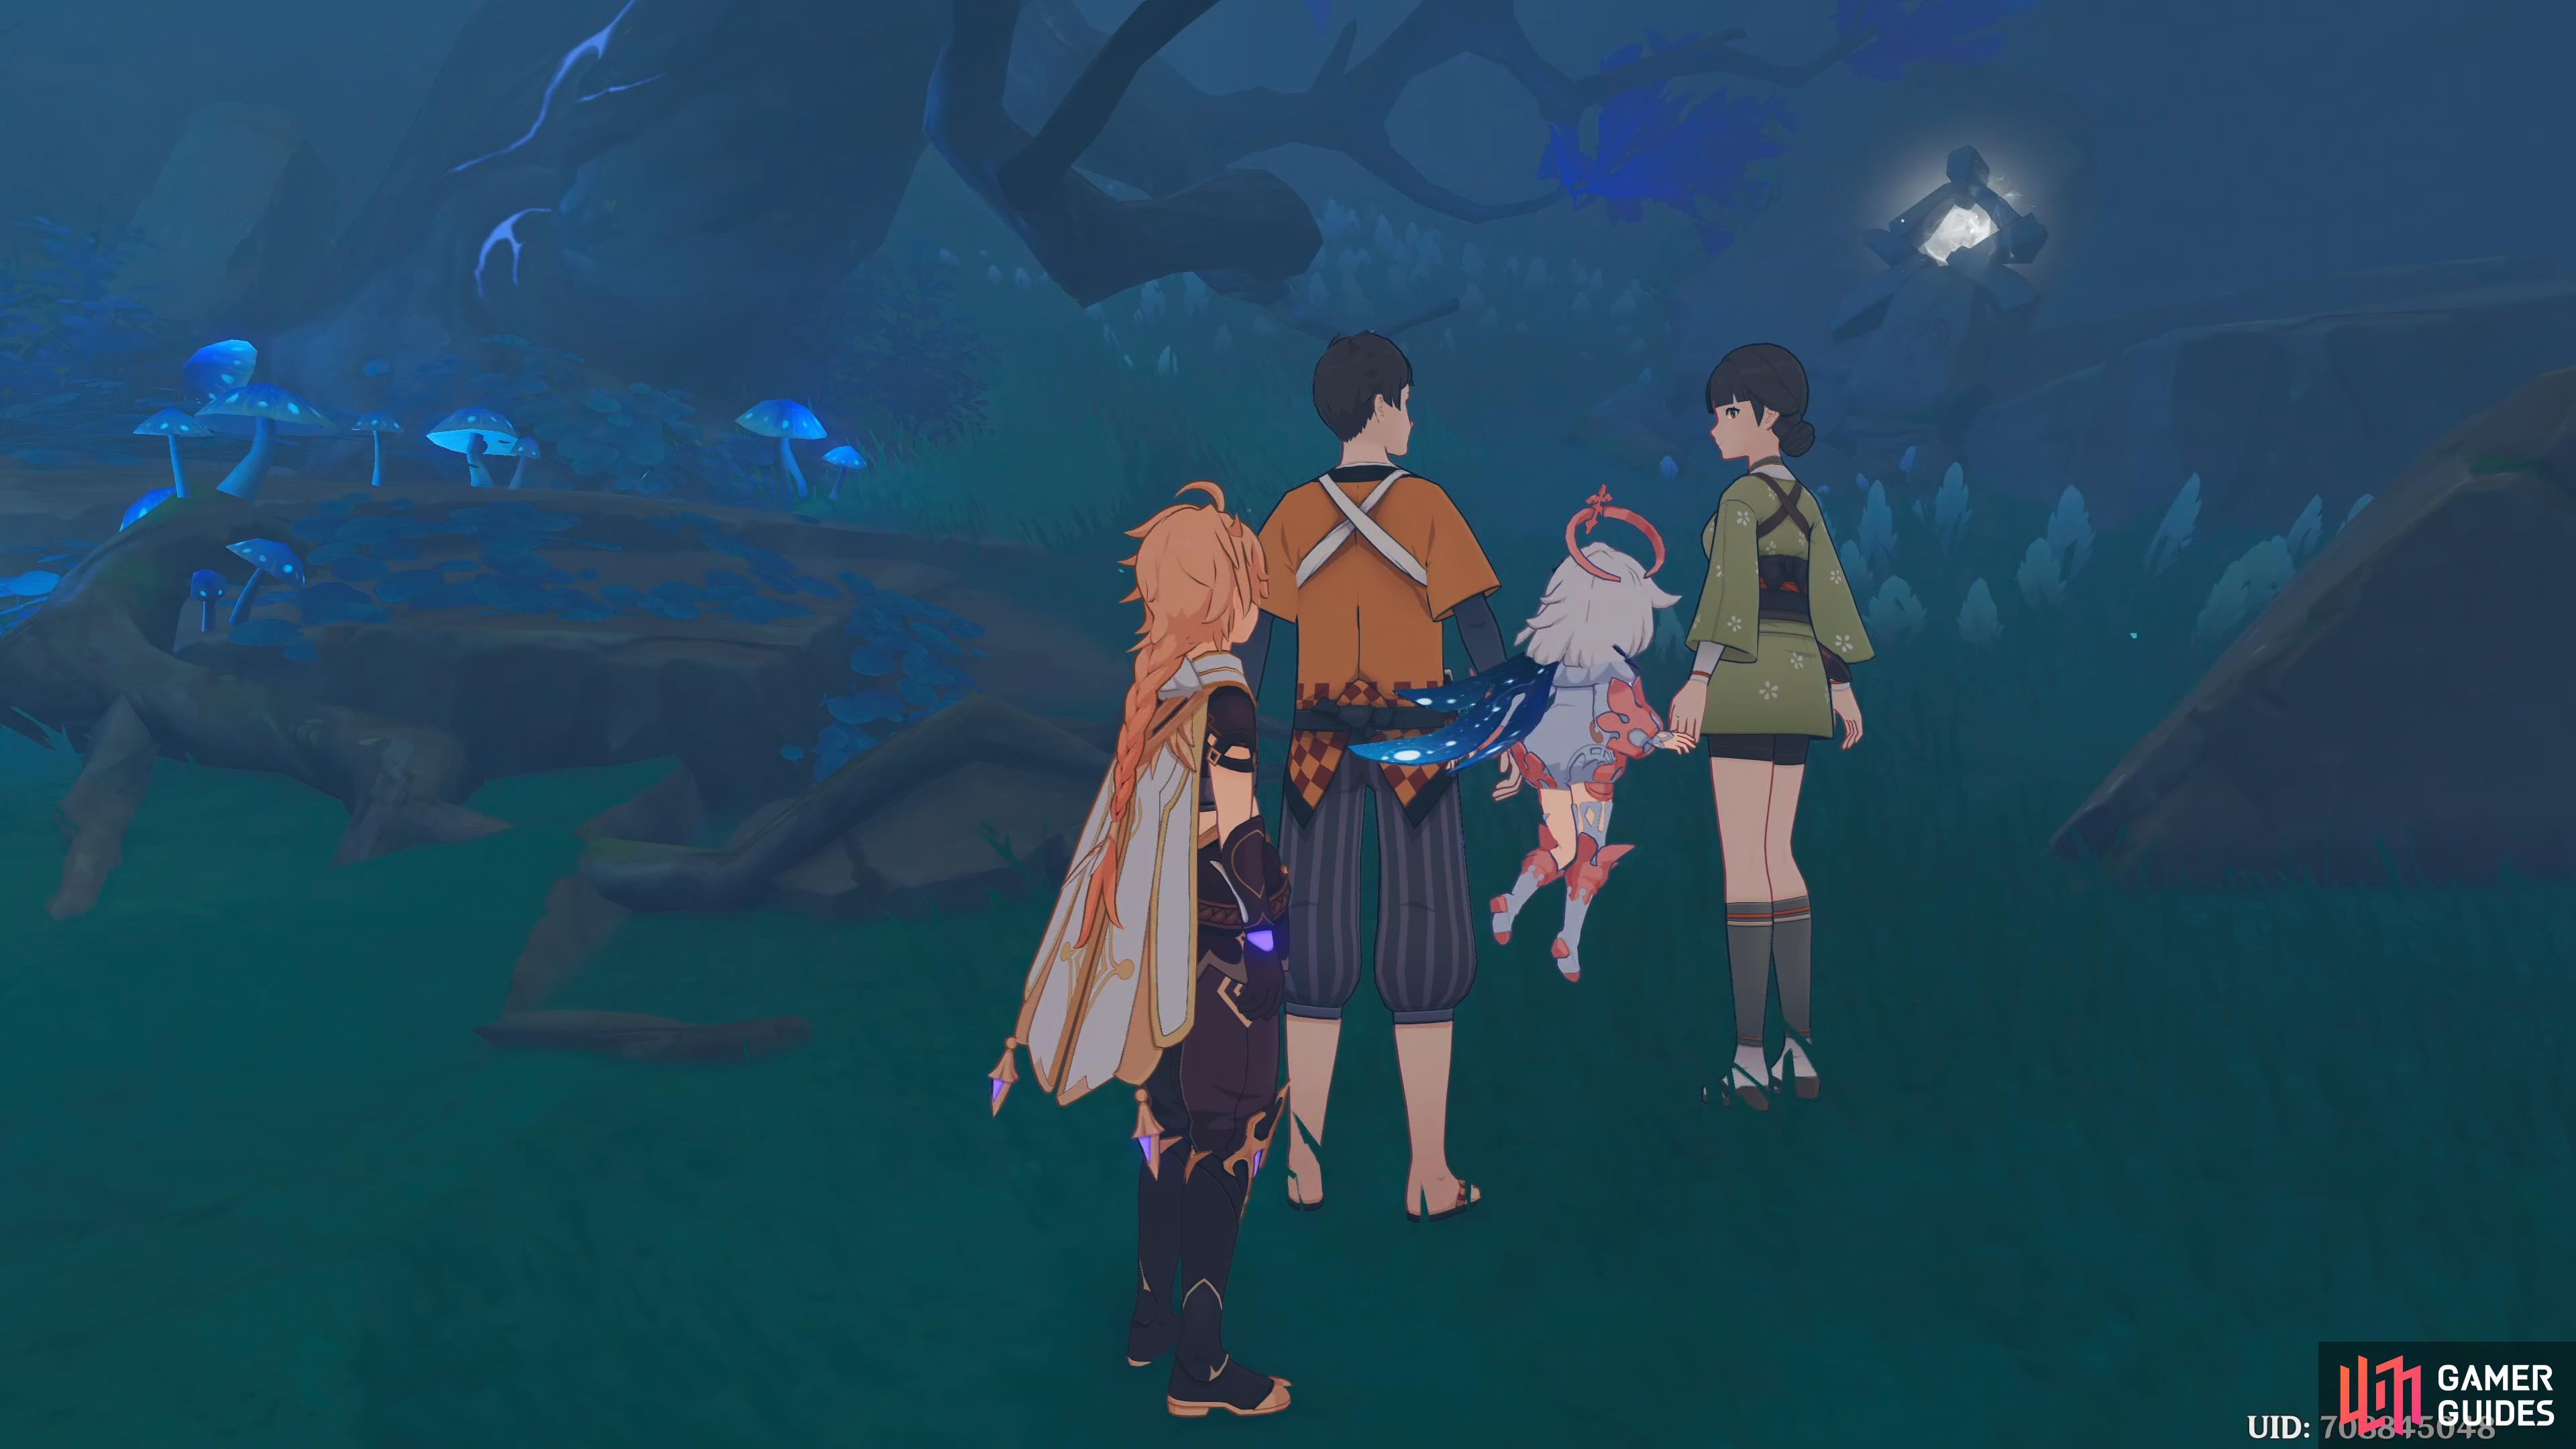
You’ll find Ipe and Makiri near the perch.
Talk to the People of Tsurimi Island
It appears they are making an offering to the perch, and then Paimon has a bright idea that you should destroy the perches as that would disrupt the ceremony.
Destroy the perches
Start attacking the perch, and it’s health will slowly drop. When you get to the halfway point, the perch will unleash several orbs around the area.

When you take the Thunderbird Perch’s health to halfway, it’ll unleash several orbs, which you’ll have to destroy before you can finish off the perch.
Search for the perch’s scattered power
What you need to do is, find and destroy all the orbs. You have to either Pyro, Cryo, Anemo, or Geo damage to destroy them as the orbs are immune to Physical, Hydro, and Electro damage. Whilst you’re destroying the orbs, enemies may spawn, but you don’t have to fight them if you don’t want to.
Use your Elemental Sight to find the location of the orbs, but you may find it easier using the mini-map instead as it will show you where they are. Most of them are scattered around the small mountain just south of you. The only one you may have trouble finding, is the one on top of the same mountain.
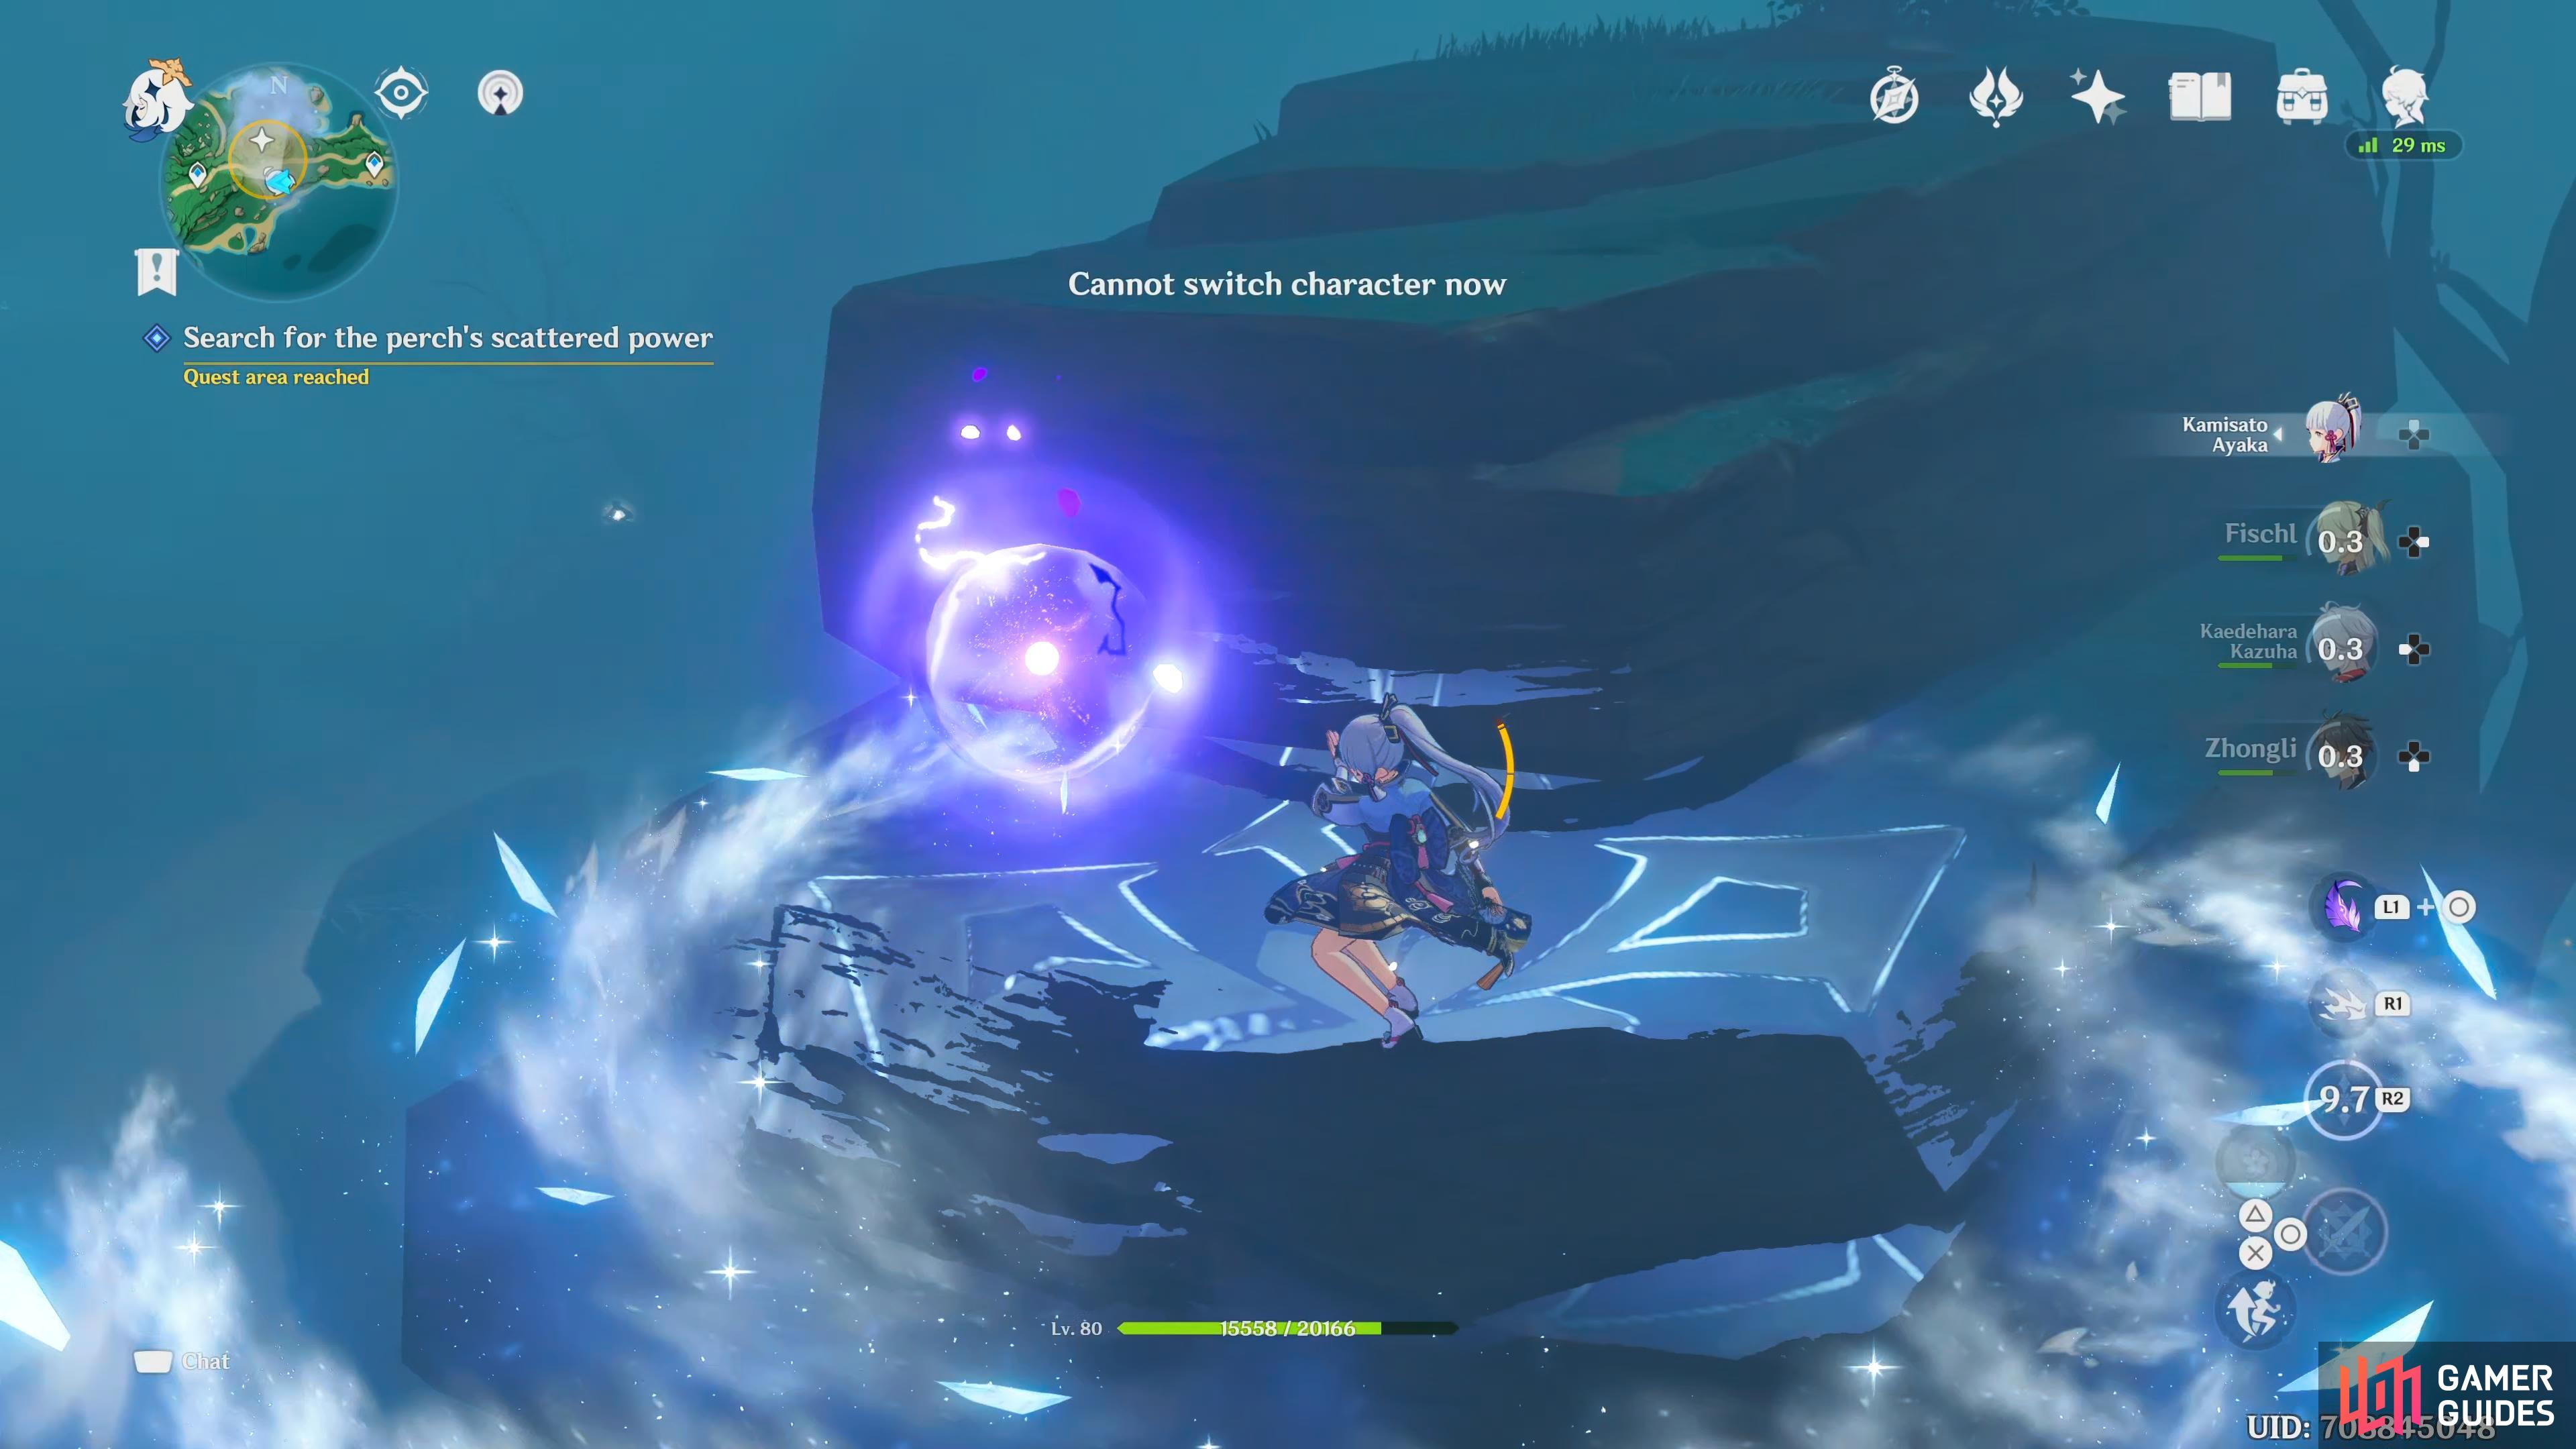
One of the orbs will be on top of the mountain.
Destroy the perches
With all the orbs destroyed, head back to the perch, and slowly chip away at its health, until it’s destroyed. When you’ve destroyed it, you’ll get a short scene showing you Ipe and Makiri’s reaction to your vandalism.
Destroy the perches (0/3)
You’ll need to do this three more times, each of them at the same locations you were at a couple of quests ago with the feathers, which are: Autake Plains, Shirikoro Peak, and Chirai Plains.
Autake Plains Perch
Head over to the Autake Plains perch, which can be found right in the center of the mist, and start to attack it. Once again, when it gets to half of its health, the orbs will scatter around the immediate area. Make sure you light up the storm stones around the area if you haven’t already, otherwise you’ll get lost in the mist. There will be a lot more enemies spawning around here, but you can avoid them if you want. Destroy all the orbs by using the mini-map, then head back to the perch, and finish it off. When you have destroyed the perch, the mist will disappear from the map.
Shirikoro Peak
Head over to the Shirikoro Peak perch, which can be found right in the center of the mist again, and start to attack it. Once again, when it gets to half health, orbs will scatter around the immediate area. There will be a lot more enemies spawning around here, but you can avoid them if you want. Destroy all the orbs by using the mini-map. One of the orbs is right near the perch, the rest of them are on the various platforms around the perch. When you have dealt with the orbs, head back to the perch, and finish it off. When you destroy the perch, the mist will disappear from the map.


(1 of 3) Although the game tells you to use your Elemental Sight, sometimes it won’t show you where the orbs are
Chirai Shrine
Head over to the Chirai Shrine perch, which can be found right in the center of the mist, behind the ruins, and start to attack it. Once again, when it gets to half of its health, the orbs will scatter around the immediate area. Make sure you light up the storm stones around the area if you haven’t already, otherwise you’ll get lost in the mist. There will be a lot more enemies spawning around here, but you can avoid them if you want. Destroy all the orbs by using the mini-map, then head back to the perch, and finish it off. When you destroy the perch, the mist will disappear from the map. With all the perches destroyed, you’ll talk to Paimon, who suggests you head to the ceremonial site.
Go to the ceremonial site
Teleport back to the waypoint to the east of the site, then follow the path west until you reach the site. As you get near it, you’ll get a short scene, and the sky turns a reddish color, and bolts of lightning hit the ceremonial site, and you and Paimon flee from the storm.
Go to Tsurumi Island and look for Ruu once again
Teleport to the waypoint southwest of the Statue of the Seven, and follow the path west, and you’ll see Ruu. Head nearer to him, and you’ll get a scene.
Talk to Ruu
Ruu isn’t happy with what you did, and feels betrayed. You try to explain to him that you were only trying to help, but he tells you’re not helping. When you ask him why he wants the ceremony to proceed, he explains to you that back then, something went wrong, and he woke up with the island the way it is now. After a while, a storm would start, which would scare him.
During these times, only Autake Plains, Shirikoro Peak, and Chirai Shrine wouldn’t be struck by lightning, so he would hide at them until the storm passed. The problem was, when the storm stopped, he would wake up, and everything would repeat itself. This is why he tried to get people from outside the Island to help. He thinks that if he completes the ceremony, that Kapatcir, the Thunderbird will be pleased, and everyone will go back to normal lives. Paimon tries to tell Ruu that the ceremony isn’t right, and he tells you it isn’t true, and that you shouldn’t come back to the island again. You tell Paimon that there is no use staying here anymore, and she agrees.
Talk to Sumida
When the scene ends, teleport back to Inazuma City, and speak to Sumida. You’ll tell her what happened on the Island, and she starts to hypothesize that as the Thunderbird destroyed Seirai Island all that time ago, and Ruu is a shade of the past. That there must be a way to stop this, maybe by mystical means. You tell her that you spoke to Kama, and she insists that you find him right away. Both of you will head over to him.
Sumida asks Kama why he never told her that he was a descendant of someone from Tsurimi Island, and he replies that she never asked. Sumida will then start to talk about her novel, and Kama tells her he isn’t impressed by it in the slightest, which upsets Sumida. Paimon tells Sumida not to give up, to which you tell Paimon the same, and she asks you if Sumida’s idea could work, and whether you should give it a try. Sumida will ask you about the commission, and you’ll tell her that you’ll continue plumbing the depths of Tsurimi Islands mysteries. When the scene ends, so will the quest, and you’ll have to wait one real life day before accepting the final quest in the series.
No Comments