
This is a walkthrough for Yae Miko’s Story Quest “A Centuries-Long Dream” which is the third quest in the Divina Vulpes Chapter: Act 1, The Great Narukami Offering. Here, you’ll find a complete walkthrough for the entire quest.
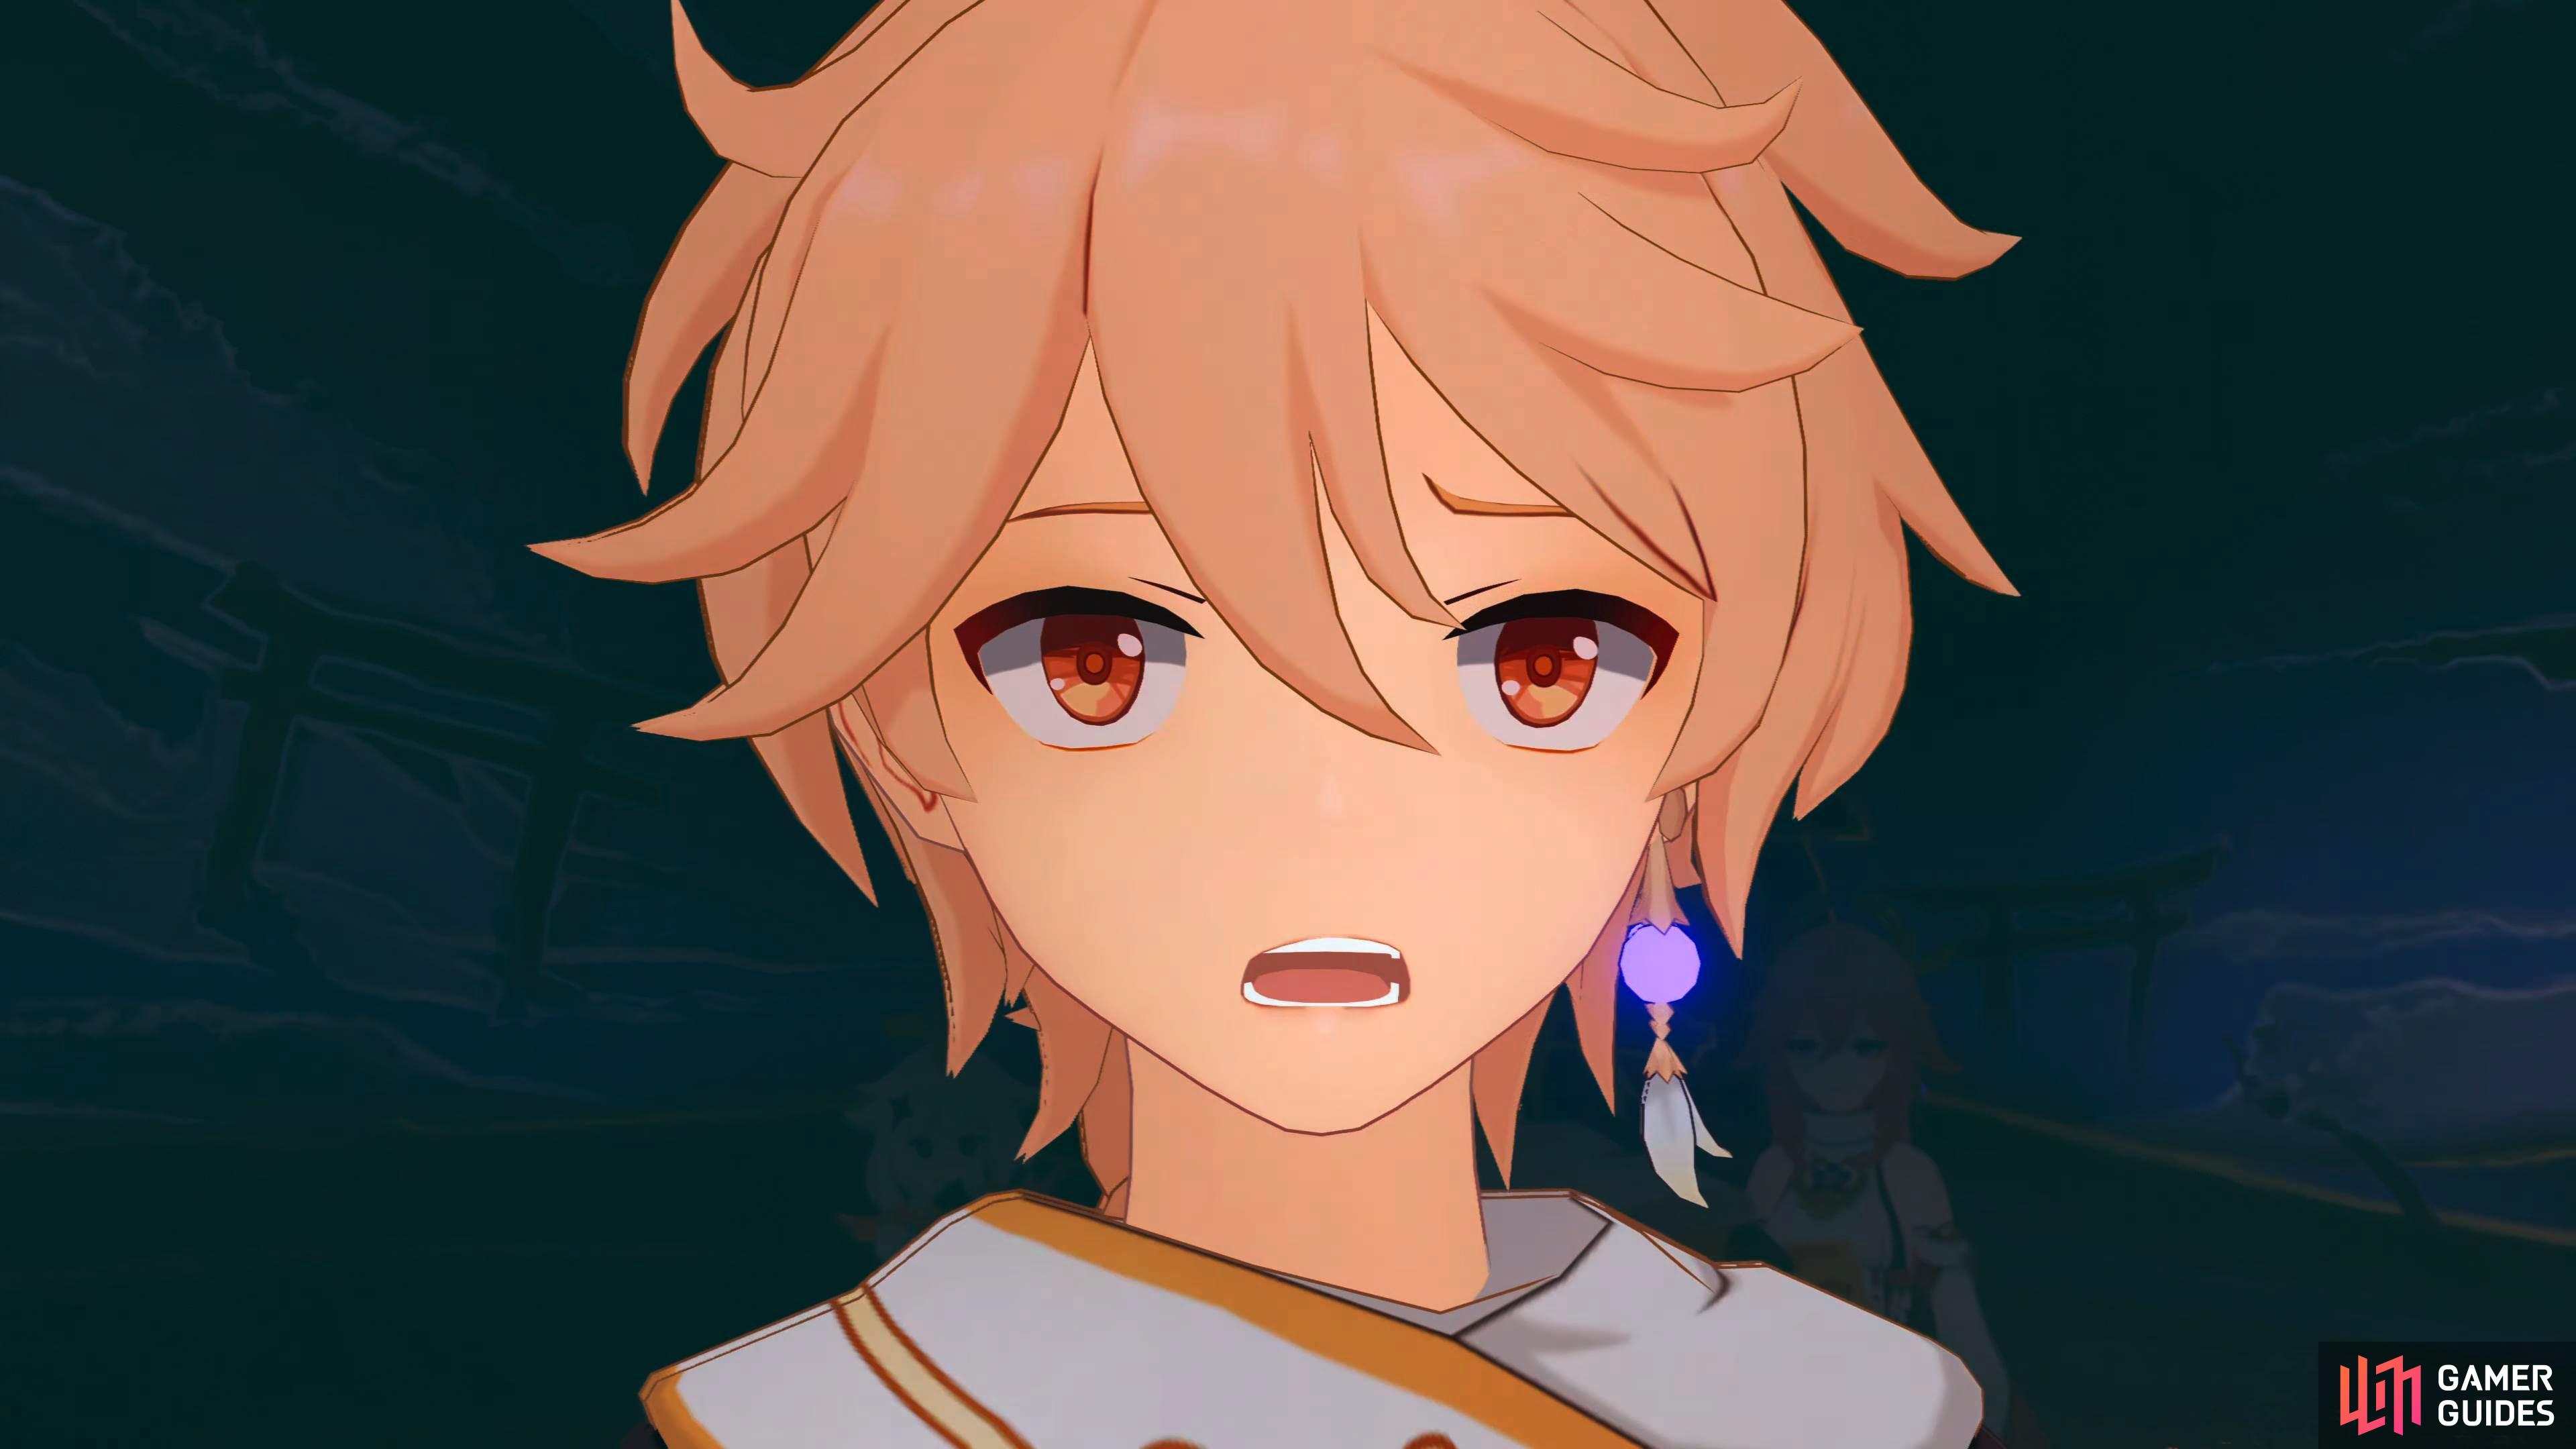
The Traveler is being possessed.
| Adventure EXP | Mora | Other Rewards | Requirements | Next Quests |
|---|---|---|---|---|
 525 525 |
 4 4  8 8 |
Adventure Rank 40, Complete: Omnipresence Over Mortals - Chapter 2: Act 3, Transient Dreams. One Story Key. | Banquet of Parting |
Description
The light novel is a great hit. It has successfully outshone “A Firsthand Guide to Summoning Spirits.” Now it is time to catch the spirit behind it.
Steps
- Go to the summoning ritual site
- Enter the summoning site
- Secret Summoning Chamber Domain Lamp Puzzle
- Begin the summoning ritual
Go to the summoning ritual site
This quest follow immediately from Friendship in Writing. According to Yae Miko, the summoning ritual site is on the coast to the east of Inazuma City. If you’re doing this quest straight after finishing the previous quest, head east to the edge of the cliff and glide to Yae Miko below. If not, teleport to the upper Inazuma City waypoint, and repeat the above instructions.
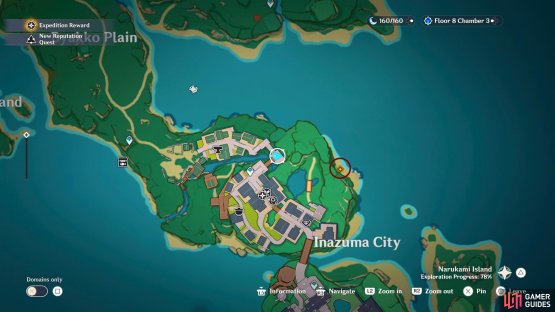

(1 of 2) The summoning site ritual can be found to the east of Inazuma City.
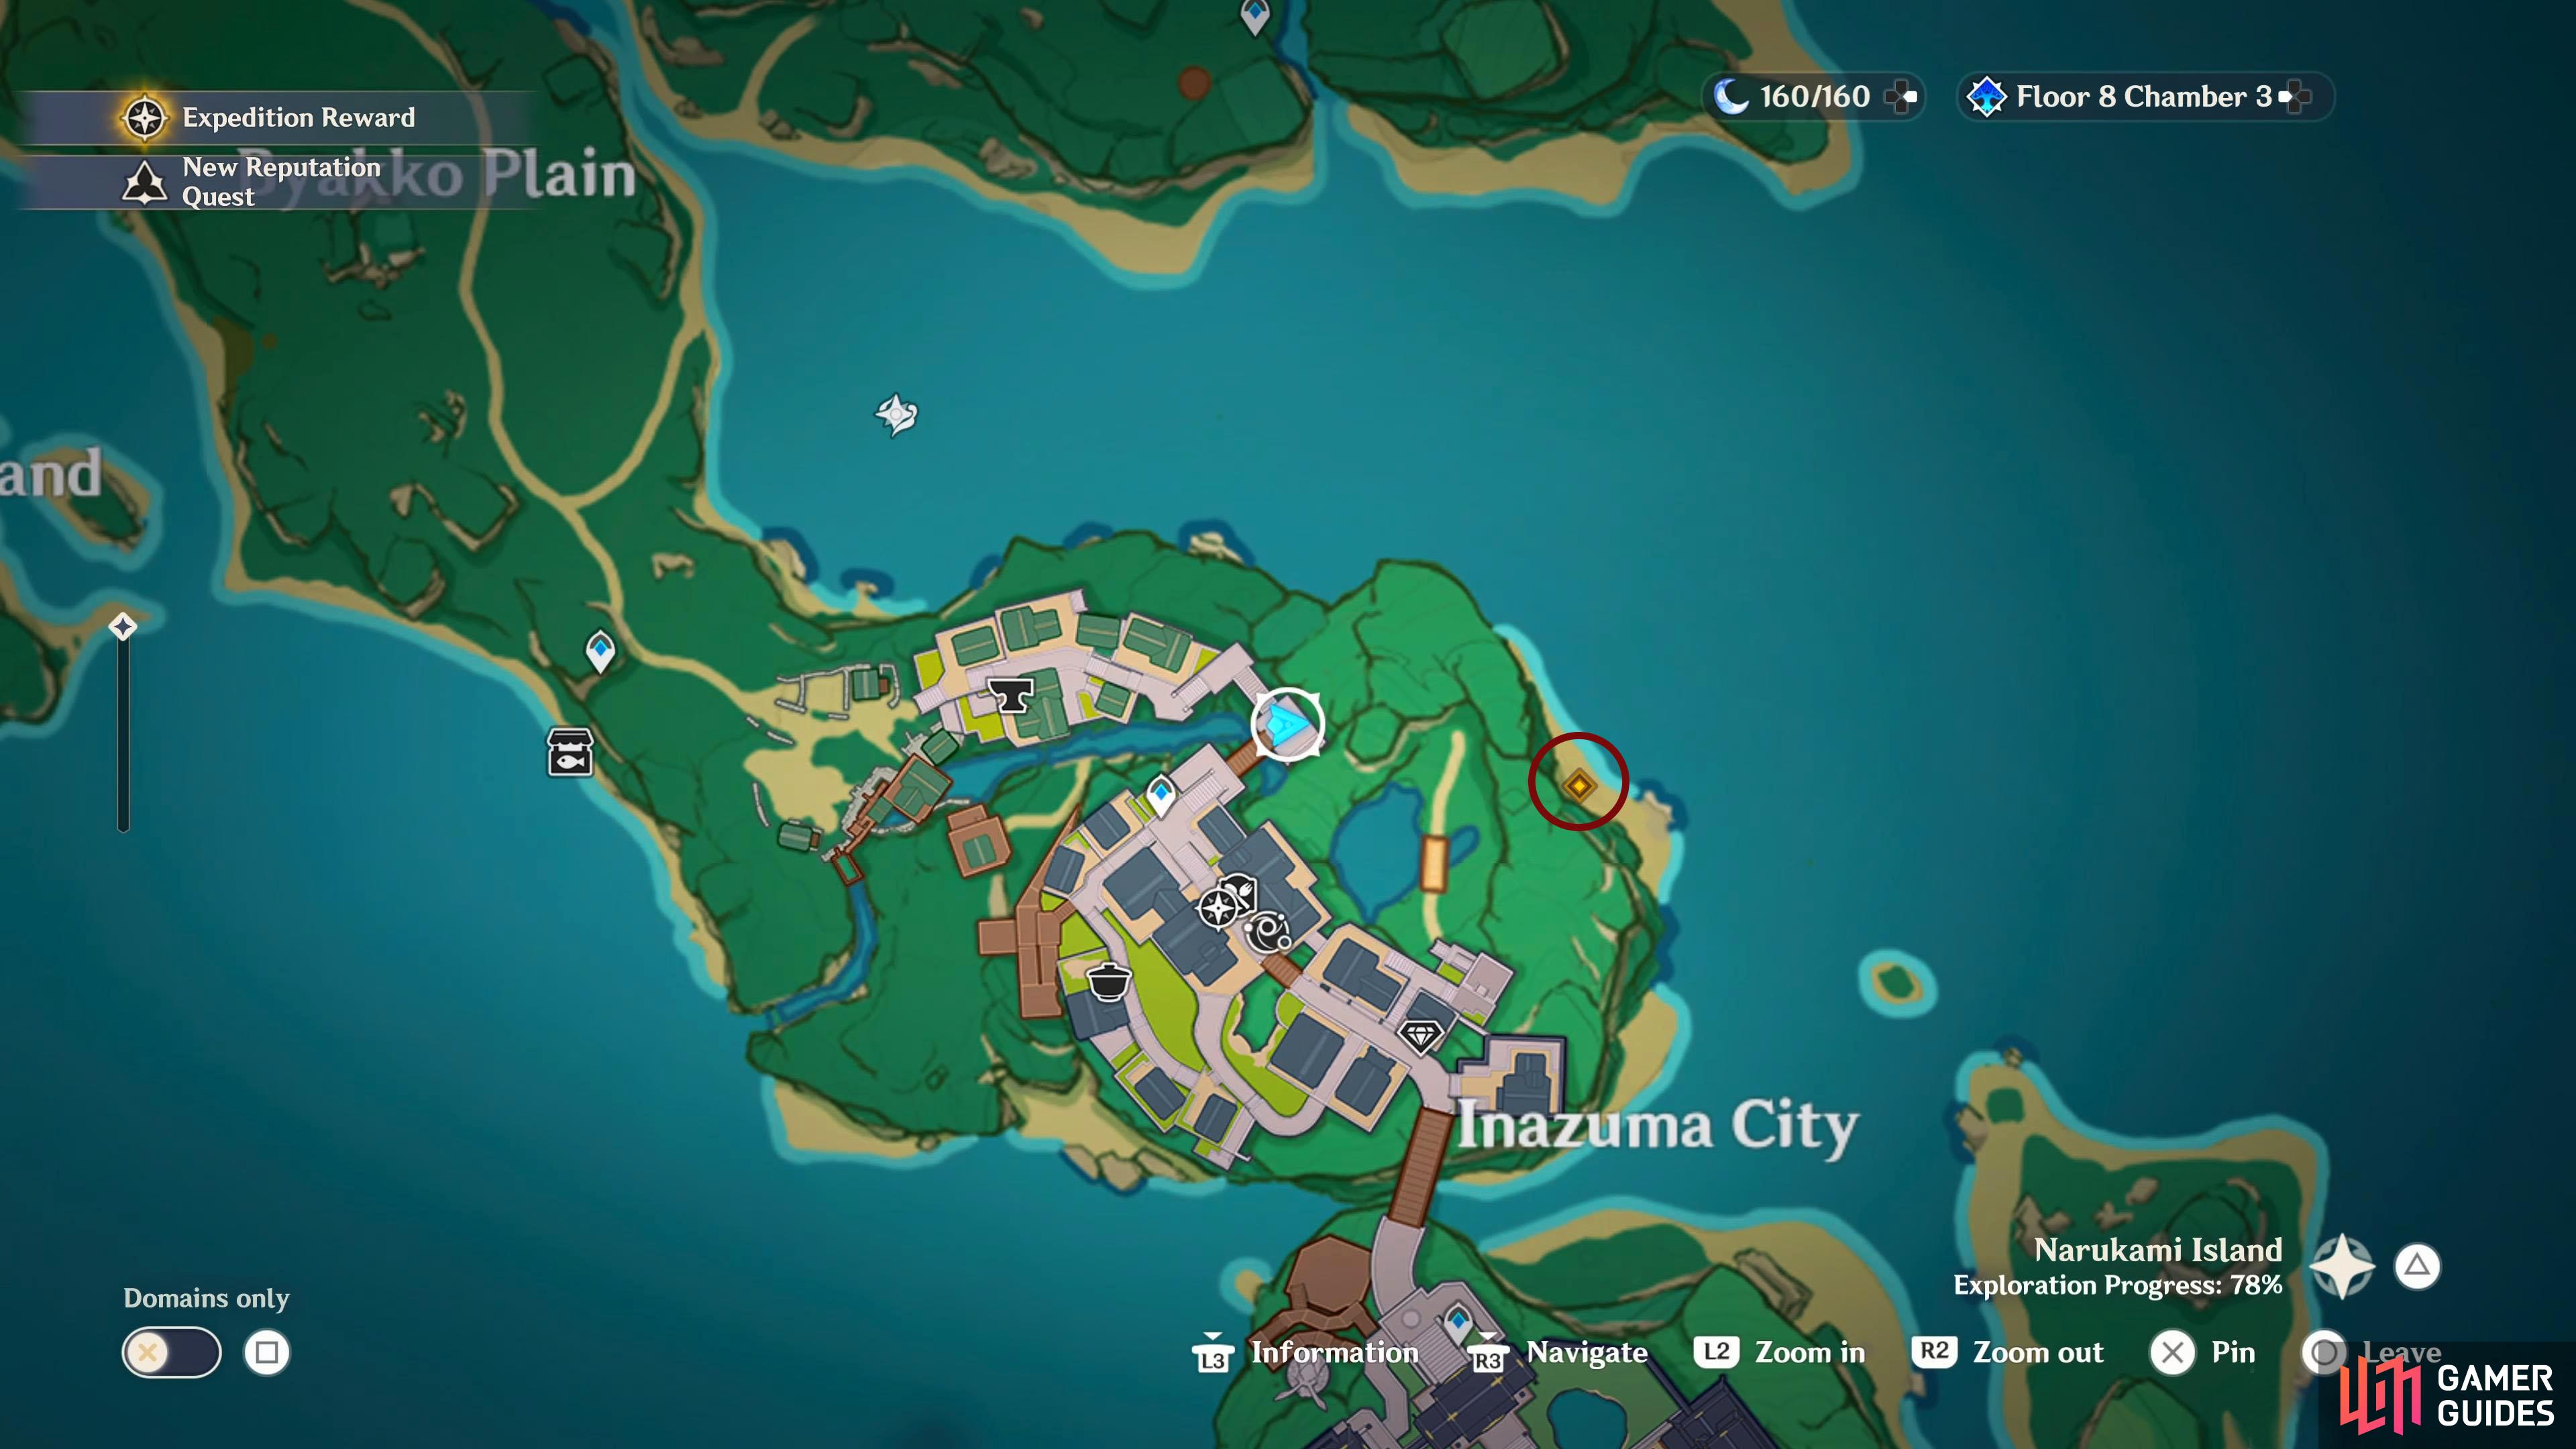
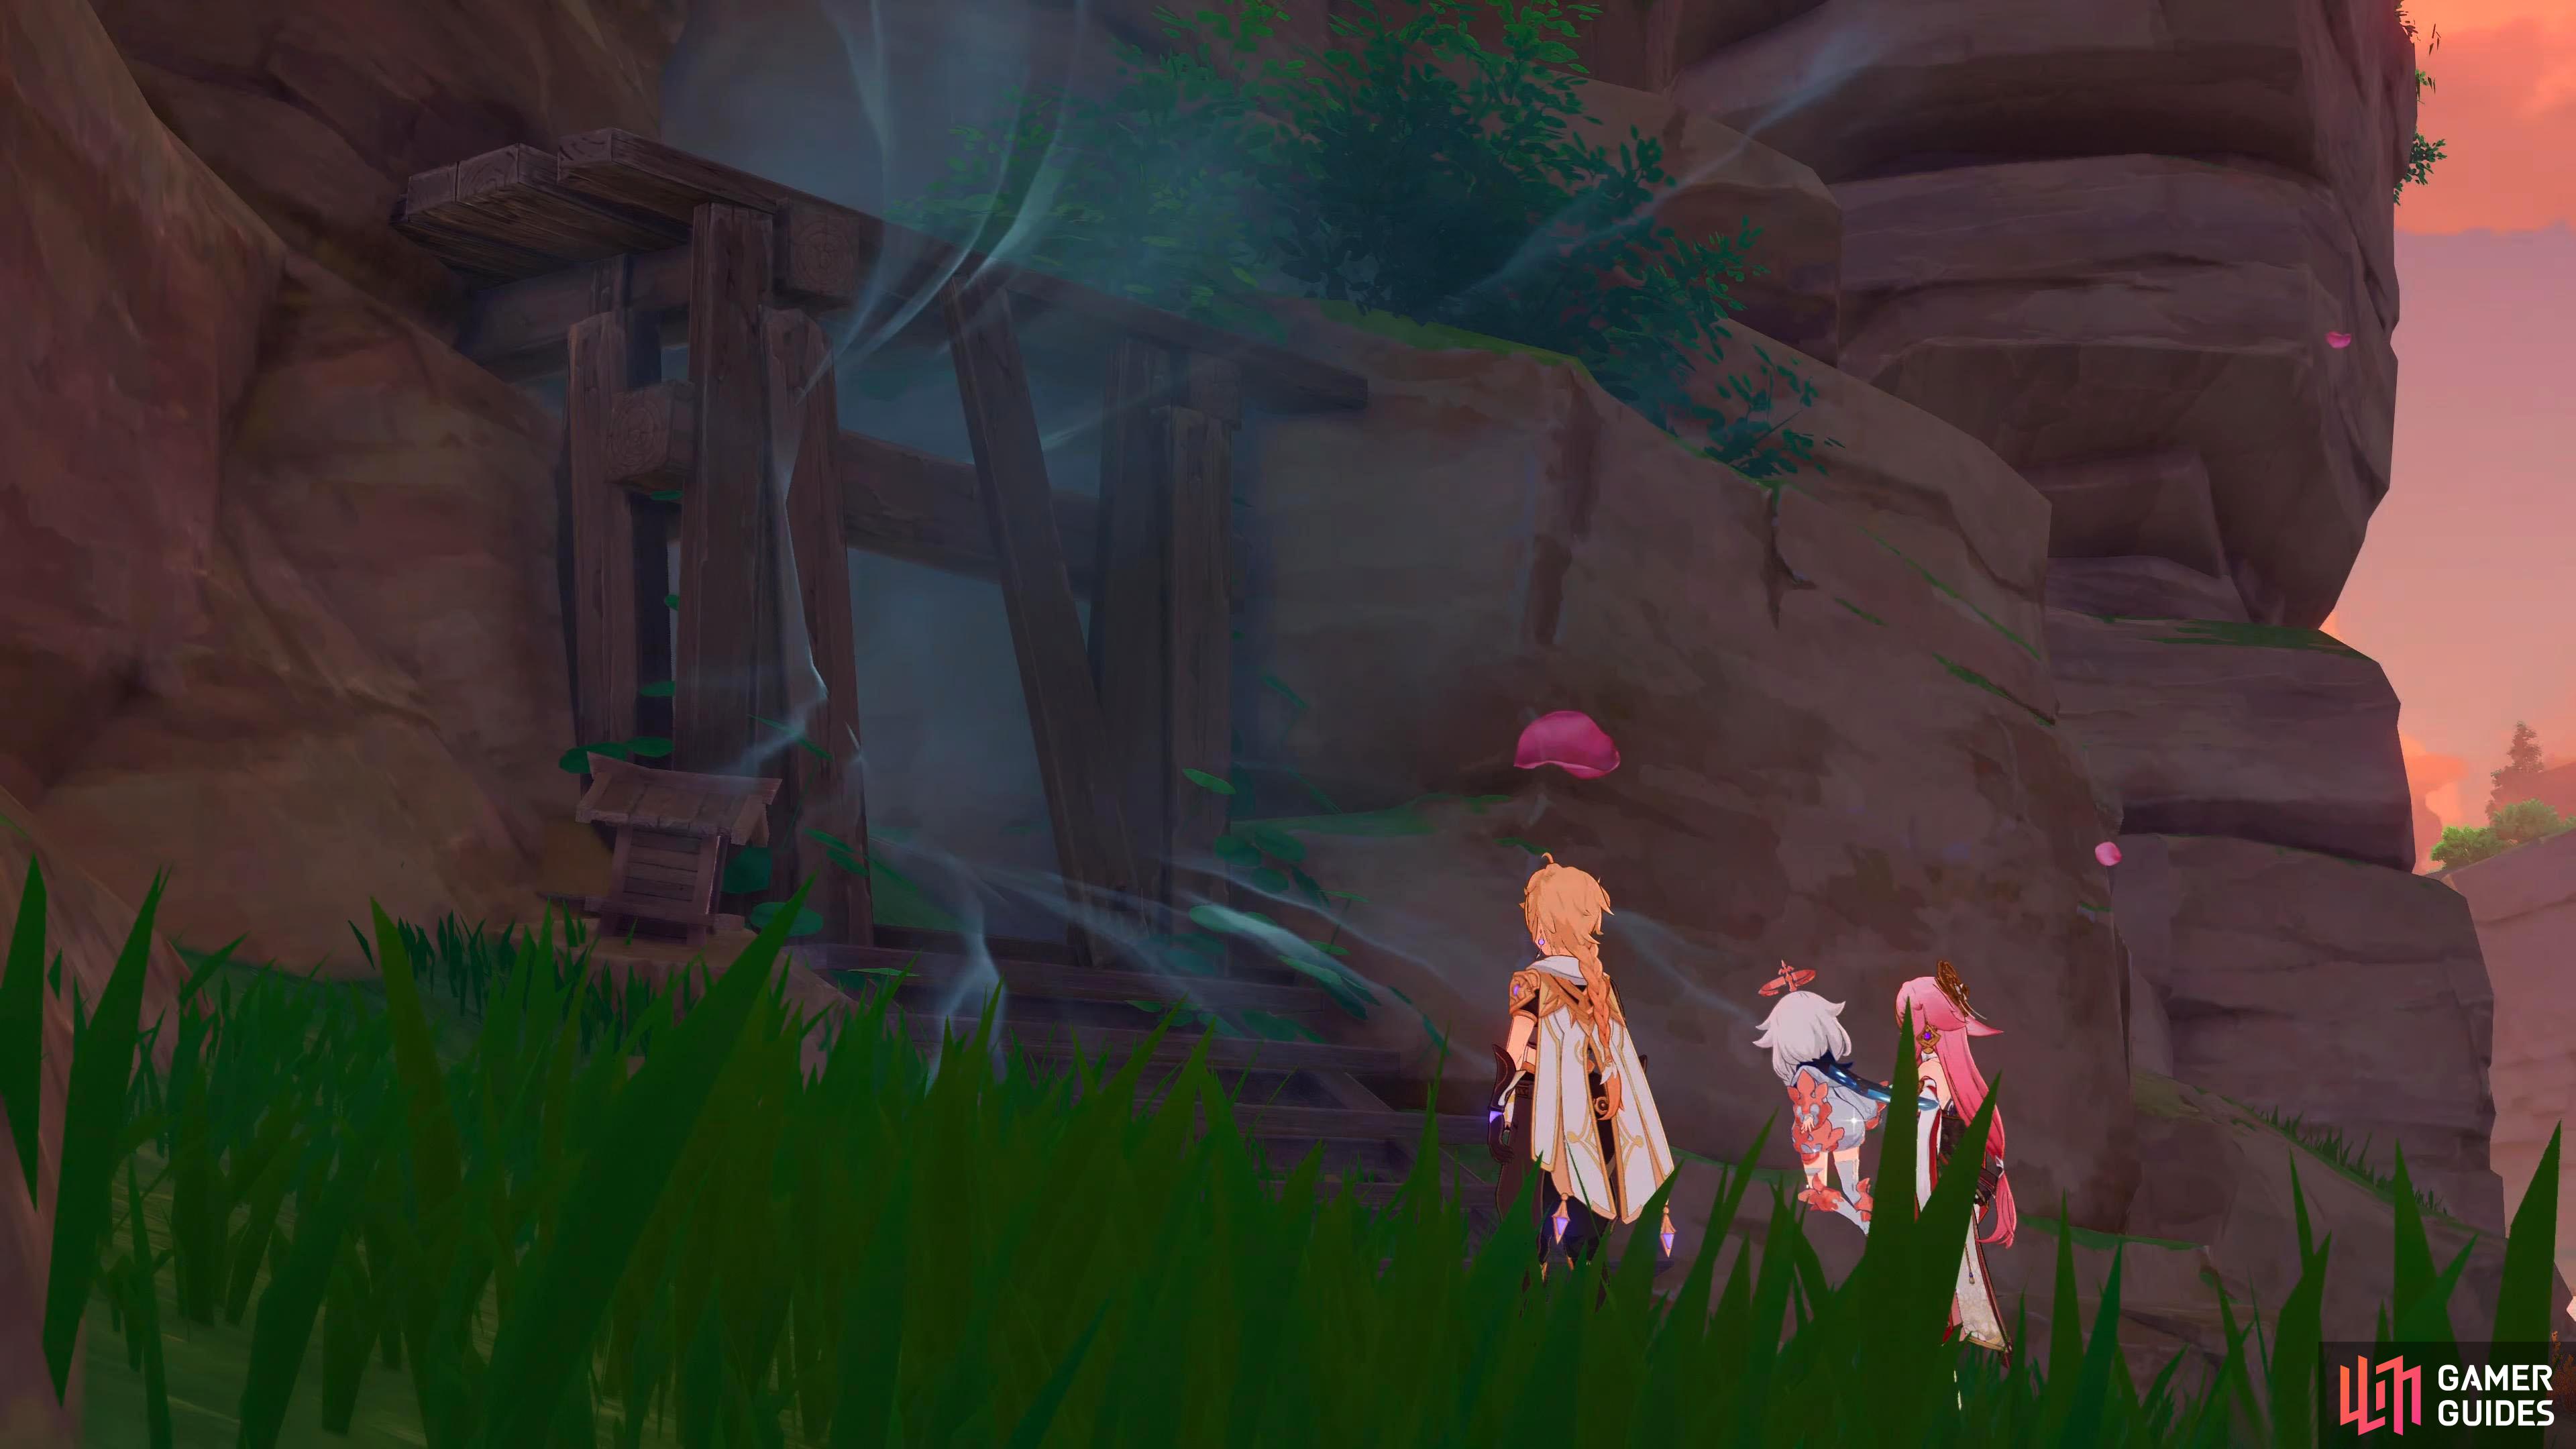
The summoning site ritual can be found to the east of Inazuma City. (left), Interact with the mysterious door to access the Secret Summoning Chamber Domain. (right)
She’ll be standing outside an other-worldly door, and Paimon will ask what this place is. She’ll explain to you that it’s a perfect spot to find the elusive author. That this is where you’ll most likely succeed in summoning the spirit. Although Paimon is scared due to Yae Miko telling her the place is full of the deceased, you’ll agree to go through the door.
Enter the summoning site (Secret Summoning Chamber Domain)
Interacting with the door will open up the Secret Summoning Chamber Domain menu. Although it recommends an electro character, Yae Miko is playable as a trial character throughout, and she is electro herself which means you don’t have to waste a spot.
Recommended Party
| Main DPS | Sub DPS | Sub DPS | Support |
|---|---|---|---|
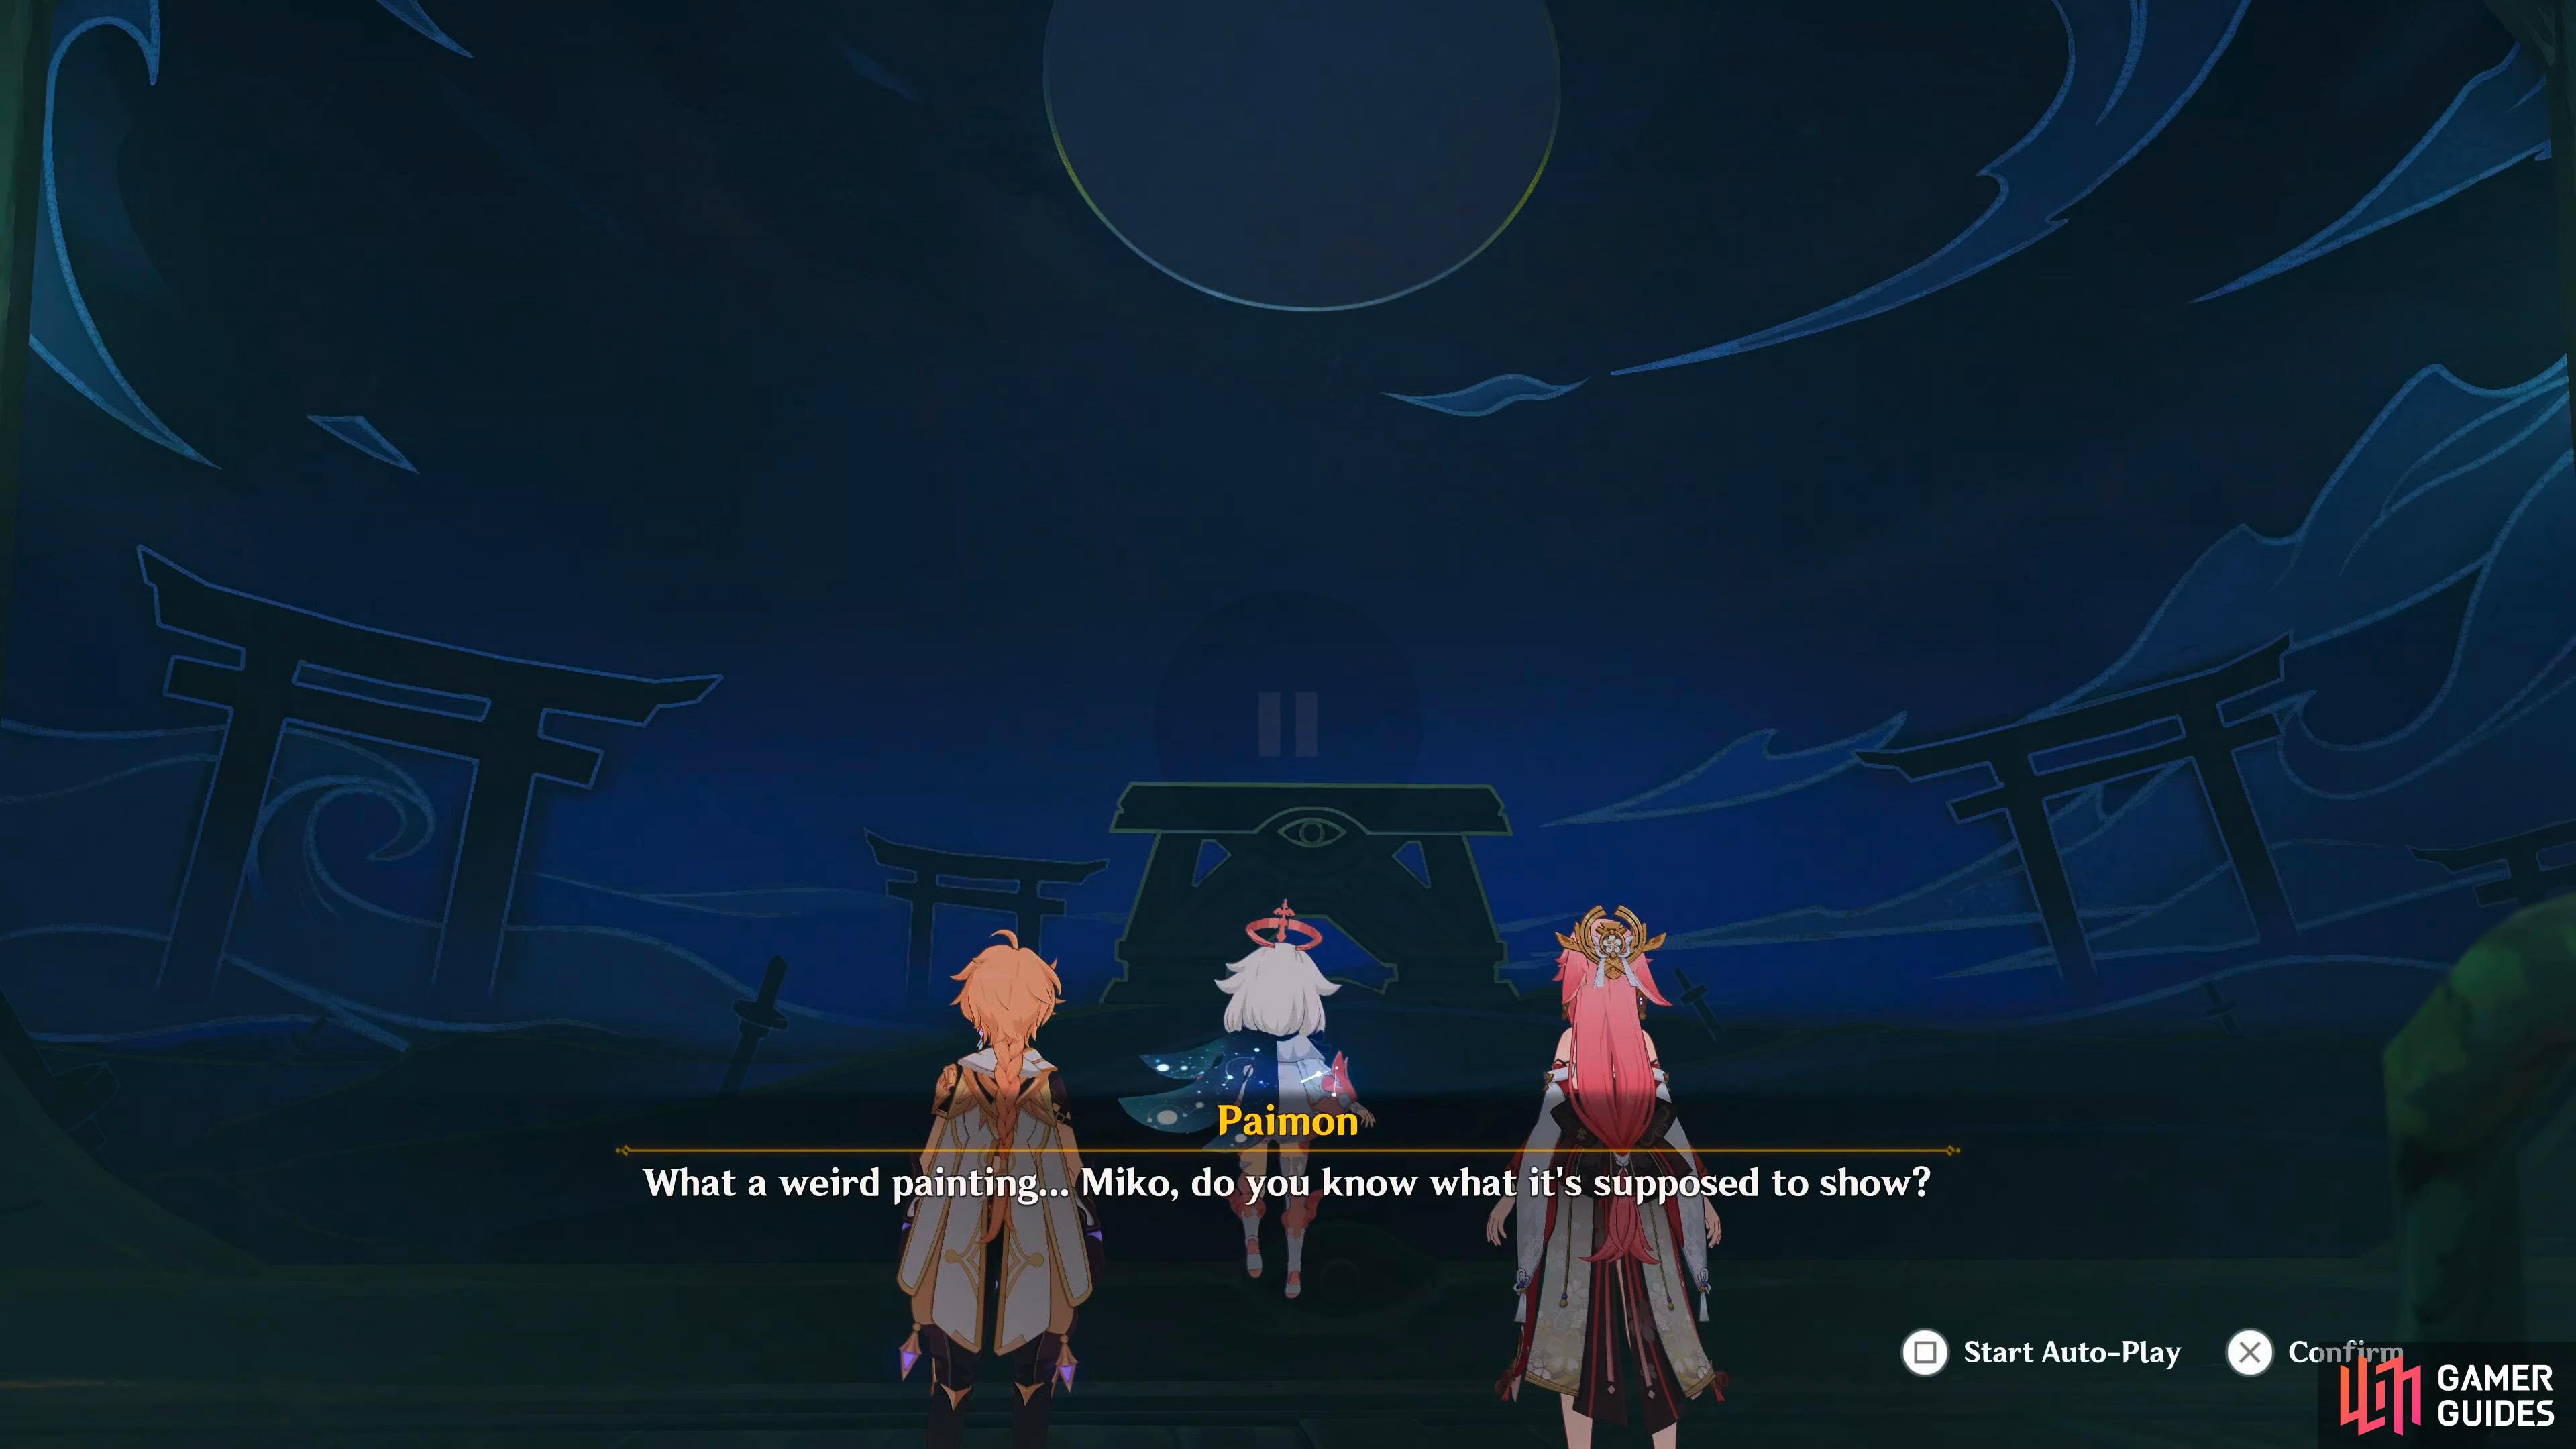
As soon as you enter the domain, you’ll be in what appears to be an old wooden building. Go down the stairs, and head up the other set of stairs to the east for a scene. You’ll find a weird and wonderful painting, and Paimon will ask Yae Miko if she knows what it’s supposed to be. She’ll respond with “Probably a scene from ancient Inazuma.” Paimon will spot the artist’s name as Rakusai in the corner of the painting, and Yae Miko will tell you to look inside.
When the scene ends, head east, and you encounter your first battle with a couple of Ronin. By now, you should’ve fought these a fair bit, but probably not with Yae Miko. Like all trial characters, they are pretty strong, and you should take advantage of it by playing as Yae Miko as much as possible.
Yae Miko is a caster that deals electro damage. Her normal attacks summons forth kitsune spirits which can hit for a maximum of three attacks. Her Elemental Skill: Yakan Evocation: Sesshou Sakura allows her to move swiftly whilst deploying a Sesshou Sakura to a maximum of three. If they’re near each other, they temporarily level up, boosting their damage. So make sure to deploy all three of them when you’re using the skill.
Finally, her Elemental Burst: Great Secret Art: Tenko Kenshin will rain down lightning from the skies dealing AoE damage. This skill is best used after deploying all three Sesshou Sakura as the Elemental Burst will transform them into Tenko Thunderbolts that’ll descend from the skies, dealing even more AoE electro damage.
By using a combination of Yae Miko’s skills with your party’s own skills, the enemies shouldn’t be much of a problem. When they’re defeated, open the chest, and proceed onwards. As you enter the next room, Paimon will make a note on the size of it whilst noticing the large mirror leaning against the wall with a stool in front of it. Sit on the stool, and Yae Miko will talk about a mechanism that should make the whole room move.
Secret Summoning Chamber Domain Lamp Puzzle
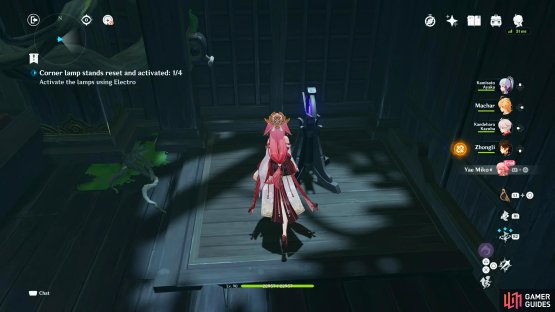
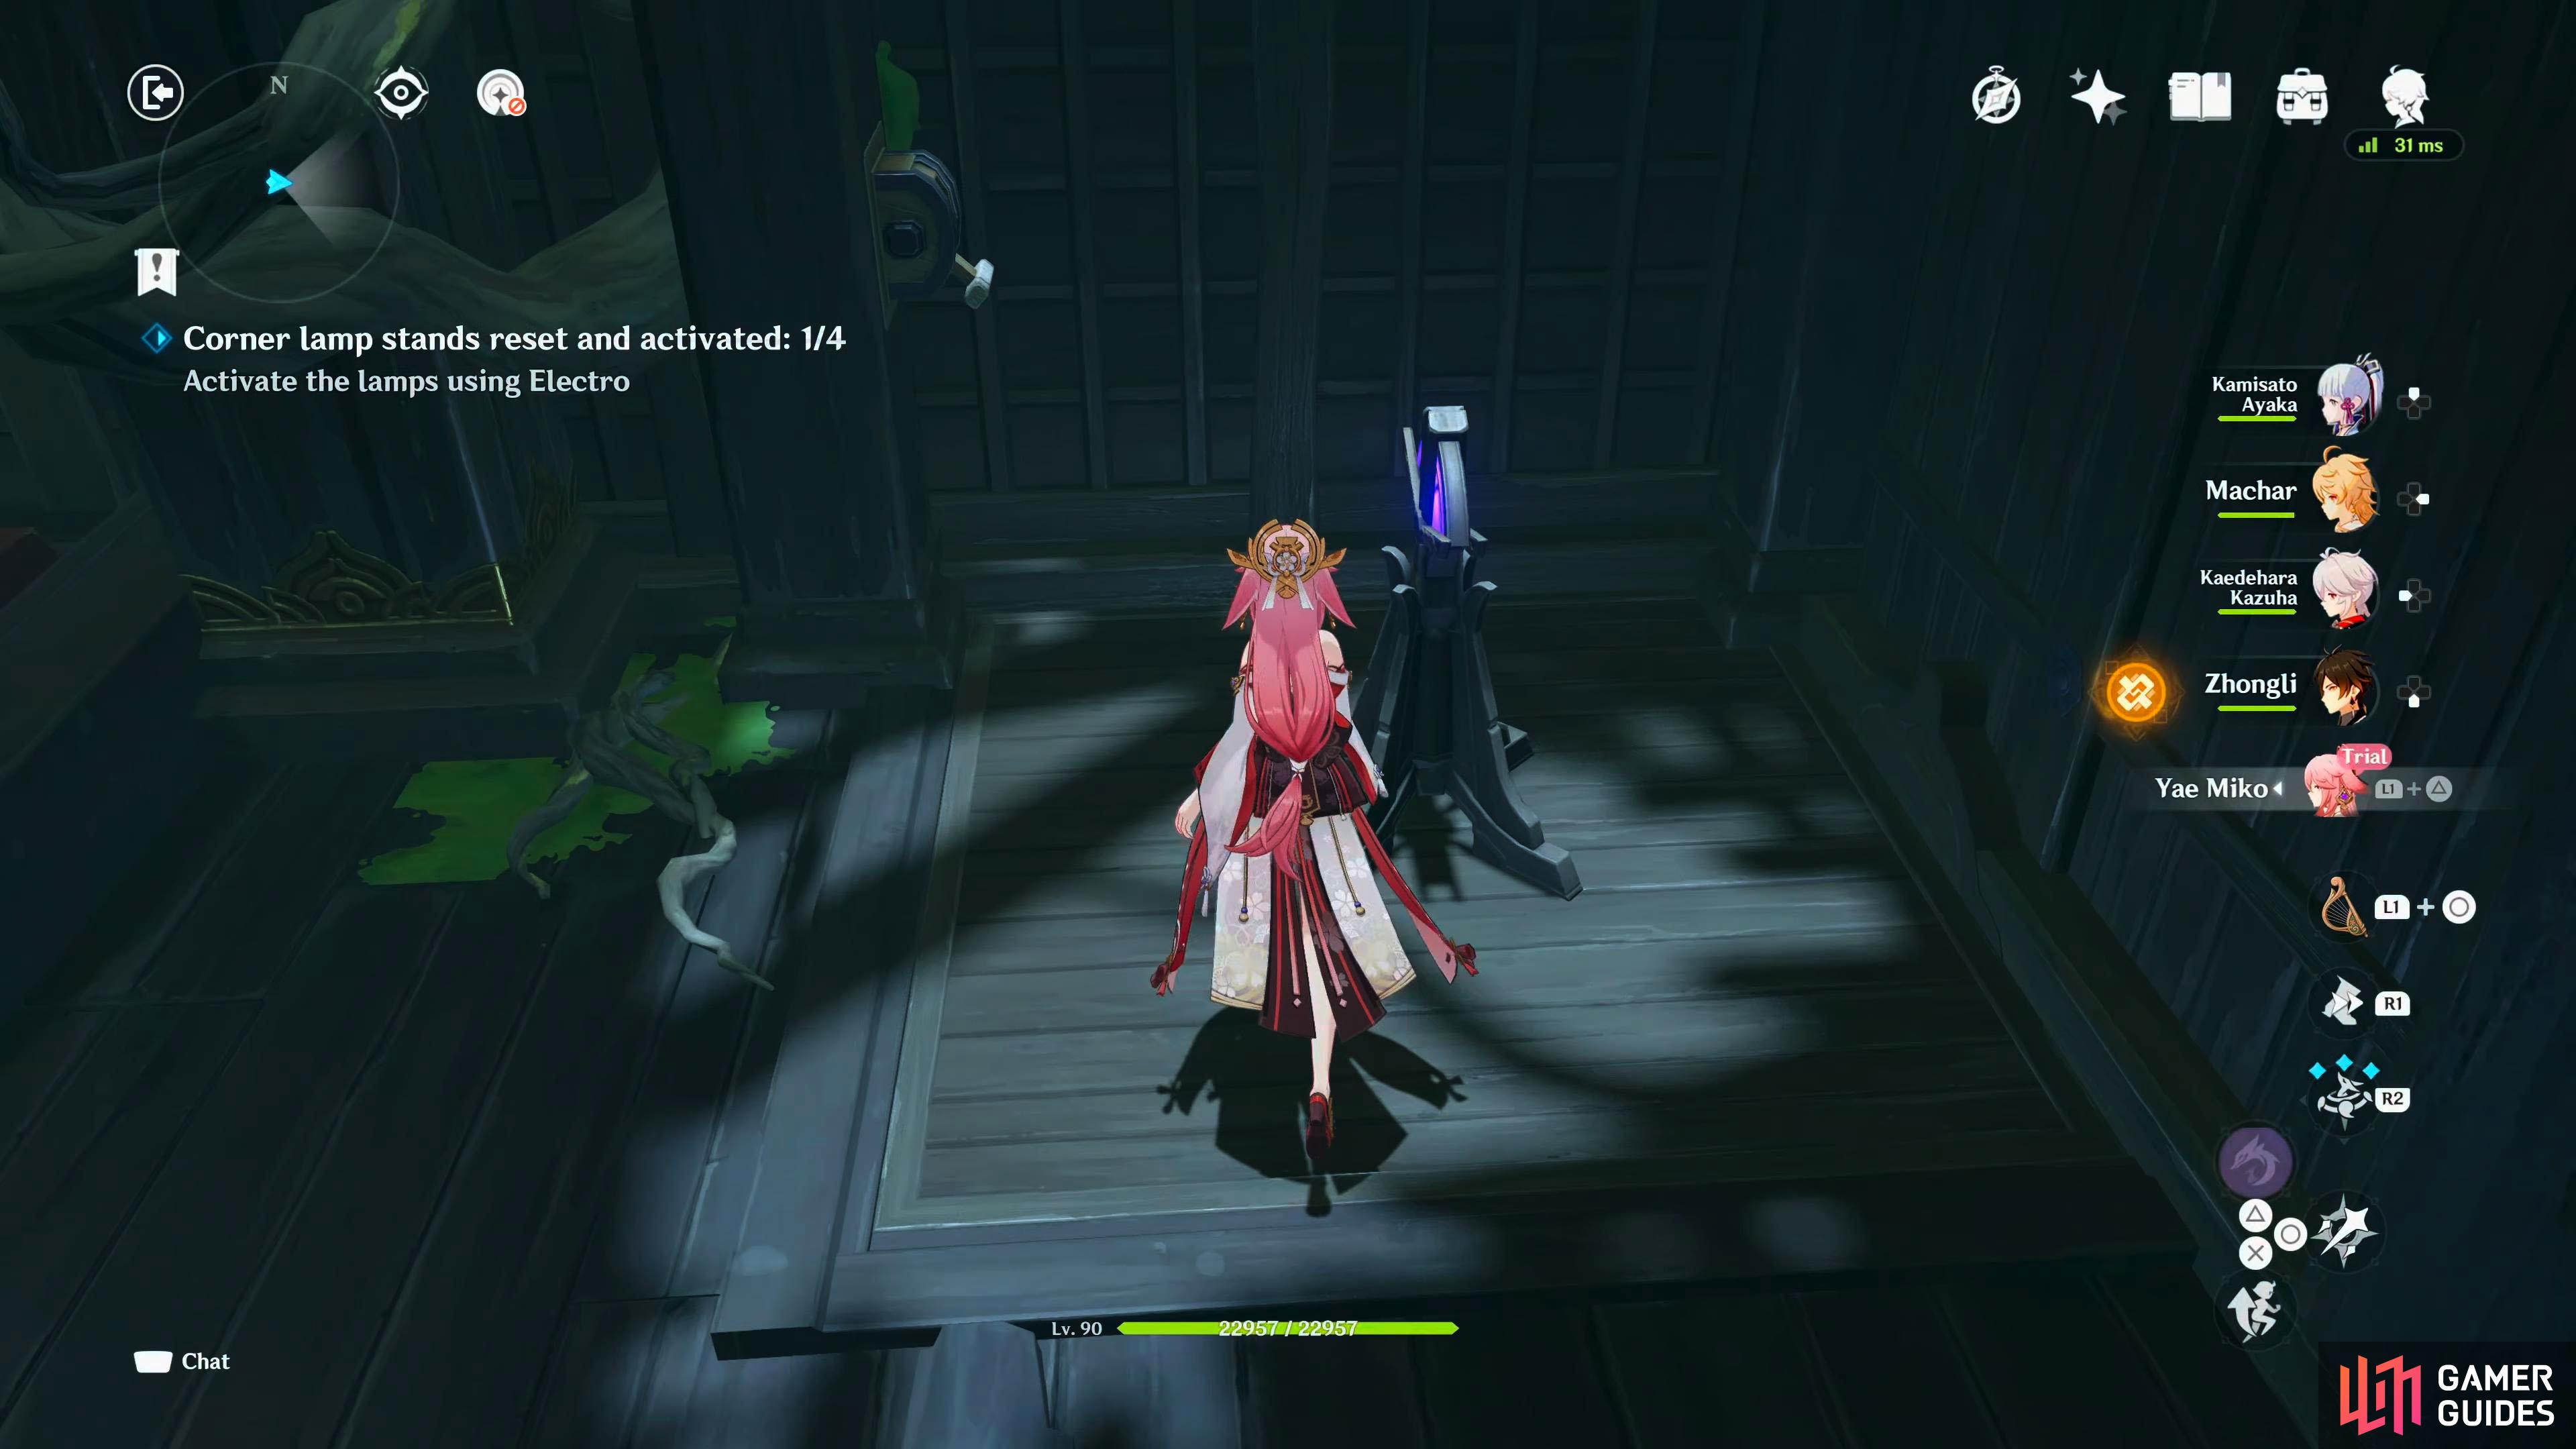
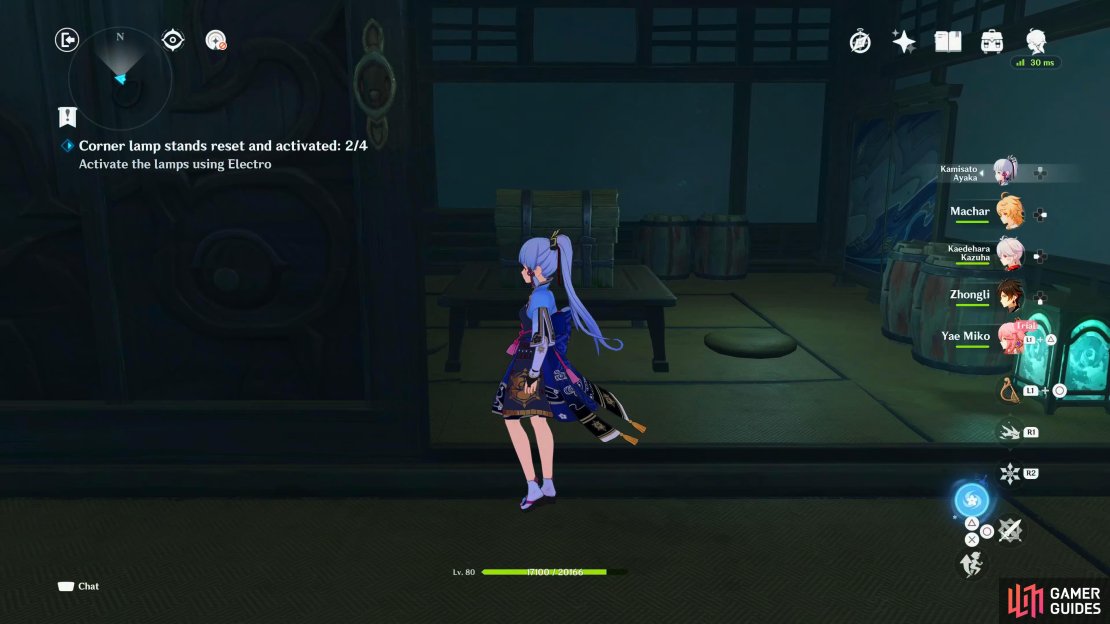
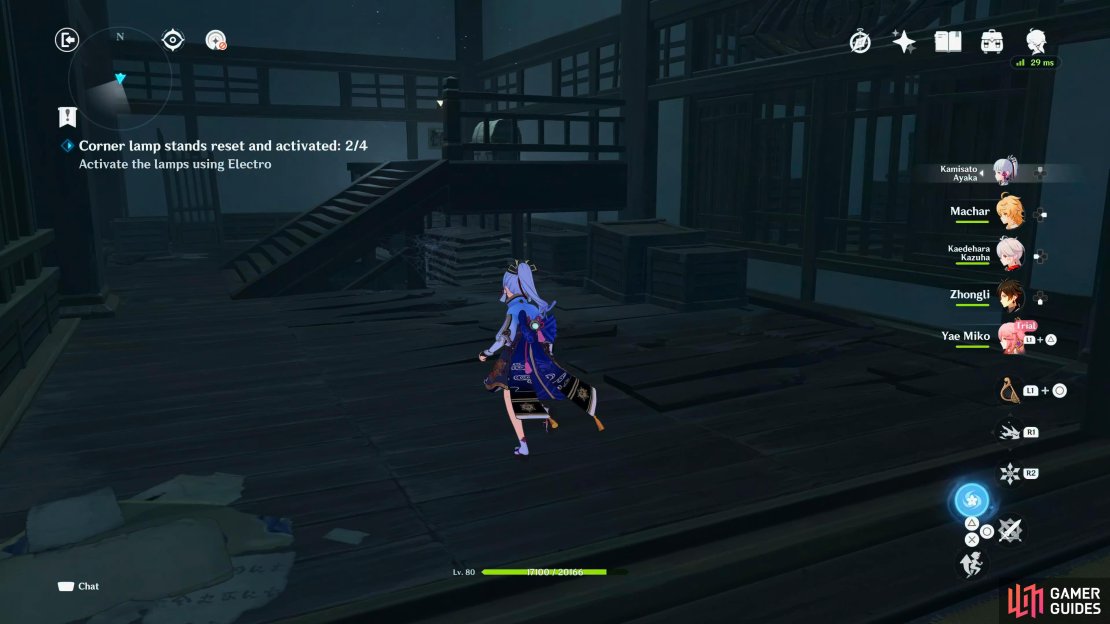
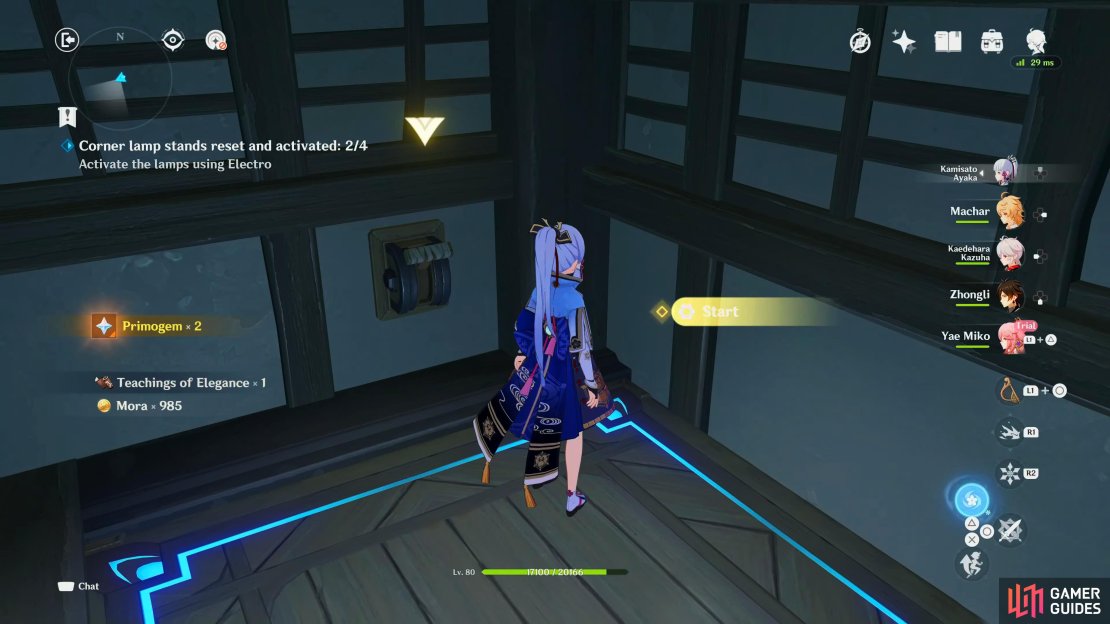
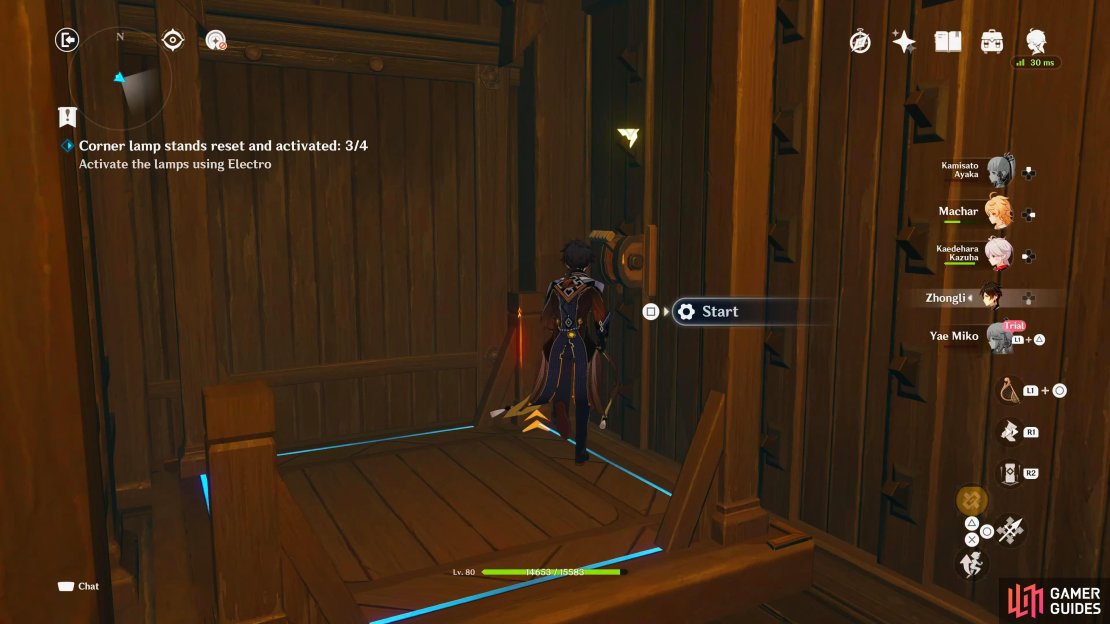
Your objective will update to “Corner lamp stands reset and activated: 0/4”. The idea behind this puzzle is to have all the lamps activated with an Electro character, and for them to all be on the same floor as the mirror.
Lamp 1 (West)
The first lamp can be found in the northwest corner of the room. Interact with the nearby mechanism (lever), and it’ll lower the lamp to the floor. Switch over to Yae Miko or another Electro character if you have one, and use an electro attack on it. This will activate the lamp, leaving you with three more to do.
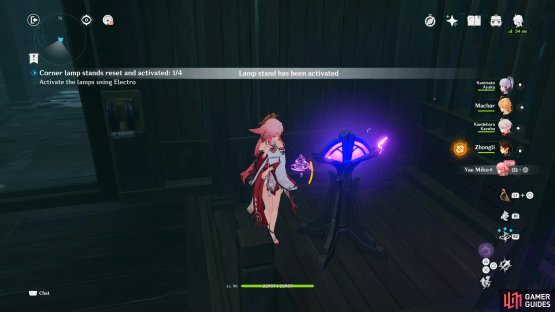
(1 of 2) The West Lamp is the easiest, and you just need to interact with the nearby lever.

The West Lamp is the easiest, and you just need to interact with the nearby lever. (left), The East Lamp isn’t much harder, although the lever can be tougher to spot. (right)
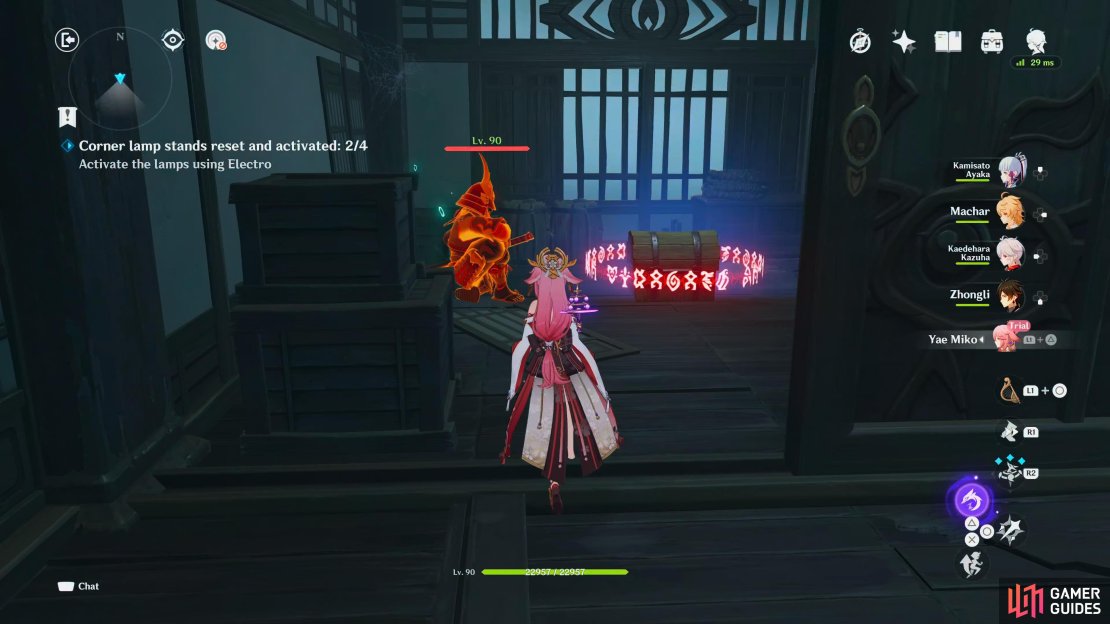
Lamp 2 (East)
The lever will be hiding on the side of the wooden pillar closest to the mirror, as you activate it, run off the platform before it lowers, and attack the lamp with an electro attack.
Lamp 3 (South)
This lamp is on the floor below, and it’ll require a little more work. Go to the southern corner of the mirror room, and drop to the floor below. Take out the treasure hoarders, and head east to take the wind current up to the next floor. This area has the sliding door/wall puzzle you may remember from previous story domains. Some of these walls are hiding treasure chests, and the first one can be found straight away. Move the wall to get into the next area, then immediately turn south, and move the wall again. This’ll open up a small room with a Common Chest being guarded by a Kairagi: Fiery Might. Cut him down, and open the chest, then proceed onwards.
Now go to the northern side of the room, and activate the western wall. In the small room, open the western wall again to reveal a group of treasure hoarders. Take them out, and move the northern wall nearest to the defeated treasure hoarders, then move the northern wall next to that to reveal another Common Chest.

Now head to the opposite side, and move the southern wall to reveal some wooden steps leading to another Common Chest. Open the chest, and activate the lever to the left of it which’ll lower the lamp and take you back to the mirror room. Drop to the floor below, and activate the lamp with an electro character, and you’ll only have one more lamp to go.
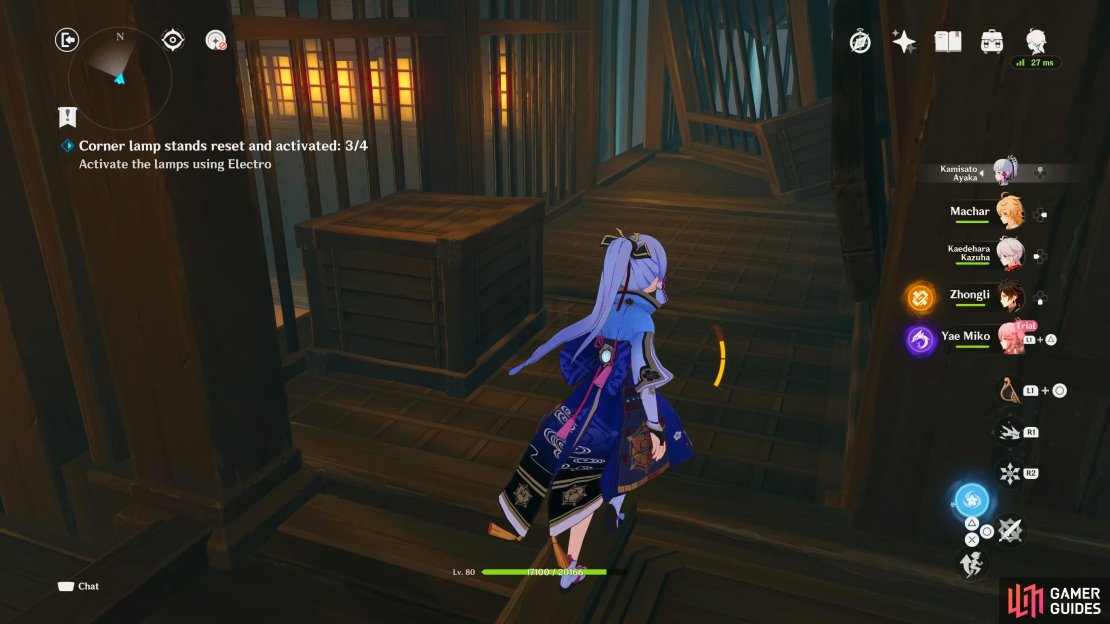
Lamp 4 (North)
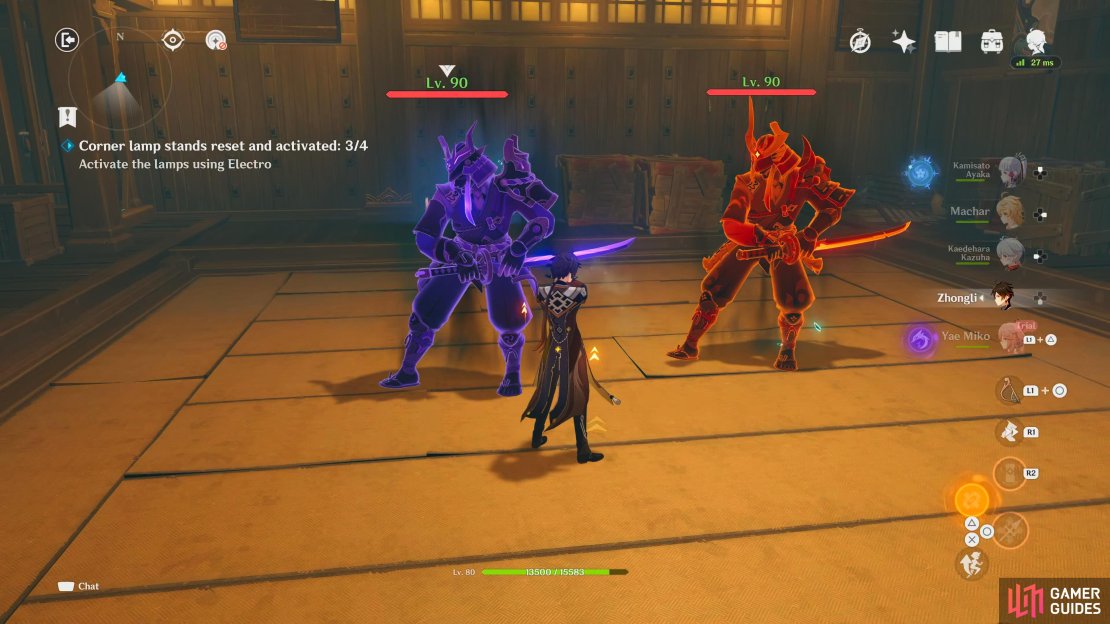
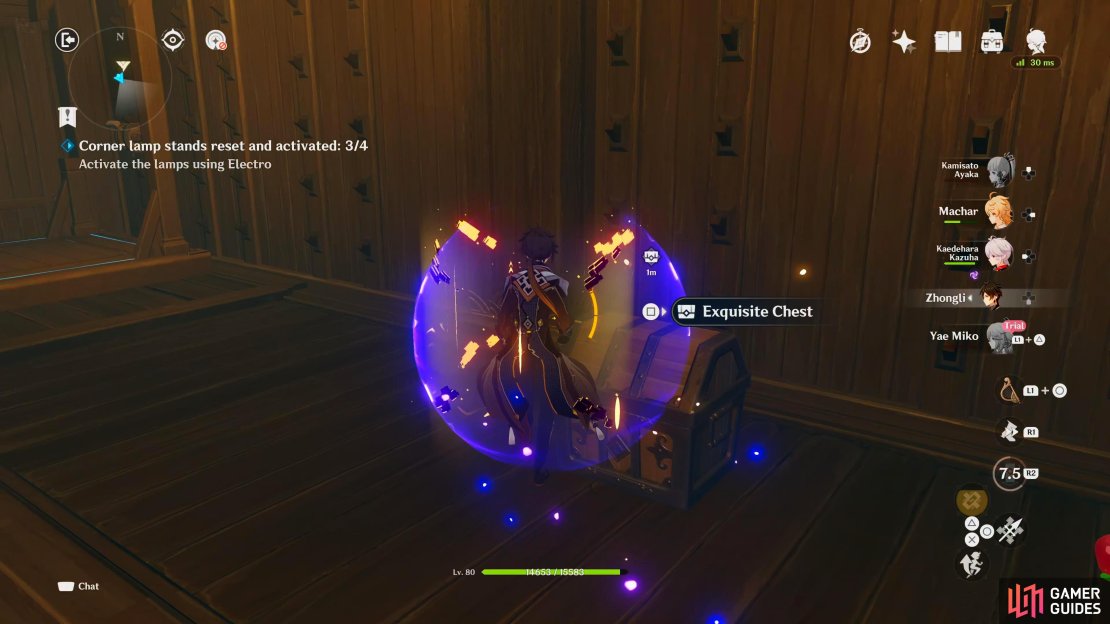
Drop into the northern hole of the mirror room, and take the northern hallway next to the lamp, and drop again to the room below. In this room, there’ll be a couple of Ochimushas, and this can be a pretty tough battle as they can hit quite hard. Make sure to have your shield up at all times. Defeat them, and open the Exquisite Chest next to the southern wall. To the east of it is another lever, stand on the platform, and activate it to raise it to the mirror room. Use the wind current in the next room to take you back to the mirror room, then activate the final lamp.
(1 of 4) Take the corridor to the north of the lamp, and drop to the room below.
Begin the summoning ritual
With all the lamps lit, approach the large mirror for a scene. The mirror will flip around revealing the same painting you witnessed at the entrance of this place. Yae Miko will tell you that she’ll show you a secret kitsune spell, and explains that the painting is a swift summoning medium which means she can skip some tedious steps. She’ll further explain that the painting depicts the view of Inazuma from a bygone age which is why the spirits are drawn to it.
She’ll turn towards you, and tell you that you’re up next, and that you should sit on the stool. It appears that to summon the spirit, you need a living body, and that living body just happens to be you. Take a deep breath, and sit on the stool to start the ritual. According to Yae Miko, you need to stare at the painting, relax, and incite the incantation from your book. As you’re doing this, she asks you for a title for Chapter 4 of the book as quickly as possible. Suddenly as you scream, the painting begins to move, and you become possessed.
For the summoning ritual to work, the Traveler will have to sit on the stool and stare into the painting. This allows him to get possessed by the spirit.
The spirit begins talking to Paimon, and Yae Miko through your body, and it’ll tell them that it plans to turn Inazuma into a brutal bloody war! As Paimon starts to panic, Yae Miko is unusually calm about the situation, and the spirit and Yae Miko both begin to burst into maniacal laughter. Paimon questions why they’re laughing as she doesn’t find it particularly funny, and Yae Miko will talk to the spirit like she knows it.
Apparently, the spirit is also a kitsune who has now passed, and goes by the name of Urakusai. She’ll give you a lesson on Youkai, and how their spirits last longer than normal humans. Urakusai will tell you that he was hanging around the Sakura roots when he heard someone begging anyone to help him write a truly amazing novel. That person was the failed novelist, Tomoyuki. This piqued Urakusai’s interest, so he took control of him, and wrote the book “A Firsthand Guide to Summoning Spirits.”
Although this clears up why he wrote the novel, it doesn’t clear up why he put a real summoning incantation into it. Urakusai explains that when he was alive, he wasn’t just an ordinary kitsune, but a powerful Daiyouko which allows him to possess humans at will. The other youkai don’t have that luxury, so he thought he’d give them one last joyride into the living. Paimon still isn’t happy as this caused a lot of disturbance to the humans that were possessed. Once again Urakusai will explain that the humans who are willing to use an external power to better their life can take it as a lesson learned.
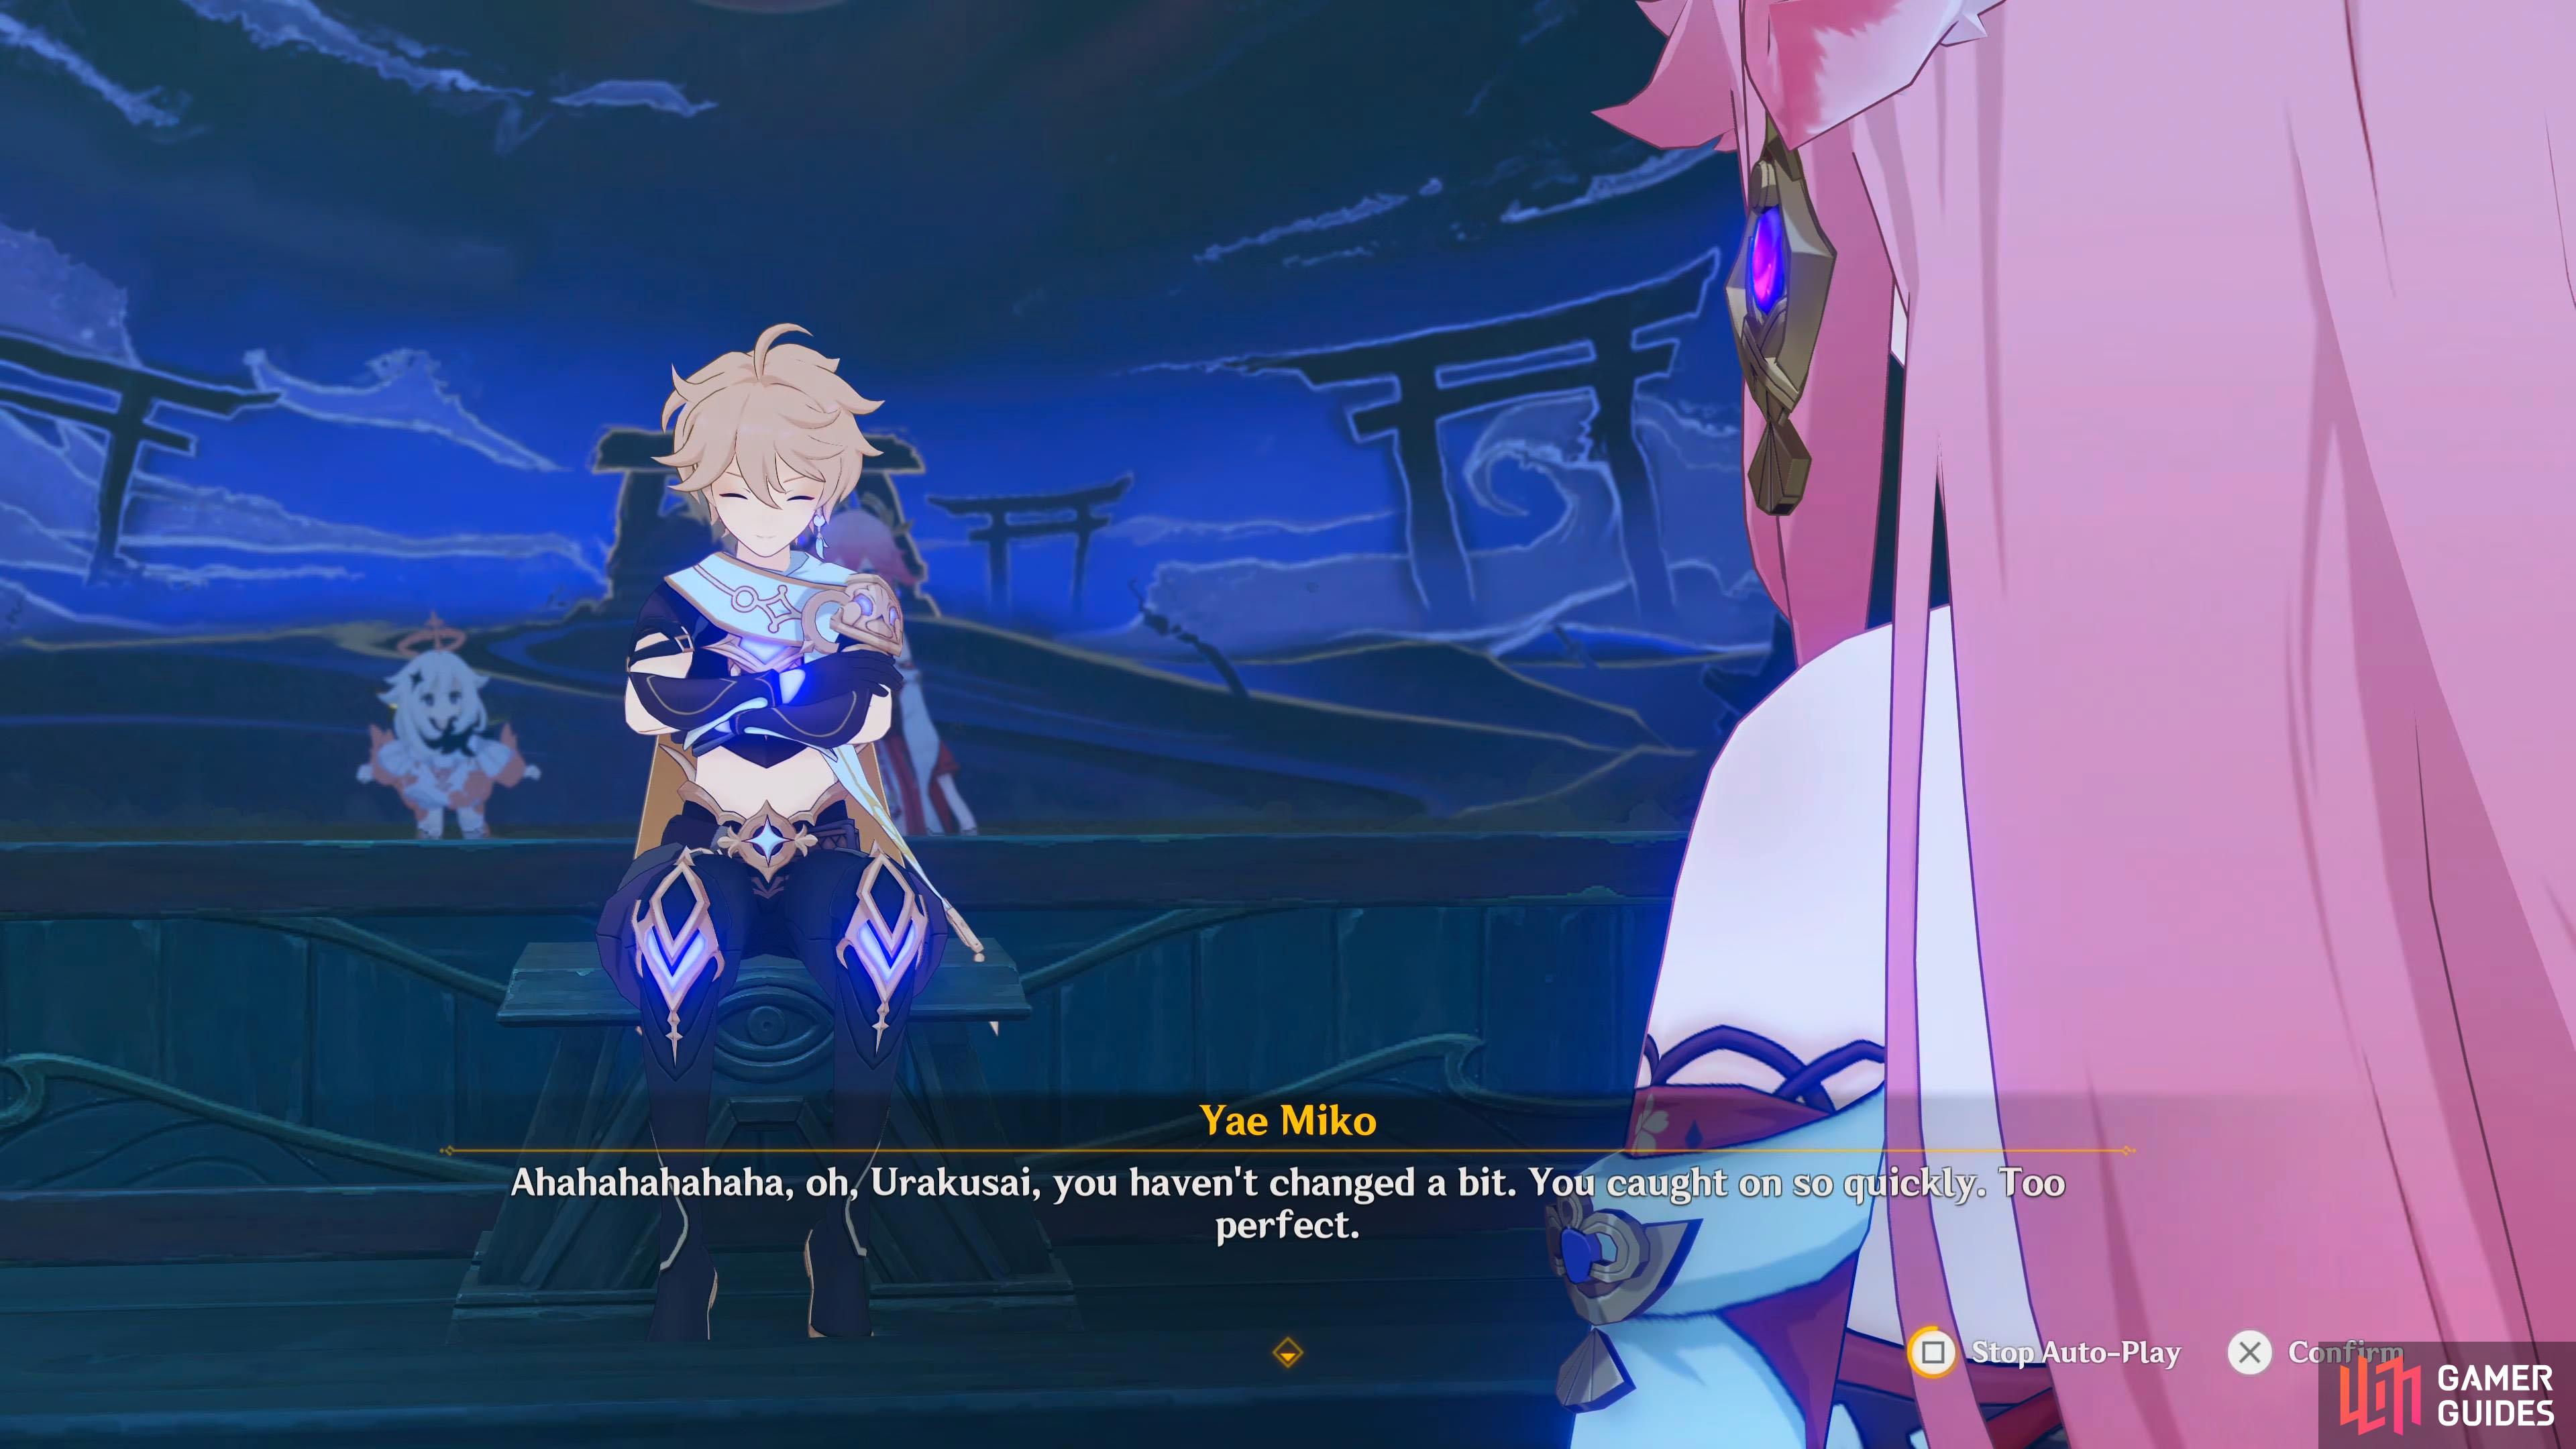
Yae Miko and Urakusai reminisce whilst he has possessed the Traveler’s body.
Yae Miko and Urakusai will reminisce and catch up a bit, and Yae Miko will ask him how much time he has left. He’ll tell her that there’s not long left, and that’s the same for the rest of the youkai. Urakusai will also mention that most of them are content, but they can’t help but ask if they’ll ever have another Hyakkiyakou. Yae Miko tells him not to worry, that arrangements are being made, and that when her bell rings, the moonless night will be upon you. They’ll catch up a little more, then Urakusai will disappear.
Yae Miko will turn to you and get you to repeat after her to bring you back. She’ll ask how you feel, and when you tell her that you remember everything, she’ll be glad that she doesn’t have to explain anything about what just happened. There is one last thing that Yae Miko wants to do, and that is the Hyakkiyakou. She tells you that since you’ve been part of this from the beginning, that you can come along. When the scene ends, so will the quest.
No Comments