
The Aeonblight Drake is another Ruin boss that doesn’t have an elemental attack. As with all bosses in the game, you will need to defeat the Aeonblight Drake to gather ascension materials for certain in-game characters. Below we go over what materials you can get from defeating the boss, its attacks, and how to easily beat it.
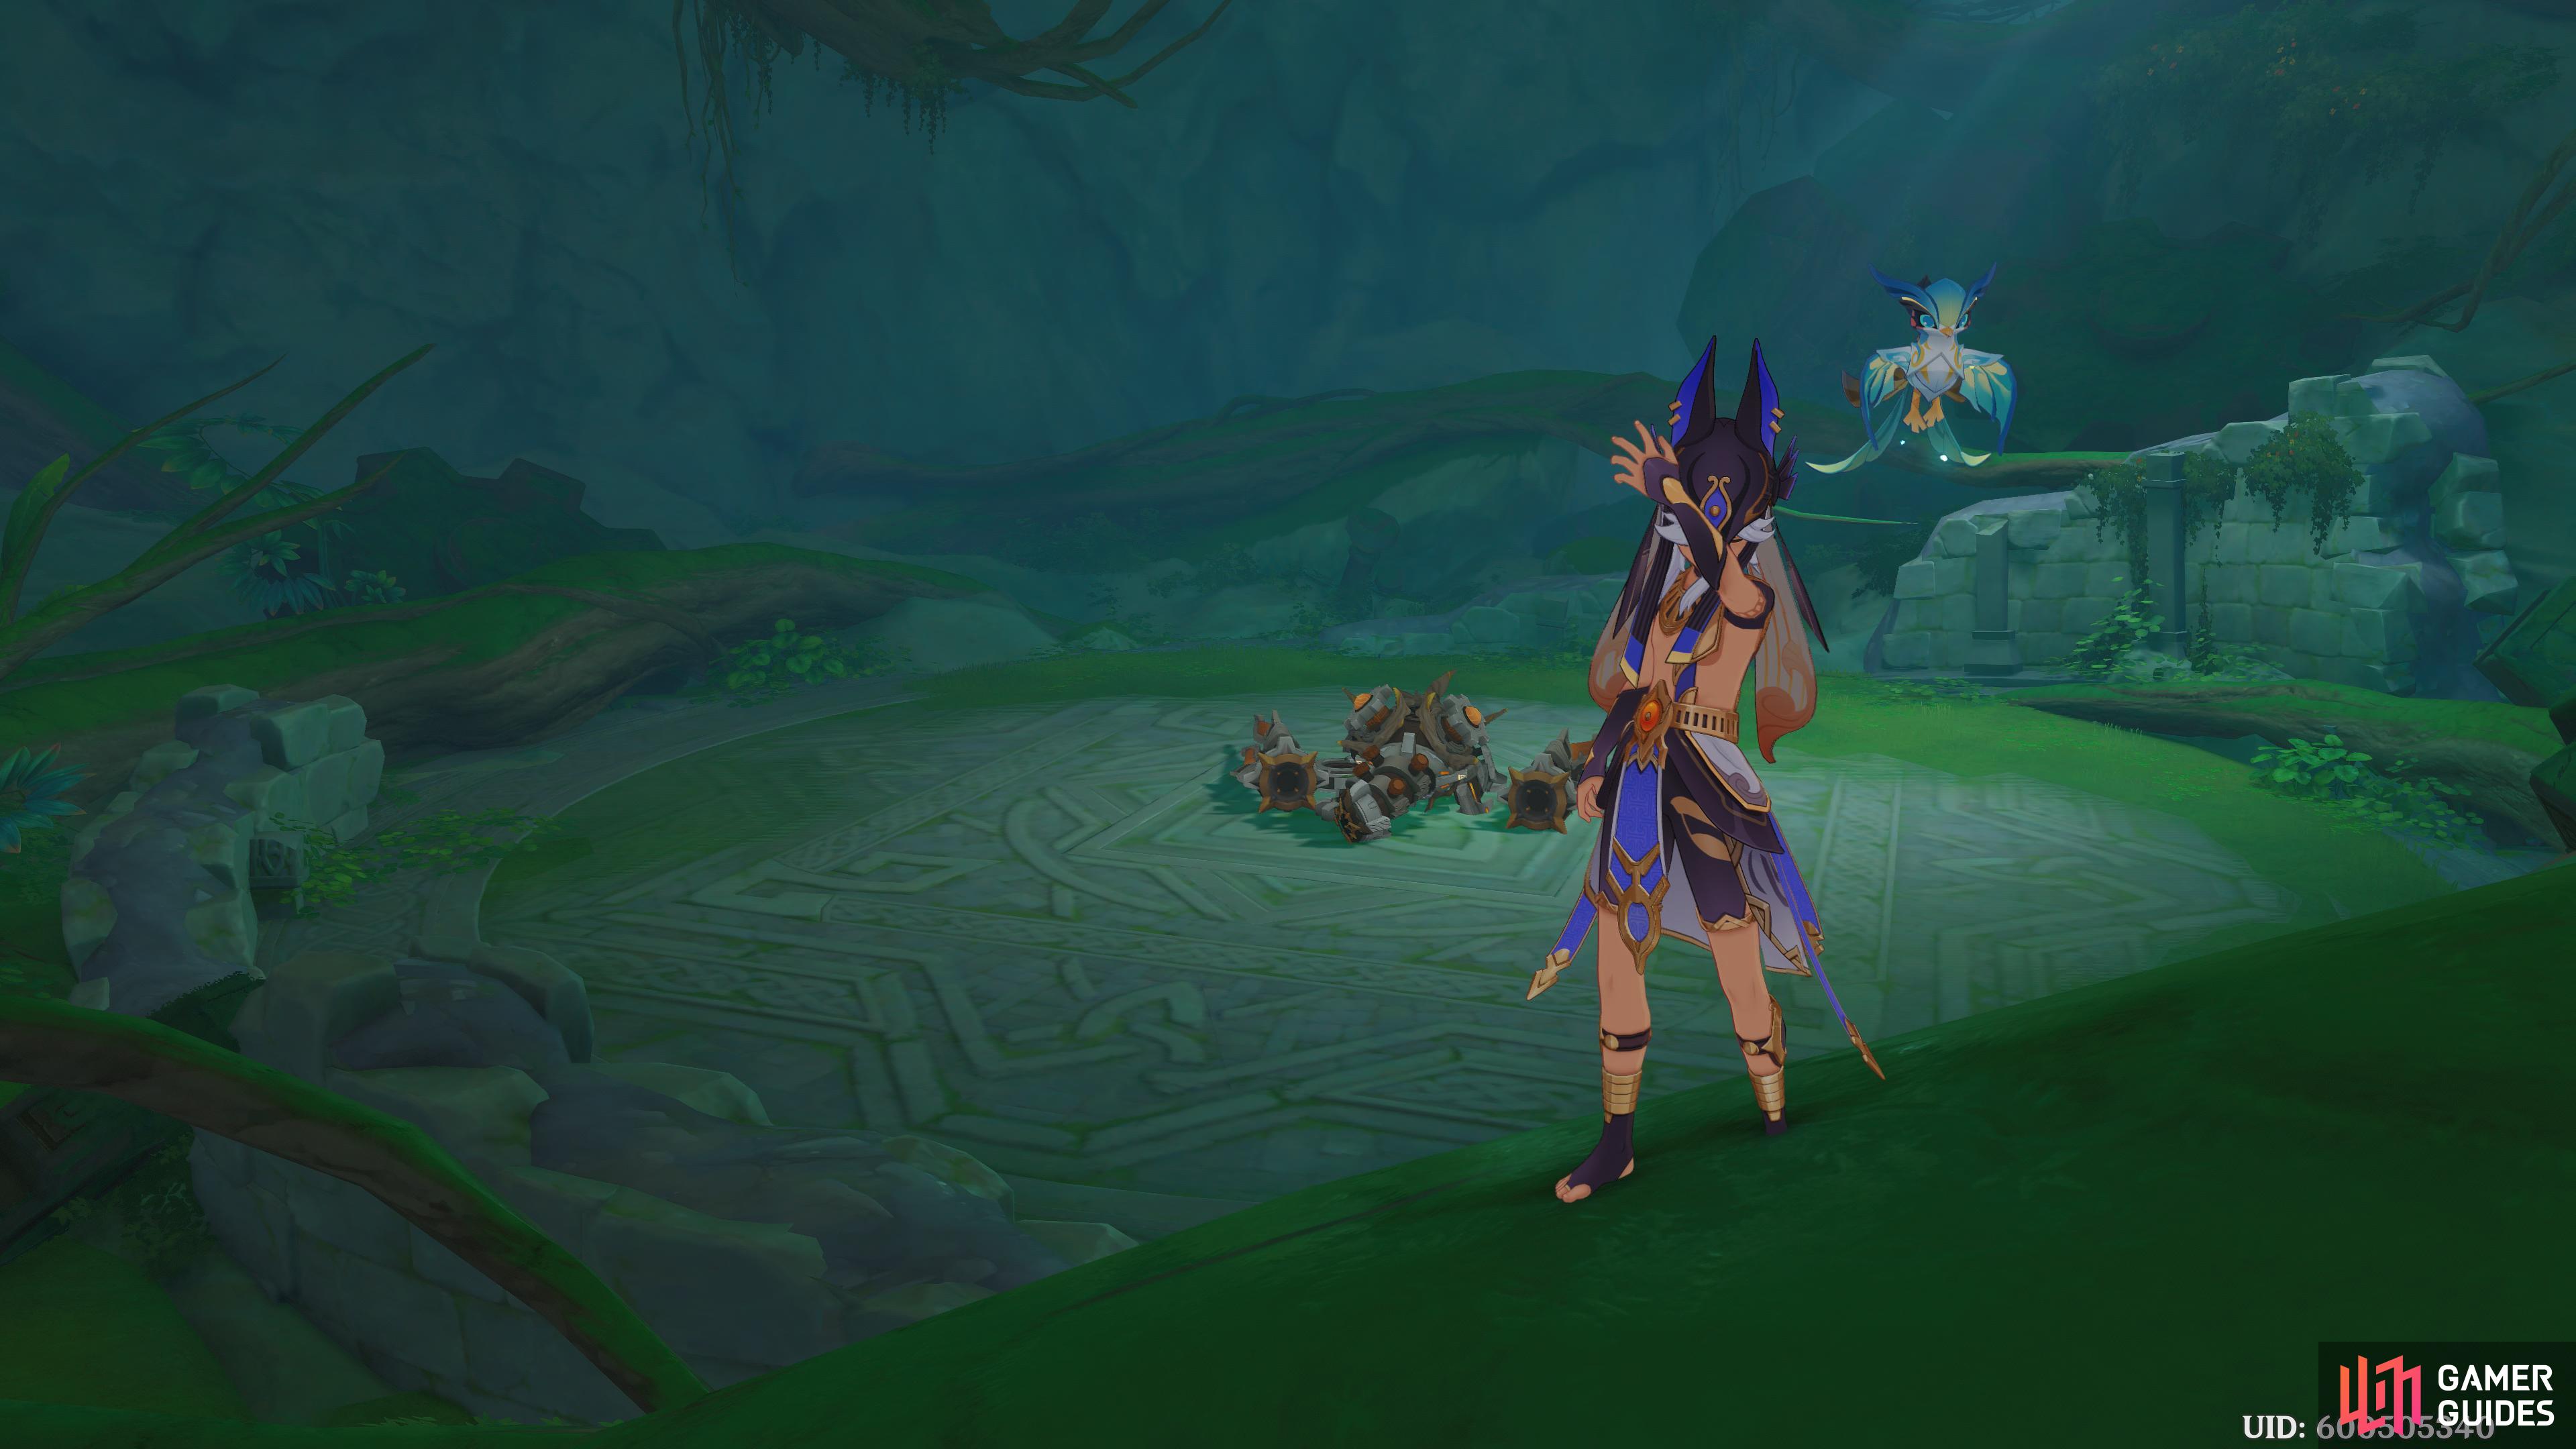
Aeonblight Drake arena.
| Location | Respawn Time | Element |
|---|---|---|
| Devantaka Mountain, Sumeru | 5 minutes | Physical |
This dragon-shaped combat machine is a being that inspires fear, much like the lord who once ruled these vast lands.
It is said that the now-destroyed realm once sought forbidden knowledge and attempted to create perpetual-motion machines that could match or even surpass primordial lifeforms. This mysterious, tireless mechanical monstrosity seems to be proof that they did indeed reach heights that mortals should never have attained.
Rewards
| World Level | Boss Level | Experience | Mora | Common Ascension Material |
|---|---|---|---|---|
| 1 | 37 | 138 | 3,450 |    |
| 2 | 41 | 144 | 3,650 |   |
| 3 | 50 | 155 | 3,850 | |
| 4 | 62 | 166 | 4,125 |   |
| 5 | 72 | 178 | 4,450 | |
| 6 | 83 | 189 | 4,725 |   |
| 7 | 91 | 200 | 5,200 | |
| 8 | 93 | 200 | 6,000 | |
Artifact Drops
| Icon | Artifact Name | Artifact Level | Boss Drop Level |
|---|---|---|---|
 |
Gladitor’s Finale | 4-Star & 5-Star | 3 & up |
 |
The Wander’s Troupe | 4-Star & 5-Star | 3 & up |
 |
Berserker | 3-Star & 4-Star | 1 and up |
 |
The Exile | 3-Star & 4-Star | 1 and up |
 |
Lucky Dog | 3-Star, 3-Star, & 4-Star | 1 and up |
Description
The Aeonblight Drake is a Ruin Machine that is able to fly. It is similar to the other Ruin Bosses and fights in a similar way to Ruin enemies, especially the Ruin Drake. Overall, this is one of the easiest bosses to take down in the game, provided you are able to hit its weak spots with an arrow.
Attacks and Abilities
Confetti
This is a powerful attack where the Drake will charge up whether they are in the air or on the ground. It deals 100 percent of the boss’s attack, and afterward, he will absorb the last element you hit him with, allowing him to perform an elemental Confetti attack and gain a 60 percent resistance to the element.
You do not want this attack completing, to stop the boss hit it in the eye and it will become paralyzed.
Tail Sweep
The boss sweeps the field with its tail dealing 75 percent of its attack.
Thruster Smash
The boss steps forward, ramming its thrusters into the ground, one after another, dealing 75 percent of its attack.
Grounded Combos
The first combo is the Tail Sweep, followed by the Thruster Smash. The second combo has the Drake attack with its head twice. This is a close-range attack.
Grounded Charge
Dashes toward the player dealing 75 percent of its attack, and then use Tail Sweep.
Machine Gun Volley (Airborne)
Fires several energy shots directly in front of the boss dealing 60 percent of its attack, and then uses Tail Sweep.
Missile Strike (Airborne)
A lock-on symbol will appear on the on-field character right before the Drake unleashes a flurry of missiles dealing 80 percent of its attack.
Airborne Charge (Airborne)
Dashes toward the player dealing 75 percent of its attack.
Recommended Party
This is a physical boss, meaning that it has no elemental alignment. You can use a variety of characters to attack the boss, but keep in mind that it will spend quite a bit of time in the air. You will need a bow-user to easily hit its weak points so that the Aeonblight Drake will be paralyzed. Keep in mind that if it gets Confetti off, the last element you hit it with will be absorbed, giving the drake a 60 percent resistance to it.
Strategy
Dealing with this boss is pretty simple, and the battle is actually similar to fighting normal Ruin enemies. The Aeonblight Drake will have several moments where it shows a weak spot. These spots are located on the thruster, head, and chest. When these are glowing, strike them with an attack to paralyze the boss.
The other attacks are easy to dodge, just keep moving around the battlefield, and don’t stay near the boss for too long.
Victory
Once the boss is defeated, a Trounce Blossom will bloom in the arena. You will need to interact with the blossom to claim your reward, and this will cost you 40 Resin.
No Comments