
This is a walkthrough for the World Quest, “Surreptitious Seven-Star Seal Sundering” in The Chasm which is mandatory to progress the Archon Quest “In the Depths, an Unexpected Reunion”. This is the first part of The Chasm Delvers World Quest series.
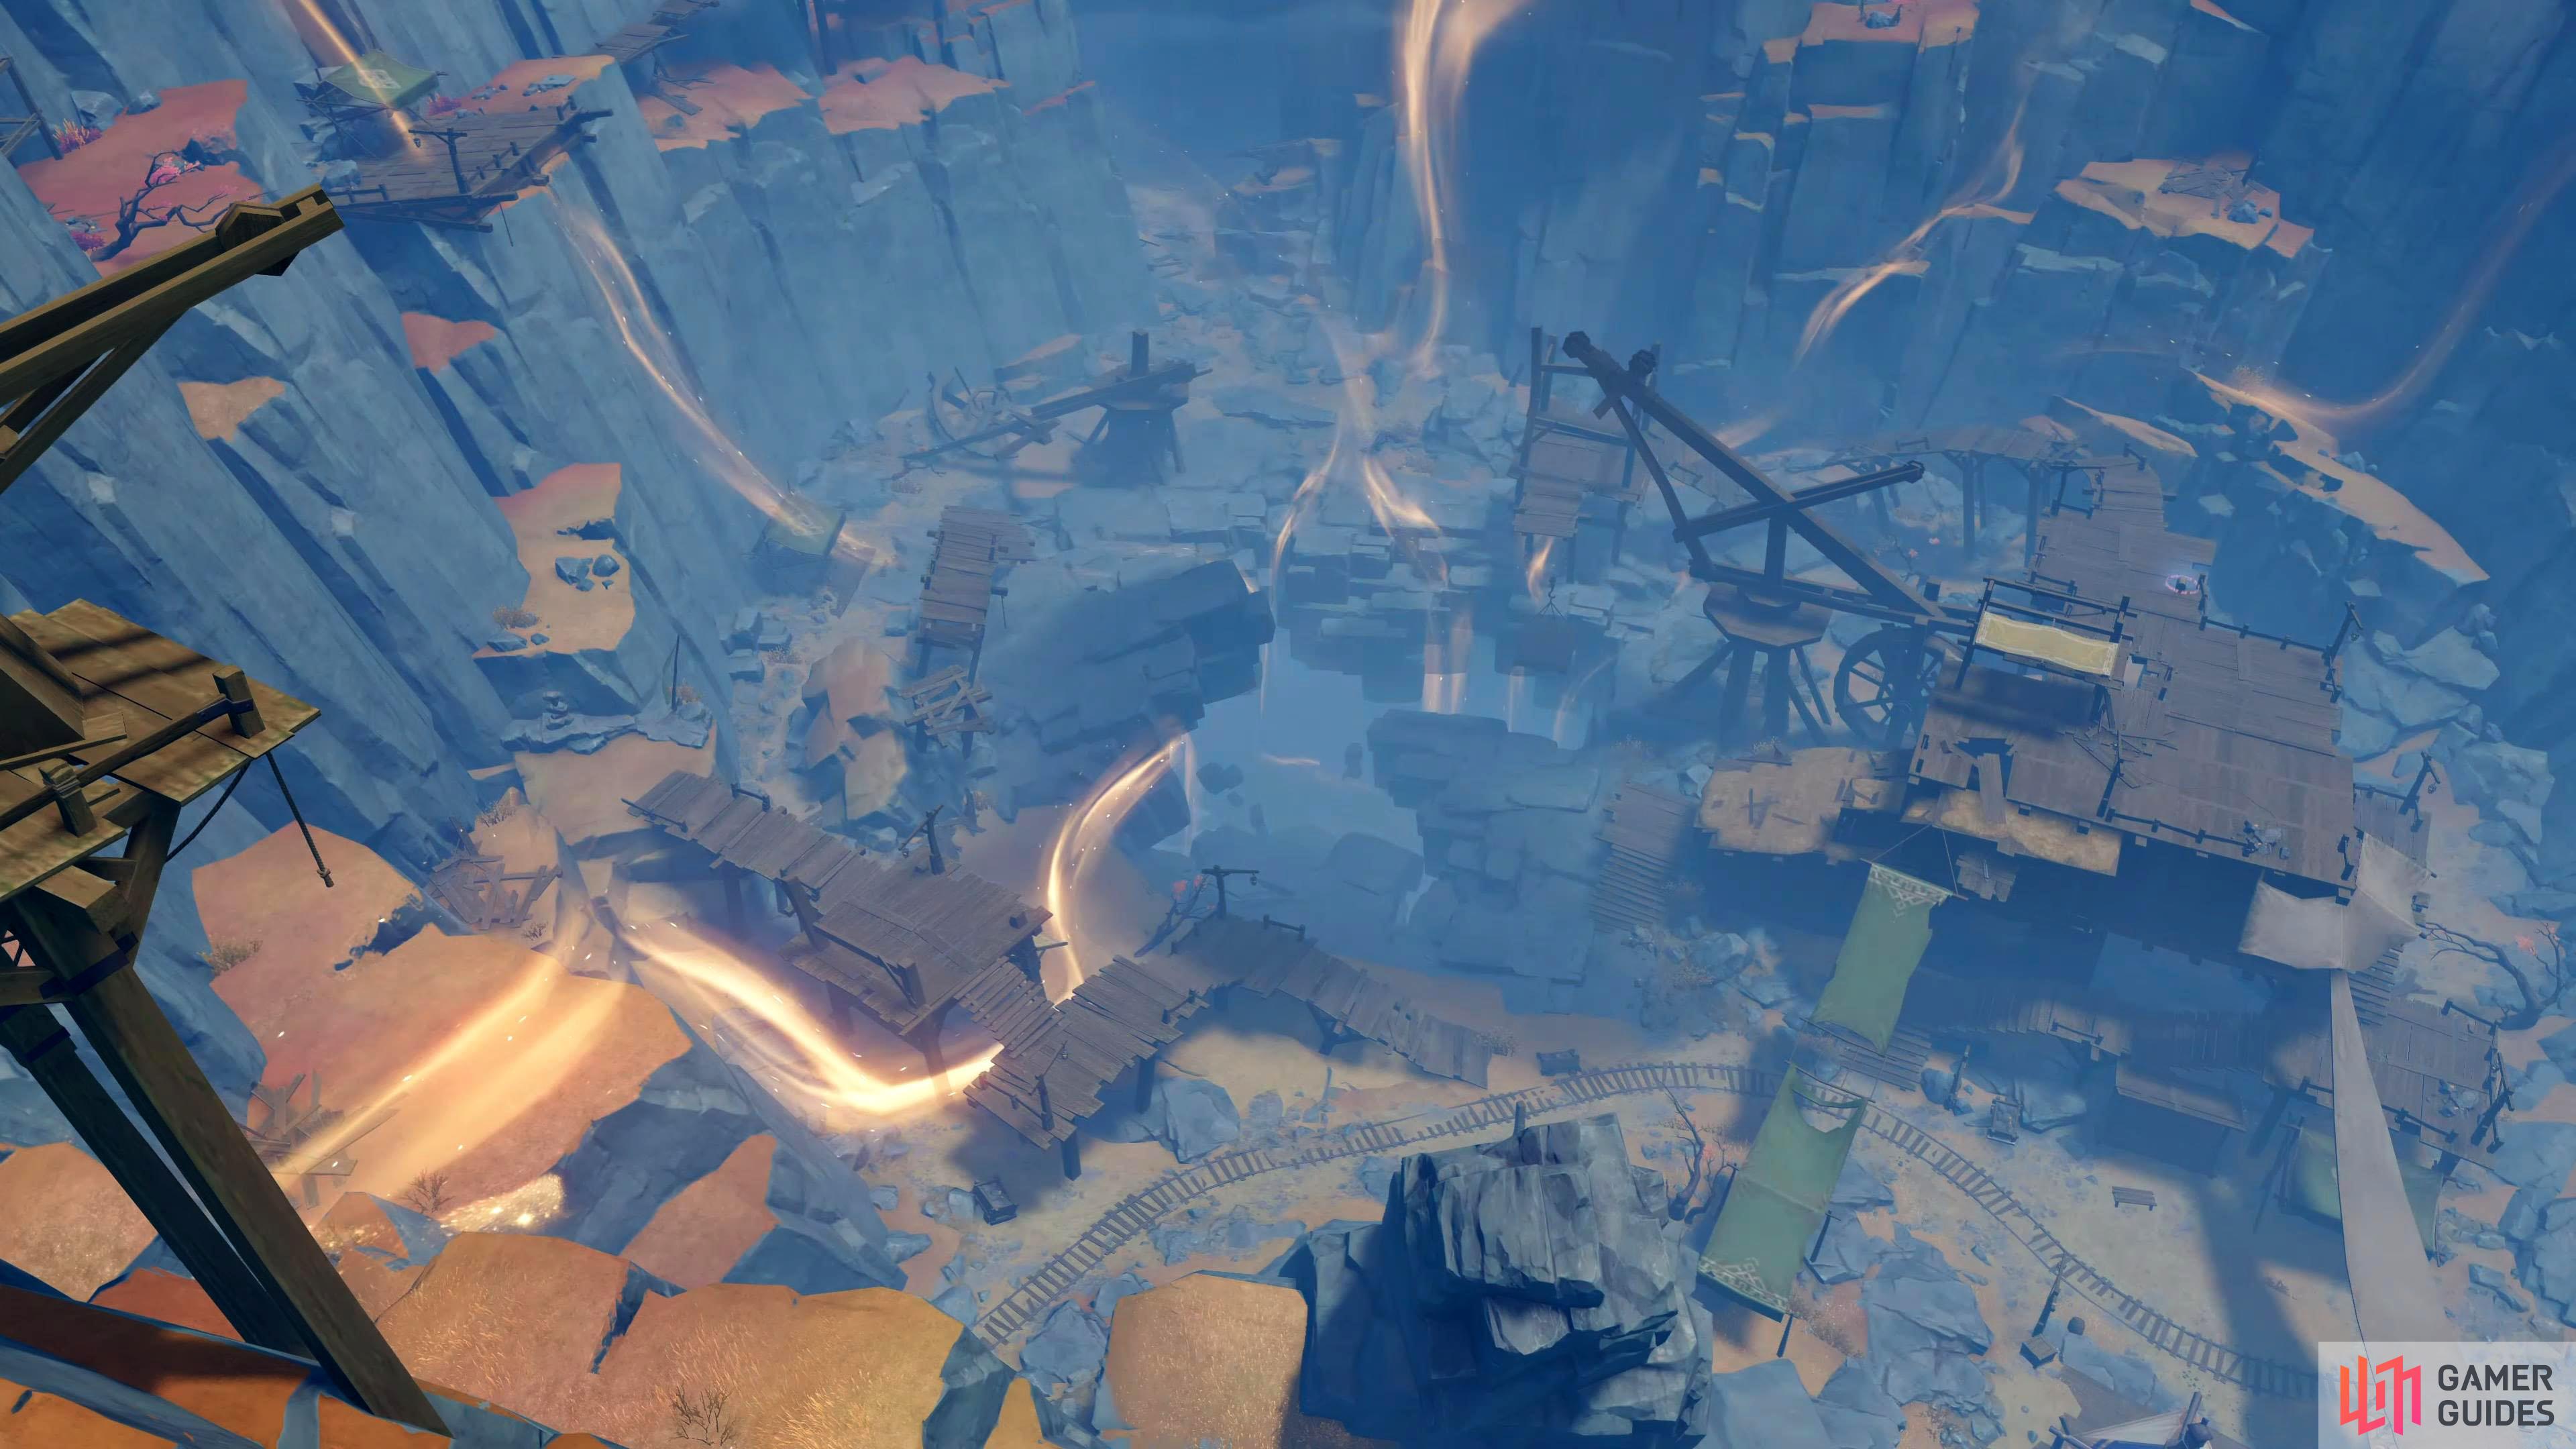
The seals protruding from The Chasm mine.
| Adventure EXP | Mora | Other Rewards | Next Quests |
|---|---|---|---|
 400 400 |
 50 50  3 3  6 6 |
Chasm Spelunkers |
Description
You have accepted a commission that requires you to pay The Chasm a visit. Who knows what the situation in the long-sealed mines might be like…
Steps
- Talk to Muning and find out the situation in The Chasm
- Look for the adventurer Zhiqiong
- Go to the miners’ warehouse
- Tell Zhiqiong about what happened at the warehouse
- Look for a way to destroy the Bedrock Keys
- Talk to Zhiqiong
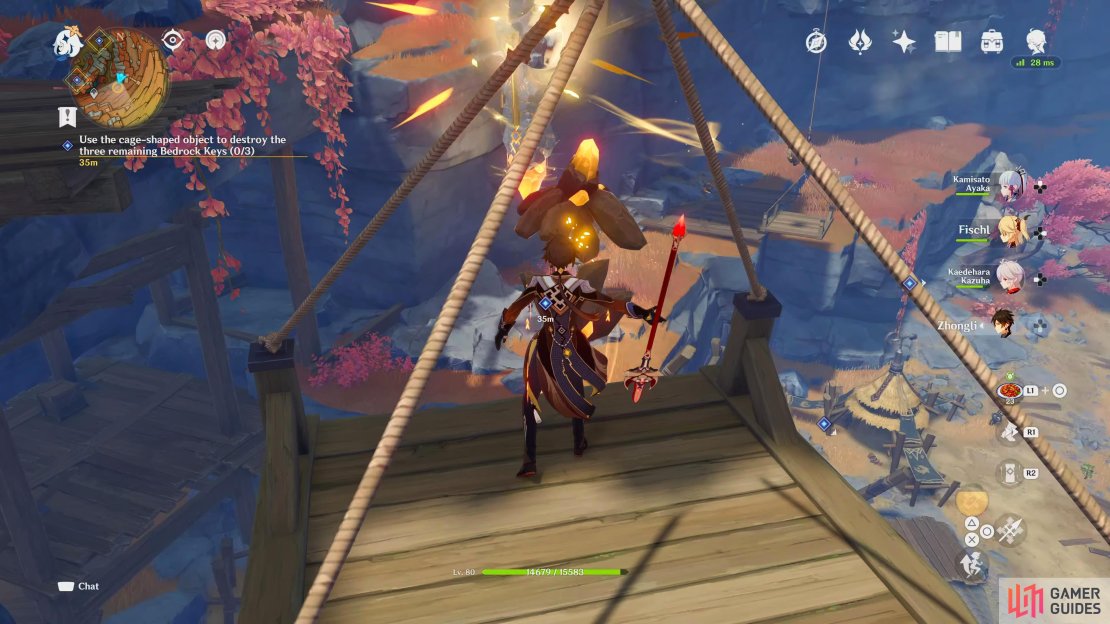
- Use the cage-shaped object to destroy the three remaining Bedrock Keys (0/3)
- Report the destruction of the Bedrock Keys to Zhiqiong
- Look for the final Bedrock Key
- Destroy the final Bedrock Key
Talk to Muning and find out the situation in The Chasm
This quest is unlocked upon reaching The Chasm for the first time. After speaking to Yuehui as part of the “In the Depths, an Unexpected Reunion” Archon Quest. Head over to Muning who can be found in the tent to his left. As you approach him, he’ll be thinking out loud to himself before he turns around and recognizes you. He recalls the tales of the heroes that saved Liyue, and assumes it was you.
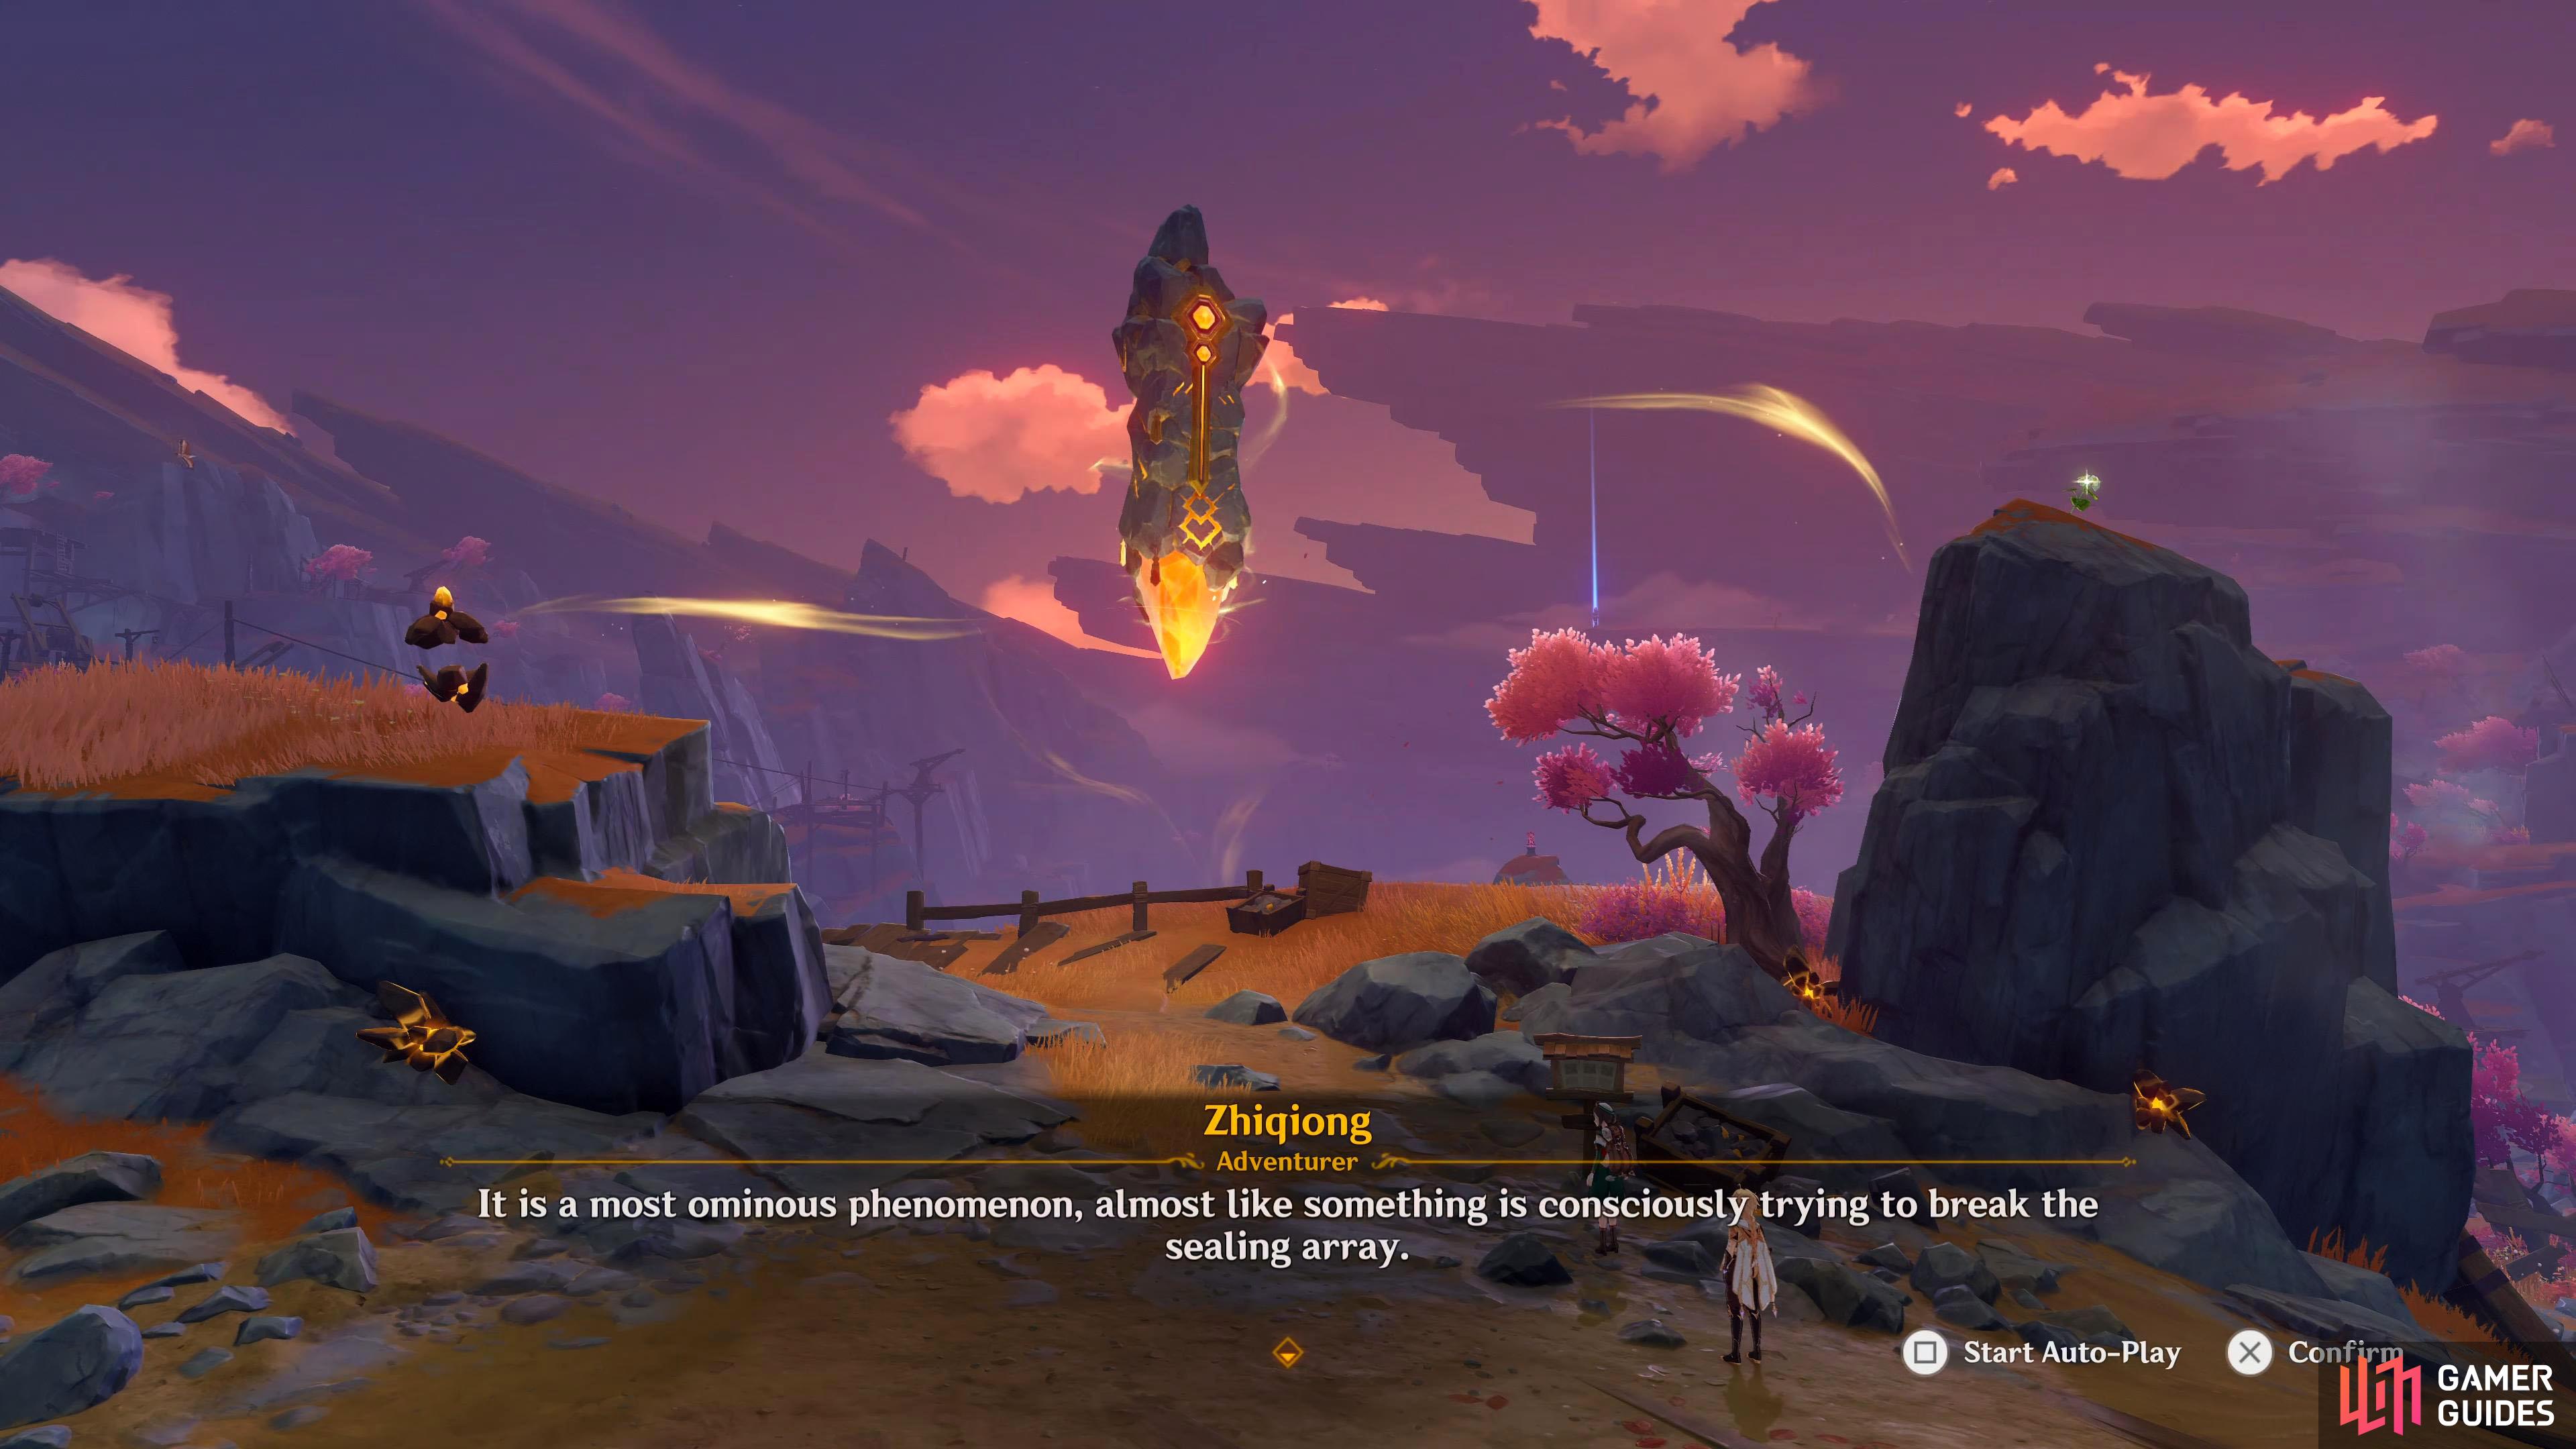
Being that he is the Ministry of Civil Affairs, it’s only natural that he’d ask if you had the required legal documents to be in The Chasm, which you don’t. He quickly ignores this fact considering who you are, and explains The Chasm to you in detail. The most interesting part is the Seven-Star Array cast over the mine in the center which sealed it up.
Muning will explain to you that the focal point of the array is the Bedrock Keys surrounding the area. These provide the flow of energy that keeps the seal intact. If someone were to destroy them… Although he tries his hardest to warn you not to go there, one word of treasures and ruins is enough to excite Paimon. You’ll ask him if there is anything else you should know about the place, and he suggests that you pay Zhiqiong a visit.
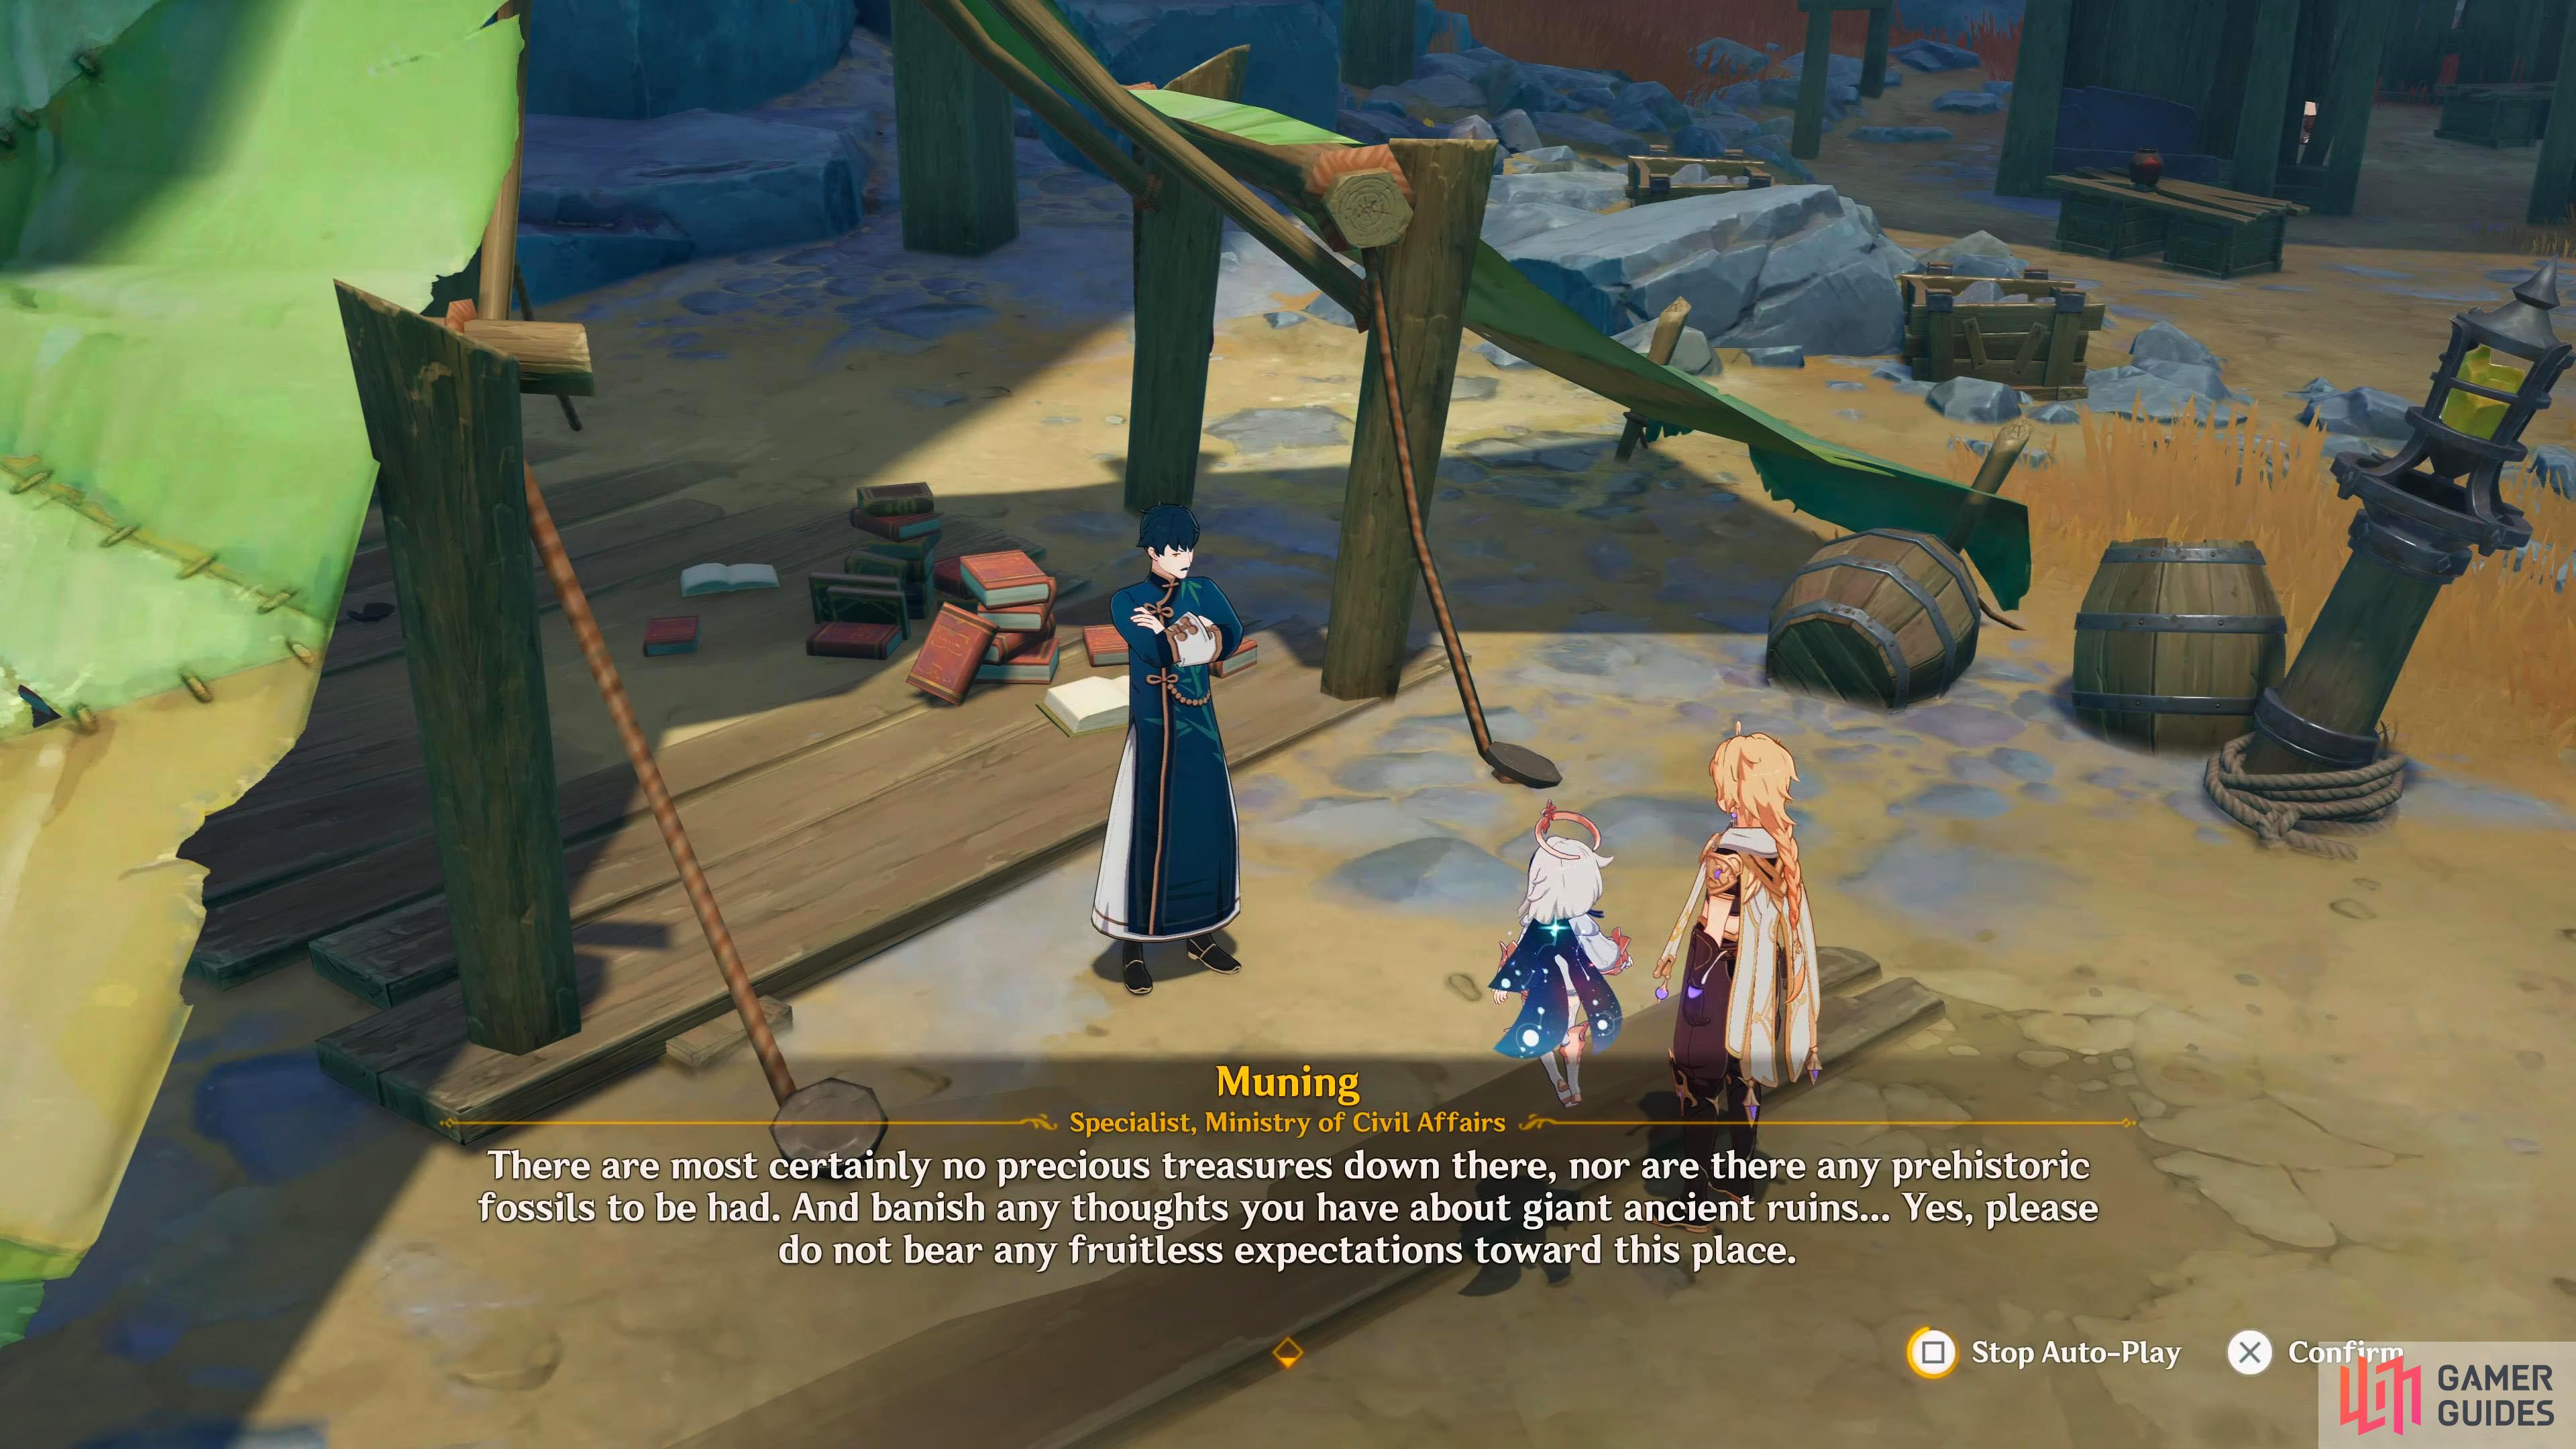
Muning is trying his hardest that he doesn’t want you to destroy the seal.
Look for the adventurer Zhiqiong
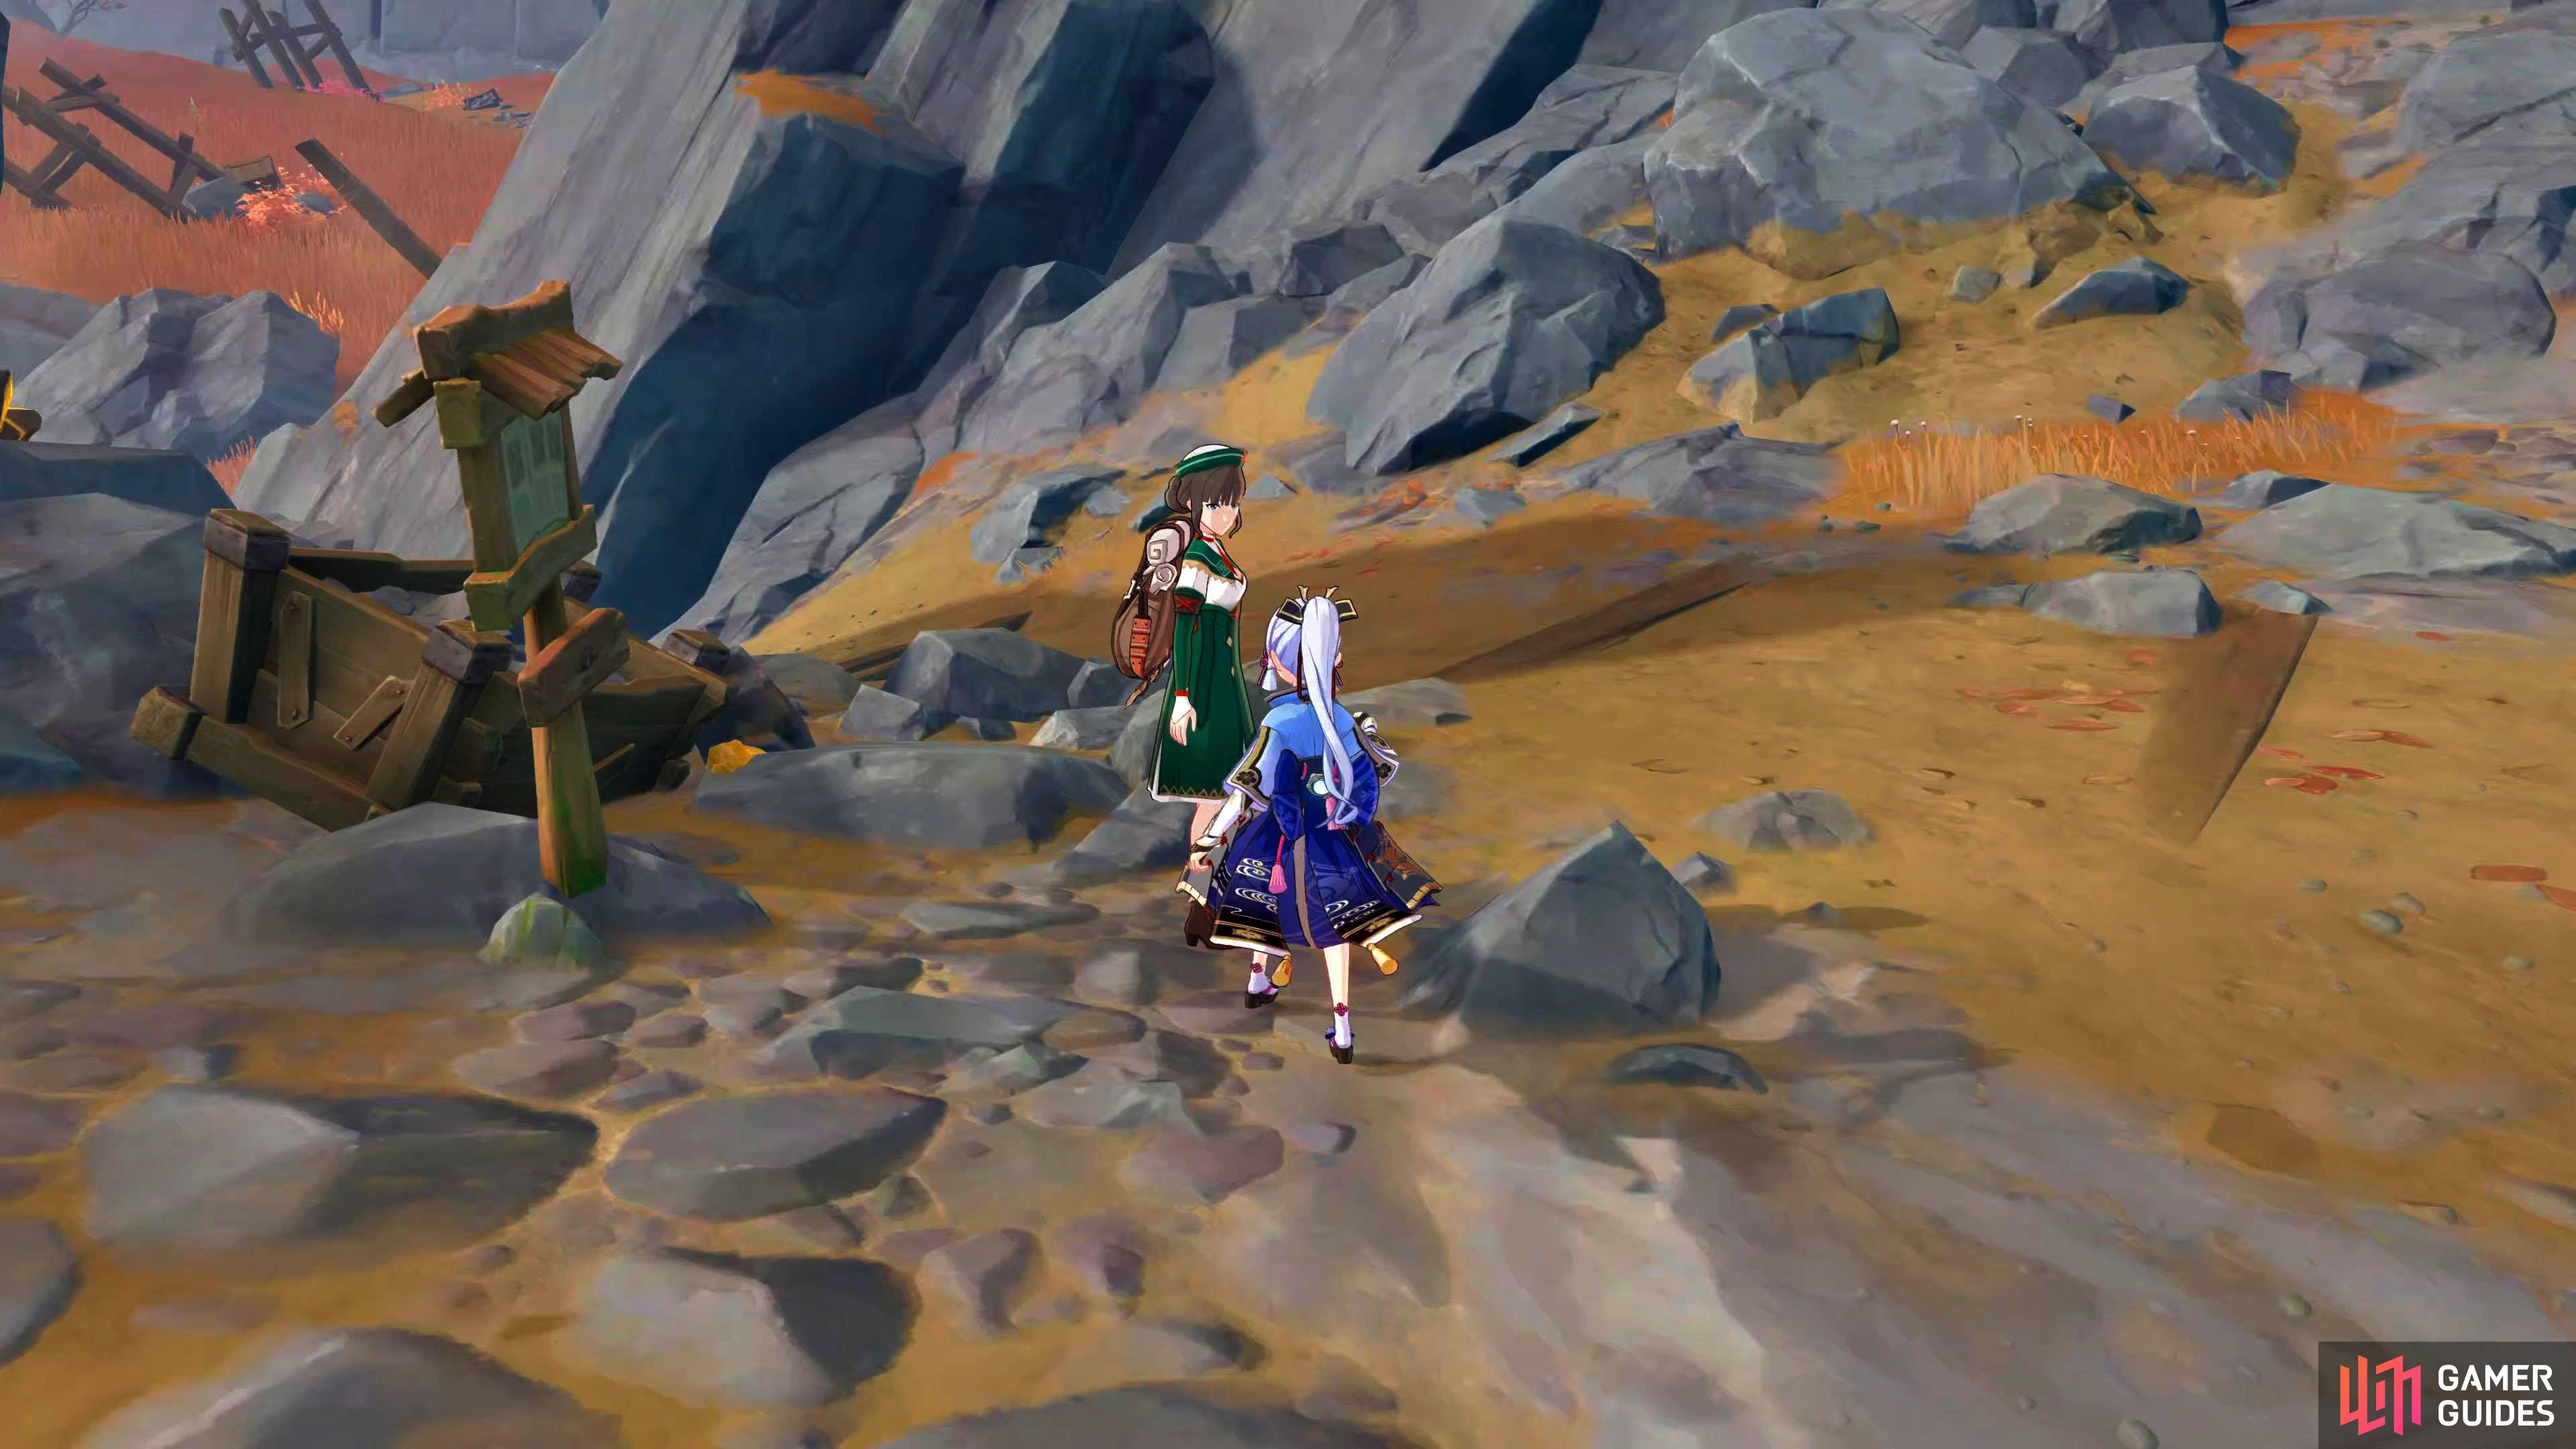
You can find Zhiqiong to the northwest. Head over to the wooden balcony, and glide down to talk to her. Once again, she knows who you are due to your various deeds in Liyue before she goes off on a tangent. After coughing for a bit to interrupt her long-winded explanation, Paimon bluntly tells her that it is too much information, and she’ll get to the point.
She tells you although Muning was warning you not to go to the mine, he secretly wants you to go there, but due to his job, he has to warn you against it. It appears you were tricked into this commission, but they will reward you with any treasure that you may find. In return, you help them rid the mine of any threats that may be present there.
First things first, you’ll need an Adjuvant made from Lumenstone, so you can see in the mine as it is dark down there. Apparently only those with Visions can operate this tool which is another reason that they required you. She’ll tell you that it’s in the warehouse to the south, and once you have the catalyst, come back to her.
Go to the miners’ warehouse
Head south into the Old Storehouse, and as you approach it, you’ll be attacked by several Treasure Hoarders. Defeat them, and go into the Storehouse to pick up the Lumenstone of the table.
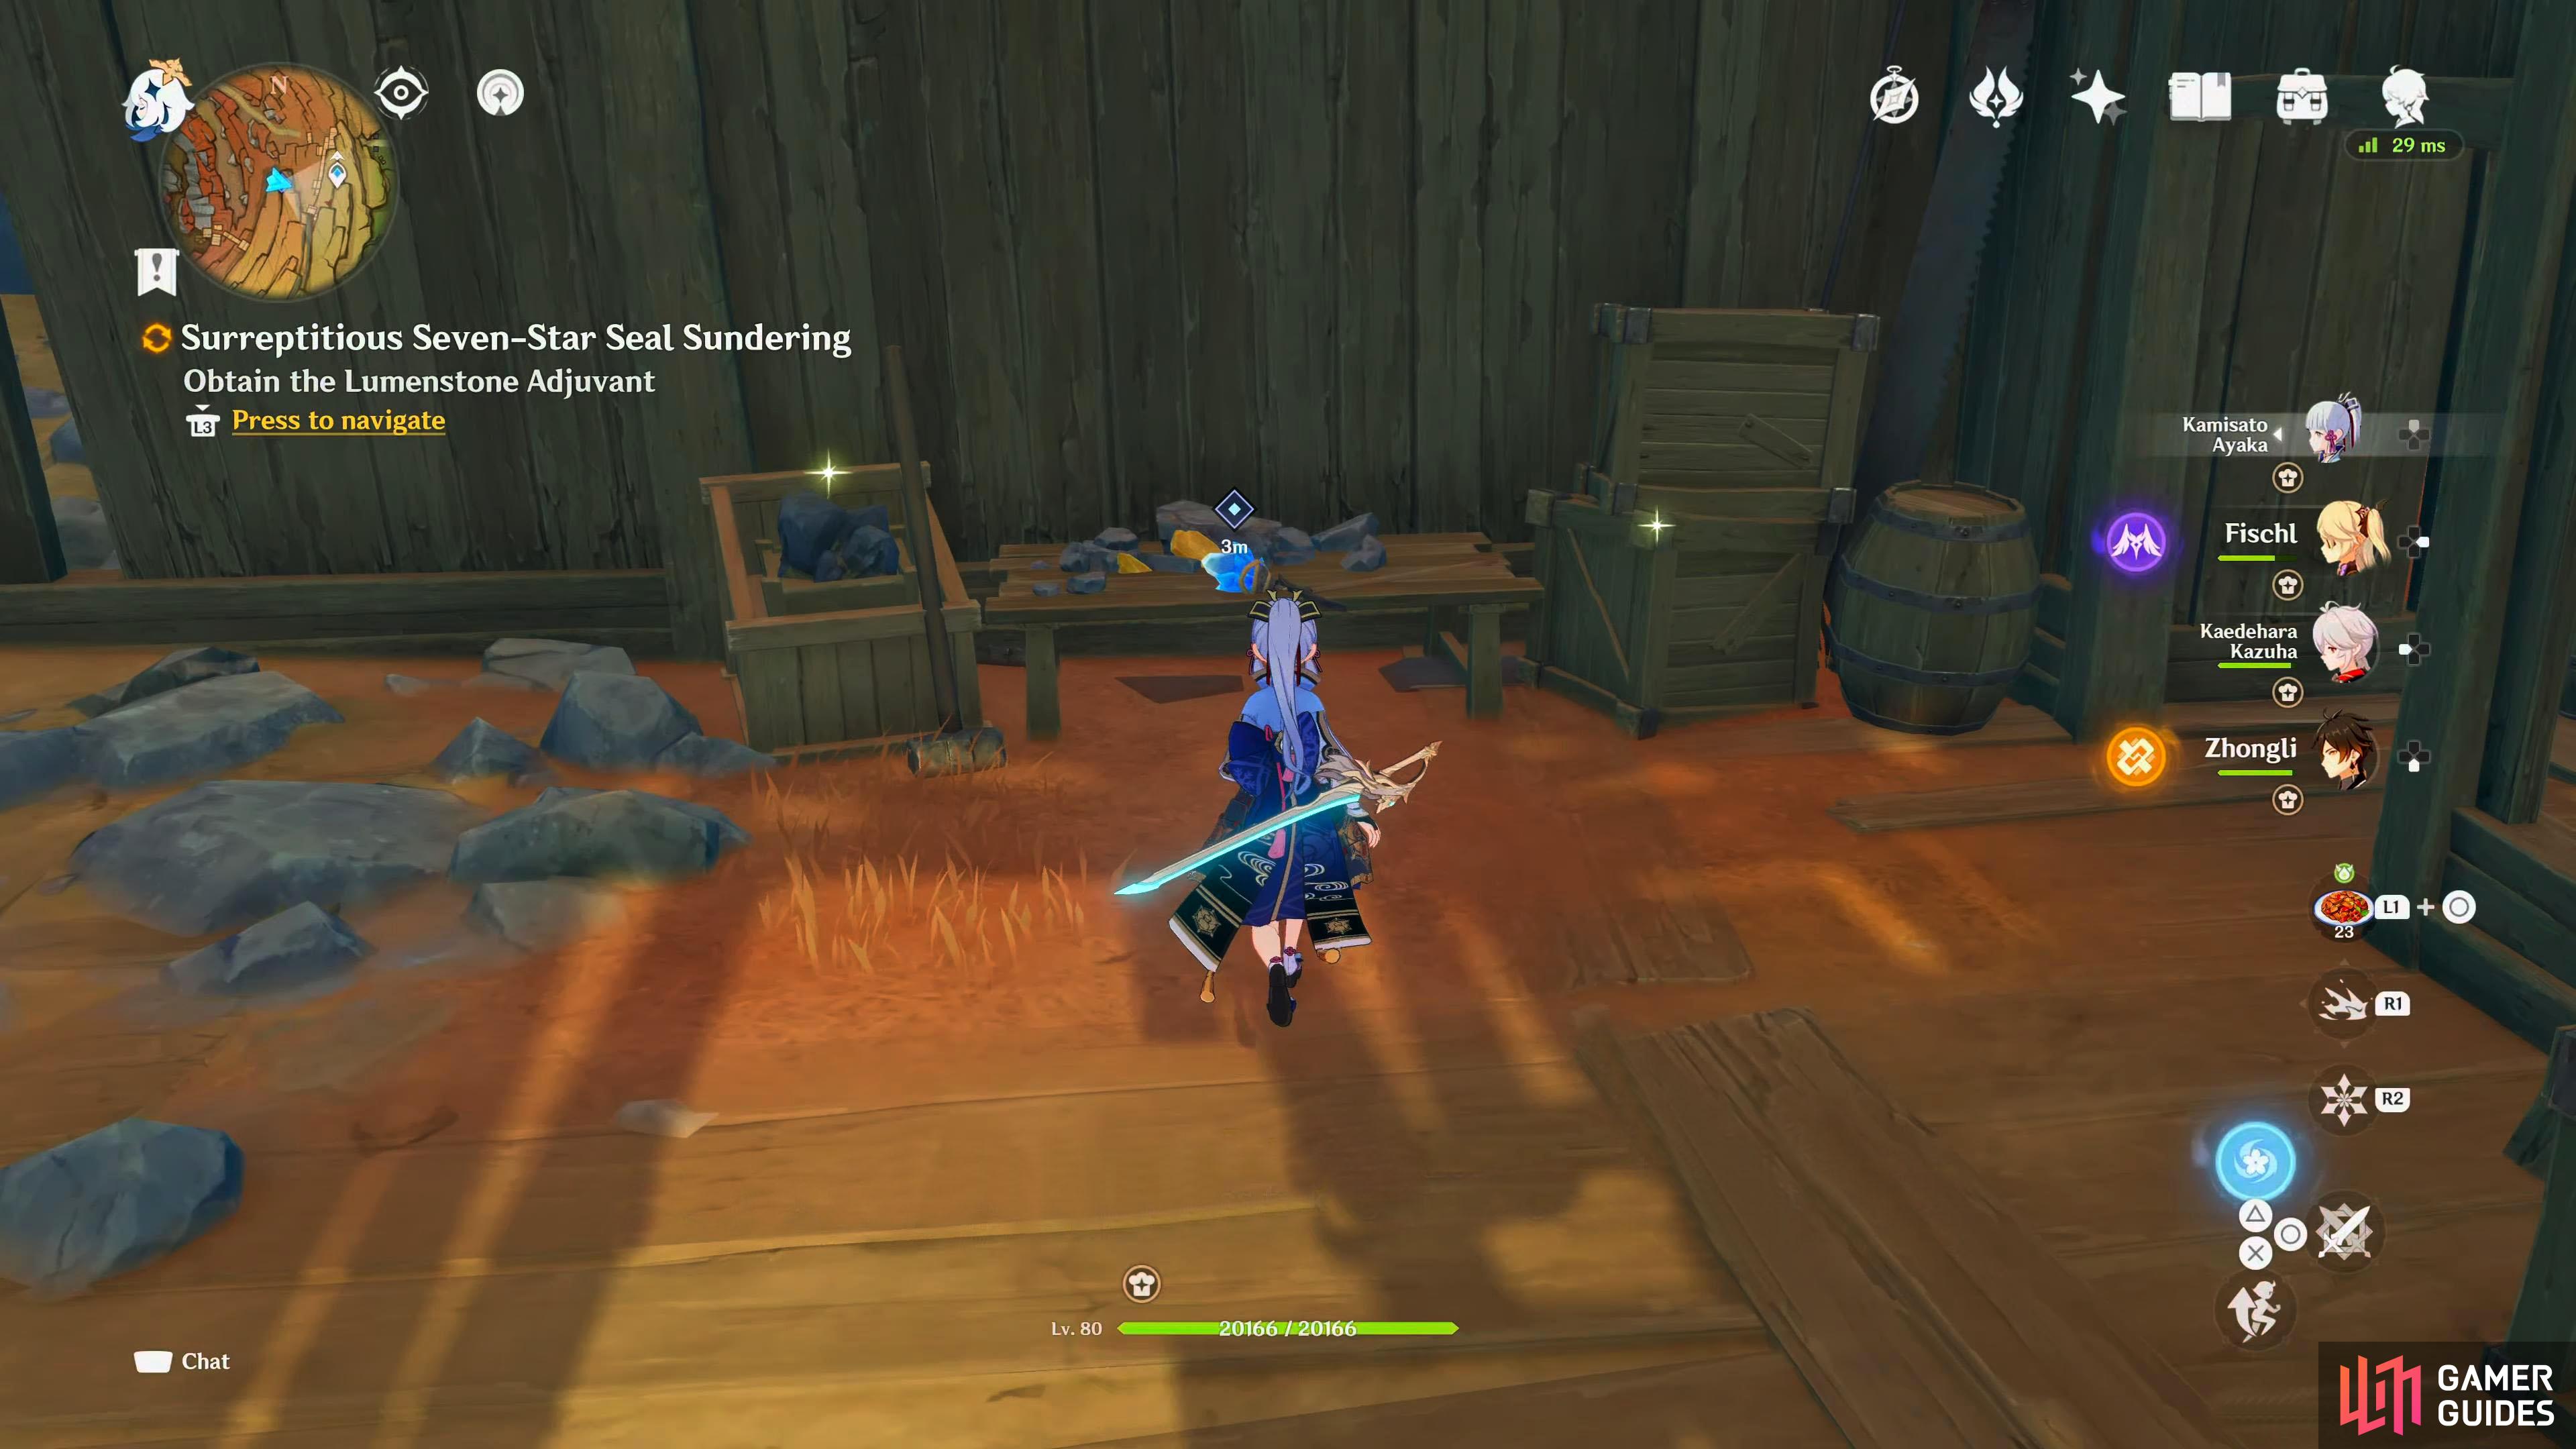
You can find the Lumenstone Adjuvant on the table inside the miners’ hut.
Tell Zhiqiong about what happened at the warehouse
Make your way back to Zhiqiong in the north, and explain to her what had just occurred. Paimon isn’t happy that Zhiqiong told you it was well guarded as you were just attacked, and she says that the Treasure Hoarders wouldn’t go near the place when she was guarding it. Obviously if she’s here, then no-one was guarding it is the point Paimon is trying to make and she, and she responds with “what adventurer in their right mind would let them get tied down with such a boring task”. And with that response, the group look at each other in an awkward silence until you ask her what to do next.


(1 of 2) Zhiqiong will be near the first Bedrock Key
Zhiqiong will be near the first Bedrock Key (left), where she’ll try to explain it, although she’s not really sure what it is. (right)
Afterwards she’ll tell you that she doesn’t really know how the Bedrock Keys work, but you could start from looking into those cage-shaped Geo elemental formations over there. When you ask her what she means by that, she’ll explain to you that strange formations have grown up from the bedrock all over The Chasm in the last couple of years. This appears to share similar properties to the “thing” underground. According to Huishan Hall’s investigations, they have been absorbing geo elemental energy from the surrounding area, slowly eroding the structure of the Bedrock Keys.
Look for a way to destroy the Bedrock Keys
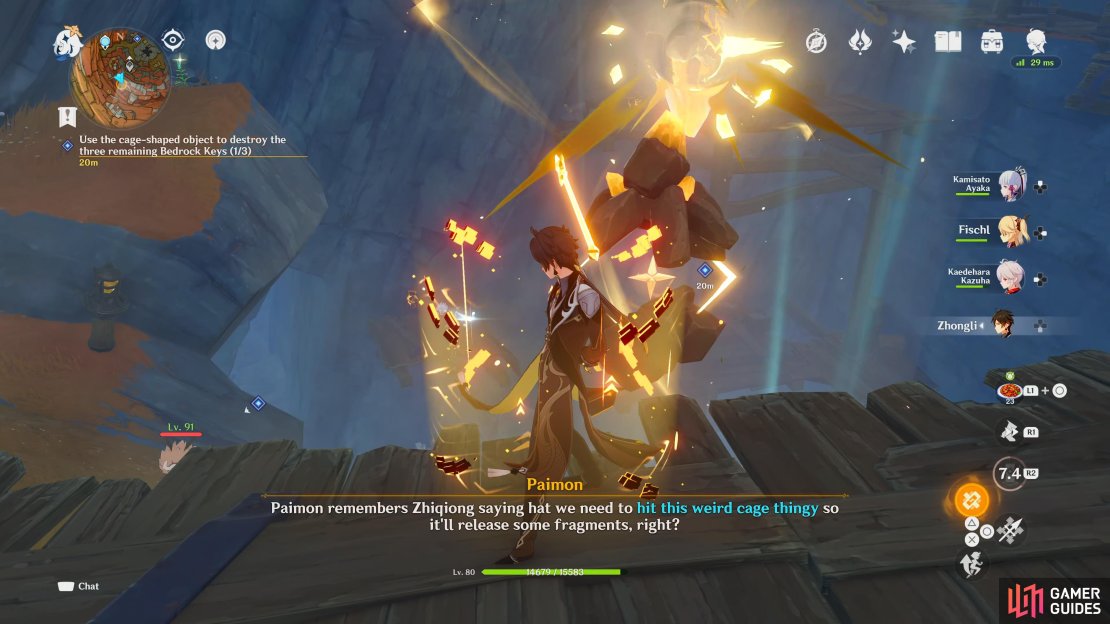
When the scene ends, you’ll get a tutorial pop-up on how to deal with the “Cage-Shaped Geo Formations”. Apparently when something or someone powered by Geogrannum hits them, they will fire out crystal projectiles. The first one will be right next to you and Zhiqiong. Attack the geo crystal leaning against the rock to acquire a Geogrannum, then head up the rock and face the large glowing Geo crystal floating in the air.
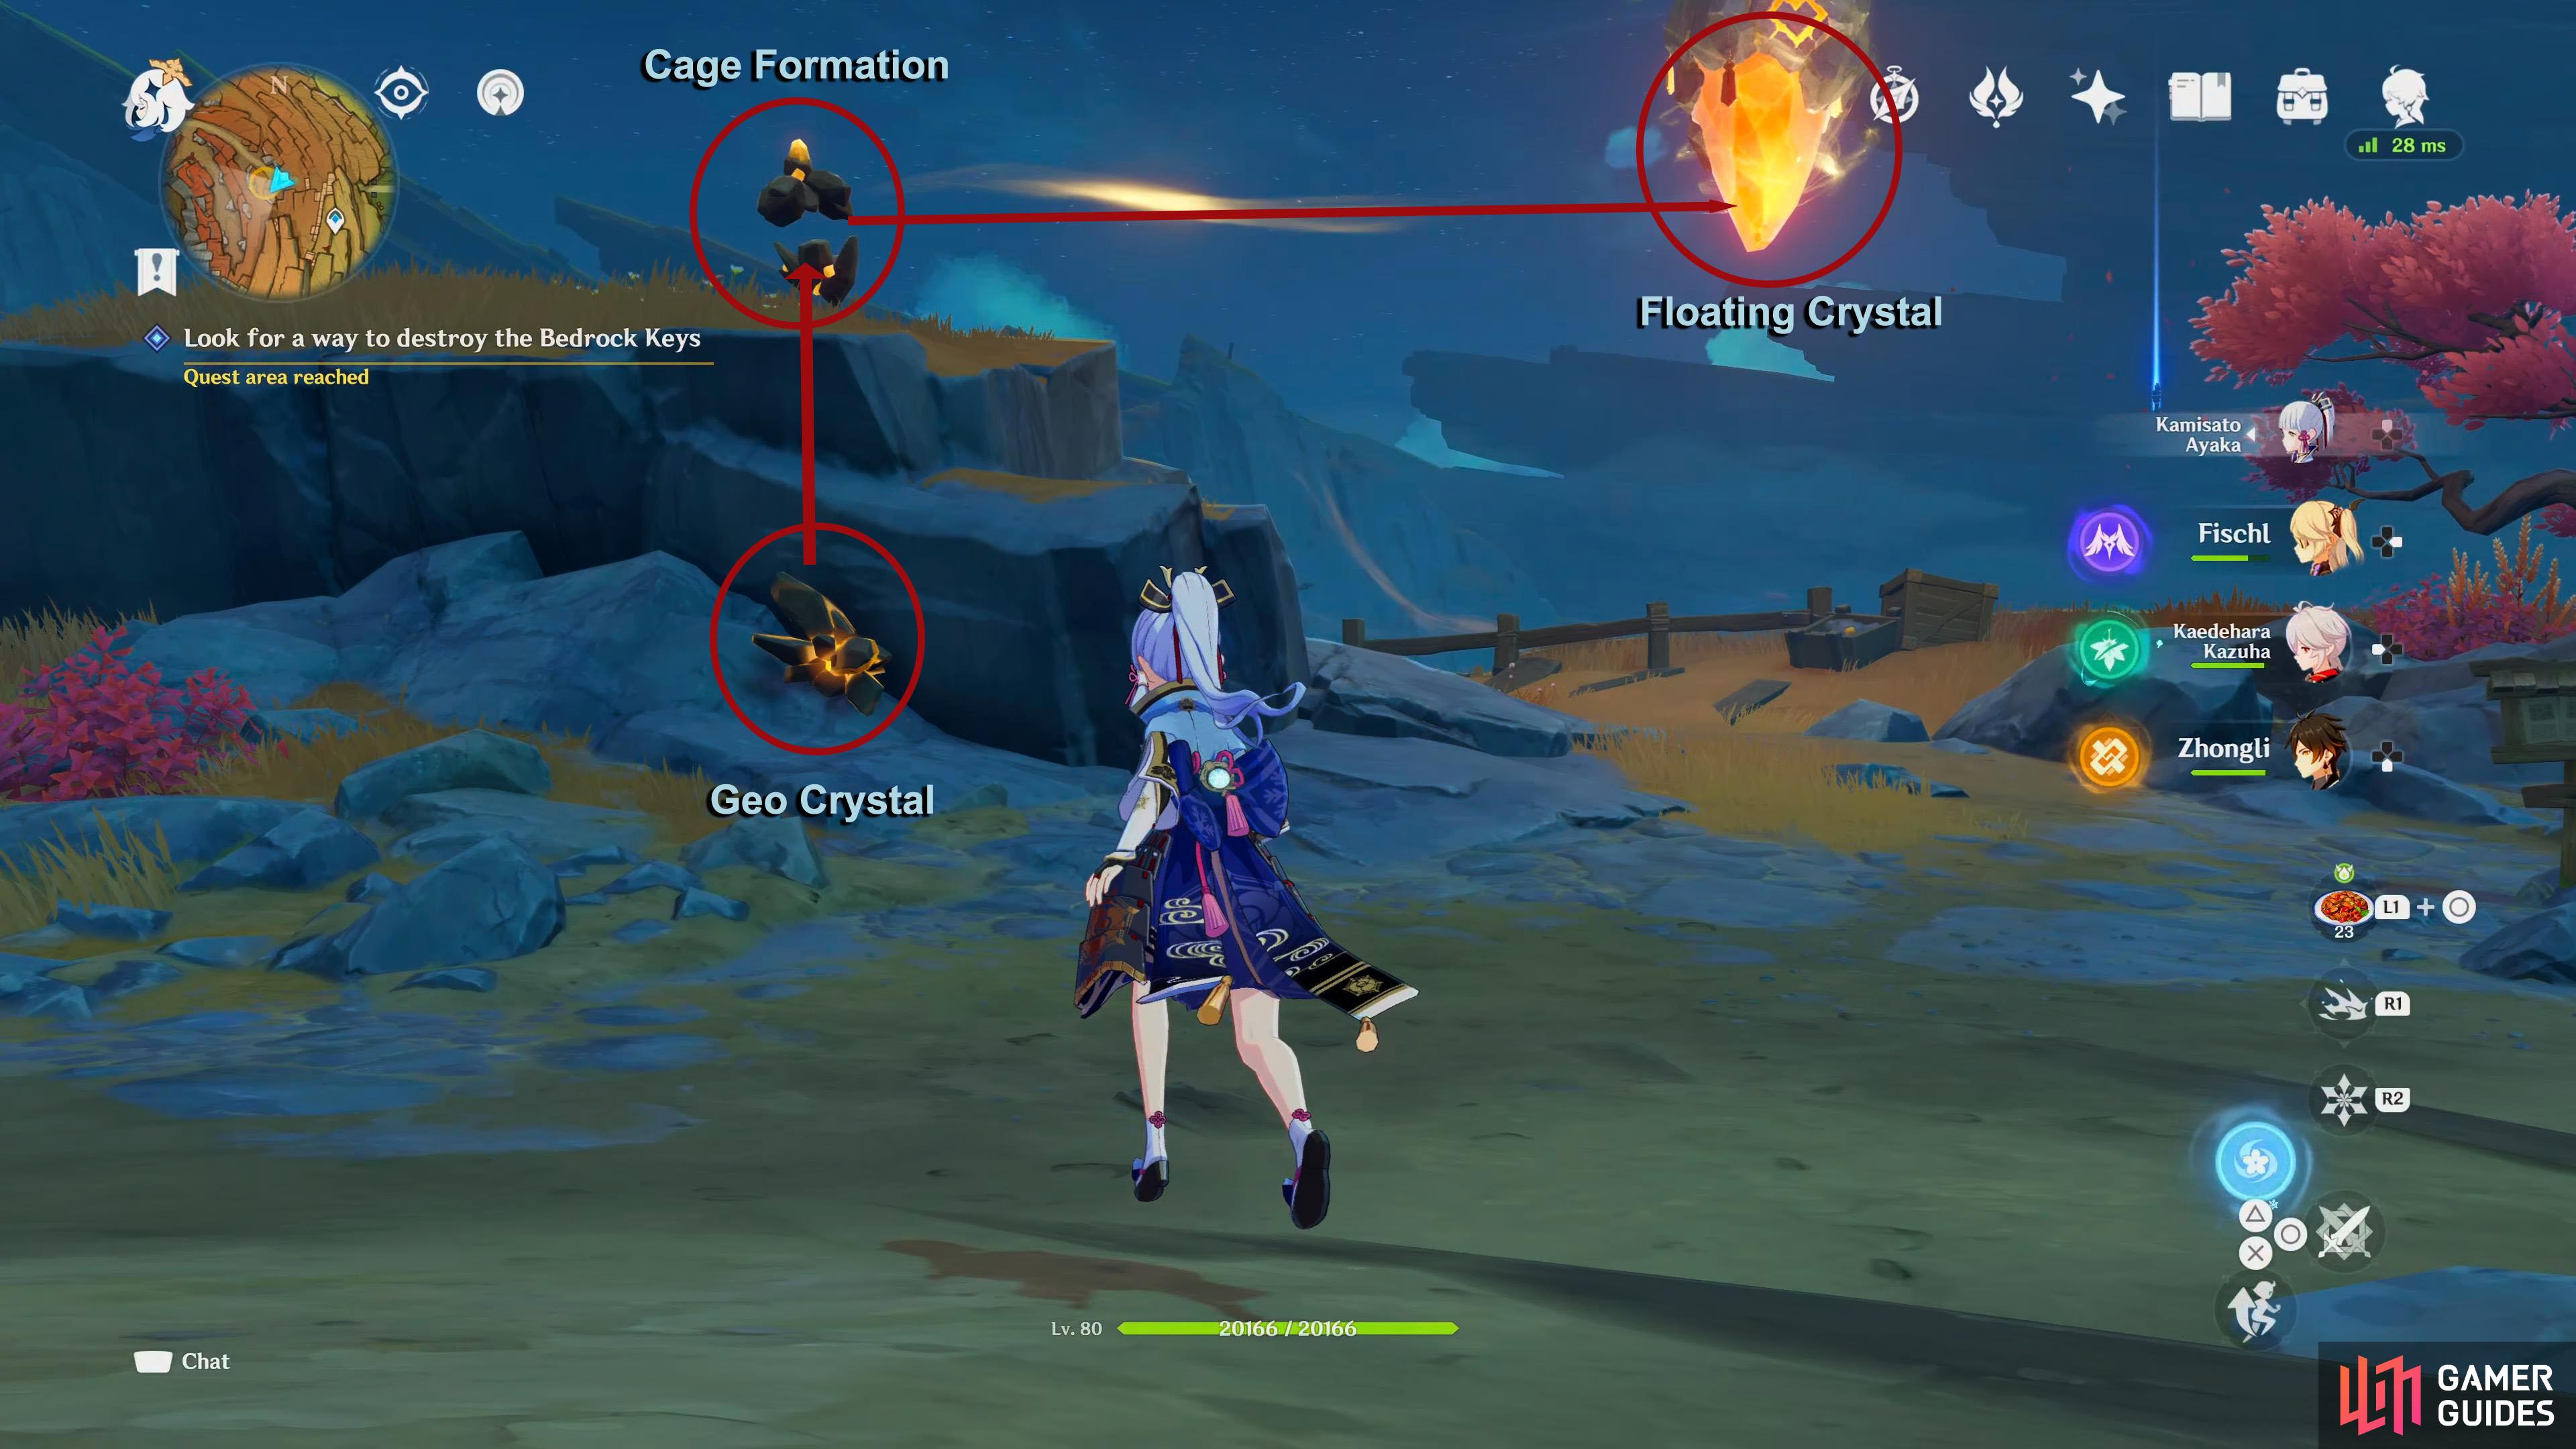
The idea behind this mechanic is to attack the Geo crystal for a Geogrannum, place the Geogrannum into the Cage Formation, and attack the Cage Formation to fire a projectile at the Floating Crystal.
Now you want to attack the Cage Formation where it’ll send out a crystalized projectile that’ll lower the floating crystal. Once again, destroy a Geo crystal on the floor to acquire another Geogrannum, and climb up the tall rock on the opposite side. Here you’ll find another Cage Formation, power it up, adjust your position, so you’re facing the floating crystal and attack the Cage to hit the crystal. This’ll lower it again, and you’ll get a scene depicting one of the seals getting destroyed.
Talk to Zhiqiong
After the scene, drop back down and talk to Zhiqiong. Apparently there are four more seals to destr…unbind, and she’ll provide you with a map of their locations, although you can only access three of them for now.
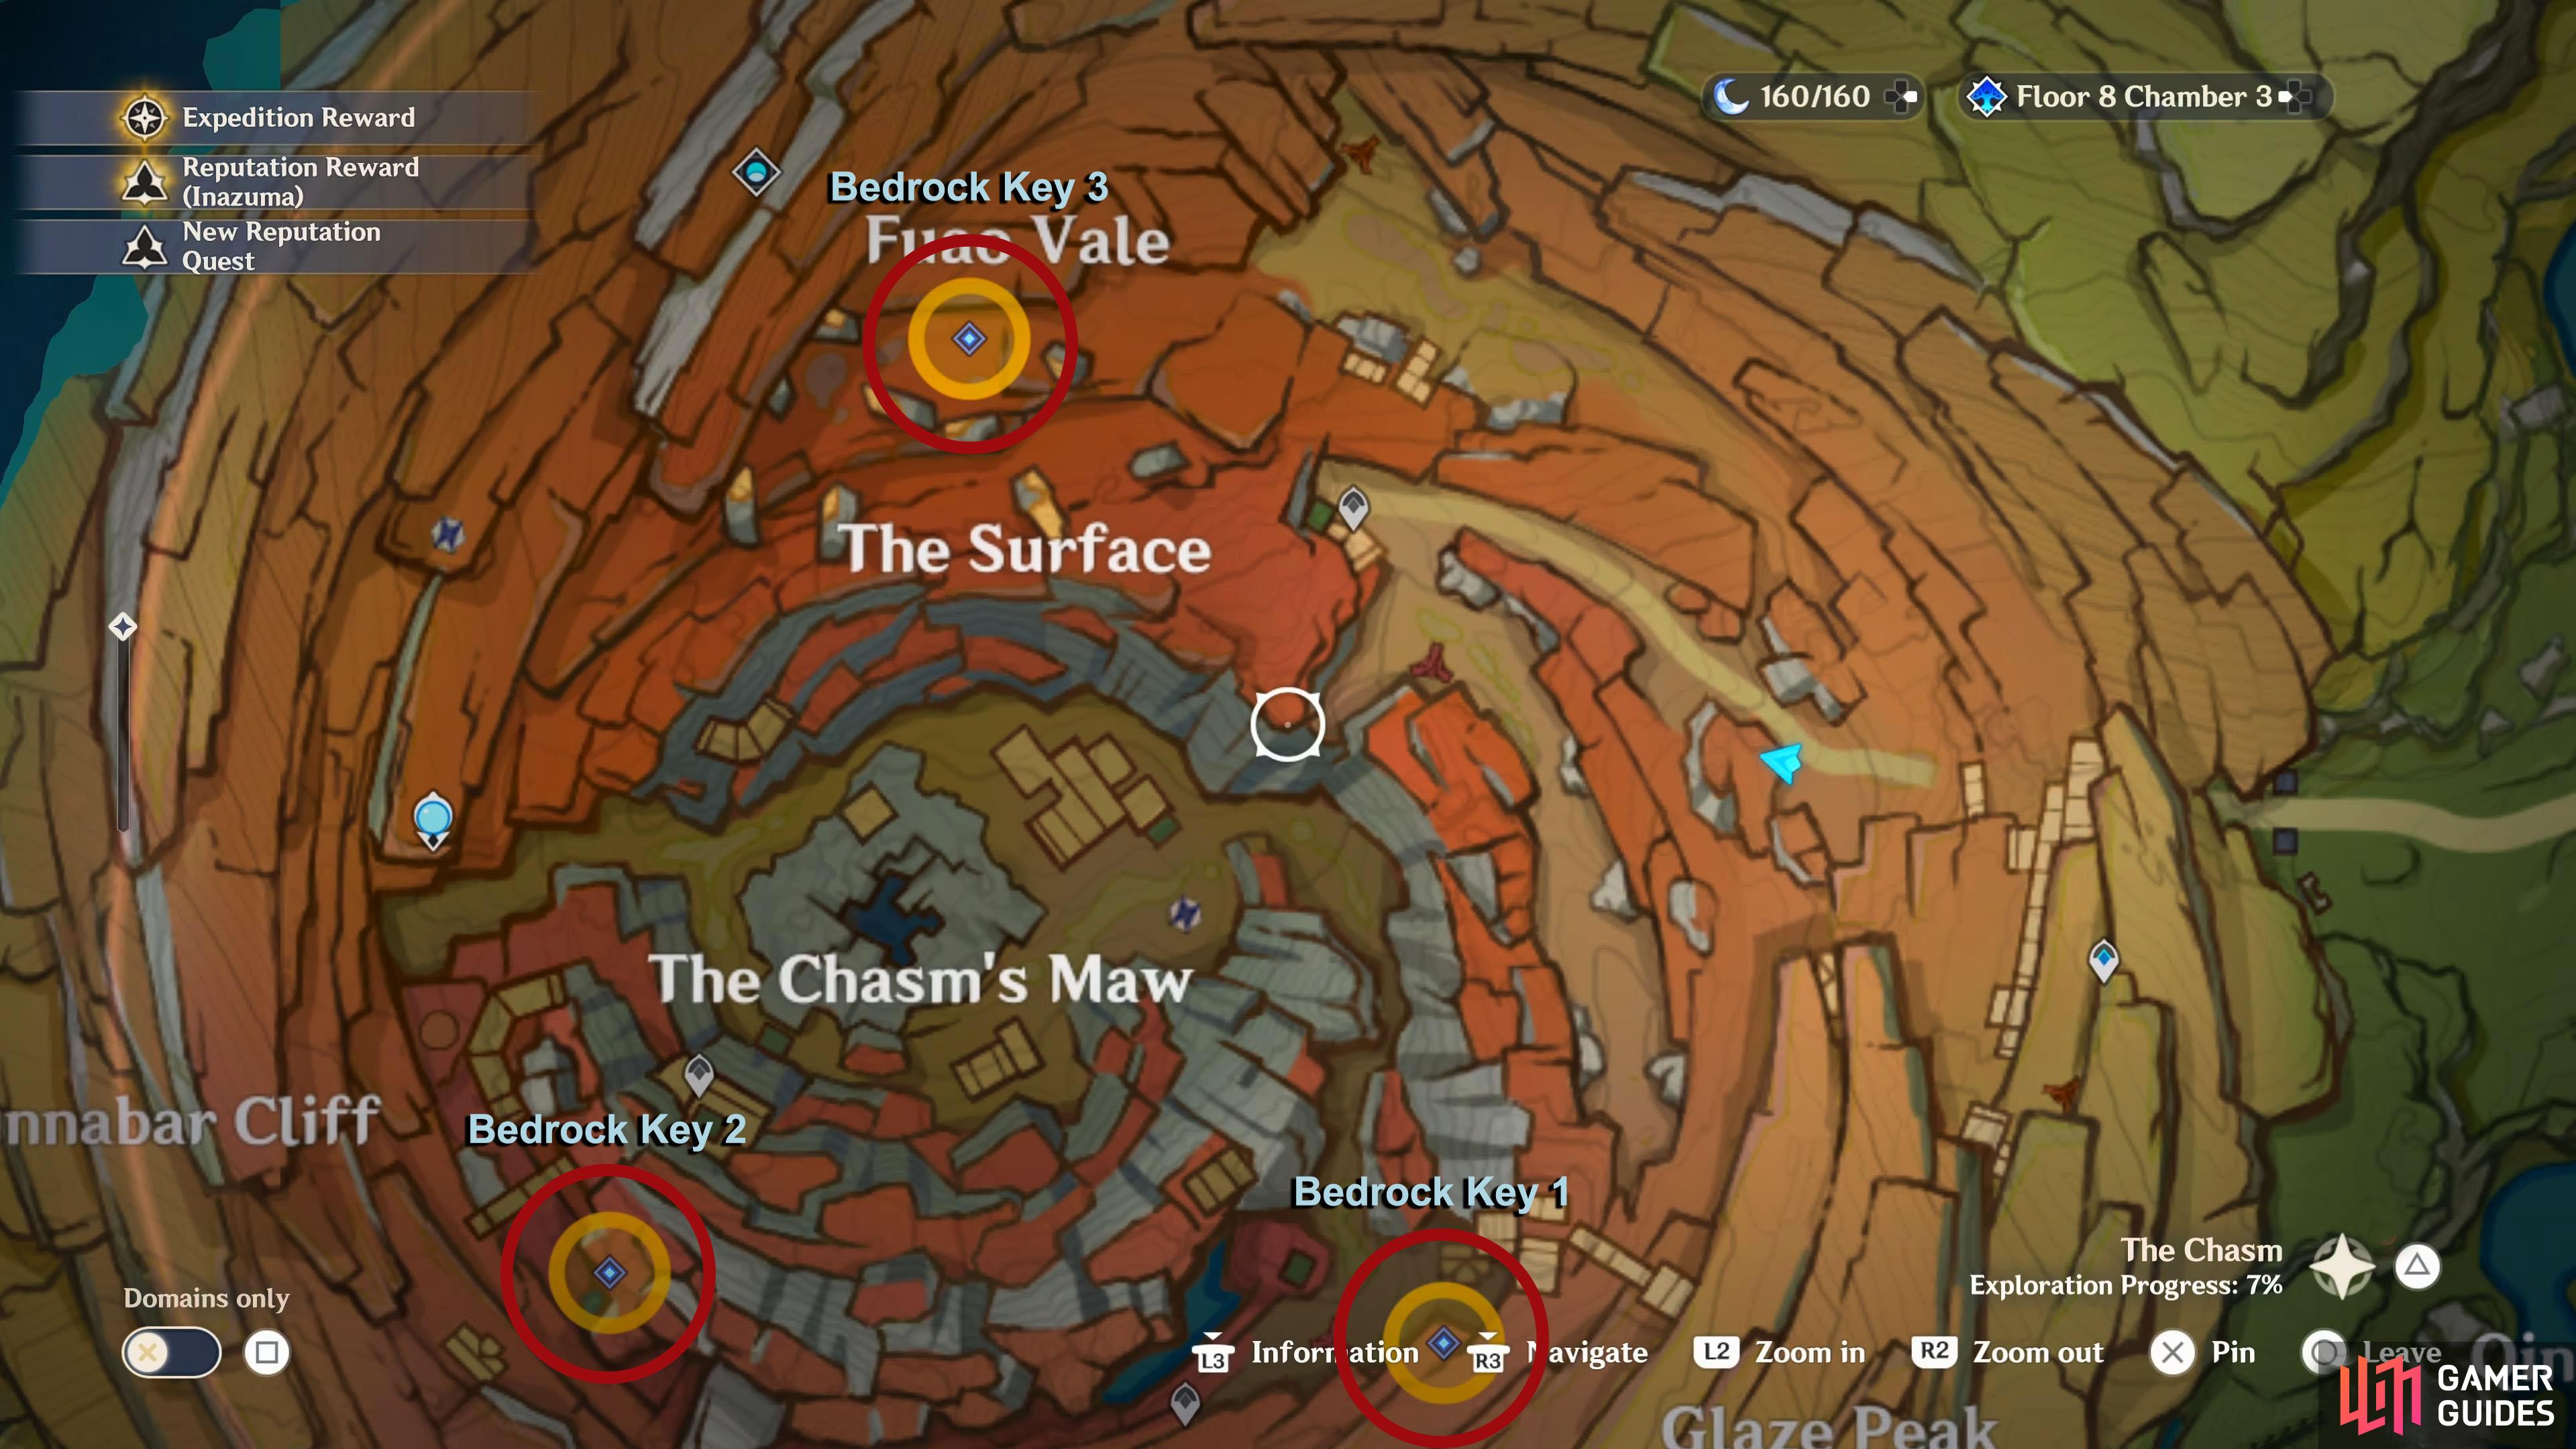
The Bedrock Key locations have been labeled where each one is. So, Bedrock Key 1 is in the southeast, Bedrock Key 2 is in the southwest, and Bedrock Key 3 is in the north.
Use the cage-shaped object to destroy the three remaining Bedrock Keys (0/3)
You can do this part in any order, although we’ll start with the southern one first which we’ll call Bedrock 1 for guide purposes. The trick with these puzzles is you’ll always want to start at the highest Cage Formation and work your way down, because when the floating crystal is hit, the crystal will lower.
Bedrock 1
From Zhiqiong, make your way southwest to the first location. This puzzle requires you to get creative with the nearby elevators. Attack one of the nearby Geo crystals to acquire a Geogrannum, then head over to the northern elevator. Stand near the edge of the elevator, so you can power up the Cage Formation floating in the air. Wait for it to go down, and stop just in front of the Cage Formation, and attack it to fire off a projectile at the floating crystal which’ll lower it.
The next step requires you going to the southern elevator and repeating the same steps, although you’ll need to time your attack as the elevator won’t stop in parallel with the Cage Formation. You’ll want to attack it as you pass it on the elevator, doing this will lower the floating crystal once more. Finally, the last Cage Formation you need is in the hut to the north of the floating crystal.
Get a Geogrannum from the Geo crystal outside the hut, then head inside where you’ll see the Cage Formation near the window. Line up your camera so you are facing the floating crystal, and attack it to send the projectile through the window onto the floating crystal. Once again, the floating crystal will lower for the last time, destroying another seal. Now head to Site 2.


(1 of 3) The first step is on the northern elevator. This lift will stop just in front of the Cage Formation.
Bedrock 2
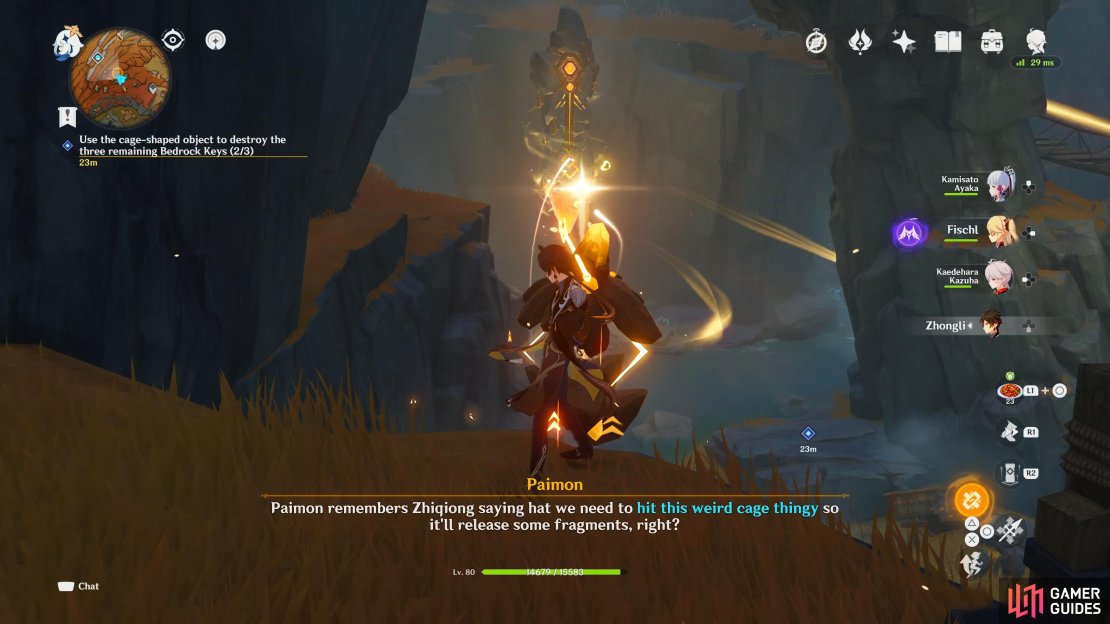
Make your way west until you reach the area with the floating crystal. The first Cage Formation you’ll want to attack is at the same height and just north of the floating crystal. Attack the nearby Geo crystal for a Geogrannum, then hit the Cage Formation to lower the floating crystal. Now you’ll want to go to the opposite side by gliding and using the updraft in the center to get across.
Once again, attack the nearby Geo crystal for a Geogrannum, then hit the Cage Formation to lower the floating crystal once more. Now you’ll need to glide to the lower western platform where you’ll find another Cage Formation. So once again, get a Geogrannum from the nearby Geo Crystal, and hit the Cage Formation to break the seal. Finally, glide to the lower eastern platform, attack the Geo crystal near the wall for a Geogrannum, then hit the Cage Formation to break the seal.


(1 of 3) The first step is on the platform to the north of the floating crystal.
Bedrock 3
The third Site is to the north where you’ll need to have access to the domain there. You can find out how to access the domain here. When you get to the domain, you’ll need to follow the winding paths down until you reach the floating crystal.
The first Cage Formation that you’ll want to hit can be found to the south of the floating crystal, near a bridge. You’ll find the geo crystal for the Geogrannum on the platform below the bridge. Now head east across the bridge where you’ll find another Cage Formation. Get the Geogrannum from the Geo crystal near the wall then hit the Formation to lower the floating crystal again. Finally, drop into the water below, obtain the Geogrannum from the Geo crystal by the stone pillar, and hit the last Cage Formation to break the seal.


(1 of 3) The first step is to the south of the floating crystal, near the bridge
Report the destruction of the Bedrock Keys to Zhiqiong
With all three seals broken, head back to Zhiqiong by teleporting to The Chasm entrance, and heading west. When you talk to her, she’ll ask if you can feel the ground shaking. Naturally Paimon tells her that she doesn’t feel anything ignoring the fact that she can fly, and Zhiqiong will tell you that you just need to destroy the final seal.
Look for the final Bedrock Key
The final Key can be found to the north from the Statue of the Seven. Teleport there, and drop off the cliff to the east and glide north a bit until you reach the mine tracks on the floor. Follow the tracks northeast and drop off the wooden platform to The Surface area. Go through the cave to your south to where the floating crystal is.
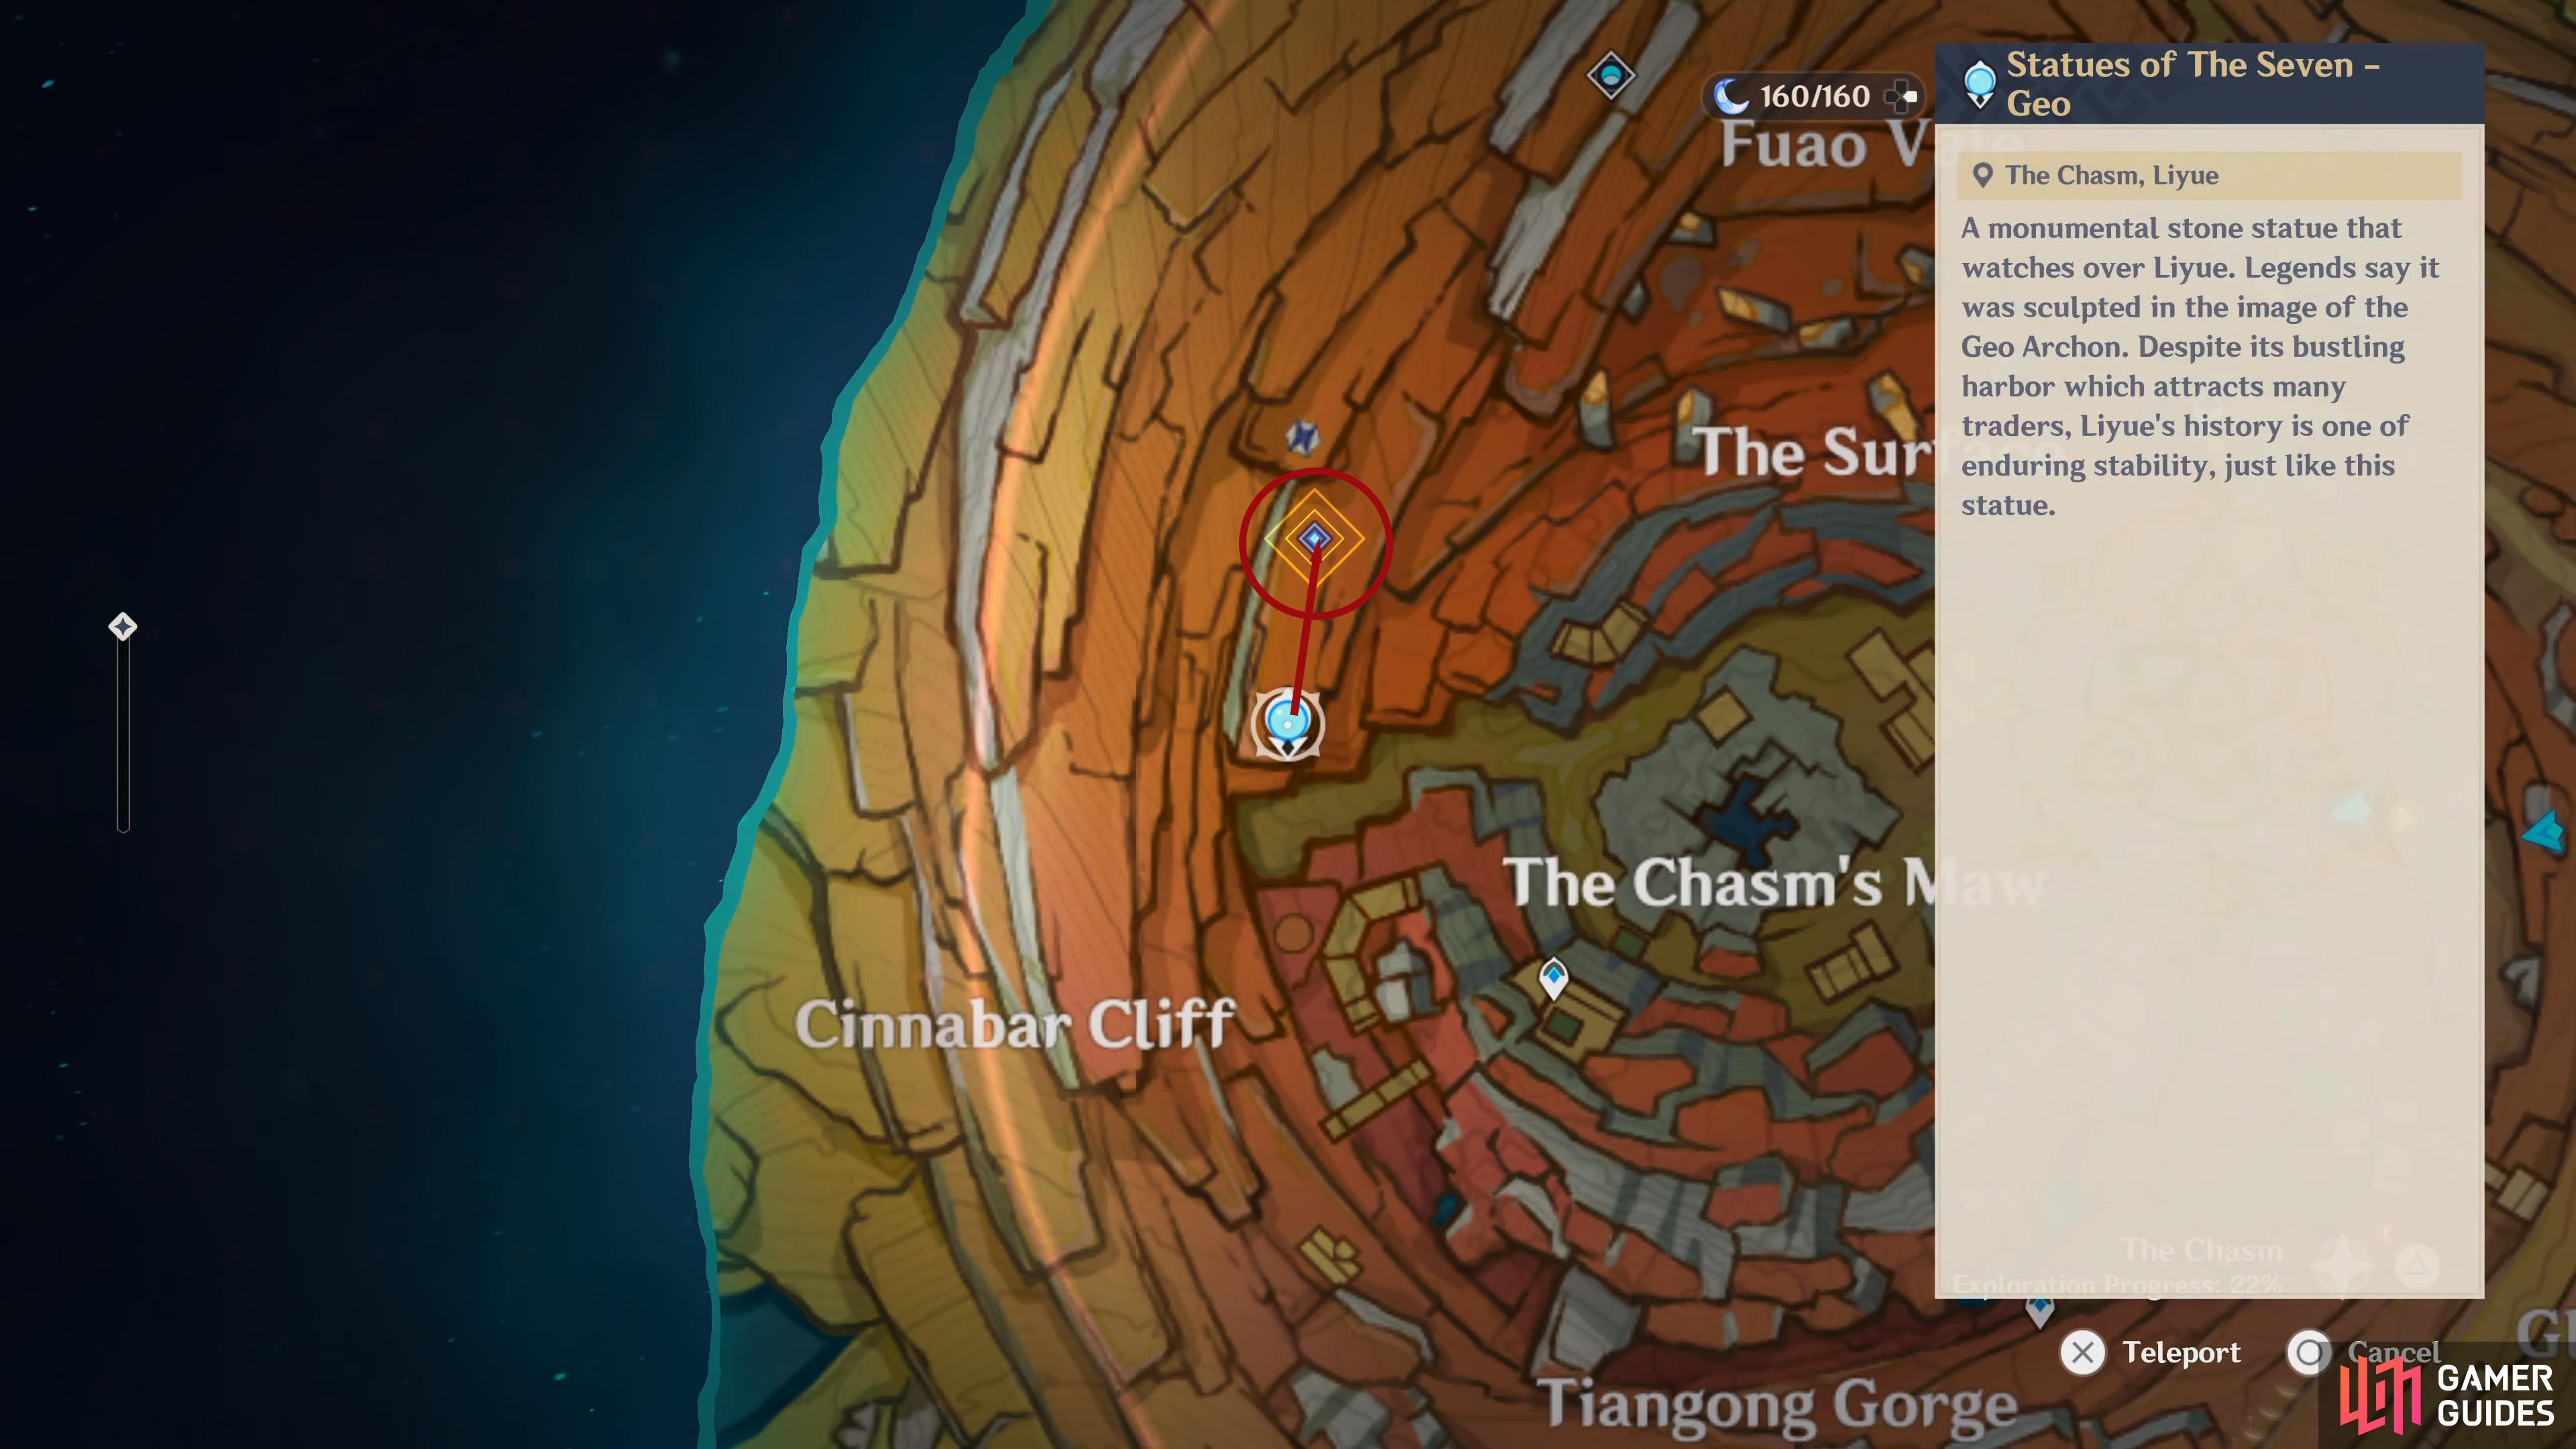
The quickest way to the final Bedrock Key is by teleporting from the Statue of the Seven and dropping off the cliff and gliding to the mine cart tracks.
Destroy the final Bedrock Key
Make sure that before dropping you attack the Geo crystal, so you can obtain a Geogrannum. Just in front of the crystal is the first Cage Formation that you’ll need to attack. Now drop to the surface, but before you can attack the final Cage Formation you’ll have to deal with a couple of Geovishap hatchlings first. Defeat them, and a Geovishap will spawn. Dispatch that as well, and you can break the final seal by attacking the last Cage Formation. After the short scene of the seal breaking, Zhiqiong will be there to congratulate you on your impressive work, and tell you that you can now explore the underground.


(1 of 2) As soon as you enter the last area, make sure you attack the first Cage Formation before dropping.
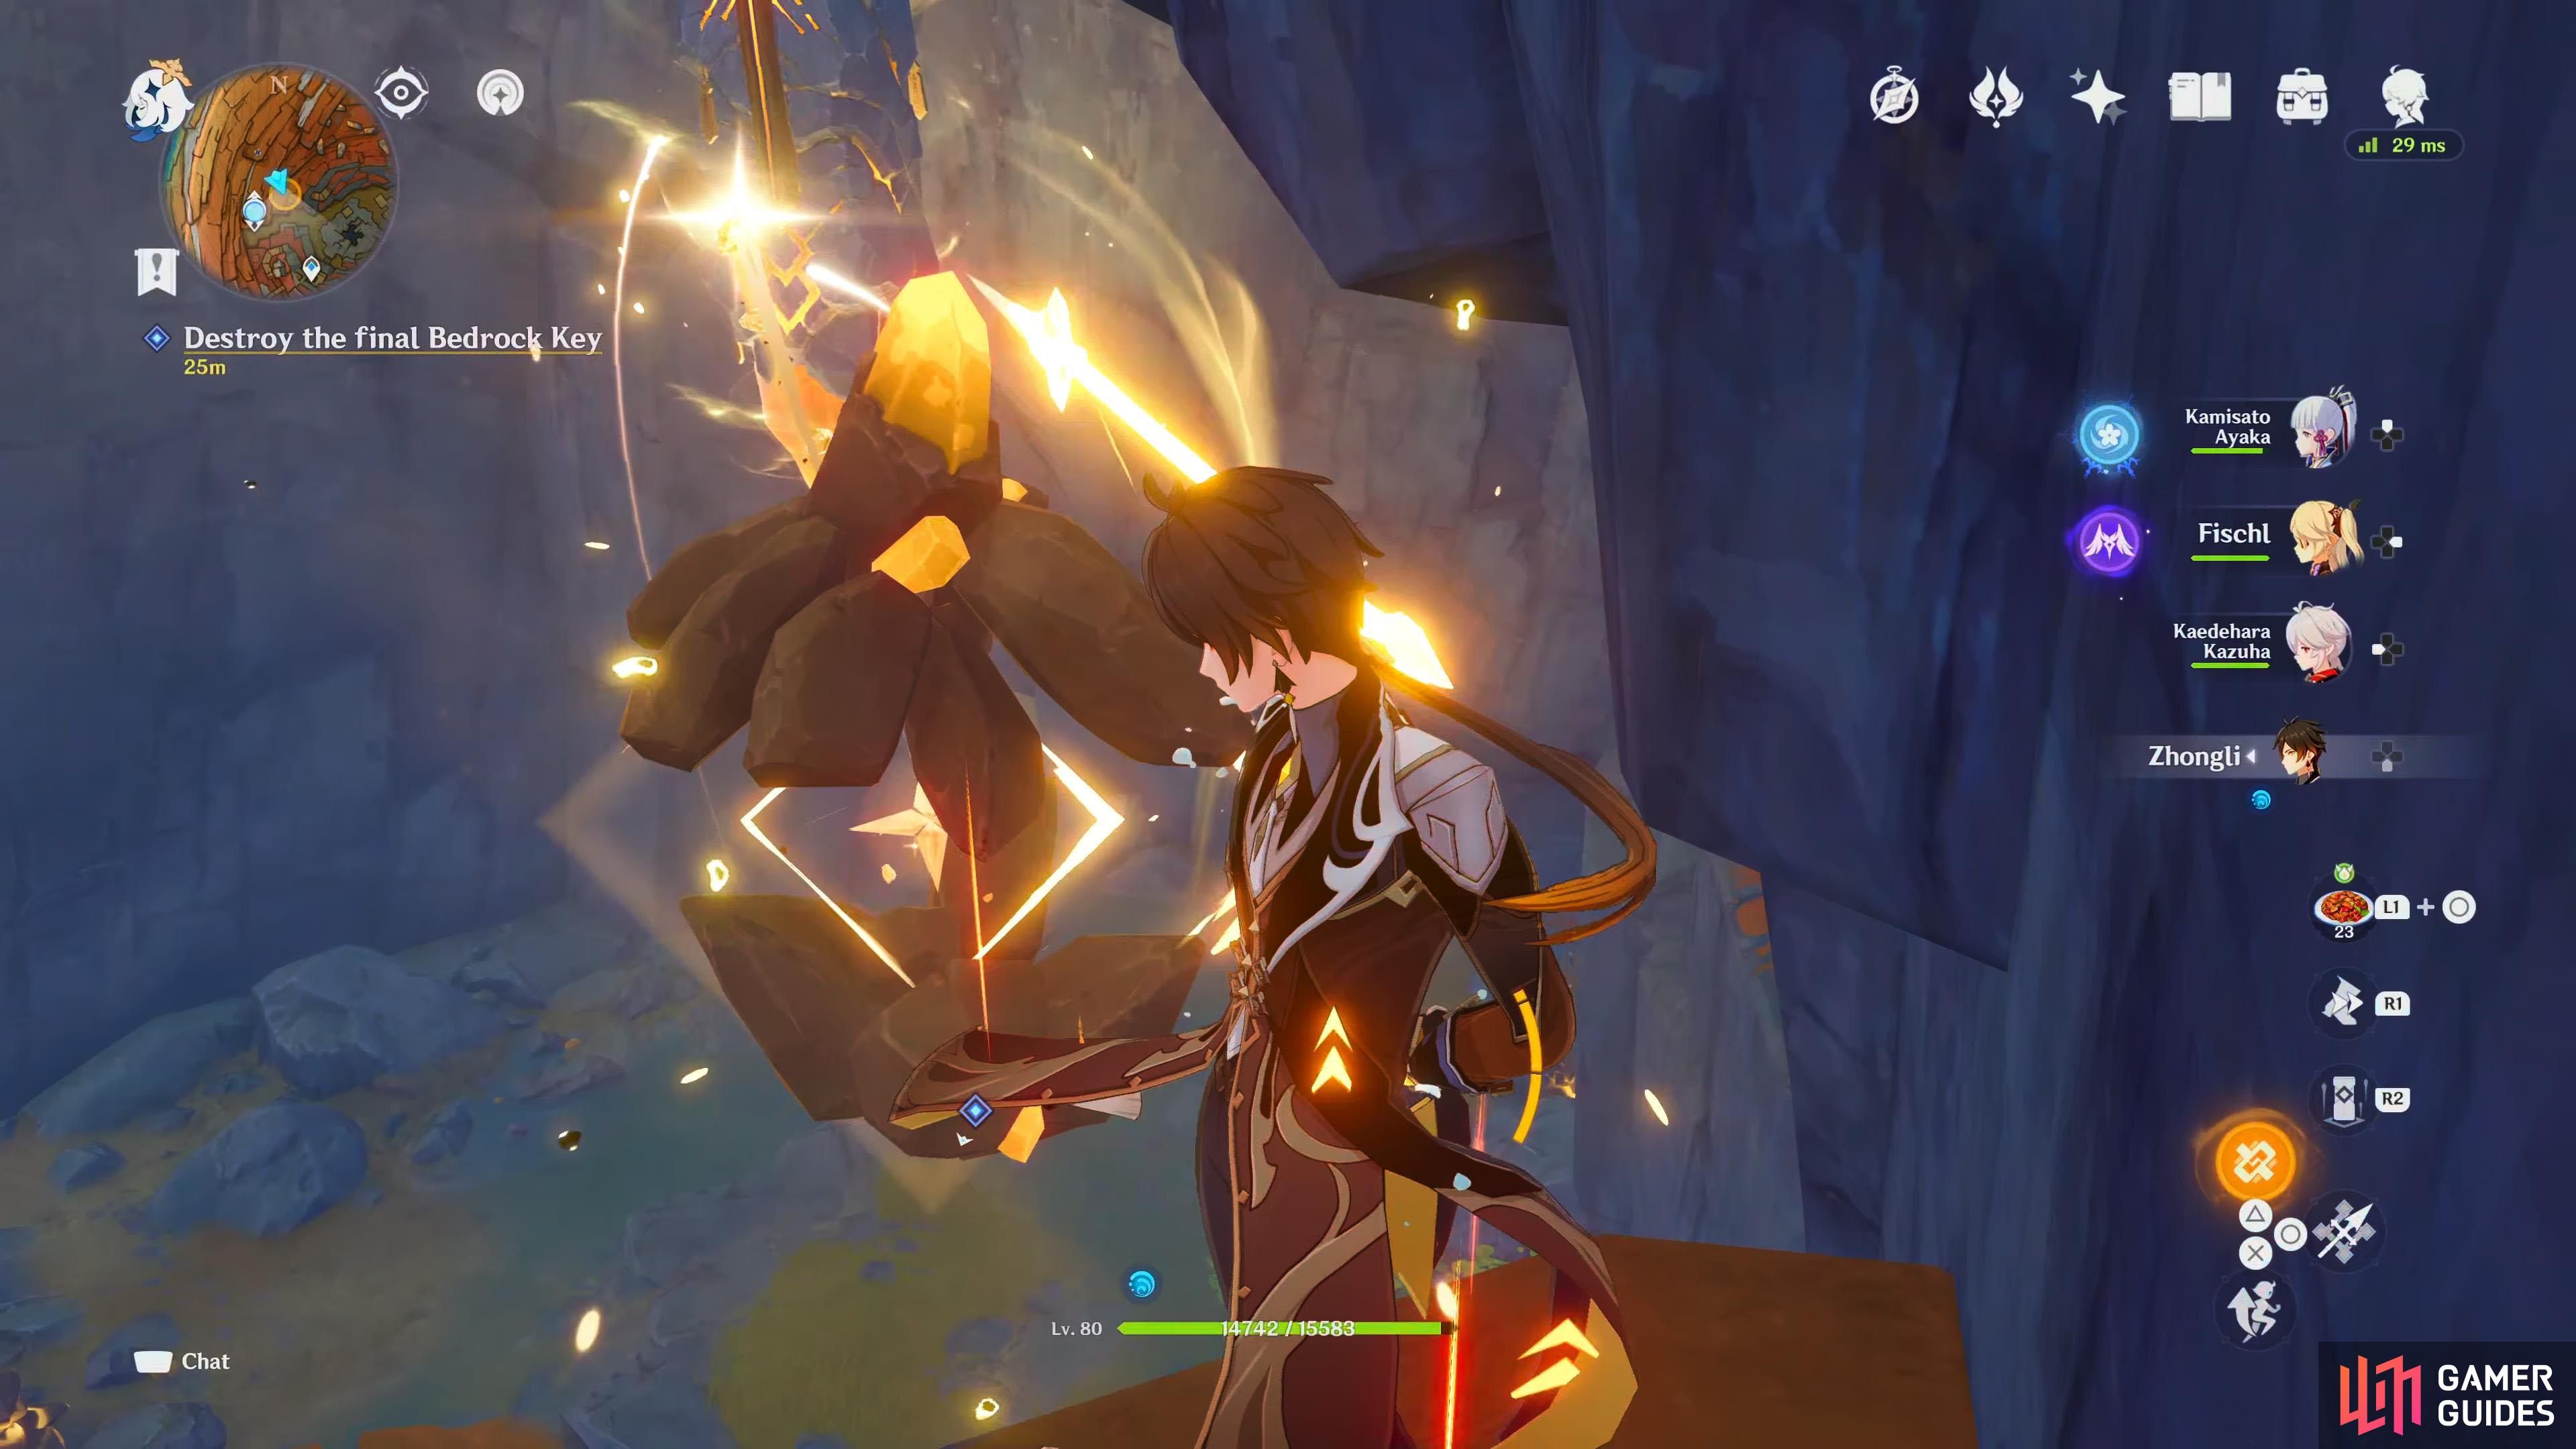
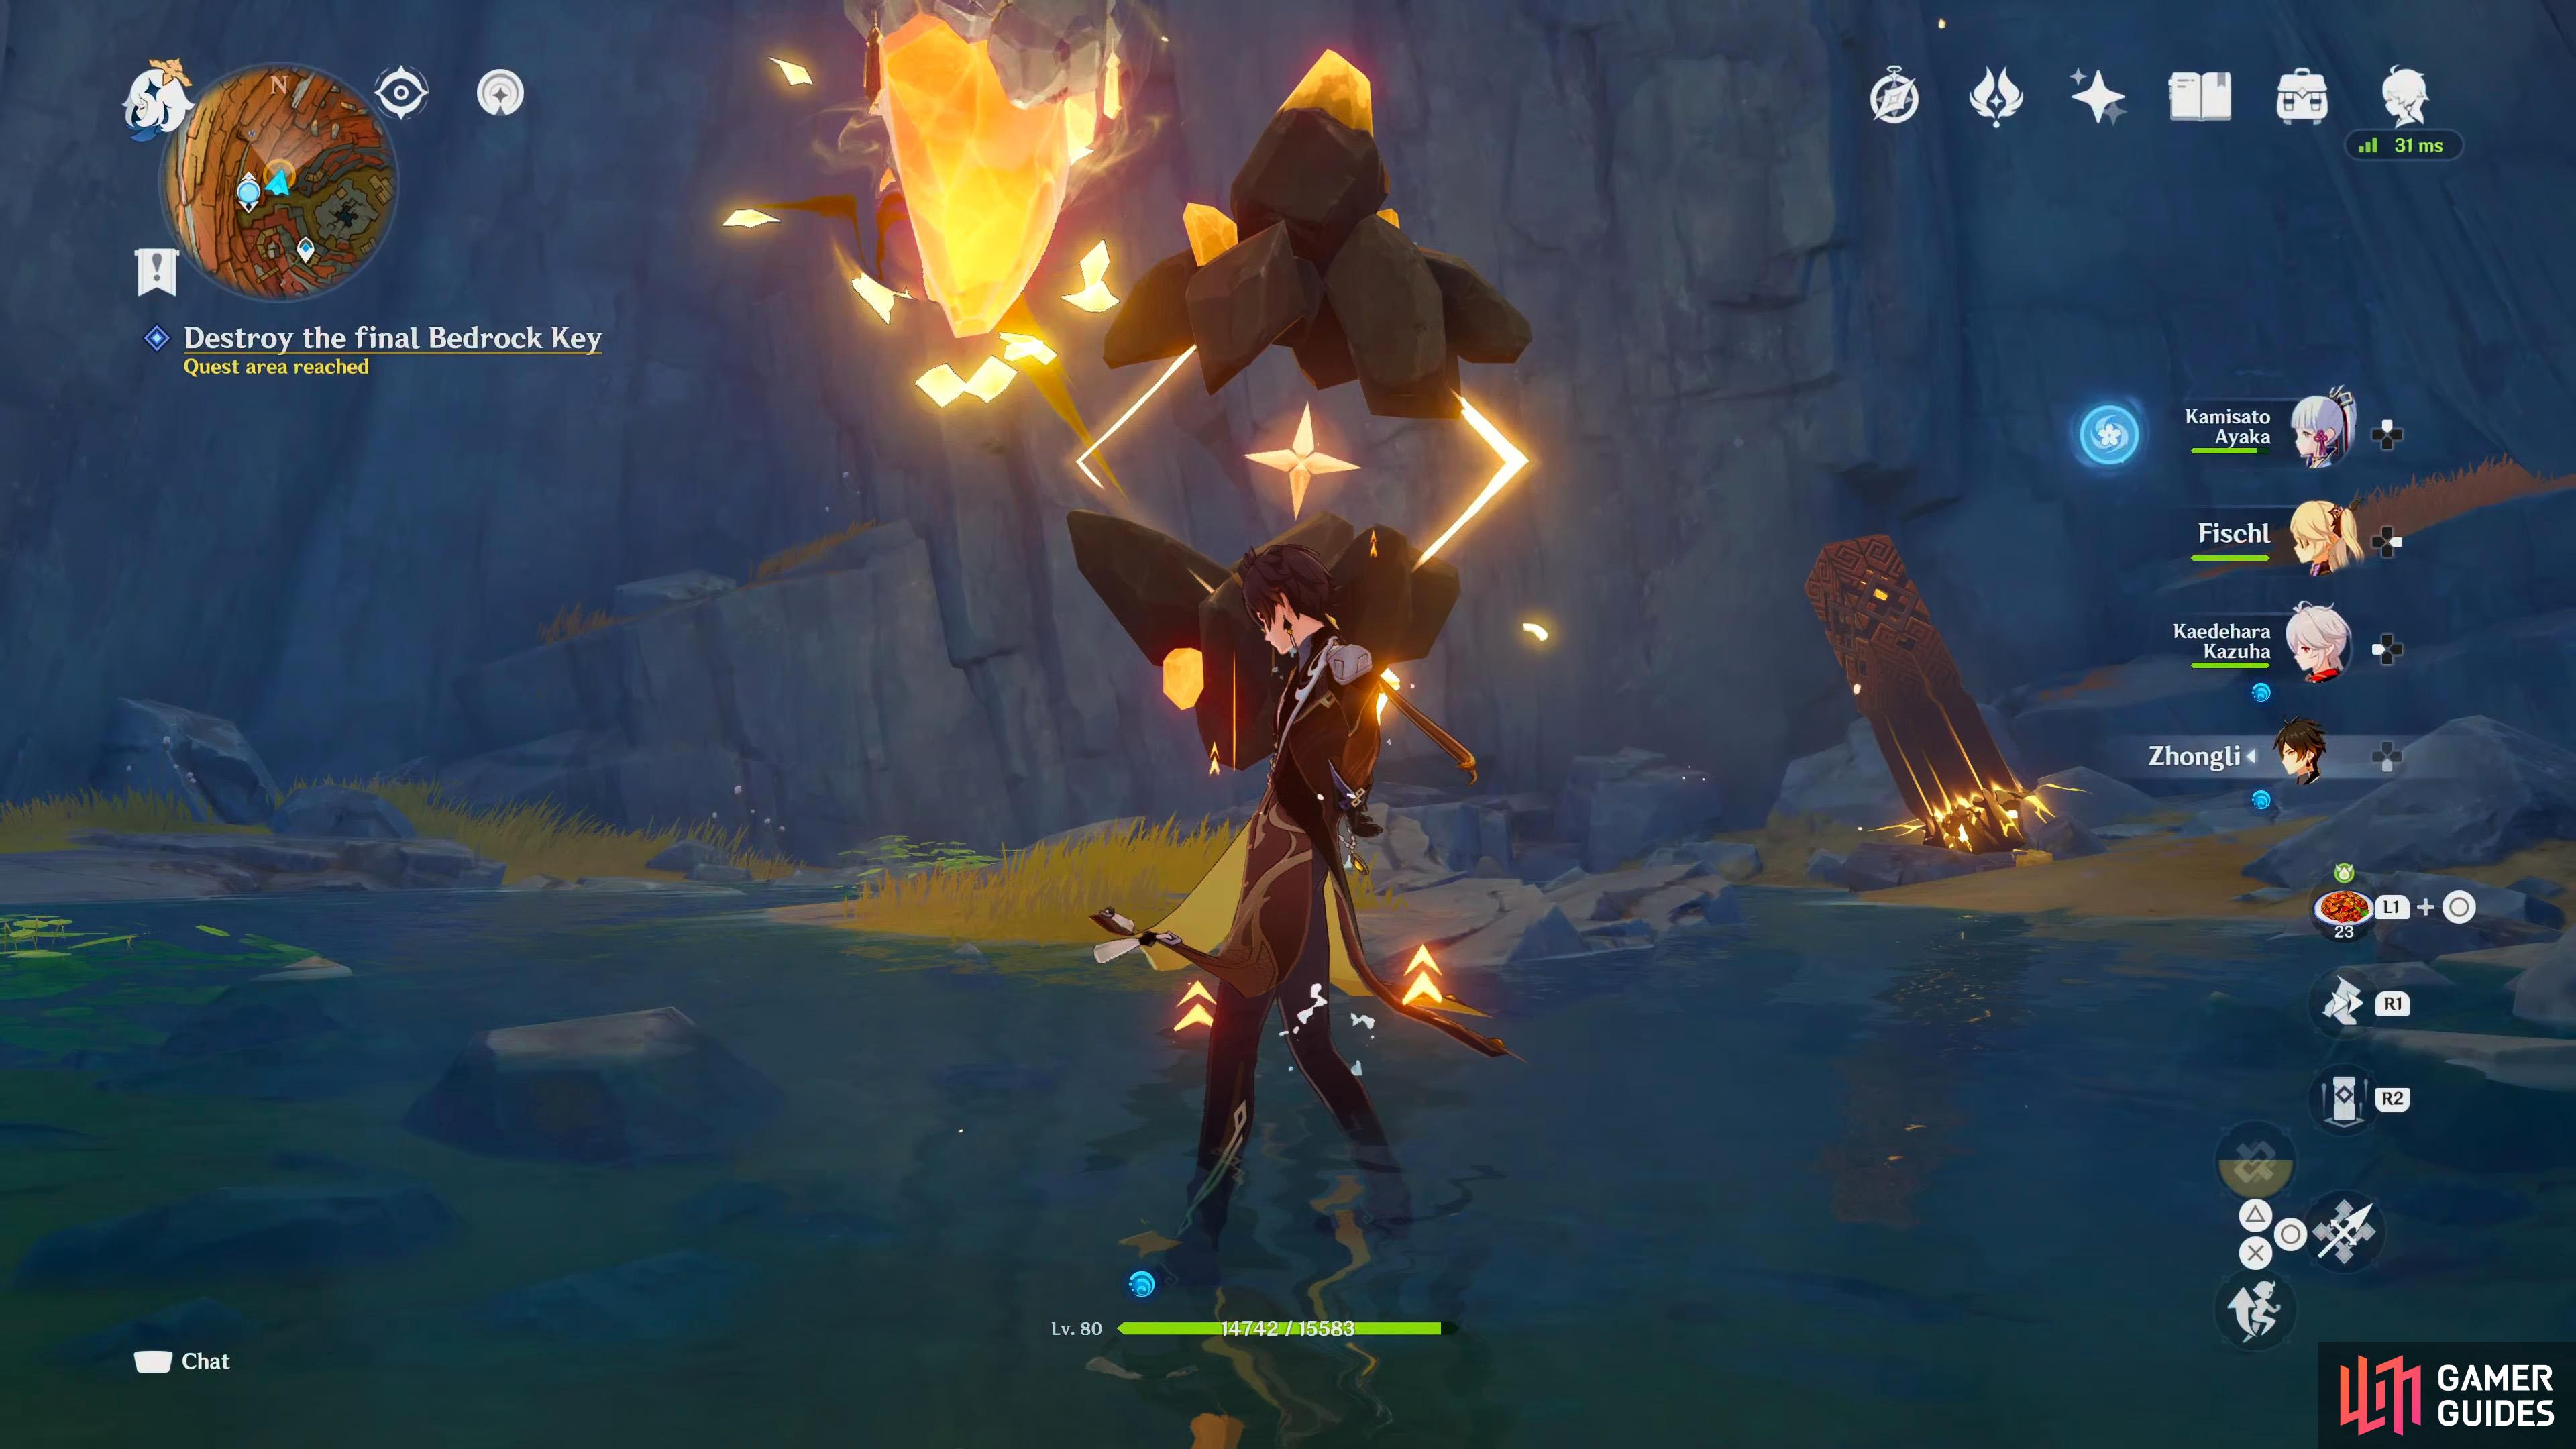
As soon as you enter the last area, make sure you attack the first Cage Formation before dropping. (left), After you’ve defeated the Geovishaps, you can finish off the last Cage Formation at the bottom. (right)
Once your conversation is over, you’ll be teleported back to the camp. Muning will pretend to be upset with you breaking the seals, but we all know that is a lie. Zhiqiong will poke a little fun at him before telling you that she’ll get the rest of the crew and follow you down into the mines. You’ll be introduced to the team that exists of Khedive, a scholar from Sumeru, Jinwu, the safety officer, and Taliesin…the bard from Mondstadt. Now that you’ve all met each other she’ll welcome you on to the Chasm Exploration Team. Once the scene ends, so will the quest, and you can now explore deeper into The Chasm and progress the main Archon Quest.
No Comments