This is a walkthrough for the Archon Quest, Memories of Inteyvat which is the third quest of Chapter II: Act IV - Requiem of the Echoing Depths.
Siblings connect once again.
| Adventure EXP | Mora | Other Rewards | Requirements | Next Quests |
|---|---|---|---|---|
 575 575 |
 7 7  4 4 |
Complete The Grave of the Guarded | The Black Serpent Knights’ Glory |
Description
The Black Serpent Knights presence here do not, in truth, mean you ill. They are simply driven by their remaining instincts to defend those hilichurls. After you discover some of the secrets of this strange city, the Black Serpent Knight Halfdan seems to have something to show you…
Steps
- Go along the path that Halfdan has indicated
- Follow the path and continue exploring
- Head to the hilichurl camp
- Look for clues in the hilichurl camp (0/4)
- Leave the hilichurl camp
- Defeat the Abyss Herald
- Talk to Dainsleif
Go along the path that Halfdan has indicated
This quest starts immediately from the previous quest. Paimon will mention that Halfdan jumped down and suggests you follow him. Drop and glide down to the surface, and head over to the objective marker for a cutscene. It looks like Halfdan appeared at the end of this path, and Paimon deduces that whatever he wants you to see, lies ahead.
Drop to the surface and follow the northwestern path.
Follow the path and continue exploring
When you regain control, follow the path northwest where a random Geo Slime will be waiting. Defeat it, and press onwards northeast until you see a path to your right. This path will lead to the Hilichurl Camp.
Head to the hilichurl camp
Continue following the path east, and you’ll get a cutscene. It appears these Hilichurls are in dire shape with some of them looking like they’ve already taken their last breath. Paimon will ask Dainsleif if this is what Halfdan wanted you to see, and he’ll tell you not to rule anything out and to search the camp.
Look for clues in the hilichurl camp (0/4)
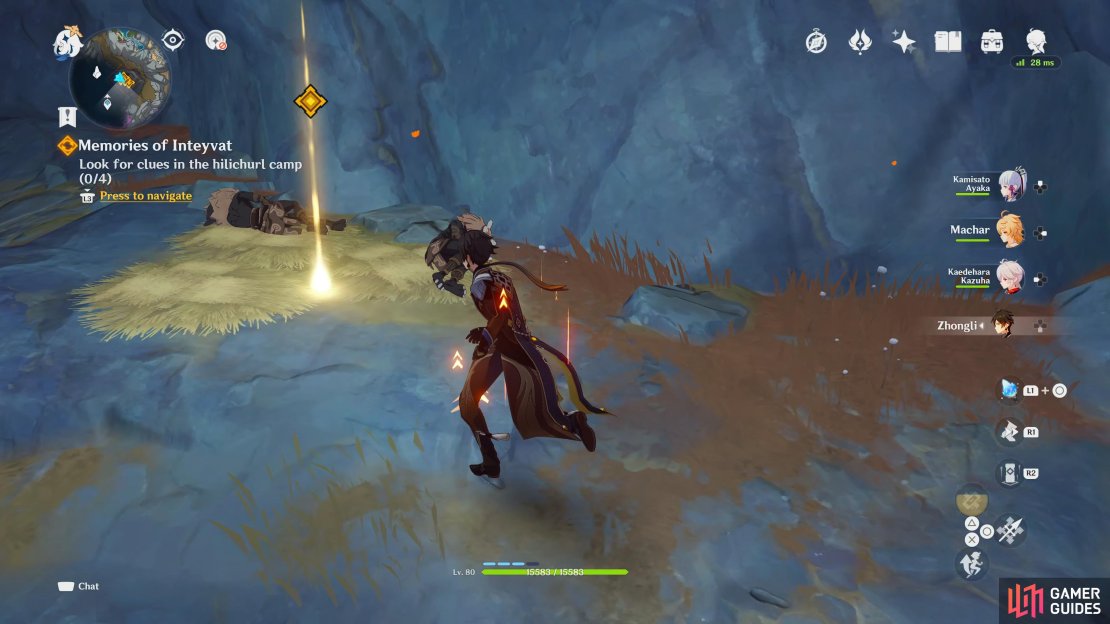
There are four clues to investigate here although if you search the flower at the back of the camp, you can skip this. The first clue will be to your right, next to the downed Hilichurl. Interact with it and Paimon will mention how it won’t be long until the Hilichurl becomes one with the darkness. The second clue is to your left, next to the two crates. It appears the crates that the Hilichurls normally store their food in are almost empty, and Paimon wonders if because they’re at death’s door, they don’t need to eat anymore. The third clue is at the camp fire straight ahead where once again Paimon questions if the Hilichurls get scared of the light when they reach the end of their lives why do they have a camp fire? Maybe to feel the warmth one last time? The last clue is the flower laying on the hay pile at the back of the camp.
(1 of 4) The first clue will be the Hilichurl to your right.
When you inspect the flower, you’ll get a cutscene. Dainsleif explains that it’s the national flower of Khaenri’ah, and it goes by the name of the Inteyvat. He’ll further explain that it would only last two weeks before it wilted, and if it was plucked from the soil and taken out of Khaenri’ah, the petals would stop growing and turn hard. If it was taken back to Khaenri’ah, it would turn soft again before turning into dust. You’ll recognize that the flower is the same flower that rests in their sibling’s hair before he goes straight over to it. This triggers a vision between your sibling and the Abyss Herald. It appears that their goal is the revival of their homeland, and apparently they are working on a device that has an extremely low probability of removing the curse. The vision ends as the sibling passes by you whilst you exclaim your sibling’s name.
When you come to, Dainsleif will ask what you just witnessed, and you’ll explain the whole vision to them. Dainsleif deduces that they must be using a device to cleanse the curse, and it could be the same device that you saw earlier. Another deduction is that they plan on using the Hilichurls as the test subjects to test if their experiment is successful. You question if you trust Dainsleif with the information you’re receiving from him, and after some reservations, you choose to believe him. You can then recount the talk you had with him when you first met him in the tavern, and he’ll admire your true thoughts on the matter, and he’ll reciprocate in kind. He’ll tell you that he has another goal besides the Abyss, and that is what the Abyss are doing here dishonors the final wishes of Halfdan and his compatriots and will stop them.
Leave the Hilichurl Camp
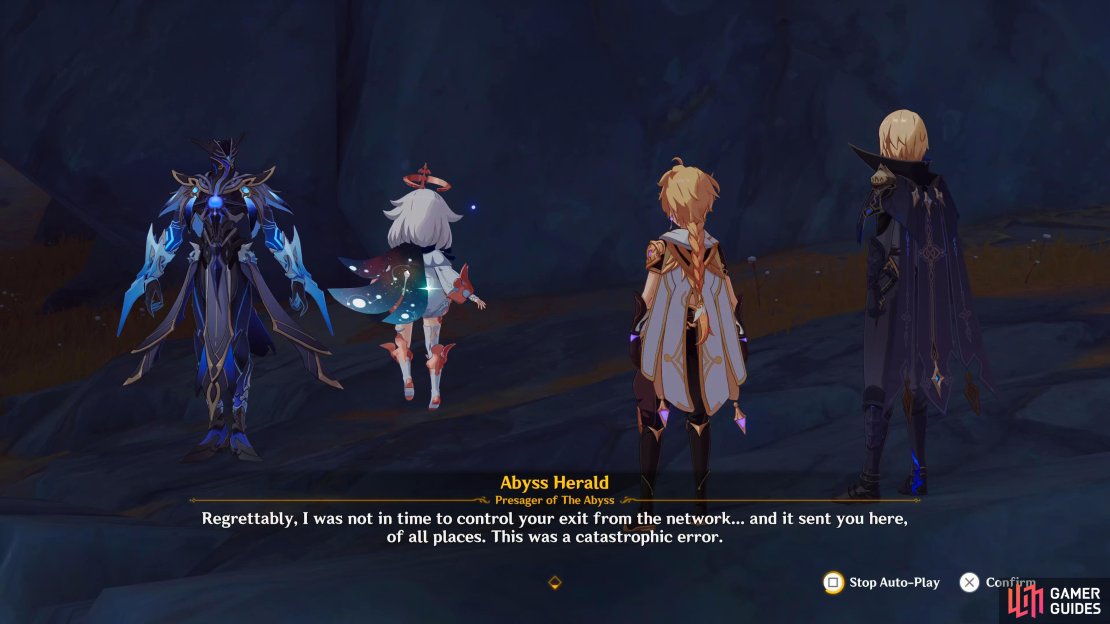
When the scene ends, head out the camp the same way you came in to trigger another cutscene. As Paimon mentions that you can see the inverted city from here, Dainsleif warns you to “Watch out!”. Out of nowhere a bright light appears and Dainsleif assumes that the Abyss are going ahead with their plan and that it’s already starting. As things begin to get interesting, the Abyss Herald appears before you, and vows to stop you once and for all.
Defeat the Abyss Herald
This isn’t the first time you fought the Abyss Herald.
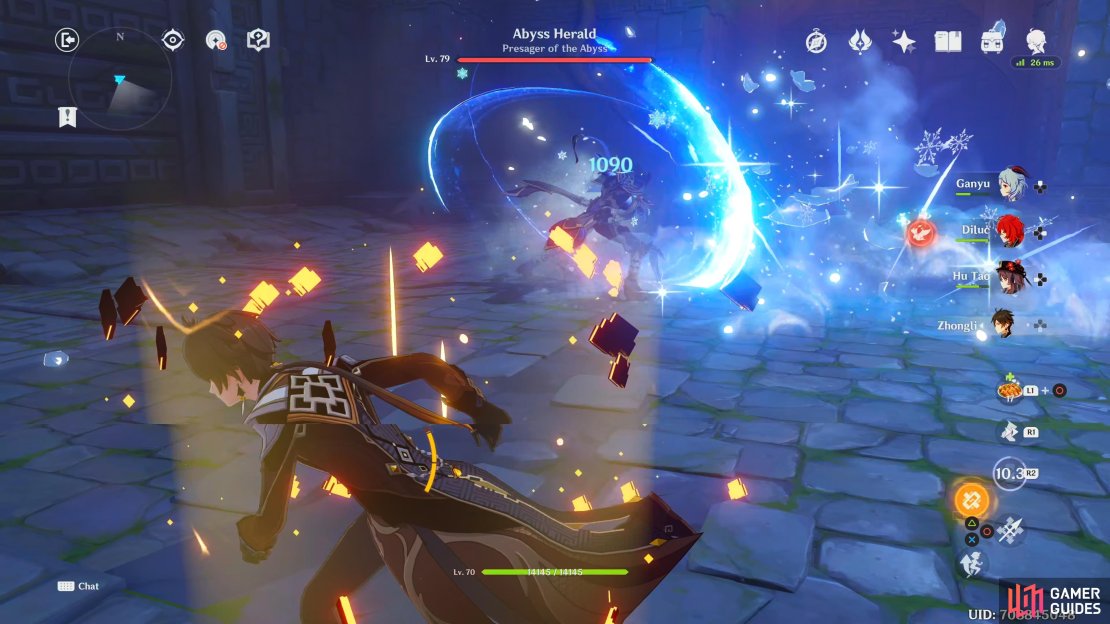
You’ve fought the Abyss Herald a few times by now, and this fight isn’t any different other than the area you fight it in. Cryo and Electro are particularly strong against it due to it being of the Hydro element. This can repeatedly freeze it. When its health gets to approximately 15%, it’ll disappear and the battle will end.
3-Hit Combo
It will lean forward with one sword raised in the air whilst the other aims towards the floor. It will then perform three slashes that are imbued with Hydro at you.
Abyssal Roar
It will lower its swords to its side, and they will get imbued with Hydro, then it will launch in the air, performing a forward spinning attack towards you, it can do this attack three times in quick succession.
(1 of 7) The Abyss Herald will perform three quick slashes towards you whilst its swords are imbued with Hydro
Decimate
It will lower one sword towards the floor and then pull it back, before unleashing a ranged Hydro attack at you.
Annihilate
It will raise its swords in the air, and cross them over each other and unleash a hydro attack towards you in a cross-shaped pattern.
Hydro Shield
When it’s at low health, the Abyss Herald will cast a Hydro Shield on itself which acts like a second health bar. Normal attacks work fine against it, and the Herald will be more susceptible with Cryo attacks due to being Hydro.
The End is Nigh
When its Hydro shield is present, it will channel a series of spells with its sword before unleashing Hydro energy around itself in a circular pattern. Make sure to have a shield up from Zhongli or Noelle to negate the damage or be ready to avoid it by dodging.
Talk to Dainsleif
After the battle ends, you’ll get a scene and Paimon will celebrate that you have finally taken down the Abyss Herald, but Dainsleif tells her there is no time to celebrate as the Abyss Order’s device has been activated. When the scene ends, so will the quest. Here is a refresher of what attacks it can perform.










No Comments