
This is a walkthrough for the Archon Quest “Confessions of an Outlander” which is the second quest in Chapter 2 - Act I: The Immovable God and the Eternal Euthymia. Here, you’ll find a complete walkthrough for the entire quest.
The Traveler, Paimon, and Thoma talking to Inspector Yurika at the Outlander Affairs Agency.
| Adventure EXP | Mora | Other Rewards | Requirements | Next Quests |
|---|---|---|---|---|
 800 800 |
 30 30  4 4  7 7 |
AR 30, Complete Setting Sail | Ritou Escape Plan |
You arrive at Ritou in Inazuma smoothly and meet up with your contact, Thoma. But it seems that outlanders are far from welcome here…
Steps
- Go register at the border checkpoint with Thoma
- Go process your application at the Outlander Affairs Agency with Thoma
- Go to the International Trade Association and understand its members’ situation
- Find the merchant selling the Crystal Marrow
- Ask Thoma for intel support
- Negotiate with Werner again
- Find Keijirou’s tracks
- Follow Keijirou without being noticed
- Find evidence of Keijirou’s wrongdoings
- Tell the International Trade Association about what really happened
- Talk to Thoma
Go register at the border checkpoint with Thoma
Now that you’ve finally arrived in Inazuma, Thoma suggests you register at the border checkpoint. Before going, pick up the two Lavender Melons sitting upon the crates to your left, these are one of the new food ingredients added with Inazuma, then follow the path east. As you approach the end of the path, you’ll see the border checkpoint to your left. Talk to Inspector Kageyama, and she’ll ask you to state some of your details, most importantly, your reason for being in Inazuma. Choose any option, and Paimon will anxiously tell the inspector your reason before Thoma saves her the embarrassment, and provides the Inspector your entry papers. He’ll then go on to say that if you want to stay in Ritou, you’ll have to follow the process.
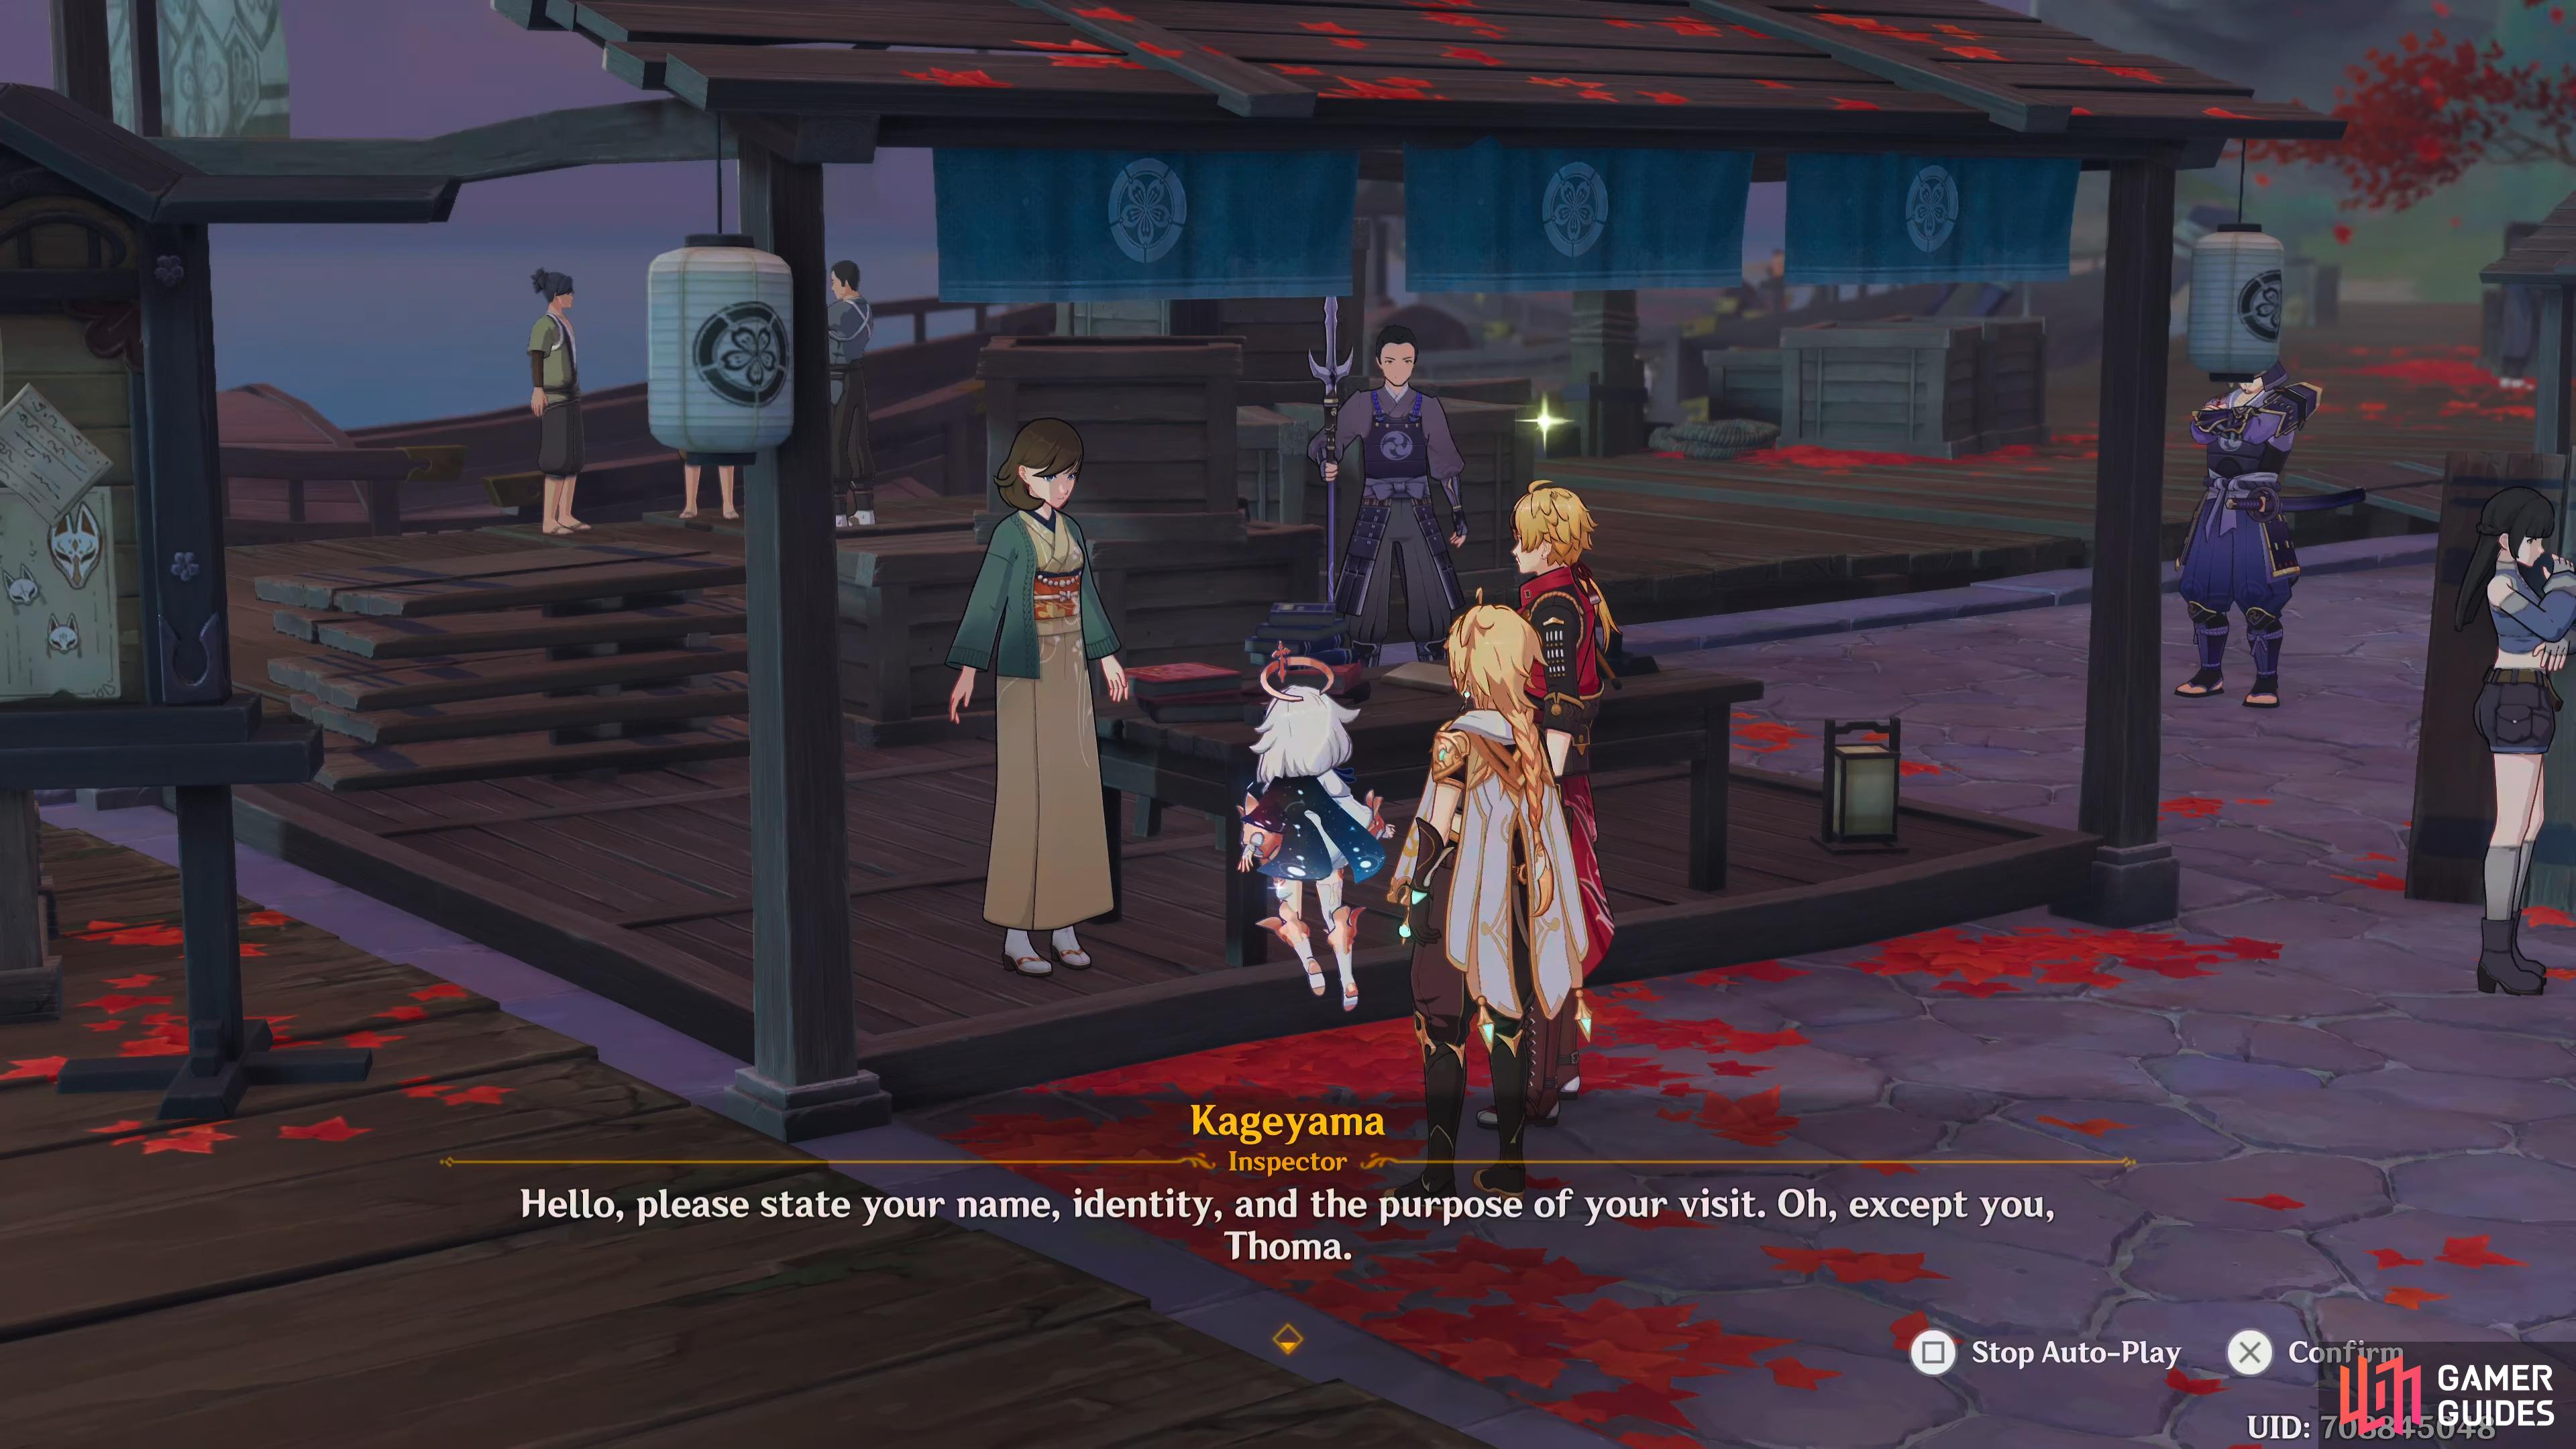
Inspector Kageyama is quite tough at the border checkpoint, thankfully Thoma has your entry papers.
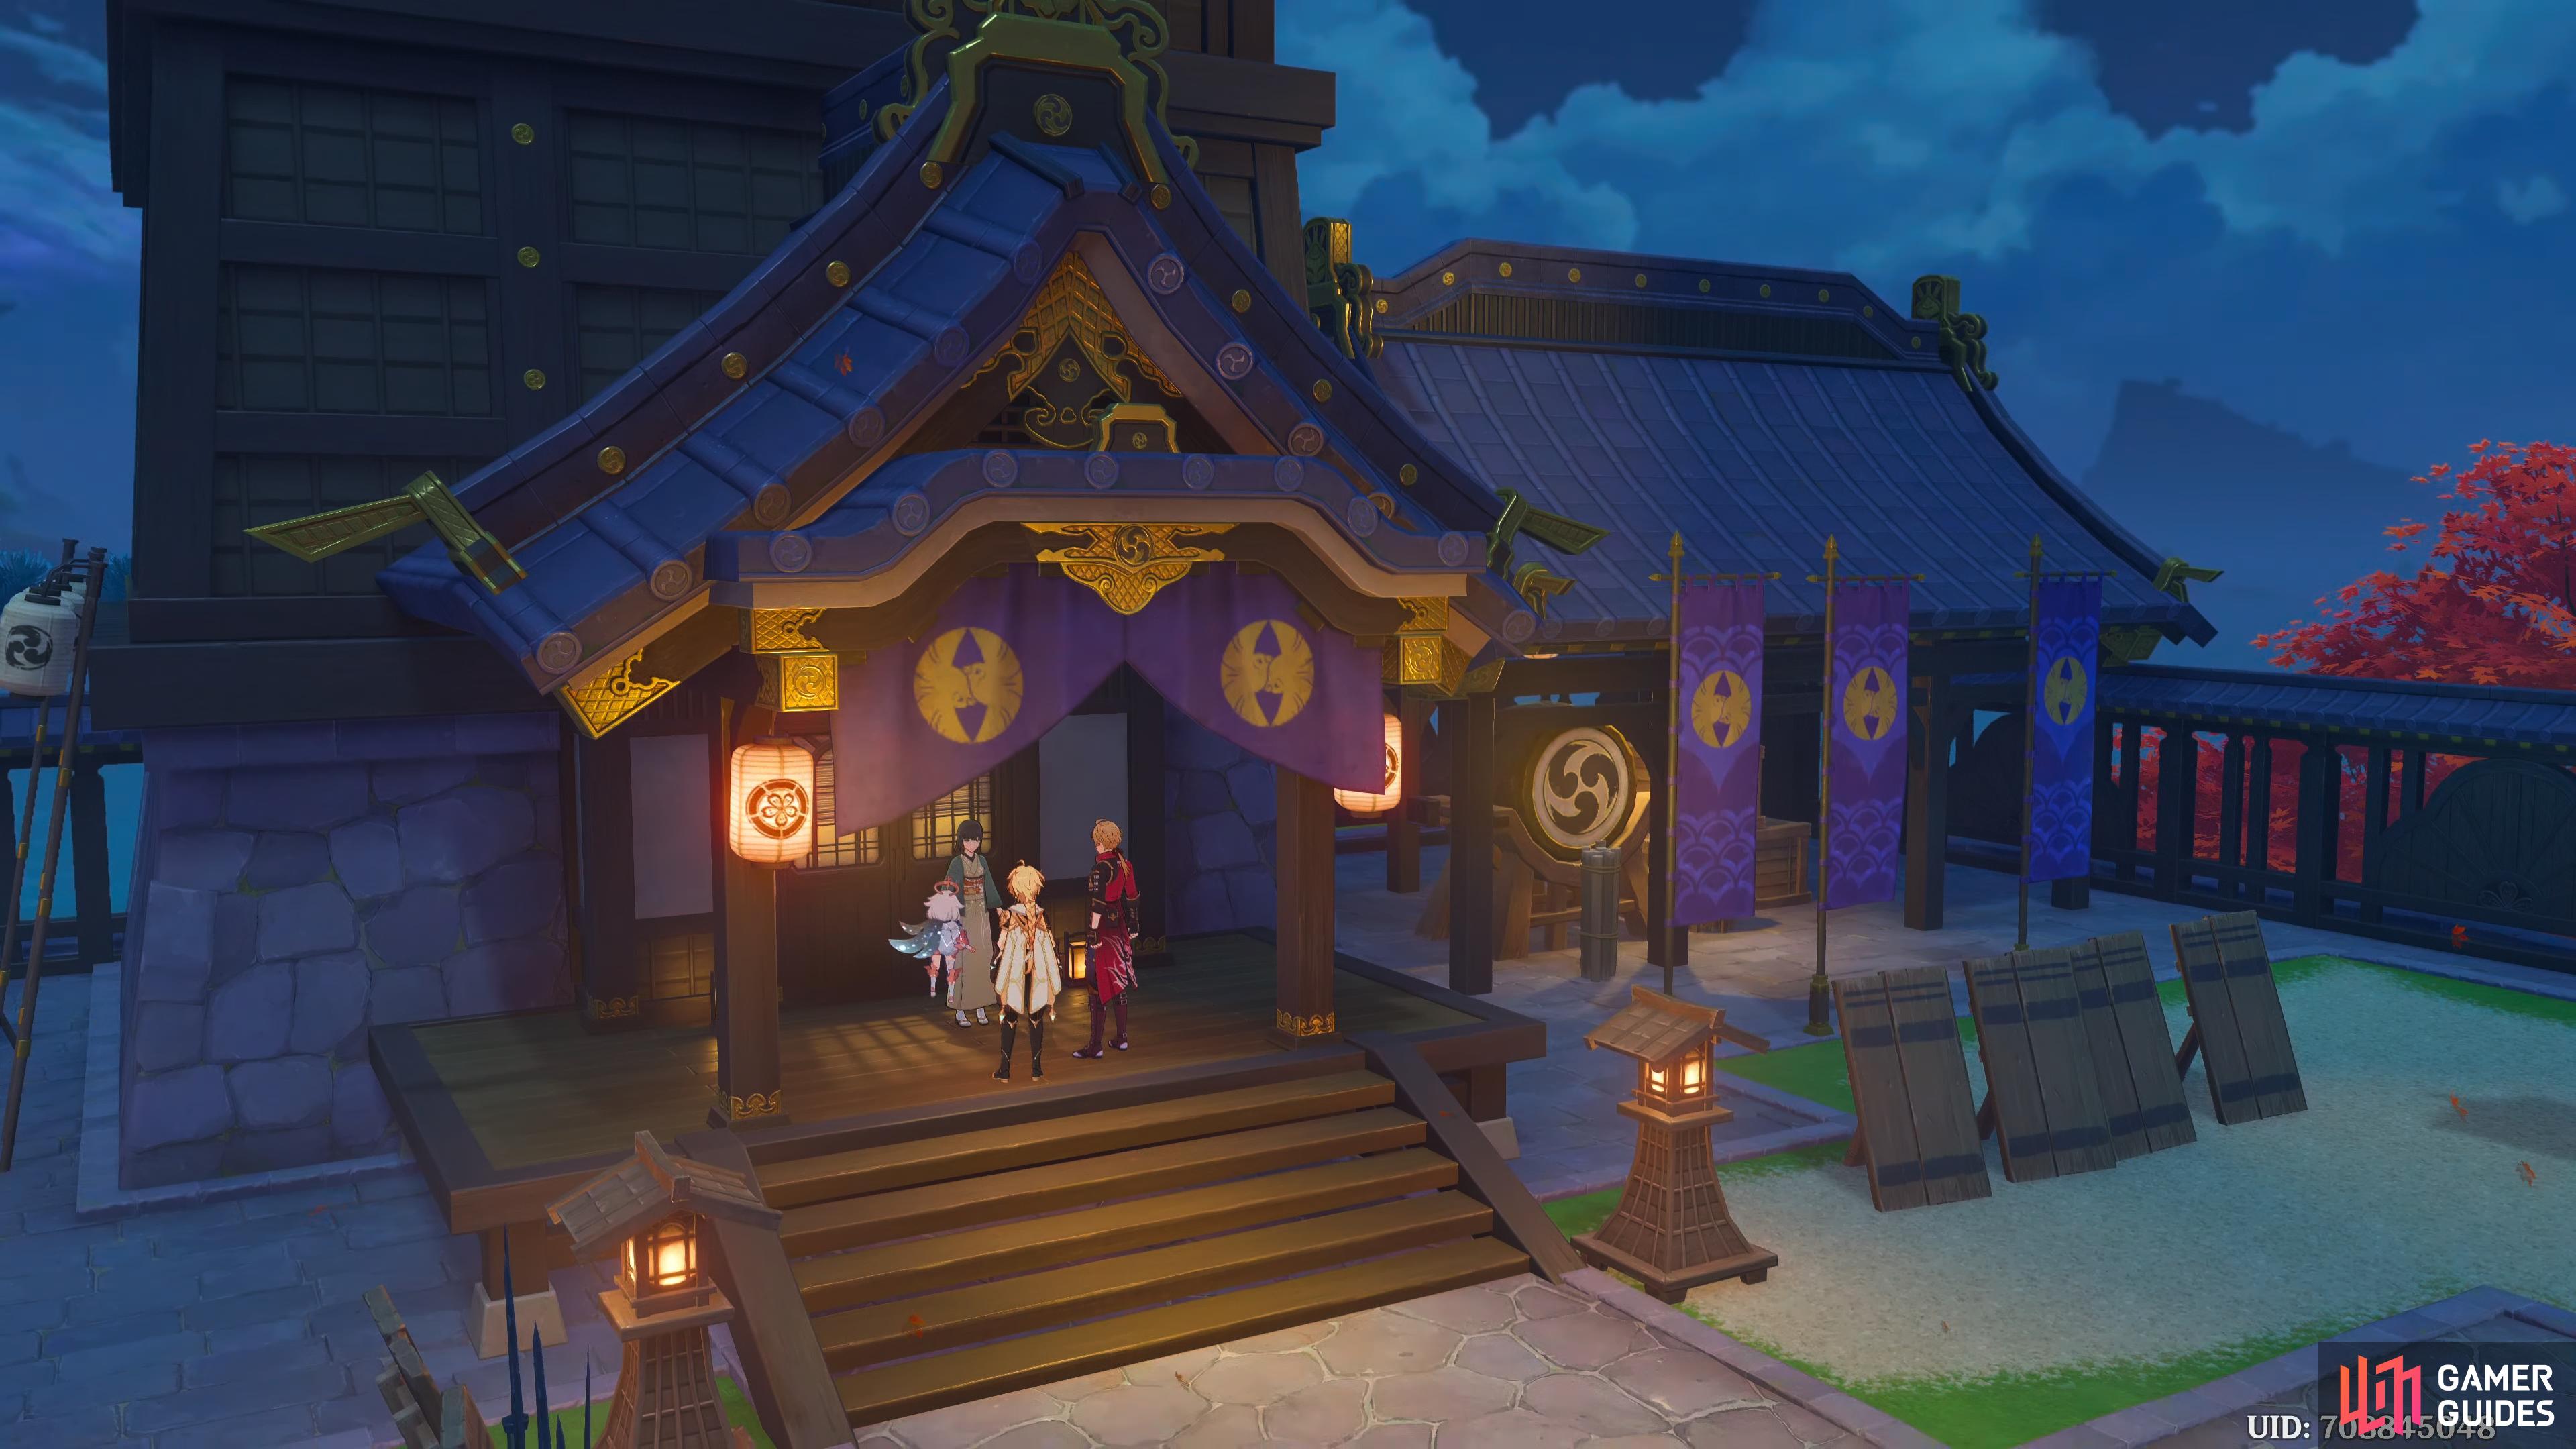
Go process your application at the Outlander Affairs Agency with Thoma
Continue east, looting the crates on your way, head up the stairs until you get to the plaza type area, continue east, up the next set of stairs then head south, and talk to Inspector Yurika. She’ll tell you that the processing fee will be an astonishing two million Mora which leaves you and Paimon in shock. Thoma tells her that you’re good friends of his, and she drops it to 400,000 Mora. Although a lot better, it is still too rich for you, and Thoma convinces her to agree to 600 Mora, that’s more like it.
Yurika tries to take advantage of you with extortionate processing fees. Once again, Thoma comes to the rescue.
Paimon can’t believe she went from two million to 600 Mora just like that, and Thoma explains that they always try to extort as much as they can, and most people accept it because they don’t have much choice. After a bit more conversation, you’ll tell Thoma that you have to meet the Raiden Shogun, he says he has the resources to help make that happen, but he requires a favor in return. He wants you to help the International Trade Association who have been struggling recently.
Go to the International Trade Association and understand its members’ situation
When the scene ends, head west, down the stairs and turn immediately to your south, and then go east, past Xixi, and talk to Kurisu. Paimon will tell him that you’ve heard that they’re having difficulties lately, and she’ll tell him that she assumes it’s because of the Sakoru Decree, but he tells her it’s not that, but the Kanjou Commission. Apparently they’re responsible for overseeing everything in Ritou, and they’re imposing astronomical tax rates, unbelievable regulations, and the worst of it, is the newly issued Tax Decree that changes how they pay their taxes.
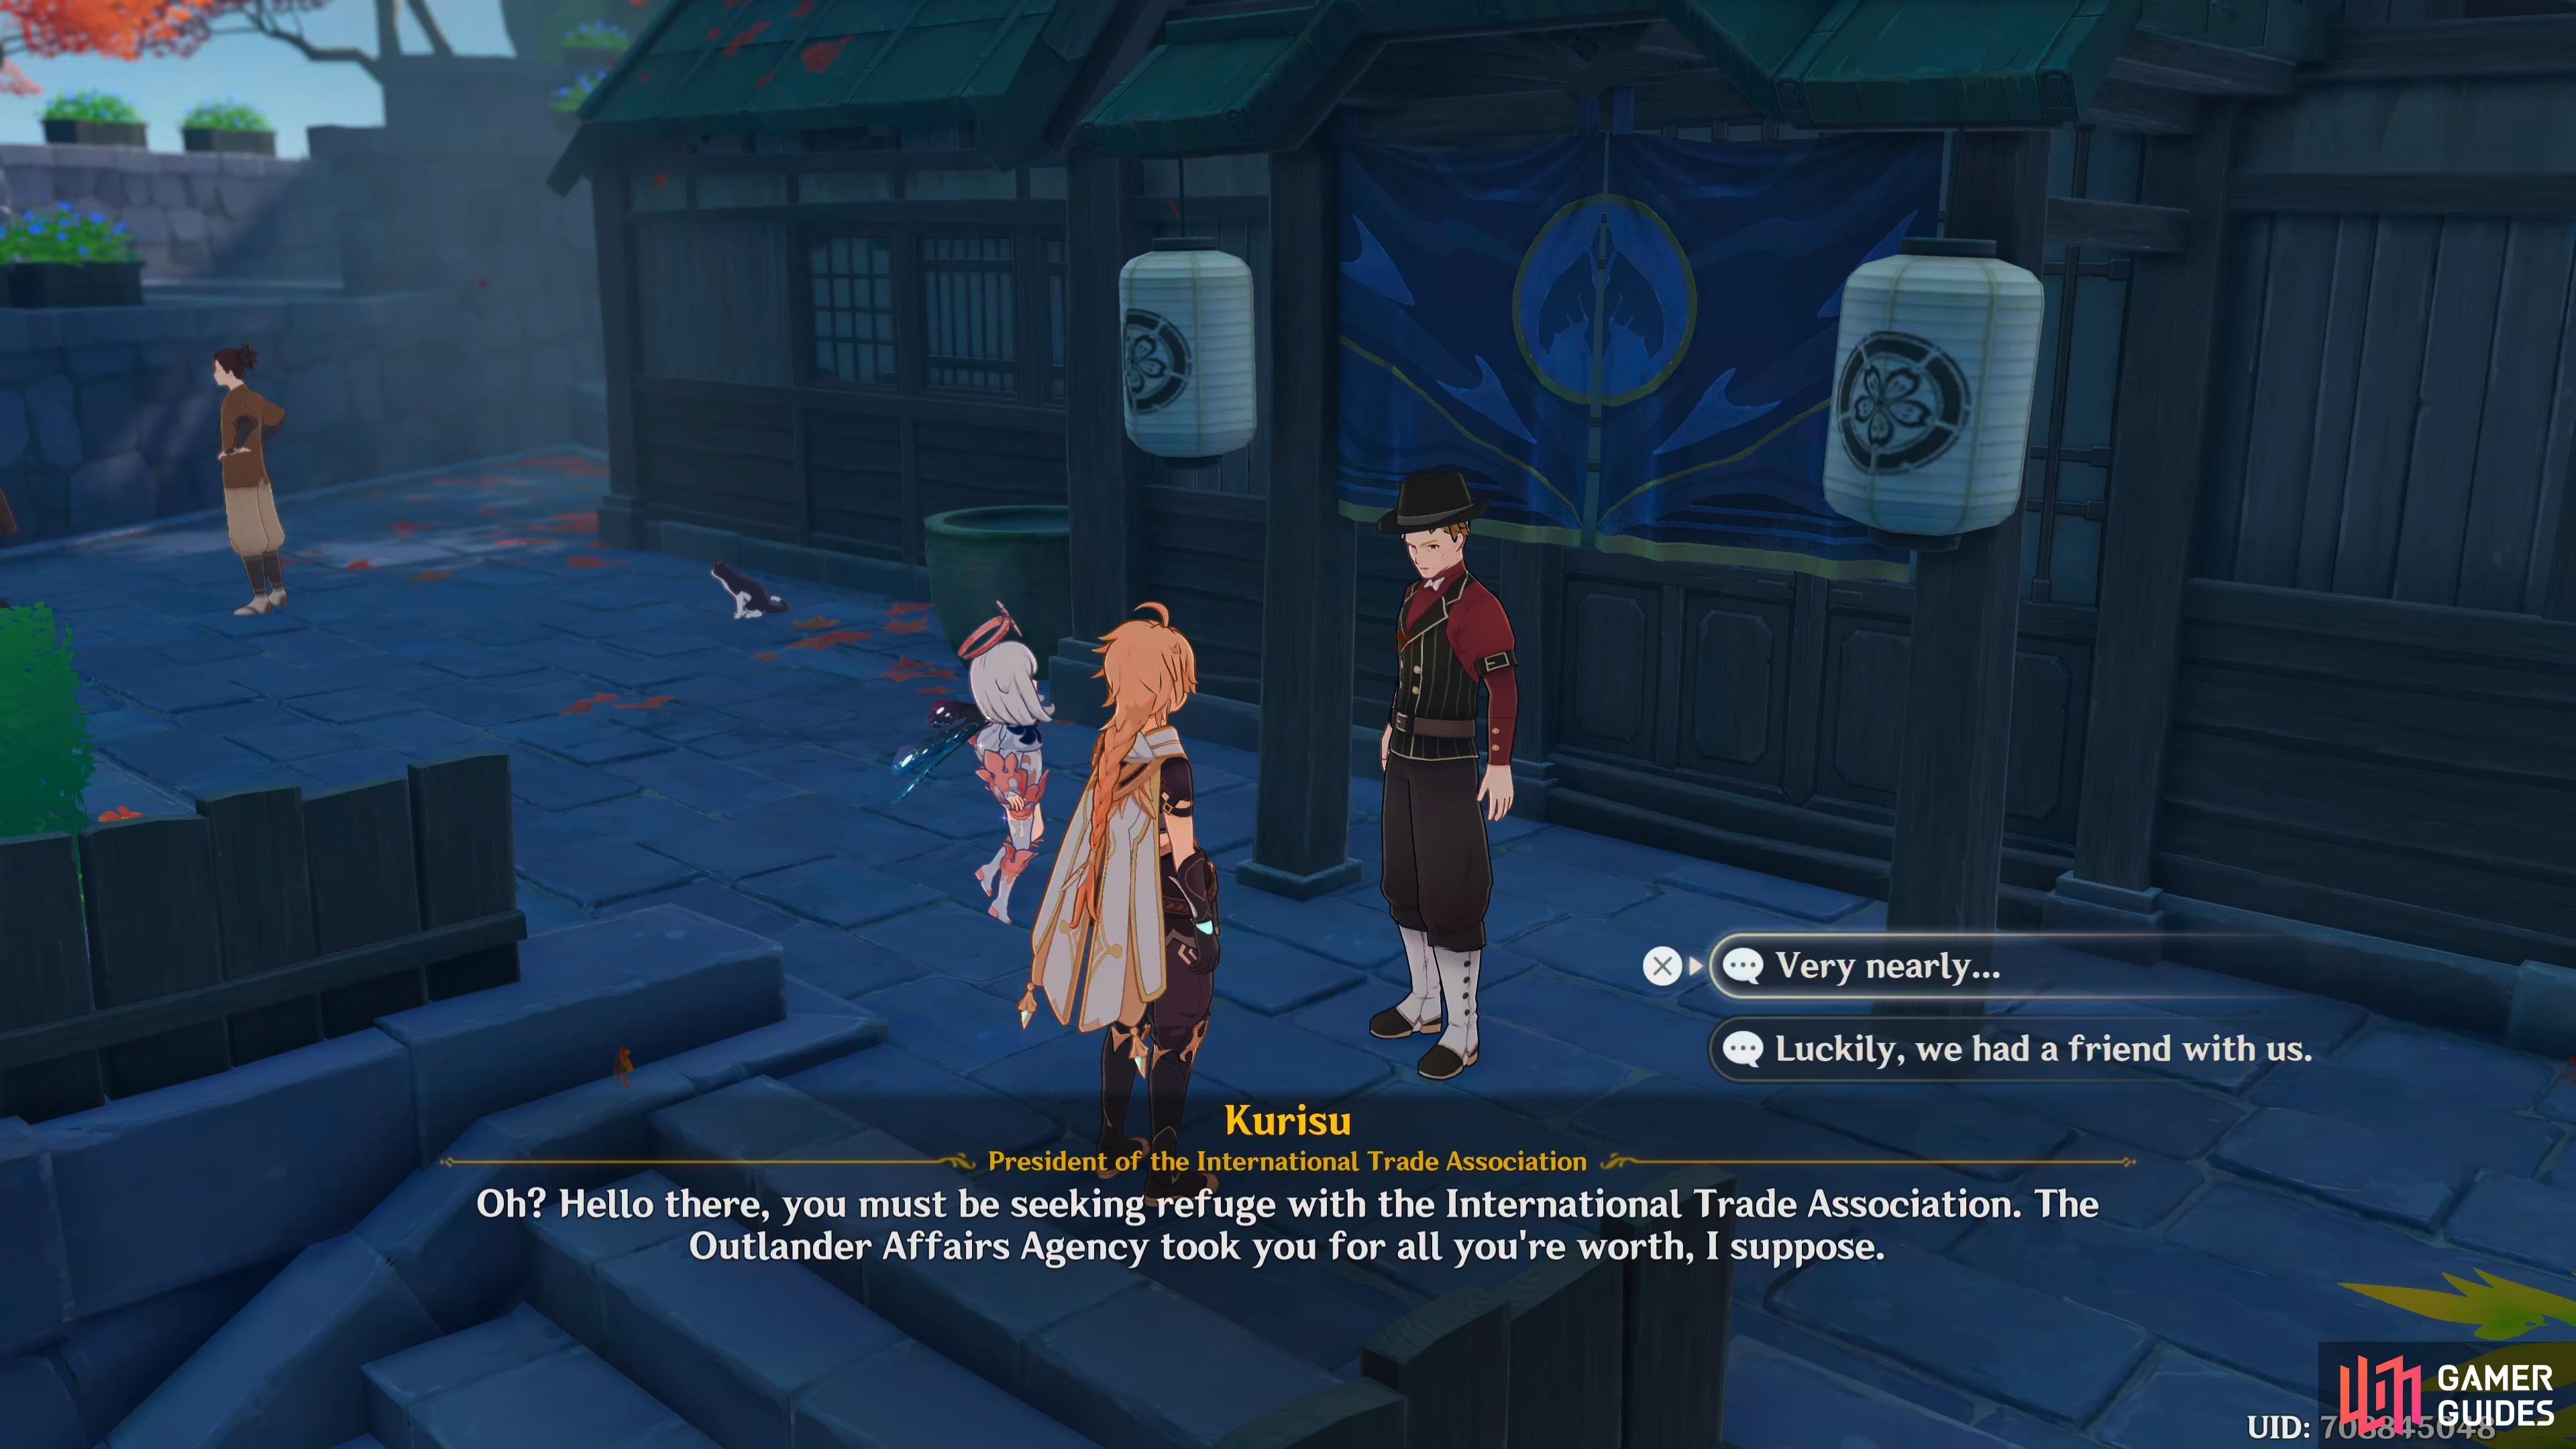
Kurisu is being swindled by the Kanjou Commission, and needs your help.
It used to be with Mora, but now they want it paid with something called Crystal Marrow, which is something no-one has heard of before, until the new Tax Decree. Because of this, the price of Crystal Marrow skyrocketed, and only one vendor has it in stock, and he’s overcharging for it. If this carries on, the taxes will exceed their profits. Choose to check out the vendor, and Kurisu will tell you where to find him.
Find the merchant selling the Crystal Marrow
When the scene ends, southwest, down the stairs, and you can find the merchant under the tree to your east. Approach him for a scene, and Werner will tell you that he doesn’t recognize you, and asks if you’re new arrivals. You’ll bluntly ask him where he sources his goods, and he’s flabbergasted at the cheek of asking a question like that, and tell you it’s a trade secret. You’ll then ask him to reduce his prices, and he’ll click on that you’re here on the behalf of Kurisu and the Trade Association. He tells you the price is non-negotiable, and tells you to leave. Paimon will ask you what to do, and you’ll suggest asking Thoma.
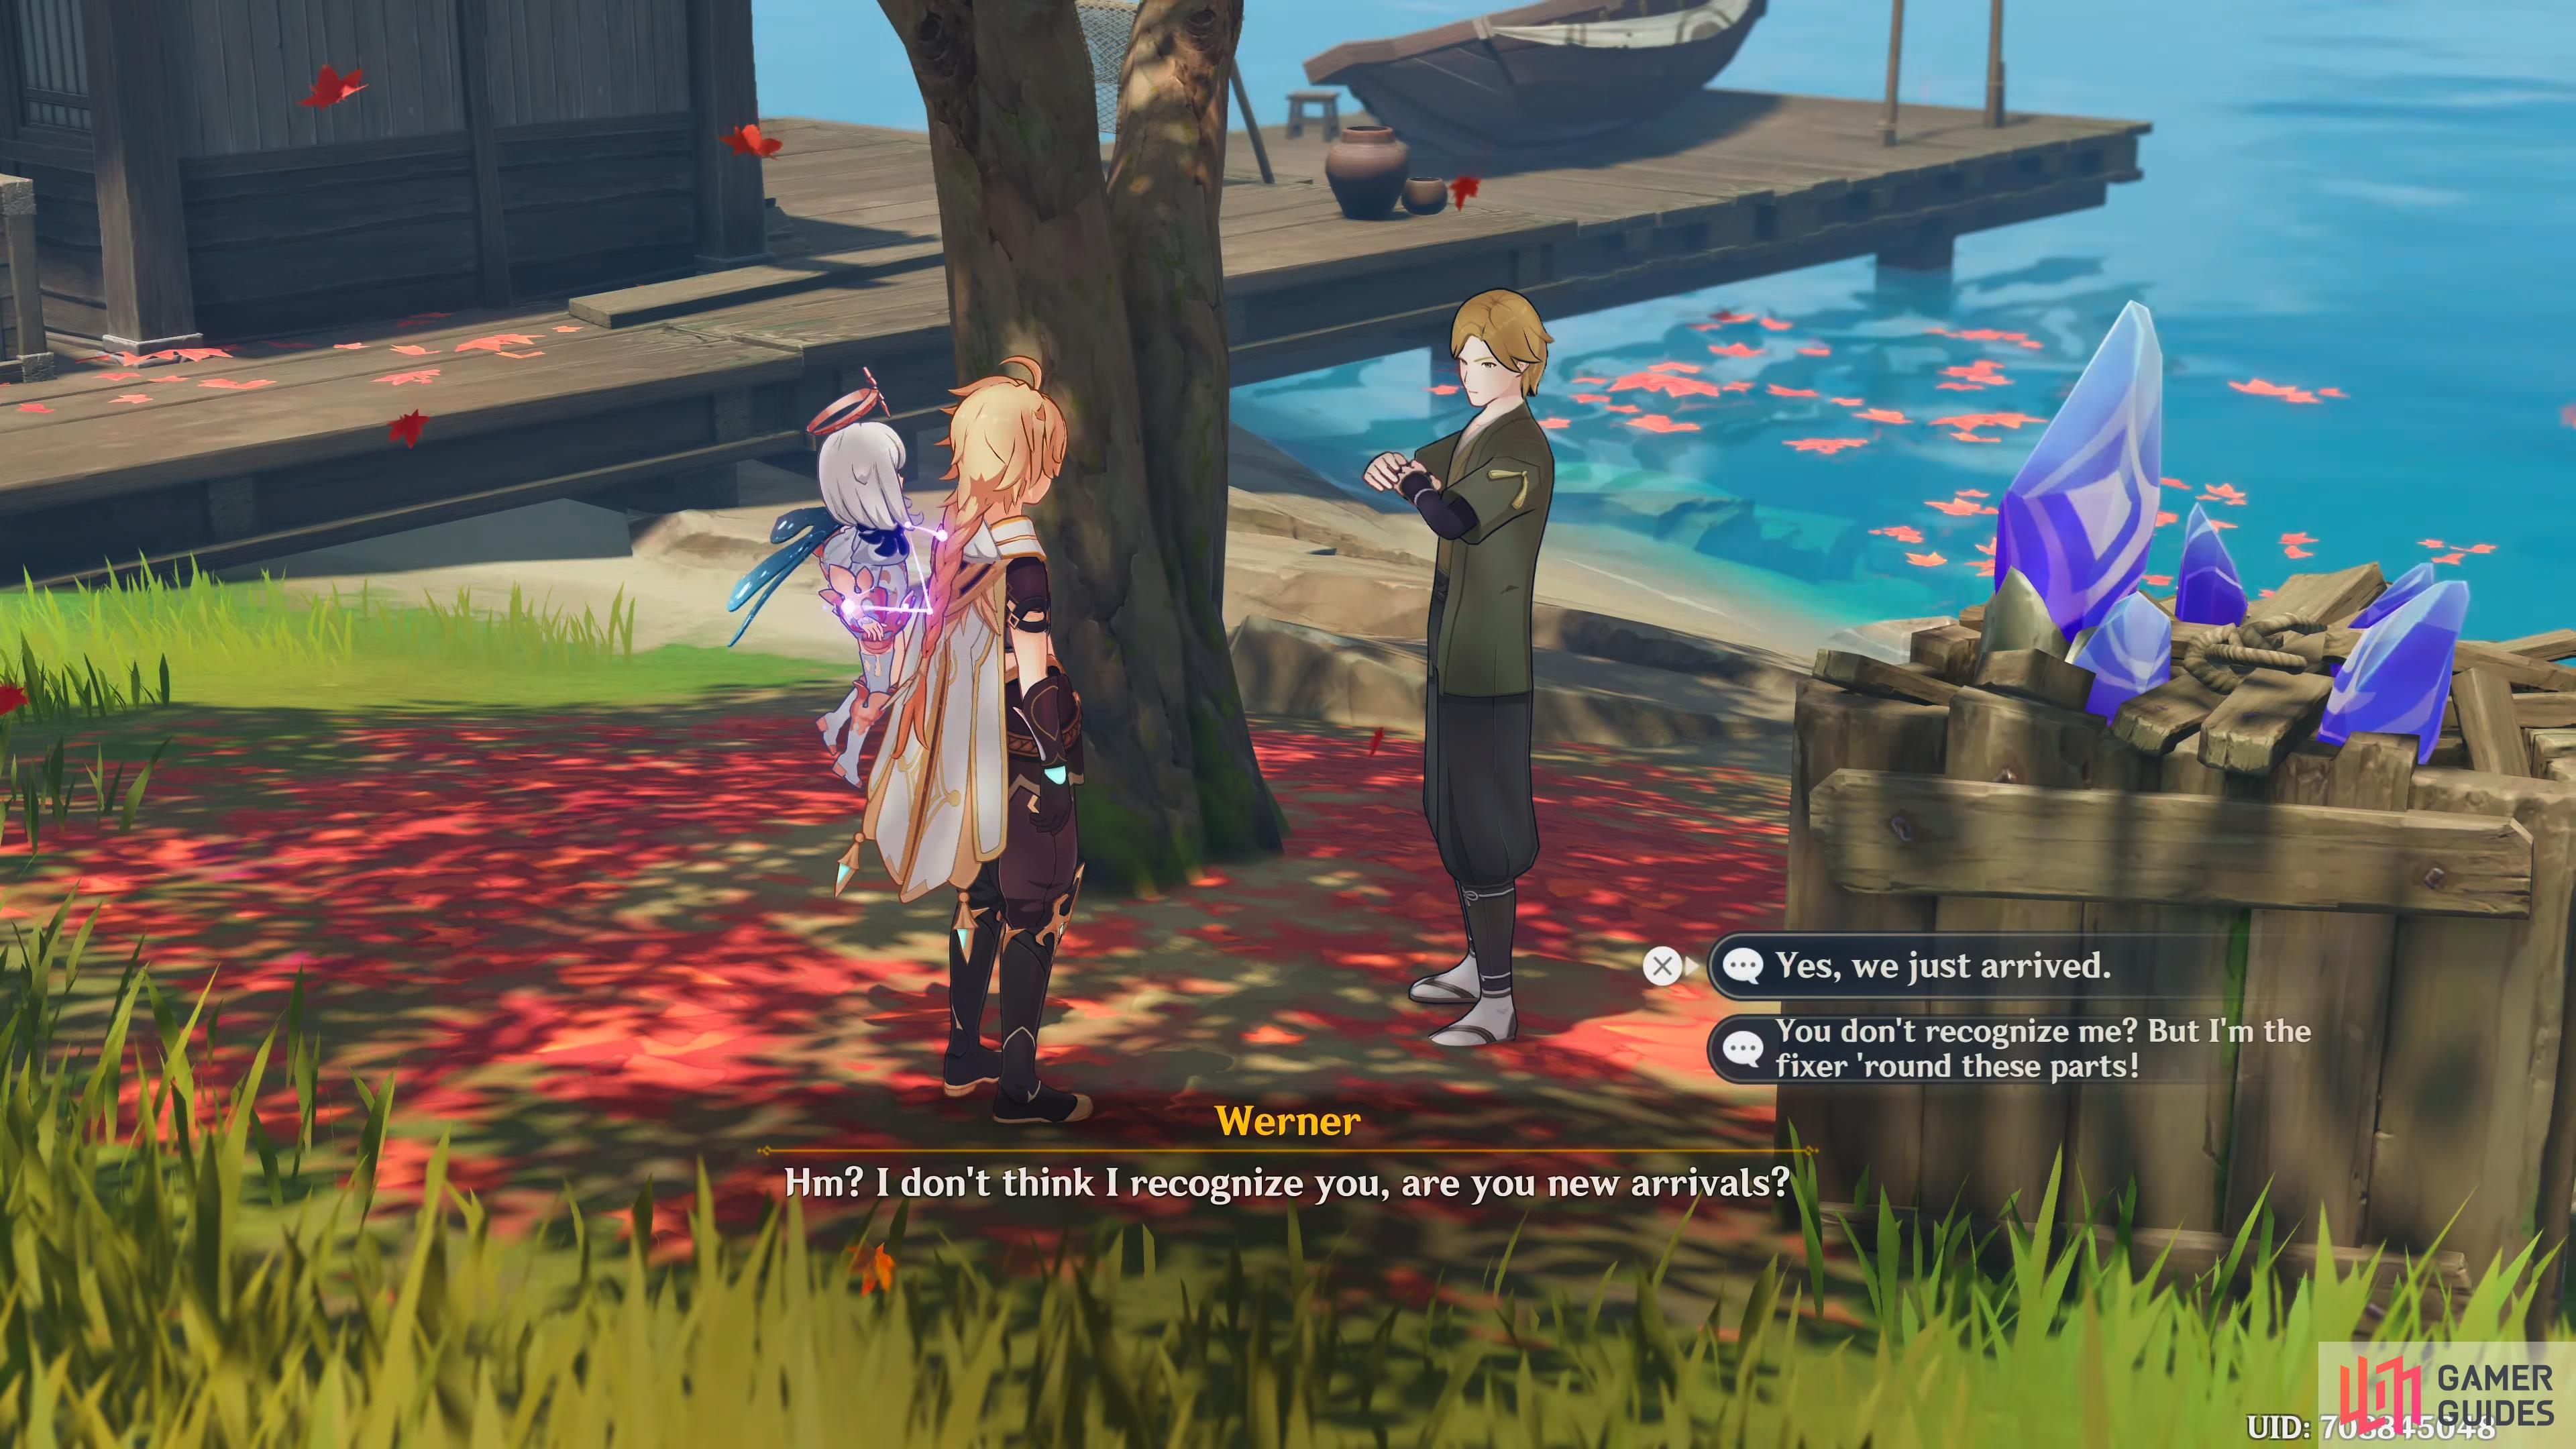
Werner is the merchant, charging extortionate fees for the Crystal Marrow.
Ask Thoma for intel support
After the scene ends, head back to the Trade Association, and Thoma can be found just to the east of it, up the stairs. Talk to him, and you’ll tell him you’re having a little trouble. Thoma will give you some tips on how to speak to Werner, as well as tell you about him being from Mondstadt. Furthermore, you’ll find out that he used to be a part of the International Trade Association.
Negotiate with Werner again
Once the scene has finished, head back to Werner, and speak to him again for another scene. He doesn’t seem too happy to talk to you again, but with some clever lines reminding him of the freedoms of Mondstadt, he’ll realize that’s what you’re talking to him about. After the second dialogue option, you’ll have to give him a local specialty, give him something from Mondstadt, and give him whatever you have the most of.
What you’re doing is working, and he starts to reminisce about Mondstadt, follow up with another line to make the memories even clearer. He’ll realize that you’re tugging at his heartstrings, but before he can moan about it, you’ll tell him to close his eyes, and visualize. You’ll start saying things related to the various regions, which makes him miss them even more, especially Liyue, and this time give him a local specialty from Liyue, once again, give him whatever you have the most of. He begs for you to stop, and tells you his poor heart can’t take it anymore.

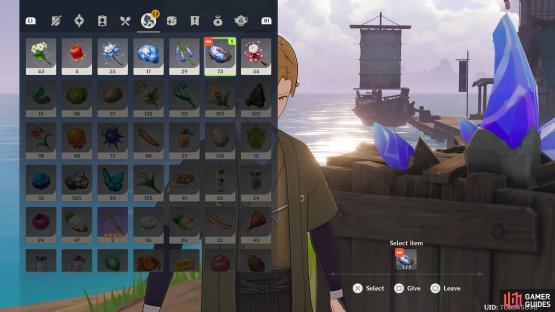
(1 of 2) Dandelion Seeds are great to use here as they can be gotten just outside Mondstadt.
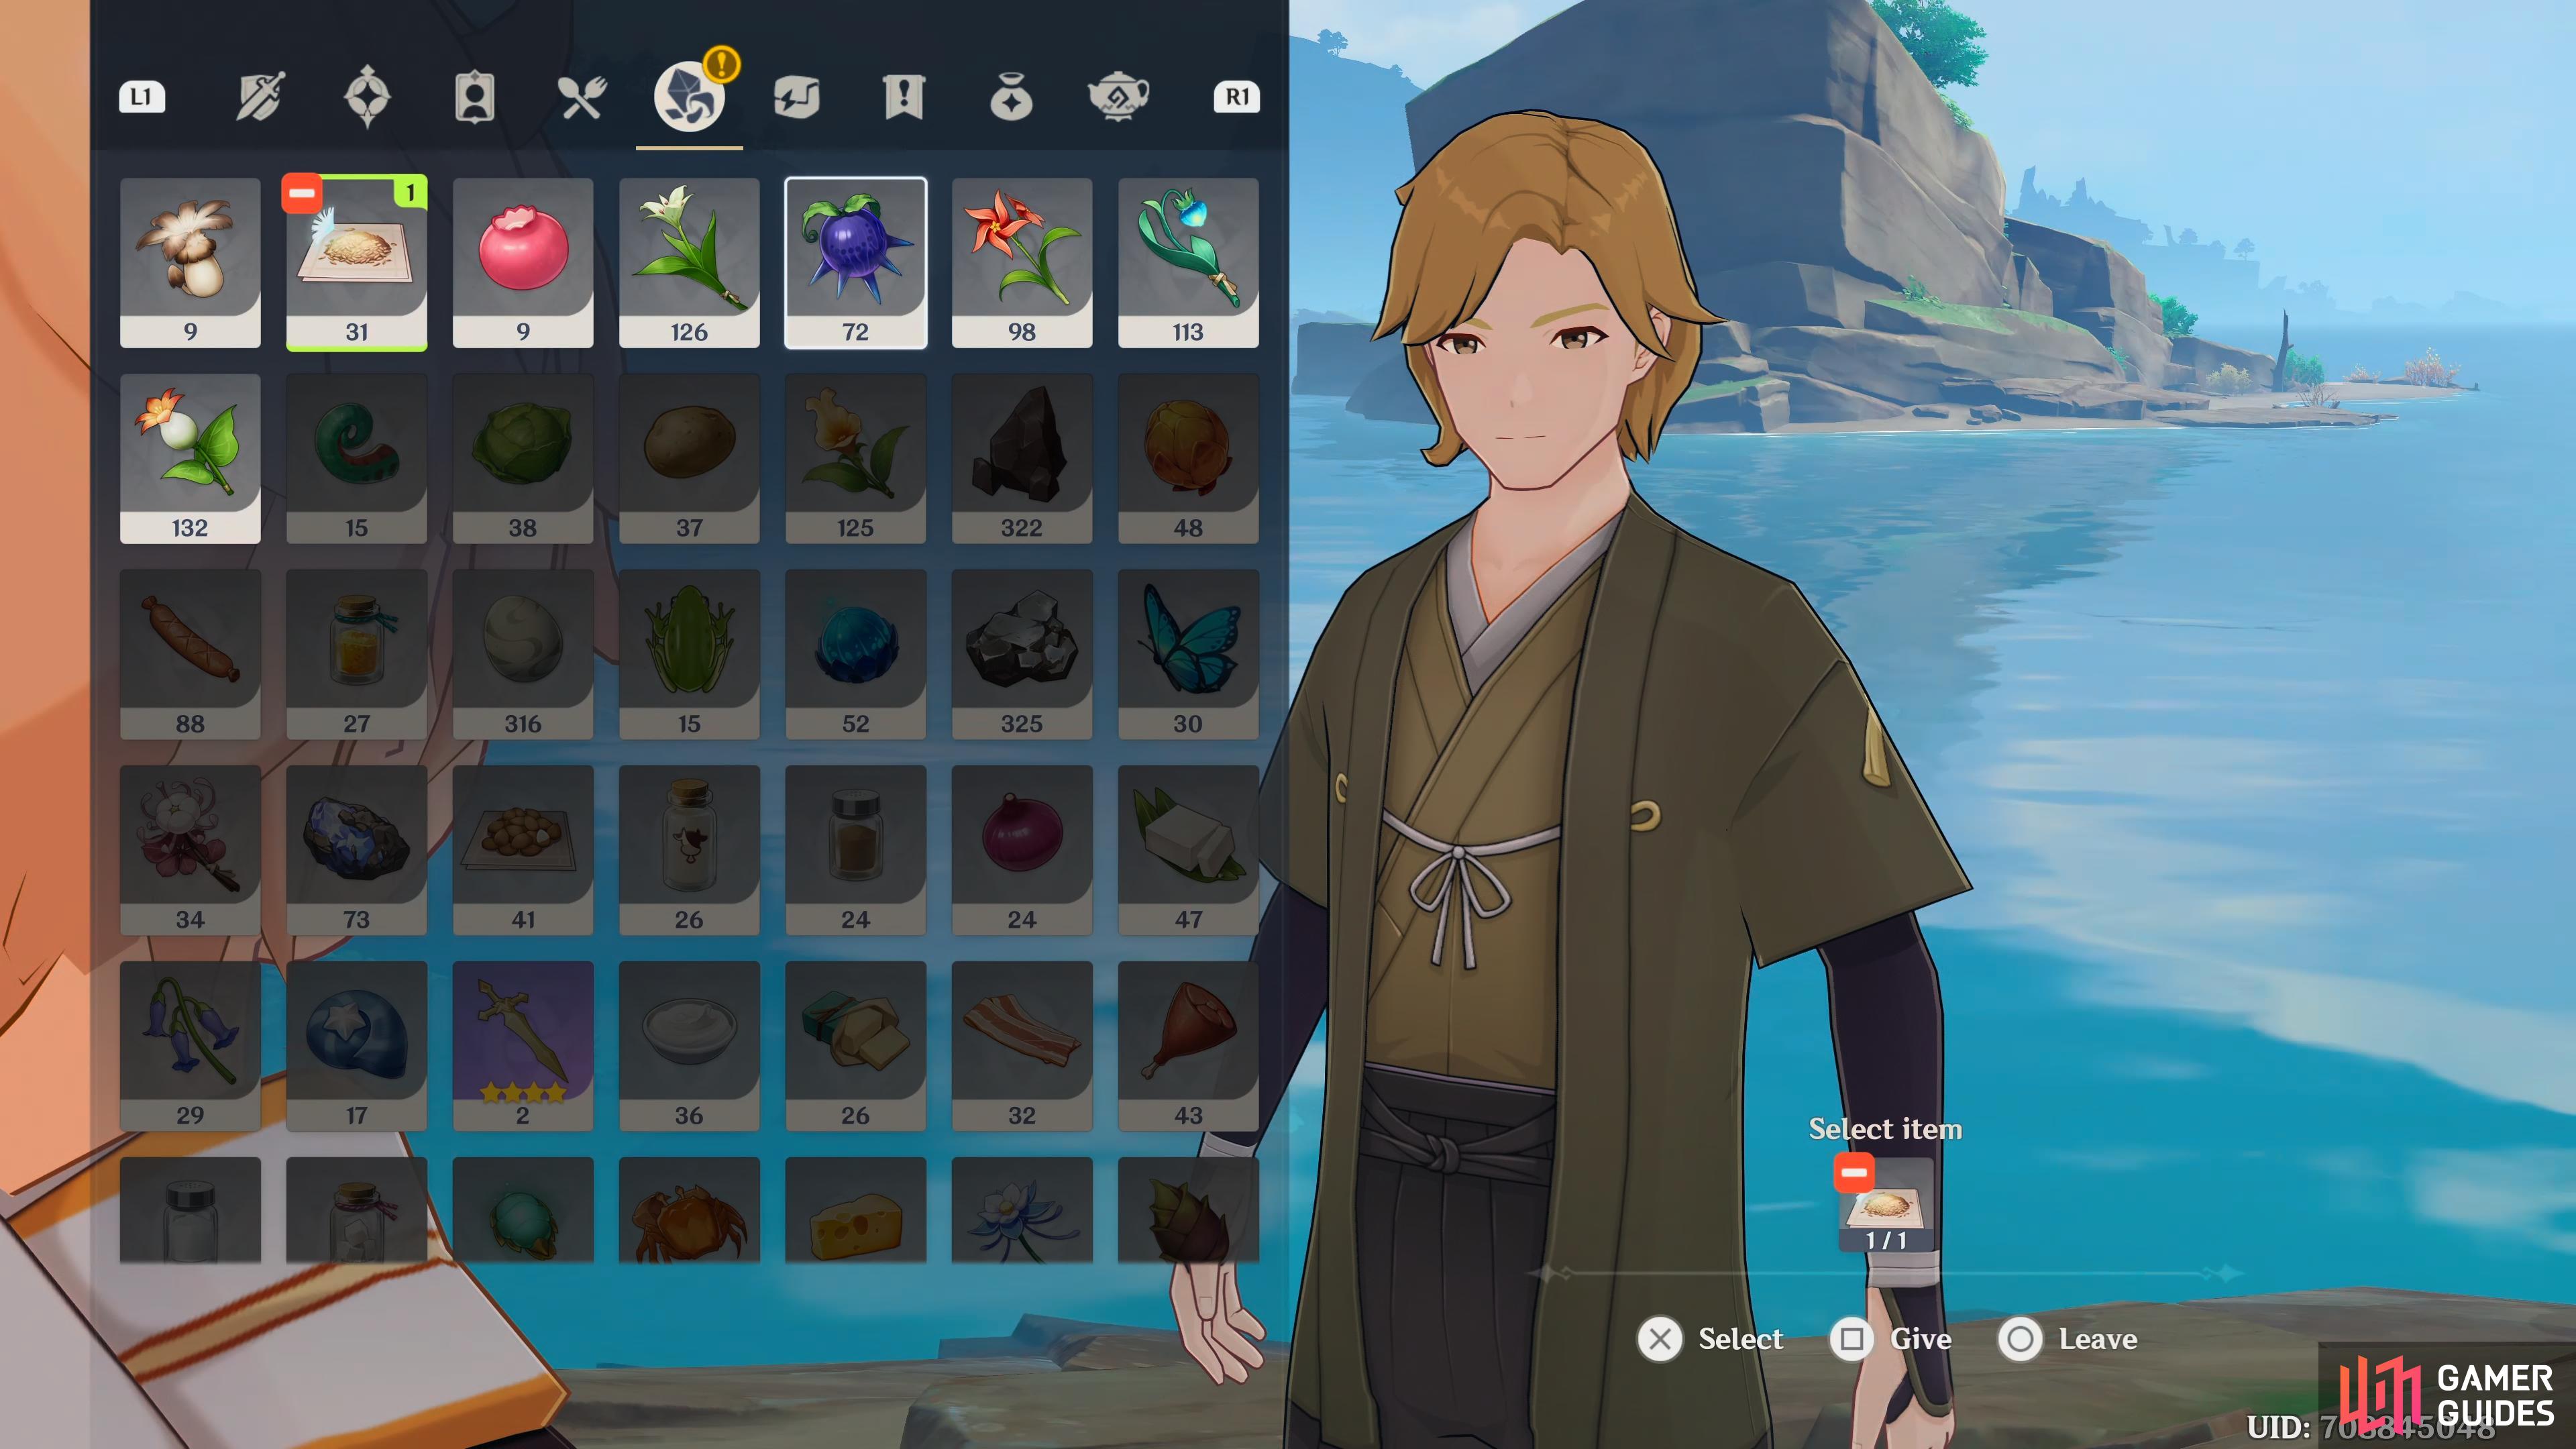

Dandelion Seeds are great to use here as they can be gotten just outside Mondstadt. (left), Any local specialty will work as long as it’s from the region, in this case, Liyue. (right)
You’ll tell him that’s exactly how the staff at the Trade Association feel. He tells you that he’s always wanted to talk things through with them, and free himself from the anguish, but they always seemed to find a way to pull through the hardships, and he’s always been too weak to do it. Finally, he’ll finally spill the beans, and tell you that the Crystal Marrow fiasco is a scam from Keijirou, and his companions at the tax-collection ashigaru.
The scam is… They overtax the merchants, then take the Crystal Marrow and stockpile it, when the merchants run out of places to purchase it, they’ll have to purchase it from Werner who sells it at an extortionate price. All the proceeds goes to Keijirou, and his companions, and Werner only gets enough to just about live on it. You’ll tell him that you’ll need evidence, and he tells you that whenever he gives the Mora to Keijirou, he always goes to the same place, and he’ll show you where that is.
Find Keijirou’s tracks
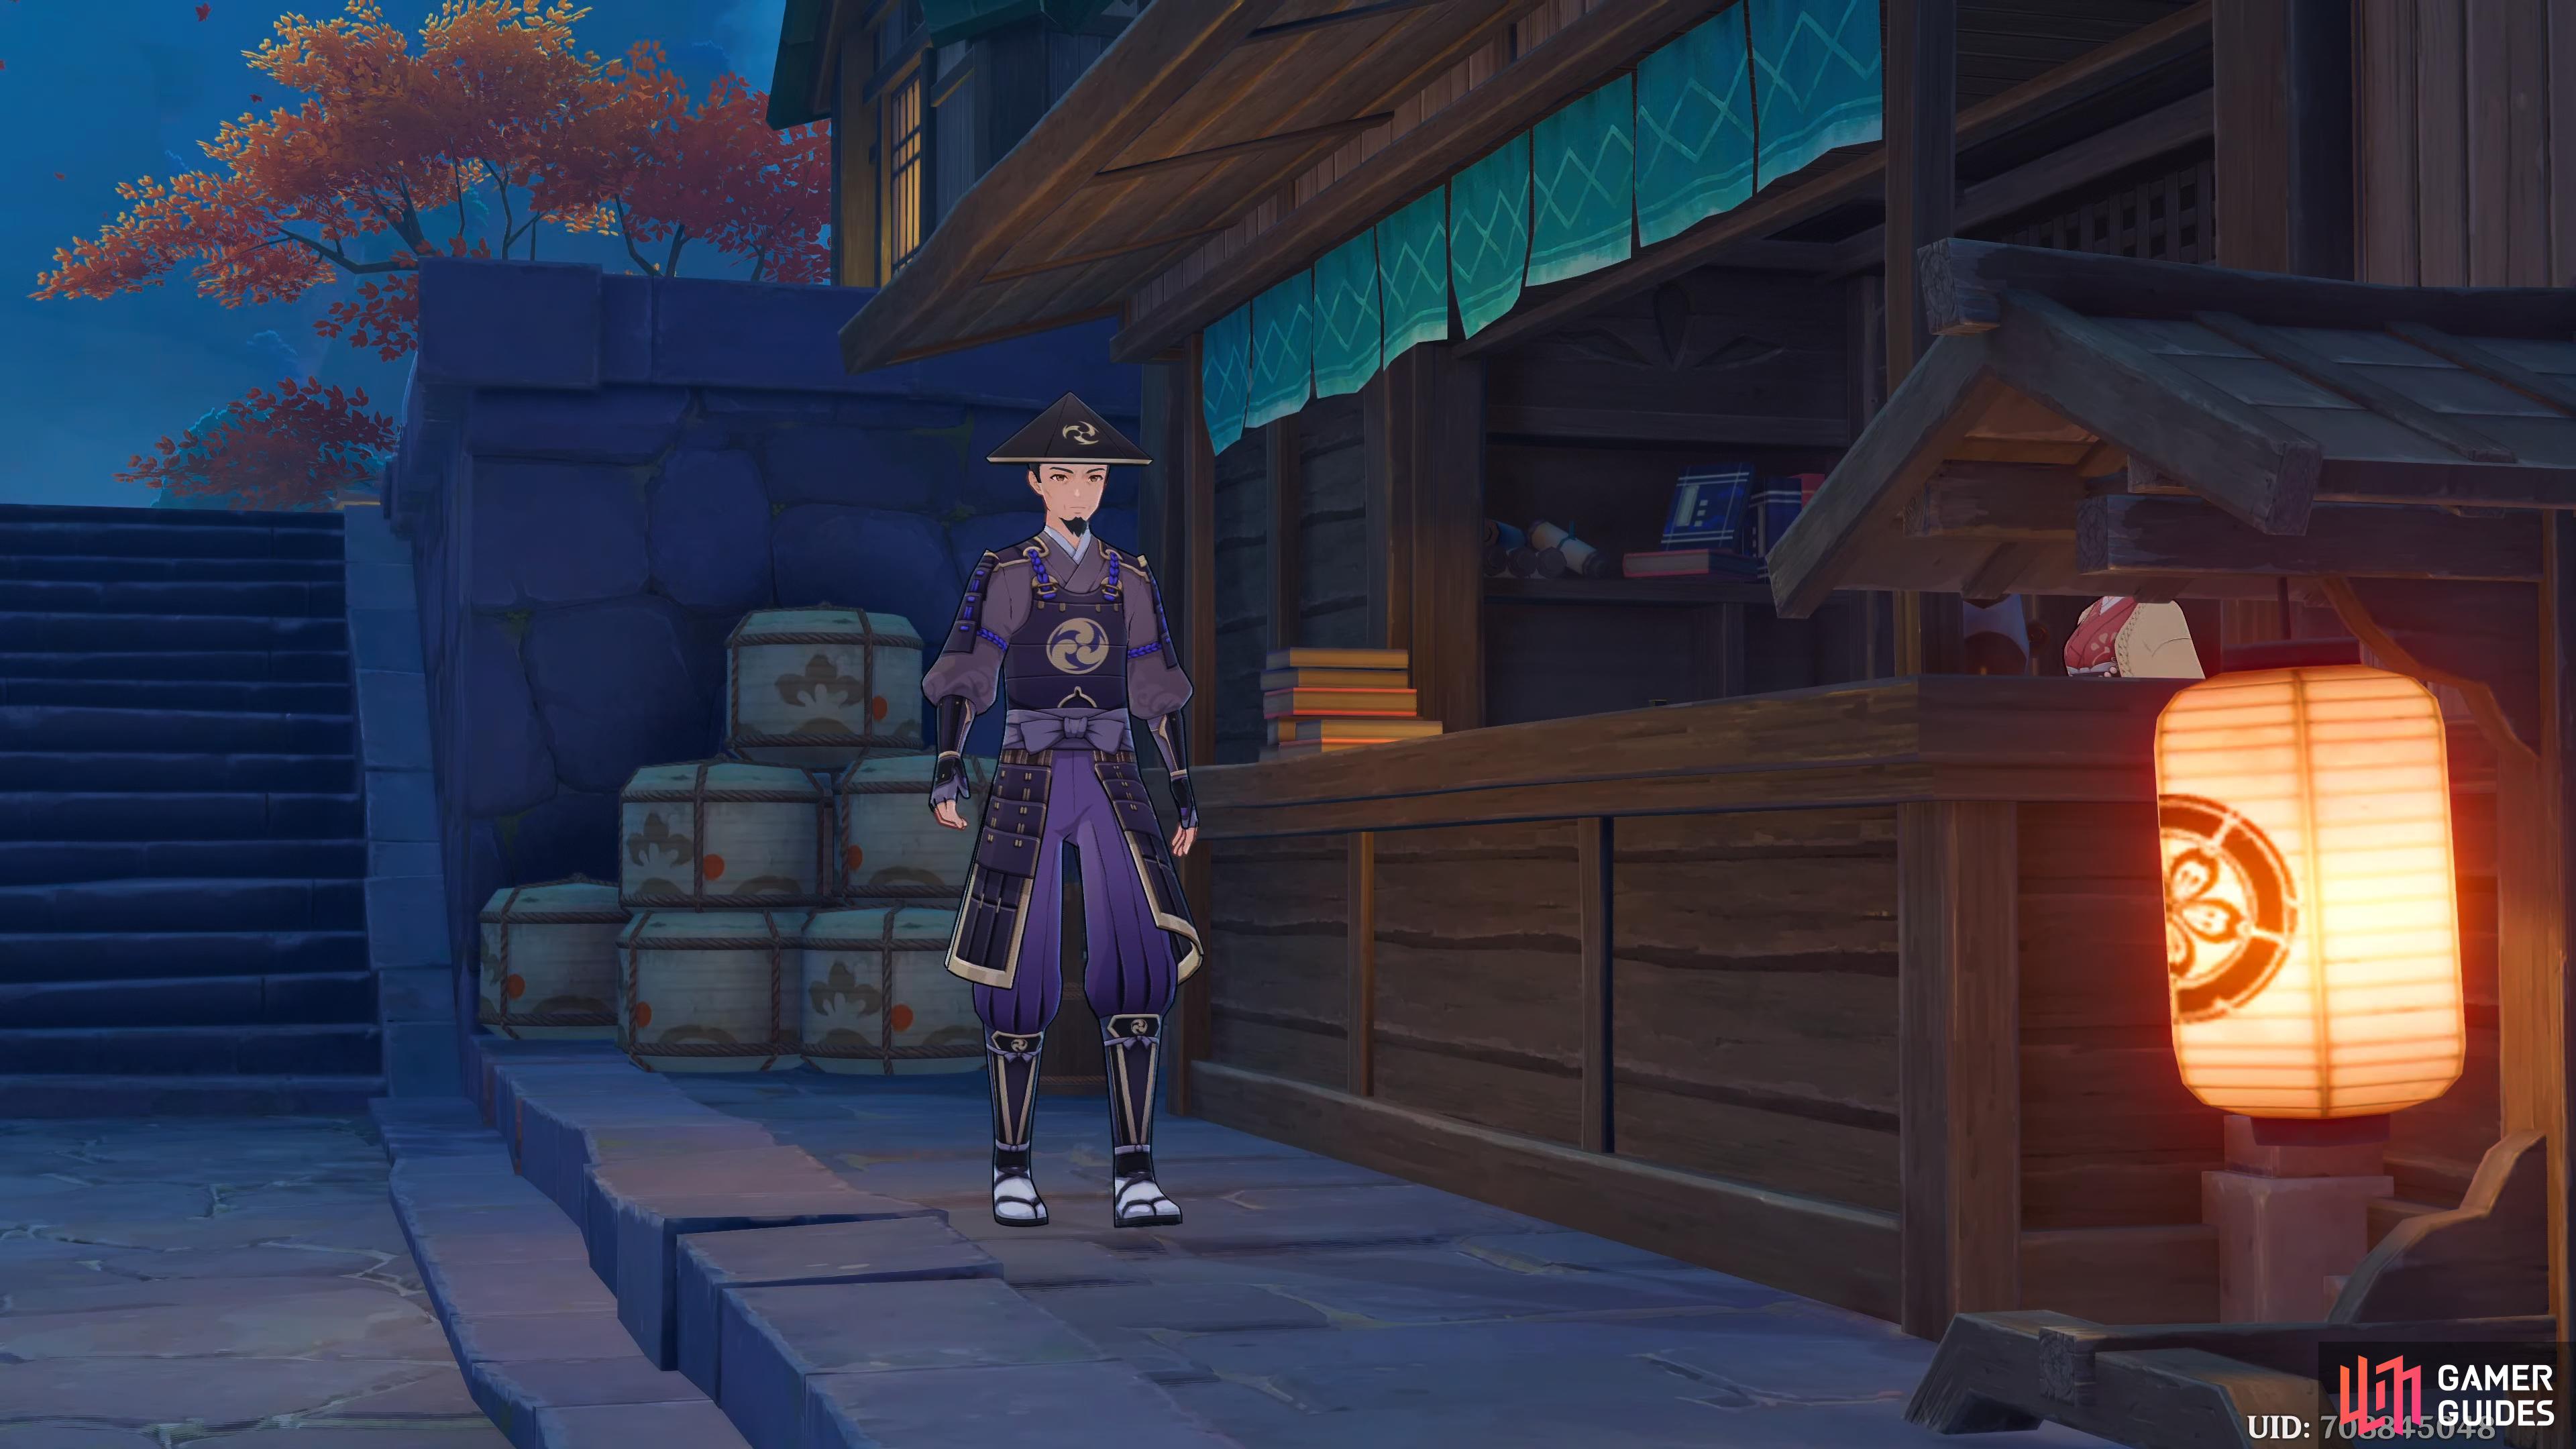
Keijirou and his companions are behind the scam.
With the scene ending, head northeast, near the Trade Association, and you’ll get another scene, you’ll spot Keijirou, and Paimon will suggest following him.
Follow Keijirou without being noticed
Once the short scene ends, you’ll need to follow Keijirou without being noticed, this’ll enter you in ‘Stealth Mode’ and you’ll have to avoid being caught. If you get too close to him, the eye icon above his head will start filling up red, and Paimon will screech into your ear “Too close, that’s too close! He’ll notice for sure!” If this happens, quickly get away from him, and wait for the icon to go back to normal, if it gets all the way, you’ll have to restart that part of the quest again.
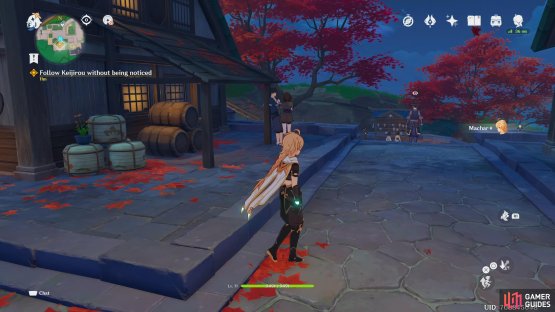

(1 of 2) Keep the same distance to what is shown here to avoid alerting Keijirou that you’re following him.


Keep the same distance to what is shown here to avoid alerting Keijirou that you’re following him. (left), The eye icon will fill up red if you’re too close. Get some distance from him if this happens. (right)
This also happens if you’re too far away from him too, Paimon will shout “He’s getting further and further away. Let’s catch up a little”. If you don’t close the distance soon, you’ll lose sight of him, and you’ll have to restart this step again. The ideal distance can be seen in the image below. When he goes down the first set of stairs, he’ll go to the left, wait for him a few steps back from the top of the stairs.
After a second or two, he’ll head to your right a little, and stop opposite of the stairs, stay where you are until he moves again. When he does move, he’ll sprint down the stairs to your right, and head south, around the wall. Keep up with him, but stay back a little before going around the wall, as he’ll stop again to try and catch you out. When he stops talking, he’ll run again, follow him southeast along the dirt path, and he’ll slow down again in-between the two mountains. Head in-between the mountains yourself, and you’ll get a scene. It looks like he put something by the rocks, he’ll leave, and Paimon will suggest going over there to see what he’s hidden there.
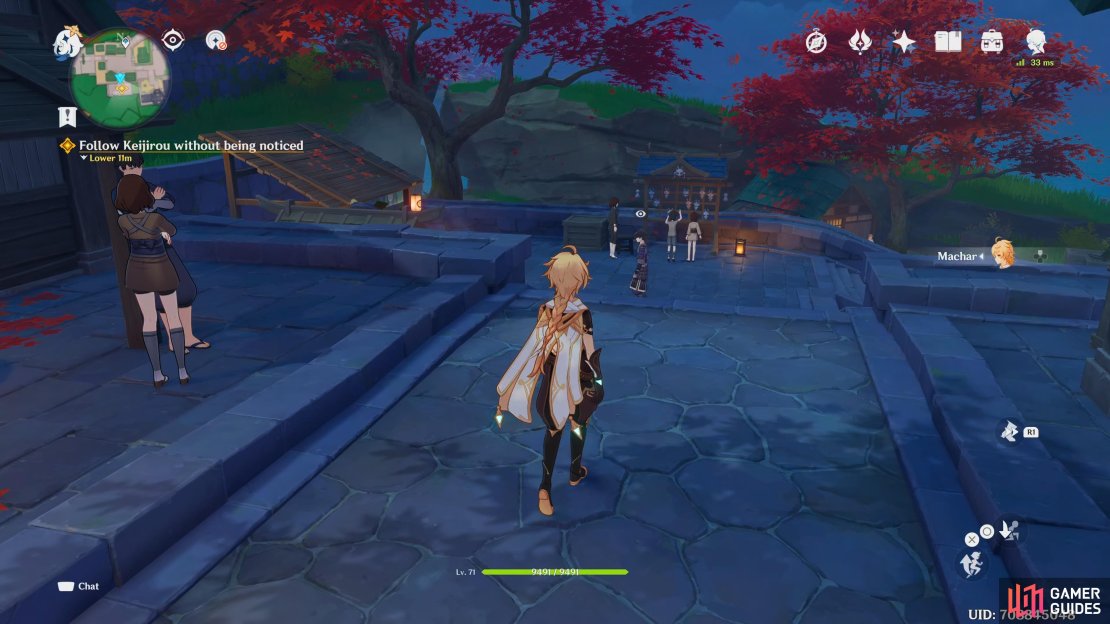


(1 of 4) As Keijirou goes down the stairs, he’ll head to your left for a few seconds, wait near the top of the stairs
Find evidence of Keijirou’s wrongdoings
When the scene ends, head over to the rocks and dig there to find a Hidden Ledger. According to Werner, it contains records of every transaction they’ve done, this is the evidence you need! Werner will leave, saying he needs more time before facing the Association.
Tell the International Trade Association about what really happened
Now that you have the evidence you need, head back to the Trade Association, and as you approach it, Keijirou will be harassing Kurisu. Kurisu will tell him that they can’t keep this up otherwise their sales will come in at a loss. Keijirou doesn’t seem to care and tells them that the rules are the rules. You’ll interrupt them, telling Keijirou that he’s the one making the mockery of the rules, and he’ll ask if you’re one of the Association.
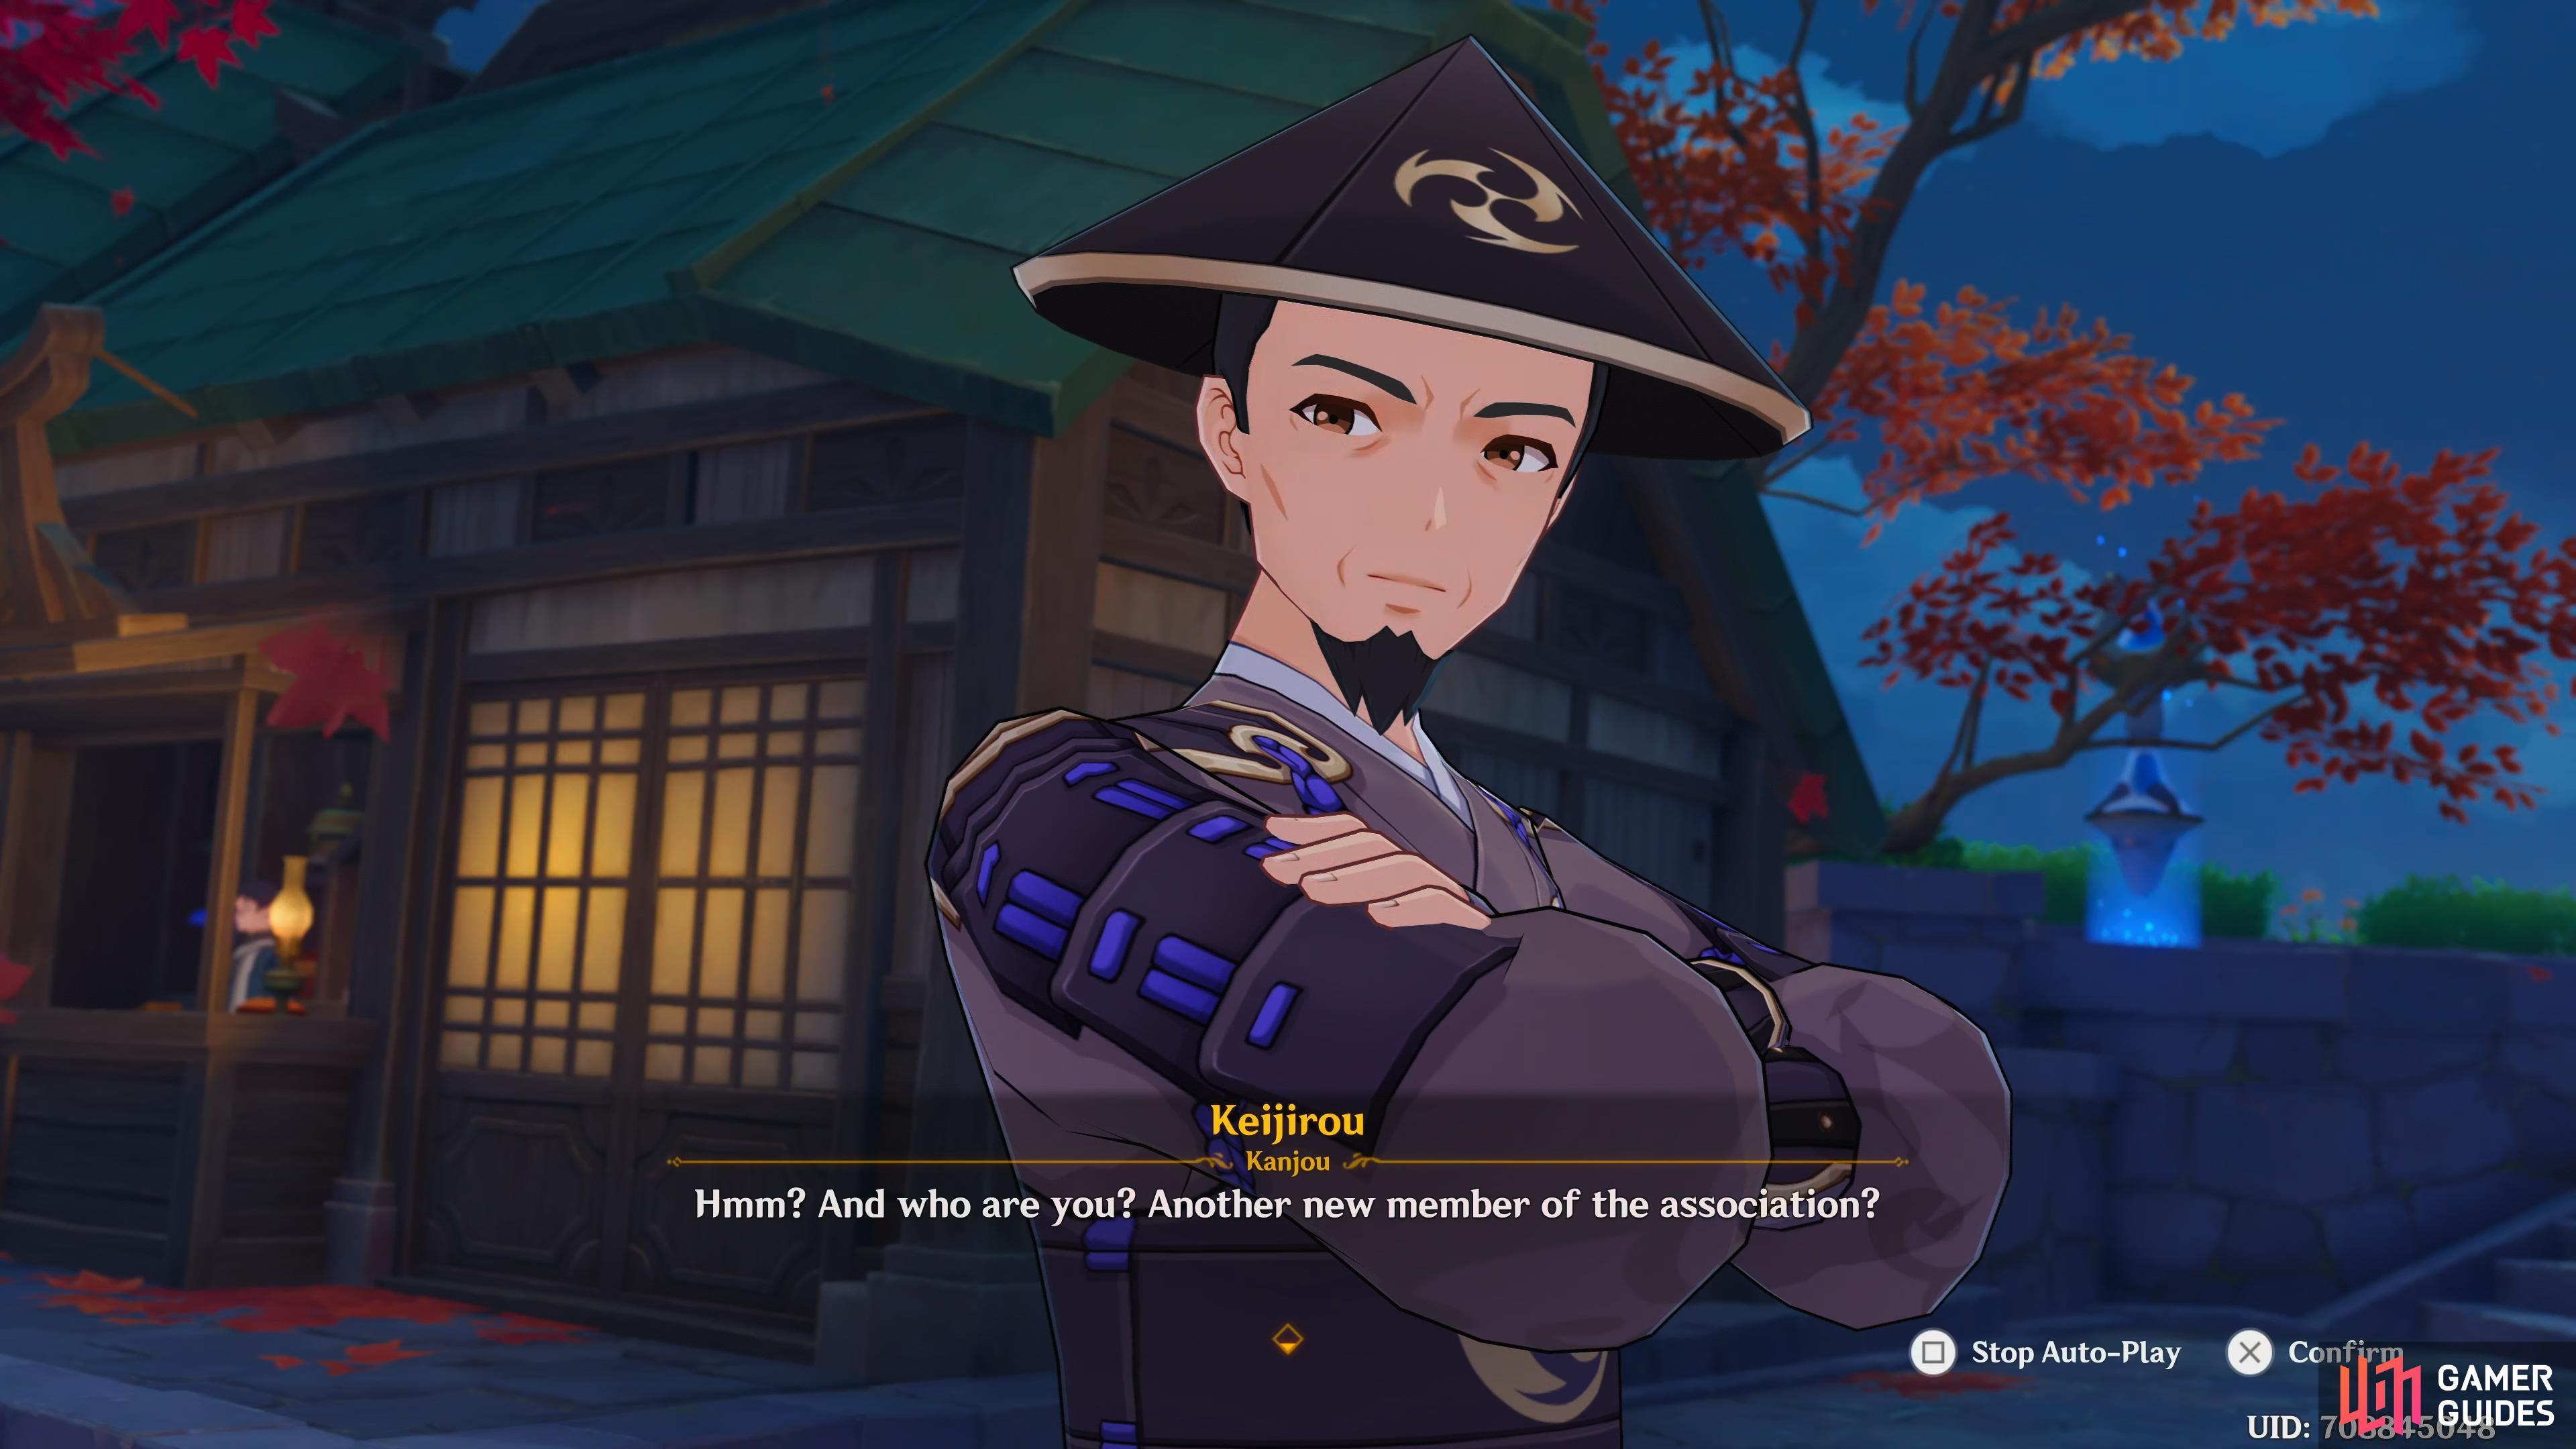
Keijirou asks you who you are for interrupting his conversation with Kurisu.
You’ll tell him that you found his ledger, and you’ll tell everyone what’s going on. Kurisu and Harrison are surprised and angry at the same time, and Keijirou stumbles on his words. Kurisu will read through the ledger, and asks Keijirou how he would like to settle it, and he responds in a defensive manner. Kurisu politely threatens his reputation, and Keijirou asks what Kurisu has in mind. He asks for the leftover Crystal Marrow as compensation, and Keijirou reluctantly agrees.
Harrison doesn’t seem happy at the proposal, and starts making a racket, which gets the interest of Katsuie, the Chief Samurai of the Kanjou Commission, who happens to be walking by. He asks what’s going on, and Keijirou tells him that it’s a minor tax issue, and he was lending a helping hand, but they’re never grateful. This angers Harrison even more, and says exactly what’s going on in front of Katsuie, and threatens to arrest the Trade Association staff to settle the dispute. As the situation was taking a bad turn, Thoma comes to the rescue, and shows them his Yanshiro Commission Card, although this isn’t enough for Katsuie to immediately ignore the dispute, Thoma shows him a fan, and he recognizes it as the Shirasagi Himegimi’s, Thoma then tells him that he surely wouldn’t want his name coming up in a petition with the Shogun, and Katsuie agrees to let this whole thing slide, and leaves. Kurisu will thank Thoma and you, and Paimon will ask Thoma what all that was about.
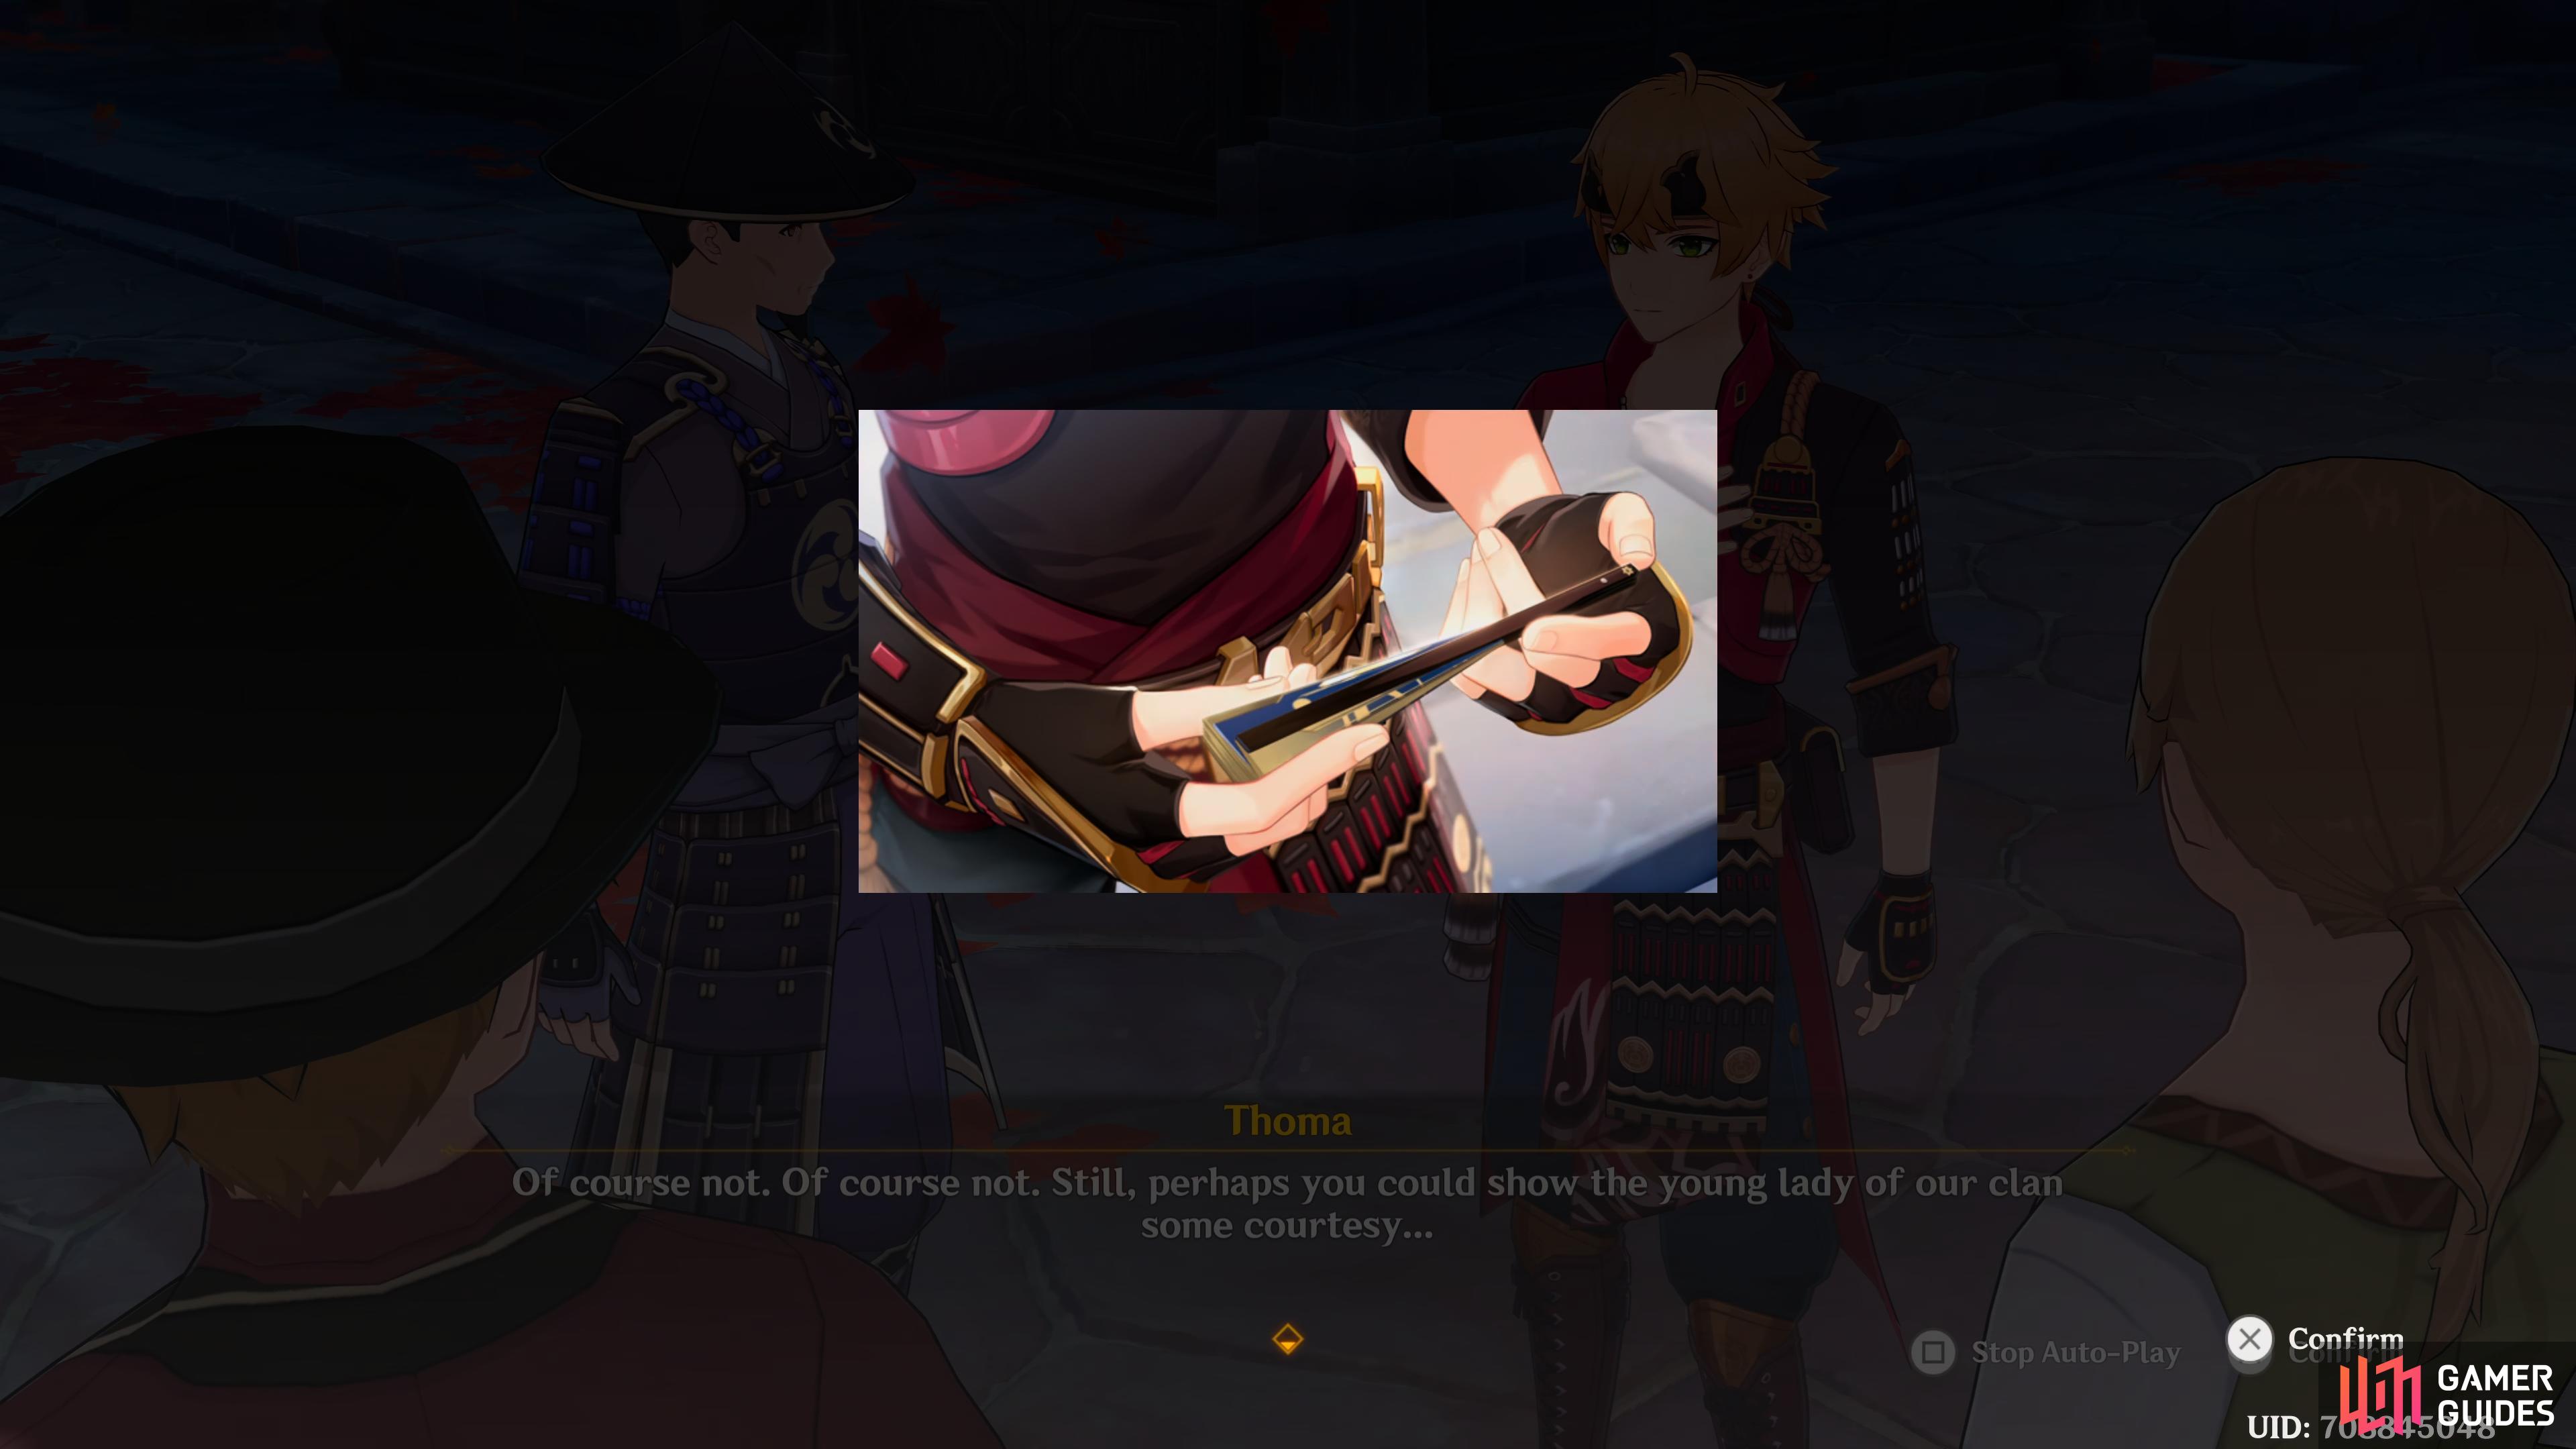
Thoma will show Katsuie the Shirasagi Himegimi’s fan to prove he’s close to her.
Talk to Thoma
When the scene ends, head to the west a little, and speak to Thoma, he’ll agree to answer your questions. Ask him about the Yanshiro Commission, and he’ll tell you that he belongs to the Kamisato Clan of the Yanshiro Commission, and that he’s an attendant of the Shirasagi Himegimi. Apparently the Yanshiro Commission is another part of the Tri-Commission, and the Kamisato Clan is the head of it. Also, they’re responsible for all the ceremonial and cultural affairs. You’ll then find out that his role is to take care of the daughter of the clan - Kamisato Ayaka, who is also known as the Shirasagi Himegimi.
Asking him about the whole fixer of Ritou thing will result in him telling you that it isn’t completely fake, he had to spend a month of building networks, which is how he came into contact with Beidou. He did all this to make sure he’d be ready for when you arrived. Miss Kamisato heard of your deeds in Liyue and Mondstadt, and she wanted to meet with you, to see if the rumours were true, which is, that you have what it takes to change the tide of the times.
This is why he asked for the favor earlier on, to see if you had what it takes to navigate powerful people, and using their character flaws as an advantage, to which you passed. You’ll tell him that you haven’t agreed to help, and that you’re only here to see the Raiden Shogun. Thoma understands, and as agreed, will help set that up for you. He says goodbye, but not before giving you a Komore Teahouse Invitation Letter, which is where you can find him if you’re in Narukami Island. As he leaves, you tell Paimon that Outlanders can’t leave Ritou, and she wonders if Thoma forgot about it or whether it was another part of the test. After the scene ends, so will the quest.
No Comments