


| Location | Respawn Time | Element |
|---|---|---|
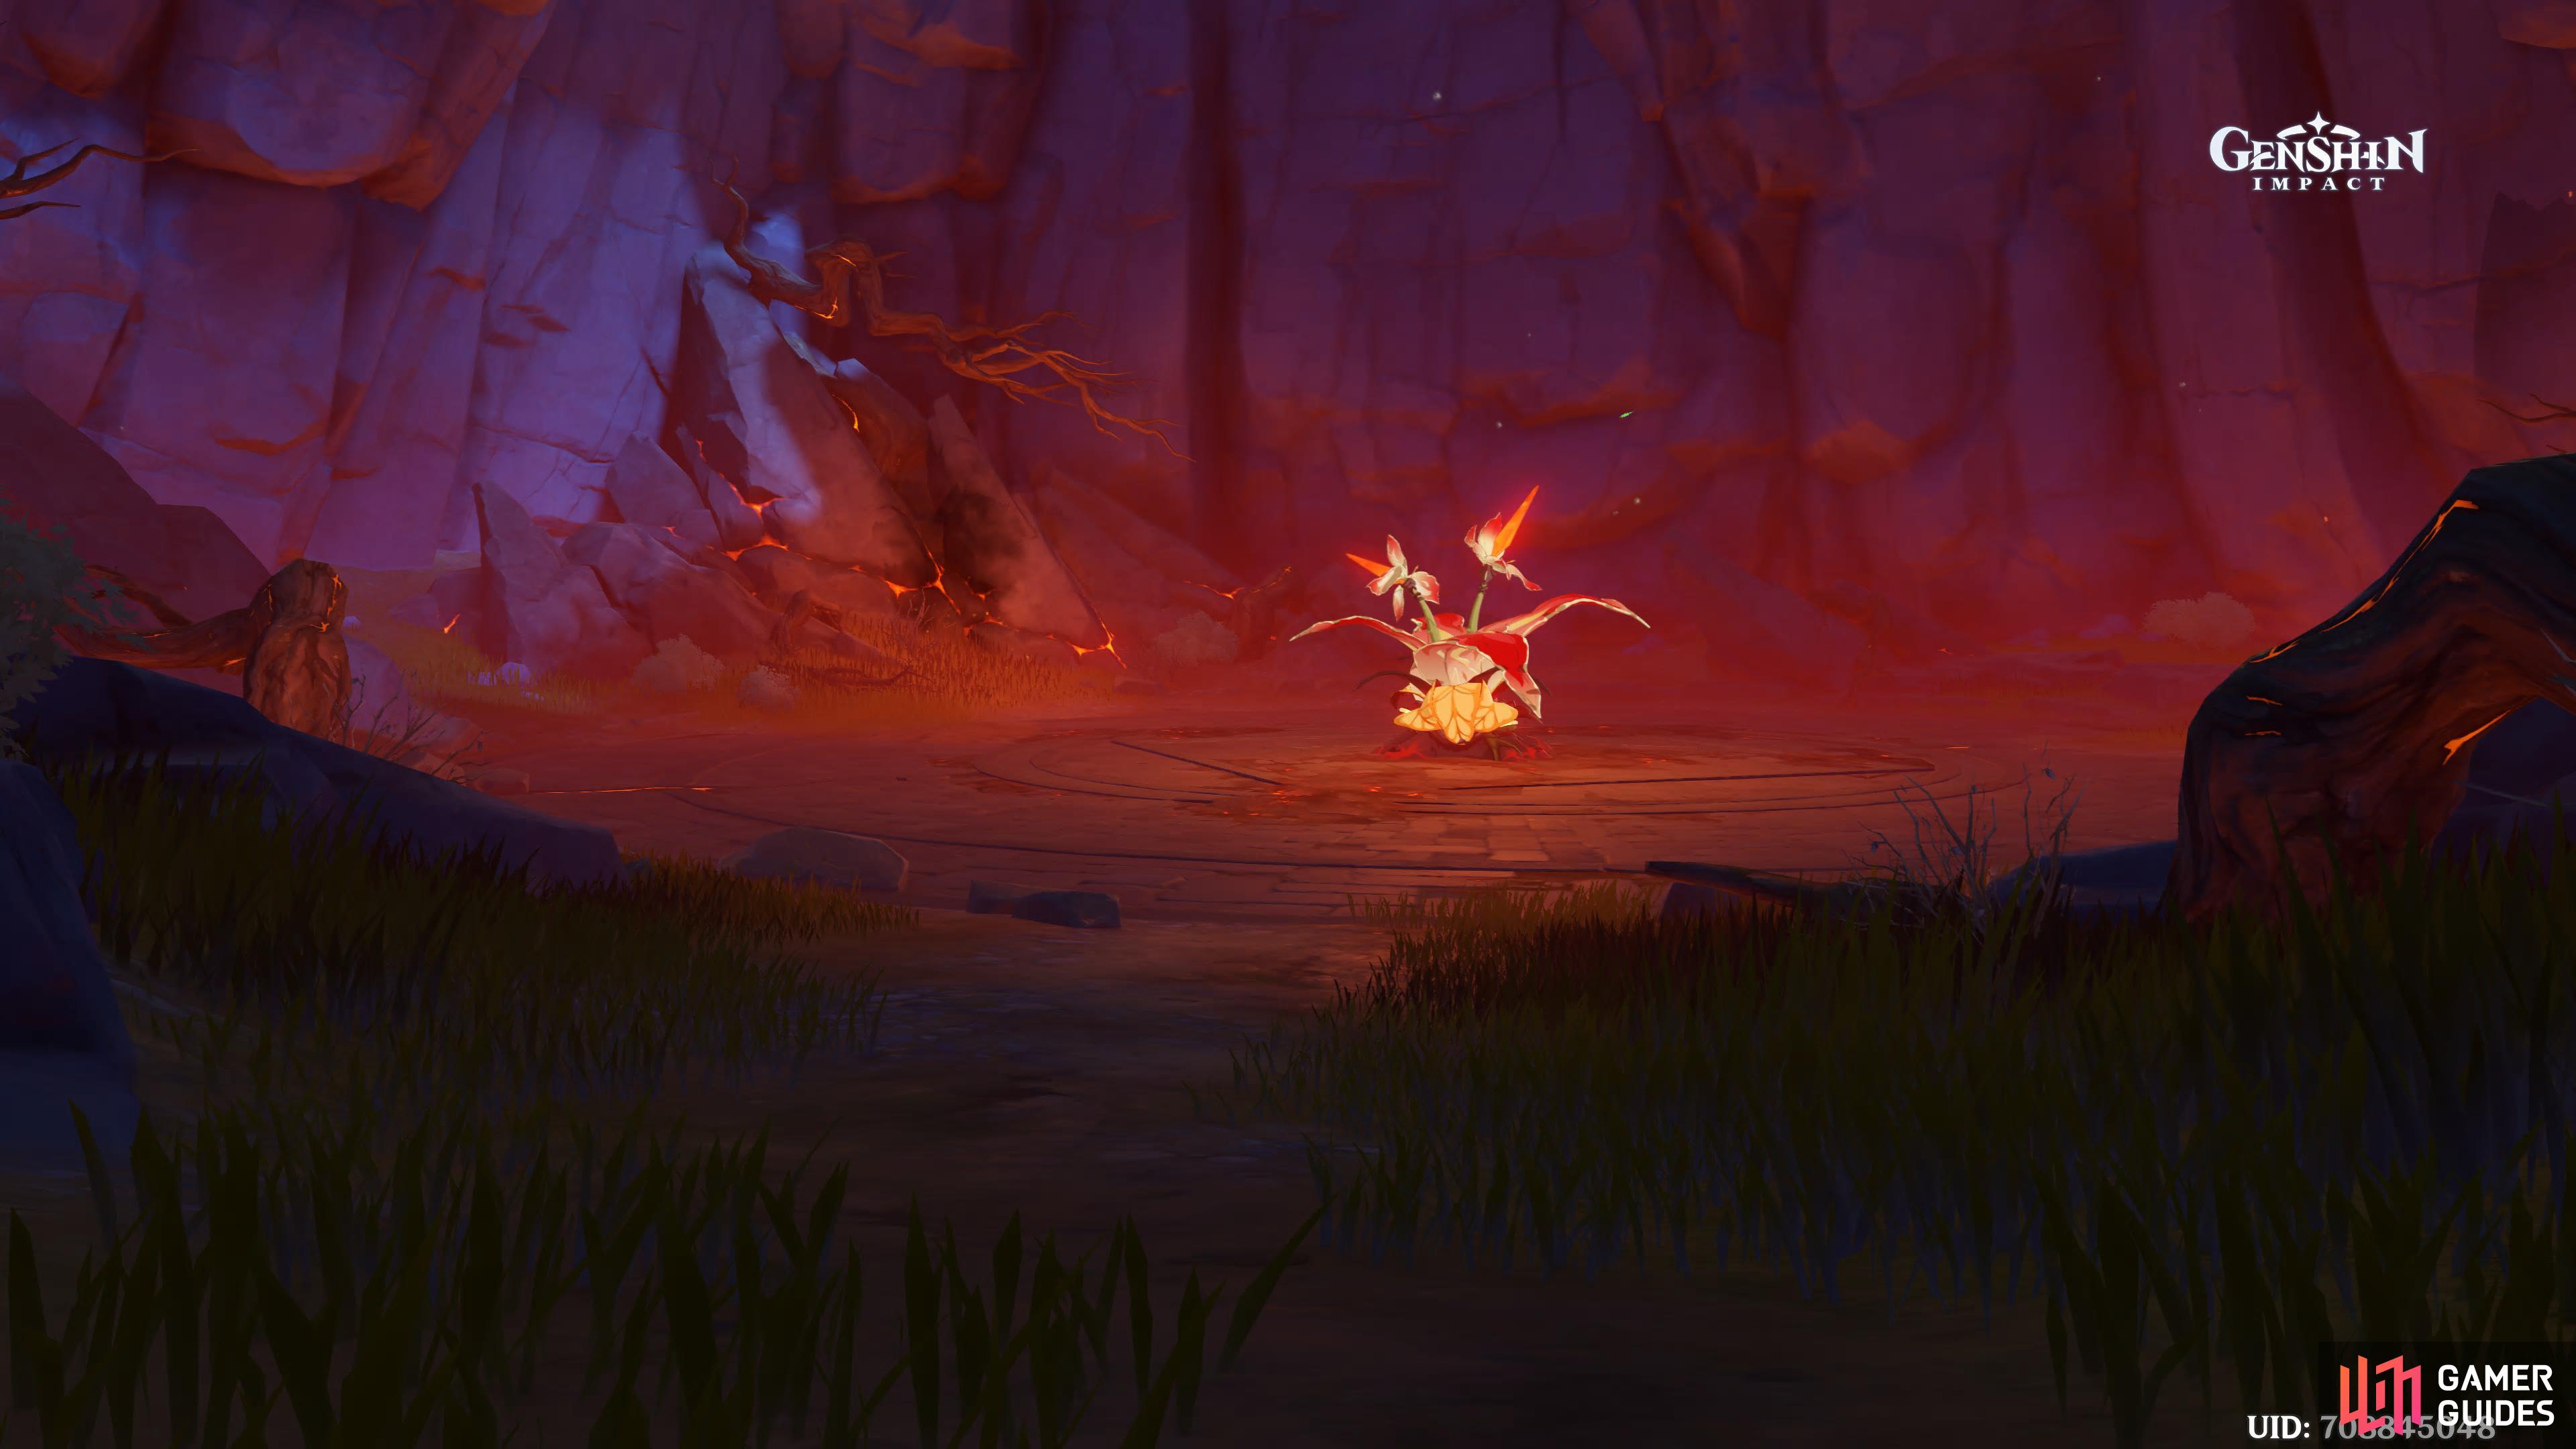
| Cuijue Slope, Liyue | 5 minutes (Instant, if you teleport away and back again) |  Pyro Pyro |
A giant vine that has absorbed the ancient flame that rages within the Ley Lines. It is restless, as if filled with an endless fury. Poets, bards and even some academics believe that elements also contain emotions and hope. If this is true, then one can only wonder what emotions cause the Pyro Regisvine to burn eternally, writhing like one longing to be free of the confines of the earth…
Rewards
| World Level | Boss Level |  |
Common Ascension Material | Artifacts | |
|---|---|---|---|---|---|
| I | 37 | 30 | 3,450 |       |
|
| II | 41 | 30 | 3,650 | |
|
| III | 50 | 35 | 3,850 | |
|
| IV | 62 | 35 | 4,125 | |
|
| V | 72 | 40 | 4,450 | |
|
| VI | 83 | 40 | 4,725 | |
|
| VII | 91 | 45 | 5,200 | |
|
| VIII | 93 | 45 | 6,000 | |
Description
The Regisvine family are your go to place to obtain your character Ascension Materials because they will always drop two of them depending on what Regisvines (or Hypostasis) you fight including some artifacts. The Regisvines are huge Whopperflowers which have alternating weak points at their “Root” (the base of the stem) and their “Corolla” (on top of it).
Root Phase attacks
This phase is started if the last weak spot that was destroyed was its Root.
Dual Barrage
The Regisvine will fire multiple rapid projectiles at you with both of its tendrils, avoid this by dodging to the side multiple times.


(1 of 2) The Boss will fire a barrage of projectiles like a Sub Machine Gun, keep dodging to the side


The Boss will fire a barrage of projectiles like a Sub Machine Gun, keep dodging to the side (left), lead the Homing Missiles one way and then dodge the other way until they dissipate. (right)
Homing Barrage
Raising its tendrils, the boss will launch a barrage of mini homing fireballs for minor damage, avoid this by running one direction then forward a bit and then to the opposite direction. Due to its low damage, getting hit by this won’t do too much.
Faceplant
When the boss starts to shake its “head” it will slam down like a faceplant, dodge to the side before the animation has finished to avoid it.


(1 of 2) Be careful because this attack comes hard and fast
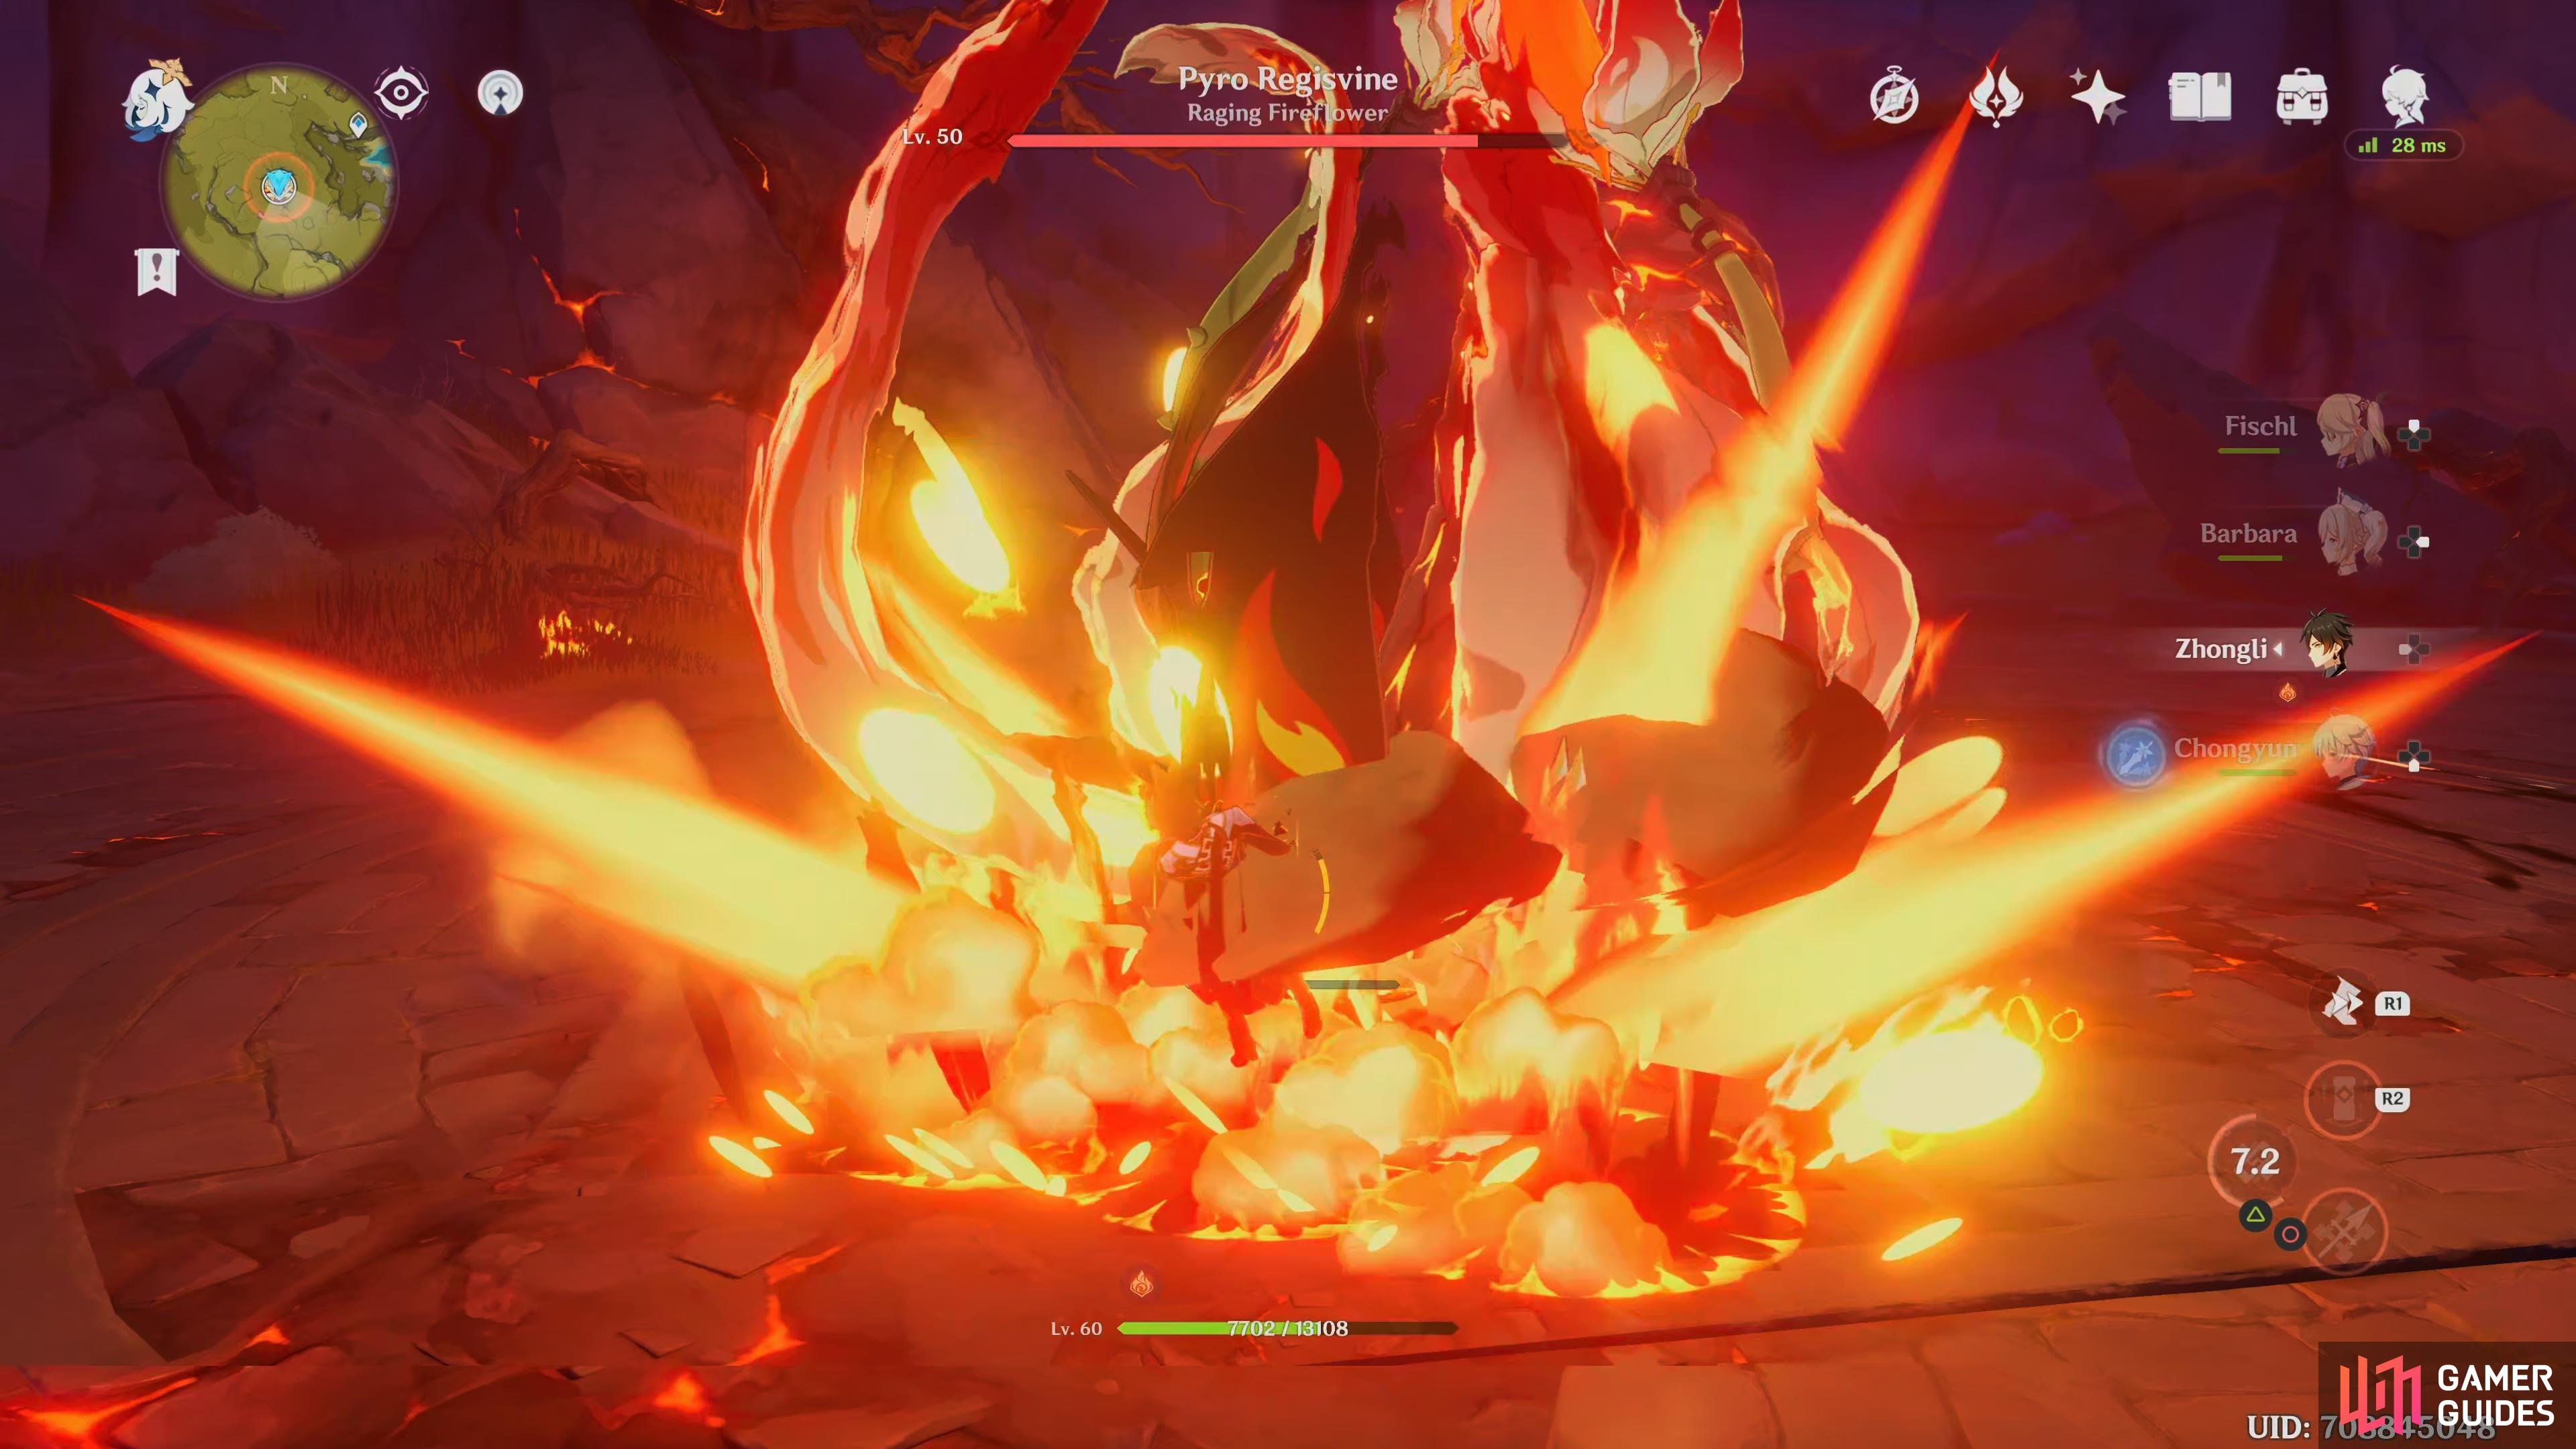
Be careful because this attack comes hard and fast (left), the Boss will leave behind a Pyro field on the surface after performing this attack, stay out of it. (right)
Spinning Sweep
The boss will raise its body and then spin around close to itself, leaving Pyro on the floor. Back up to avoid the attack and use ranged until it dissipates.
Pryo Mine
The boss will launch a small tulip like mine at the player which will stay on the floor and after a while and then explode for moderate damage, you can attack this with Hydro or Cryo to destroy this and prevent it from exploding, or keep your distance from it and let it explode on its own but this will leave a Pyro field on the floor which can damage you if you walk over it.
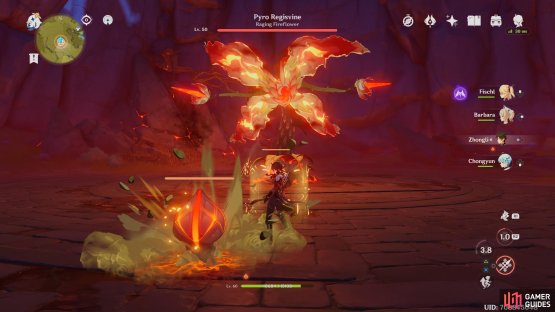

(1 of 2) The Pyro Mine can cause some major damage if you’re caught in the blast

The Pyro Mine can cause some major damage if you’re caught in the blast (left), (right)
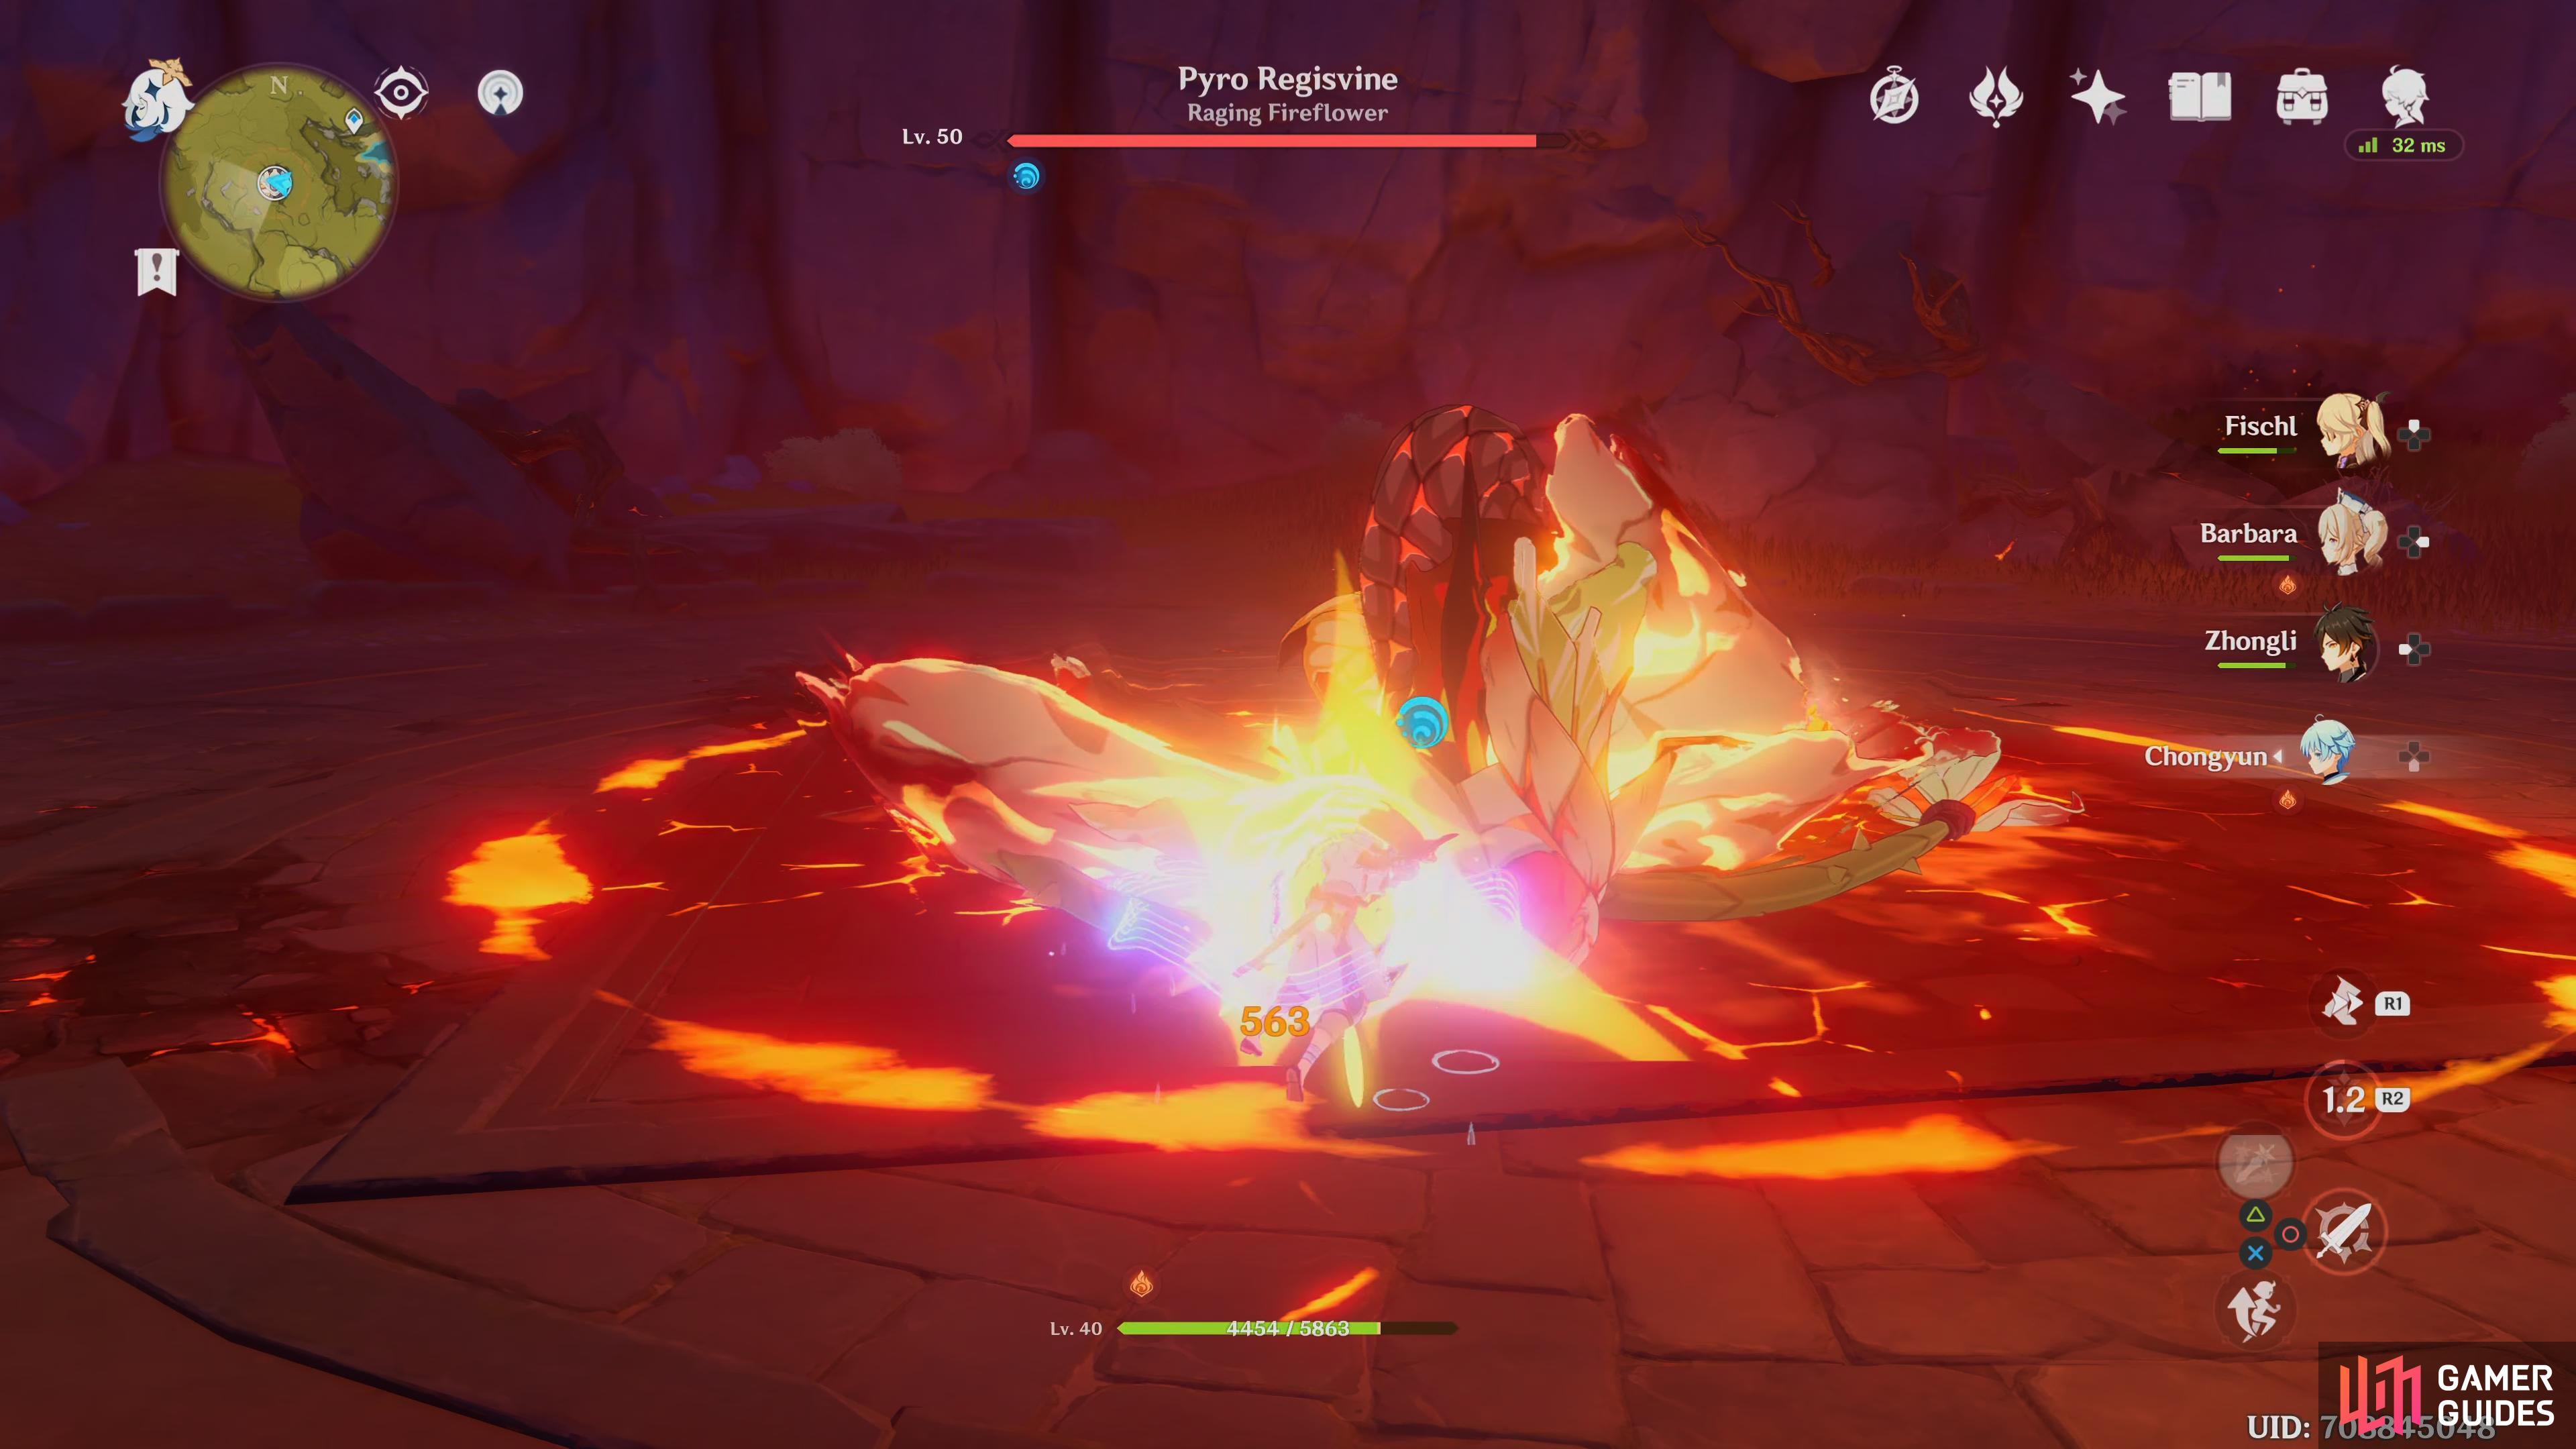
DPS Phase
Once either the shield on the Corolla or the Root has been destroyed, the boss will fall helplessly to the ground, unable to act. This is where all your Cryo, Hydro and Electro damage comes into play with some melee for fun, attack its head with all you’ve got to deal as much damage as possible, after about 10 seconds or so, it will sweep around itself and deal major damage to anyone within its reach and then return back to its normal attacks depending on which shield you broke.
Corolla Phase attacks
This phase is started if the last weak spot that was destroyed was its Corolla.
Rotating Slam
After channeling the attack for a brief moment, the boss will slam down three times, each slam will target the player and shoot out fire spikes in a line. To avoid this, get close and dodge the same direction after each slam.


(1 of 2) similar to the Giant Slam just slower but does it three times to make up for it.

similar to the Giant Slam just slower but does it three times to make up for it. (left), This comes quick and hard, dodge as soon as you see the animation (right)
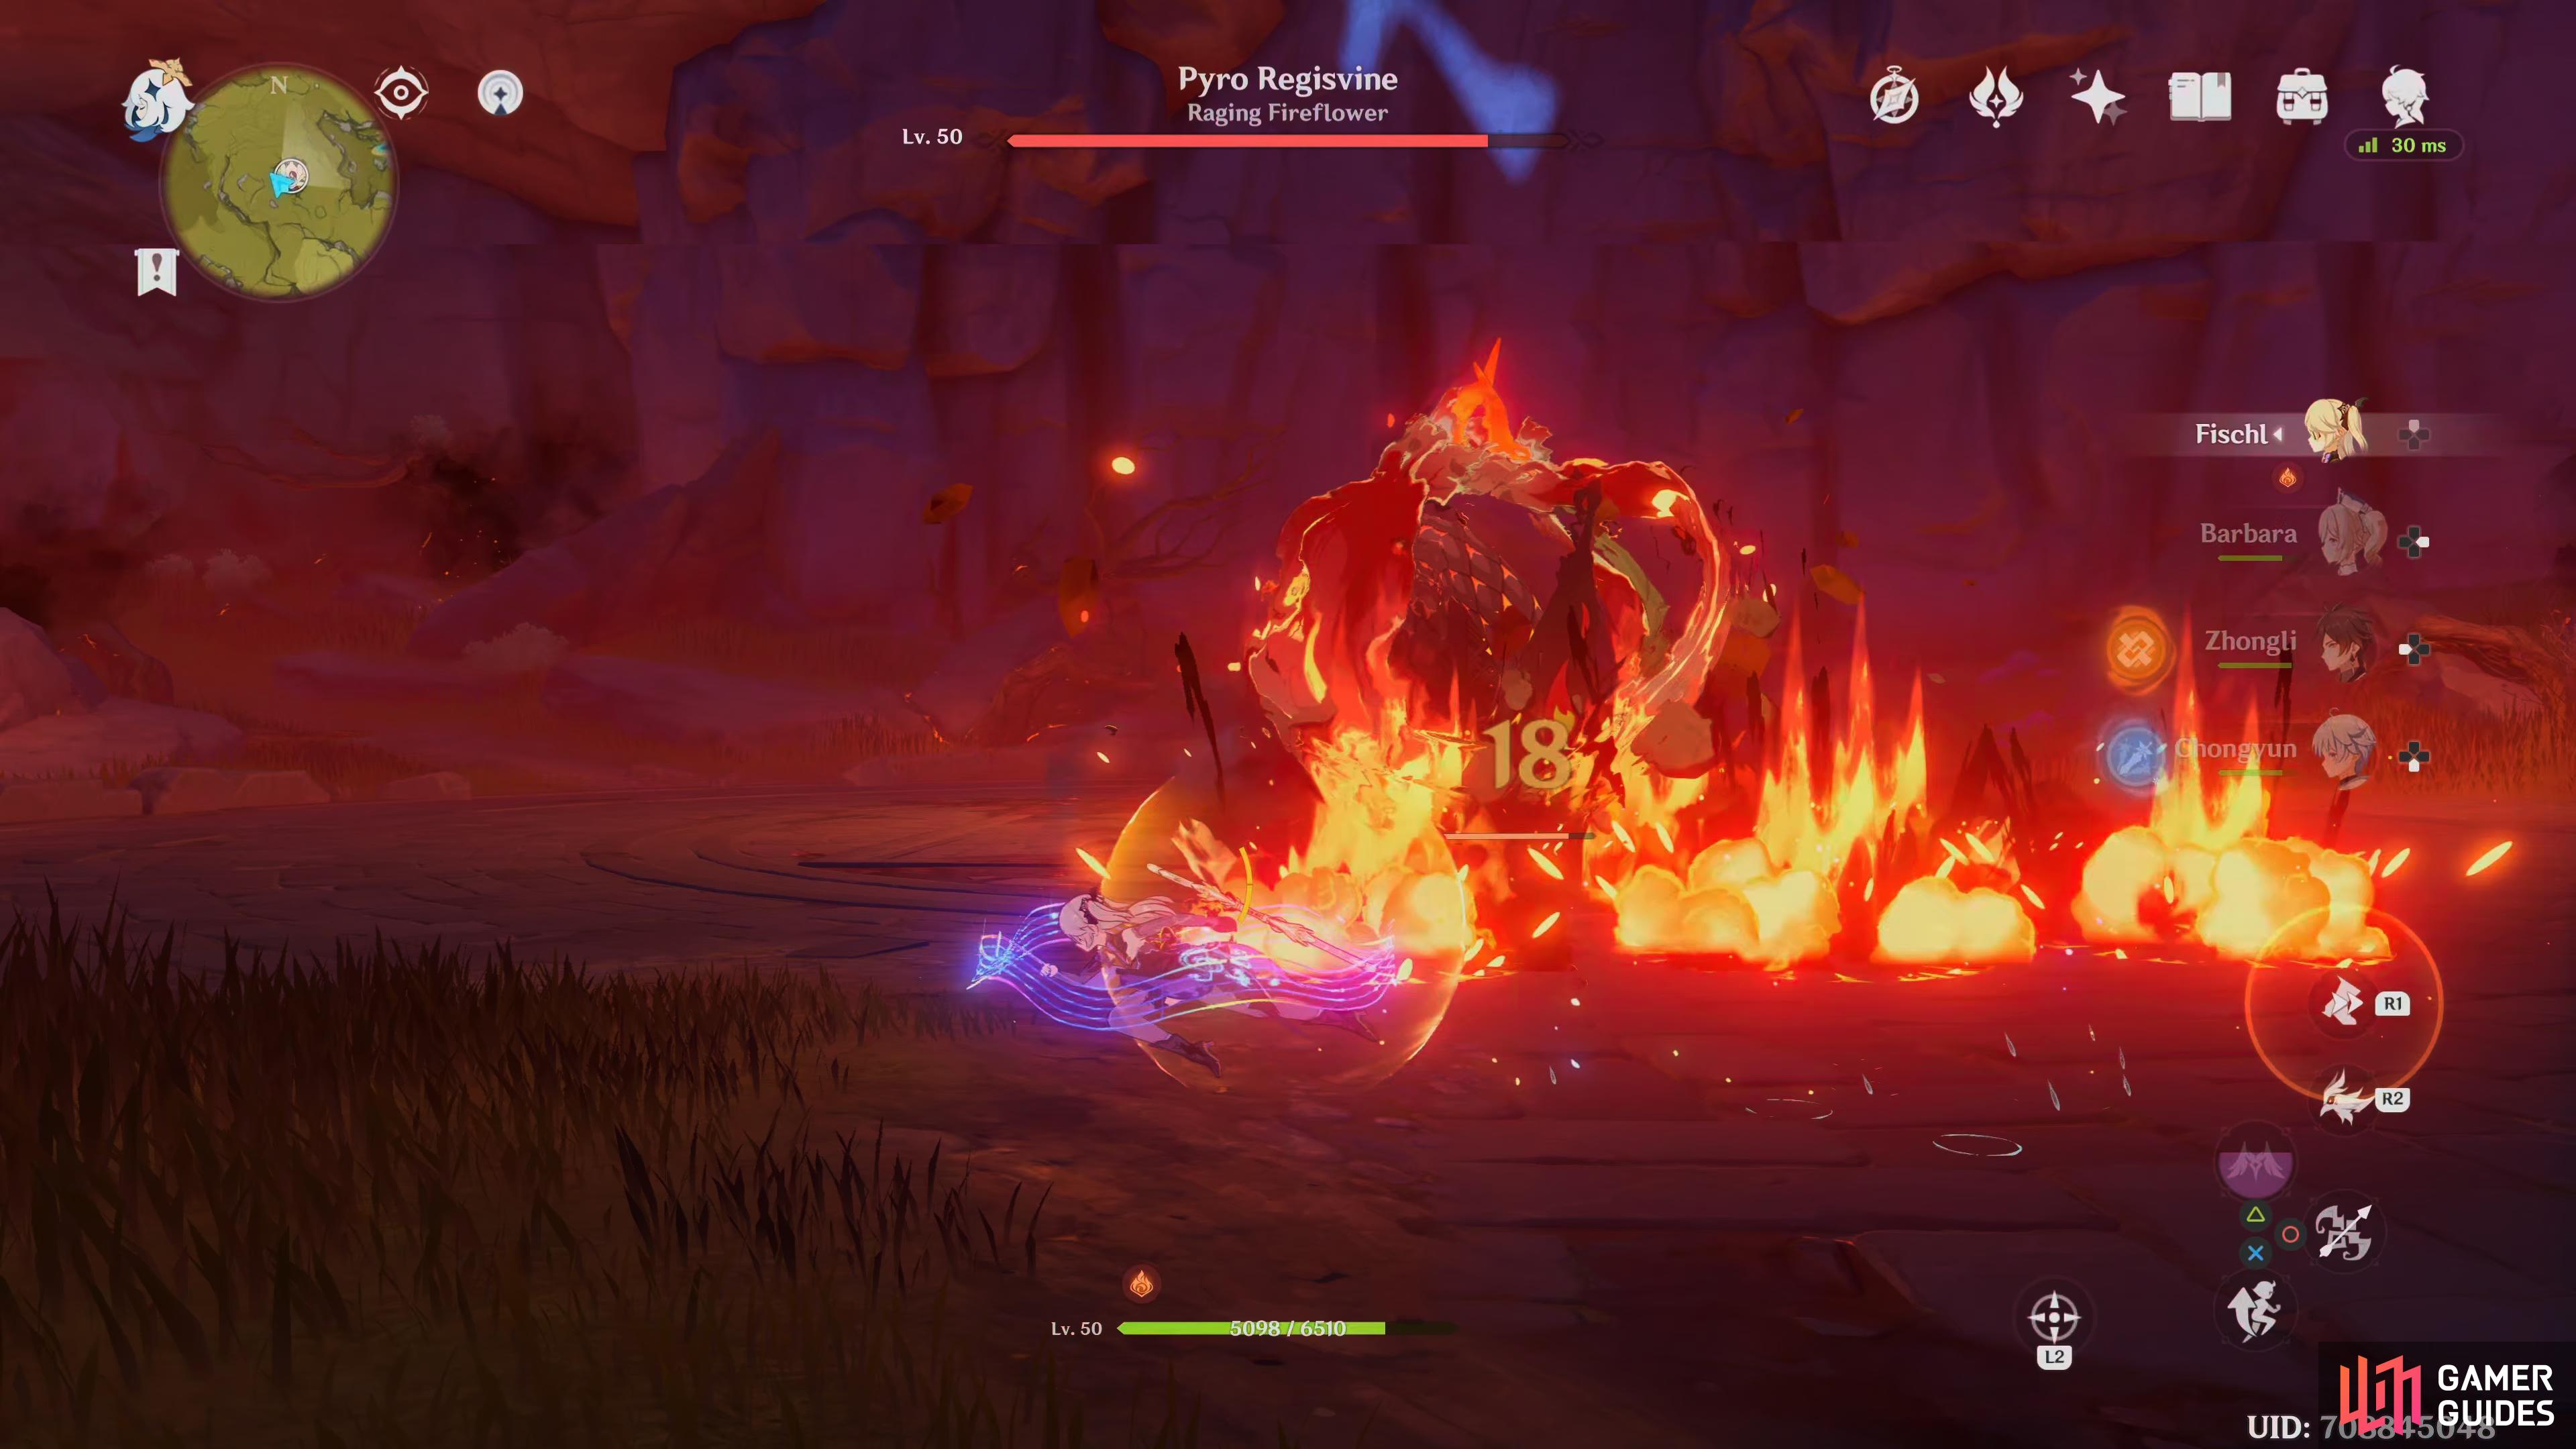
Giant Slam
Similar to the Rotating Slam the boss will just do this once but it’s quicker and will hit harder, dodge to the side to avoid it.
Charged Shot
The boss will start to charge, absorbing Pyro and then release one large fireball straight at you, avoid this by dodging to the side at the last second.


(1 of 2) Charges a shot for moderate damage, stay on the move to avoid it

Charges a shot for moderate damage, stay on the move to avoid it (left), Eruption can wipe the party if you are not careful. (right)
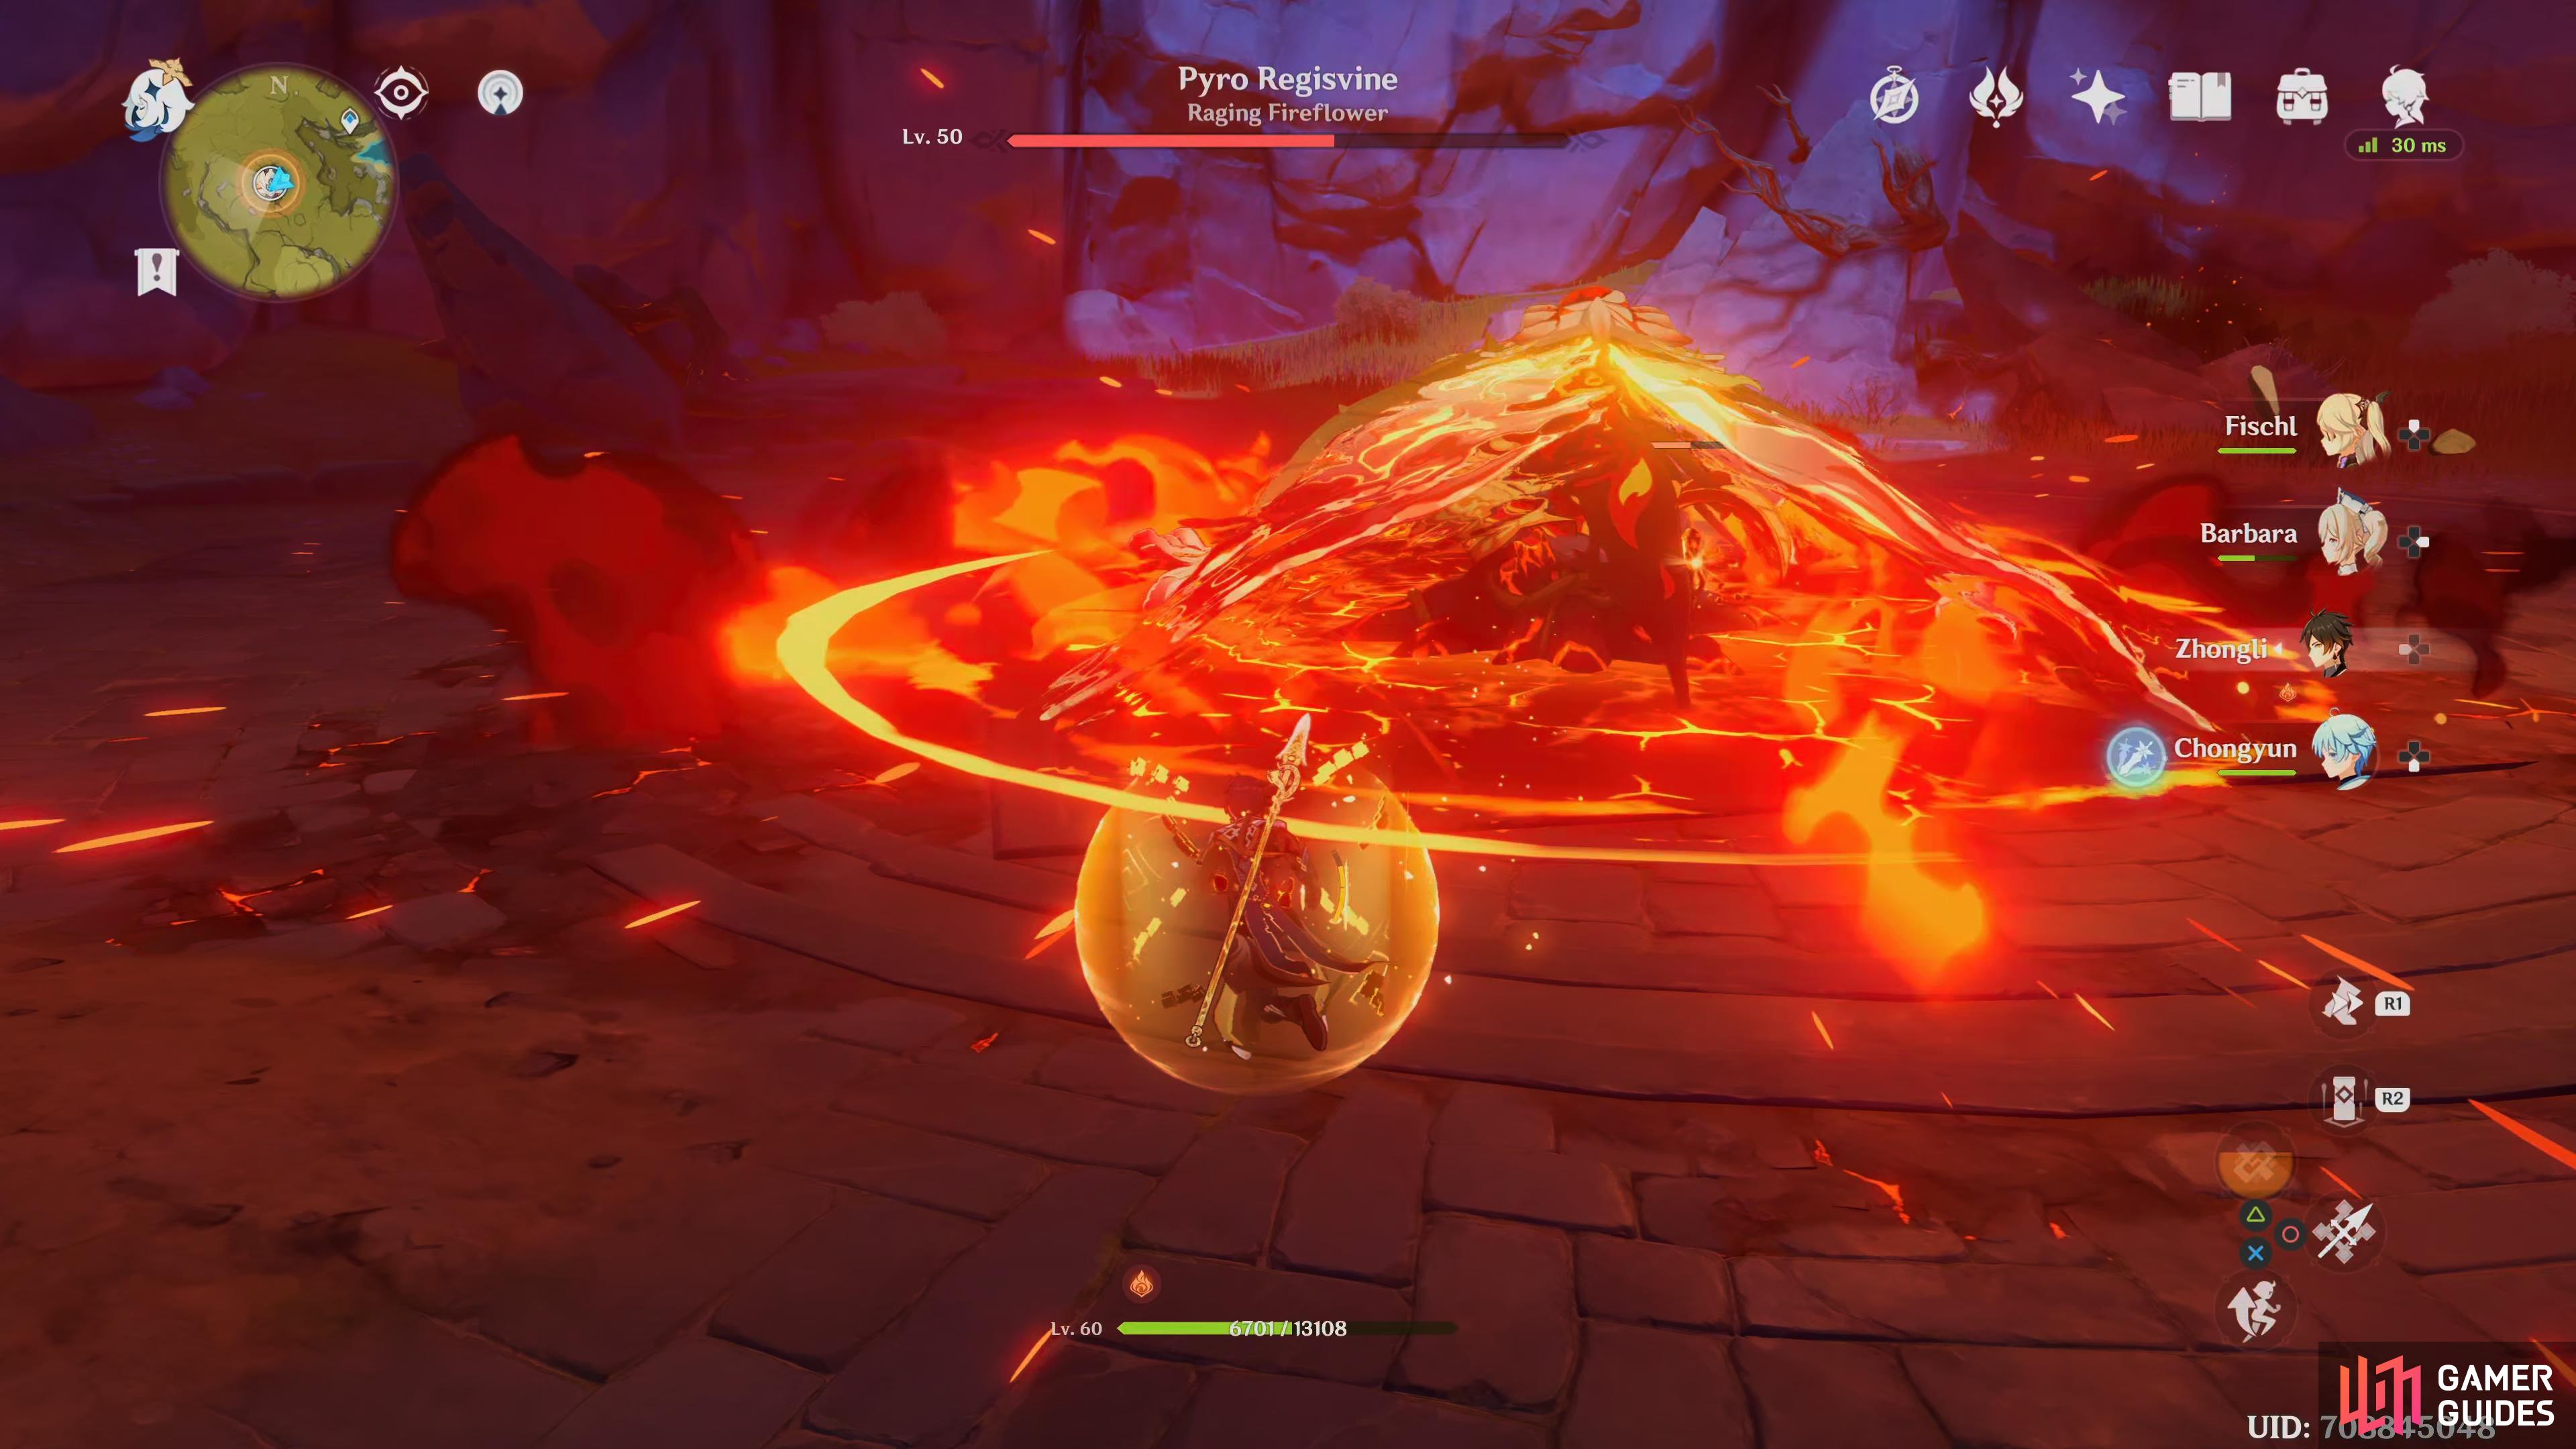
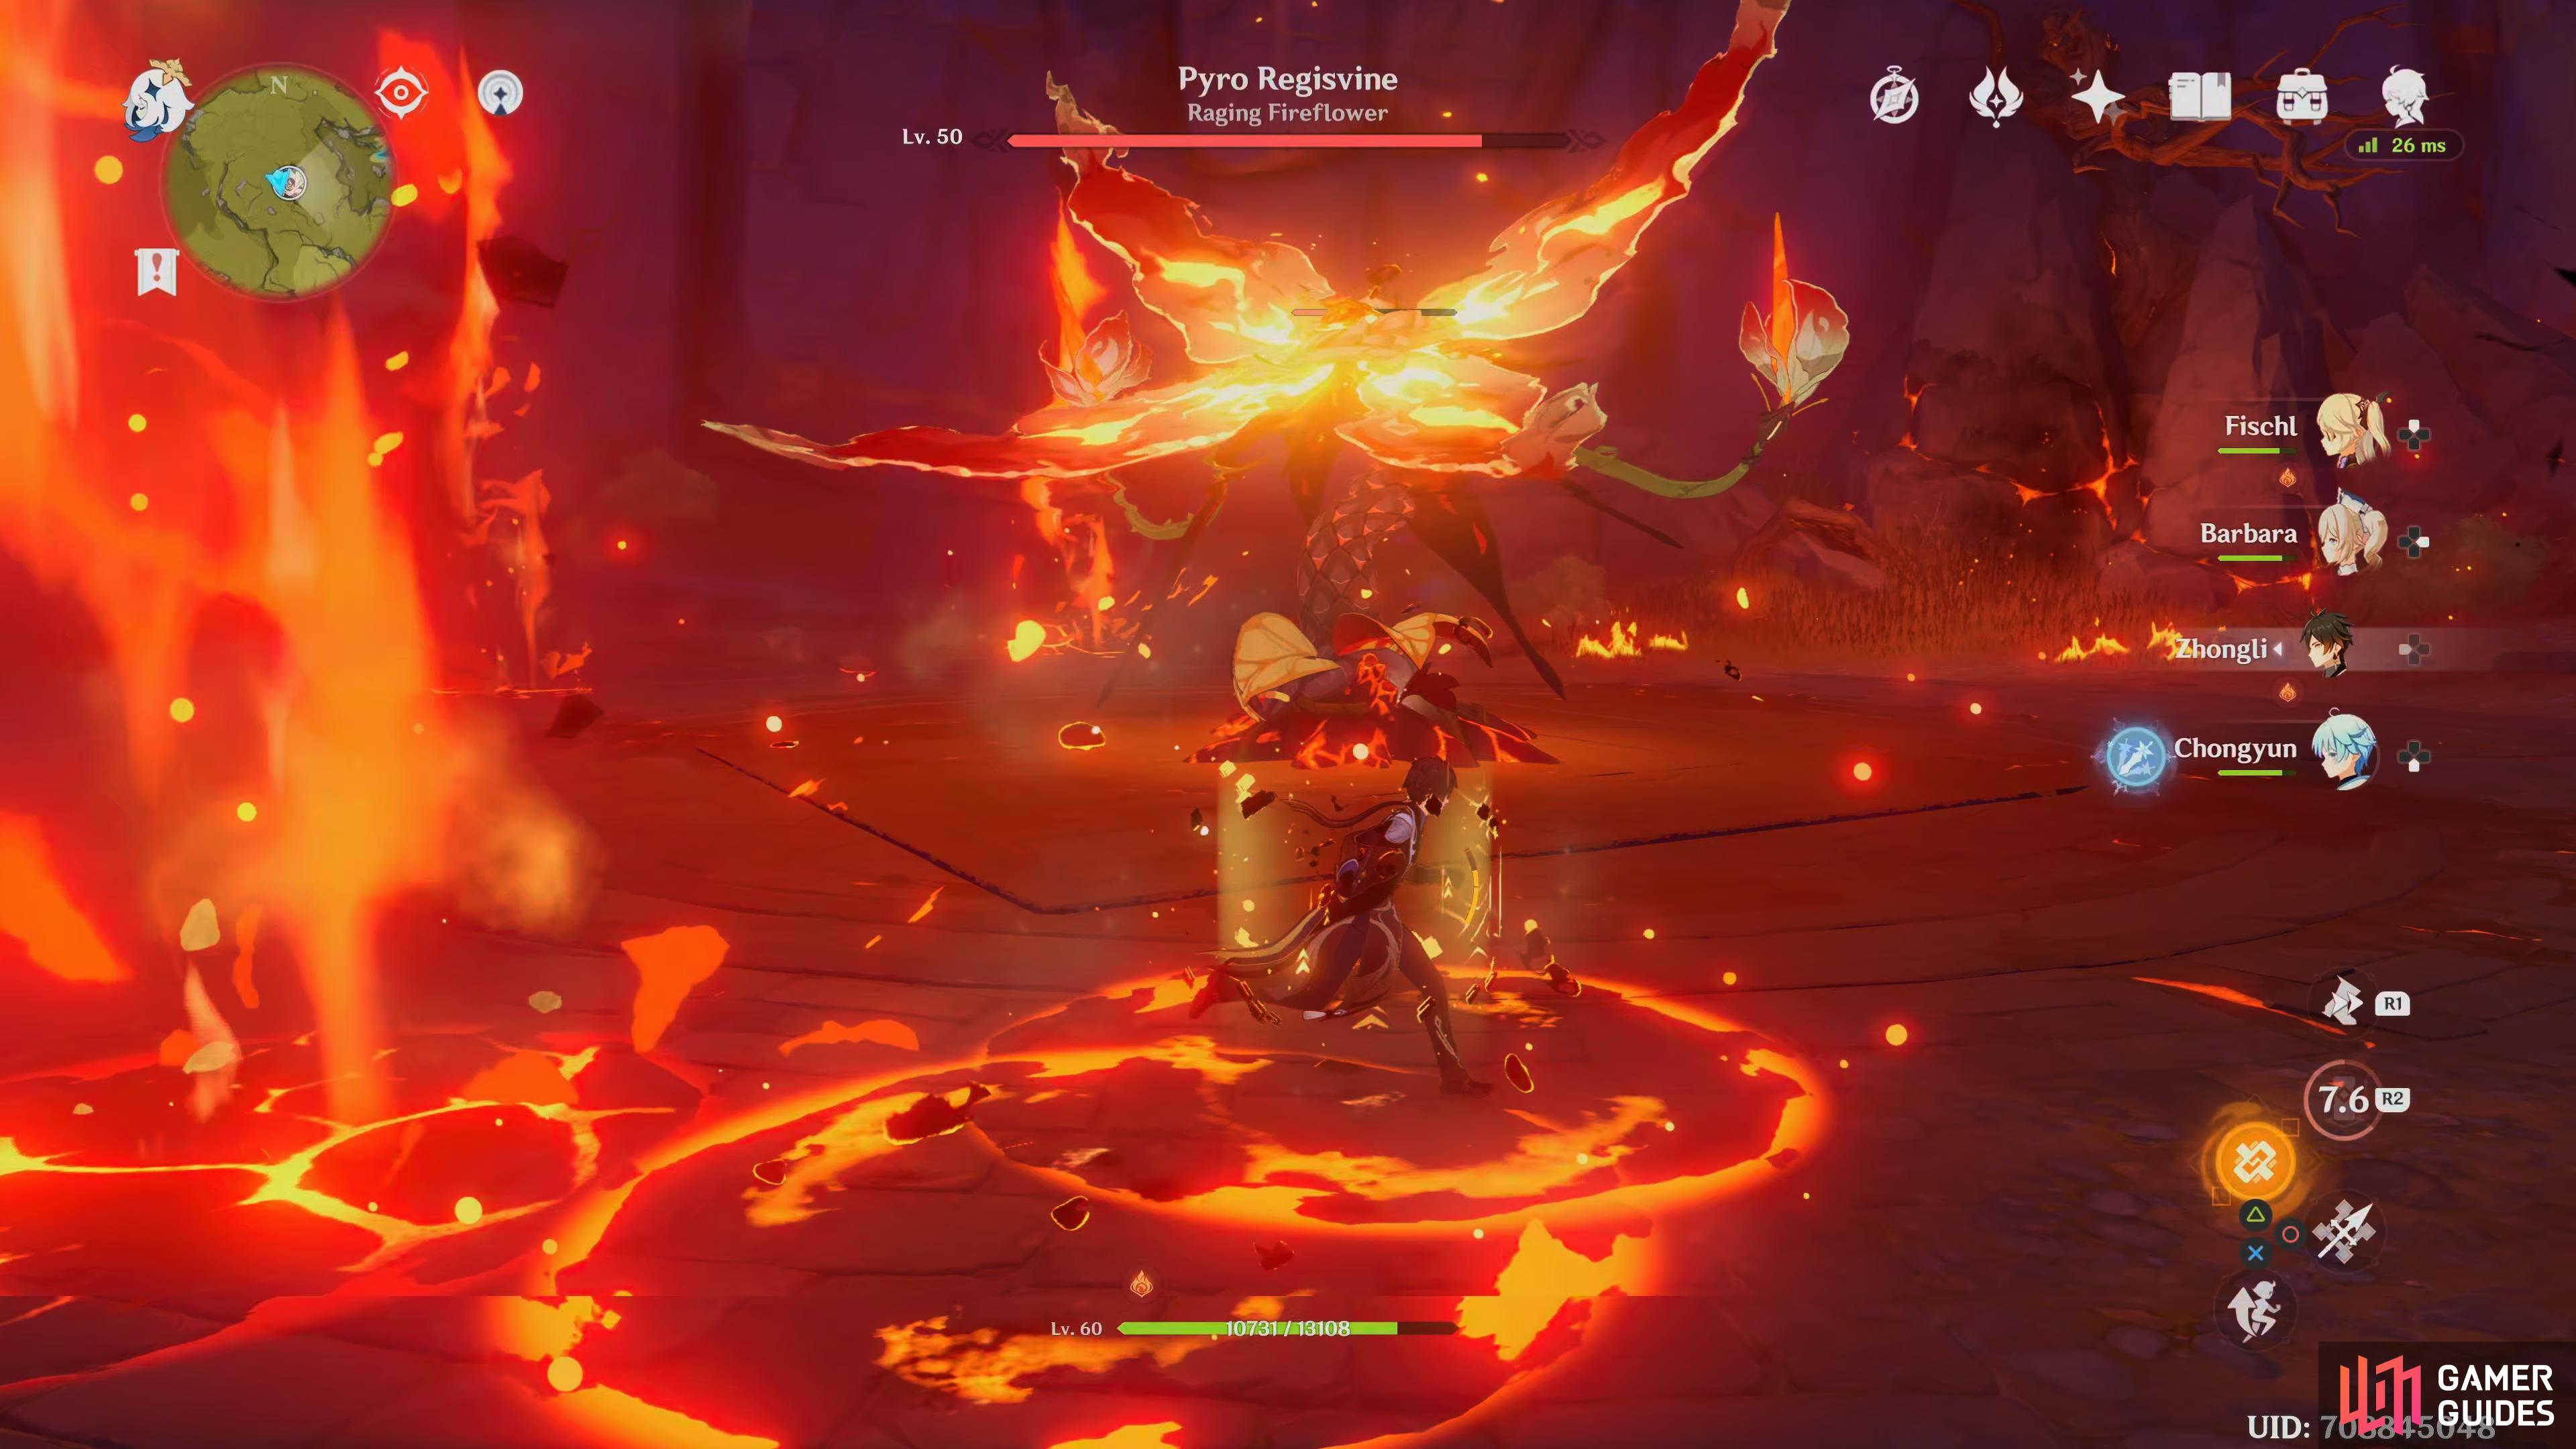
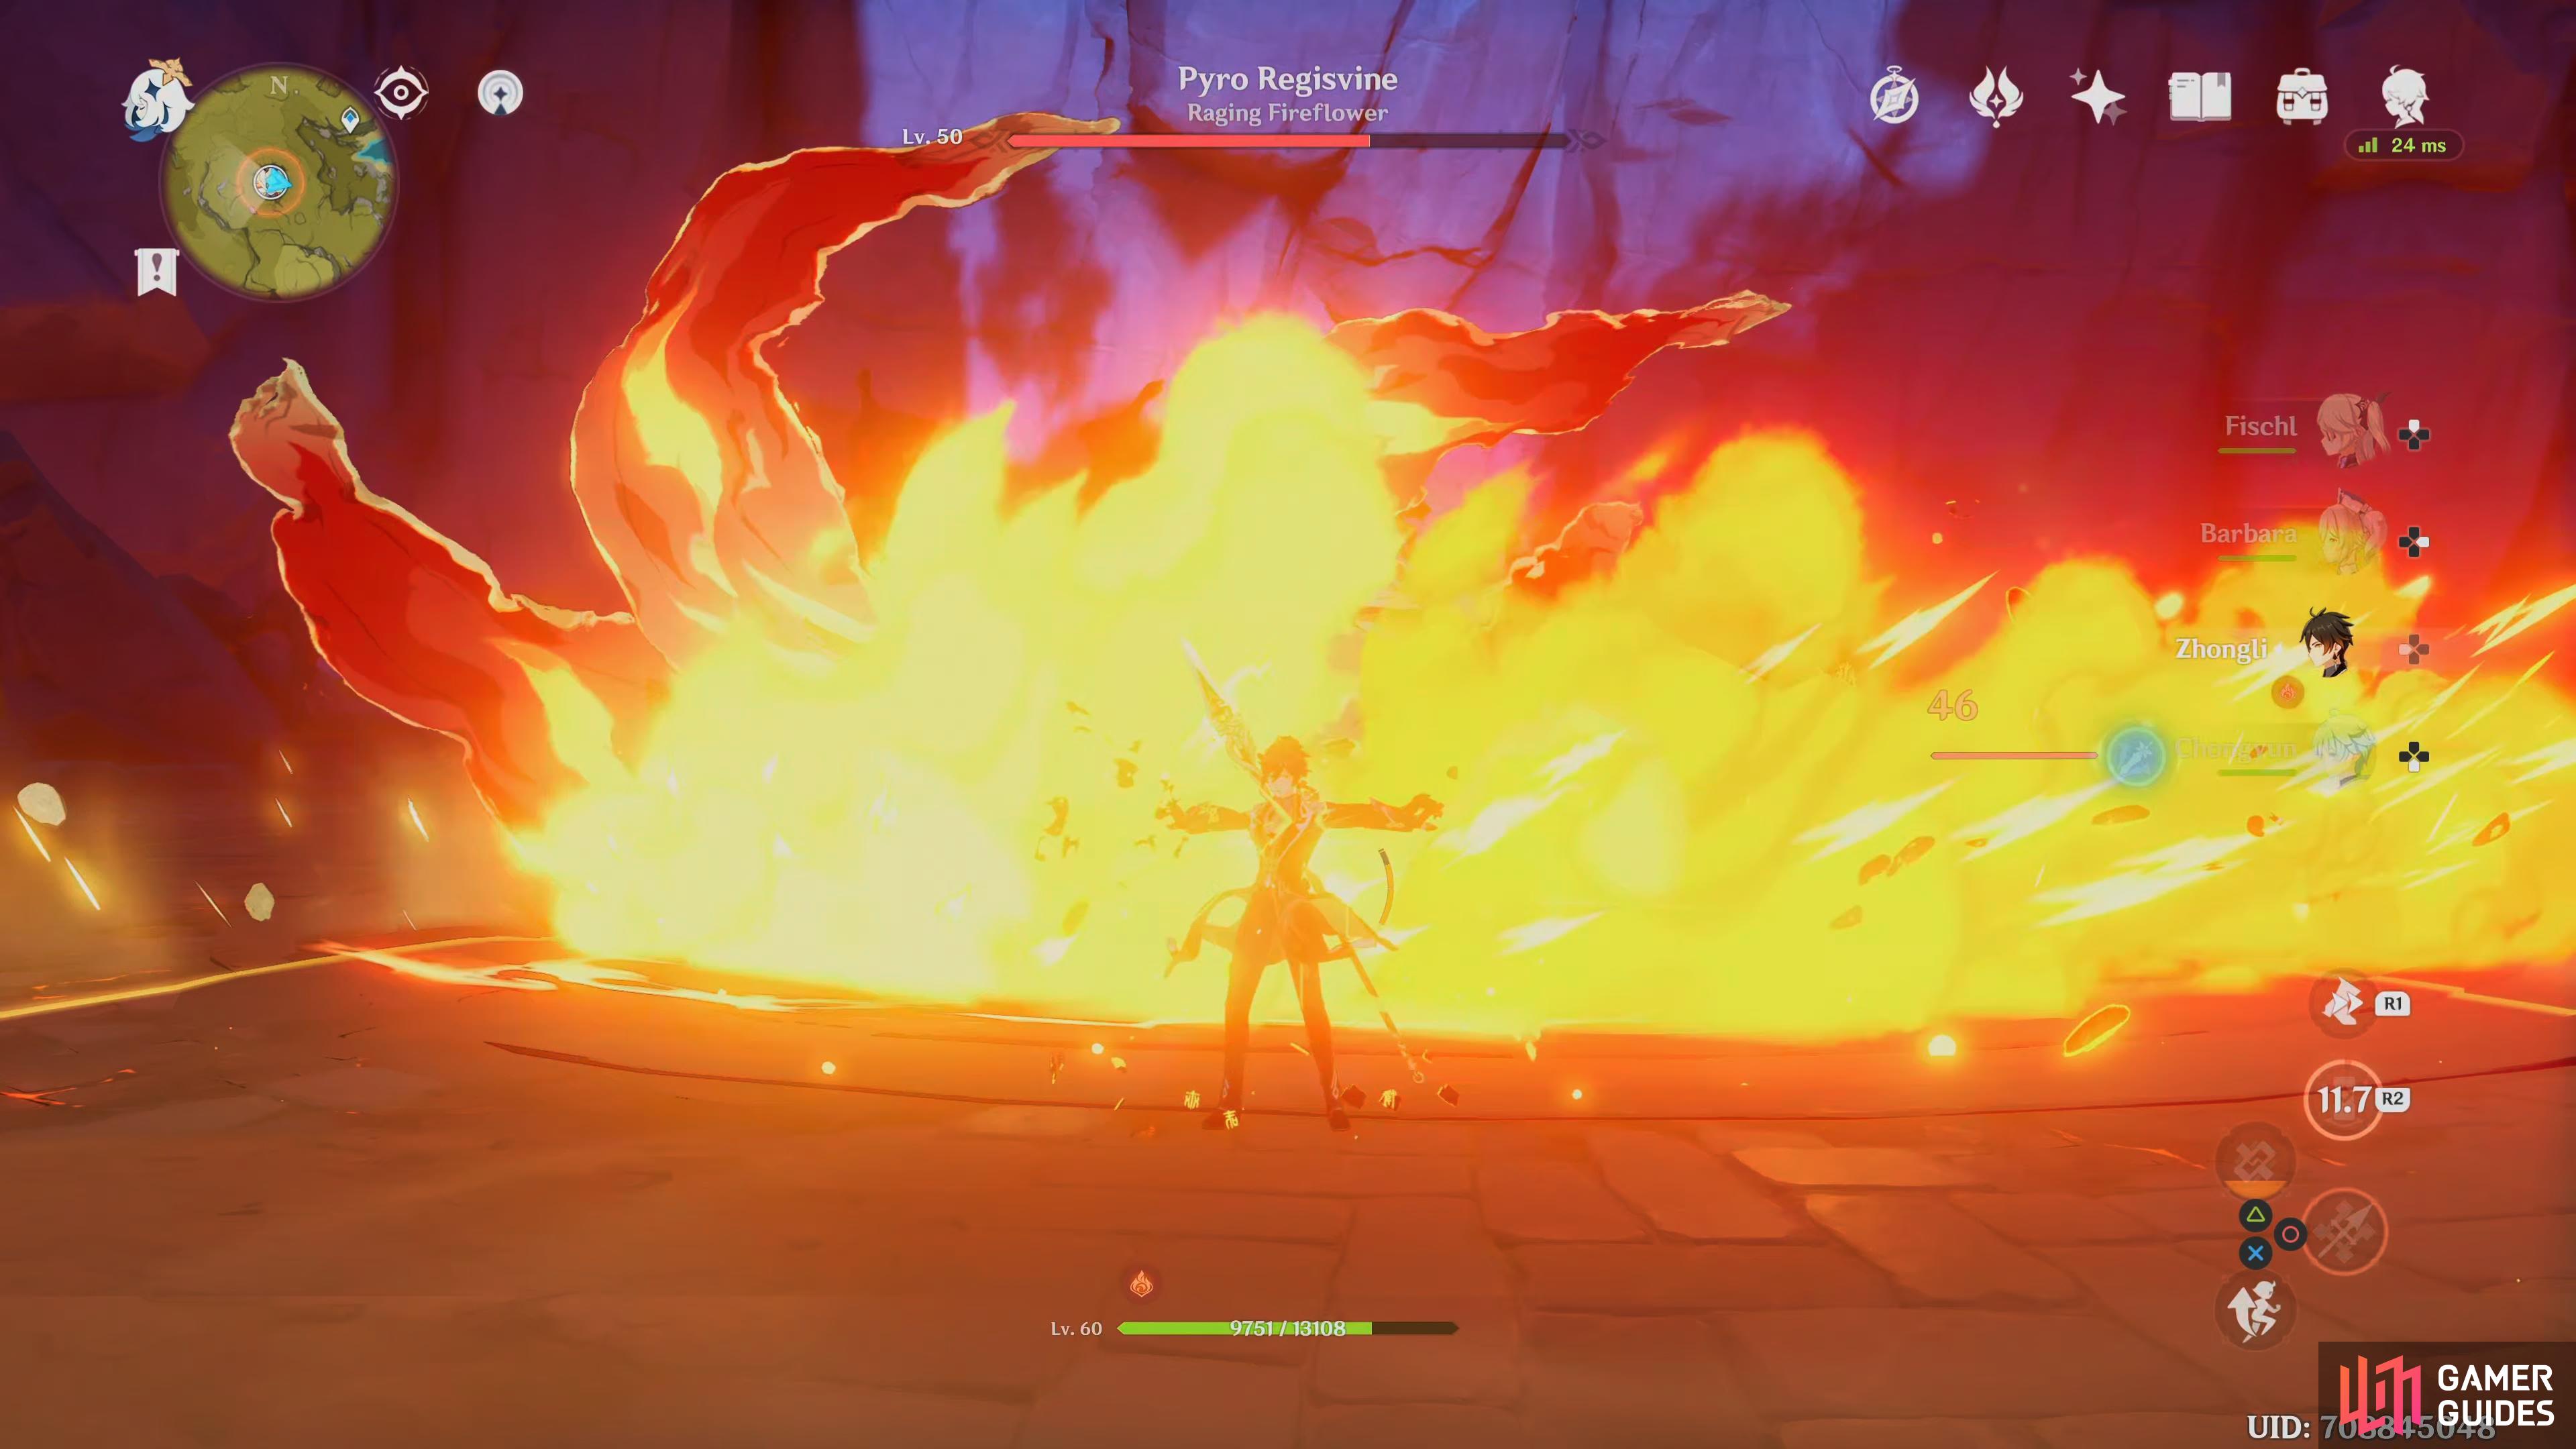
Eruption
Eruption is the most intensive part of the fight due to the constant barrage of explosions appearing underneath you, this is indicated by small circular AoE markers aiming slightly ahead of where you are currently running, avoid this by running in a small circle, dodging if it ends up right under you. Noelle or Zhongli can provide defense with their shields to negate some of this damage.
Slam Combo
The boss will launch two swipes at you, ending with a slam, avoid this by dodging backwards during the swipe and then to the side for the slam.
The Boss will do two horizontal swipe attacks and follow up with a slam, dodge away from it.
Strategy
Bringing along a party that has at least two Hydro users, one preferably being Tartaglia (or another Archer, Fischl will work) will make this battle a lot easier. Party members like Xingqui and Chongyun are great here whilst members like Noelle or Zhonglican provide defense with their shields, if you bring along a Healer, Barbara is extra useful here due to being a Hydro user.
The idea behind this battle is by destroying its shield which alternates between the Root and the Corolla, this will put the boss into the DPS Phase where all your damage will come from. Tartaglia (or another Archer, Fischl will work) is best used to take out the Corolla’s shield with their Charged Shots and your other Hydro or Cryo user should take out the Roots Shield.
At times throughout the fight, the boss will make certain parts of the surface Pyro, if you are on this, your health will start ticking down, so avoid this at all times.
Victory

Use the Original Resin to obtain your rewards.
Upon completion you must touch the Trounce Blossom and spend 60 Original Resin to claim the boss rewards. The drops consist of Artifacts and Character Ascension Materials. You’ll only have to wait five minutes to attempt the boss again or you can teleport to another location and back again for an instant respawn.
No Comments