
This is a walkthrough for the Archon Quest, End of the Line which is the fourth quest of the Interlude Chapter: Act 2 - Perilous Trail.
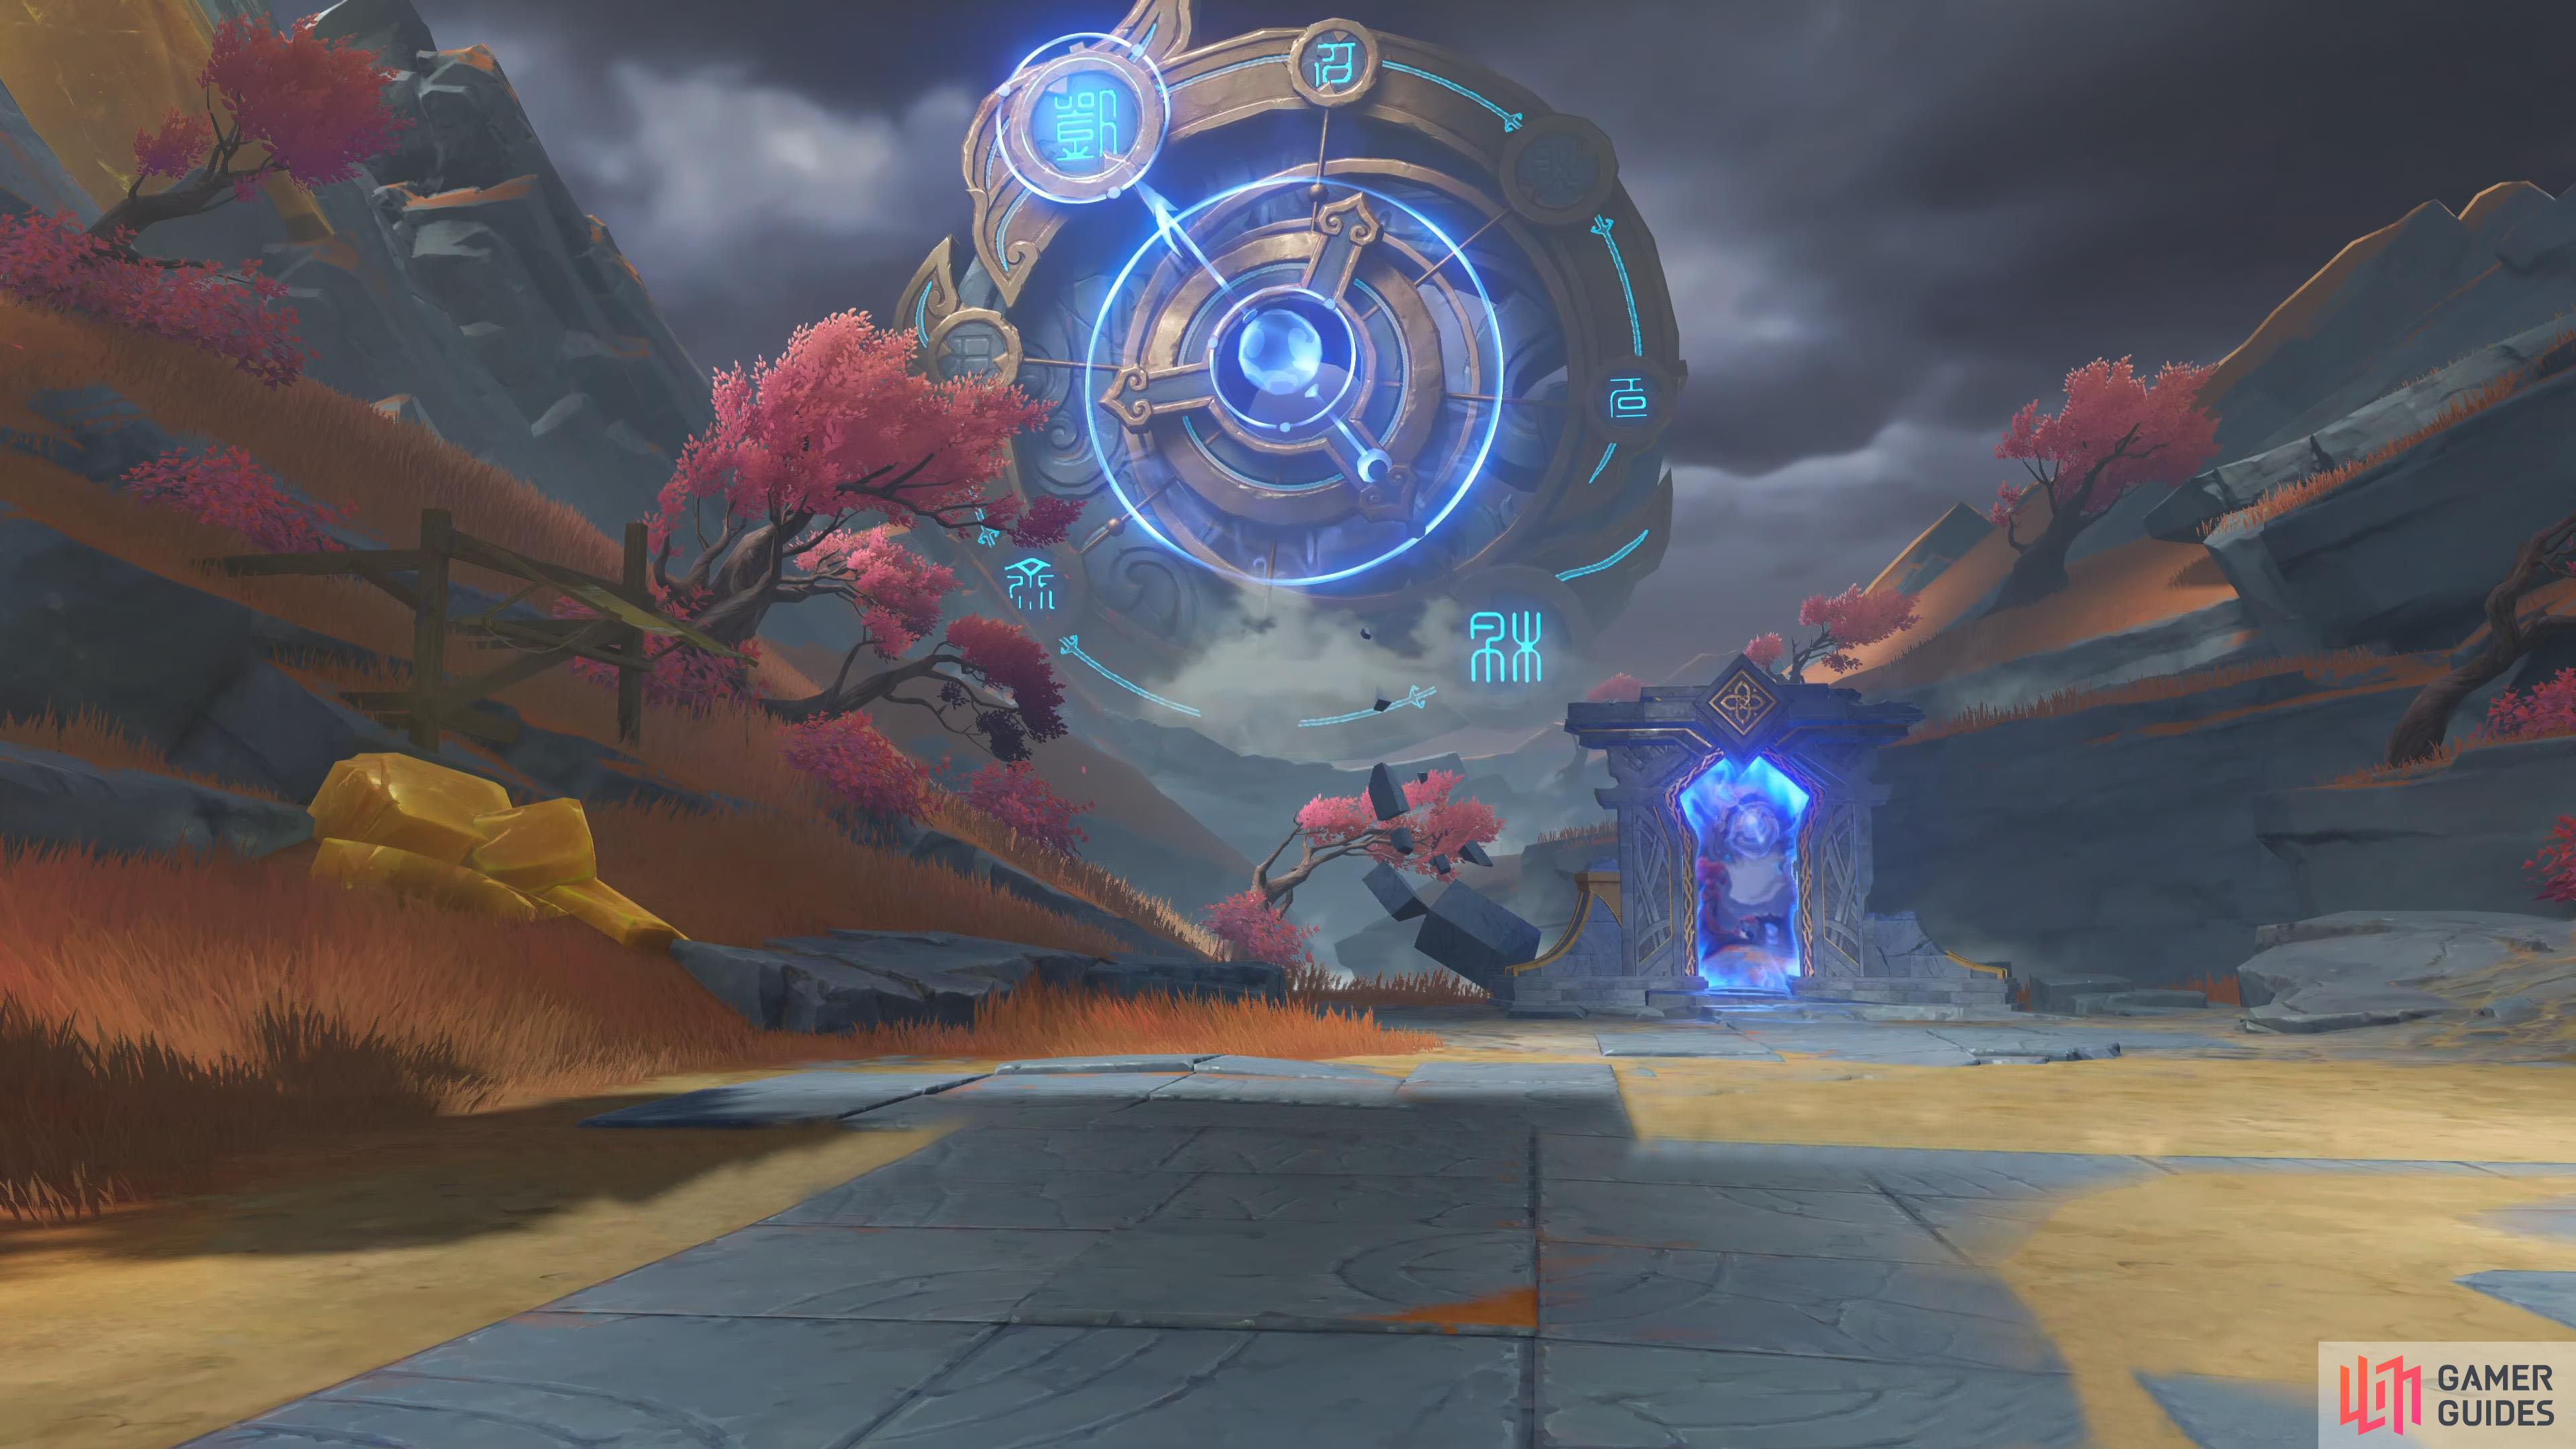
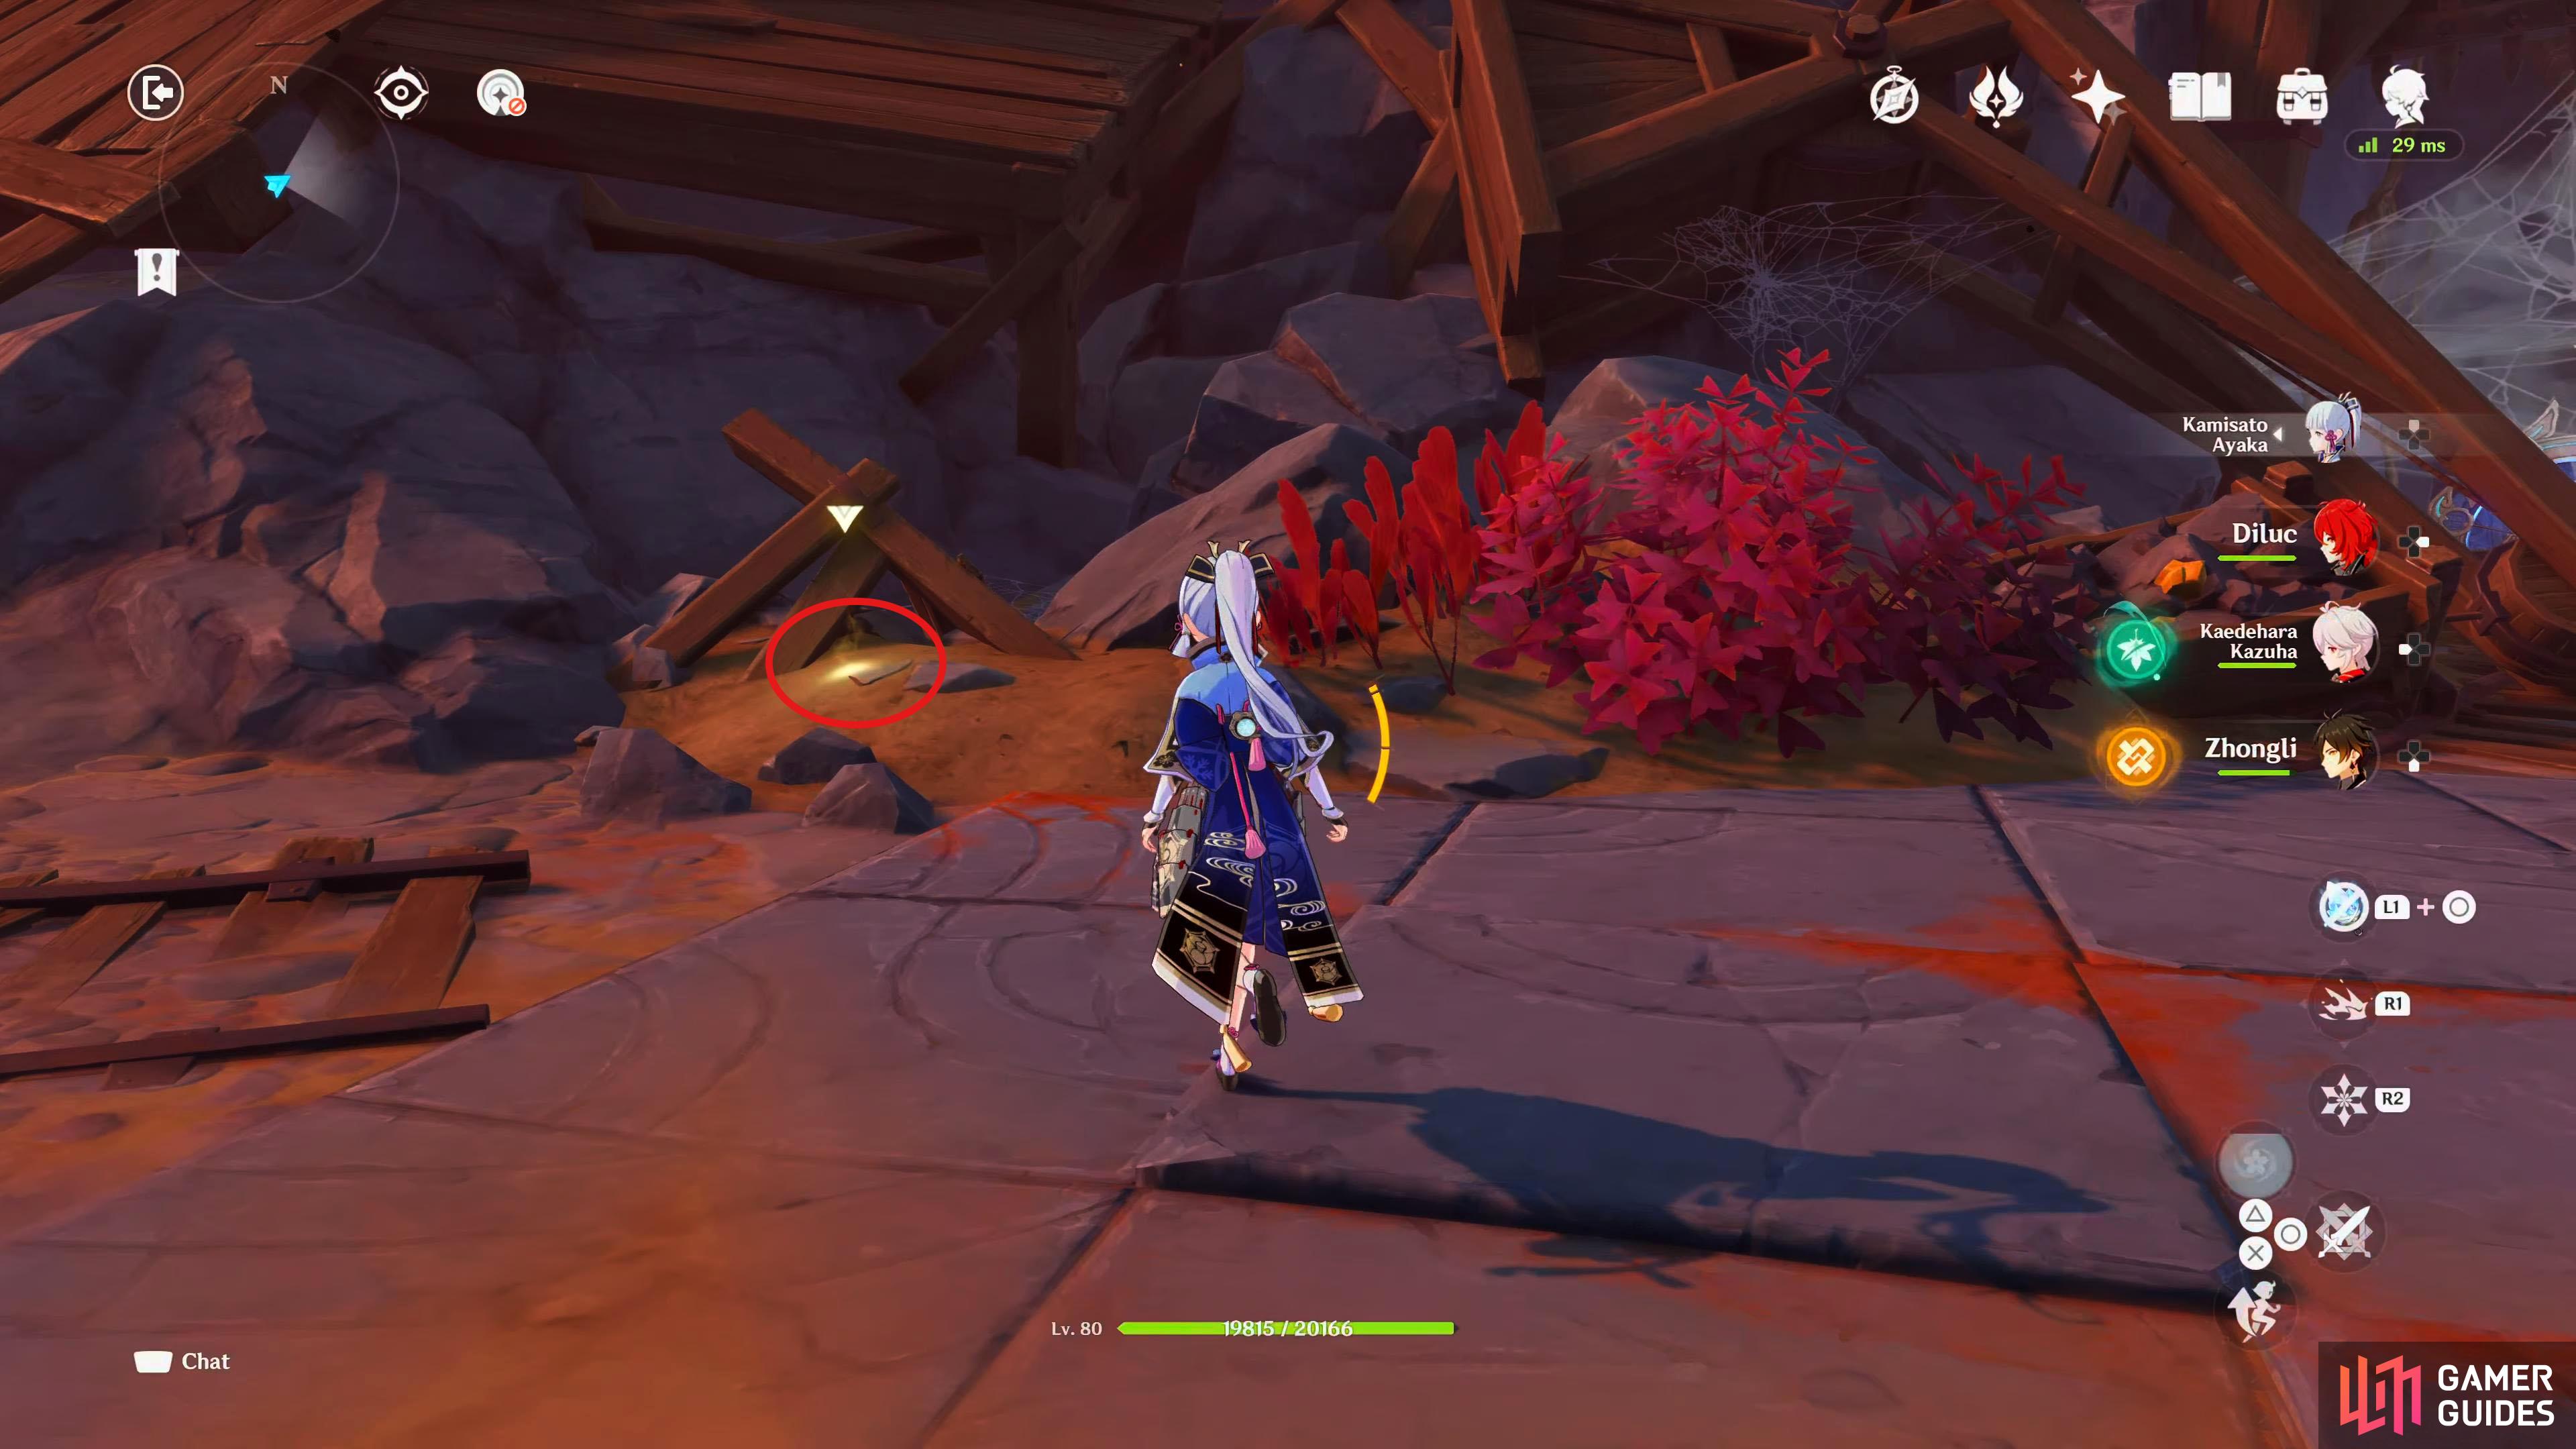
The fantastic compass looms in the background.
| Adventure EXP | Mora | Other Rewards | Previous Quest | Next Quests |
|---|---|---|---|---|
 1,325 1,325 |
 5 5  11 11 |
Danger All Around | At Tunnel’s End, Light |
Description
After rendezvousing with Xiao, you and the others go over the curious and unsettling things you have seen underground. Xiao comes up with a plan, which Yelan firmly opposes. In the heat of the moment, Itto makes a bold move to stop their argument. Now in front of the path that Itto has opened, people decide to calm down and explore ahead, trying to discover the truth of this place and find a way out…
Steps
- Talk to Paimon / Enter the new Domain
- Realm of Snaring Illusions Domain / Defeat opponents
- Find more clues in the space
- Defeat opponents
- Enter the new space
- Defeat Opponents
- Talk to Xiao
- Enter the new space
- Travel through the Abyss
- Leave the place you are in
Talk to Paimon / Enter the new Domain
This quest starts straight after Danger All Around. Head through the hole in the wall, and interact with the portal to enter another Domain.
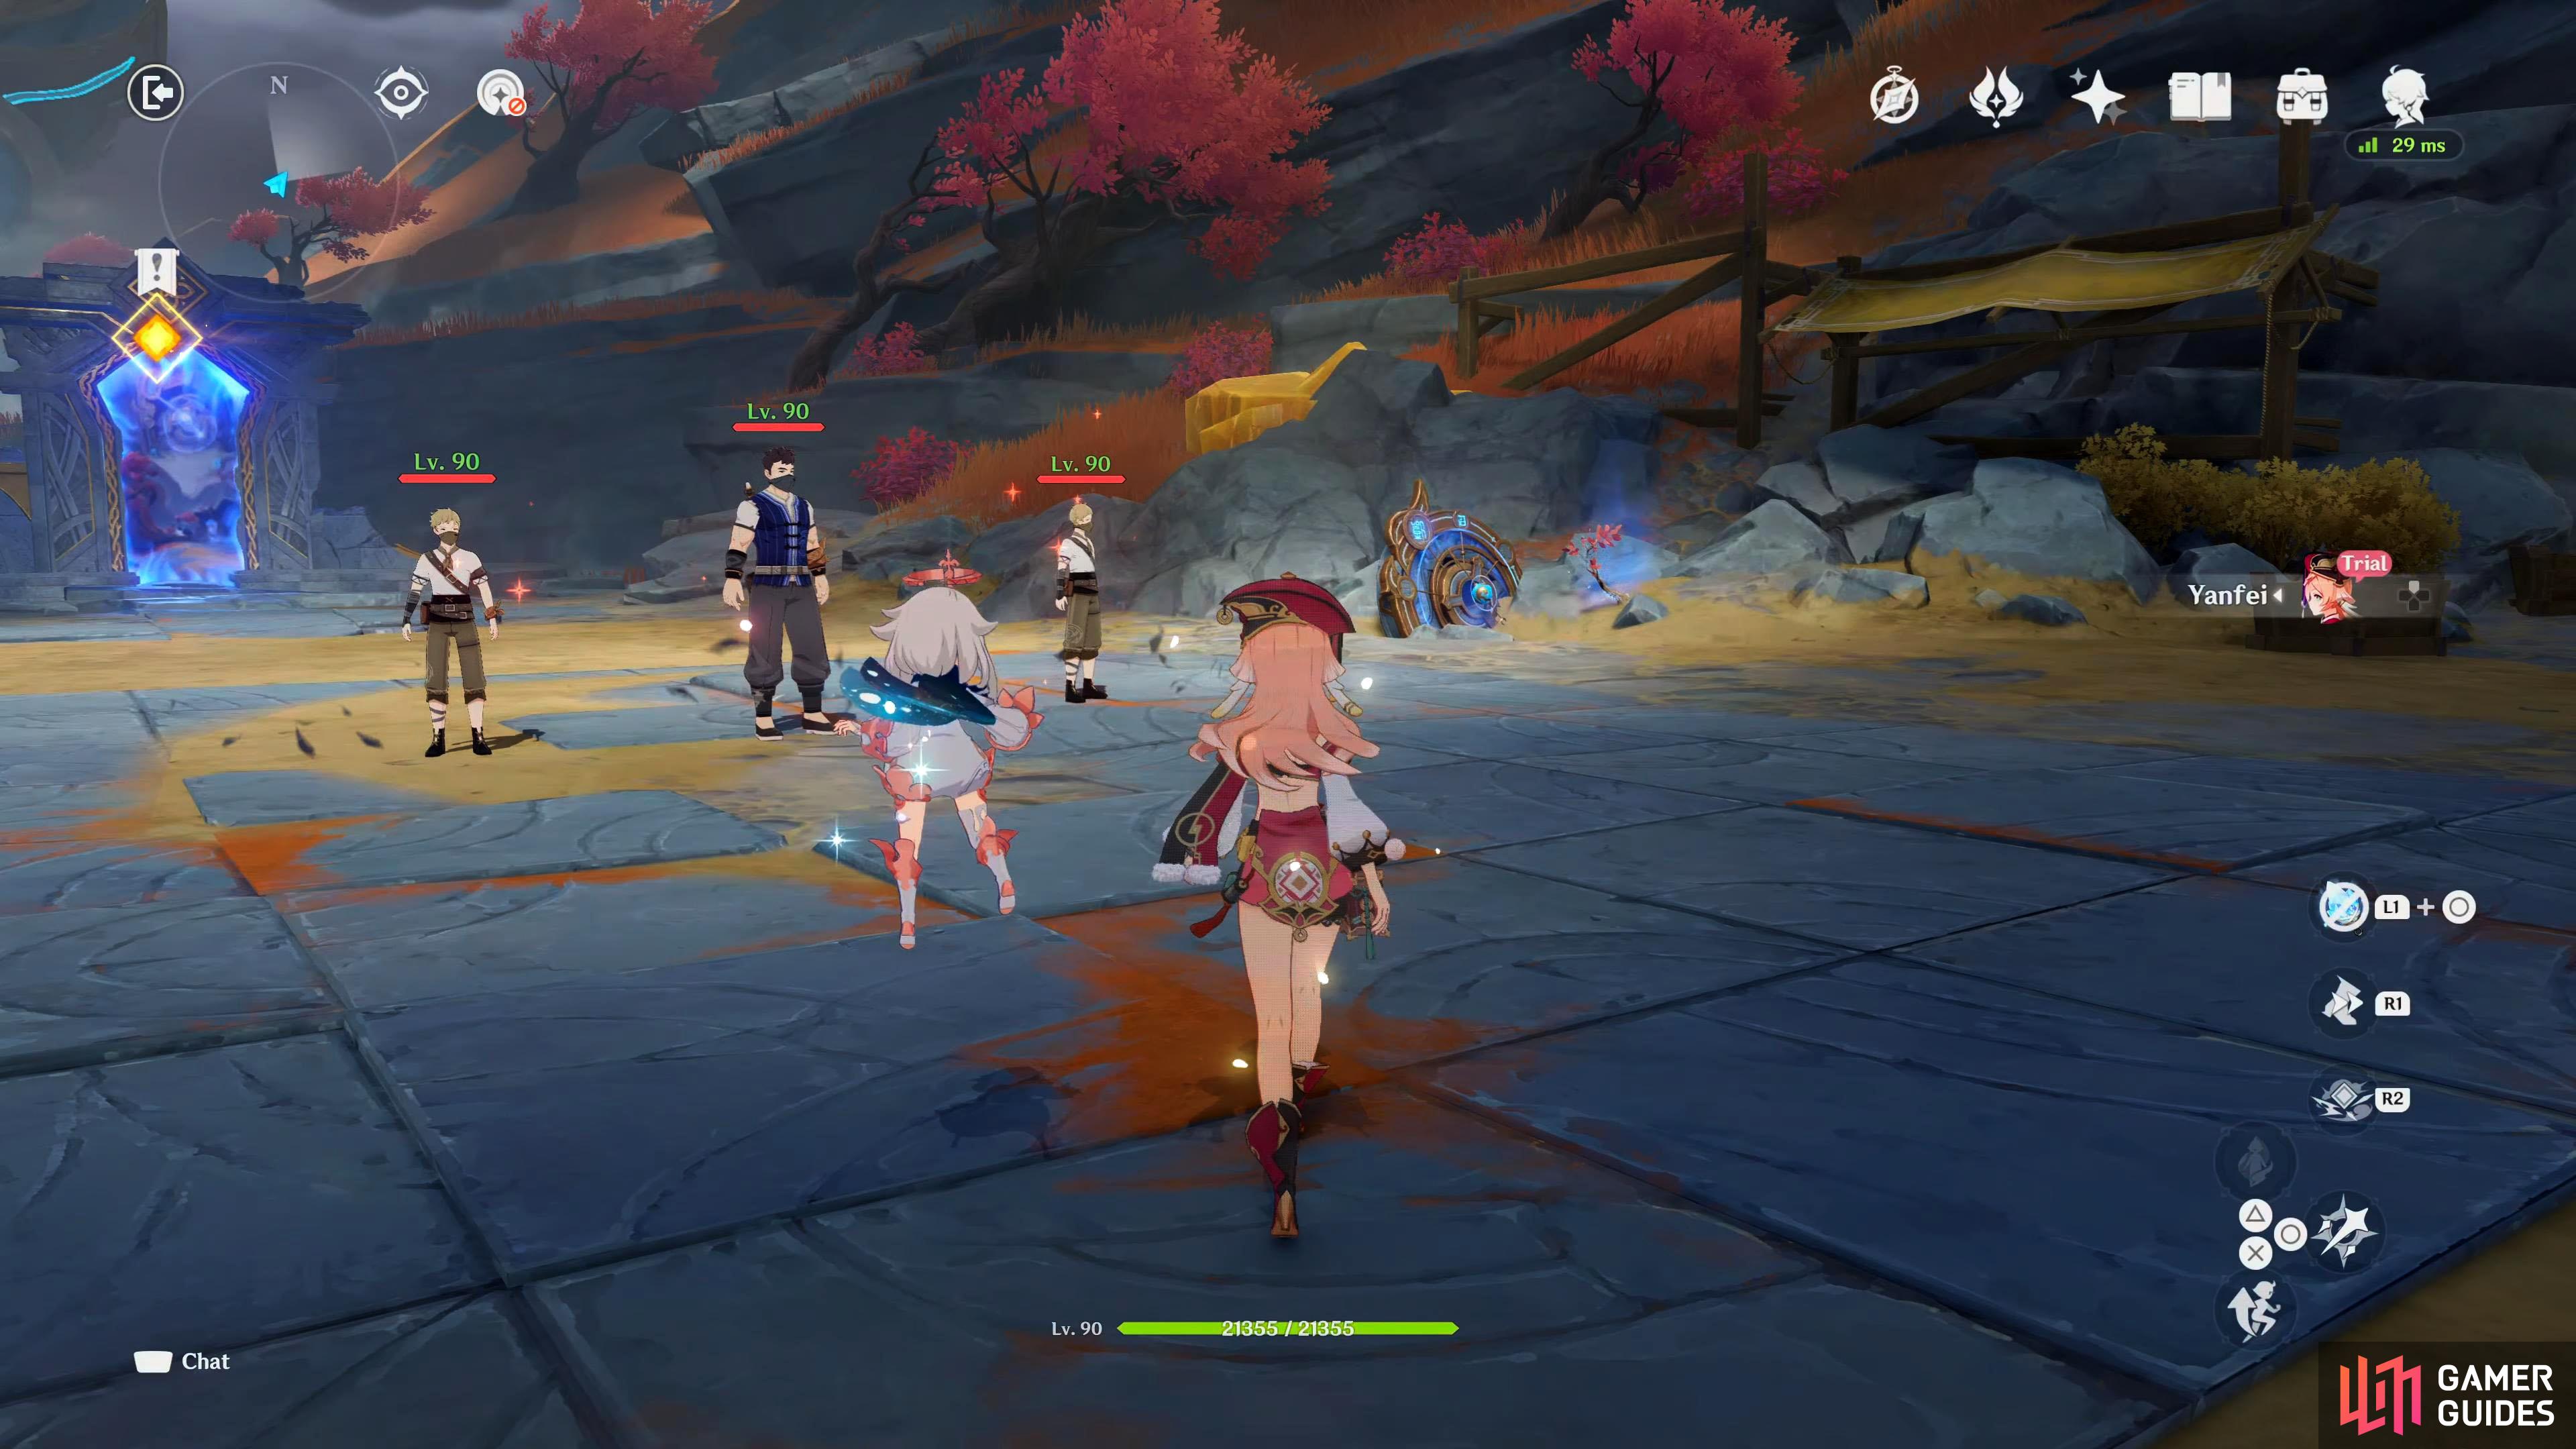
When you interact with the menu, you’ll have to choose your party. There isn’t anything too hard to worry about in here other than a few Treasure Hoarders so pick whoever you’re comfortable with.
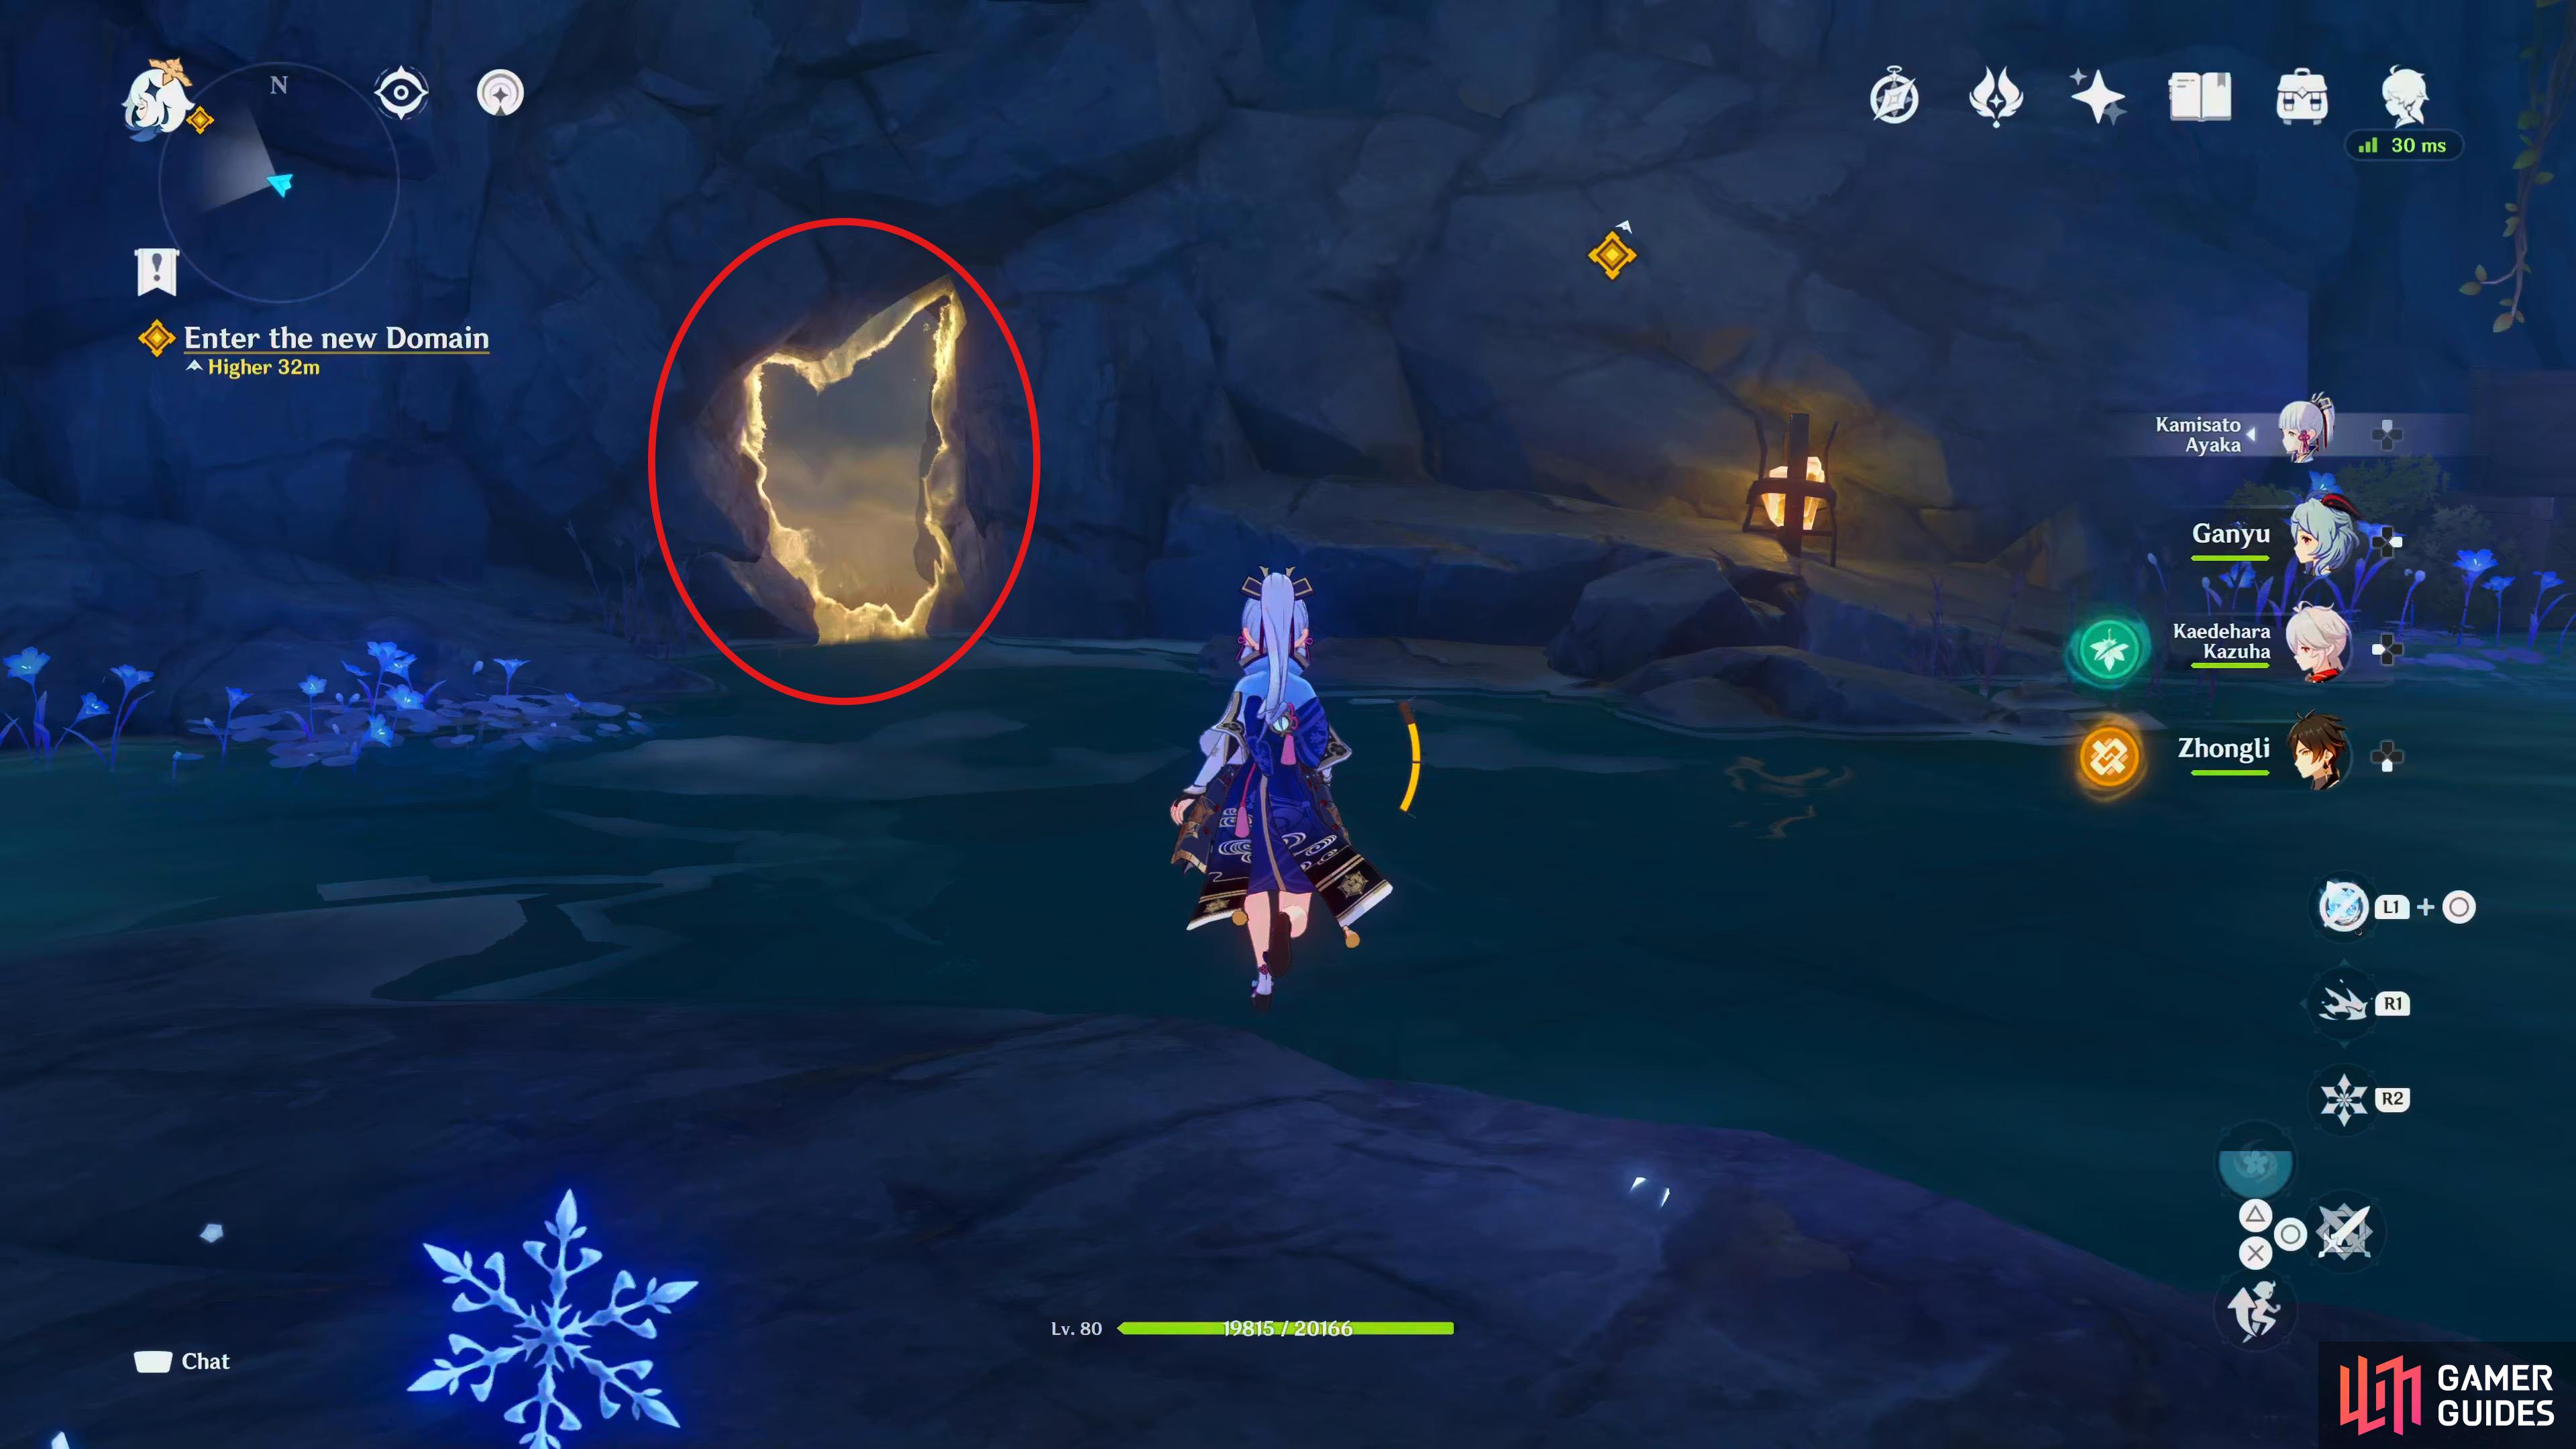
Go through the hole in the wall to access the Domain.
Realm of Snaring Illusions Domain / Defeat opponents
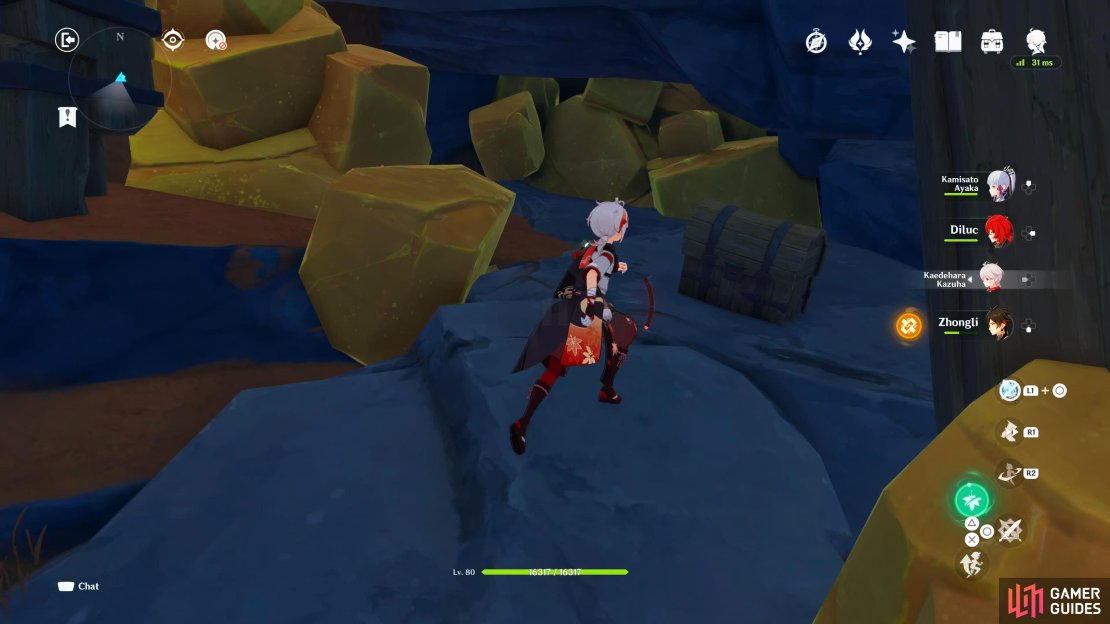
As soon as you enter the area, you’ll get a scene. It appears to be an area with a huge compass in the backdrop. Is this the Fantastic Compass that Yanfei was talking about earlier? As Yanfei is wondering how she could bring that huge contraption back with her, you’ll spot a smaller version of the compass buried in the ground with some Treasure Hoarders kneeling beside it. Yanfei will tell you that she bumped into these exact people a few days ago, so the space must be using her memories. The scene will end, and you’ll have to fight them.
Enemies
Wave 1
| Icon | Enemy | Icon | Enemy |
|---|---|---|---|
 2 2 |
Treasure Hoarders: Scout |  1 1 |
Treasure Hoarders: Crusher |
Yanfei’s memory has her fight Treasure Hoarders.
Wave 2
| Icon | Enemy | Icon | Enemy |
|---|---|---|---|
 2 2 |
Treasure Hoarders: Handyman | 1 |
Treasure Hoarders: Scout |
When the battle begins, you’ll find yourself playing as a trial version of Yanfei. If you’re not sure how to play her, you can find more about her here. There isn’t much to the battle other than there will be two waves of them. What you want to do is use her charged normal attacks, and her Elemental Skill: Guide to Afterlife to take down the first wave, and you should have her Elemental Burst: Done Deal available for the second wave.
Once they’re defeated, you’ll get a scene. Yanfei will explain how she came across them. She was working a big commercial case, and the defendant hired them to attack, thankfully she was trained in martial arts, and has no problems against them.
Find more clues in the space
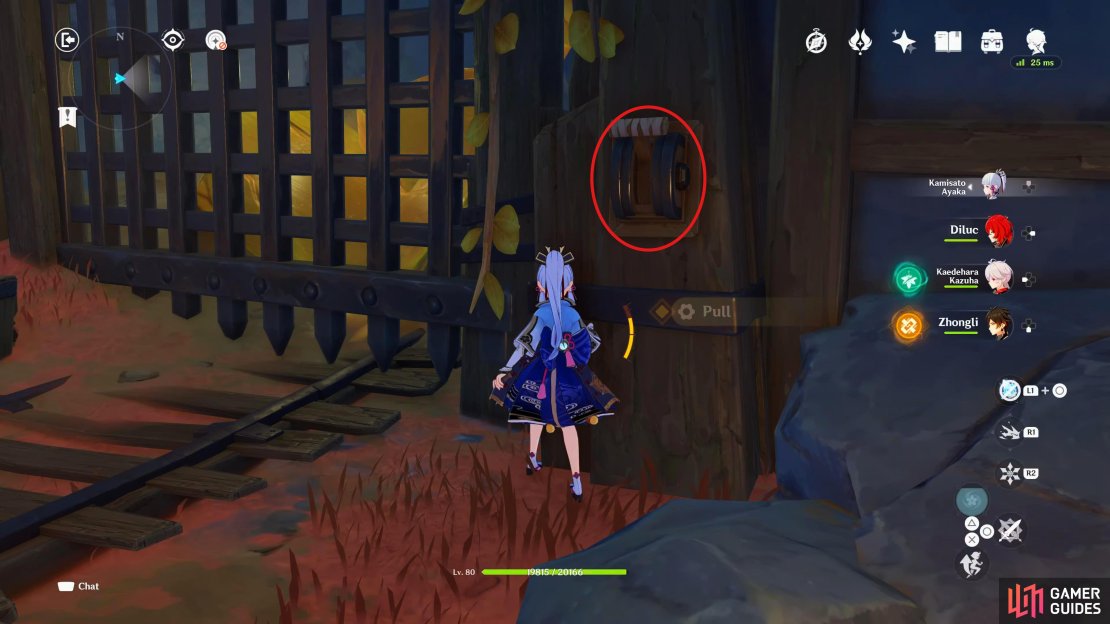
When you regain control, head east and pick up the Note of Unknown Origin: I. Now head over to the compass, and destroy the sapling to the right of it. If you want a Common Chest, destroy the rocks to the south by attacking the exploding barrels. A chest will appear here after you’ve used the compass. Talking of the compass, head back to it, and rotate the needle forward, then go through the doorway in the north.
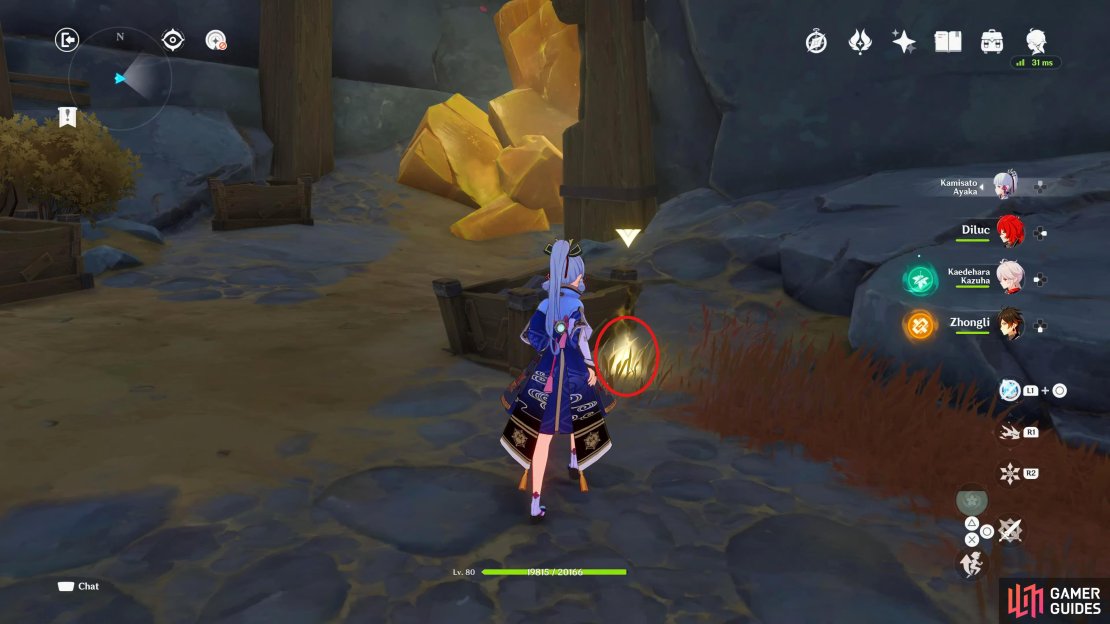

(1 of 3) The Note of Unknown Origin: I can be found to your east.
Defeat Opponents
It appears that the doorway is transporting you to a different space in a different time. When you go through the doorway, you’ll get a short scene. You’ll see some Fatui, and Yanfei will wonder whose memory this is. Just as she says this, Yelan will meet up with you. It seems that this is her memory. Now you’ll have another battle, but this time, you’ll be able to control Yelan alongside Yanfei. You can find out more how Yelan plays here.
Enemies
Wave 1
| Icon | Enemy | Icon | Enemy |
|---|---|---|---|
 1 1 |
Fatui Skirmisher: Cryogunner Legionnaire |  1 1 |
Fatui Skirmisher: Pyroslinger Bracer |
Wave 2
| Icon | Enemy |
|---|---|
 1 1 |
Fatui Pyro Agent |
The synergy of Yelan and Yanfei is quite nice. They’ll be able to deal some impressive vaporize damage which deals extra damage. Start the battle as Yelan, and hold in her Elemental Skill: Lingering Lifeline, running past all the enemies to tag them. After a short while, the skill will explode dealing Hydro damage to all marked targets. This will also put her in the “Breakthrough” state which makes her normal attacks charge quicker, and deal AoE damage. Instead of using her normal attacks though, switch to Yanfei, and use her Elemental Skill/Charged attacks to make use of that vaporize damage. Keep switching between the two doing the above, and the Fatui won’t last long.
Although this battle is from Yelan’s memory, Yanfei will be with you.
When the Fatui Pyro Agent appears, Yelan should have her Elemental Burst: Depth-Clarion Dice available. Use it, and this will deal AoE Hydro damage, then give you a die companion that’ll coordinate its attacks with you. The die will stay with you even if you change to Yanfei. As that is the case, switch over to her, and repeatedly use her normal attacks with a few charged attacks thrown in for good measure. This combined damage from Yanfei, and the die will be too much for the Pyro Agent to handle. When the battle ends, you’ll get a short scene, and Yelan will briefly explain how she knew these Fatui. Also, Yanfei will tell Yelan that the smaller compass has a connection to the larger compass.
Enter the new space
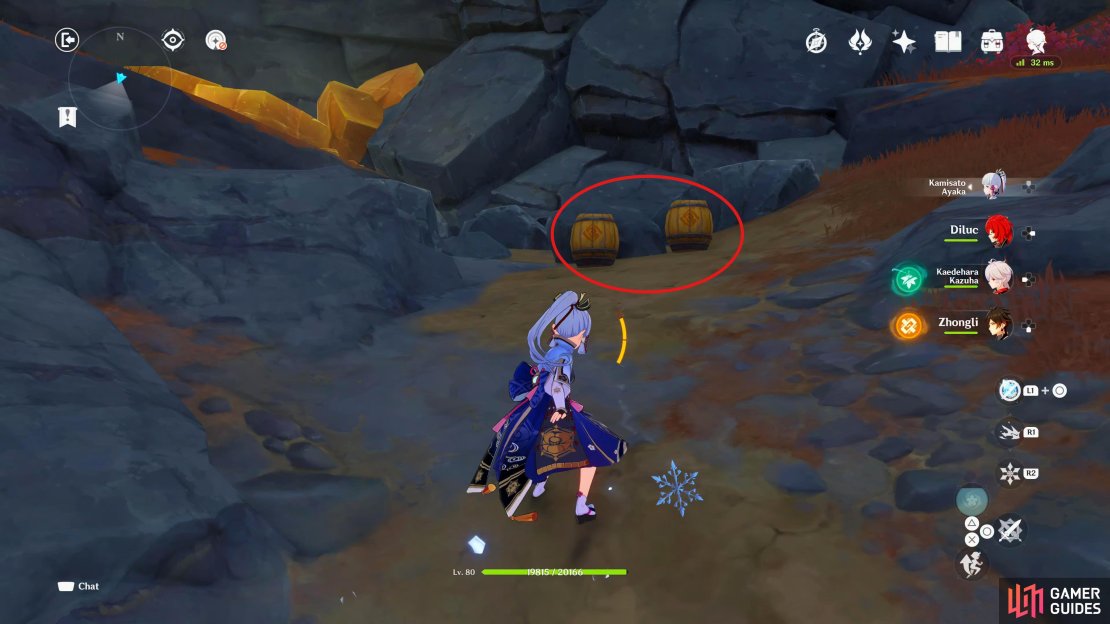
When you regain control, head east, and pick up the Note of Unknown Origin: II which is nestled behind the mine cart. Now head over to the compass, and rotate the needle forward. If the tree is blocking its path, rotate the needle back, and destroy the sapling, then rotate forward again. You can also open the Common Chest at the top of the ramp to the south if you destroyed the rocks earlier. Before you go, activate the lever in the southeast near the mine cart, this will open the gate which you’ll need access to later. When you’re ready, head through the doorway into a new space.
(1 of 3) The Note of Unknown Origin: II can be found behind the mine cart in the east.
Defeat Opponents
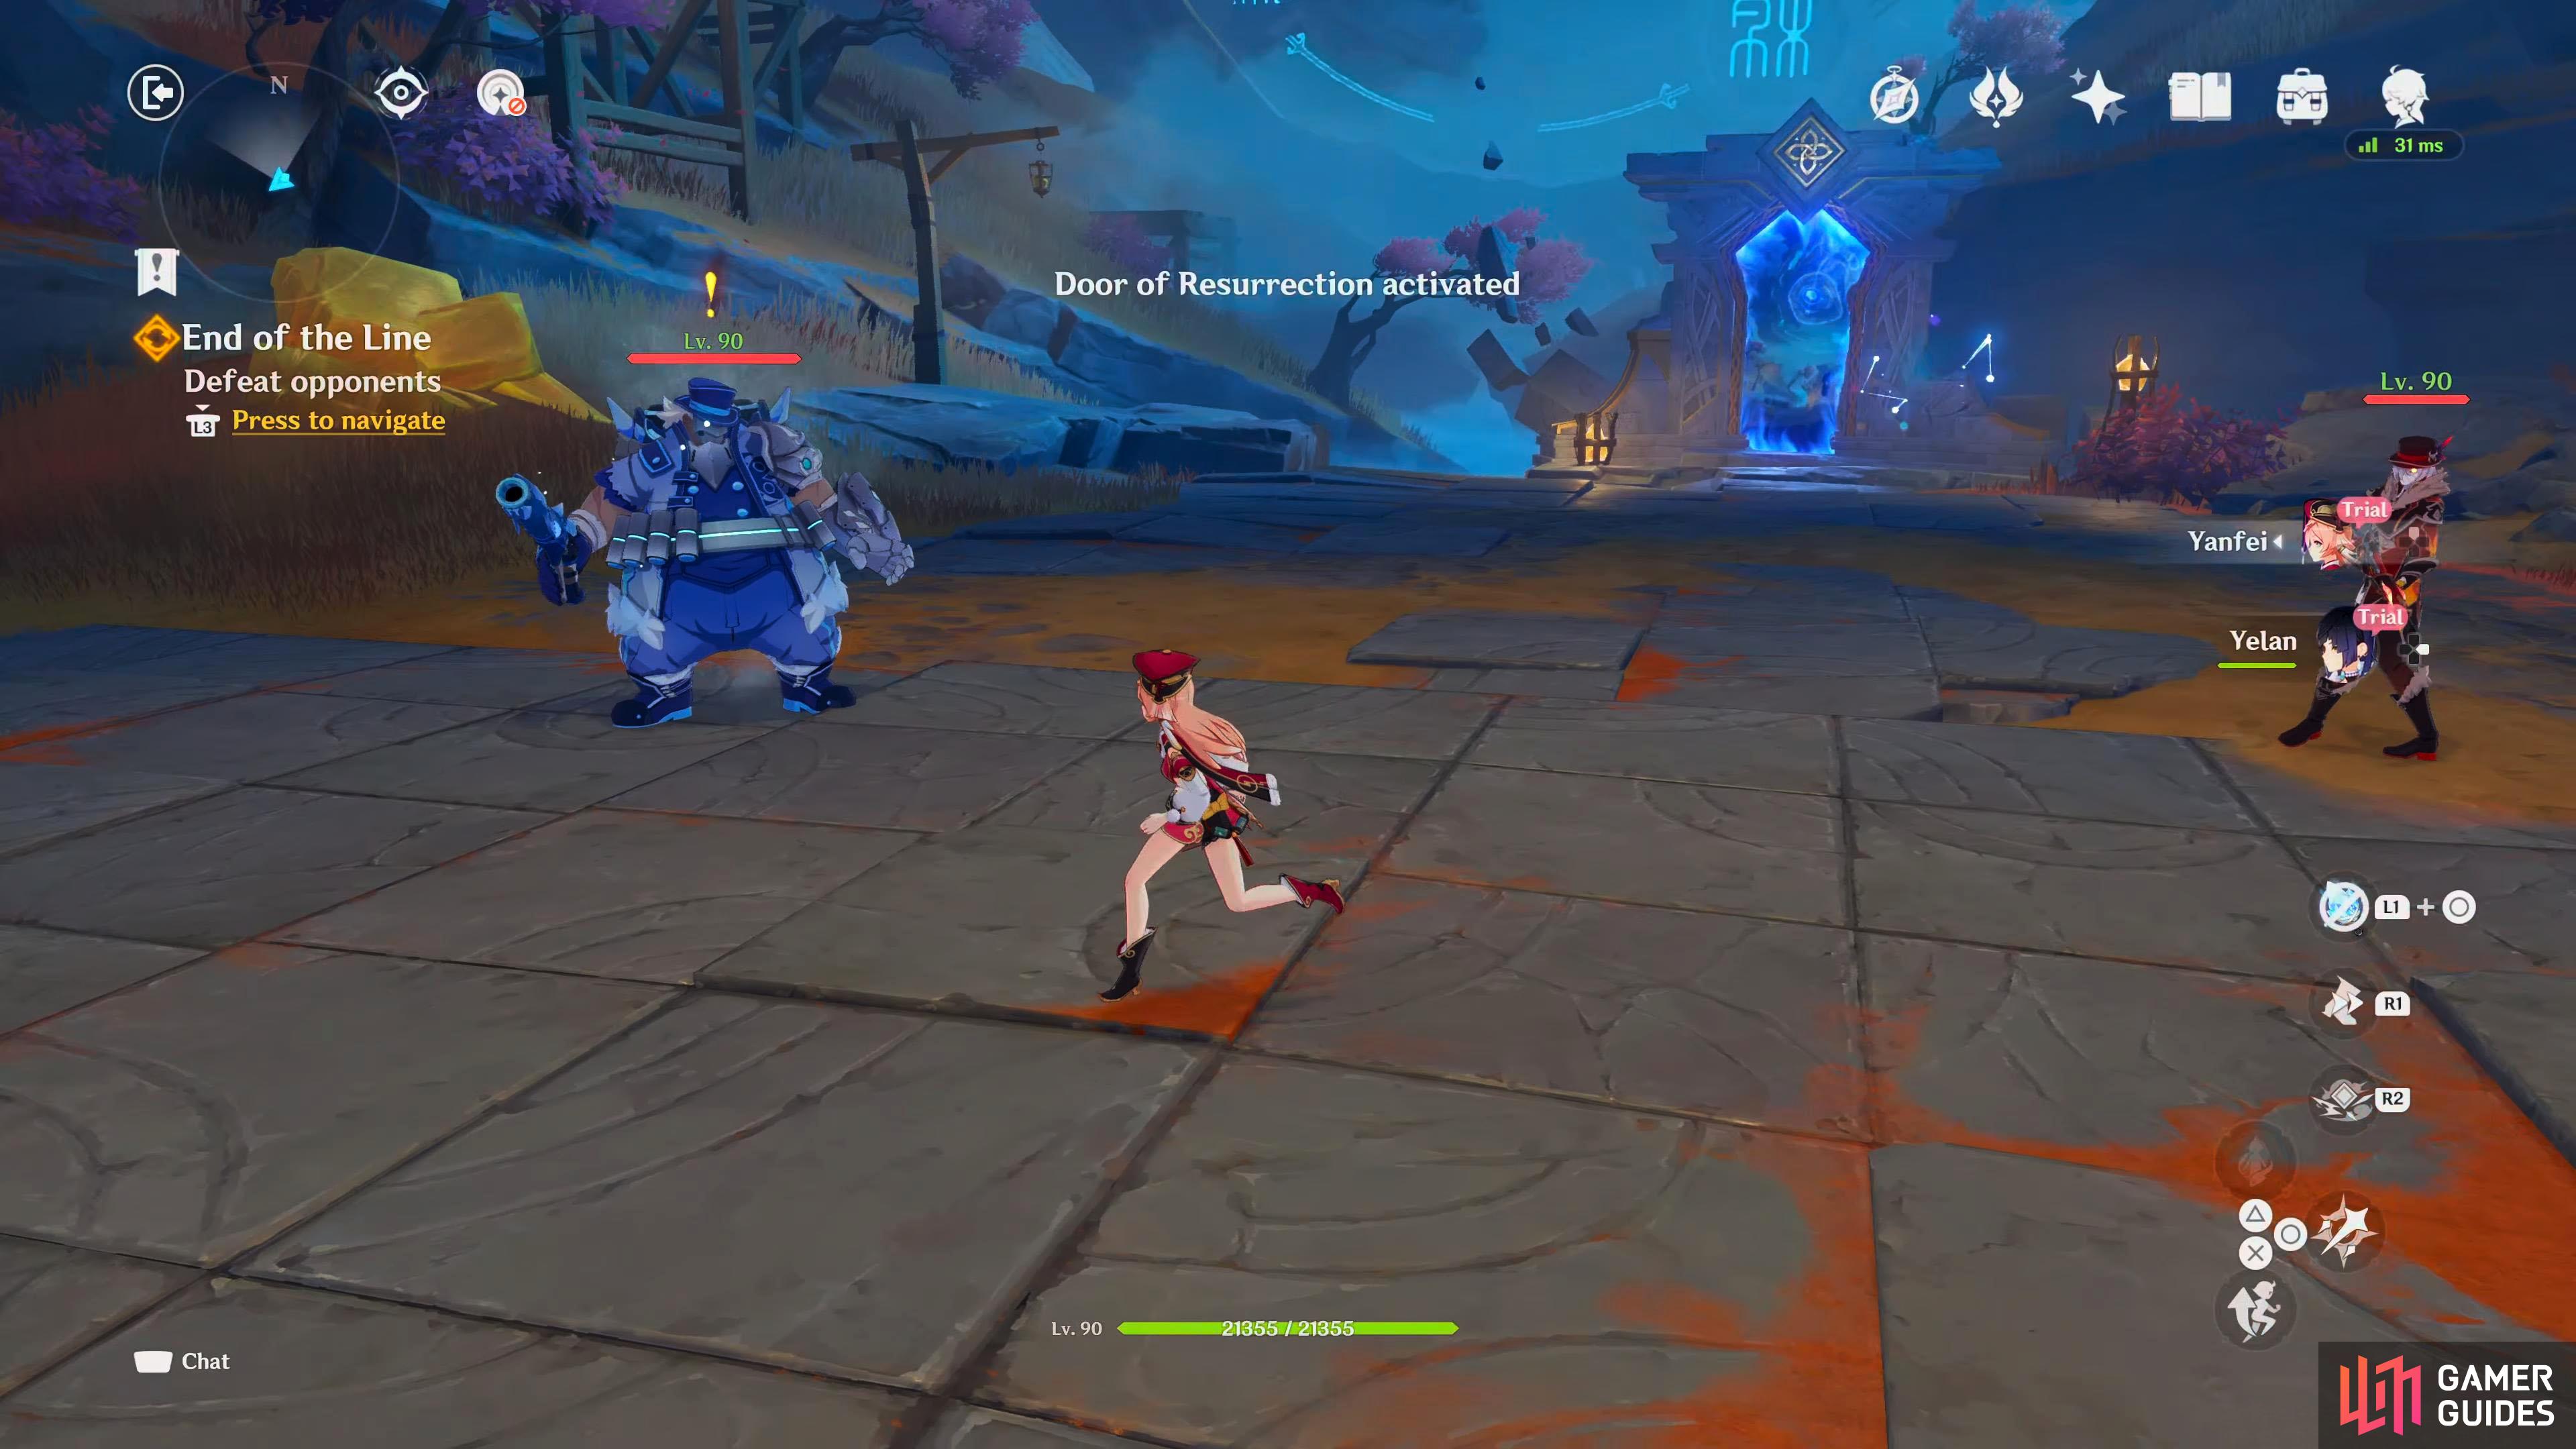
Once again, when you go into the new space, you’ll get another scene. This time you’ll see Xiao, and he is in the middle of a battle with the yaksha Bosacius. When you offer him your help, he’ll tell you that this is his fight. Now you’ll have a battle playing as Xiao. If you want to know more about his skills you can find this here.
Enemies
| Icon | Enemy |
|---|---|
 1 1 |
Bosacius’ Illusion |
This isn’t a normal fight as Bosacius doesn’t have a health bar. What you want to do is avoid its hand attack which travels across the screen, and then attack its illusion until it disappears. The hand attacks are easier enough to avoid as they telegraph what path they are going to travel in with a purple line, and all you have to do is stand between the lines to avoid the attack. After a couple of attacks on the illusion, Yanfei will tell you that Bosacius is showing signs of fatigue. Attack the illusion a few more times, and you’ll defeat it.
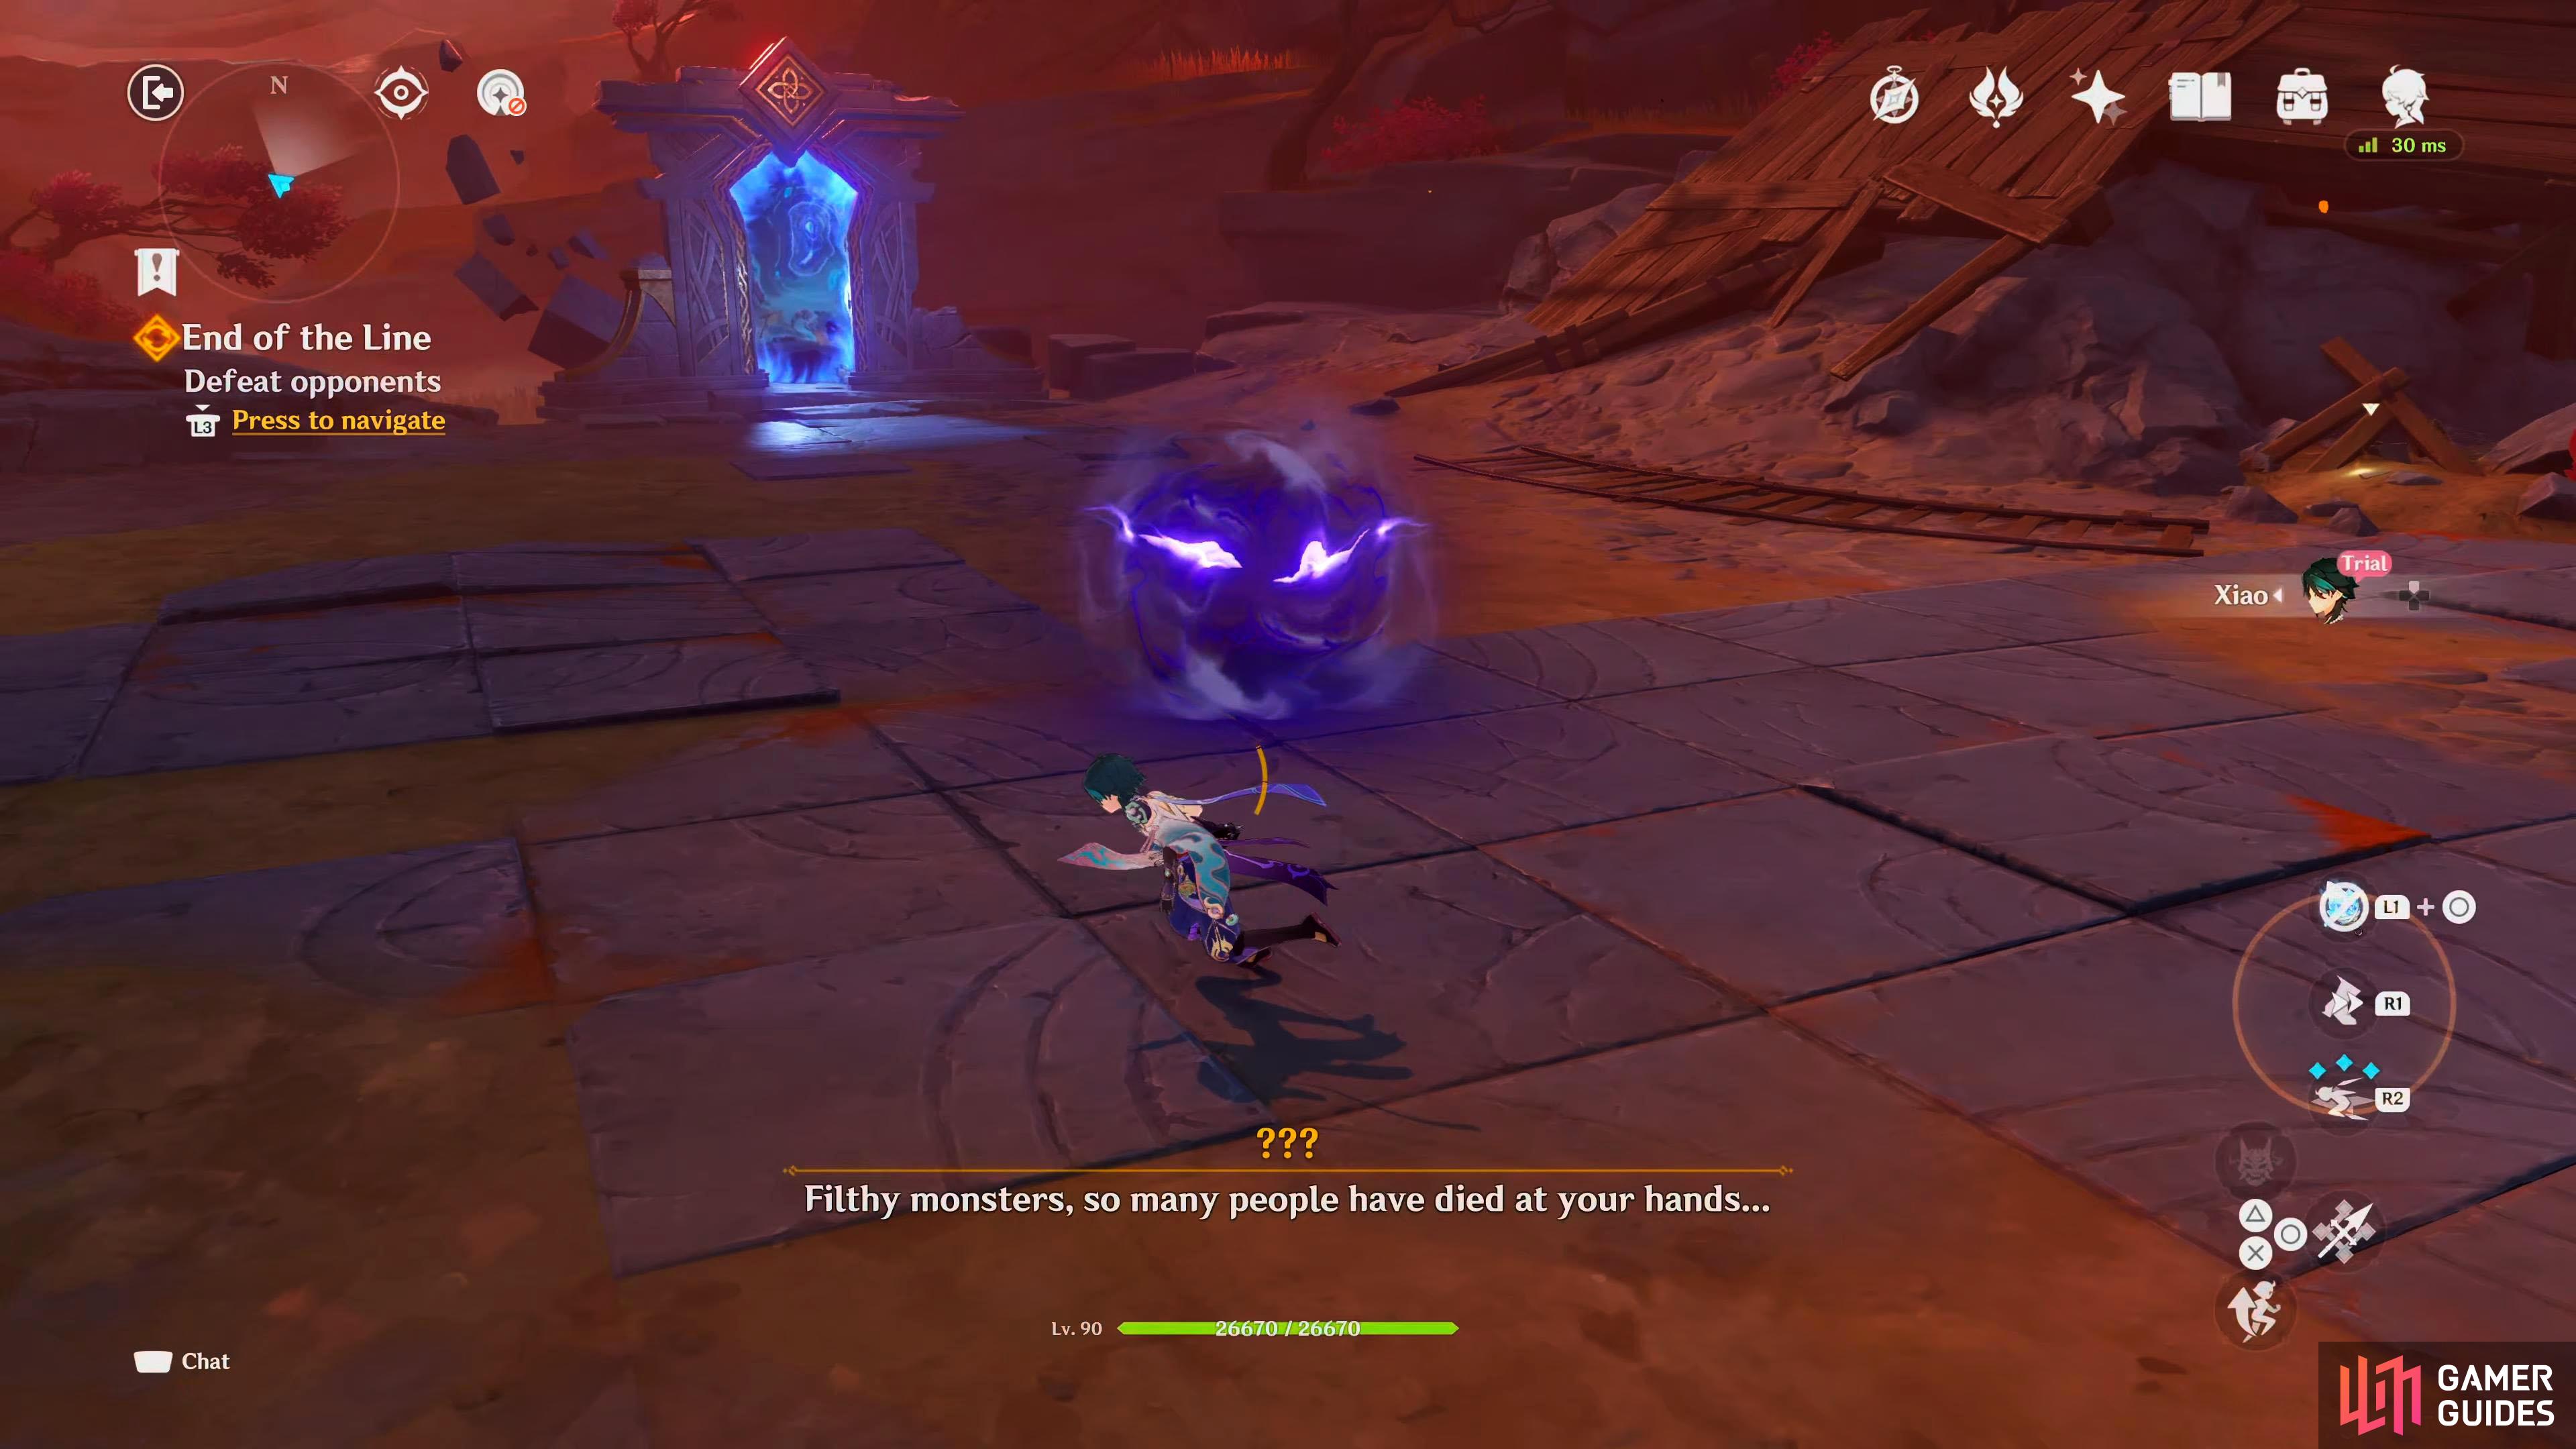
Xiao has a one on one fight with Bosacius’ illusion.
Talk to Xiao
Once it’s defeated, you’ll get another short scene, and Xiao will be in a bit of pain before he banishes the phantom away. The party comes rushing to his aid, and Paimon will ask if he’s ok. He’ll tell you not to worry about him. You’ll all talk about Bosacius for a bit, and you’ll deduce that the Karma that Xiao spoke of earlier drove it insane, although Xiao thinks the slaughter 500 years ago drew him in. Yanfei will notice that she’s starting to feel more tired, and Yelan mentions how the space is really starting to affect you all.
Enter the new space
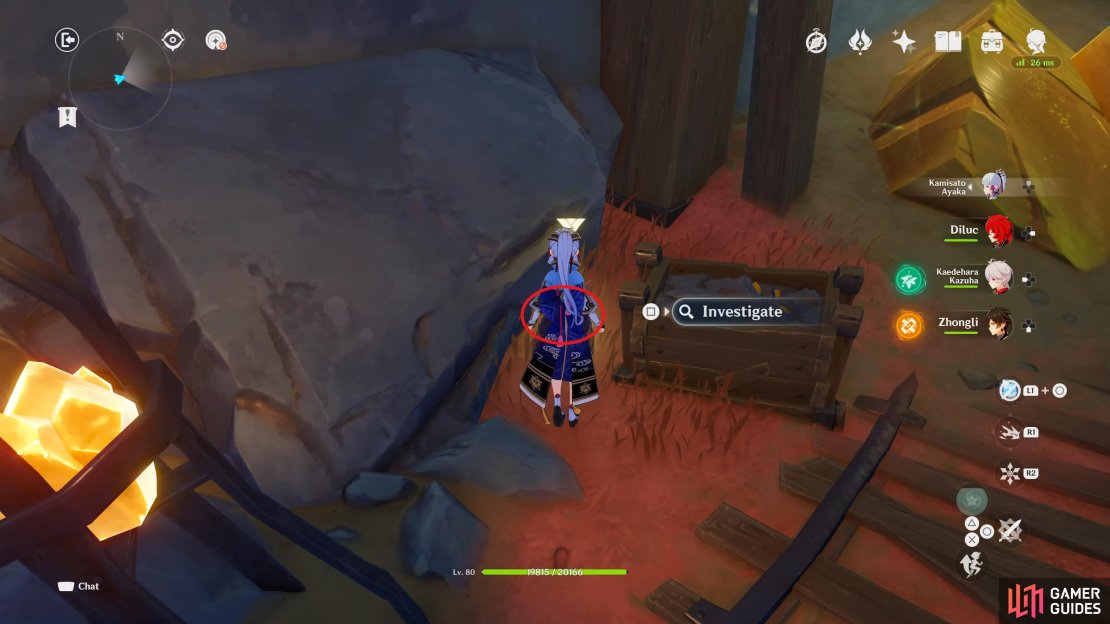
When you regain control again, head east, and pick up the Note of Unknown Origin: III where the compass used to be. Head over to the compass in the southeast, and destroy the spider web to gain access to it. If you hadn’t already flicked the switch in the previous space, you’ll need to go back and do it by rotating the needle back, and returning here again after the lever has been activated. When that’s done, head back to the compass, and rotate the needle back twice, and go through the doorway.
Note of Unknown Origin: III will be in the place that the compass was in.
When you get through the doorway, you’ll get another scene. You’ll find the Note of Unknown Origin: IV, which you’ll receive after the scene. The group will read it, and you’ll find out that one of the people mentioned in it was Boyang, who was one of Yelan’s ancestors. He was the one that didn’t make it back, and was the reason she came to The Chasm in the first place. After the scene, rotate the needle back once, and go through the doorway. Another doorway, another scene. This time you’ll be in a space full of nothingness which you’ll tell the group is the abyss, the place where your twin disappeared.
Travel through the Abyss
When the scene ends, the Traveler will be walking in a straight line, thinking about their sibling, and their purpose of the journey that they’re on. As the abyss starts to grow darker, you’ll get another scene. Paimon and you will notice your sibling, and as you run after them, they’ll disappear. You’ll regain control, and need to run after them. Run over to them who should be straight in front of you, and when you get close, they disappear again. Investigate the object by your feet, for another scene.
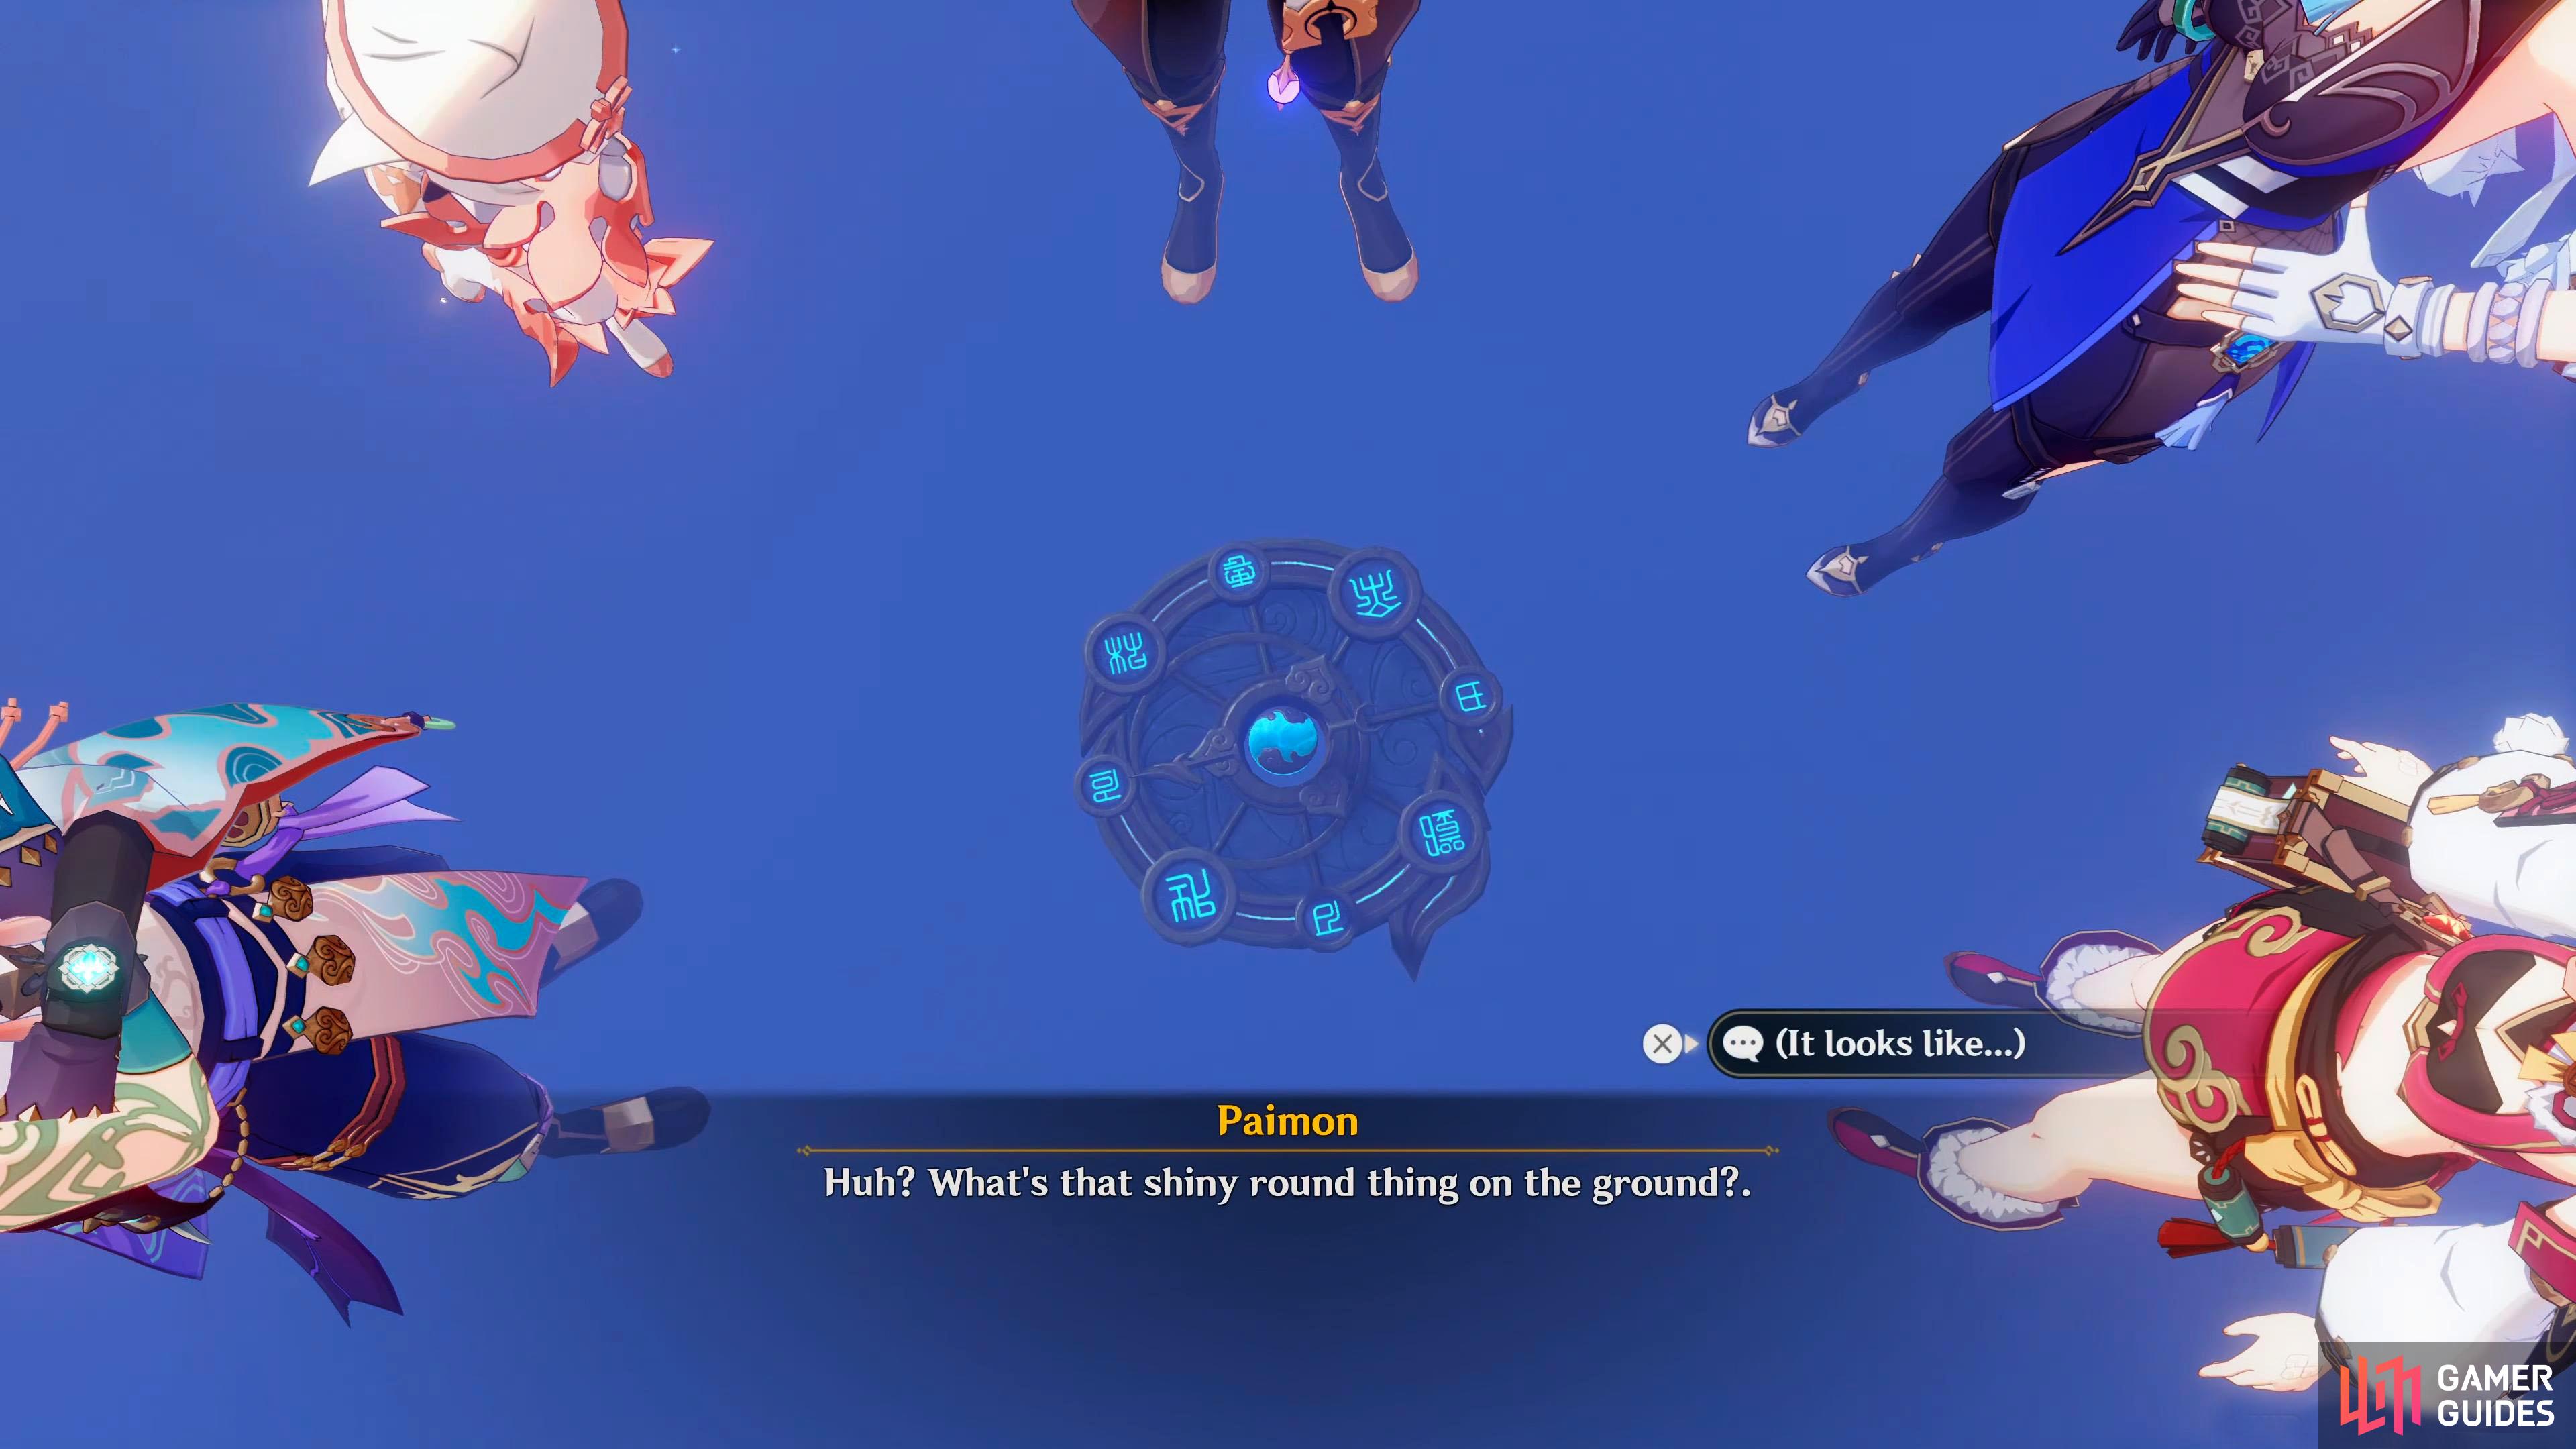
The Traveler will find the real fantastic compass in the abyss.
The group look down, and question what it is, before noticing that it’s the Fantastic Compass! This will certainly be a lot easier for Yanfei to transport it back. Paimon looks a little down in the dumps as she feels sorry for you because your sibling was just an illusion, but you tell her not to worry as you found the compass. After some debate on whether this was indeed the real Fantastic Compass, Yelan suggests you go somewhere safe to look at it.
Leave the place you are in
Once the scene has ended, the Domain will be complete, and all you have to do is leave. Before you do, make sure to open the Precious Chest in the center, and if you want to, talk to Yelan, Yanfei, and Xiao who can be found around the area. When you’re ready, leave the Domain. Note, this ends the quest, and the final quest At Tunnel’s End, Light, will begin immediately upon exit with a cutscene.
No Comments