
| Important Items in This Area |
|---|
| Grognak the Barbarian |
On the Eve of the Apocalypse
A war-weary veteran and his wife begin their day by taking care of their hygienic necessities, which provides ample enough excuse for you to create your character(s). Customize one or both of the individuals, then start your day. America may be at war, but you are far from the front, and despite the wars being fought over Earth’s precious, dwindling resources, the veneer of affluence and plenty is still intact enough on the east coast.
When you’re in control of your chosen character, you can investigate the house by walking around and clicking on various objects - there’s not much of long-term interest here, but there are plenty of things to geek out over if you’re a long-time Fallout fan. Make your way into the kitchen to meet your Mr. Handy type robo-butler, ![]() Codsworth. Take note of the Grognak Comic on the counter, which will come in handy later, then, when your spouse mentions somebody at the door, go greet the Vault-Tec Representative outside. It seems you’ve been accepted into the local vault; good news if the current war with China escalates into a nuclear confrontation.
Codsworth. Take note of the Grognak Comic on the counter, which will come in handy later, then, when your spouse mentions somebody at the door, go greet the Vault-Tec Representative outside. It seems you’ve been accepted into the local vault; good news if the current war with China escalates into a nuclear confrontation.
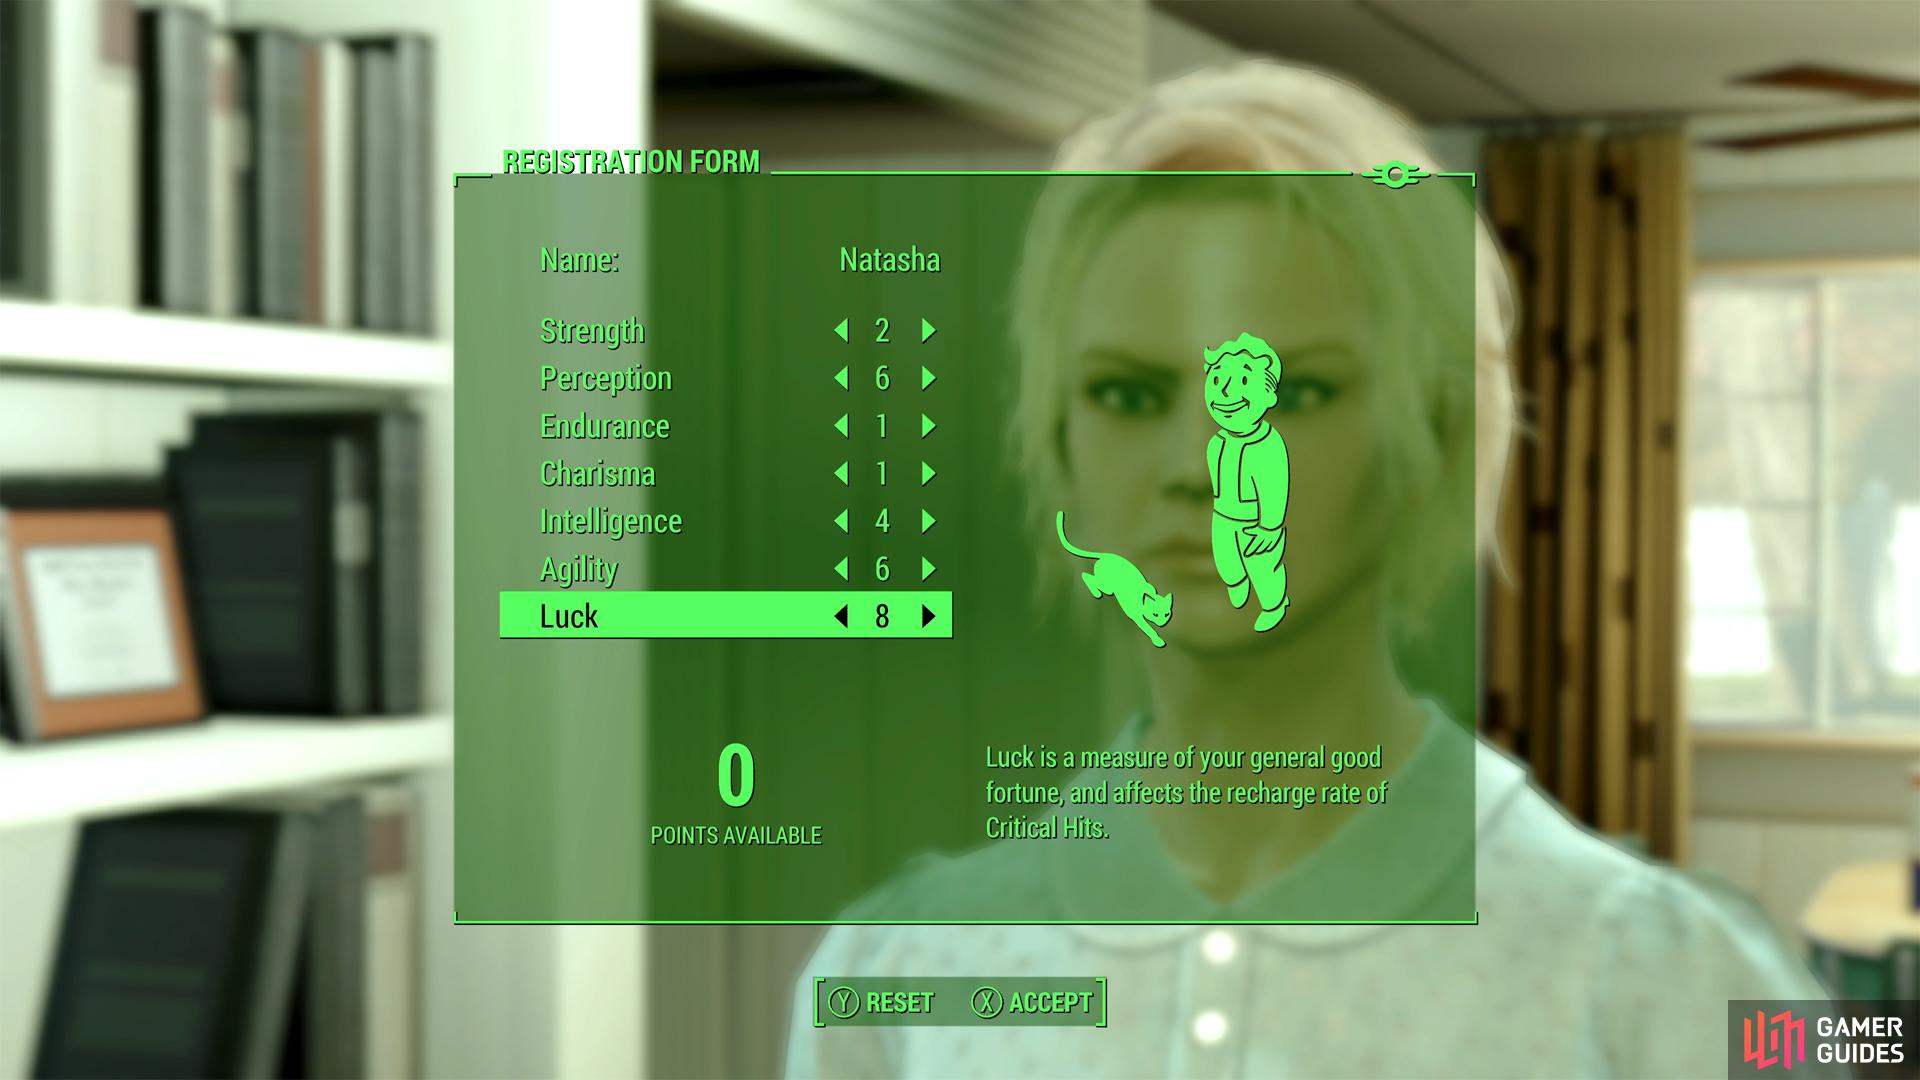
Assign your SPECIAL stats when talking to the Vault-Tec representative.
Fill out his questionnaire, which will have you assign your SPECIAL stats and pick your name and the salesman will leave, after which Codsworth will show up and suggest that you provide some love to your infant, something he’s not exactly equipped to do. Go play with your kid, give the mobile a spin, and make plans for later, which are interrupted, again, by Codsworth. Return to the living room and watch the news - dire news. The nuclear apocalypse has begun.
Your spouse will grab your baby and you’ll be directed to make a run for the vault you just signed up for. Follow your spouse outside, down the street, across a bridge and up a hill and to the vault checkpoint. Talk to the Officer and continue to the top of the vault, where you will very, very narrowly escape the nuclear holocaust. Safe in the confines of ![]() Vault 111, head upstairs and talk to a Vault-Tec Staff member to obtain your new
Vault 111, head upstairs and talk to a Vault-Tec Staff member to obtain your new ![]() Vault 111 Jumpsuit, then follow a Vault-Tec Doctor to the east. Near the Decontamination Pod you are instructed to enter, you’ll need to comfort your baby one last time before stepping inside. Time for a new life.
Vault 111 Jumpsuit, then follow a Vault-Tec Doctor to the east. Near the Decontamination Pod you are instructed to enter, you’ll need to comfort your baby one last time before stepping inside. Time for a new life.
Decontamination takes a bit longer than the good Vault-Tec Doctor led you to believe, however. In fact, it’s no decontamination chamber at all! Your cryogenic sleep will be interrupted to witness an altercation outside. Some time later, you’ll finally awake from your frozen nightmare and into a new nightmare. Activate the Control Panel to your spouse’s Cryo Pod and examine them to obtain their Wedding Ring , then head west and, before you reach some stairs, turn south to find a Vault 111 Monitoring Terminal, which you can use to check out the statuses of the other vault dwellers.
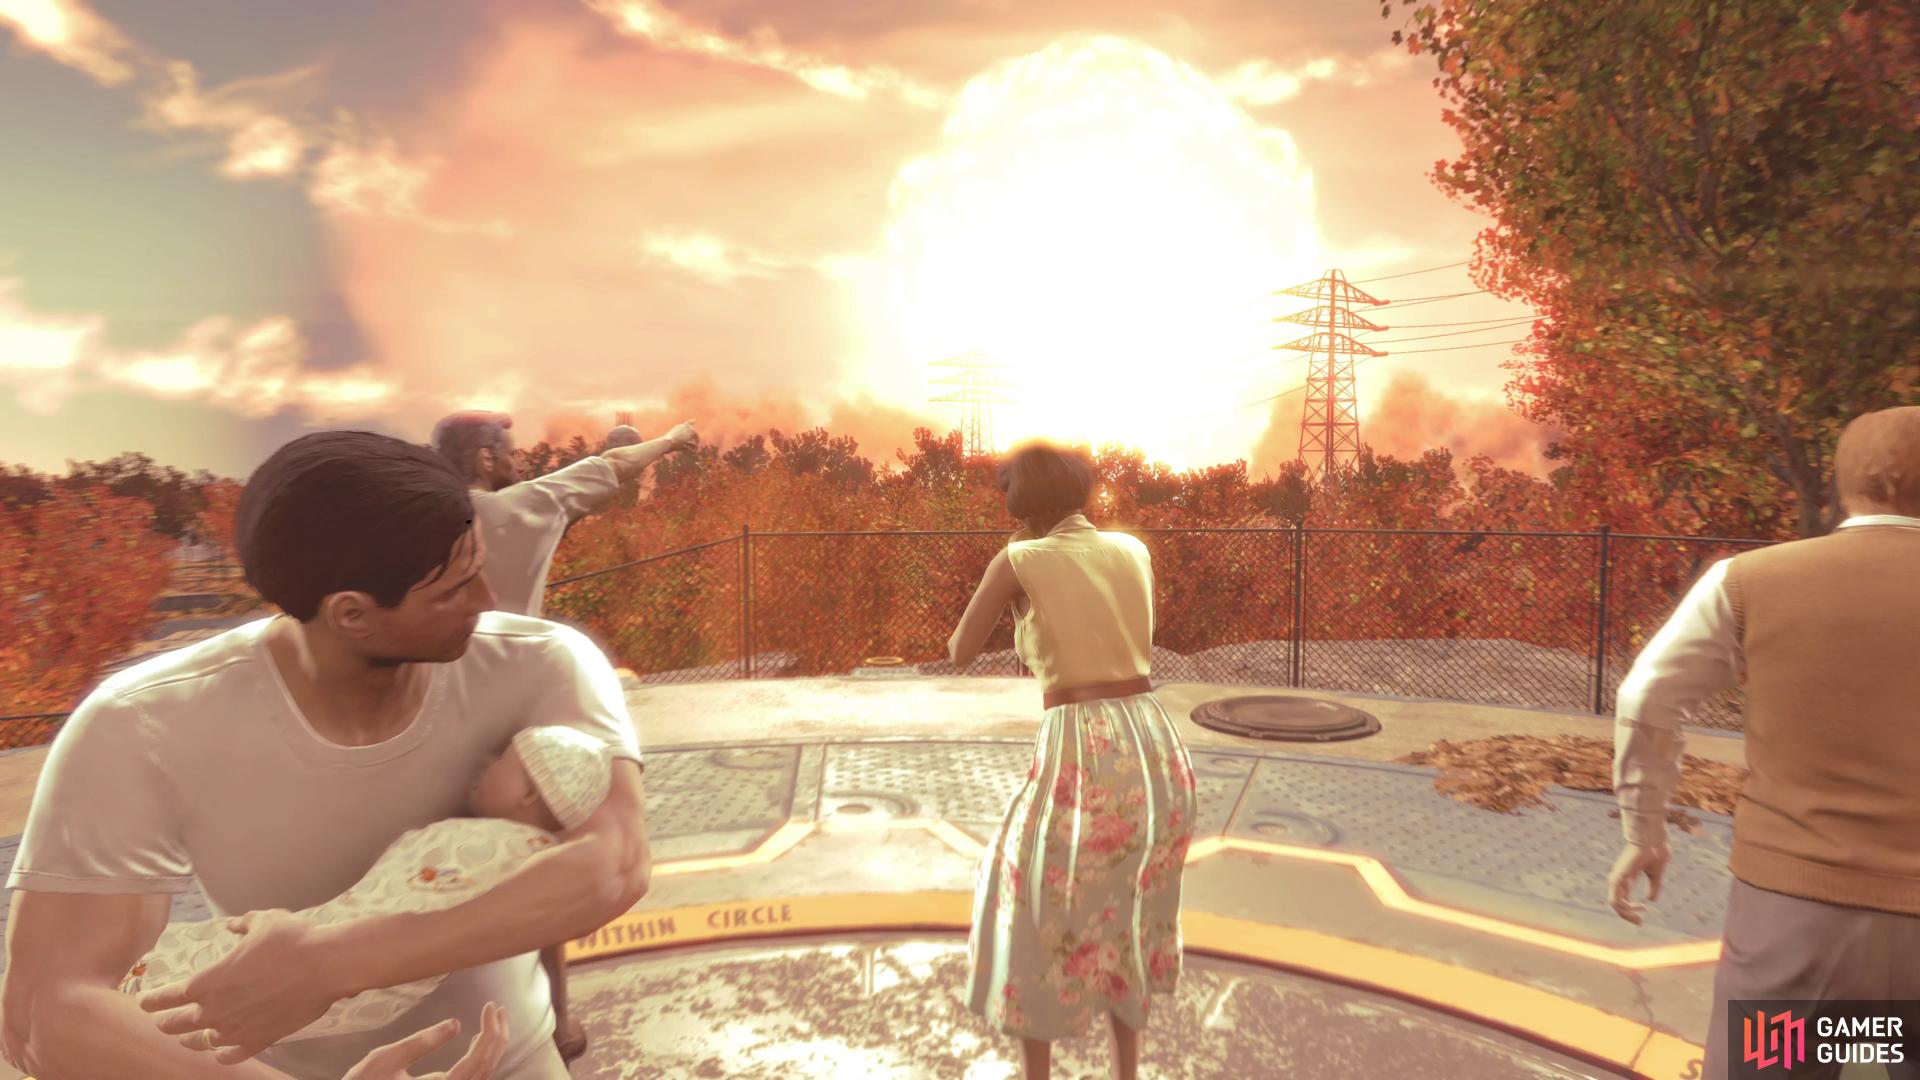
The world ends just as you are lowered into the supposed safety of Vault 111.
A Long, Cold Sleep
You were frozen for an unknown length of time, everybody else in the vault seems to be dead due to a malfunction except for your spouse, whose demise was somewhat less accidental. Answers are few, questions are many, and somebody took your son. Head up some stairs to the west and go through a door, then turn south and enter another cryo chamber. Inside you can find another Vault 111 Jumpsuit, but otherwise the same fate befell the occupants in this room as in the room you were in.
Return to the hallway and continue west to find an inaccessible door at the end of the hallways. Grab some of the tools nearby if you wish (they have to be worth something, right?) then head through another doorway to the north, go down some stairs and enter a small chamber to the north. Check out the metal box under the window to find a ![]() Security Baton - which will have to serve as your first weapon until you find something better - then turn east to find two doors: one to the east, and one to the south. In the southern room you will find a
Security Baton - which will have to serve as your first weapon until you find something better - then turn east to find two doors: one to the east, and one to the south. In the southern room you will find a ![]() Stimpak on a desk, some random loot inside the desk, and a Security Terminal, where you can learn about some of the parameters of this vault’s operation, and the growing discontent of the security staff.
Stimpak on a desk, some random loot inside the desk, and a Security Terminal, where you can learn about some of the parameters of this vault’s operation, and the growing discontent of the security staff.
Backtrack to the north and pass through the eastern door then follow the hallway beyond to - and through - another door. In the room beyond you’ll find your first foe; a humble Radroach. Simply walk up to it and kill it with a melee attack [R2/RT] and the critter should be ground into paste. Speaking of which, loot it for any meat it may have dropped (yum!). At this point in time, it’s too early to be picky about where your next meal may come from, right? If you get injured by this Radroach, there’s a sink nearby you can turn on to recover your HP.


(1 of 2) Defeat your first foe - a lowly Radroach, as is Bethesda tradition.
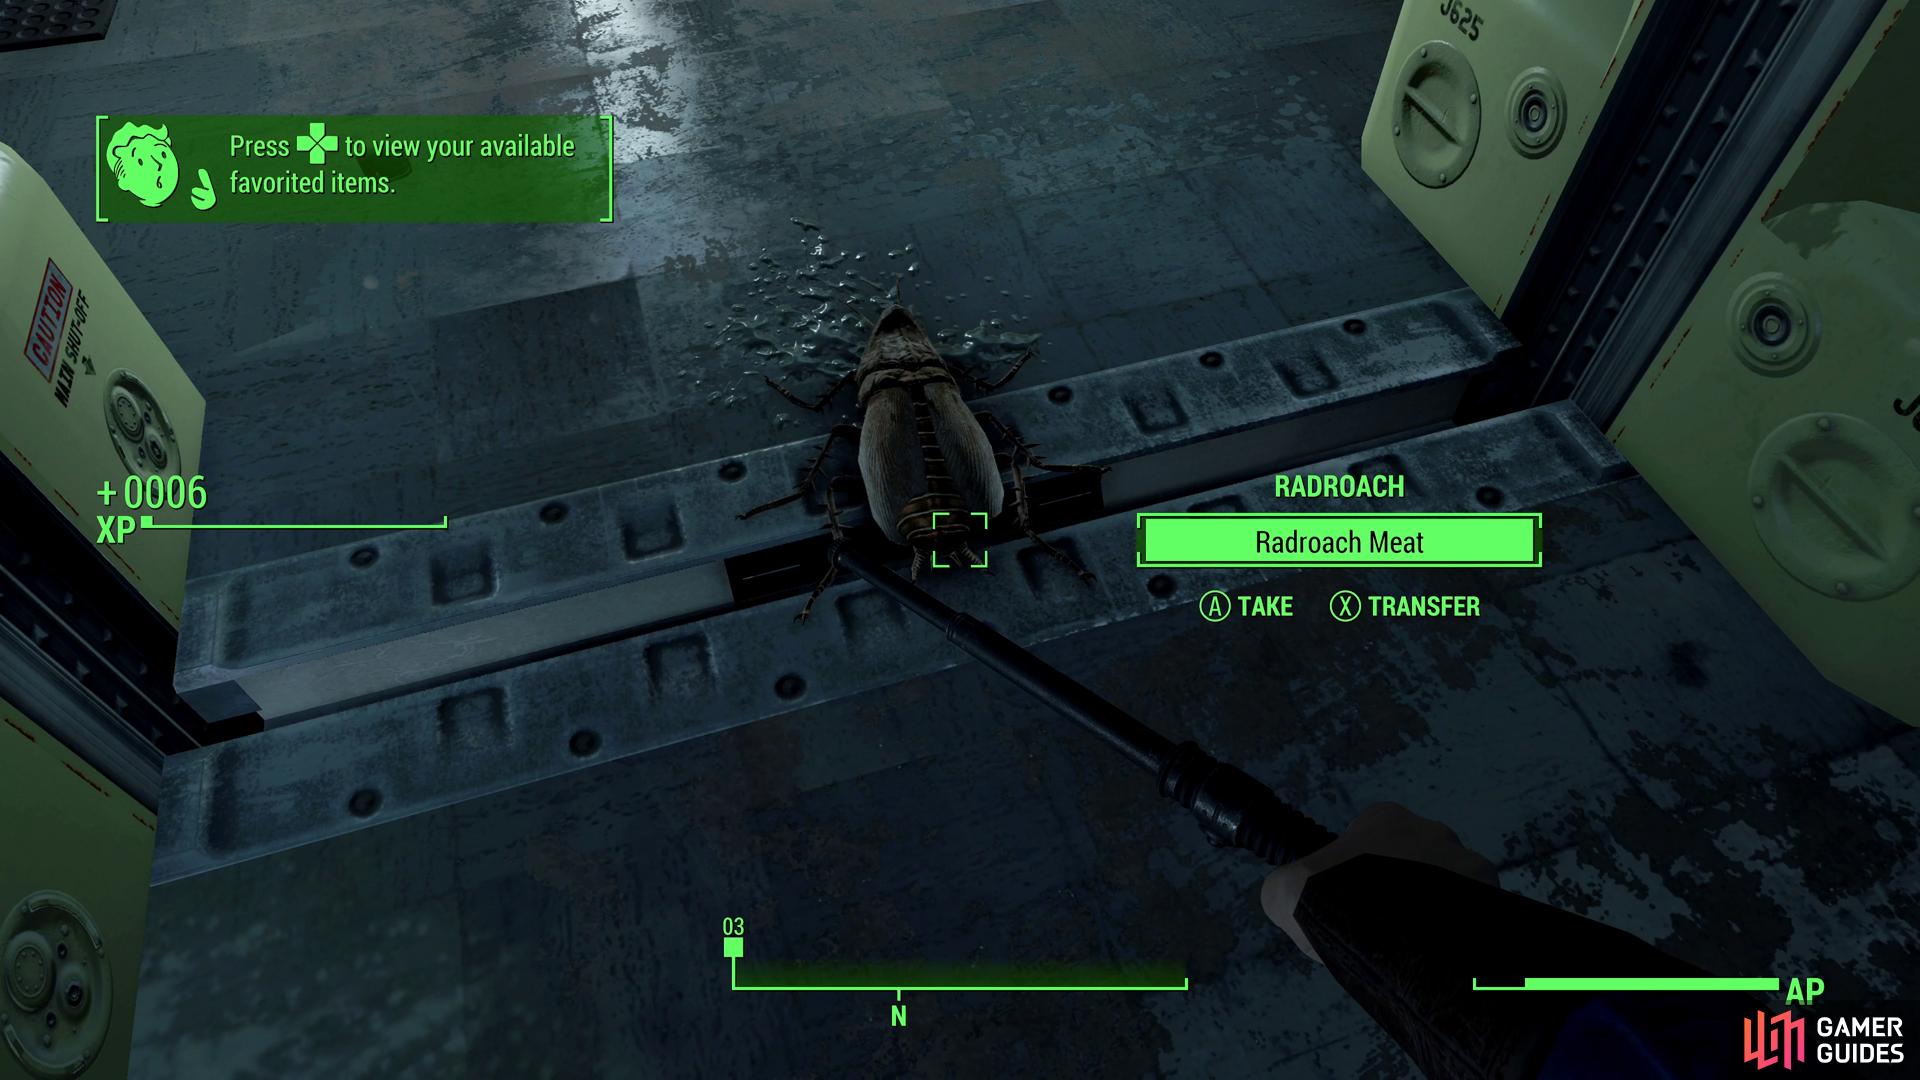
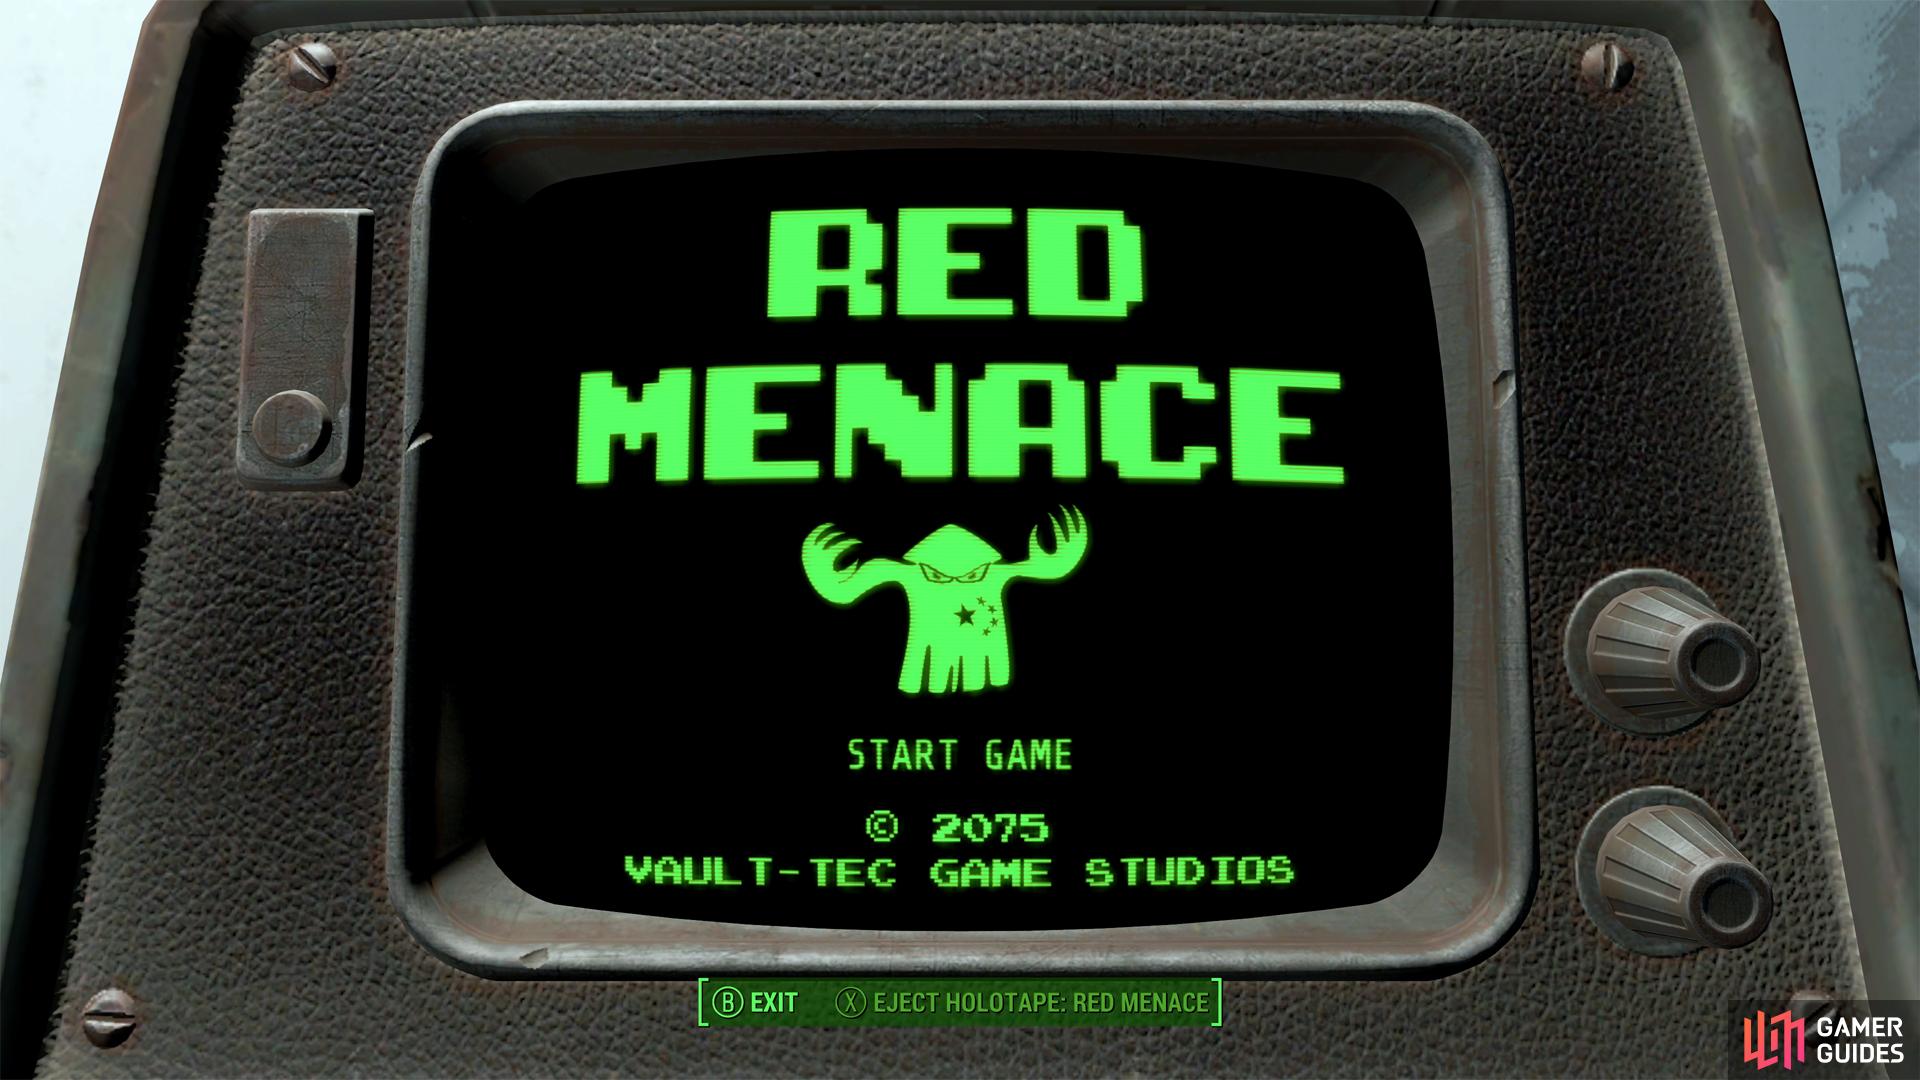
Defeat your first foe - a lowly Radroach, as is Bethesda tradition. (left), You can play the game Red Menace on a recreational terminal, or better yet, eject the holotape and take it with you. (right)
With your first foe vanquished, continue north into a mess room where you can find - amongst other assorted junk - a Recreation Terminal on a desk. Activate it and select the option “Play Tape” to play one of Fallout 4’s silly little mini-games; ![]() Red Menace. This is essentially a somewhat more complicated version of Donkey Kong: climb ladders and jump over obstacles (while dodging the odd missile!) to reach the top of the screen and rescue the damsel in distress.
Red Menace. This is essentially a somewhat more complicated version of Donkey Kong: climb ladders and jump over obstacles (while dodging the odd missile!) to reach the top of the screen and rescue the damsel in distress.


All good fun, but you have more pressing concerns right now, like your kidnapped son? Pick the option “Eject ![]() Holotape: Red Menace” before you leave the terminal, then return to the site of your glorious victory over the mighty Radroach (the rooms to the east of the mess hall aren’t interesting in the slightest). Go through a door to the west to reach the reactor room, where two clearly malfunctioning reactors are shooting bolts of electricity out, and three Radroaches prowl. It’s likely that at least one of the bugs will get itself zapped (a good warning of what will happen if you stray too near!) but you’ll probably have to deal with some of them.
Holotape: Red Menace” before you leave the terminal, then return to the site of your glorious victory over the mighty Radroach (the rooms to the east of the mess hall aren’t interesting in the slightest). Go through a door to the west to reach the reactor room, where two clearly malfunctioning reactors are shooting bolts of electricity out, and three Radroaches prowl. It’s likely that at least one of the bugs will get itself zapped (a good warning of what will happen if you stray too near!) but you’ll probably have to deal with some of them.
Now’s a fine time to try out VATS, the recurring combat feature of all Fallout games. To enter it, press [L1/LB] (with a melee weapon, you’ll need to be fairly close to an enemy) then select your target (switch between them with the [Left Analog] stick) and press [R2/RT] to queue up attack(s), after which, press [X/A] to confirm. Attacks in VATS can target specific parts of the critter, potentially crippling them in various ways of dealing more damage, depending on where you hit, but this is reserved for ranged weapons. Attacks in VATS consume AP (Action Points), which are determined by your ![]() Agility score. Kills in VATS will charge your Critical Meter, which, when full, you can cash in for a critical strike in VATS. All in all, VATS is a handy (but not a mandatory) tool that really can come into its own with high Agility,
Agility score. Kills in VATS will charge your Critical Meter, which, when full, you can cash in for a critical strike in VATS. All in all, VATS is a handy (but not a mandatory) tool that really can come into its own with high Agility, ![]() Luck and/or
Luck and/or ![]() Perception builds.
Perception builds.
Clear the generator room however you wish, then proceed through a door to the west where you’ll find another pair of Radroaches up some stairs. Smite them thoroughly, then continue through another door to the west to reach the Overseer’s Office. Loot the desk of the now very dead Overseer to obtain three Stimpaks , a 10mm Pistol , some ![]() 10mm Rounds and a pair of Glasses , which are useful for providing a temporary boost to your Perception while worn. You’ll automatically equip the 10mm Pistol when you grab it, after which the game will tell you about the magic of the [D-Pad] and hotkeys. Snoop around the Overseer’s Terminal to learn even more about Vault 111’s function and its deteriorating condition and - more importantly - select the entry “Open Evacuation Tunnel” to provide yourself with a means of egress.
10mm Rounds and a pair of Glasses , which are useful for providing a temporary boost to your Perception while worn. You’ll automatically equip the 10mm Pistol when you grab it, after which the game will tell you about the magic of the [D-Pad] and hotkeys. Snoop around the Overseer’s Terminal to learn even more about Vault 111’s function and its deteriorating condition and - more importantly - select the entry “Open Evacuation Tunnel” to provide yourself with a means of egress.


(1 of 2) The Cryolator is out of reach… for now.
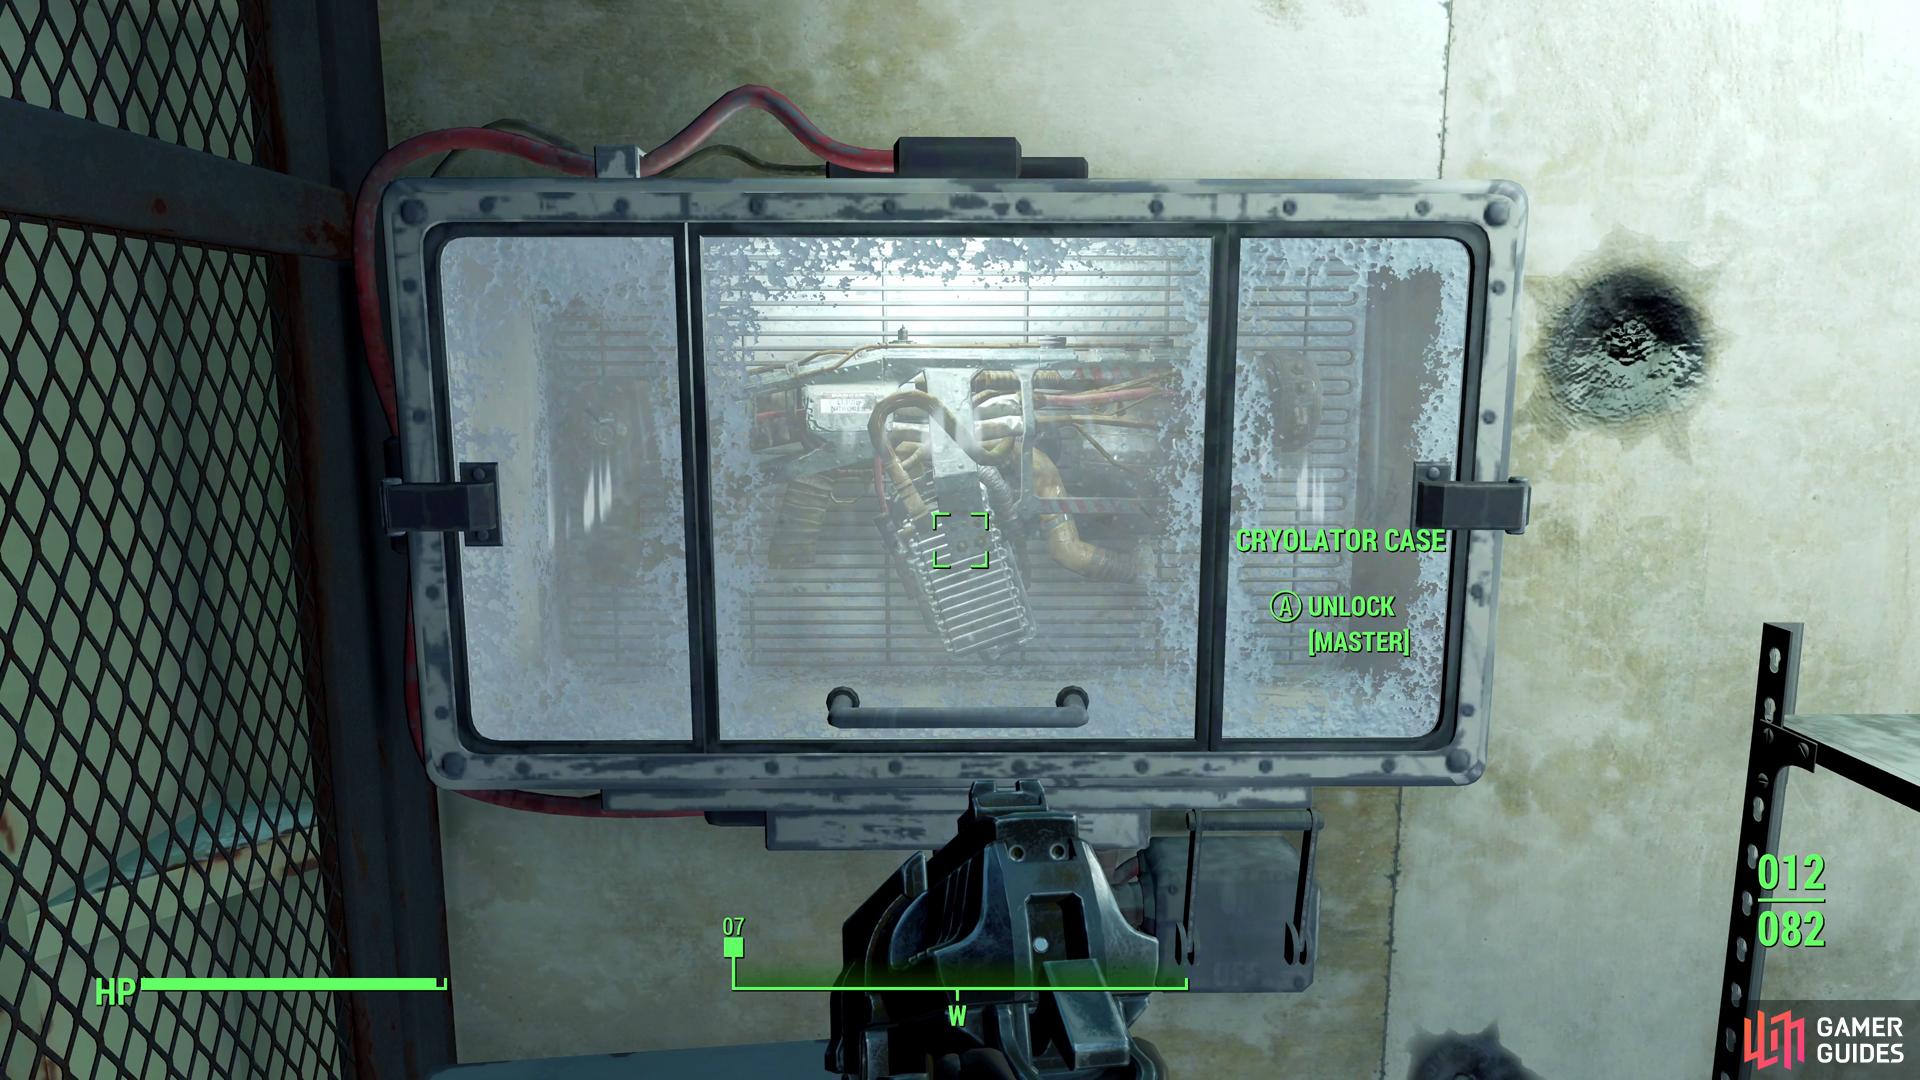
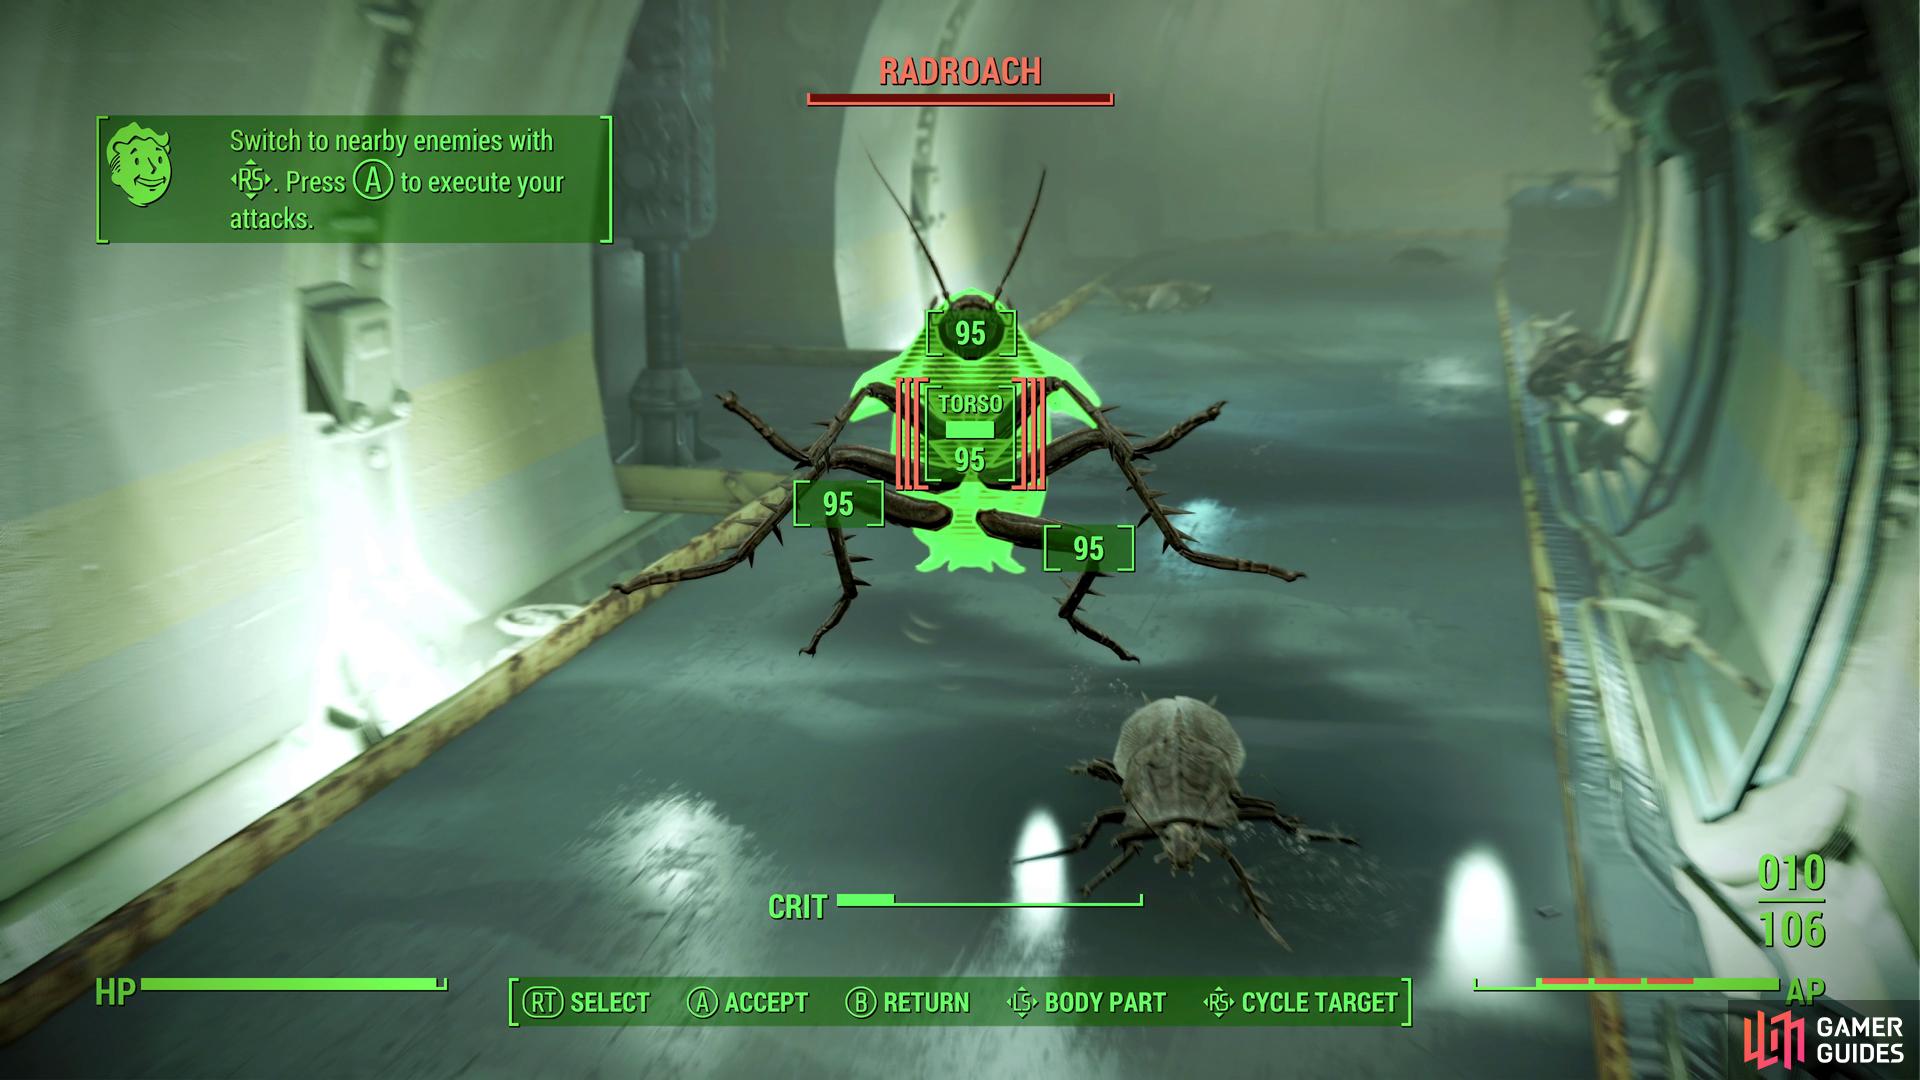
The Cryolator is out of reach… for now. (left), Use VATs to clear out a hallway full of Radroaches. With VATS you can dilate time and target specific body parts, potentially dealing greater damage or crippling foes. (right)
Before you go scrambling to freedom, however, search the Overseer’s personal quarters to the north to find some more 10mm Rounds in a locker by a bed, then search the mirror in his bathroom to score some random loot, usually including chems and Bobby Pins. Just west of the Overseer’s desk you’ll find a small caged area inside of which lies even more 10mm Rounds , another 10mm Pistol and a locked Cryolater Case [Master] on the wall. It’s beyond your means to open yet, but if you investigate it, your character will promise to return later for it; it’s a promise you should plan to keep. Loot some lockers in the south-eastern corner of the room for some random goodies, then continue out the door you opened to the south.
Immediately turn east to find some more Radroaches down the tunnel, which make for good target practice with that 10mm Pistol you just found. Aim with [L2/LB] and shoot with [R2/RB]. [R1/RT] performs a melee attack with the ranged weapon (which consumes AP) and [Square/X] reloads. VATS works as mentioned above, except now you can target limbs with varying degrees of difficulty but there’s no need to get fancy with Radroaches; any single hit should kill them. When they’re dead, proceed east and more of the buggers will pop out of various hiding places.
Gun them down, then continue east and go through a door to the south, then through another to the west to find a Radroach feasting on a long-dead skeleton. As the game directs, it’s now time to practice being sneaky. To enter sneak mode press [R3/Press Right Stick] and you’ll get some text at the top of your screen. [HIDDEN] means you’re, well, hidden, and any attack you make will be a sneak attack critical. Very nice. [DETECTED] means a non-hostile has spotted you, and will be aware of your dirty deeds (stealing and trespassing, mainly). [CAUTION] means some hostile is searching for you, but has not yet found you (you won’t score a sneak attack critical against such alert foes) and [DANGER] will inform you that a hostile foe has detected you. Many things affect your ability to sneak, including your Agility score, the light in the area you’re sneaking through (turn off that Pip-Boy light!) how fast you’re moving, and, of course, how much noise you make. Shooting a gun, as a random example, will almost certainly give you away. You can tell how close you are to being detected by noting how far away the brackets are from the word [HIDDEN] or [CAUTION}. The further away they are, the less aware the enemy is of you. For now, try to sneak up on the Radroach, or use your 10mm Pistol to put it down for good.

(1 of 2) Grab the Pip-Boy, your all-in-one personal computer that’ll serve as your character screen, inventory manager, map, quest log, radio and more.
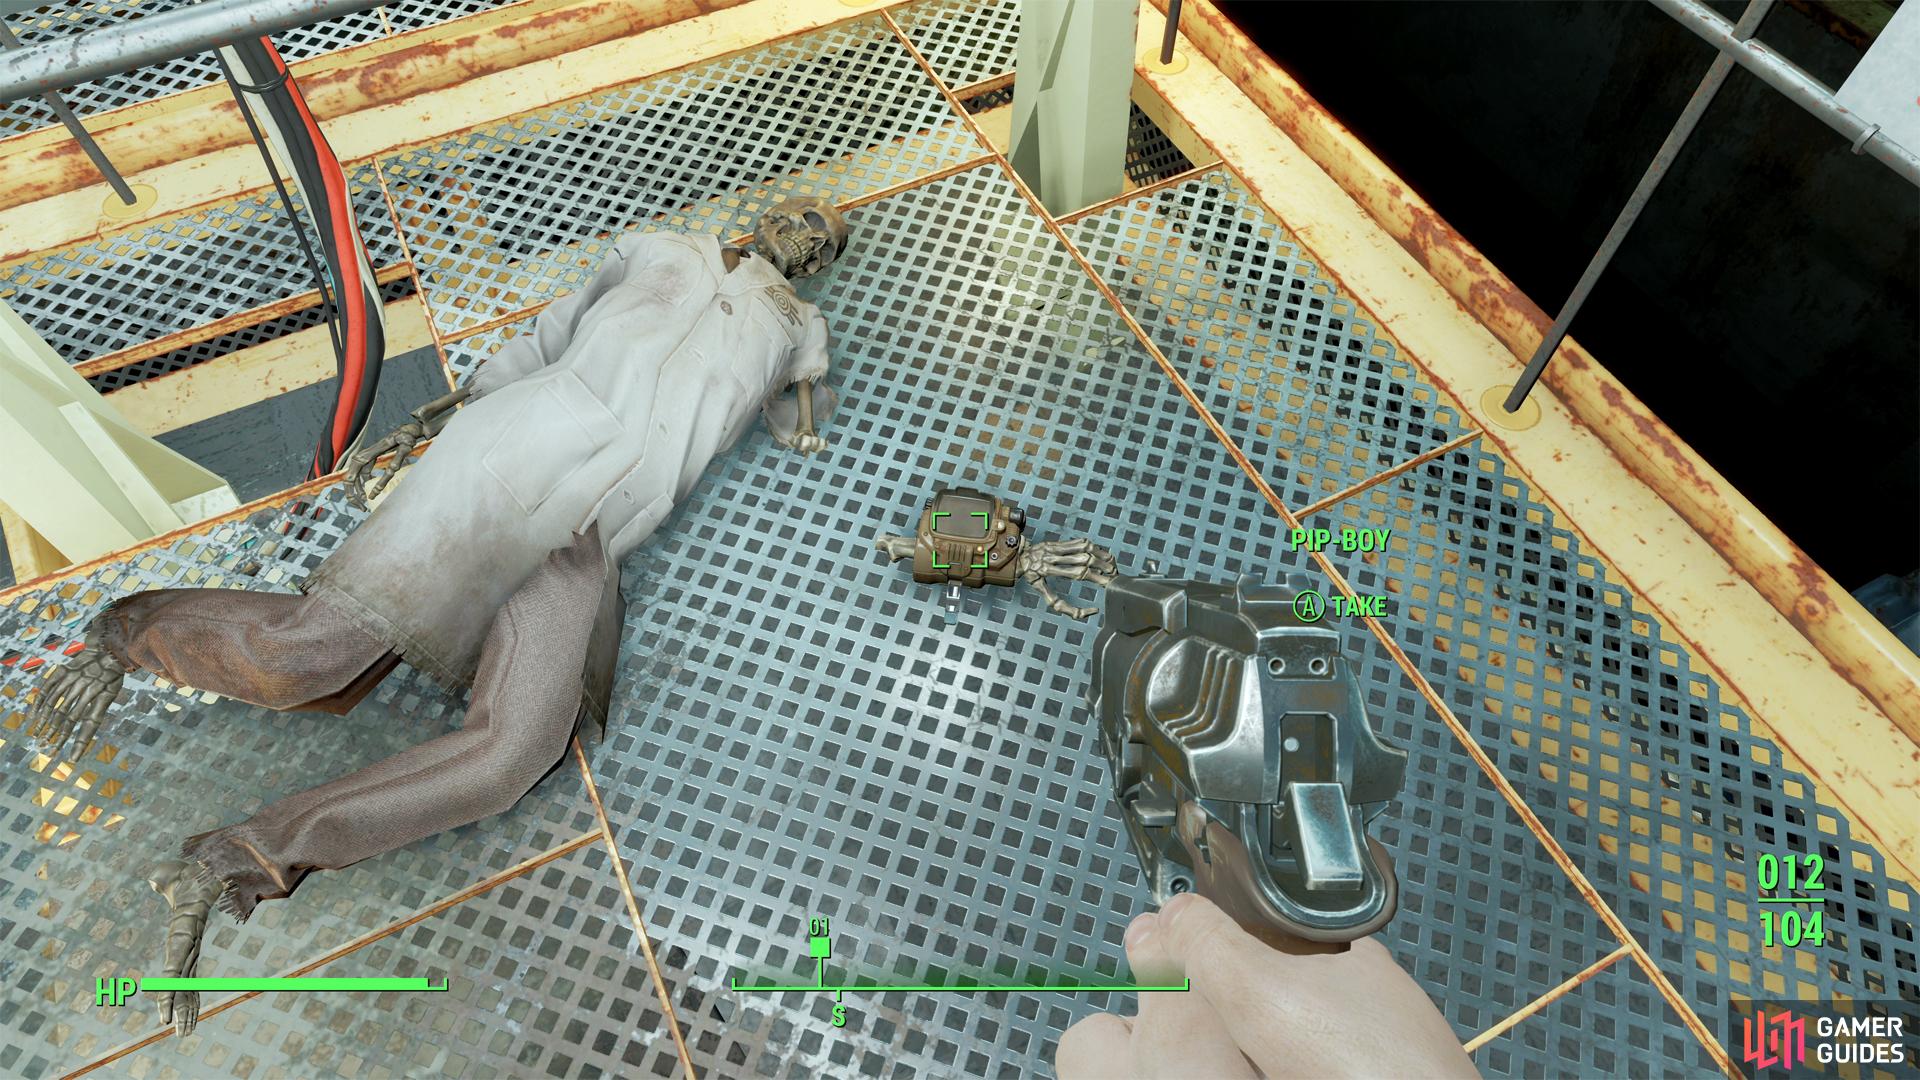

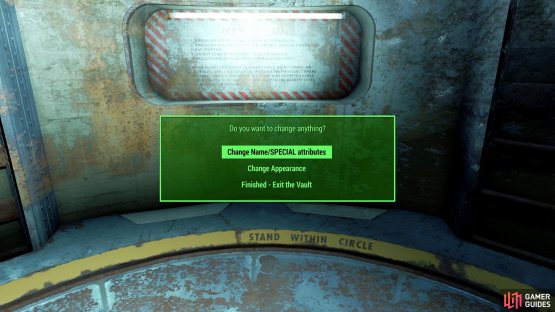
Grab the Pip-Boy, your all-in-one personal computer that’ll serve as your character screen, inventory manager, map, quest log, radio and more. (left), When you go to leave Vault 111 the first time, you’ll get the option to respec your character. (right)
Once the Radroach is gone, continue west towards the skeleton the Radroach was munching on and one of its buggy buddies will rise from the concrete; that’s a neat trick, burrowing through solid concrete. Kill this final Radroach and make your way to a yellow metal platform where you’ll find the indispensable Pip-Boy on a skeleton’s severed arm. Grab this immensely useful, somehow indestructible, and iconic, personal computer. It’s your status screen, inventory screen, map, quest log… and you can also use it as a light source (hold down [Circle]/B), a radio, and to play the odd game you find in the wasteland. With this device in hand, or, uh, on-arm, activate the Vault Door Controls console nearby, then make your way west, out of the vault and back up the elevator. Before you go you’ll get one last chance to respec your character and change your appearance, so make a hard save here in case you find something you don’t like later. Once done, ascend into the light. It’s time to start looking for your son.

Going Home
Let your eyes adjust to the ruined world around you - time and nuclear devastation are a potent combination at ruining the works of man - and note your new objective; go home. Well, it’s a fair enough place to start and you might as well see what’s left of your previous life before you begin a new one.
First, however, head north, north-west to find some yellow crates which contain some random loot for you to enjoy. There are also two shacks you can loot - at this point in the game, any chems and ammo you can find are worth grabbing.
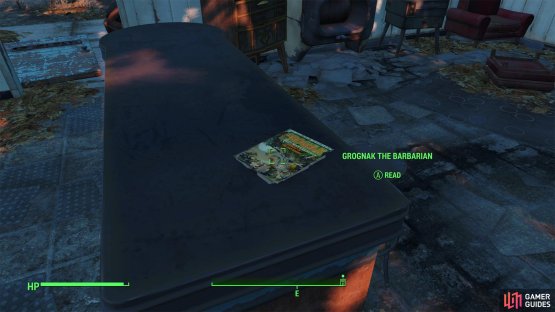
(1 of 2) In your old house you can find a copy of Grognak the Barbarian, which will yield permanent boosts.


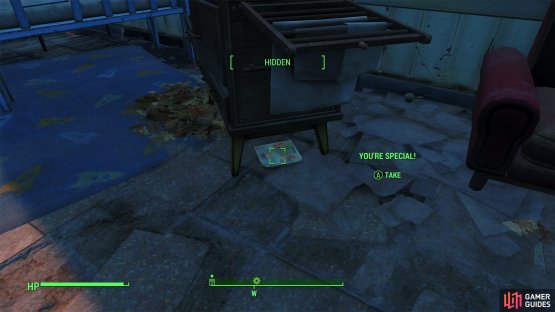
In your old house you can find a copy of Grognak the Barbarian, which will yield permanent boosts. (left), Search under some furniture in Shaun’s room to find “You’re SPECIAL”, earning a +1 boost to any one SPECIAL stat in the process. (right)
After you’ve enriched yourself, pick your way downhill to the east to reach ![]() Sanctuary, where your first stop, of course, should be your home. Outside you’ll find Codsworth busily - and futilely - trying to maintain the ruins. Ignore him for now and head on into the ruins of your house, where there’s a few wonderful bits of loot worth grabbing. First, search the counter in the kitchen to obtain an issue of Grognak the Barbarian . Once that’s yours, head into Shaun’s room (the north-western most room in the house) and search under a dresser near the bed to find the book YOU’RE SPECIAL! , which will allow you to distribute one SPECIAL Attribute point to any stat of your choosing. Mega score.
Sanctuary, where your first stop, of course, should be your home. Outside you’ll find Codsworth busily - and futilely - trying to maintain the ruins. Ignore him for now and head on into the ruins of your house, where there’s a few wonderful bits of loot worth grabbing. First, search the counter in the kitchen to obtain an issue of Grognak the Barbarian . Once that’s yours, head into Shaun’s room (the north-western most room in the house) and search under a dresser near the bed to find the book YOU’RE SPECIAL! , which will allow you to distribute one SPECIAL Attribute point to any stat of your choosing. Mega score.

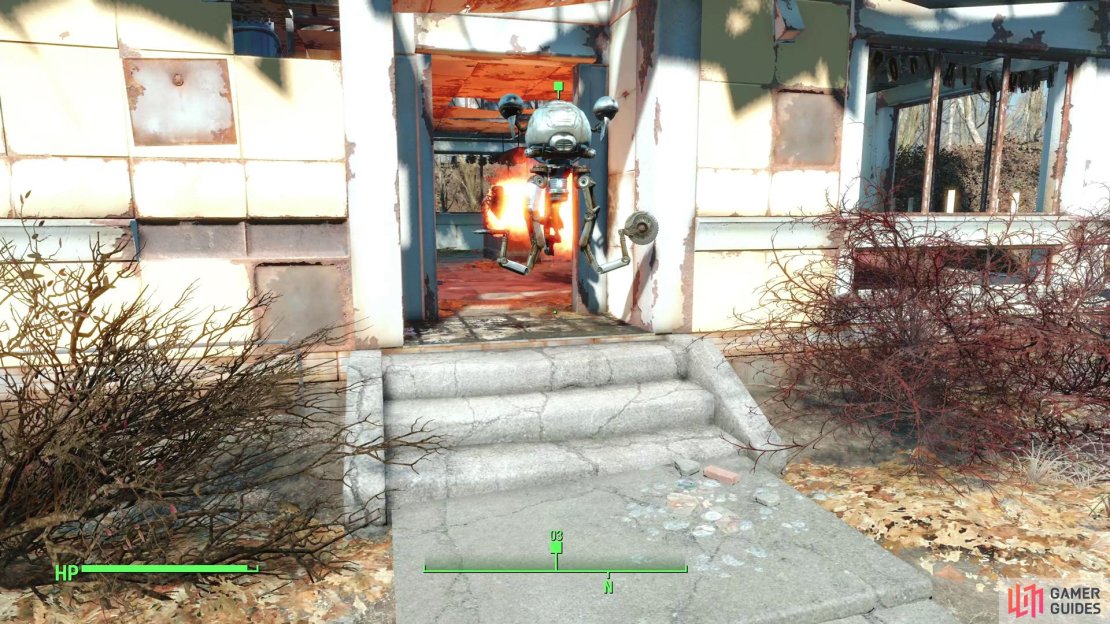
(1 of 3) You’ll find your faithful robo-butler, Codsworth, still pantomiming his pre-war chores.
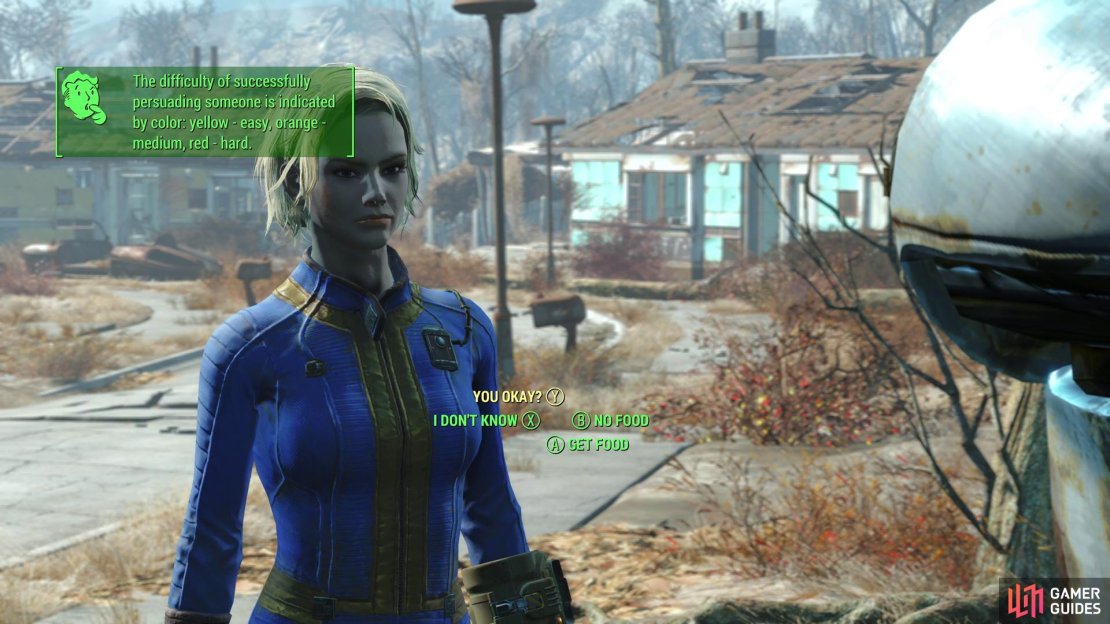
There’s plenty of other less interesting trinkets you can grab around the house, including some random chems in the mirror in the bathroom, but every mundane collectible isn’t worth discussing; grab as much as you want (you can never have too many crafting materials, right?) then head outside and talk to Codsworth. Listen to his chipper dialogue and endure his attempts to deflect or spin the bad news you give him, then pass an easy speech check by saying “You Okay?” to finally penetrate his cheerful veneer and witness an epic Mr. Handy breakdown. Poor thing. After he recovers he’ll give you the “Hi Honey!” holotape and offers to search the neighborhood with you.
Agree to do so (he’ll play mum until you do) then follow him up the street to the north-east, where you’ll have to clear two houses infested with Bloatflies (which are significantly more annoying in this game than they were in previous games!). After the second trio of bugs have been squashed, Codsworth will whine about his failure again, then tell you about a settlement in ![]() Concord. The people there might be helpful; after all, they’ve only shot at Codsworth a few times. Maybe they’ll be as generous to you? In any event, Codsworth is clearly not going to be much help, and Concord is the only lead you have, so you might as well head on over there.
Concord. The people there might be helpful; after all, they’ve only shot at Codsworth a few times. Maybe they’ll be as generous to you? In any event, Codsworth is clearly not going to be much help, and Concord is the only lead you have, so you might as well head on over there.
Exploring Sanctuary
First, however, there’s some loot worth grabbing in the houses around Sanctuary. Starting from the cul-de-sac along the northern end of the town, explore an aqua-colored house to the south, south-west and search the south-western corner of the living room to find a corpse, near which is a ![]() Pipe Pistol. In the small room in the eastern corner of the house you can find a Safe [Novice] under a baby carriage which means it’s time to talk about picking locks.
Pipe Pistol. In the small room in the eastern corner of the house you can find a Safe [Novice] under a baby carriage which means it’s time to talk about picking locks.
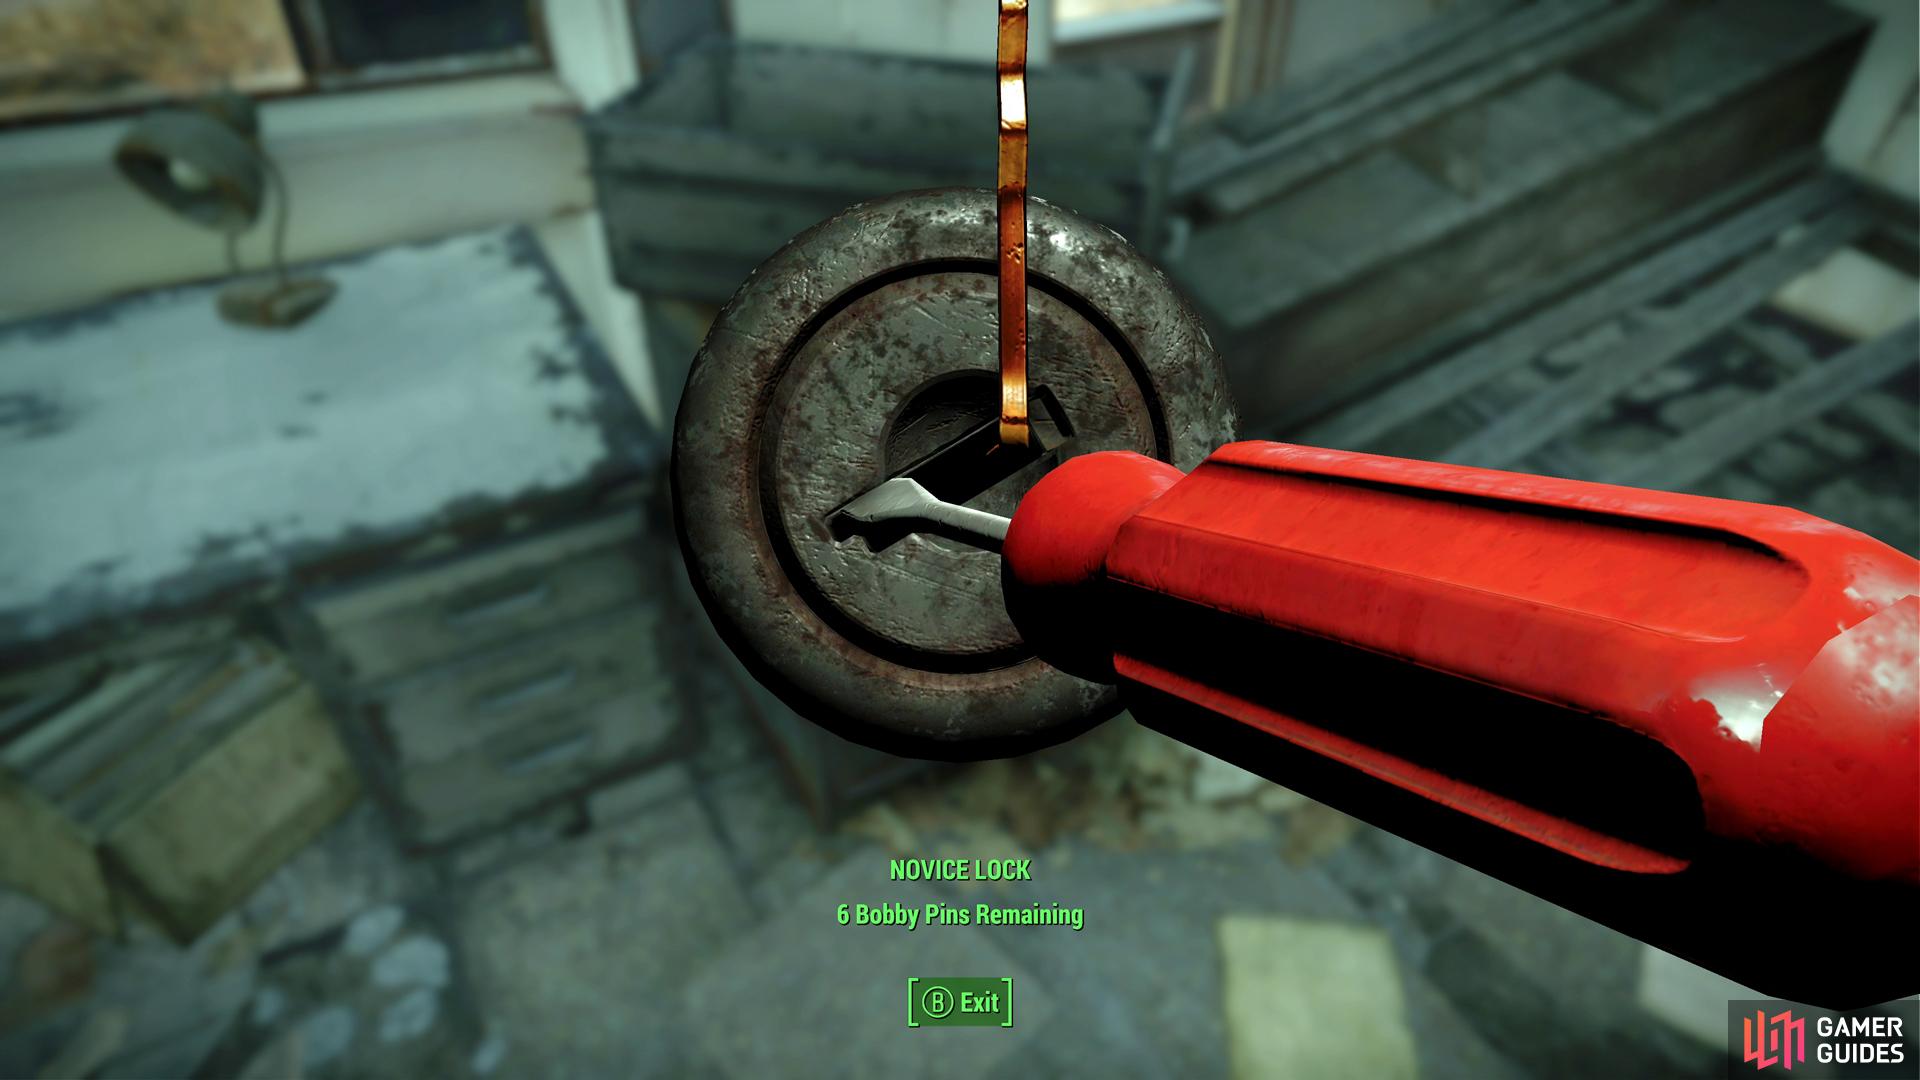
Adjust the location of your pick and apply torque - the further the lock rotates, the closer your pick location is to the “sweet spot”.
Lockpicking
Lockpicking in Fallout 4 isn’t much different than in the previous two games. Your goal is to turn the lock horizontal from its vertical start by inserting a Bobby Pin into the lock. If the Bobby Pin is in the right place, the lock will turn all the way horizontal and the container will open. The further it turns, the closer the Bobby Pin is to the correct spot, but when the lock puts pressure on the Bobby Pin, the Bobby Pin may break. Run out of Bobby Pins and you’ll have to get more before you attempt any more locks.
Now that lockpicking has been covered, another, more complicated element of Fallout 4 should be discussed. Head south and cross the street to find another yellow house (not the one with the collapsed roof, but another one south-west of it). Here you’ll find a Workshop, which obviously necessitates a bit of explanation on crafting, so here goes:
Each crafting station allows you to craft something different. At a Workshop you can craft furniture, buildings and various utilities - all the things that make a settlement worth living in. Building objects is simple; merely select what you want with the [D-Pad], moving left and right between categories, and up or [X/A] to move between sub-categories. For example, if you wanted to build a chair, you’d go over to the “Furniture” icon, then press [Up] or [X/A], move to “Furniture > Chairs”, then proceed to the chair you wanted to build. Once something is built, hold down the [Touchpad/Back] button to enter the workshop menu (this can be done by also interacting with the Workshop). Find the item you wish to build and press [X/A] to select it, at which point it can be moved around as you wish. Items with a yellow border can’t be moved, but can be scrapped for components, whereas items with a green border can be moved, scrapped, or possibly stored. Cooking Stations, Weapon Workbenches, Armor Workbenches and Power Armor Stations are less complicated, as you’re just messing around with things in your inventory, not place-able terrain. This will all be covered in more detail later, when you have more resources, but for now just note that you can stash all the junk you’ve been finding in the Workshop, and they’ll automatically be salvaged for parts when you build things.
In another aqua-colored house north of the last one, you’ll find a Caps Stash and a Tool Box in a closet and an Ammo Box in the room in the south-eastern corner of the house, in a closet near a filing cabinet. This house has more treats in store for you, however. Search behind it and you’ll find a door leading to a ![]() Root Cellar, inside of which you can find plenty of junk, containers to loot, a Safe [Advanced] and three Gold Bars on and near the safe. A very generous little hidey-hole which will benefit you greatly.
Root Cellar, inside of which you can find plenty of junk, containers to loot, a Safe [Advanced] and three Gold Bars on and near the safe. A very generous little hidey-hole which will benefit you greatly.
Return to the surface and next visit the yellow house to the west to find a locked Safe [Novice] in the southern corner of the bedroom. Follow the road south until it turns east. This stretch of road - which ends in a bridge - is lined by two houses on either side of the road: two aqua houses to the north and two yellow houses to the north. Head into the western-most yellow house and search a room in the southern corner of the house to find some ![]() Med-X on some furniture near a red tank. In the room across the hall you’ll find another Safe [Novice]. Disarm the Makeshift Bomb atop the Safe then unlock the Safe. Once done, turn your attention to the nearby desk, on top of which is the Ledger Terminal [Novice].
Med-X on some furniture near a red tank. In the room across the hall you’ll find another Safe [Novice]. Disarm the Makeshift Bomb atop the Safe then unlock the Safe. Once done, turn your attention to the nearby desk, on top of which is the Ledger Terminal [Novice].
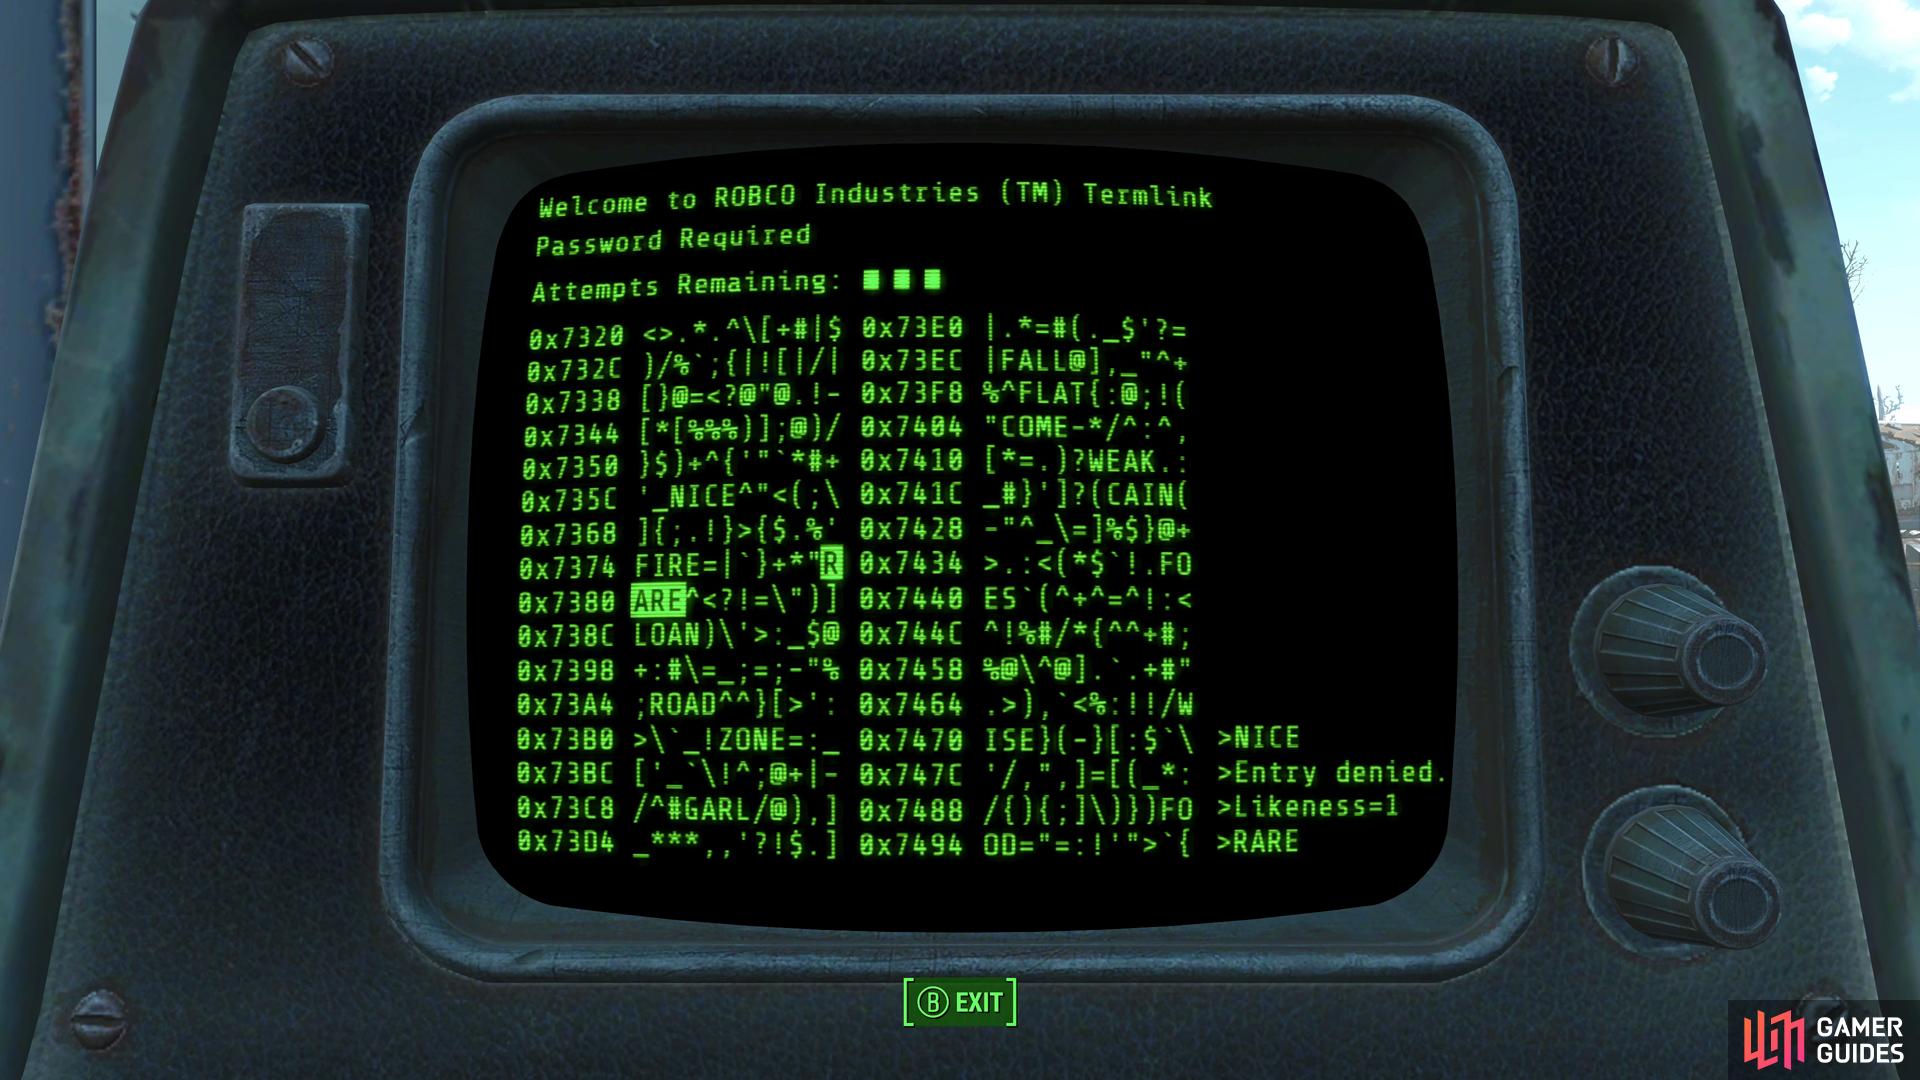
Find a word hidden amidst two columns of gibberish and you’ll be informed how many letters in said word are shared by the correct password. Use this to make further, more accurate guesses until you select the correct password.
Hacking
Lockpicking was recently covered, so why not hacking? Hacking is really quite simple: you pick a word, and if any of the letters in that word match the letter placement on the actual password, it’ll tell you. Say you pick the word “BUSY”, and you’re informed that 1/4 of the letters are correct - well, that doesn’t help you out too much, but even that should eliminate a few words. Say you also had the word “WIND” in the list as a possible password - from the information you got earlier by selecting “BUSY”, you know “WIND” isn’t a possible answer. You should try to select common prefixes or suffixes when password hunting. If you pick a word that ends in “-TION”, and you don’t get at least four correct letters, you can safely eliminate all words ending in “-TION”. Then again, finding a really uncommon word with no suffixes/prefixes can help, too. If you pick a word and get zero correct letters, you can eliminate every other password that shares a letter placement.
After using up your initial guesses, don’t fret, you still have options. Throughout the garbled nonsense between possible passwords you’ll often find brackets. When two such brackets on the same line enclose around random symbols, you’ll be able to highlight them. Selecting them will do one of two things: eliminate a dud password, or, less commonly, replenish your guesses. So, the routine is simple: guess passwords that might give you a good clue, when you hit one guess, search for enclosed brackets on the same line: (), [] or {}.
The terminal - once you’ve hacked it - discusses some drug deals in the area. The only interesting thing to note is the mention of a locked safe under a dresser in a master bedroom. The house the entry is talking about is the yellow house across the street to the east, just before the bridge. The floor safe mentioned does indeed exist, but since it’s boasting an [Advanced] lock, you probably can’t get into it yet.
Before you leave Sanctuary, it’s recommended that you stop at the house on the left, where a fire will be going and you can find a Cooking Station. With all of the Radroach and Bloatfly meat you’ve been picking up to this point, you can easily roast up several meals. This is a good idea to not only give you higher HP items to eat but it also gives you some minor experience boosts as well (and may well level you up to level 2).
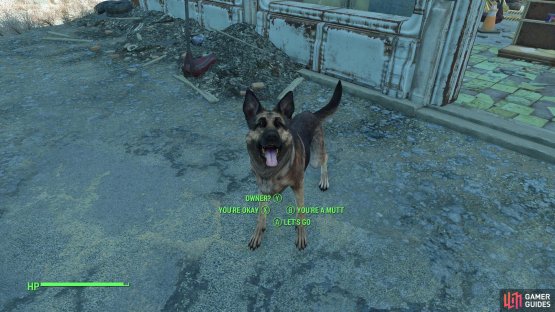

(1 of 2) At the Red Rocket Truck Stop you’ll meet a very good boy who’s in the market for a human pal to follow around.
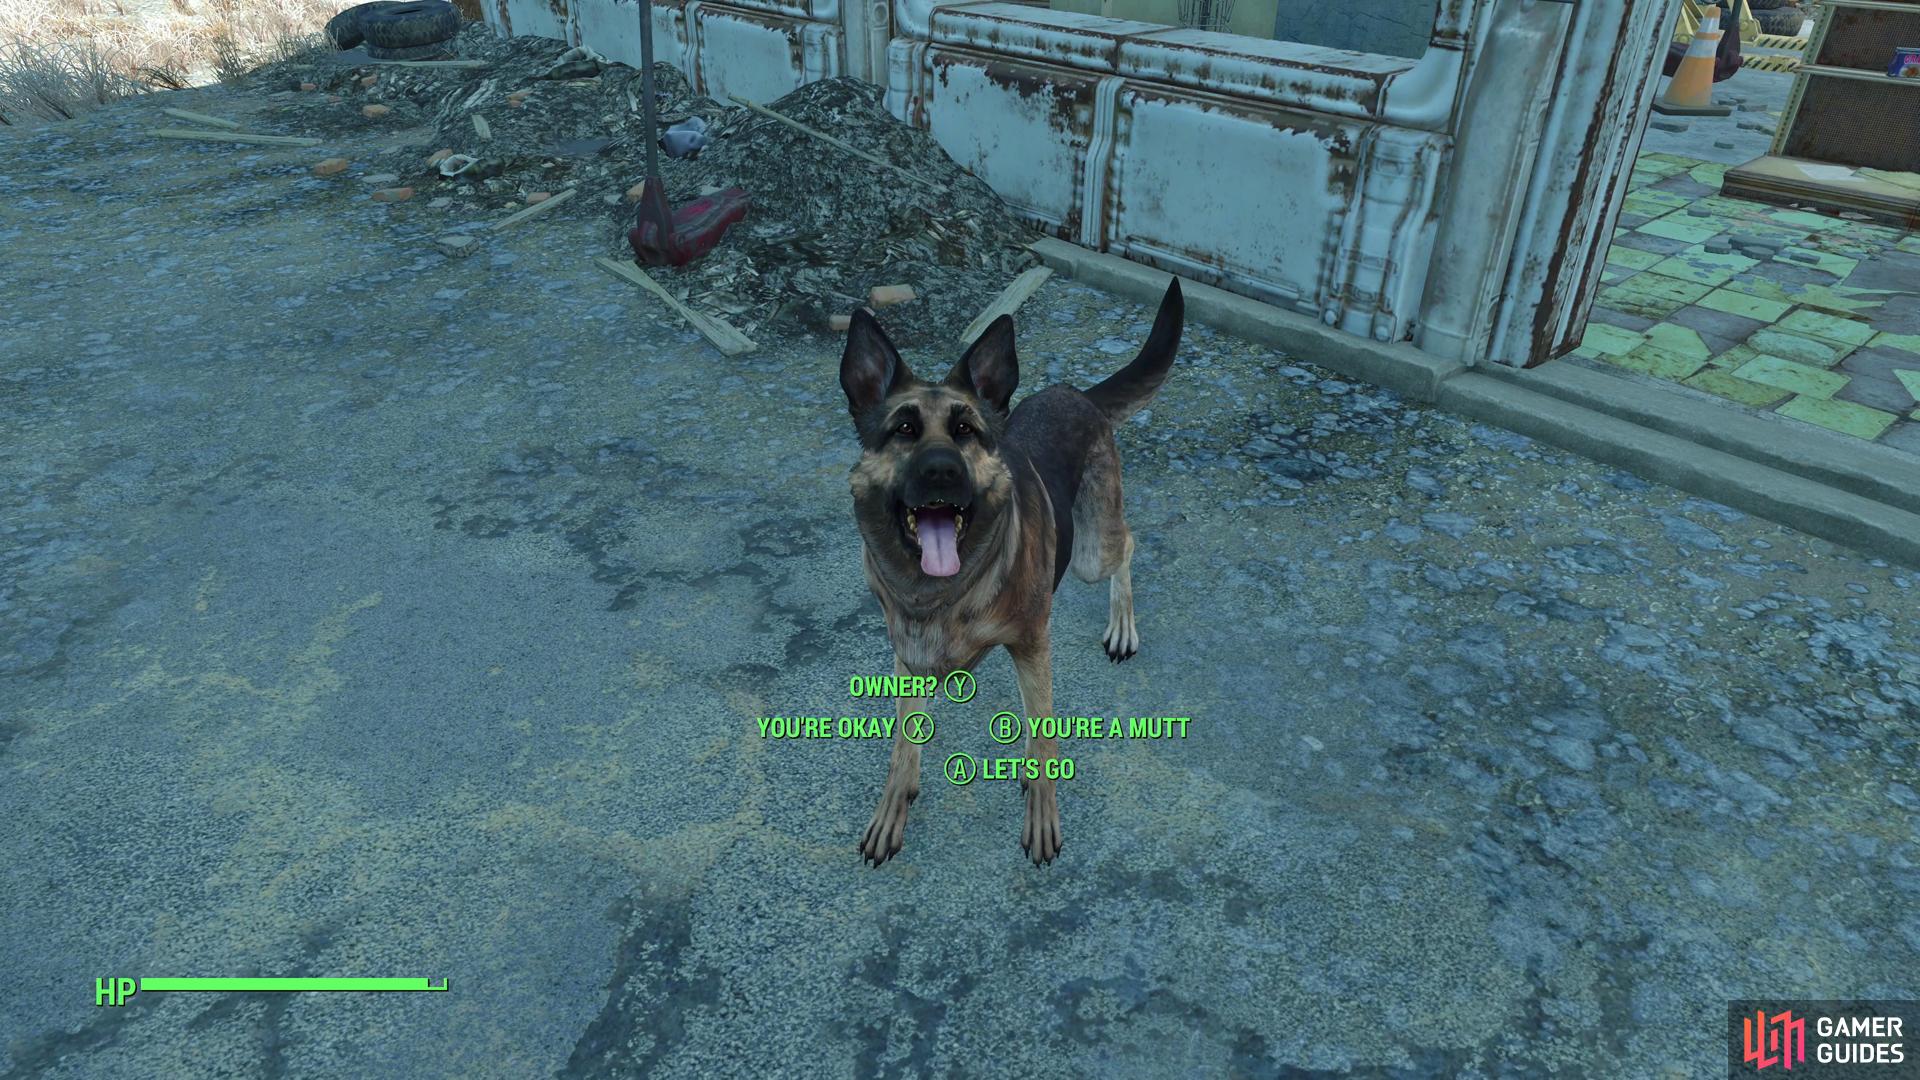
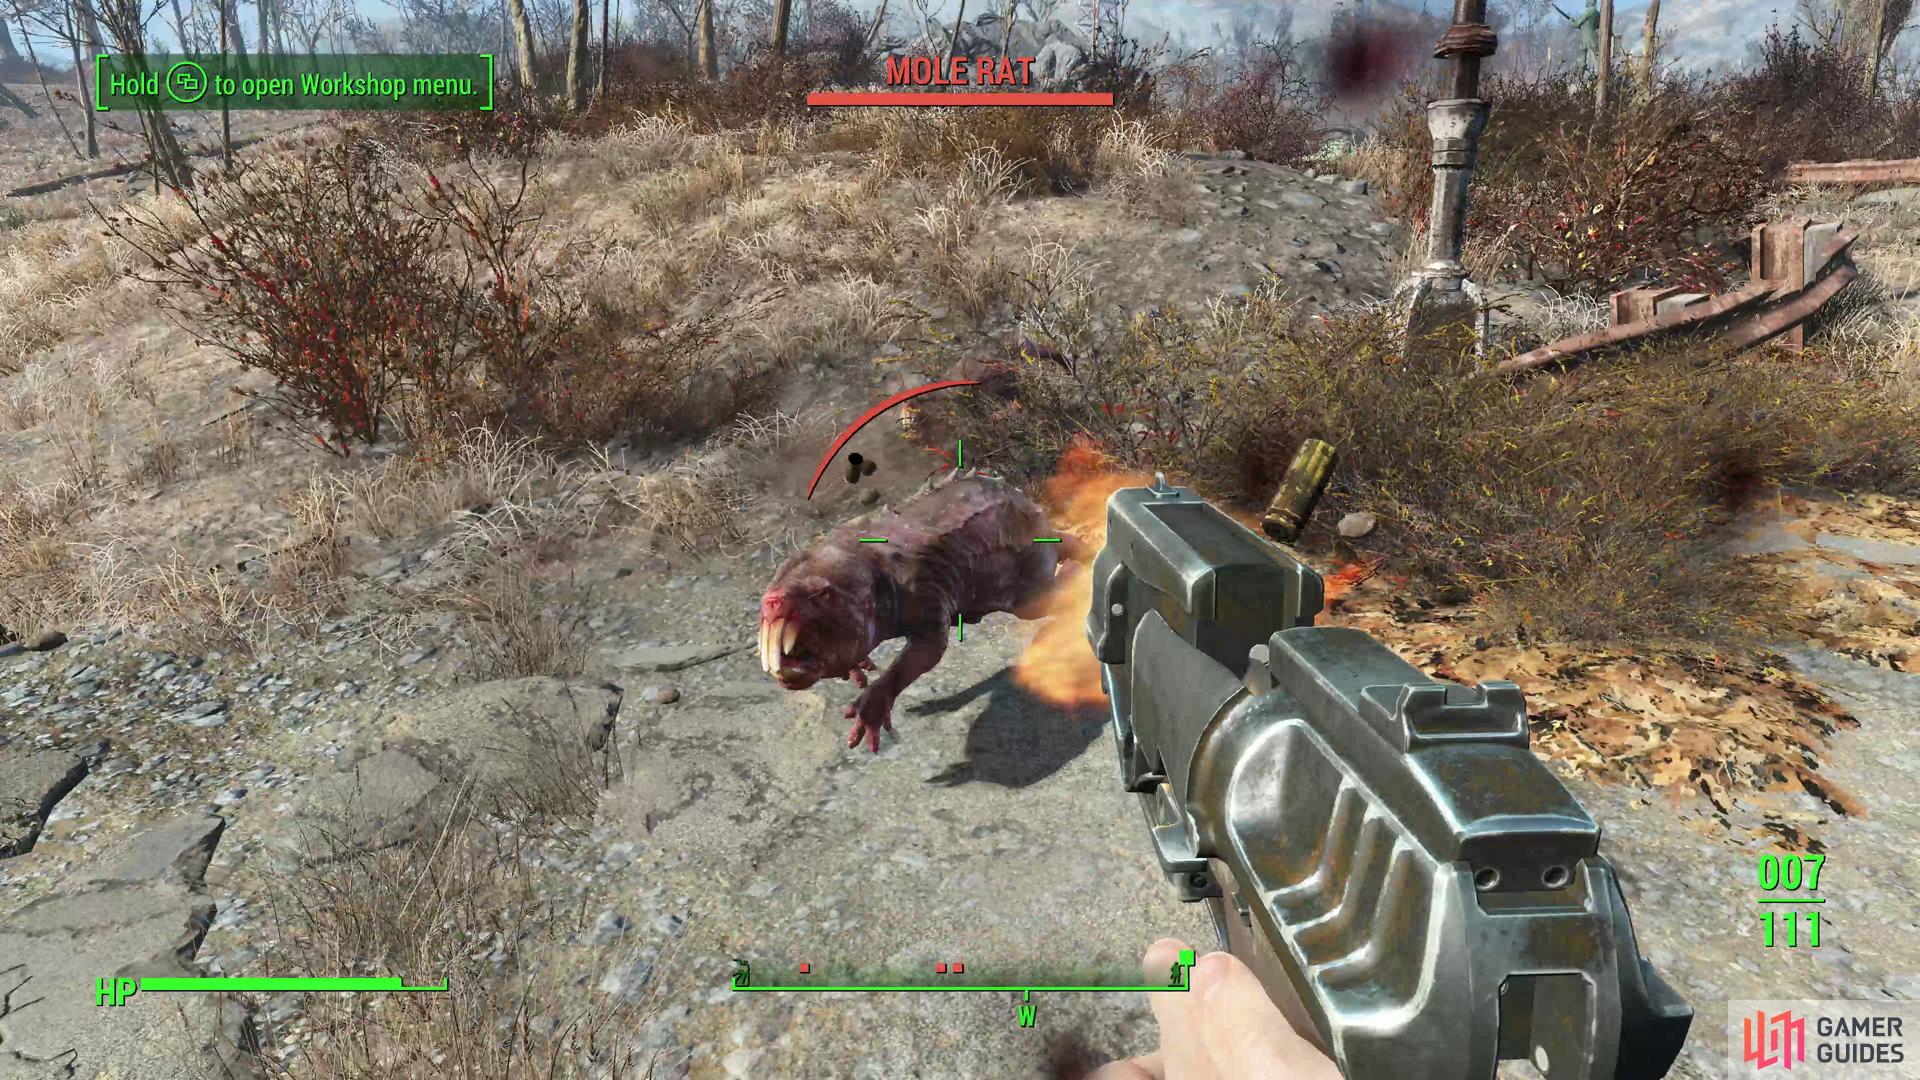
At the Red Rocket Truck Stop you’ll meet a very good boy who’s in the market for a human pal to follow around. (left), After teaming up with Dogmeat, dispose of several Molerats that surface nearby. (right)
Red Rocket Truck Stop
When you’re done scavenging around Sanctuary, follow the road south through town to find a bridge to the south-east. Cross the bridge and, on the far side opposite Sanctuary, you’ll find a dead Raider possessing random gear including a ![]() Drifter Outfit , which may not be significantly better than the Vault 111 Jumpsuit, but it sure looks snazzy enough. Near his corpse is the body of a dead Wild Mongrel, with a
Drifter Outfit , which may not be significantly better than the Vault 111 Jumpsuit, but it sure looks snazzy enough. Near his corpse is the body of a dead Wild Mongrel, with a ![]() Tire Iron sticking out of its body. Take this weapon, as it’s a minor upgrade to the Police Baton you’ve been using.
Tire Iron sticking out of its body. Take this weapon, as it’s a minor upgrade to the Police Baton you’ve been using.
Follow the road and you should spot a red rocket in the distance, which marks the Red Rocket Truck Stop - the midway point between Sanctuary and Concord, and an interesting location in its own right. At this gas station you’ll find a dog, or rather, the Dog. Every Fallout game has had a faithful canine companion of some sort, and this is your pooch-pal in Fallout 4, who will henceforth affectionately be called ![]() Dogmeat because that was the name of your doggie deputy in the first two Fallout games. It’s also his name in this one, too. What luck!
Dogmeat because that was the name of your doggie deputy in the first two Fallout games. It’s also his name in this one, too. What luck!
Dogmeat not only helps in combat, but he’ll lead you to treasure, so he’s worth keeping around at least for now. Let him kill things and take damage if it means you conserve ammo and Stimpaks. The first thing he should lead you to is a First Aid Box containing some chems on the ground near a ruined fuel pump. After that, head into the gas station, but be on guard, as you’ll shortly be attacked by a pack of Mole Rats, who are more annoying than dangerous. They’re fond of burrowing in the ground and resurfacing in different areas but it’s hard to pass up a good old game of Tire Iron whack-a-mole.
When they’re all dead, search the gas station properly to find… well, plenty of junk. In a back room (in the southern corner of the store) on a desk near a Red Rocket Terminal, you’ll find a Caps Stash containing a random number of Bottle Caps, the currency of Fallout. In the Chem Cooler nearby you can find some chems and on the terminal itself you’ll find some commentary on a local cave where the sneaky folks at the Red Racer Truck Stop stashed their trash.
Mole Rat Den
Sounds like it could be worth a look, eh? Head south from the ![]() Red Rocket Truck Stop to find a small cave (the cave’s entrance is facing north, making the cave go under the Truck Stop), where the pre-war litterbugs stashed their garbage. Enter the Mole Rat Den to find that it’s rather aptly named as inside you’ll find, well, more Mole Rats. Exterminate the ones in the large chamber with the fungus-covered central pit, then explore two side-passages to the north. In the easternmost one you’ll find the note Trashbuster’s Reward, a Pipe Pistol and some 10mm Rounds and a
Red Rocket Truck Stop to find a small cave (the cave’s entrance is facing north, making the cave go under the Truck Stop), where the pre-war litterbugs stashed their garbage. Enter the Mole Rat Den to find that it’s rather aptly named as inside you’ll find, well, more Mole Rats. Exterminate the ones in the large chamber with the fungus-covered central pit, then explore two side-passages to the north. In the easternmost one you’ll find the note Trashbuster’s Reward, a Pipe Pistol and some 10mm Rounds and a ![]() Fusion Core , but you’ll catch some RADs for your trouble. In the western one you can find a Duffle Bag containing some loot. In another side-tunnel to the west of the main chamber you’ll encounter a Rabid Mole Rat, which is significantly stronger than its less diseased pals back east, but nothing a few whacks with a blunt instrument can’t take care of. When it’s dead, loot its small chamber to find a Safe [Novice].
Fusion Core , but you’ll catch some RADs for your trouble. In the western one you can find a Duffle Bag containing some loot. In another side-tunnel to the west of the main chamber you’ll encounter a Rabid Mole Rat, which is significantly stronger than its less diseased pals back east, but nothing a few whacks with a blunt instrument can’t take care of. When it’s dead, loot its small chamber to find a Safe [Novice].
When you’re done looting the Mole Rat Den, return to the surface and then make your way back to the Red Racer Truck Stop. Stash whatever other junk you’ve found, then head back out to the road north-east of the gas station. From here, follow the road south-east and it’ll take you into Concord. Note that the house just before you enter Concord proper (the two-story on the right-hand side of the road) has a Bobby Pin Cache upstairs, which should help you out for your future lock-picking needs. You can also find chems in a bag upstairs and a Bottle Cap Stash downstairs in the oven. Now, continue down the road leading towards Concord.
Along the way you’ll find Bloodbug Hatchlings feasting on a dead Brahmin. They’re stronger than other bugs you’ve fought so far, and starting out the fight with a sneak attack critical on one comes highly recommended. With that obstacle out of the way, continue down the road to reach Concord, entering the first house on the right (west), where you can find a ![]() Nuka-Cola Quantum in the fridge, a Bobby Pin Box on a Cabinet upstairs, and a Safe [Average] on the wall. Loot and leave the house and continue deeper into Concord.
Nuka-Cola Quantum in the fridge, a Bobby Pin Box on a Cabinet upstairs, and a Safe [Average] on the wall. Loot and leave the house and continue deeper into Concord.
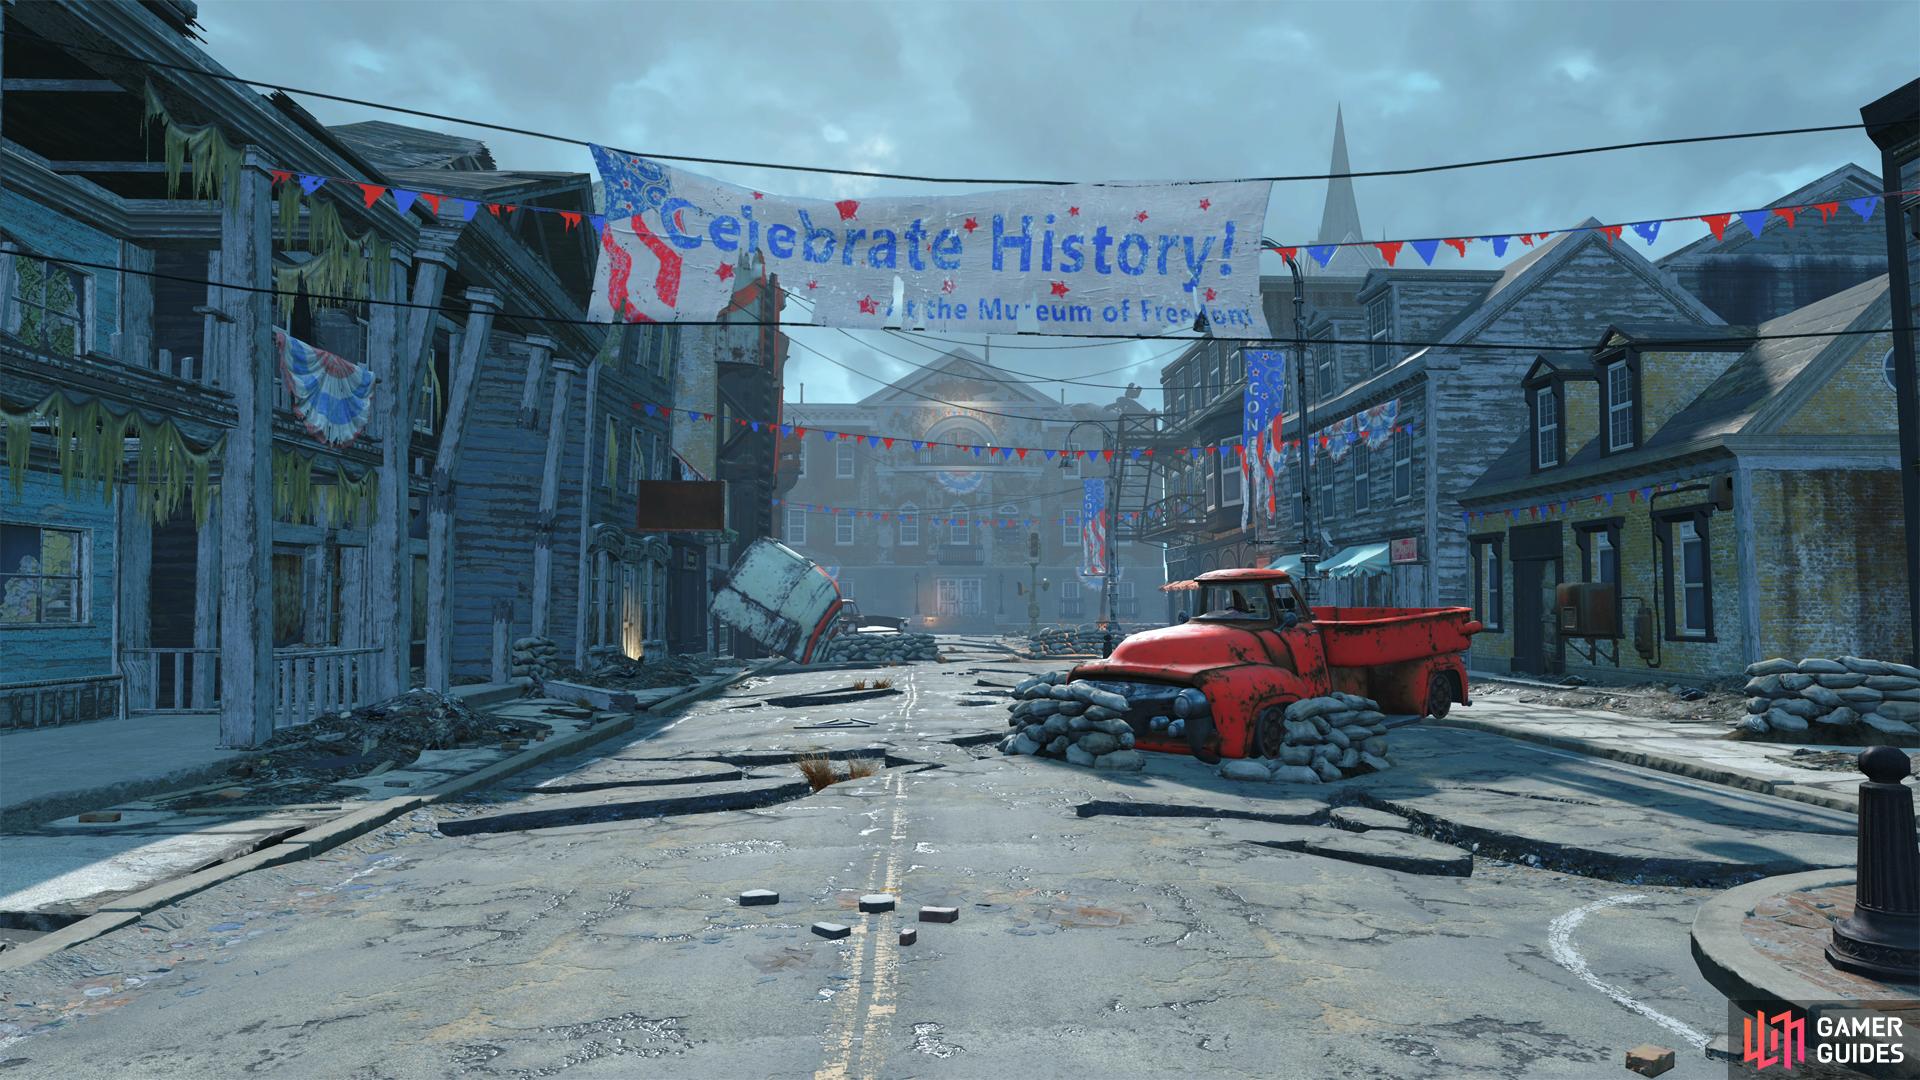
Follow the road from the Red Rocket Truck Stop to find Concord.
Concord
Have we found our first civilized town!? Perhaps though note that most of the houses are boarded up. As you walk into the city you will hear gunfire further in. Nothing says “Welcome!” like a gun battle. Head in and help kill the attacking raiders. Use the sandbags to hide behind and pick them off one by one when your AP is up.
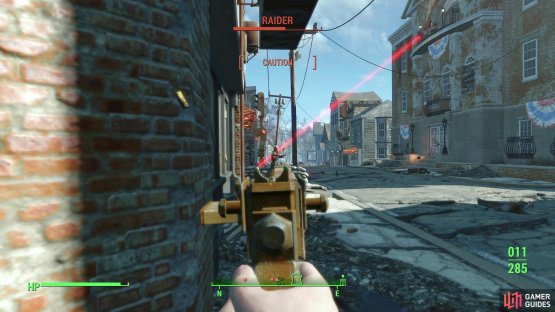

(1 of 2) Gun down the Raiders assaulting the Museum of Freedom,
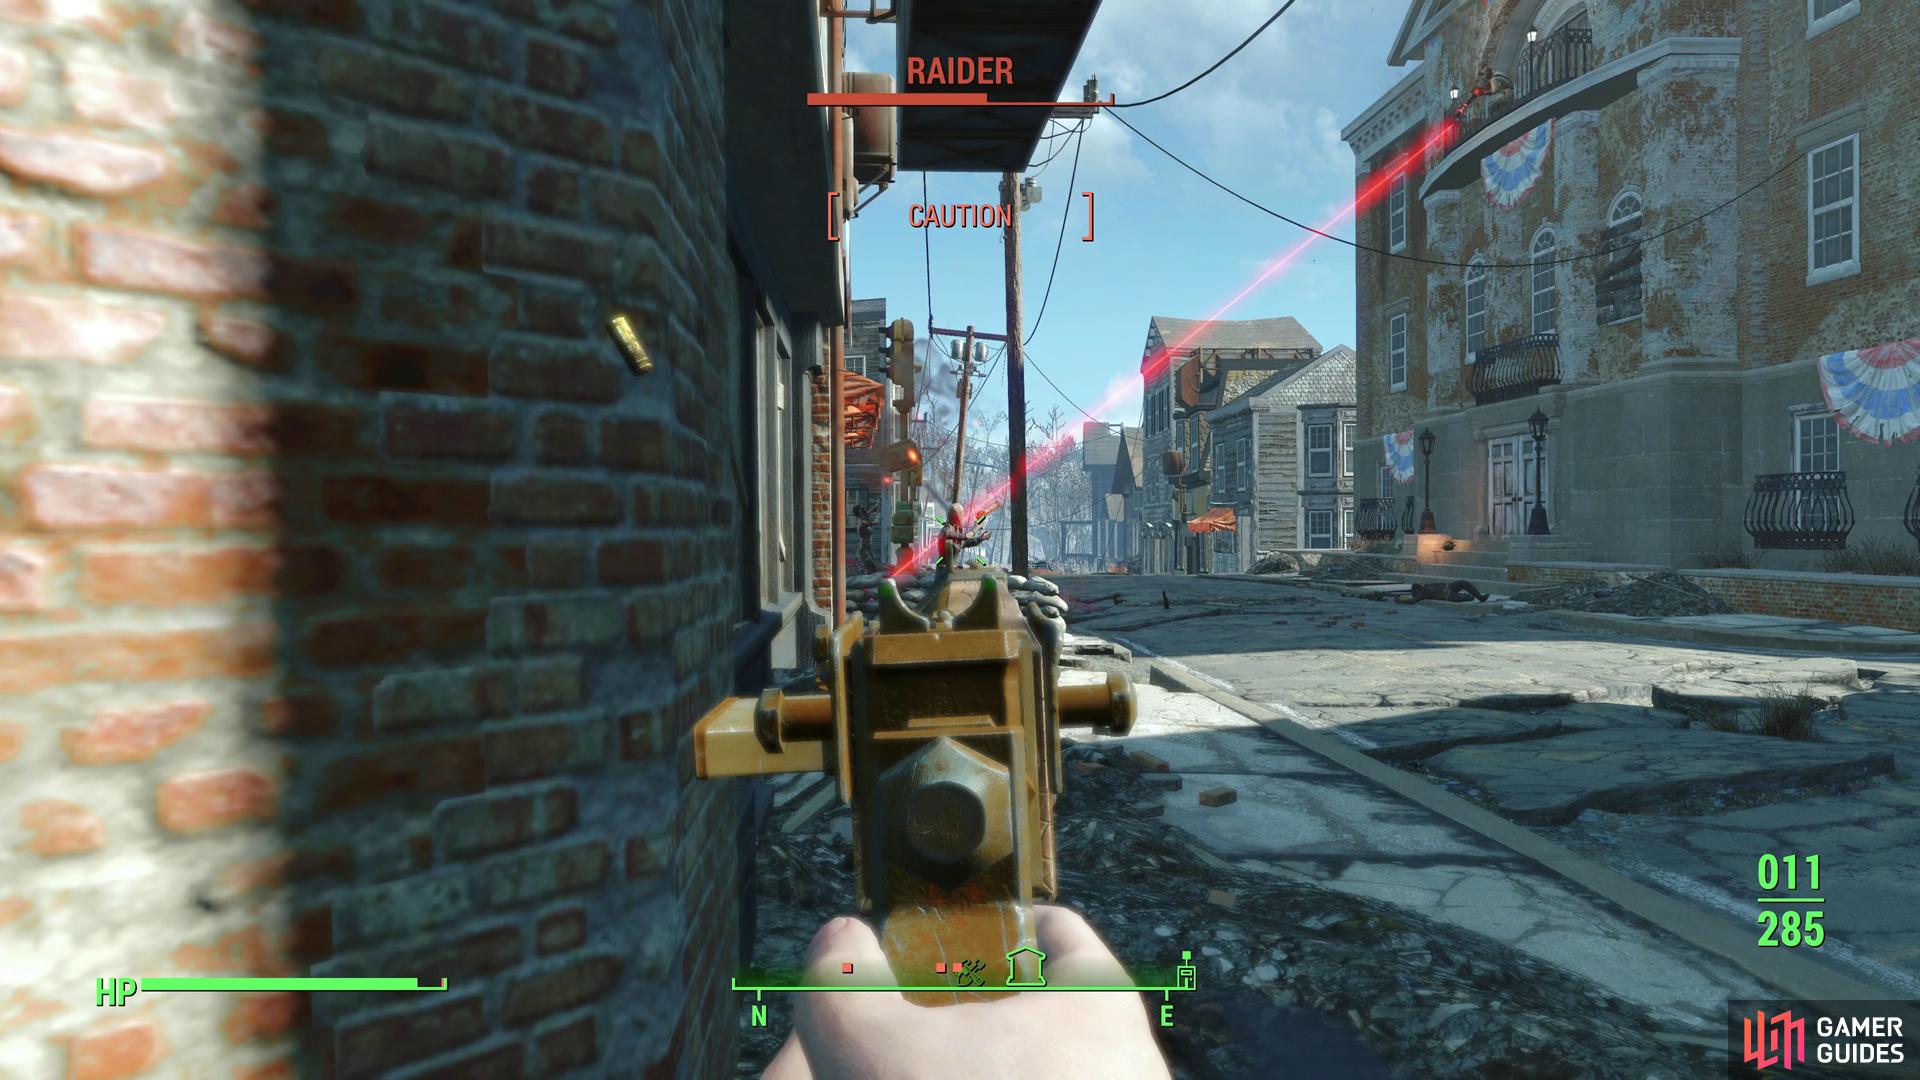

Gun down the Raiders assaulting the Museum of Freedom, (left), and grab a Laser Musket from a fallen Minuteman. (right)
Soon they will all be dead and a man will yell at you to pick up the nearby Short ![]() Laser Musket , which will become an (optional) quest objective. Go ahead and pick it up and you’ll have officially completed the
Laser Musket , which will become an (optional) quest objective. Go ahead and pick it up and you’ll have officially completed the ![]() Out of Time quest and started the next quest When Freedom Calls . You will also get an appreciable amount of experience as a reward, likely propelling you into the next level.
Out of Time quest and started the next quest When Freedom Calls . You will also get an appreciable amount of experience as a reward, likely propelling you into the next level.
| Objective | Reward |
|---|---|
| For reaching |
230 XP |
No Comments